
Marisa McClellan's Blog, page 38
July 26, 2017
Submit your July Mastery Challenge Projects!
July is nearly over, which means it’s time to get serious about completing this month’s hot pack preserving challenge! If you’ve already finished up your project for this month’s #fijchallenge, please use the form below to record your information and be counted in the final tally. If the embedded form isn’t working for you, click here.
If you’ve not yet tackled a batch of jam yet this month, check out this month’s introductory post for some ideas.
To be counted in the final tally, please submit your projects no later than Monday, July 31.
Oh, and if you do post to social media, make sure to use the #fijchallenge tag to help spread the word of our preserving activities!
Loading…
Related Posts:
Hot Pack Preserving for the July Mastery Challenge
June Mastery Challenge Round-Up: Jam
Submit your June Mastery Challenge Projects!


July 25, 2017
Giveaway: Grater Set from EcoJarz
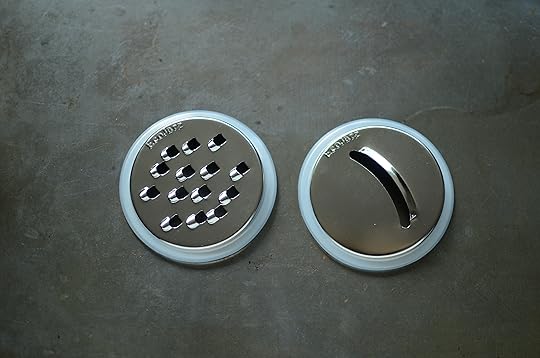
When I first started canning and collecting jars, finding cool jar accessories was nearly impossible. Happily, in the last ten years, a world of nifty accessories and adapters has exploded onto the scene. One of my favorite makers of useful things for mason jars is EcoJarz. They make drink lids, storage lids, and food prep accessories out of high quality stainless steel and food-grade silicone.
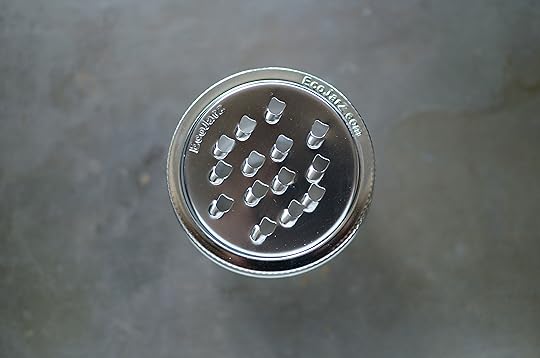
This week, I’m giving away one of their grater sets. This handy kit comes with a slicer lid, a grater lid, two silicone seals, a stainless steel ring, and a wide mouth half pint mason jar. It allows you to grate, slice, and store the excess easily.
[image error]
If you want to win this nifty set, please use the widget below to enter!
Related Posts:
Giveaway: EcoJarz PopTop and Jar Band Gripper
Giveaway: EcoJarz Fermenting Kit
Giveaway: Halloween-themed Jar Gear from Mason Jar Lifestyle
July 18, 2017
Small Batch Bread and Butter Pickles
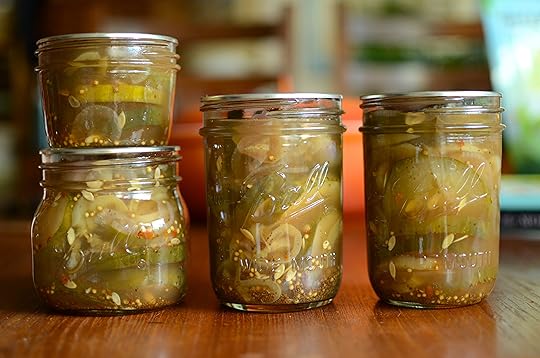
Last night, I spent an hour in my kitchen making bread and butter pickles and talking to my phone (otherwise known as doing a live broadcast via Facebook). I answered questions, used a mandoline slicer without injuring myself, and at the end had three and a half pints of tasty pickles for my efforts.
I’ve published a few different variations on bread and butter pickles over the years, but have never managed to get one up on the blog. Well, let’s change that. This is the exact version I made last night. It doubles and triples beautifully if you’ve got even more veg to use up. And it’s the perfect thing for this month’s hot pack challenge!
PrintSmall Batch Bread and Butter Pickles
Yield: 3-4 pints
Ingredients
6 cups cucumber slices (shoot for about 1/2 inch slices)2 cups sliced red peppers (about 2 peppers)
2 cups sliced onion (about 1 large onion)
2 cups apple cider vinegar
3/4 cup granulated sugar
2 tablespoons pickling salt
2 teaspoons mustard seed
2 teaspoons celery seed
1 teaspoon red chili flakes
½ teaspoon ground cloves
Instructions
Prepare a boiling water bath and enough jars to hold between 3 and 4 pints.Combine vinegar, sugar, and salt in a non-reactive pot large enough to eventually hold all the vegetables.
Set the pot on the stove over high heat and stir until the sugar is dissolved. Add the mustard seed, celery seed, red chili flakes, and cloves.
Bring the brine to a boil and add vegetables. Stir to combine and cook for 5 minutes, until everything is fully heated through.
Fill prepared jars with the vegetables using tongs and then cover with brine, leaving 1/2 inch of headspace. After all the jars are full, use a wooden chopstick to work any trapped air bubbles out of the jars. Check the headspace again and add more brine if necessary.
Wipe the rims, apply lids and rings and process in a hot water bath for 10 minutes.
When the time is up, remove the jars and set them on a folded kitchen towel to cool. When the jars have cooled enough that you can comfortably handle them, check the seals. Sealed jars can be stored at room temperature for up to a year. Any unsealed jars should be refrigerated and used promptly.
Notes
My batch made 3 and a half pints. I'd suggest preparing enough jars for 4 pints, but prepare for the possibility that your yield might be a little less.
3.1http://foodinjars.com/2017/07/small-batch-bread-butter-pickles/Related Posts:
Facebook Livestream Summer Schedule
Spicy Pickled Green Beans
Mastery Challenge: Rhubarb Pickles
Cookbooks: The Essential Book of Homesteading

Before she was writing books about picnics, parties, and beverages, Ashley English wrote a series of books about homestead. Published in 2010 and 2011, these books focused on food preservation, chicken keeping, bee keeping, and the art of home dairy.
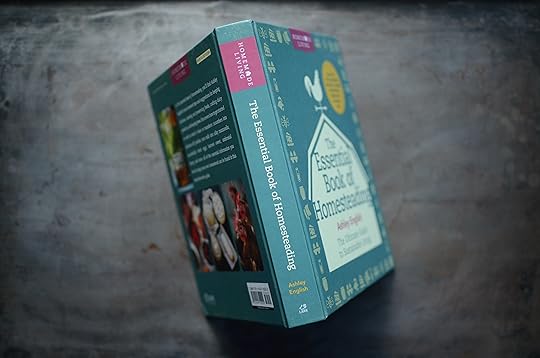
It was an endlessly useful quartet of books that I’ve had on my shelf for years and referenced with some regularity (though admittedly, I didn’t have quite as much use for the volumes on bees and chickens as I did for those on canning and dairy).
A year or so ago, I noticed that Ashley’s series was getting harder to come by and I was sad to see such a useful resource drop out of print. Happily, I learned a few months back that my concerns were entirely unfounded. Her four books have instead been gathered together into a single edition.
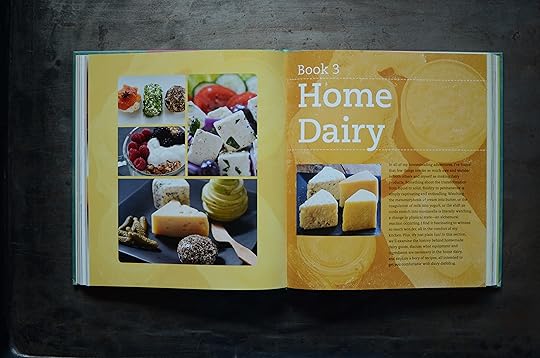
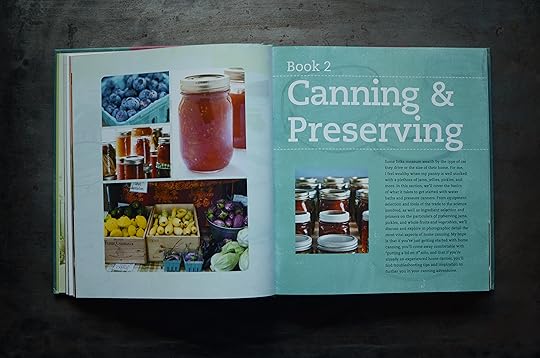
Called The Essential Book of Homesteading, this edition is now one of the most thorough reference points for 21st century homesteader. It opens with a section on chickens and then marches through canning and preserving, bees, and home dairy.
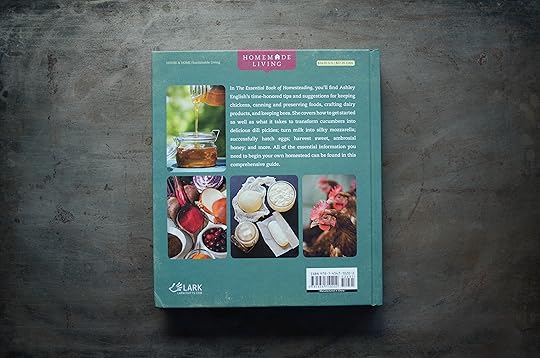
The photography is vivid, useful and in full color. The recipes are approachable and the instructional details are clear and easy to follow. If you’ve been meaning to add a homesteading-themed book to your library, the release of this one could not be more well-timed!
Related Posts:
Giveaway: Ashley English’s Homemade Living Series
Cookbooks: A Year of Pies
Giveaway: Homemade Living with Ashley English
July 17, 2017
Giveaway: Maple Syrup from Tree of Life Maple Farm
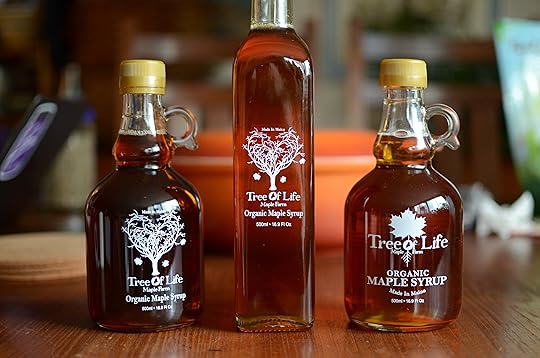
This week’s giveaway comes to us from the Babiarz family at the Tree of Life Maple Farm. They are a small organic maple farm based in Northwestern Maine, just a few miles from the Canadian border. All the maple products they sell come from their sugarbush, which they tap while the trees are still frozen. This allows them to gather the cleanest and clearest sap as thaw arrives.
The Tree of Life syrup is available in three different colors. Each color has its own unique properties while retaining its essential maple qualities. The lightest syrups are generally made earlier in the season, while the darker hues typically come later.
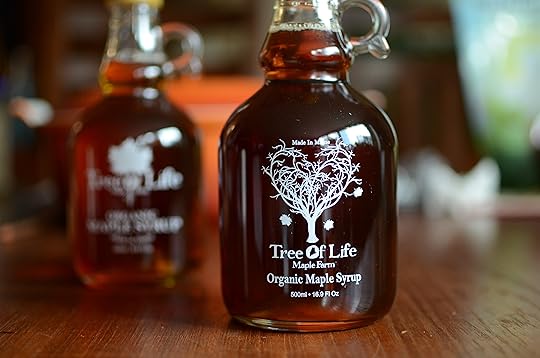
Tree of Life Maple Farm sells their syrup in a variety of packages. They offer glass bottles in a handful of different sizes and shapes for gift giving, as well as in more conventional plastic jugs for those of us who like to cook and bake with our maple and want something a little easier to juggle in the kitchen.
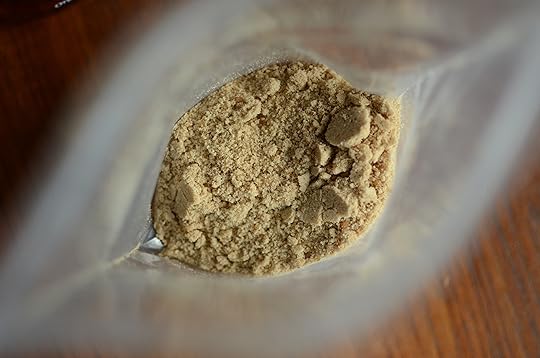
They also sell some of the most gorgeous, light maple sugar I’ve tried (and I used a lot of the stuff while working on Naturally Sweet Food in Jars).
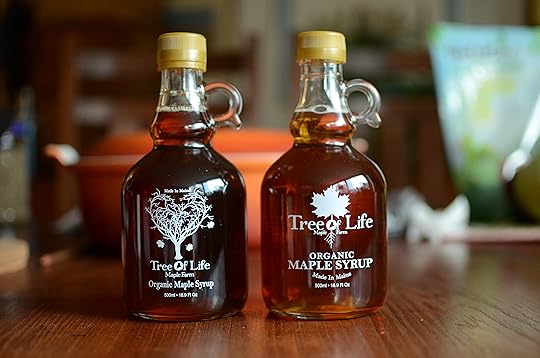
The team at Tree of Life believes that maple syrup is good for so much more than just pancakes. It’s something that is equally delicious in coffee, yogurt, baked goods, and more. And one lucky winner will get a chance to try some of their delicious syrup. This week, we’re giving away one 500 ml glass jug of Organic Golden Maple Syrup and one 500 ml glass jug of Organic Dark Maple Syrup to share. Please use the widget below to enter!
Related Posts:
Links: Upcoming Events, Cherry Preserves, and Winners
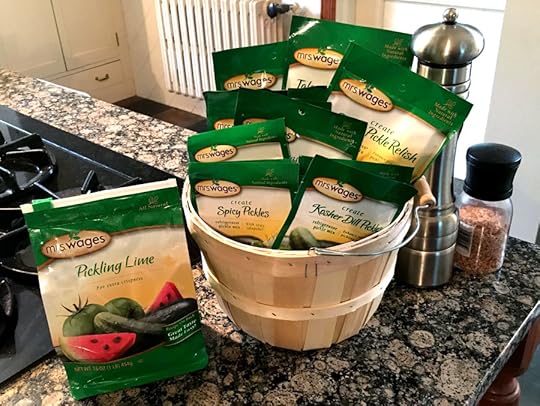
Giveaway: Mrs. Wages Pickle Sampler Pack
Giveaway: Anchor Hocking Jars from Fillmore Container
July 14, 2017
Guest Post: Five Canning and Preserving Survival Tips by Lynne Curry
Today’s guest post comes to us from cookbook author and seasoned canner Lynne Curry. She’s dropping in to share some of her hard won canning wisdom with those who are just getting started, or who simply need to be reminded how to stay sane during the height of the preserving season. Enjoy! -Marisa
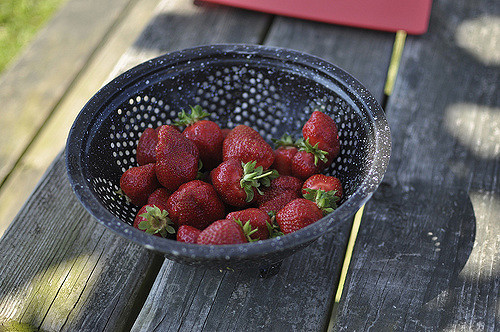
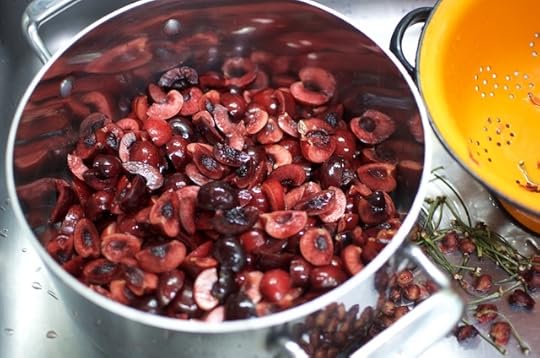
The strawberries and cherries have already come and gone for many of us, and the stone fruit avalanche is well under way. And that’s just the fruits! Before you know it, we’ll all be swimming in green beans and tomatoes, racing to pack them into jars.
As a longtime food preserver, I’ve had moments–even small-batch canning–when things nearly got out of hand. With the washing and sanitizing of jars, the peeling and cutting of fruits and vegetables and timing the steady boil in the canner, it’s a lot to manage!
Happily, I’ve adopted five practices from my professional life as a chef and recipe developer that keep me organized and productive from batch to batch over the entire growing season.
Best Canning Management Practices
Adopt the preserving mindset: Preserving food may happen in the kitchen but do not mistake it for cooking. It is a mechanical procedure that requires good organization, cleanliness and precision (for example, the instructions to leave one-half inch headspace in a pickle jar exist for good reason). So, clear off your countertops (you are going to need a lot of space!) and follow all the established and time-tested procedures of the recipe and canning guide to the letter.
Create a command center: The equipment and tools for canning are not every day cookware. So, gather the canner, jar lifter, lid rings and other paraphernalia into one designated area of your kitchen or in a box or milk crate. Then, when the plums or pickling cukes arrive at peak ripeness, you’re ready for them.
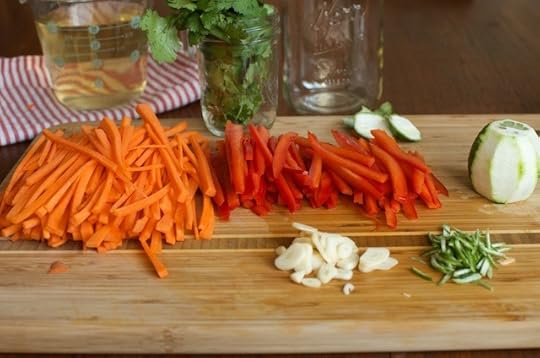
Prep in advance: Did I mention to clear off your counters? Having an uncluttered workspace is priority number one for not only practicality but your enjoyment of the process. In addition, there are lots of tasks you can tackle in advance, like scrubbing and trimming vegetables, preparing brine for pickles and gathering ingredients so they’re at your fingertips.
Choose your most productive time of day: When my kids were little, I canned only after bedtime. Now, I prefer to wake up early, pour myself a cup of coffee and get a canner load boiling before the kids wake up. Be sure to free up a block of time—two hours is my minimum for pickling, which is pretty quick—with no other demands to distract you from the work at hand.
Make a washing station: No preserving book I’ve ever read reveals the fact that canning involves rounds of hand washing from startup to cleanup. The single biggest laborsaving task I’ve found is to set up a dedicated washing station. If you don’t have a separate second sink like I do, fill two dishpans for washing and rinsing on an area of your tidy countertop with a dishrack on the side.
Now, let’s wash some jars and restock lids, because it’s Go Time.
Related Posts:
Quick Pickled Balsamic Strawberries
Guest Post: Transforming Your Jamming Fails
Guest Post: Aged Persian Garlic Pickles from Stefanie Kulhanek
July 11, 2017
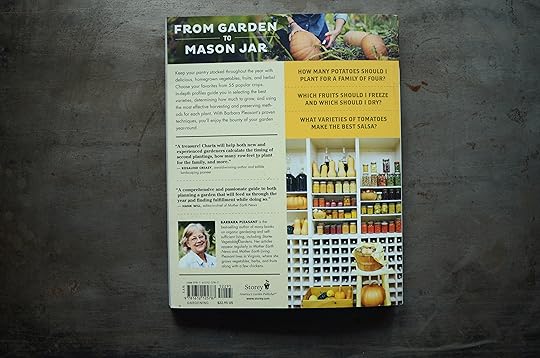
Cookbooks: Homegrown Pantry

People often ask me if I grow the things I preserve, mostly in the hopes that I’ll be able to share with them favorite varieties for growing and canning. I always end up disappoint them when I confess that other than a couple seasons with a mediocre community garden plot, I almost no gardening experience.
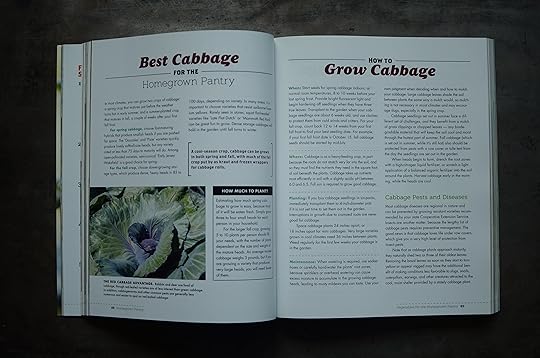
Happily, there’s a new book that is the resource that people have always wished I could be. Called Homegrown Pantry and written by Barbara Pleasant, this book should be on the shelf of everyone who likes to garden and preserve what they’ve grown.
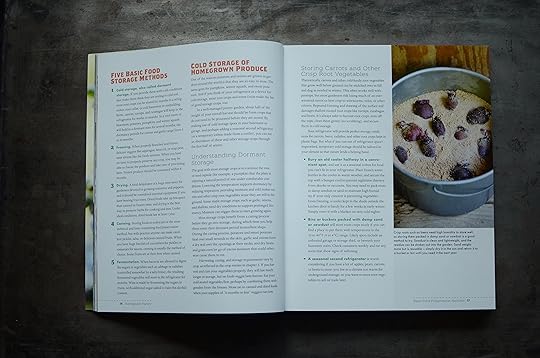
The book is designed to help you choose the best varieties to plant, determine how much you’ll need to grow, and the best ways to preserve the fruits, vegetables, and herbs that are the result of your hard work.
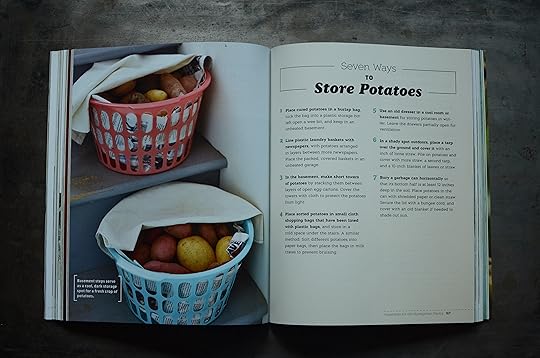
This book digs into canning, drying, fermenting, freezing, root cellaring, and even wine making. There are tips, tricks, recipes, and a world of useful recommendations.
It’s even useful for those of us who don’t garden, but occasionally find ourselves in possession of a bushel of apples, a big bundle of herbs, or a fresh potatoes from the farmers market. It’s a really terrific resource!
Related Posts:
Homesweet Homegrown Sneak Peek + Giveaway
Cookbooks: Bread Toast Crumbs
Cookbooks: Savory Sweet
July 10, 2017
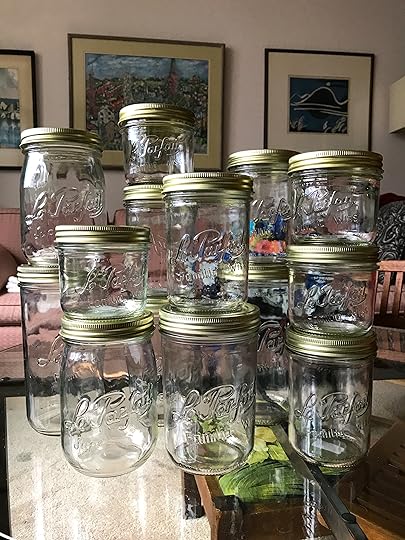
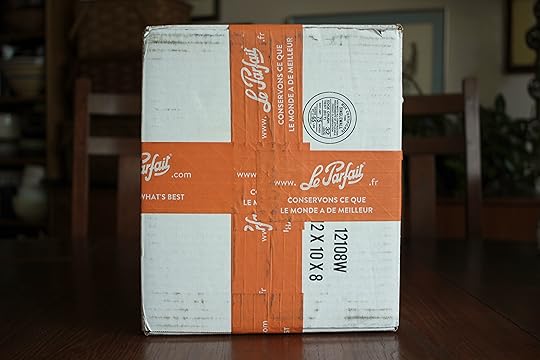
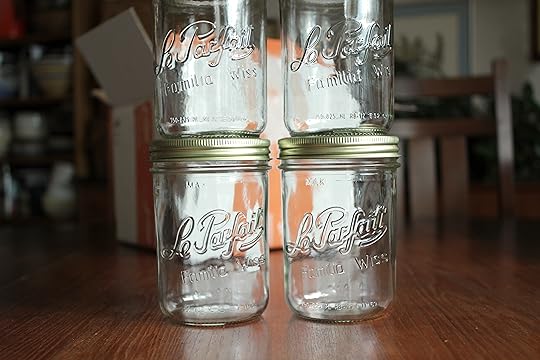
Giveaway: Le Parfait Familia Wiss 750 mL Canning Jars
A little over a year ago, when I was traveling up the west coast promoting Naturally Sweet, I stopped in at Down to Earth in Eugene for a demo and book signing. Before we got started, I took a moment to wander through their canning section. They had all the familiar jars and tools, but they also had a massive array of Le Parfait jars.
I wanted to fill the car with an array of those graceful, sturdy jars, but sadly, I was 3,000 miles from home and driving my parents’ station wagon. I was fairly certain that they would not appreciate it if I rolled up to their house with a wayback full of French preserves jars and asked them to keep them in the garage until I could find a way to get them back to Philadelphia.
Now, Le Parfait makes several lines of jars. Most of us are familiar with the Super Jars with their rubber gaskets and locking lids (I particularly love their Super Terrines for dry goods). And you may have used or spotted their Jam Jars (they have lug lids and look much like the jars you buy Bonne Maman jam in). But it was their Familia Wiss line that most captured my attention.
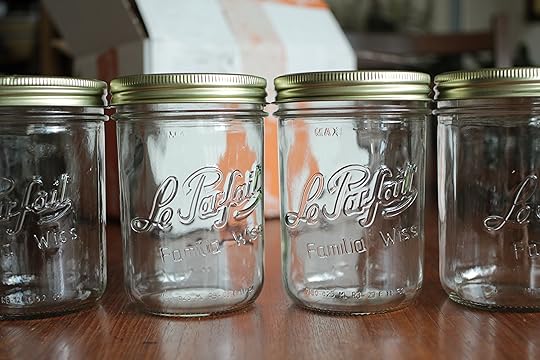
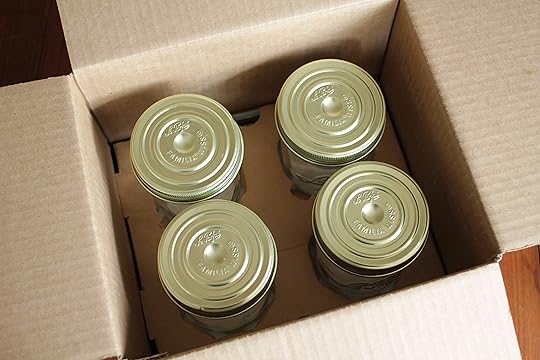
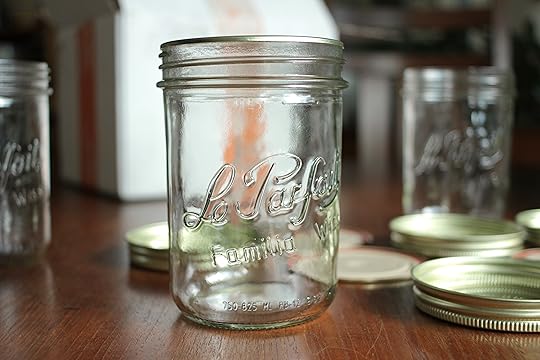
The reason that I was so charmed by Familia Wiss is that they are functional canning jars that are incredibly durable and beautiful. They have really wide mouths, making packing and filling a dream. They come in a wider array of sizes than regular mason jars (200, 350, 500, 750, 1000, and 1500 mL). And I found the sealing system so smart and reasonable.
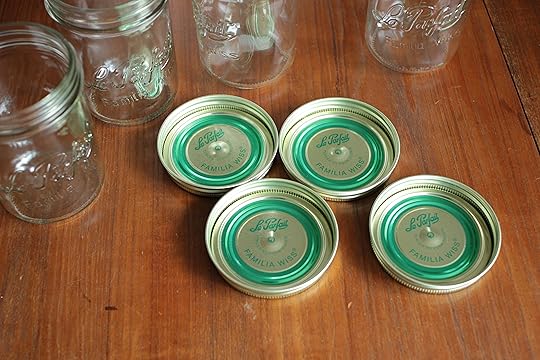
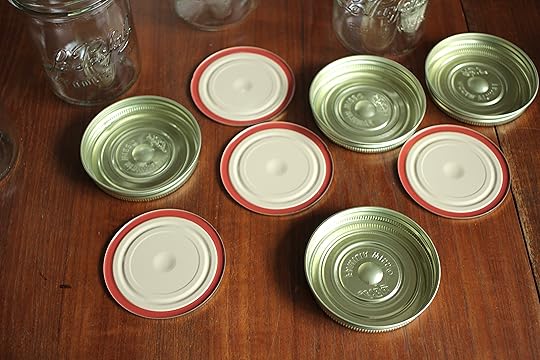
Instead of using a lid and ring like our standard two-piece system, these jars use a flat lid and a fully encapsulating lid. The metal is heavier, they’re less prone to rusting, and seal that’s produced is incredibly strong. When you open up the jar to eat the contents, you can discard the flat lid and just use the cap for storage (they also sell bright orange plastic lids that fit these jars, which are a fun option for storing pantry items).
Once you understand how the basics of how the lids work, you can approach these Familia Wiss jars the same way that you do any other mason jar. You want to use new lids for each round of canning (and they can be ordered here). They should be clean but don’t need to be boiling prior to use. And like any other jar, once the jar has cooled and the seal is achieved, you can remove the outer lid and store the jars with just their sealed flat lid.
There is one downside to the Le Parfait Familia Wiss jars and that’s their cost. They come at a higher price than we’re typically accustomed to paying for canning jars. At first I bristled at the idea of paying more for jars, but I’m starting to think that they’re worth the price.
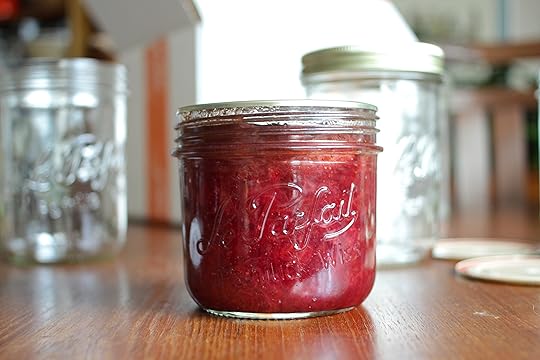
For one thing, they’re so much stronger than the grocery store jars. I hear from people on a near-daily basis about brand new Ball jars breaking in the canner. I can’t imagine that ever happening with a Le Parfait Familia Wiss jar. They are just so darn tough. And since I know that canning is something I’m going to continue to do across my lifetime, investing in gear that will pull its weight for the long haul doesn’t bother me.
The other thing is that I believe that working with higher quality jars leads to a more thoughtful approach to food preservation. Sometimes I preserve simply because I got a good deal or I start to feel that summertime panic that everything is currently in season and I MUST. PUT. UP. However, as I strive to be more conscious and preserving with an eye towards using up (rather than stockpiling), choosing the strong, beautiful jars that happen to be a little more expensive feels like a good choice.
This week, I’m partnering with the Le Parfait folks on a promotion and a giveaway. Two lucky people will each win a set of four 750 mL Le Parfait Familia Wiss jars (use the widget below to enter). These jars hold the same volume as the pint and a half jars that so many of us find particularly useful!
If you want to try some of the Le Parfait Familia Wiss jars and don’t want to take your chances on the giveaway, you can head over to Amazon, browse the size options, and use the code FOODNJAR for 5% off your order (the code is good through the end of July).
Related Posts:
The Sur La Table Preserving Box + Giveaway
Canning 101: A Field Guide to Jars
Skip the Plastic in the Bulk Section, Use Jars Instead
July 9, 2017
Links: Upcoming Events, Cherry Preserves, and Winners
A post shared by Marisa McClellan (@foodinjars) on Jul 5, 2017 at 8:04pm PDT
Happy Sunday, friends! I hope everyone had a good weekend. We’ve got a busy week coming up around Food in Jars HQ. On Monday, July 10, I’ll be doing a fridge pickle demo at the Exeter Community Library in Exeter, PA from 6:30-8 pm. On Thursday, July 13, I’ll be at the Glassboro Library doing a similar fridge pickle demo from 7-8:30 pm. Hope some of you local folks can join me! Now, links!
Strawberry jam
Preserved strawberries, four ways
Raspberry violet jam
Bakewell cherry almond jam
Strawberry honey rosemary jam
Maraschino cherries
Red onion cherry relish
Easy red salsa
Kohlrabi dill pickles
Pickled romanesco cauliflower
Cucumber red onion salad
Parsley, cabbage and carrot salad
Lacto-fermented passionfruit soda
Blueberry slump
Cherry berry crumble
How to make crispy granola
How to reduce sugar in pie
Big thanks to everyone who took the time to enter last week’s giveaway. I enjoyed reading all of your pickle memories.
Related Posts:
Links: Taco Sauce, Corn Salsa, and Winners
Links: Linzer Cookies, Dorie’s Jammers, and Winners
Links: Pickled Figs, Cinnamon Simple Syrup, and Winners
July 6, 2017
How to Build a Summertime Cheese Board
Regular Food in Jars contributor Alex Jones is here to share her tips for building a cheeseboard for the summer season! Looks delicious! – Marisa
It’s ironic that the farmers’ markets are bursting with the widest variety of ingredients during the season that it’s often — in my apartment, anyway — too hot to cook.
But there are still delicious meals to be made in the head of summer. In July and August, I find myself gravitating to salads made with greens, soft-boiled eggs, and other easy-to-prep veggies, or grilled cheese sandwiches made with thick slabs of tomato and basil leaves stuffed inside.
Of course, there’s always the grill — but struggling to get the coals lit while fighting off mosquitoes and (still) sweating make outdoor cooking a special occasion thing for me.
How else to pull together a quick and delicious meal with minimal cooking that’s adaptable to the season’s bounty? Build a beautiful, easy, no-cook cheese board.
And when I say a cheese board fixes up quick, I mean it: grab a few tasty hunks on your next trip supermarket, specialty grocer, or farmer’s market, and that’s the bulk of the work.
When you’re selecting cheeses to serve together, I recommend choosing two or three contrasting styles: fresh, soft-ripened (also known as bloomy rinds, this class includes cheeses like Brie and Valençay), washed rind, aged. Mix up sheep, cow, and goat’s milk wedges if you like. This will give you a good mix of flavors and textures as well as beautiful visual contrast. And if you’re a meat eater, cured meats like prosciutto or sopressata make a great addition.
Pick up some seasonal produce, too: blueberries and cherries, dark, glossy blackberries, melons — whatever looks good that week. I like to get some green on the board, too. Think crisp snap peas, cucumbers, carrots, string beans, or even a little haystack of microgreens or sunflower shoots.
Consider your pantry inventory; it’s nice to have a stash of shelf-stable goodies like nuts, dried fruit, honey, and crackers to play with. And I’m sure you have a jar or two of jam or pickles you’re dying to use; preserves and good cheese go hand in hand.
As a meal with a good number of tasty accessories on the board, budget three ounces of cheese per person. If the board will be a starter course with more food to come, plan for about half that amount.
Get your goodies home, and be sure to leave the cheese out for 45 minutes or so to come to room temperature before serving (if it isn’t already when you buy it). Wash and dry your produce, cut the veggies if needed, and then select your surface.
If you’ve got a dedicated cheese board, bust it out — otherwise, a nice big cutting board, serving platter, or even a baking sheet lined with parchment or kraft paper will work. Now, arrange your cheeses. You can be as utilitarian or Instagram-ready as you like here.
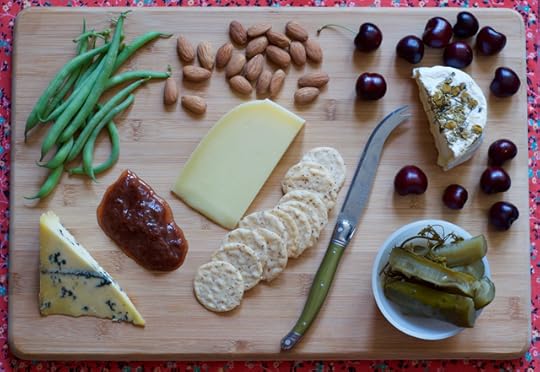
On this board, I served up half of my cheese share from Collective Creamery, the cheese subscription I run with the cheesemakers at Valley Milkhouse and Birchrun Hills Farm. We curate the cheeses in each share to contrast nicely on a board just like this.
I added sweet cherries from the farmers’ market, which go beautifully with Honey Bell, our chamomile-topped lactic bloomy rind with the texture of buttercream. Green beans from my Taproot Farm CSA share add crunch and color. And a big dollop of puckery rhubarb jam complements Valley Milkhouse’s creamy, roasty-toasty Blue Bell. Homemade garlic dills, which I love with a hard-aged Alpine style cheese like Birchrun’s Equinox, a handful of sprouted almonds, and some crackers finished the spread.
Not counting my fussing for photography purposes, this board took less than 10 minutes to put together. Add a bottle of sparkling rosé, a dry Riesling, fizzy kombucha, or your favorite gose, kolsch, or pilsner to sip on and refresh between bites.
And there you have it: a well-balanced meal for four, requiring almost no prep — and not a stovetop, oven, or grill in sight.
Related Posts:
June Mastery Challenge: Foraged Berry Jam
How to Make Elderflower Cordial
Mastery Challenge: Rhubarb Pickles


