
Marisa McClellan's Blog, page 26
May 8, 2018
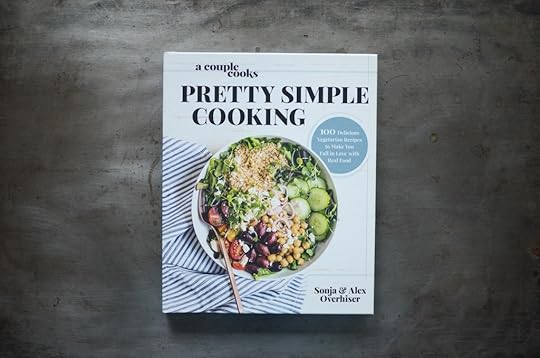
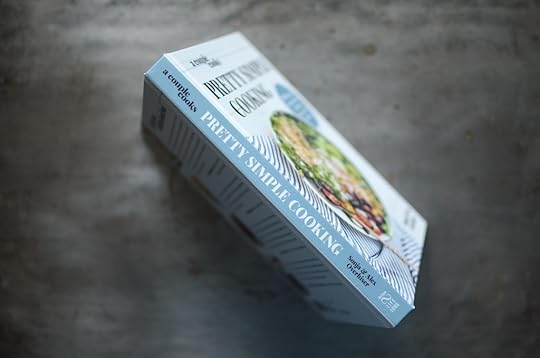
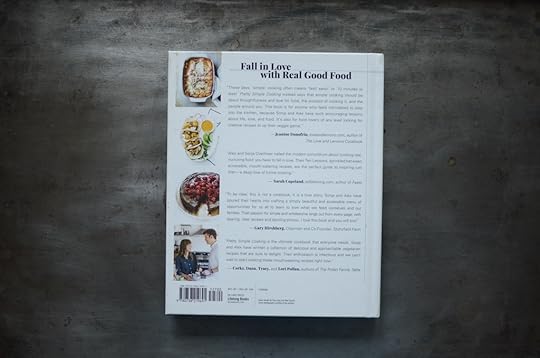
Cookbooks: Pretty Simple Cooking
I have been feeling a little lost lately. I’m in the strange place where a book I’ve written is nearly finished but there’s still nearly a year before it will be out there in the world. I am turning 39 in a few days and am finding that my life looks much different than I thought it would at this age. And, after seven years of working by myself in my living room, I’m starting to wish for a place to go and be each day.
During times when I feel out of sorts like this, one of the first things that often slips away is my grasp on useful, utilitarian, daily cooking. I still manage to make preserves and turn them into breads and bar cookies, but the alchemy of making dinner feels impossible to master.
When this happens, I find myself casting around for culinary lifelines (because one cannot live on take-out alone, even in a neighborhood as rich in fast casual joints as mine is). I shop the farmers markets. I allow myself to spend $10 on plump, purple asparagus. And I read cookbooks for hours, until I spot a recipe that hooks onto my soul and compels me to return to the kitchen.

One cookbook that has performed that trick for me lately is Pretty Simple Cooking by Sonja and Alex Overhiser. They’re the pair behind the blog A Couple Cooks and their breezy, vegetable-forward style proven to be the exact right thing to help me stitch myself back together again (Alana Chernila’s Eating From the Ground Up has also been working double-time on this front).
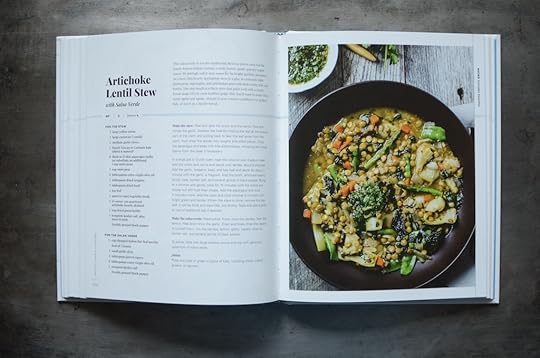
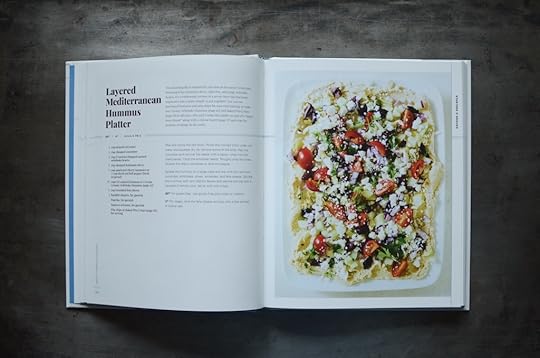
I think part of the reason Pretty Simple Cooking is working for me is that the food is a whole lot of stuff that I enjoy eating, put together in ways that I’d not thought of. It’s easy to love a book when you can open it, say yes to a recipe, and not have to do a lot to track down the components (I’m looking straight at you, Roasted Cauliflower and Black Bean Tacos on page 190).
Another fun thing is that Joy sat down and interviewed Sonja for our podcast recently, and the episode containing their conversation went live today. Give it a listen, if you’re so inclined!
Related Posts:
Cookbooks: Southern From Scratch
Cookbooks: Bring It!
Cookbooks: Eating From the Ground Up


May 3, 2018
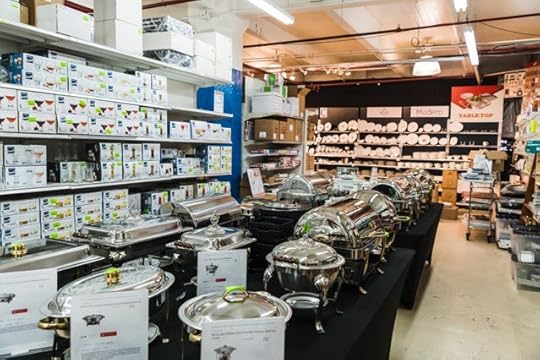
Sponsored Post: Meet McDonald Paper & Restaurant Supplies

I’ve learned a lot about gear in my years as an avid home cook and canning teacher. Nothing is more useful than a freshly sharped knife. Always bring extra jars and containers to classes. And most of the time, the best place to buy durable, portable, affordable equipment is your local restaurant supply store.
Recently, the folks from McDonald Paper & Restaurant Supplies reached out and asked if I might be interested in dedicating a post to some of the tools they sell that are just as useful at home as they are in more professional food settings. Of course I said yes!
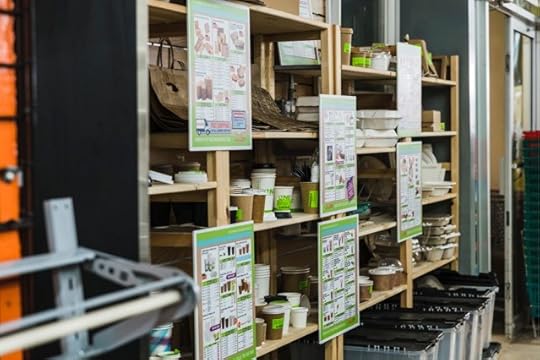
First, a little about McDonald Paper & Restaurant Supplies. Founded in 1994, they’re based in the New York metro area and carry more than 20,000 items for restaurants, coffee shops, bakeries, supermarkets, catering companies, and home cooks.
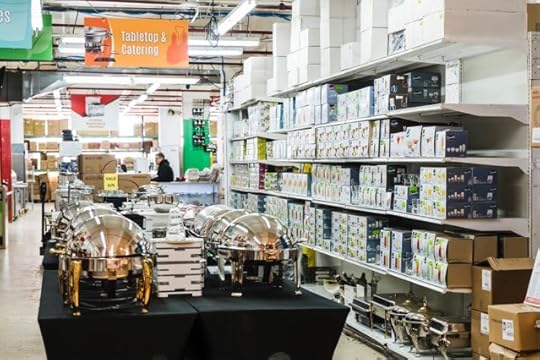
If you visit their 25,000 SF showroom in Brooklyn (open M-F, 7am – 7pm; Sat, 8am – 2pm), you’ll find professional cutlery, food prep tools, kitchen hand tools, mixing bowls, cookware, and extra-sturdy commercial grade dinnerware (great for households that are hard on their dishes). Home mixologists will find shakers, muddlers, cocktail prep tools, and kits that can help raise their cocktail game to the pro level.
Now, on to the gear!
Giant, polycarbonate measuring cups – This big, indestructible measuring cups are amazing tools for canners. You can easily see how much produce you’ve prepped, they’re relatively light, and they can go in the dish washer. For maximum versatility, get both the 2 quart and 4 quart versions.
Stainless mixing bowls – They come in a huge range of sizes, but I like the 8 quart for holding produce and mixing salads.
Stainless steel skimmers – These are the best for lifting foam from the top of your jam and scalding tomatoes and peaches for peeling.
Rasp-style zesters – These are a quarter of the price of the name brand zesters and work just as well.
Large, polycarbonate food storage containers – I use glass in my kitchen wherever I can, but there are times when nothing serves quite as well as a really large, plastic container. I use my 4 quart square poly tub for leftover soups and stews all the time. It may well be the hardest working vessel in my kitchen.
Waterproof digital thermometers – I reach for my thermometer on a near-daily basis and use it to test for doneness in jams, loaves of bread, roast chicken, and even the honey syrup I use to hold my homemade granola bars together. So useful, and when bought from a restaurant supply store, so cheap!
Jars – McDonald Paper carries some cute jars that I’ve not seen at other outlets. I think there’s a road trip to Brooklyn in my future!
That’s just a short list of some of my hardest working gear from restaurant supplies stores. Do you guys have any favorites?
Disclosure: McDonald Paper & Restaurant Supplies is a Food in Jars sponsor and contributes to the upkeep of this site. All thoughts and opinions remain my own.
Related Posts:
May Sponsors: Cuppow, Fillmore Container, EcoJarz, McDonald Paper, Mason Jar Lifestyle, and CanningCrafts
Blue Apron During a Busy Work Season
Giveaway: Primo Manual Water Pump + Water Coupons
May 2, 2018
How to Make Dandelion-Infused Honey
Regular Food in Jars contributor Alex Jones is dropping in today with an inspired yet simple idea – honey infused with bright dandelion blossoms! It reminds me of the lemon verbena honey I made back in the very early days of this site. -Marisa

I pride myself on knowing all sorts of unique preserving methods and recipes that make the most of each season. I’m also incredibly thrifty, preferring (with food, at least) to make, grow, barter, or glean what I eat rather than buying ready made.
So it was shocking when some amazing culinary artists in my neighborhood announced that they had made a limited-edition product that had never even occurred to me before.
Frances Rose and Acorn of K Is for Kitchen offer lots of different culinary services in our West Philadelphia neighborhood, and one of those is making ethically sourced value-added products. They make all manner of sauces, butters, pestos, and other treats, rotating with the seasons. And they has a little stash of a very special honey, a summertime wildflower honey infused with (wait for it)…dandelion blossoms.
Such a simple idea! How had I never seen or heard of this before from any farmer or forager I’d worked with? I had to try some — luckily, I was able to get my hands on a jar.
My first thought is that the flowers might add some bitterness to the honey — not unwelcome in such a sweet food — but I was wrong. The dandelion blossoms add a bright floral quality and a depth to the honey’s sweetness, creating complexity by combining two utterly simple ingredients.
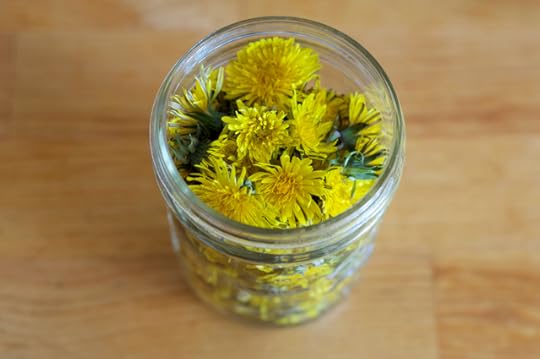
To make this delectable treat, find a field or lawn where you can be sure that the plants haven’t been sprayed and the soil is not contaminated (the front yard where I live fits the bill here, but there are plenty of urban green spaces with dandelions that I wouldn’t use for food — so select your site carefully). The dandelions should be in full bloom, big and fluffy and bright yellow.
Then, simply snip or pick the heads of the flowers off and collect them in a clean bag or basket (I cheated and used my straw gardening hat). Leave the stem behind, but the green calyx just beneath the flower is ok. I collected three or four big handfuls, which were enough to mostly fill a pint jar.
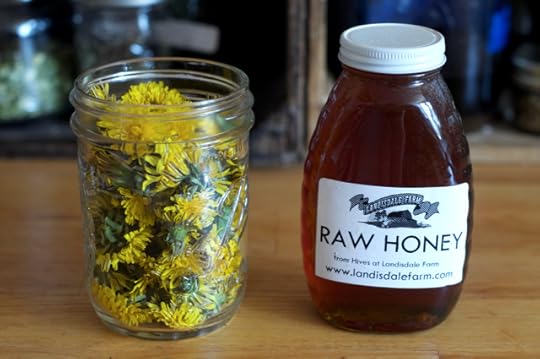
When you get back to the kitchen, go over your blooms carefully to make sure you’ve removed any bits of grass, leaves, or stems and any hitchhiking insects. It was too early for spring honey, but I had a jar of local wildflower honey (probably from last fall’s harvest) on hand to infuse.
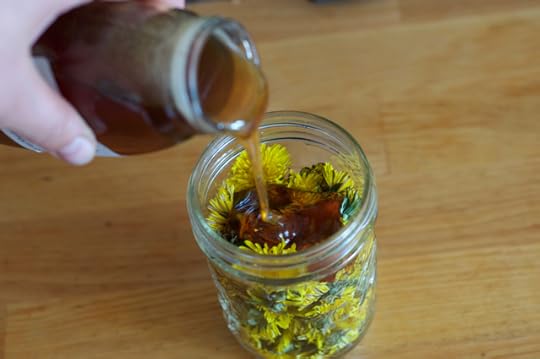
Then loosely put your flowers in the jar. You don’t want to pack them too densely or else the honey won’t penetrate. Pour over the honey and then give the mixture a few stirs with a knife or chopstick to make sure the flowers are submerged and remove any bubbles that may be trapped.
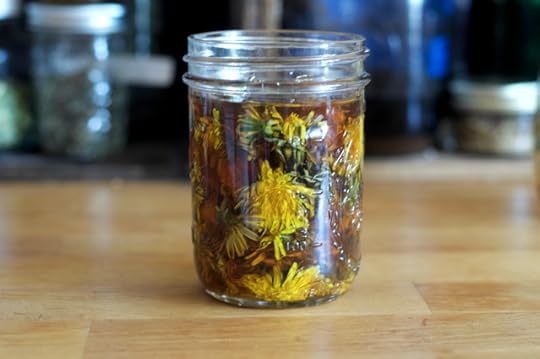
Then, simply pop a lid on your jar and set it in a cool, dark place to infuse. Give it at least two weeks, then taste; leave it longer for a stronger flavor. The flowers will take up less space once they’re suffused with the honey; if you have room in the jar and want to add another handful or two, you can do that, too.
When you’re ready to use the honey, there’s no need to strain the flowers out — I find they look really pretty in a jar or even in a pinch bowl for serving, and I just add them to my herbal tea when the rest of the honey is gone.
Dandelion honey is less of a recipe more of a reminder that in a long-coming, cool spring, even the humblest of weeds presents an exciting opportunity for beauty and flavor. Spring is ephemeral, and this is one way to capture a really special part of it. Your honey will keep for up to a year.
Related Posts:
June Mastery Challenge: Foraged Berry Jam
How to Grow Your Own Sprouts
How to Make Paneer Cheese
Are you a Podcast Listener? Subscribe to Local Mouthful!
Friends! Did you know that I make a podcast? It’s true, I do! Called Local Mouthful, it’s a weekly, 30 minute show in which we talk shop with obsessed home cooks. I cohost the show with my dear friend Joy Manning (she’s the editor of Edible Philly, the author of Stuff Every Cook Should Know, and writes over at Better Without Booze).
Joy and I launched the podcast nearly three years ago and have been steadily releasing half hour long episodes on a near-weekly basis ever since (we have missed a week here and there).
If you’re a podcast listener and you are hungry for more food-centric shows, I encourage you to give us a try. I think you might like the show!
Oh, and one last thing. If you’re in the Philly area and you’re free this Sunday from 5-8 pm, Joy and I are hosting a potluck for our listeners and you guys are invited. The only requirement is that you bring a dish to share that uses a recipe from any edition of Joy of Cooking. If you’d like to join us, leave a comment on this post and I will be in touch.
Related Posts:
Quick Homemade Chimichurri
Where I’m Going, Where I’ve Been – March 2018
Resolution Recipes – An eBook from Local Mouthful
May 1, 2018
May Sponsors: Cuppow, Fillmore Container, EcoJarz, McDonald Paper, Mason Jar Lifestyle, and CanningCrafts
Happy May, dear readers! It’s the start of the month and that means that it’s time to thank the businesses that help make this site possible. Please do show them that you appreciate their support with your time and attention!
In the top spot are our friends at Cuppow. They are the creators of the original mason jar travel mug topper and the BNTO, a small plastic cup that transforms a canning jar into a snack or lunch box. There’s nothing better for iced coffee season (it’s finally here!) than a Pint & Half jar with a wide mouth Cuppow.
Lancaster, PA-based and family-owned Fillmore Container are next! They sell all manner of canning jars, lids, and other preservation gear. They’ve got all those gorgeous Amber Ball jars in stock, if you’ve been looking for some.
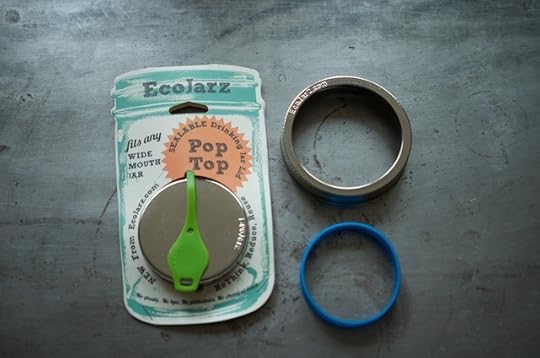
Our friends over at EcoJarz are another stalwart sponsor. They make an array of products designed to fit on top of mason jars, including cheese graters, coffee brewers, and stainless steel storage lids. If you’re looking to get into fermentation this spring, their fermenting kit is a useful and affordable option!
New to the Food in Jars family is McDonald Paper & Restaurant Supply. Based in Brooklyn, they are open to the public and sell all manner of culinary supplies. Restaurant supply stores are a great way to get affordable, durable kitchen gear (including jars!)
Mason Jar Lifestyle is a one-stop shopping site for all the jar lovers out there. They sell all manner of mason jar accessories and adaptors. If you’re in the market for lids, straws, sprouting lids, fermentation weights, airlocks, tea light converters, cozies, they are there for you.
Next up is CanningCrafts. Shop owner Alison sells an array of ready made and custom mason jar labels for all your various preserves, syrups, and backyard honey. Make sure to subscribe to the CanningCrafts newsletter, because you’ll get a 10% off coupon code!
And if your company, shop, or family business is interested in reaching the food-loving and engaged Food in Jars audience, you can find more details here. Leave a comment on this post or drop me a note to learn more!
Related Posts:
April Sponsors: Cuppow, Fillmore Container, EcoJarz, Mason Jar Lifestyle, and CanningCrafts
March Sponsors: Cuppow, Fillmore Container, EcoJarz, Mason Jar Lifestyle, and CanningCrafts
February Sponsors: Cuppow, Fillmore Container, EcoJarz, Mason Jar Lifestyle, and CanningCrafts
April 30, 2018
Jars on Vacation Ireland Edition

Last month, Scott and I spent 12 days in Ireland. This trip proved to be exactly the vacation we both needed and I came home feeling refreshed in a way that I haven’t been in ages. We spent our time exploring historic sites, walking many miles a day, and eating as much Irish butter as two humans can reasonable hold.
Since Ireland is a very jar-friendly country, I thought it was high time to bring back the Jars on Vacation post. Here are just some of the jar images I shot while away!
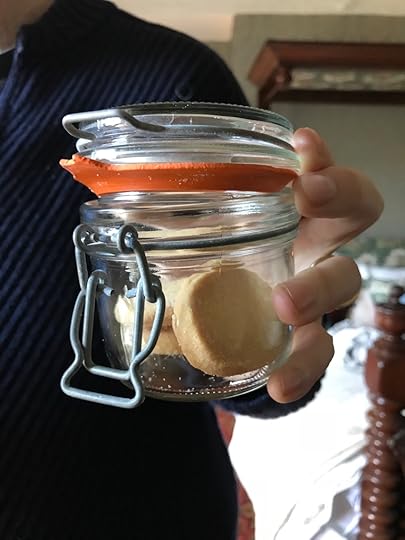
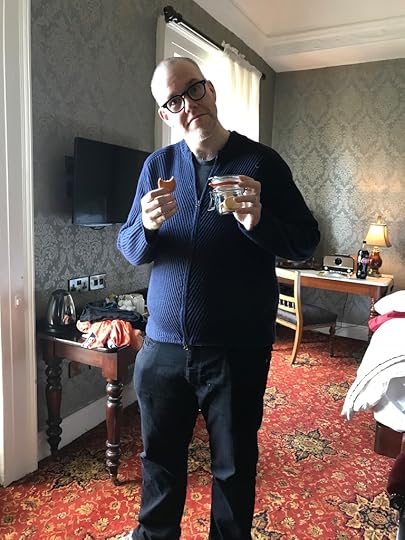
Our first night, we stayed at Ghan House in Carlingford. The room had a charming tea service, complete with jar of shortbread cookies. Scott was quite pleased.
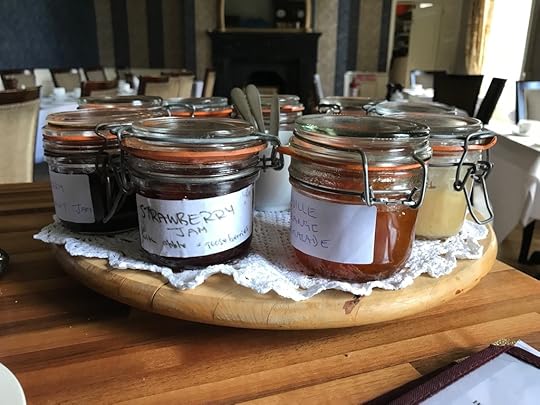
The next morning, the breakfast featured a lazy Susan with an impressive nine homemade preserves.
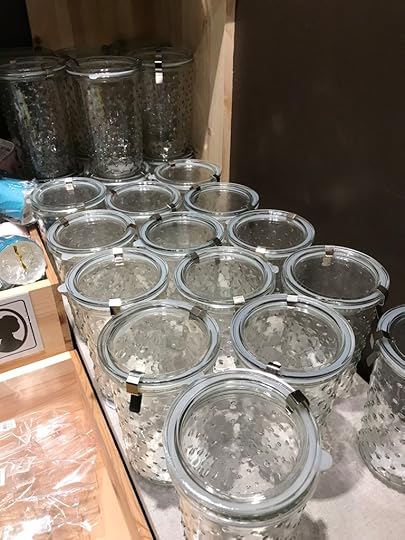
While in Cork, we wandered into Sostrene Grene (a shop I desperately wish would come to the US). I really wanted one of these hobnailed jars, but knew that it would be hard to get home.
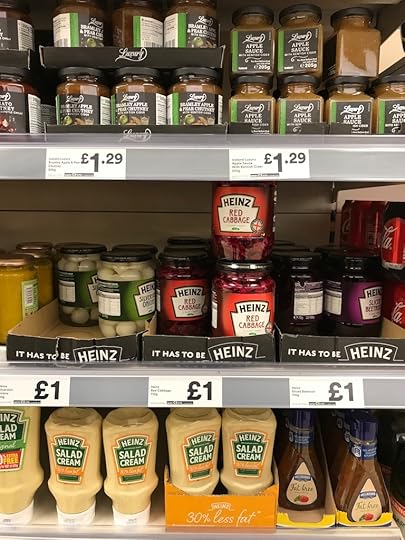
Heinz pickles in Belfast. Why don’t we have all these lovely varieties here?
Le Parfait!
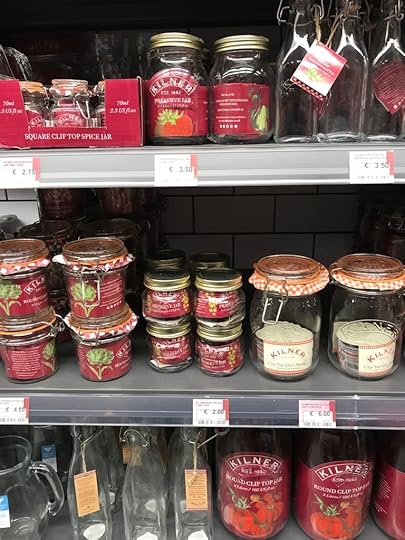
Kilner!
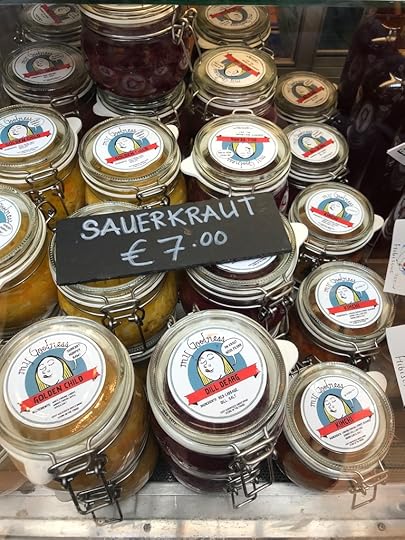
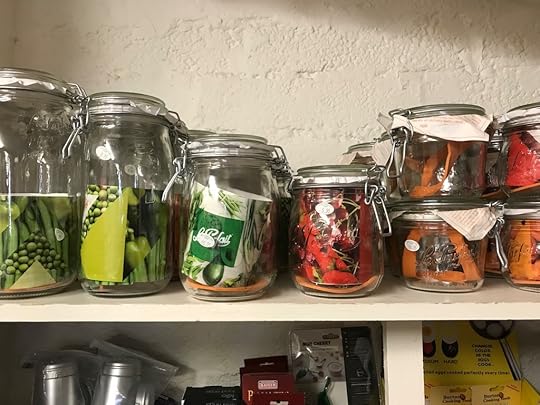
All sorts of fermented goodies at the Midleton farmers market.
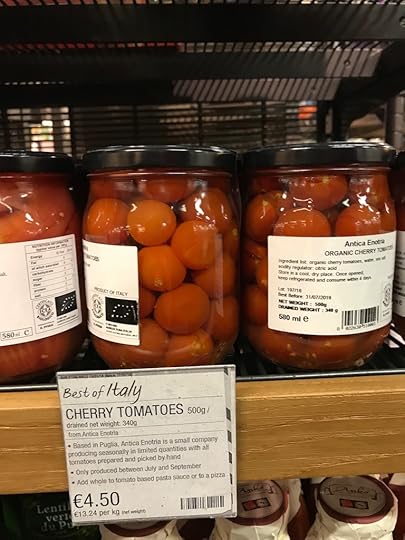
I wish my canned cherry tomatoes remained so intact!
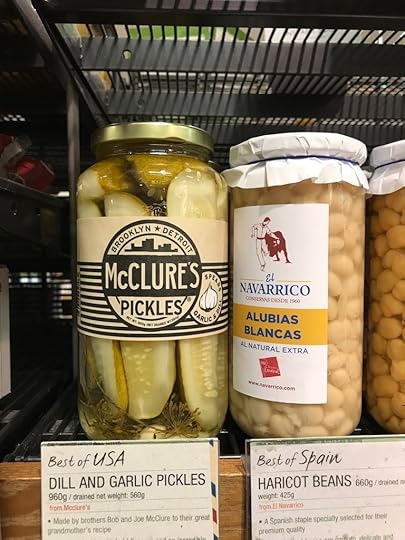
McClure’s pickles in Ireland!
Related Posts:
Jars on Vacation: Lancaster County and the Lehigh Valley
Jars on Vacation: A Week in Lancaster County, PA
Jars on Vacation – The Western Massachusetts Version
April 26, 2018
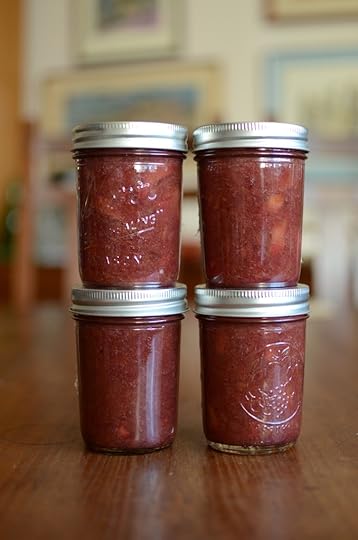
Rhubarb Hibiscus Jam + Fillmore Container Livestream
Want to see this Rhubarb Hibiscus Jam in action? Join me this Saturday, April 28 for a livestream demo on the Fillmore Container Facebook page. I’ll show you how to make it from start to finish and will answer all your canning questions!
As I type, my living room windows are wide open to let in the light and air of spring (street noise and city dirt come along for the ride, but they’re a price I’m willing to pay at the moment). After what felt like an interminable winter, it’s such a relief to shuck off all the heavy, warming things for both clothes and foods that are crisper and lighter.
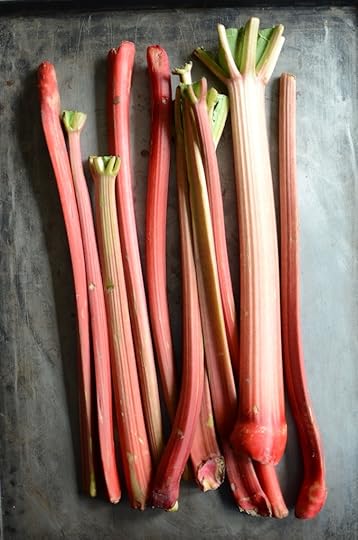
For me, the appearance of rhubarb is one of the most welcome signals that easier days are on the horizon. I spotted some while in Ireland earlier this month and kept my fingers tightly crossed that some would be waiting for me when I got home. And it was!
Earlier this week, I scooped up two and a half pounds at my local produce market. As he rang up my total, the clerk asked me if I was going to be making a pie. When I told him it was destined for jam, he seemed a little disappointed (perhaps he was going to ask for a slice?).

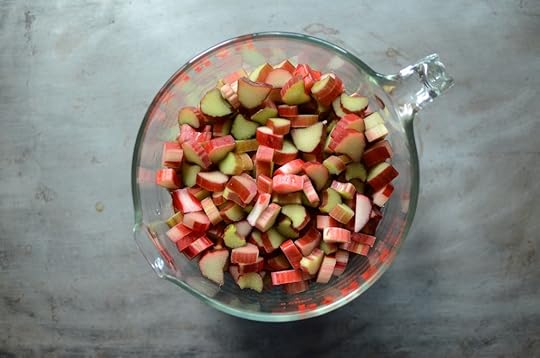
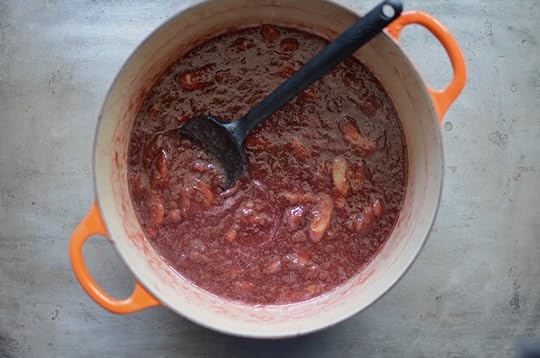
Once home, I cleaned the rhubarb, cut away the sad ends, and cut it all into half inch-wide slices. It filled my largest measuring cup, which felt just right in terms of the batch size I wanted.
In years passed, I would often combine rhubarb with a fresh vanilla bean, but because vanilla is so scarce and expensive these days, I reached for my jar of dried hibiscus flowers, instead. I had a feeling they would compliment the tartness of the rhubarb and would help enhance its ruby glow.
I combined most of the rhubarb with two cups of sugar and 1/4 cup of the hibiscus flowers (they went into my biggest tea ball, but cheesecloth would also work) and let it all macerate overnight.
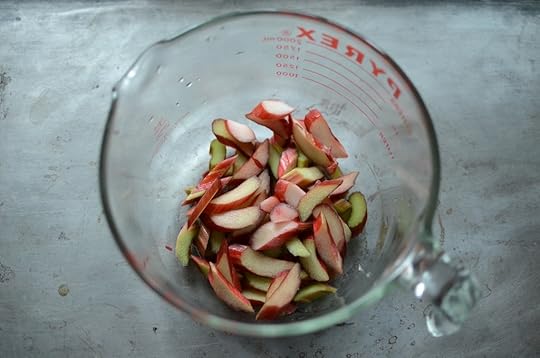
I held about 1/2 cup of the rhubarb back from the pot, to stir in at the end. Rhubarb collapses as it cooks and I wanted the finished jam to have some texture. By holding some back to stir in at the very end, you end up with a bit more elemental rhubarbness in the jam.
I did use a bit of Pomona’s Pectin to help bolster the set and help corral the runny juices. However, if you’re someone who prefers a softer set jam, you could leave it out.
For those of you who like to learn by seeing rather than reading, I will be demonstrating how to make this jam this Saturday (April 28, 2018) at 7 pm eastern time on the Fillmore Container Facebook page. I’ll walk you through the process, show off those gorgeous new amber jars, and will answer all your questions live.
Print
Rhubarb Hibiscus Jam
Yield: makes 4 half pints
Ingredients
2 1/2 pounds rhubarb
2 cups + 2 tablespoons granulated sugar
1/4 cup dried hibiscus flowers
2 teaspoons calcium water (from the Pomona's Pectin system)
2 teaspoons Pomona's Pectin powder
Instructions
Wash the rhubarb and cut away any bad spots. Cut it into slices that are about 1/2 inch in width. Measure out 1/2 cup of the sliced rhubarb and set it aside.
Take the rest of the rhubarb and place it into a pot. Add 2 cups of sugar and stir to combine. Tuck the hibiscus into a tea ball or a length of cheesecloth and nestle it into the rhubarb. Let it macerate for at least three hours and up to 24 (I did mine overnight).
When you're ready to cook, prepare a boiling water bath canner and four half pint jars.
Place the pot with the rhubarb on the stove over high heat, add the calcium water, and bring to a boil.
Cook, stirring regularly for 10 to 15 minutes, until the rhubarb starts to break down. If it's spitting, reduce the heat. Whisk the pectin powder into the remaining 2 tablespoons of sugar. Add this pectin-spiked sugar to the cooking jam in three stages, stirring well after each addition.
Finally, stir in the reserved rhubarb. Cook for an addition 1 to 2 minutes.
Remove the pot from the heat and fish out the hibiscus bundle or tea ball.
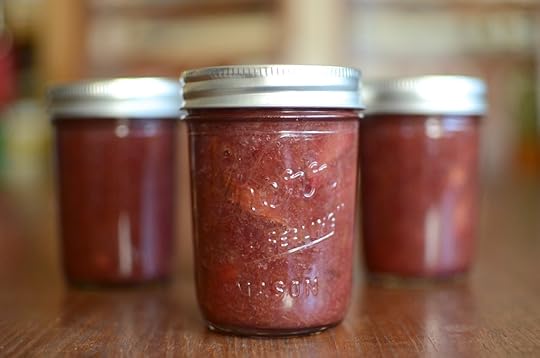
Funnel the finished jam into the prepared jars, leaving 1/2 inch headspace.
Wipe the rims, apply the lids and rings, and process in a boiling water bath canner for 10 minutes.
When the time is up, remove the jars and set them on a folded kitchen towel to cool. When the jars have cooled enough that you can comfortably handle them, check the seals. Sealed jars can be stored at room temperature for up to a year. Any unsealed jars should be refrigerated and used promptly.
4.26
http://foodinjars.com/2018/04/rhubarb-hibiscus-jam-fillmore-container-livestream/
Related Posts:
New Amber Jars from Ball Canning + Discount Code from Fillmore Container
Links: Stewed Rhubarb, Wilted Greens Pesto, and Winners
April Sponsors: Cuppow, Fillmore Container, EcoJarz, Mason Jar Lifestyle, and CanningCrafts
April 25, 2018
How to Grow Your Own Sprouts
Regular Food in Jars contributor Alex Jones dropped in today to share her experiences sprouting seeds! This is such a fun project. -Marisa

With the late onset of spring here in Philly, I’ve been craving fresh flavors and textures. Trying my hand at fresh, homegrown sprouts seemed like the perfect food project for April.
In order to get sprouts, you need to start with seeds. You can pick up bags of seeds and beans grown specifically for sprouting, like alfalfa, quinoa, adzuki, and others, by the ounce or by the pound. I ended up going for The Sprout House’s sampler pack, which includes about two ounces of 12 different kinds of sprouts, all certified organic, and followed their guidelines for home sprouting. I’ll spend the next few months cycling through all the different kinds to see which are my favorites.
Large, wide-mouth quart jars are best to use for this project. And since the jars of sprouting seeds need to be covered but allow air flow, I also picked up a fresh batch of cheesecloth. The one I got was a little more tightly woven than what I usually use — after trying it for sprouting, I’d probably stick to using a few layers of a cheesecloth with a more open weave in the future, just to make sure there are openings enough for drainage and airflow.
If you don’t want to use cheesecloth — the only drawbacks I noticed were that it’s not reusable and it will temporarily smell a little funky if you accidentally let it sit in water — there are a ton of special wide-mouth jar lids, like this one Marisa wrote about last year, to try out, too. And if you’re using cheesecloth, grab some snug rubber bands or sturdy kitchen twine.
The last piece of equipment I’d recommend is some kind of shallow, walled container, one for each jar, in which you’ll tilt your jars so the seeds won’t sit in standing water.
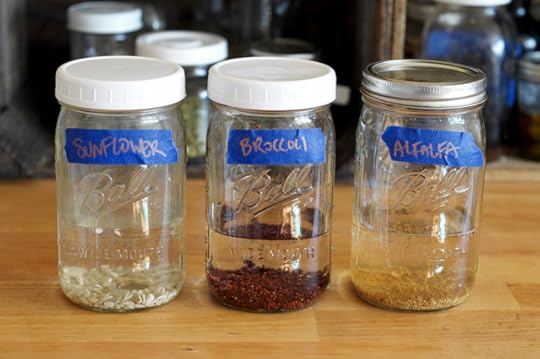
I selected three kinds of seeds from my sampler pack to start with: quick-growing broccoli and alfalfa and slower-growing sunflower (truth be told, my dream microgreen).
When you’re ready to sprout, pour a tablespoon or two of seed into your quart jars — what you see here started with 1 tablespoon of each kind of seed.
Before you soak, start by sanitizing your seeds in a 1:10 solution of bleach or hydrogen peroxide and water for five minutes. (This step is recommended by the FDA for home sprouters and required of commercial sprouters.) Then, drain the seeds and rinse them in fresh water three times.
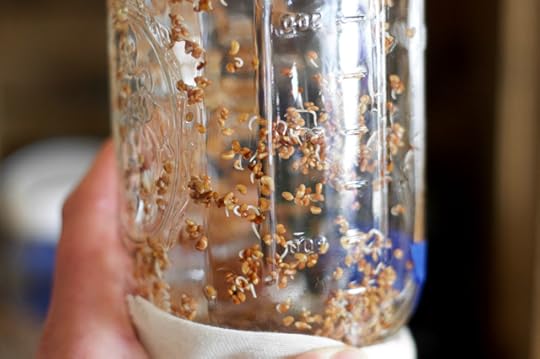
Once your seeds are sanitized, add water to submerge your seeds, then let them soak overnight. In the morning, drain your seeds, rinse them, and drain again so that no water will be left standing in the jar. Top with cheesecloth secured with a rubber band, or use a sprouting lid.
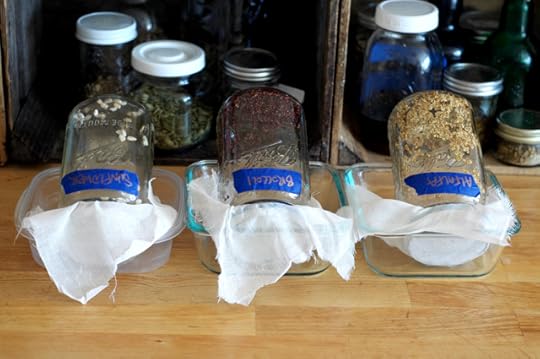
Here’s where those shallow containers come in. Place your covered jars of rinsed sprouts into the containers so that they’re leaning open-end-down, which will allow any excess liquid to drain out.
Rinse your seeds once in the morning and in the evening, being sure to drain them well and replace them leaning down in the container. Check the container before each rinse to make sure there’s no standing water accumulating in there, either.
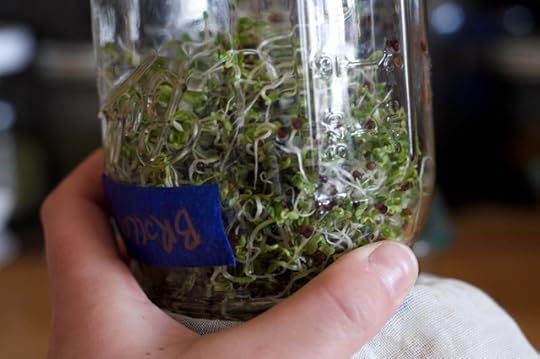
By day three of rinsing twice a day, I definitely had sprouting, as you can see in the photo of the alfalfa seeds with their tiny, just-emerging shoots.
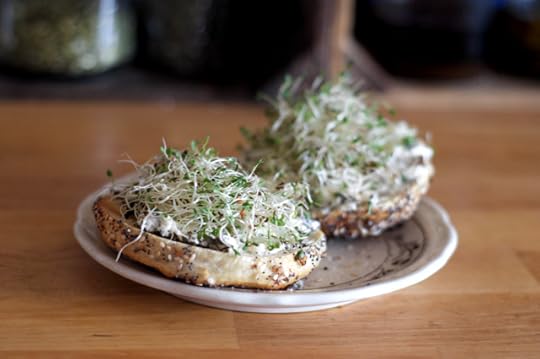
By day five, both the broccoli and the alfalfa sprouts were ready to eat. I transferred them to a fresh container with half a paper towel in the bottom and put them in the fridge. They were delicious on my bagel with some herbed fromage blanc this morning — crunchy, fresh, green, and nutritious.
Unfortunately, despite the same treatment, the sunflower seeds didn’t do so well. The Sprout House’s were hulled for easier sprouting, but I wonder if some of the seeds had been damaged or were otherwise not viable. Only a few sprouted, and the sprouts were small, not like the tall, juicy sprouts I buy at the farmers’ market. I’ll do some research and give sunflower sprouts a try again.
But for now, I’m happy to snack on my broccoli and alfalfa sprouts, which I’ll be putting on salads, sandwiches, toast, and tacos all this week — maybe even in a green smoothie.
Have you tried sprouting seeds before? What are your favorite ways to eat sprouts?
Related Posts:
How to Make Paneer Cheese
How to Make Beet Raisins
Getting Your Kitchen Ready for Spring
April 24, 2018
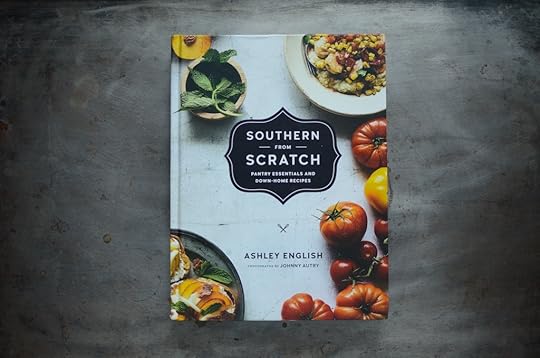
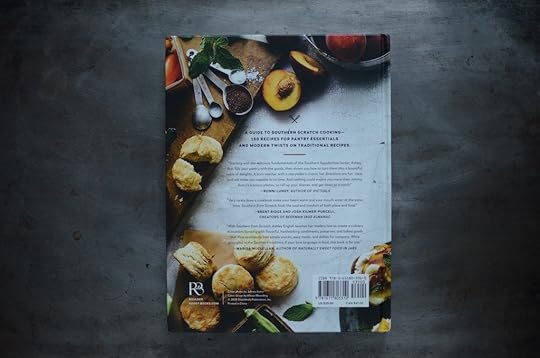
Cookbooks: Southern From Scratch
I have spent more than a few moments in my life wishing that I came from a place or background with a well-defined food culture. My culinary identity is a decided hodgepodge of mid-century Jewish cooking, hippie whole grain, and 1980s west coast home cooking. While the food that issues forth from these influences is reliably good and occasionally exceptional, it isn’t really grounded in place or culture.
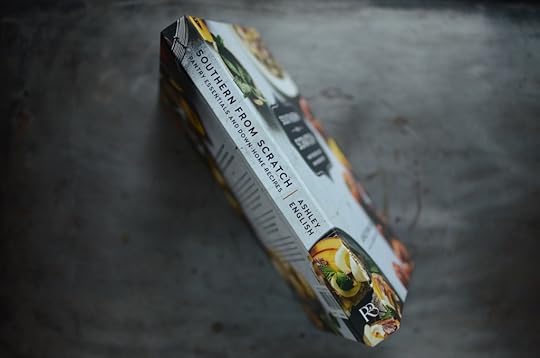
Because I feel culinarily untethered, I often find myself gravitating to cookbooks that offer insight and exposure to more rooted ways of bellying up to the stove or kitchen table. One such book that appeals to me both on this level, and on the preserving front, is Ashley English‘s latest, called Southern From Scratch.
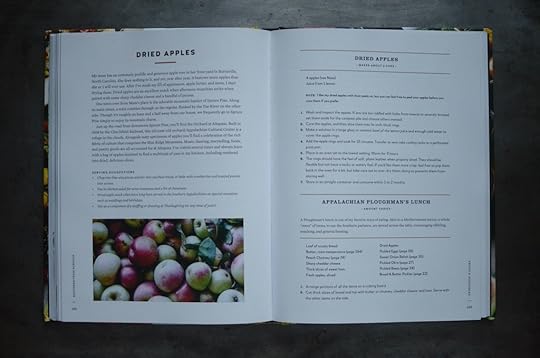
This is Ashley’s most personal book and it does a gorgeous job synthesizing her own food experiences with the Southern kitchen know-how taught to her by her mother, grandmother, and great-grandmother. Truly, from the moment you open up the cover, you feel like Ashley is there, guiding you along through the recipes.
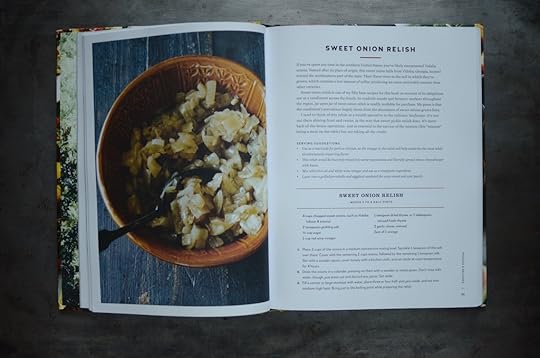
This book is organized by pantry category (Pickles & Relishes, Sauces & Vinegars, Fats & Meats, etc.). Within in chapter, you’ll find a collection of master recipes (depending on the chapter topic, you’ll find as few as four and as many as twelve). Each master recipe then has a couple-three sub-recipes, designed to help you make the most of it.
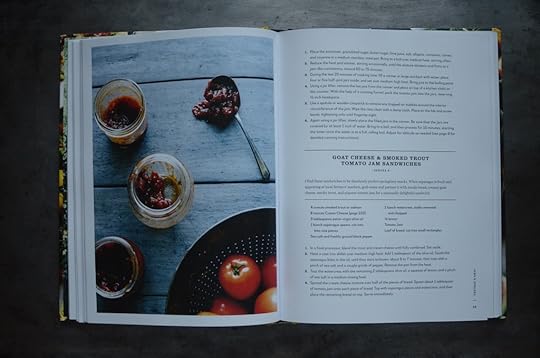
There’s quite a lot in this book that speaks directly to my preserve-loving heart. There’s the Sweet Onion Relish (page 35 – I’m forever on the hunt for the best onion preserve), Muscadine Jelly (page 71 – we get these for a brief window each summer), Chile Sauce (page 107 – this recipe has a particularly lovely headnote), and the Southern Shakshuka with Hoecakes (page 123 – this just sounds delicious).
I think you all are really going to like this book!
Related Posts:
Giveaway: Quench by Ashley English
Cookbooks: A Year of Pies
Cookbooks: Bring It!
April 23, 2018
New Amber Jars from Ball Canning + Discount Code from Fillmore Container
Curious about the new amber Ball jars? Use the code “BALL5%OFF” on Fillmore Container to get 5% off all Ball jars.
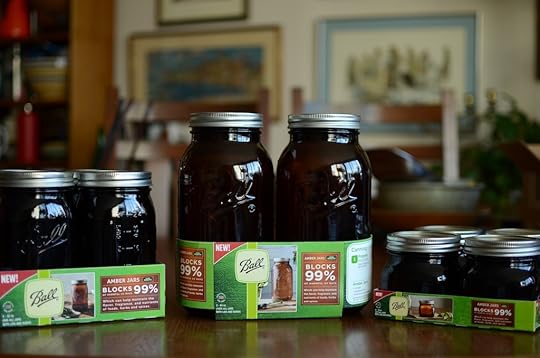
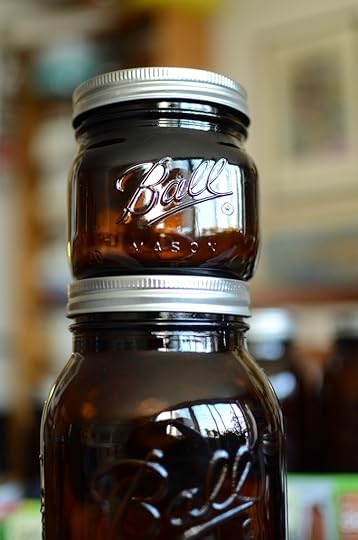
Spring is here! The birds are chirping. Daffodils are blooming. New-born lambs are gamboling. And this year’s line-up of specialty mason jars from Ball Canning are now available.
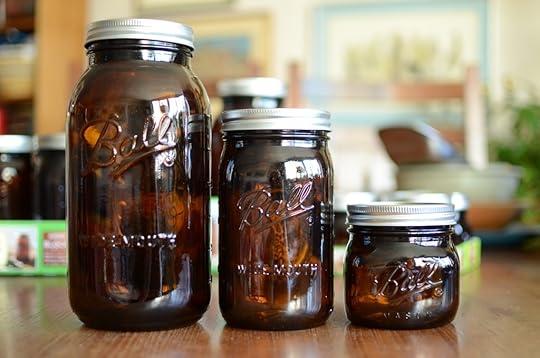
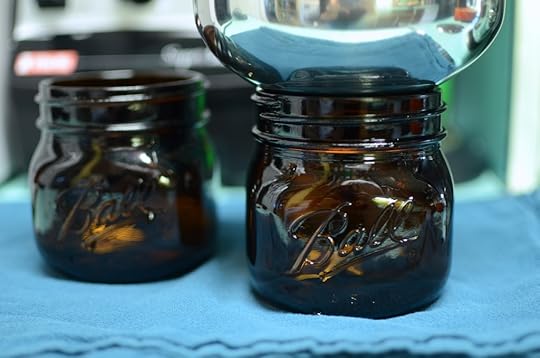
This year, these specialty jars come in three sizes (pint, quart, and half gallon) and are made of sturdy amber glass. Unlike previous colored jars, these amber ones are designed to block 99% of harmful UV rays, which can help maintain quality, color, and fragrance in preserves, dried herbs, and tinctures.
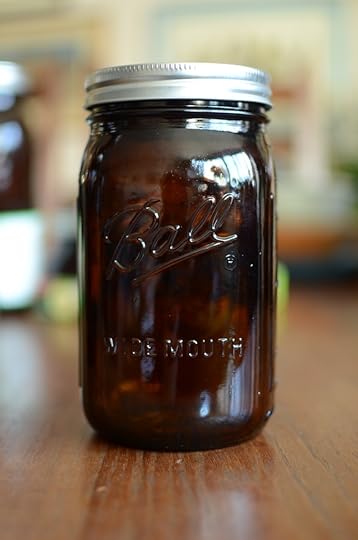
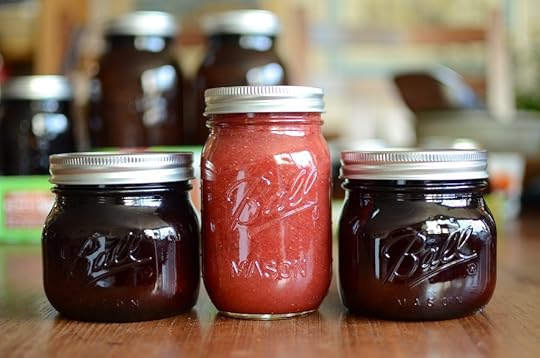
One thing I like about these jars is that they glass is so opaque that it doesn’t appear to discolor the contents of the jar, it simply conceals (unlike previous generations of colored jars, which left your preserves looking a little sickly).
I also appreciate how thick and sturdy the glass feels (while I haven’t pulled out a measuring device, I believe that the walls might be a bit thicker than in other Ball jars). The only downside to their opacity is that if you use them for canning, you really need to label the jars well, because you’re not going to be able to intuit the contents without opening the jar.
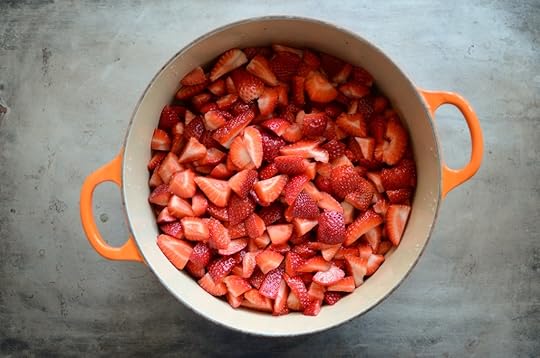
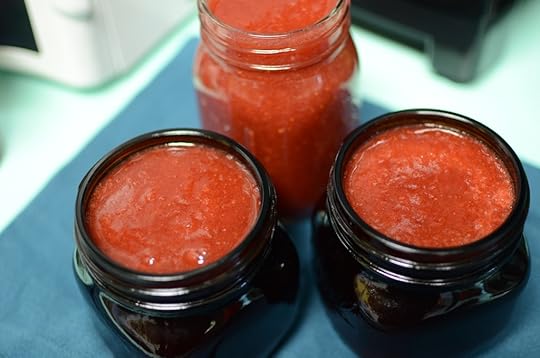
This week, I’ve teamed up with Fillmore Container, to show you how these jars perform in a canning situation and offer a discount code (read on!), in case you want to get some of your own. I cooked up a batch of this strawberry ginger jam and processed two of the three pints the recipe made in these new amber jars.
The reason I chose to use these jars for strawberry jam is that it’s a preserve that is notorious for its tendency to discolor, particularly if made with lower amounts of sugar. My hope is that six months from now, these jars will still be vividly bright.
Now, you might be wondering why I’ve teamed up with Fillmore Container to tell you about these new jars, rather than with Ball Canning. The reason is this. Ball isn’t selling jars or appliances directly to consumers anymore. If you’ve been over to Fresh Preserving lately, you might have noticed this.
However, Fillmore Container has one of the largest selections of Ball jars available online (and they are a family-owned company based right here in Pennsylvania), making it easy for you guys to get your hands on these jars.
This week, you can use the code “BALL5%OFF” to get 5% off all the Ball Jars that Fillmore Container sells. This coupon is valid April 23, 2018 through April 30, 2018. You do need to be logged into a user account on the Fillmore Container site for the coupon code to work (an account is free to set up) and the discount does not apply to shipping.
I definitely feel like these amber jars have a place in my kitchen and pantry and I’m happy to have them as an option. What are your thoughts?
Disclosure: Fillmore Container is a Food in Jars sponsor and provided the jars pictured in this post at no cost to me.
Related Posts:
Giveaway: Round Collection Elite Jam Jars (sponsored by Fillmore Container)
Giveaway: New Products from Ball Home Canning
April Sponsors: Cuppow, Fillmore Container, EcoJarz, Mason Jar Lifestyle, and CanningCrafts


