Renee Wilkinson's Blog, page 25
April 10, 2012
Our Homestead Plan
We moved into our homestead back in 2006 when it was just a blank canvas of lawn, with a couple old rose bushes here and there. After six years of major landscape changes, it's about time I got around to making a decent planting plan of the homestead.
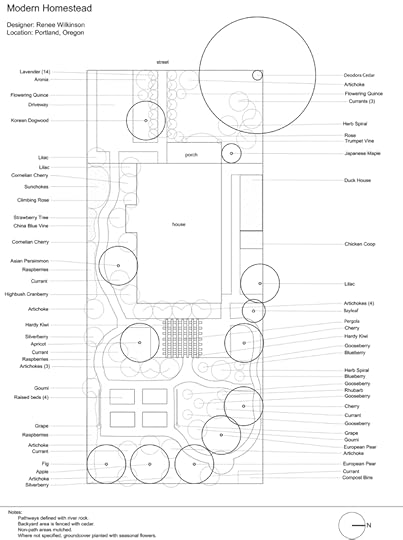 I used AutoCAD to create the above plan showing what we currently have growing on our 1/10 of an acre city lot. What isn't shown on the plan are the ground covers. We have flowering bulbs and tubers like crocuses, alliums, tulips, daffodils and irises. There are also swaths of lamb's ear, euphorbia and perennial herbs that I cut and divide each season to slowly carpet the ground. Any bare spots by late spring get filled in with vegetables like potatoes, squash, etc.
I've spent many long hours distracting myself with dreams of our perfect planting plan. Our homestead is filled with edibles, but this dream plan packs it even fuller. It is a real challenge to keep the plant palette small when you are a plant lover, so my list is a little too longer. However, there is still some good repetition to keep some sense of consistency in the garden.
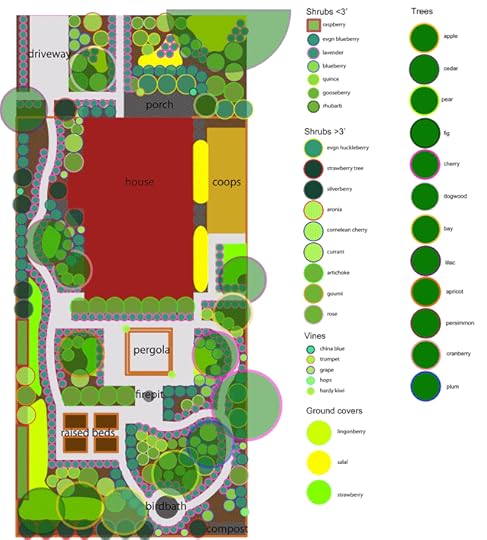 The above plan is harder to read, but created with Illustrator. Sadly, this is a plan that will probably never come to full fruition. It's fun to dream about, but I just don't see myself having an extra $2,000 bucks laying around to actually fill the garden out according to plan. That said, having a loose plan keeps me on track with a few things. It prevents me from picking up random plants at the nursery that are not already on my palette list. It also helps me know where to plant new additions as I get them.
I love the process of creating residential garden plans and pulling plant palettes together. Graduation from my masters in landscape architecture program looms on the horizon this June and I am looking forward to many years of creating beautiful gardens and landscapes.
April 5, 2012
Broody Duck
It turns out that wishing for a new baby is contagious on the homestead! Our runner duck Ramona has caught baby-fever and wants to hatch her own little ducklings. Poor girl is going to be very disappointed when she patiently waits and the stork doesn't arrive…
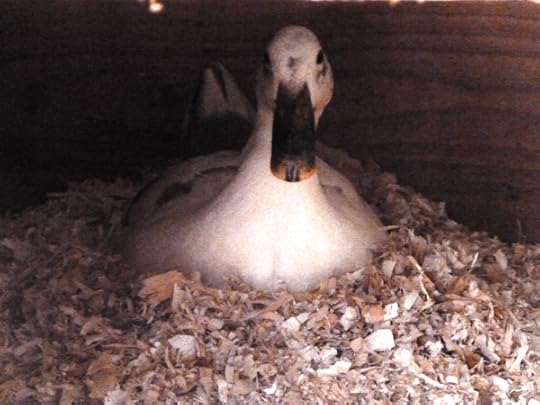 Typically, I peek my head out the window throughout the day to check on the ducks and chickens, whose coops are within view. I have noticed that Ramona (pictured below in foreground) has been absent from the pool parties and daytime naps in the run, but I thought maybe she was just busy laying eggs. Turns out that she has been busy keeping a little clutch of eggs warm inside the duck house.
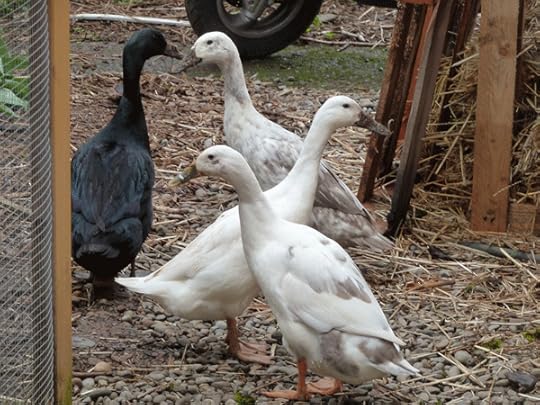 For those of you less familiar with the workings of farm animals, ducks and chickens will lay eggs regularly but they are unfertilized eggs (sort of like women having a menstrual cycle with their unfertilized eggs). You need a drake to get fertilized duck eggs and a rooster to get fertilized chicken eggs. Since we don't want baby birds – just eggs for eating – we only have girl ducks and chickens.
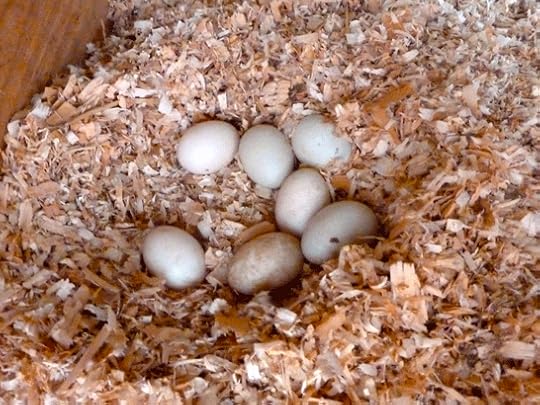 When chickens and ducks want to hatch eggs, it's referred to as going "broody". They will sit on the eggs all day and night hoping to hatch them. Sometimes you have to physically move the bird and keep her from getting back on the eggs.
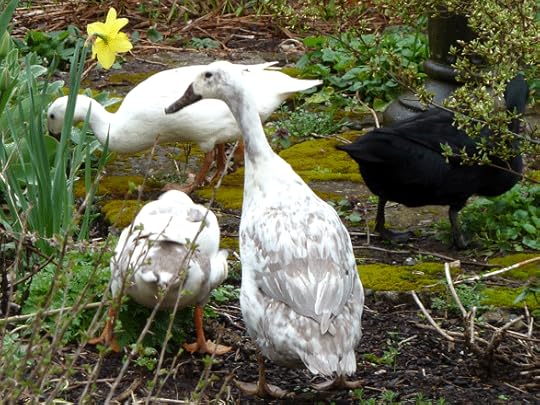 Ramona seems to be only halfheartedly trying to make babies. She leaves the duck house when I come outside and open the door. My strategy to break her of the broodiness is distraction – lots of opportunities to free-range, swim in a fresh pool party, and eating treats. I'm also hoping that collecting the eggs everyday will help. Being a blissed out new momma, I certainly can't blame the girl for her wishful thinking.
April 3, 2012
Spring Planting With Company
Seeds are officially in the ground! The beds were prepped last week and the soil is now warm enough for some early spring crops. I carefully mined my seed collection to dig out some of my favorite veggies to plant.
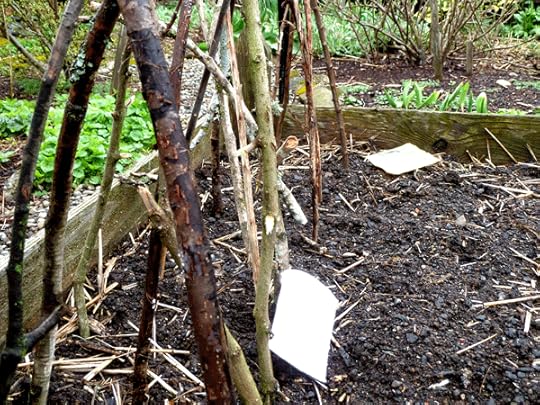
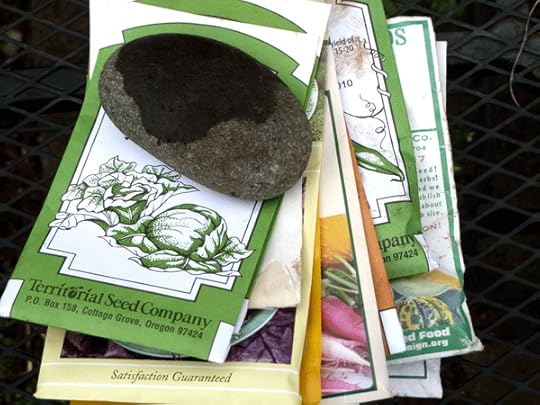 After an hour or so outside, I sowed snap peas, sugar peas, semi-bush peas, beets, spinach, broccoli and kale all directly in the raised beds. I decided to use some discarded branches from my seasonal pruning to trellis the peas this year – like mini teepees. It should add a nice rustic touch to the neatly planted beds. Bigger branches were saved for runner bean teepees that I will plant when it gets a bit warmer.
 This spring planting was a little different than years past because I had some company with me! Baby Juniper got swaddled up in a blanket, plopped into the baby carrier, and off we went into the garden to do our work. It takes her about five minutes to fall asleep from the gentle swaying as I walk around and work. But it was still fun to have her quietly there keeping me company as I worked.
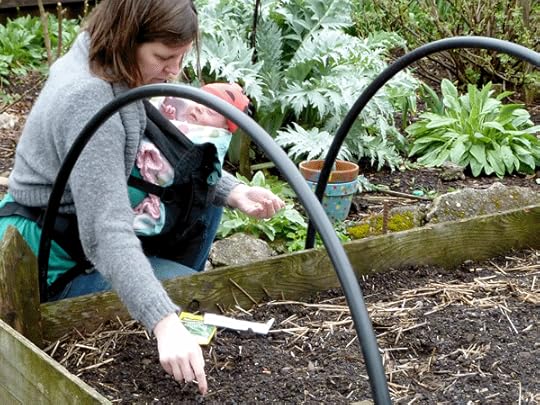 The season is underway on our homestead, even with baby in tow. It feels so good to know that the beds are all ready to grow. Now I just have to sit back and patiently wait for those tender green shoots to emerge over the next week.
March 30, 2012
Raised Bed Soil Prep
Soil is a complex web of life with billions of living organisms operating within its structure. Vegetables require a lot of nutrients to grow and thrive, which means they often deplete the soil over time. Early spring is the perfect time to check the health of our soil and get it into shape before planting.
 We moved back into our Portland homestead in December and who knows how the renters cared for the soil, if at all. The "structure" of the soil – that optimal mixture of sand, silt and clay – would probably be fine since it was perfect when we left. Soil with good structure will have a loamy texture and hold it's shape when you squeeze it. I worried more about compaction of the soil and depletion of organic matter.
Organic matter is compost – the stuff that all those beneficial micro-organisms munch on. It's their job to deliver nutrients to your vegetables, so it's important to keep them fat and happy. That way there will be more of them and they will work even harder! Every season vegetables will deplete that organic matter, so it's important to find a way to add it back in to keep the levels high.
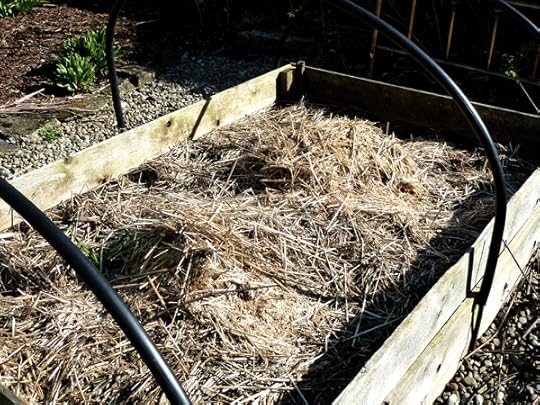 Compaction comes mainly from weather and time – rain pounds on the soil compacting it or things simply sink down over seasons. That makes it hard for the roots of plants to dig deep down. You end up with stubby carrots or plants that are less resilient to dry spells, since their roots can't dig down to get more water.
To help with compaction over winter, we covered the beds with used chicken and duck bedding, rich with nitrogen from their manure. I dug that into the soil this week to loosen things up, keeping the beds nice and fluffy. The bedding material is also mulch, helping to retain water within the soil.
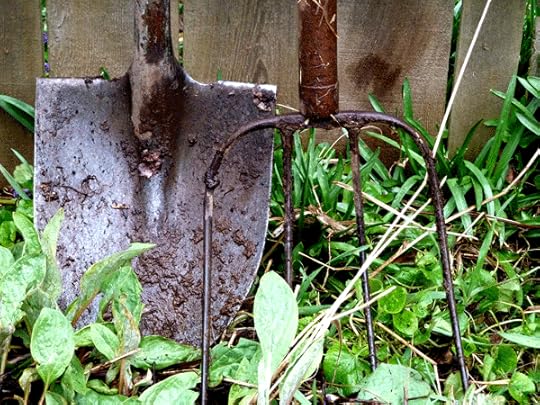
 I was thrilled to discover that the previous tenants were adding compost to the soil. As I turned my pitchfork, the soil underneath the bedding was dark brown and nutrient-rich. The manure from the ducks and chickens basically added frosting to an already delicious cake. Can you make that analogy when talking about manure?? Eh.
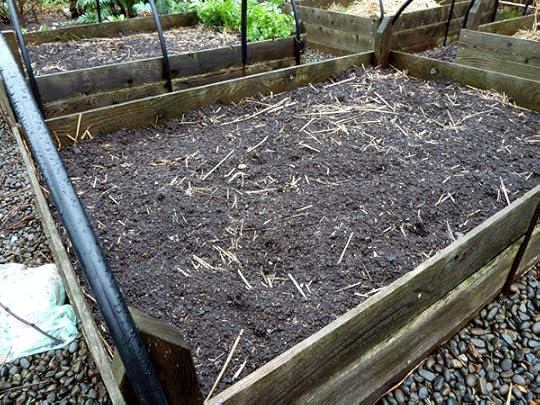 Nothing makes me happier on an early spring day than seeing beds prepped and ready for planting. We are primed for perhaps one of the best garden seasons yet! I can't wait to get planting.
Check out my earlier post on Making Good Garden Soil to learn all about ideal soil structure and building organic matter. While you're at it, I am guest blogging over at HandPicked Nation over the next few weeks! Check that out for some of my most popular posts on keeping ducks, bees and planning the garden.
March 27, 2012
Spring + Portland = Snow?
It is officially spring, but someone needs to update Portland of that fact. I couldn't believe my eyes when I awoke to snow last week! It's a rare occurrence to have snow in Portland at all, let alone this late in the year.
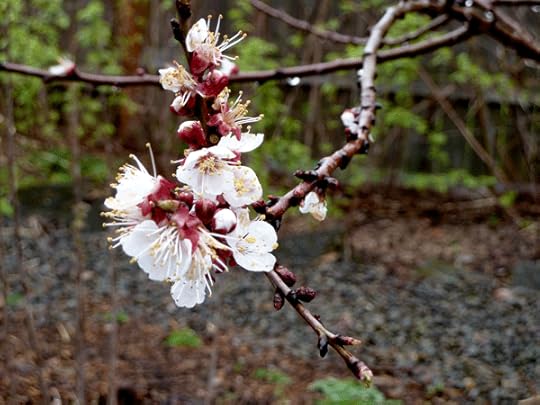
 The snow is not great news for early flowering crops. Ornamental flowers like daffodils and tulips can hang on, but early crops like cherries and apricots might suffer from the late cold snap. Our apricot tree still has it's blooms, but we'll see if we get any fruit.
 It turns out that my procrastination in planting veggies may have paid off! I had put off prepping the raised beds and planting them out for the season. If I had been on the ball, I probably would have lost my early lettuces and herbs under the snow pack.
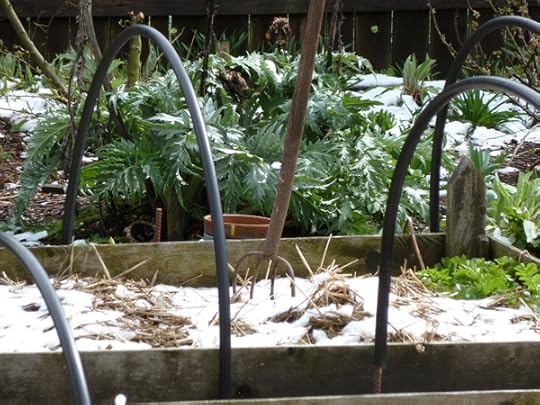 Hopefully that was the last unusual cold snap of the season. This week veggies are going in the ground and seeds are getting planted in open pockets of the garden. Winter, you had your chance! It's time to make way for spring to take over.
March 20, 2012
Gardening An Hour At A Time
Today is the first day of spring and the garden waits for no one! Juggling a newborn can easily put a cramp in gardening productivity, but gardening isn't just a hobby for me. It is where we get a significant part of the food that ends up on our table. The "stead" part of having a homestead means inside and out of our home is integrated into our daily life. Letting the garden fall by the wayside this season is just not an option for me.
 What is an option is how I garden this year. There are some corners I am comfortable cutting. For example, I am buying starts instead of growing everything from seed and picking reliable, productive varieties instead of experimenting with unusual heirlooms. The garden beds will still be full, but I'll get there a little easier than in past years.
 Another strategy I'm focusing on is gardening one hour at a time. Between breastfeeding and diaper changes, I don't have several hours stretches to tackle garden chores. Instead, I made a list of garden tasks and everyday I'm trying to get out for at least one hour to work on one thing at a time.
 Spring is upon us and the garden is waking up. Breaking down garden tasks into little "to-do's" makes our homestead a lot more manageable. Every time I'm outside, there is a little progress being made and that sense of accomplishment encourages me to keep chipping away at my list.
Make your garden to-do list and make a reasonable commitment to the garden this spring. Now get growing!
March 14, 2012
Rediscovering Spring
What is springtime through the senses of a newborn? Juniper is a tender two weeks old, so I'm guessing most of it is lost on her. She's focused on discovering the taste of milk, the smell of momma, the feeling of daddy's freshly shaven cheek. Nevertheless, spring is sprung and I have been introducing her to its wonders.
 One of my favorite early flowering ornamental flowers is Winter Daphne. You will get no fruit from this small shrub, but its intoxicating smell is (almost) enough to earn a spot in any garden. Placed by the front door, you will get a wonderful welcome home at the end of a rainy March evening.
 Juniper met Winter Daphne on our afternoon walk recently – how fun to watch her reaction when the sweet smell hit her senses! It was like a shocked "Whoa, what was that?"
 The gentle crocuses have popped up all over our garden, always one of the first signs of spring. They were planted years ago and have multiplied with neglect. I try to plant them along path edges and near our patio where we can easily admire their delicate blooms. I sacrificed one so Junebug could feel the soft, delicate flowers.
 Our flowering quince is just now starting to open its buds. The bright pink flowers will hopefully turn into heavy fruit this fall that I will use to make jelly. Around that time, Juniper might just be big enough to try some herself.
How fun that a new baby is giving me the chance to rediscover all of these tiny wonders of spring!
March 8, 2012
Kitchen Facelift
In our series of room facelifts for our tiny house, we did some simple changes to our kitchen as well. This room functions as a kitchen and dining space and is luckily one of the larger rooms in our house.
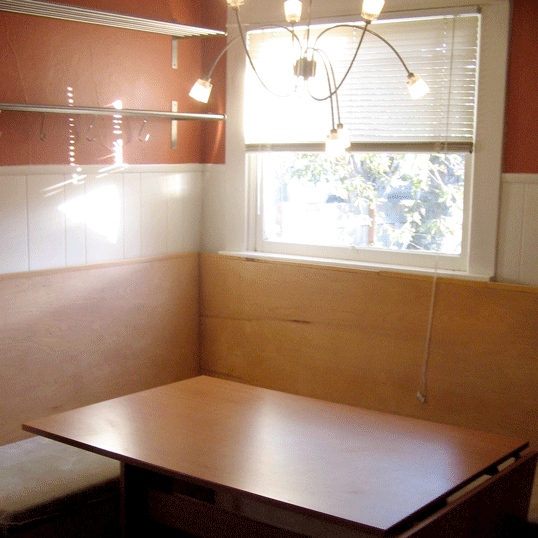 Before the kitchen had a funky light hanging over the dining area from Ikea, which has since died of unknown causes. We were repurposing a free desk as a dining table, which was slightly too low and you bumped against the legs getting in and out of the dining nook. And the wall color was a bold terra cotta.
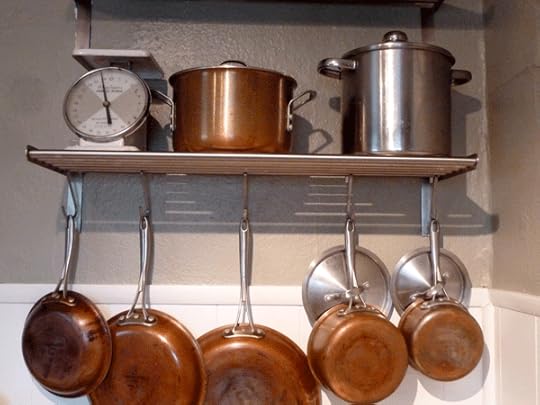 We started the facelift with color – lightening the room with Yolo Paint color Nourish 0.3. It's a medium grey with a nice, rich, earthy tone. Since there is so much cabinet in the room, going with a richer color didn't darken things. It really shows off the other colors in the room, like our well-used and loved copper pans that hang from the wall.
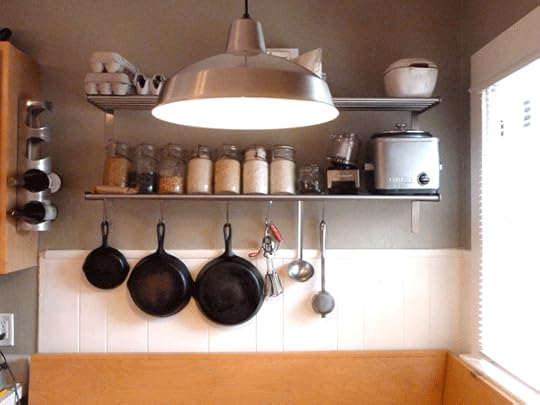 Years ago we put in these metal shelves from Ikea to add wall storage without taking up floor space. We decided to continue that metal accent theme with a really simple hanging lamp over the dining area. It has a vintage and somewhat farmhouse feel to me.
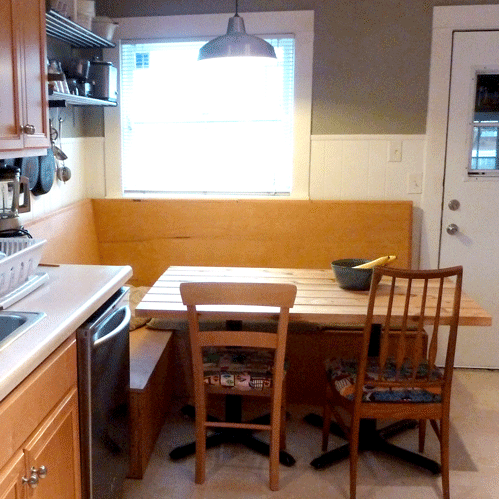 We ditched the office-desk-turned-dining-table and picked up a cheap table from Craig's List. The table is now at the right height and the two pedestals for the base keep your legs free from kicking it when you get in and out. We're planning to paint the legs the same color as the wall to make them less noticeable.
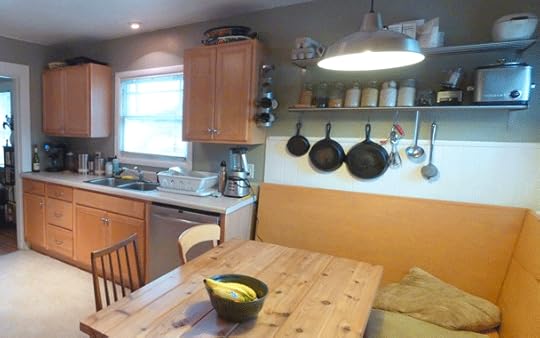 These were all relatively small improvements that have made a big difference in our kitchen space. The room feels crisp and clean with lots of storage – something you can never have enough of in the kitchen. Plus the neutrality lets the colors of yummy food be the star in the kitchen.
March 5, 2012
Welcome Baby Juniper
We welcomed our baby girl into the world on Leap Day! Her name is Juniper Carol Wilkinson and we call her Junebug as a nickname. She weighs 6 lbs 8 oz and everyone is healthy and recovering well.
 My labor went as smoothly as we planned. I woke up at about 1:30 am with contractions I couldn't sleep through. As things progressed, I slept or rested in between them as best I could. Our midwife team at Alma were fantastic – checking in by phone periodically and coming to the house to check on me. Jay alternated supporting me with my mom, which was nice since it gave them each a chance to feed themselves/pee without leaving me alone.
 I mostly labored at home, which felt the most comfortable to me. My body and Junebug worked in synch, never giving me more than I could handle. We went to the birth center around that evening and around 8 pm I got in the huge, glorious birthing tub (pictured above). I stayed in there, through transition and into pushing,moaning and grunting like a wild animal until our daughter was born three hours later.
Juniper was caught by one of our great midwives and Jay, who let her float up into my arms. It was wild, powerful, beautiful – all part of an incredible natural labor. We are so, so grateful to have that gift, since not everyone gets the birth they want – these things can just be out of our control.
 We rested for two glorious nights at the Alma birth center. Doulas work on rotation there, so we were never without help. They brought us meals, snacks, drinks, kept me clean and comfortable, helped with breastfeeding, and made a great start to our "baby-moon". Our experience with Alma has been consistently amazing, in case you are in Portland looking for recommendations. Picture above is the dessert they got us to celebrate her birthday.
 We are home now resting and will be for a while. There will be a post later this week about a final room facelift we did before labor – all part of that great nesting phase. Hopefully more posts will follow next week without too much delay. We have so many wonderful adventures ahead as our homestead expands!
March 1, 2012
Bedroom Facelift
Since returning to our Portland homestead, we have turned our winter focus inside to making our tiny house feel as comfortable and space-efficient as possible. We started with our narrow bathroom and Bug's nursery. Our nesting has spread to our bedroom now as well.
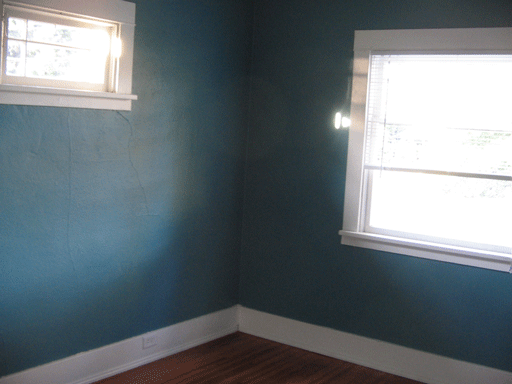 Our poor bedroom has a few challenges. Storage is an issue, as we only have one tiny closet. We also needed to find a home for hundreds of books since the second bedroom transformed from a library room into a nursery. The total room space is about 10′ x 11′ – tight!
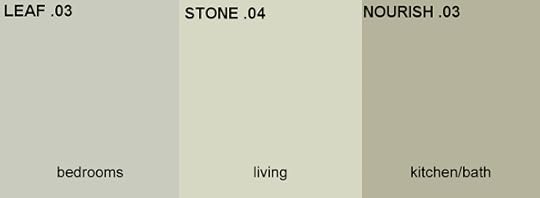 We started with paint color. We loved the strong, turquoise blue that we originally painted years ago, but we wanted to make the space feel bigger and more crisp. We choose Yolo Paint color Leaf .03 for our bedroom and the nursery, which in these rooms appears as a light gray with a hint of green. It makes every other color in the room stand out vibrantly with this simple backdrop and blends nicely with our other new interior colors.
Next we moved into three narrow bookshelves at the end of the room. This is not a choice for everyone, as it makes the room packed with furniture. However, you can move around them easily and we like waking up to a wall of books, or as we call them "our old friends." (See what happens when you marry someone with an English degree?)
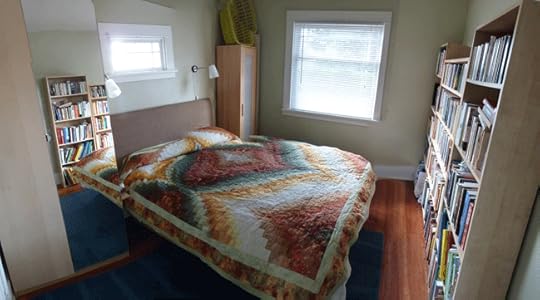 To deal with the closet storage issue, we purchased a huge, 8′ tall wardrobe from Ikea ($400). It's expensive, but it functions as a dresser and closet, with a mirror on one door that makes the room feel bigger. It sits on one side of the bed, with the other side having a tall chest of drawers.
We made a DIY upholstered headboard for the bed to soften that area between the wardrobe and dresser. It is really cozy to sit against for reading in bed, watching a movie on our laptops, or feeding the baby. The fabric has some nice texture, but is neutral enough to not look busy. The tutorial can be found here and the total cost was about $60 bucks.
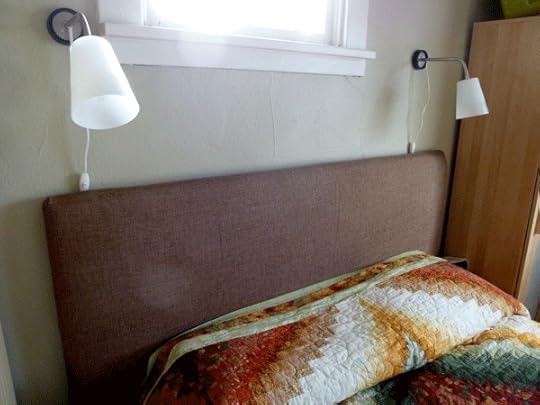 Lighting was an issue since we didn't have room for large nightstands. Instead, we bought these two wall lamps from Ikea ($15 each). That allows us each to have a light for reading or feeding times without taking up floor space.
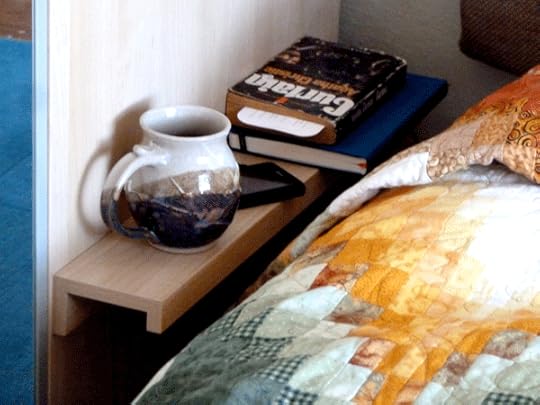 Finally, we needed a little place to set miscellaneous things: cell phone chargers, a cup of tea and a book (everyone reads murder mysteries before going to bed, right?). It was hard to find the perfect fit, but we stumbled upon these super-narrow shelves from Ikea ($15) intended to hold standing pictures. Instead, we purchased one long length, cut it to size, and turned it upside down so we aren't using the lip side. That gives us about 4-5″ of flat ledge space. We now each have a little ledge screwed into the wardrobe and dresser just wide enough for these little items.
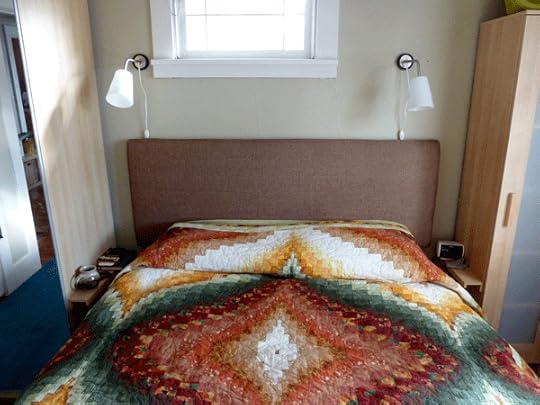 I don't think it's possible to get more storage or use out of this small of a space. There is a lot in the room, but keeping the furniture all a consistent light wood color, the walls a light grey and the clutter to a minimum has helped it feel like a cozy, tidy space. Hopefully this bedroom facelift gives you some ideas for your teeny tiny spaces!


