Renee Wilkinson's Blog, page 29
November 1, 2011
Molting Chickens
The chickens are looking a bit shaggy and disheveled, which means it's that time of year: molting time. Molting is the process chickens go through of shedding feathers and replacing them with a new, fluffy coat. They are never completely featherless, but rather they lose feathers and regrow them in patches.
 The temperatures dipping are a signal to the girls that winter is around the corner. Chickens can handle quite chilly temperatures in large part due to their winter "down" coats. They fluff up their feathers a bit to make room for pockets of warm air to sit near their skin. A new, thick coat will ensure they have enough padding to stay toasty.
Extra feathers scattered in the run are my cue that it's time to prep them for colder weather. I'll start throwing in some extra scratch every morning to give them more fat. They burn through it when they are working to stay warm. I don't want fat chickens – that's not healthy for them – but a little more meat on their bones will help keep them warm.
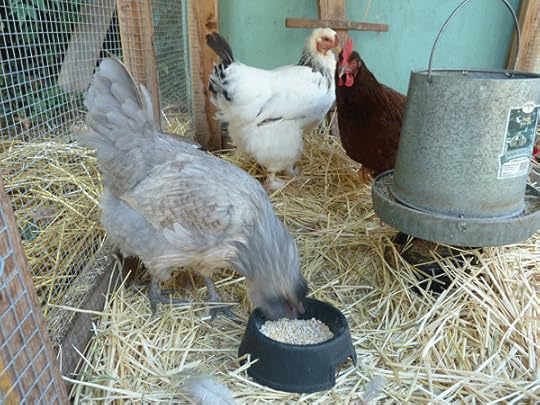 We have had a gorgeous fall so far – blue skies, sunshine and crisp leaves. But one of these days fall will catch up with the northwest and the rains will come. Think about how it feels to ride your bike in different weather. Riding in the rain when it's warm is no big deal. Riding in the cold when it's dry, we can handle. But riding in the cold and rain = miserable.
Along those lines, keeping the chicken coop dry and full of extra bedding will help them stay comfortable when it's chilly and wet outside. If you have a leaky roof on the coop, get out there and fix it now before the rain really sets in. Preparing for the wet and cold now means you can rest easier this winter knowing your ladies are toasty in their coop.
October 27, 2011
Chicken Mites: Yikes!
I've been keeping chickens for several years now and have always counted myself lucky that I never had a run in with mites. Up until this summer, I had never lost a member of our flock to an animal attack. Losing one of our ducks to a raccoon earlier this summer was the first sign that my excellent track record was about to hit some reality speed bumps.
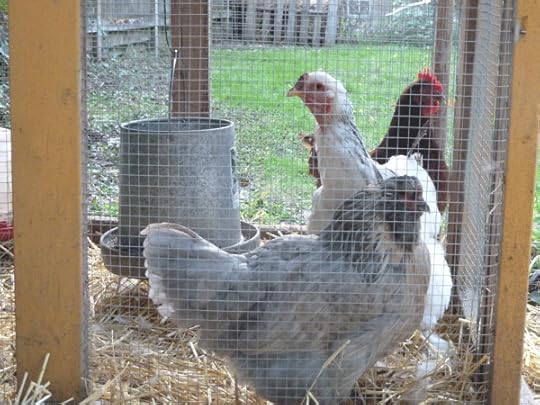 Mites are disgusting creatures and I learned way too much about them when I was doing the research for my book. They are iddy bitty external parasites that grab onto the skin of our beloved animals and feed off them. They are similar in that way to lice and fleas. Keeping your coop clean and dry, providing an area for dust baths and doing an annual deep clean with vinegar will decrease your chances of having to deal with mites. But sometimes, like in my case, that isn't enough and they eventually find your flock.
The tip off that something was wrong with my flock was due to a decreased production in eggs from all three of the chickens around the same time. There were not other factors going on, like extreme heat. Decreased egg production is almost always a dead giveaway that something is up with the flock. So I picked them up one by one to inspect them. Mites are hard to see, but they look like really tiny dots on their skin.
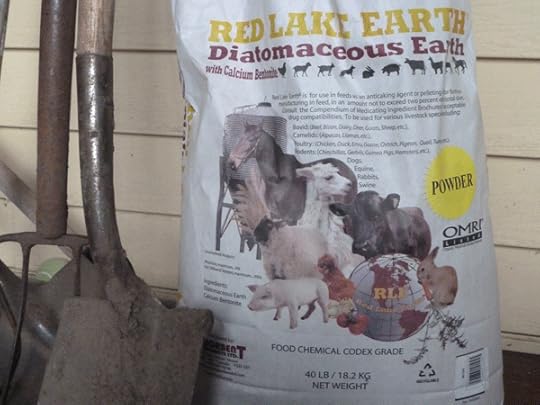 I count myself lucky that the girls were not over run with them. I had to look in multiple places all over them to find a spot with a sprinkling of mites. After the discovery, I immediately hopped on the scooter and headed to the feed store. I picked up a huge bag of diatomaceous earth that I put between the floorboard of my scooter and drove home with. Diatomaceous earth is a natural, organic product consisting of sedimentary rock pounded into a powder that basically dries out pests like mites, eventually killing them.Look for "food grade" DE if you ever need to use it on your flock.
[image error]Normally I do a deep clean on their coop and henhouse twice a year with vinegar, a natural antibacterial. But in my desperate haste to protect my flock, I used bleach. I scrubbed their hen house – walls, floor, ceiling, nesting boxes and especially their roosting bar. I let it dry and then dusted the surfaces with DE.
It's been several weeks now and I have not seen any traces of the mites. But once mites move into a site, it's really hard to get rid of them forever and ever. So I'm using DE now as a precautionary method, like many other chicken-keepers I know, by sprinkling it in their dust bath areas once a week. They may have snuck in under my nose for a couple weeks, but their free meals are over on this homestead.
October 25, 2011
Visiting New Chicken-Keepers
Recently I had the pleasure of visiting the backyard of Brian and Tara, thirty-something parents who just started keeping chickens. They used the standard sized chicken coop plans from my book Modern Homestead to come up with a variation that would work for their backyard. It was really cool to see what a basic plan and a little imagination can come up with.
 The modifications they made were fairly slight. The hen house portion is not quite as tall and they left a gap toward the top, lined with wire, for increased ventilation. As with most new coops, I heard the familiar "it's not totally done yet…" line that we've all muttered before. They still have a coat of paint to add, but I think it looks great already.
[image error]As life can be on the modern homestead, they've run into a few bumps along the homesteading road. After raising four chicks, one ended up being a rooster who had to be rehomed. It looked to me like one of their other chickens, a Brahma named Roseline, is actually Ross. Not great odds to have 50% turn out to be male chickens when you bought them sexed. Usually your odds are more like 25% that will turn out to be roosters. My advice was to wait until they hear him/her crow for sure. If the chicken is indeed a rooster, he will surely get the hang of crowing and let the world hear it soon.
Brian and Tara are avid homebrewers and use the leftover grain from their brewing to feed the chickens. The flock has access to regular layer feed, but it sounds like they go ga-ga whenever the spent grain comes out. The chicken manure has resulted in an active compost pile and they are working on raised beds to use the finish humus come springtime. Funny how one step always seems to lead to another!
I always enjoy the chance to peek into the backyard of my friends and neighbors, whether they are homesteading pros or newbies. It's a chance to swap stories and remember just how far I've come on this rocky road.
October 19, 2011
Early Fall-Coloring Trees
The trees are telling us that autumn is upon us! I wanted to share a few of my favorite ornamental trees that put on a great, early fall show. They are not edible, but could still have a place on the modern homestead along streets and driveways, where you don't want fruit falling. The native trees will offer some value to wildlife and others are nitrogen-fixers.
 American Yellowwood, Cladrastis lutea, is one of the earliest trees to turn in the fall, starting as mid-September as a green-yellow (pictured above) and eventually reaching a strong golden color. The bark is a graceful light gray (lovely in winter), is a slow-growing tree (good for the garden), and produces small, fragrant flowers in the spring. American Yellowwood is native to the Appalachian area and a nitrogen-fixer, earning it's keep on the homestead by fixing the soil for plants growing underneath it. Use it to fill in those shady to part-shade spots in your garden and under plant it with nitrogen-lovers.
 Next up is a plant native to Japan that does well here in many parts of the US: Katsura tree, or Cercidiphyllum japonicum. This tree offers simply great fall color with leaves that look like little gold coins. It begins to turn early in the season and the dried leaves smell like cotton candy. Katsura is not a great contender for a street tree because it wants some good soil and moisture, but can be a great addition if you have a corner to fill with a beautiful ornamental. Imagine tending your autumn garden with the sweet smell of Katsura's dried leaves filling the air. Ahhhhhh….
 Ashes are early fall-coloring trees that are versatile and hard-working. They are often hardy enough to use as street trees, have great fall color and produce a delicate look with their thin leaf texture. I particularly love them planted in front of a huge tree with big leaves, to show off their fine texture even more.
 The variety pictured above and below is an American White Ash (Fraxinus american), but Green Ash (Fraxinus pennsylvanica) and Flame Ash (Fraxnius are also great choices. American White Ash will give you gold color with hints of red and purple. Green Ash will give you mostly strong yellow color. And Flame Ash puts on a wild show with orange, red and purple colors. Cultivars of all these ashes will give you wider ranges, stronger and earlier colors.
 These are all my favorite early fall-coloring trees, but I have a soft spot especially for the Pacific Dogwood, a native to the NW. You get lovely white or pink flowers in the spring around May and a rainbow of colors in the fall. Pacific Dogwoods have turned red, orange and purple all over town already. This particular Dogwood does not produce fruit (see instead Korean Dogwood, or Cornus kousa), but it is a native with spectacular fall and spring interest. Hard to find a great tree that puts on a show both seasons.
[image error]This is my favorite season of the year and you will find me walking down the streets with a scarf around my neck, head pointed up in the air toward the fall trees. Hope this helps you pick some new additions that will put on a show for you next year.
October 13, 2011
First Mushroom Foray
I enjoyed my first foray into the world of mushroom hunting recently. Mushroom hunting has been on my "to-do" list for a few years now, but I can never afford the fancy, all weekend workshops that happen around the NW. Some day I will take those great classes, but for now I'm riding on the coattails of a few good friends.
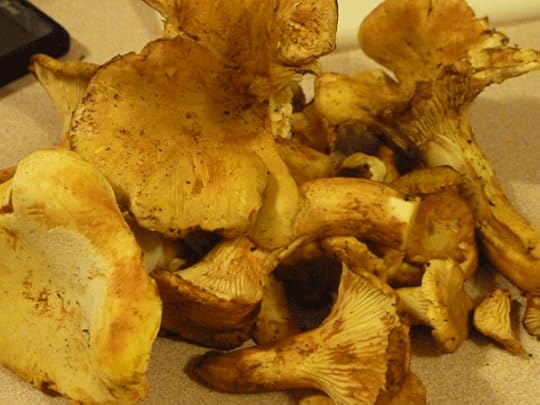 My friend Colin has been picking mostly chanterelles on the coast for a couple years and we decided to venture out together for the hunt. We hiked near Oakridge on one of those uncommon sunny afternoons recently and made our way into some nice old growth forest. Chanterelles, from her experience, like moist, mossy forests where Doug Firs are growing.
After a brief stop at the always welcoming Brewer's Union, we made our way home with a small bag full of mushrooms. I was so eager to cook them up, but don't actually have a lot of experience with wild mushrooms. They always seem too rich for my blood at the farmer's market.
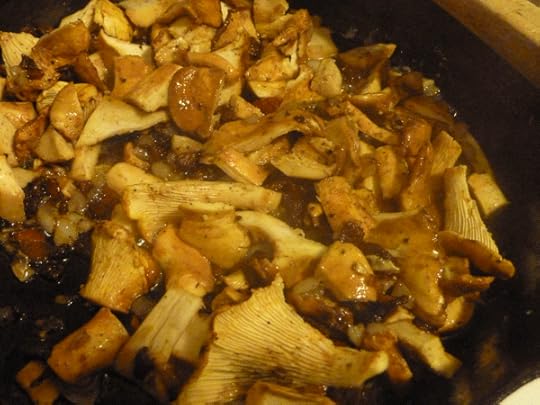 I did some poking around and found a great recipe here for a creamy chanterelle pasta dish. I made some slight modifications to simplify it a bit and here's basically what I did:
Cook 2 T. butter and two slices of diced bacon in a cast iron skillet over medium heat. As it starts to crisp, add one chopped shallot.
When the shallot is soft, stir in 1/2 lb. roughly chopped fresh chanterelles. Saute until they render their liquid. Meanwhile, start cooking 1/2 lb. bowtie or curly pasta.
Start adding one pint heavy cream (oh yea…) slowly and bring to a simmer. When the pasta is almost done, add one cup of frozen or fresh peas to the sauce and let it simmer a couple more minutes.
Toss the drained pasta with the sauce and add in 1/2 c. parmesan cheese.
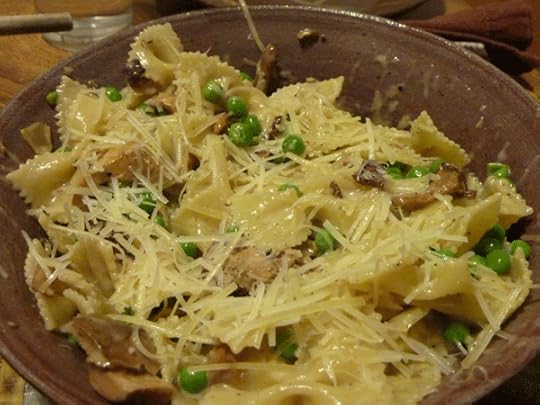 Hot damn, that was a good dinner. We added a big Caesar salad to balance the richness of the pasta dish and was enough to stuff two people with enough for lunch the next day. It convinced me that I definitely need to get back out on the hunt again this next weekend. Having a delicacy like chanterelles right at your fingertips, and all you have to do is hike around for them, sounds like the perfect way to spend my fall mornings.
October 11, 2011
Dog Attack = Chicken Dinner
My chickens have never been great jumpers, probably because they are fairly lazy and spoiled. My neighbor's chickens, however, are expert jumpers. It's not uncommon for them to hop the fence into our yard to hang out, but lately they have started hopping their back fence into the nearby alleyway.
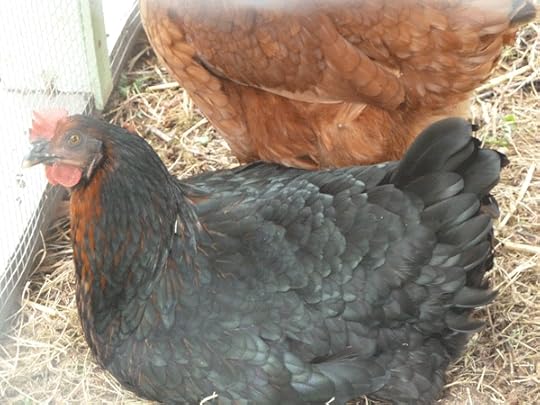 Tragedy struck last week when one of my neighbor's beautiful Black Sexlinks hopped the fence into the alley. A neighborhood dog was running around off-leash and attacked the bird. It happened so fast that my neighbor didn't have time to react. The bird died immediately.
I got a knock on my door a few minutes later from my neighbor Jesse asking what we should do with the bird: bury it or eat it? The dog was not rabid, so I did some internet searching and didn't see anything wrong with eating it. So I grabbed my sharpest knife and went next door.
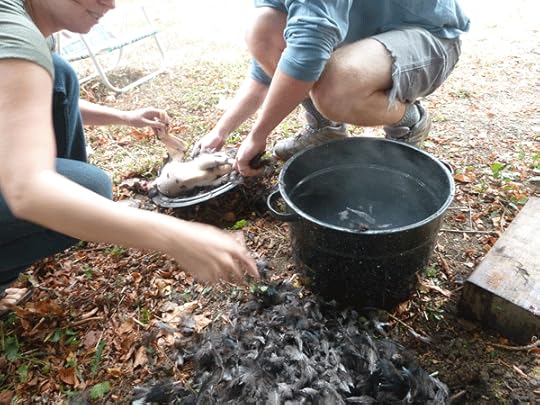 In their backyard we de-feathered the freshly killed bird. You can find step-by-step instructions on how to properly butcher a bird here, but basically it involved dipping the dead bird in near-boiling water for about 30 seconds, then pulling the feathers. It wasn't until all the feathers were gone that we could even see the bite marks properly.
[image error]After the bird was cleaned and rinsed outside, it was time to clean the bird inside. Working at a different station, on a clean cutting board with a clean knife, I gutted the bird. It's the first time I've butchered a bird with a full crop and gizzard. Usually you don't feed a bird about 24 hours before butchering them to keep things easy and cleaner. Everything went smoothly though – just a way bigger, fuller crop than I've ever seen.
We dipped the bird in a bowl of salt water for a couple minutes to wash out the bite wounds and insides, then rinsed the body inside and out with fresh, cold water. We bagged her up and she went immediately in the fridge until it was time to make dinner that evening.
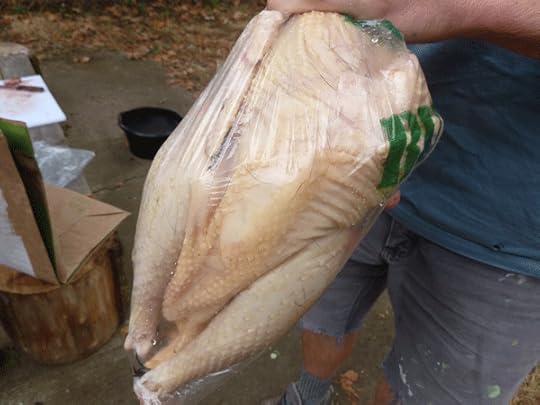 I remember talking to a farmer once who raised meat animals, but got teary when he had to put his milk cow down. You form a different relationship with your livestock when they are raised for butchering vs. raised for a commodity like milk or eggs. And I think Jesse felt a little of that mixture of emotion as we ate the chicken later that night for dinner. We all felt just a bit more appreciative of the free-range, locally raised, organic chicken roasted before us.
October 6, 2011
Saucy Canned Marinara
My cupboards are generally stocked with homemade, canned marinara sauce. It makes my life sooooo much easier on busy nights to pop open a jar, throw it in with some pasta and call it dinner. The marinara sauce I make is also great on pizzas, which we have about once a week. It takes time and love, but pays off big time come winter.
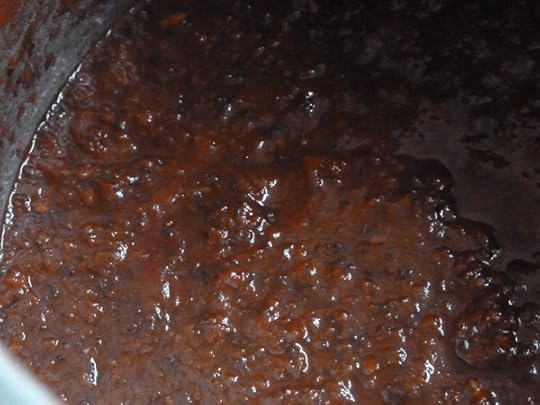 The recipe is featured in my book Modern Homestead, but I wanted to post the actual recipe here so everyone can enjoy. I know we are all looking for new recipes, especially at this time of year when the harvest is coming to a close. It has a ton of familiar ingredients that creates a rich, complex, and slightly sweet sauce.
Also, you might need to work between two stockpots to fit everything, since this makes about seven finished quarts. Just divide the ingredients in two among your stock pots.
Saucy Marinara
30 pounds tomatoes
4 onions, chopped
4 cloves garlic, chopped
2 c. dried basil
1 c. honey (use less based on your sweet preference)
2 bay leaves
3 T. dried oregano, parsley, thyme
3 T. salt
2 tsp. pepper
1 tsp. cinnamon, nutmeg
2 tsp. vanilla
7 tsp. lemon juice
Step 1: Peel and core the tomatoes. That means working in batches to drop them boiling water for about 30 seconds to loosen the skin, then plunge in ice cold water. The skin should peel off easily. Blend the tomatoes to make a puree.
Step 2: Ladle some puree into your stock pot and dump in the onions and garlic. Saute for about five minutes, then add everything else except the lemon juice. Bring to a boil.
Step 3: Simmer the sauce until it reaches a consistency you like. Personally, I like a thick sauce, so it takes me a couple hours to get it simmered down enough. I usually watch a movie or do some big house chores in the meantime, checking on it to stir occasionally. As it gets real thick, watch it closely so the bottom doesn't burn.
Step 4: Add 1 tsp. lemon juice to each of your sterilized quart jars. Then add the sauce leaving about one inch of headspace. Clean the rims, adjust the two-piece caps and place in the hot-water bath canner. Process the quarts for 45 minutes.
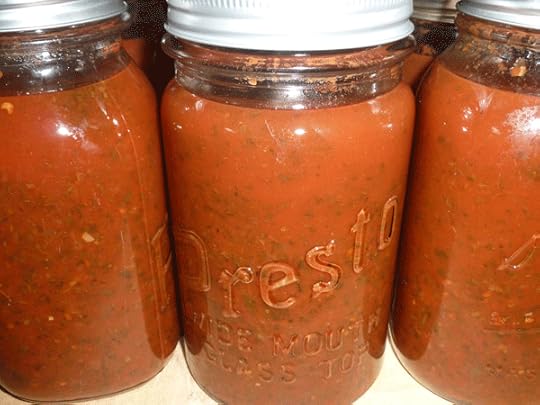 You might end up with enough leftover sauce to can up some pints. Just use 1/2 tsp. lemon juice in those and 1/2 inch of headspace. Pints can be a nice size for households with one or two people. It's also a good size when you just need enough for pizza, rather than a big pasta dish.
It takes time to make a good sauce, so plan accordingly. But the payoff is rich – the hard work is all done ahead of time and the end product is delicious. Hope you enjoy and happy canning!
October 4, 2011
Simple Canned Tomatoes
The first frost of the season waits for no one! I can't use grad school as an excuse to delay the coming cold season, so I've been spending some early mornings and late evenings in the kitchen processing tomatoes. When I don't have time to make a big batch of sauce, I am canning them simply on their own.
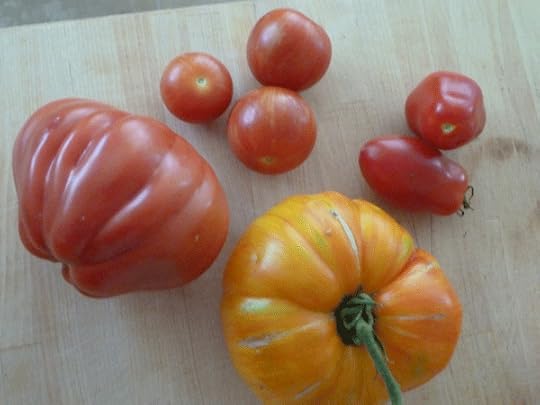 Canned tomatoes in their own sauce are easy to make and versatile to use all winter. You can pop open a jar and throw into warm chili, soups and stews, or simmer down into a sauce when you need it. The basic process is the same, regardless of how many quarts you decide to can.
Sauce tomatoes will work best, as opposed to cherry or slicer tomatoes, because they have small cores, low water content and are meaty. That means you get a lot of thick tomato taste without excess water. I like to throw in an odd yellow or orange tomato with my red ones to add a little color in the jar. You will need about three pounds of tomatoes per quart.
Working in batches, drop the tomatoes into a pot of almost-boiling water. Let them sit for up to 30 seconds – it could be as short as 10 seconds. The trick is to just soften the skins, but not cook the tomatoes. Throw them into a bowl or sink of ice cold water. Gently peel the skin off and core. If the skin is not loosened enough, throw them back in the pot for a few more seconds.
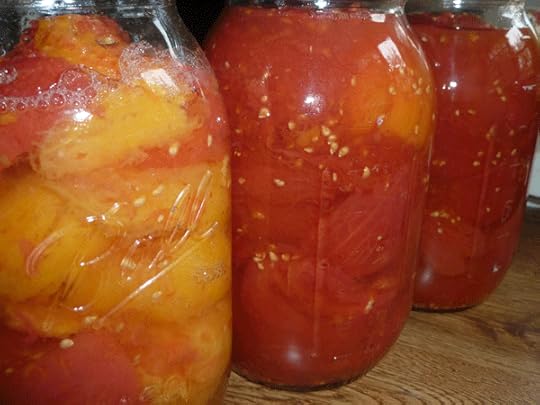 Have your warm, sterilized quart jars at the ready. Drop in 2 T. lemon juice into each jar, just as a safety measure to ensure the acidity level is high enough. Now stuff each jar with skinned tomatoes, pressing down on each one to mush them up and let their juices out. As you fill the jar, you should have enough tomato liquid squished out to cover the fruit. Leave 1/2 inch of headspace. Clean the rims, adjust two piece caps. Place in the hot-water bath canner.
Process the quarts in the hot water bath for about an hour and a half. A long time, I know. But those suckers need to get hot. When they come out, you should hear the "pop" within 24 hours. Tuck them into the cupboard and use as needed.
October 3, 2011
Rustic Applesauce
Fall is the season of preserving and it's high time I start sharing what's been simmering in my canning pot. We can't seem to have enough jars of applesauce in our cupboard, so I've been cooking up batches for the past couple weeks. It's a great snack, breakfast, and dinner side dish. Applesauce is also fairly simple and easy to can.
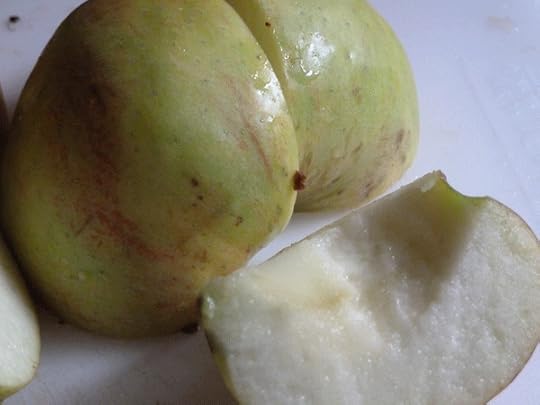 You can use almost any type of apples to make sauce. I generally don't use fancy varieties because I think the delicacy of flavor can get lost in the sauce. So I generally use ones for baking (Golden Delicious, Granny Smith, your neighbor's random tree), and leave the fancy varieties for eating fresh. Here is what I used for a batch of seven pints:
10-12 lbs. apples, cored and roughly chopped
1 1/2 c. brown sugar
3 T. cinnamon
The process is really straight-forward. Throw the apples in a huge stock pot with a little water – just enough to prevent the bottom from burning. Simmer everything down until the apples loose their shape. The trick toward the end is to stir often, since the thicker it becomes the more likely it will burn on the bottom.
 Use a masher or immersion blender to help the apples fall apart and reach a good chunky consistency. I use this hand blender thing that I scored from an estate sale at some point. I love using these old kitchen tools. They have a memory all their own.
When it's reached a good consistency (anywhere from lump to smooth depending on your preference), stir in the brown sugar and cinnamon. You might add the brown sugar in increments of 1/2 cup, tasting until you get the sweetness you like. If you like nutmeg, add a bit. If you want to use honey instead of sugar, go for it.
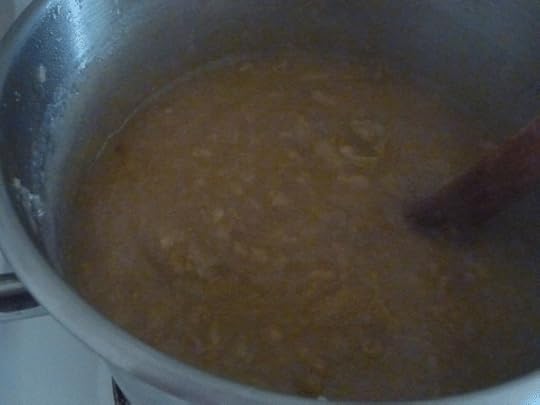 The apples do not need to be skinned beforehand. If you are okay with strips of skin in the applesauce, you should be just fine. If that clash of textures weirds you out, just use an immersion blender when the sauce is finished to really make it fine. You can also use the blender to puree in batches, but careful to avoid burn. The sauce would need to be reheated before it goes in the cans.
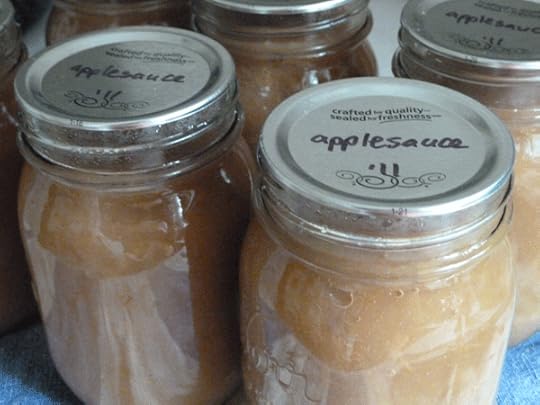 So everything tastes great and you like the consistency. Fill about seven sterilized pint jars leaving about 1/2 inch of head space, then adjust two piece caps. Process in the hot-water bath canner for about 15-20 minutes. You should hear them "pop" their lids within 24 hours of coming out of the bath. Enjoy!
September 27, 2011
A Calm Birthday
My birthday falls at a great time – just as summer closes and autumn unfolds. As each year passes, I find myself celebrating simplicity and this year was no exception. I didn't want to coordinate a big outing. I didn't want to be around big groups of people. Instead, I wanted peace and calm.
 The morning began with pastries from a local bakery and a morning working on the Urban Farm. No one was there except me and Jay – it was perfect. So quiet, calm and beautiful.
 We stopped by this great local grocery store in Eugene called the Kiva (by far the best cheese selection in town) to pick up delicious treats for a picnic and headed out to Oakridge. It's a small town near Eugene with tons of hiking trails. We ended up hiking around Waldo Lake, one of the sources for the Willamette River. The water is so clear you can see the bottom.
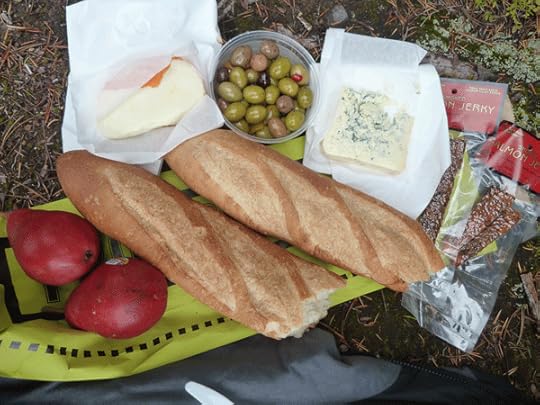
 Our picnic along the trail included two delicious French cheeses, an olive mix, baguette, wild salmon jerky, and perfectly ripe Krimson pears. It was a misty, serene picnic with some of my very favorite snacks.
 We had dinner at the Brewer's Union in Oakridge on our way home, which always feels like a warm refuge after being outdoors. We ate cake at home, watched a movie, and fell to sleep in our cozy, happy home. It felt like a celebration of where I am in life right now and I'm excited to see what's around the bend this year.


