
Kristina Seleshanko's Blog, page 84
October 23, 2013
Children Obey Your Parents in the Lord...
 The Bible tells us that children who honor and obey their parents will be blessed and live long lives (Eph.6:1-3). Honoring and obeying parents is one very big way children can also honor and obey God. Unfortunately, our society isn't much into obeying or honoring anyone. So this is a lesson parents need to teach - and teach repeatedly. Here is one way to introduce your children to the concept.
Begin with the Bible & The Circle of Protection
Read Exodus 20:12, Colossians 3:20, and Ephesians 6:1-3, out loud, from your Bible. Talk about what it means to honor someone - how actions and words can either honor or disrespect. Give examples, including those that include tone of voice and body language.
In Shepherding Your Child's Heart (a book every Christian parent should read - more on that in a future post), Ted Tripp explains "the circle of protection," which is a helpful way for children to understand biblical promises about children obeying their parents. The child is within the "circle of protection" as long as she honors and obeys her parents - and therefore honors and obeys God. But as soon as the child is disrepectful or disobedient, she is outside that circle of protection and can expect the opposite of what Ephesians 6 promises.
To illustrate this, draw a large circle (at least 19 or 20 inches in diameter) with chalk on the sidewalk or driveway. Have your child stand it in, then use a hose or squirt gun to spray water around - but not on - your child. Say, "As long as you're in the circle of protection, you won't get wet." But as soon as your child steps outside the circle, give him a fun spray of water. Say, "Ah! You stepped outside the circle. What happens when you do that?"
 The Keys to Obedience
There are actually several import parts of being obedient. Every child should understand that being obedient means:
* Doing what's asked of him immediately.
* Doing what's asked of him cheerfully.
* Doing what's asked of him completely.
* Doing what's asked of him without complaining.
Sometimes I also give my children of examples of how true obedience looks and can thwart bad things from happening to them. For example, when we watch The Sound of Music , I always point out how the littlest VonTrapp child is told to be quiet when they are hiding from the Nazis. She obeys perfectly. I ask, "What might the consequences have been if she'd disobeyed? Or complained? Or asked 'Why?'"
A good way to help your kids remember aspects of obedience is to make paper keys with each step listed on them. You'll find complete instructions for doing this at The Better Mom.
Who's In Charge?

It's very important for children to understand that obeying you is obeying God. It's also important for them to know you are in charge (and the disciplinarian) because God gives you that responsibility - and punishes you if you neglect it. (See also 1 Samuel 3:13.)
First, explain who's the boss: God. Then explain that God put Daddy in charge of your household. Mommy and the children need to obey him, because that's what God says, and we want to honor and obey God. Next in line is Mommy; the children must obey her, as well as Daddy.
Then you can either create a family mobile, showing everyone's position, or you can simply draw some circles on a piece of paper and have your children draw a cross (or some other symbol of God) in the circle at the top of the page; then a portrait of Daddy in the circle just below that; then a portrait of Mommy in the circle just below that. Finally, have circles for portraits of each child at the bottom of the page.
Appeals
Your children also need to know they can make an appeal - as long as they do it respectfully. If your child wants to make an appeal, he must:
1. Obey immedietly, cheerfully, and without complaint.
2. Ask respectfully if something else is acceptable.
For example, if I ask my child to go clean his room, he should say, "Okay, Mama" and head toward his room. On his way there, however, he could respectfully say, "Mama, I thought you said earlier that we were going to the park this afternoon. Can we do that before I clean my room?"
Conclusion
These activities are a great introduction to the concept of obedience, but you shouldn't talk to your children about this just once. Bring it up in daily or weekly conversation. Let your children see you submitting to your husband, and your husband submitting to God. Whenever you discipline your kids, remind them God commands you to correct their actions - and for their soul's sake's. Remind them that by disobeying you, they are disobeying God.
Our society delights in disobedience. Even influences as seemingly innocent as Disney fairy tales thrive on the notion of children disobeying their parents - and adults doing whatever they think best. But this is contrary to what God says is best for us. Remember:
"There is a way that seems right to a man,
But its end is the way of death."
Proverbs 14:12


October 21, 2013
7 Things I've Learned About Chickens
 1. While I love feeding hens leftovers from our table (especially things I don't compost, like meat fat), and as much as I believe in free ranging chickens when possible, the more chickens eat food other than their carefully-formulated feed, the fewer eggs they lay.
2. Not all chickens are created equal. Be sure you understand that some breeds are generally better layers, some are more friendly, some are better for meat, some lay better in the winter, etc. This chart can help you determine what type of chickens are best for you.
3. Chicken breeds that tend to be more friendly also tend to be more dumb, and chickens that are smart tend to have more...um, vim and vigor.
4. Chickens usually have to be taught to eat snails. My method is to handpick snails from the yard, spear them with a stick (so I know they are dead and won't get back in my garden), and throw them in the run. Usually it only takes one hen realizing they are food for the whole flock to go crazy over them. Although this training takes a little effort on your part, it's well worth it. It not only ensures fewer snails in your garden, but it gives the hens a source of protein that also offers calcium (which keeps them healthy and makes their egg shells less likely to break).
5. Chickens don't mind eating mustard. Or hot sauce. When I had an egg-eating hen, I read all over the Internet that I should blow out an egg and put either mustard or hot sauce in it, then place it in a nesting box. The hen would be so turned off by the flavor of that egg, the collective Internet voice said, the chicken would quit eating eggs altogether. But my hens eat scraps off our table - which very frequently have either mustard or Tabasco sauce on them. They don't mind the flavor at all. (To discourage egg-eating hens, collect eggs often, keep the nesting boxes clean, and keep your chickens busy by offering frequent treats - a cabbage head is a great idea, especially if you hang it up - and foraging opportunities.)
6. Hens are quite trainable. So if you take a little time, you can train them to stay out of your garden, to go back in their run when you want them to, or to go into their henhouse before they would otherwise. (Click here for training tips.)
7. Chicken eggs last a long, long time if stored in the fridge, unwashed. I've had mine in the fridge for 6 to 8 months. For best results, store the eggs pointy side down and make a system where you are always eating the oldest eggs first. If you're worried about storage, eggs also freeze beautifully.
October 18, 2013
Letter of the Week: C
 As you introduce the letter C, don't forget to review letters A and B, too! Learn more about the Letter of the Week series here.
Caterpillar snack
Caterpillar snack 2
Caterpillar Pom-Pom Craft
Egg Carton Caterpillar Craft
Caterpillar Circle Craft
Caterpillar Activities
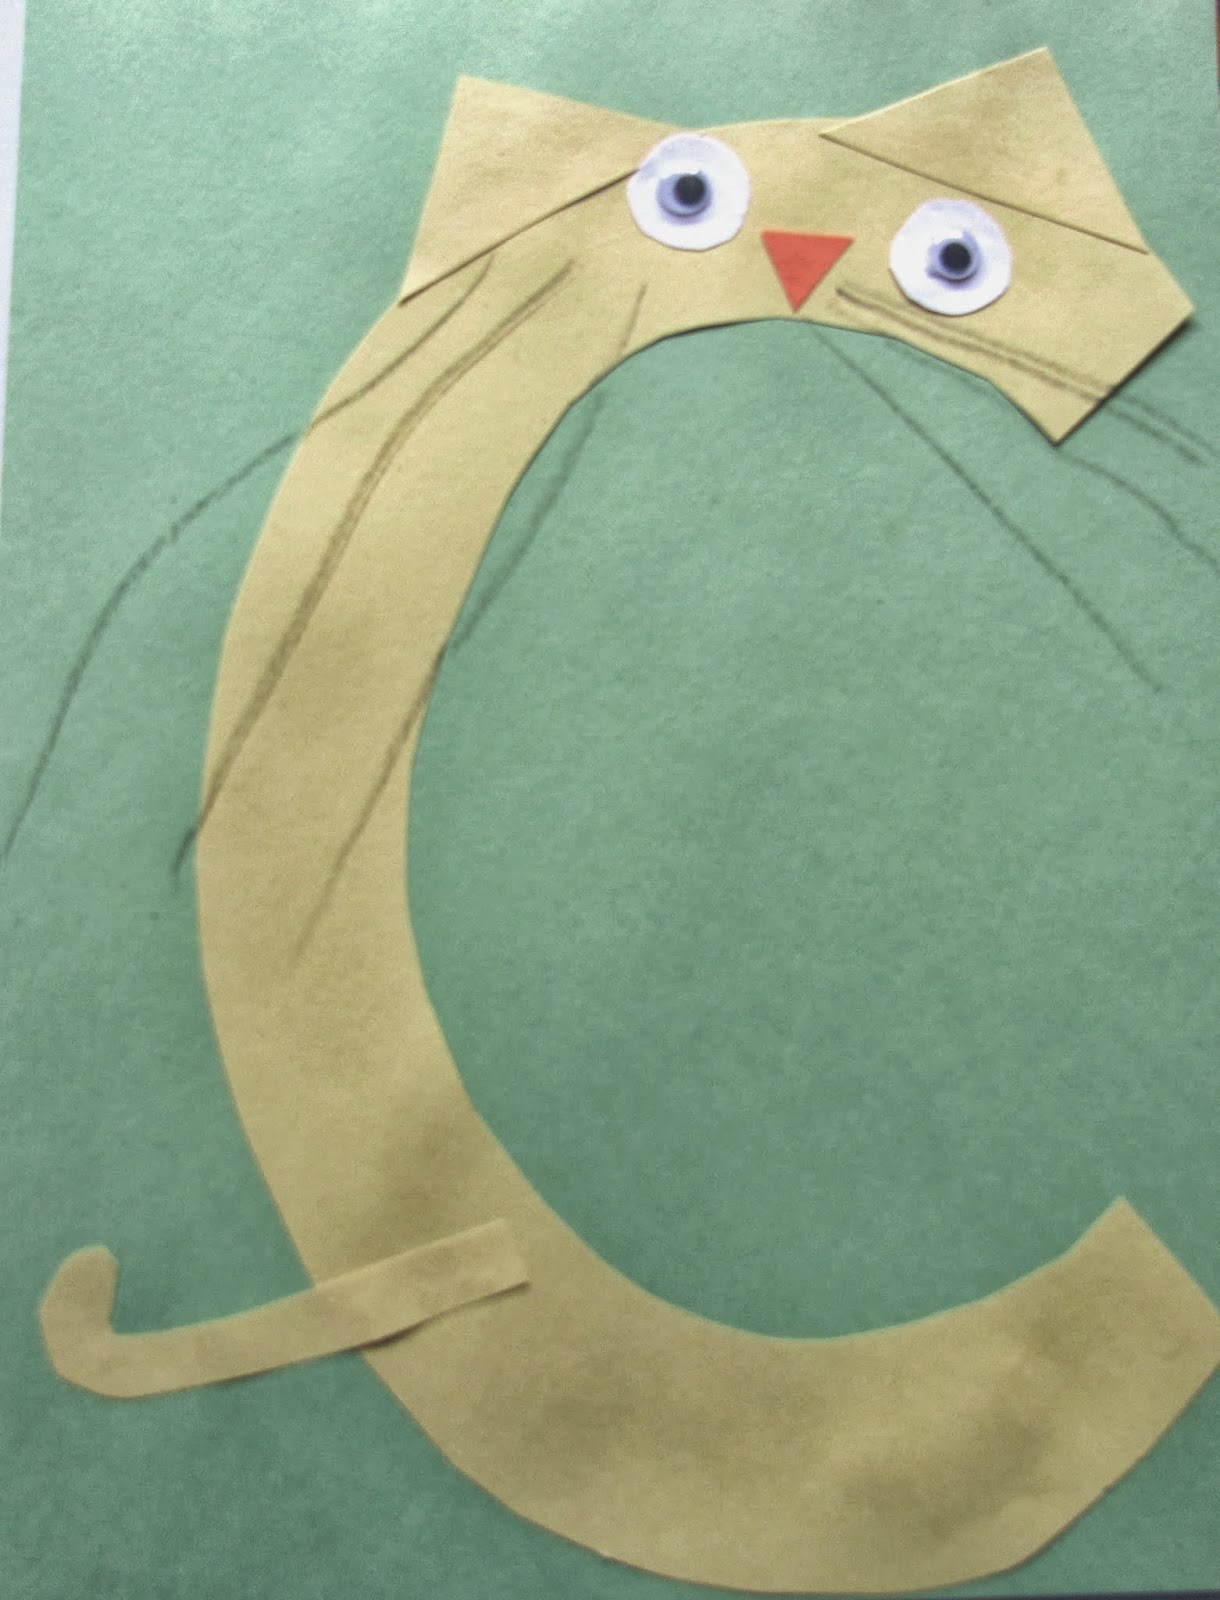
C is for Cat
C is for Cat 2
A Free Preschool Cat Curriculum Pack
Circle Cat Activity
Cat Mask
Cat Puppets
Cat Bag Craft
C is for Car
Car Snack
C is for Carrot
Carrot Shape Activity
Candy Cane Craft
C is for Cookie
Cookie Paper Plate Craft
Counting Cookie Activity
C is for Cow
Cow Activity
Christ Craft
Cross Craft
Crab Craft
Stamping Letter C
Sesame Street: Letter C
Sesame Street: Clouds
Phonics: Letter C
October 16, 2013
How to Convert a Traditional Pinata into a Pull String Pinata
 A DIY pull string pumpkin pinata. Sure, traditional pinatas are fun, but sometimes a pull string pinata - which breaks open by the simple pulling of a string - is much more suitable. For example, if you have young children who really can't bash a pinata - or who might bash themselves or someone else trying to...or if you're having an indoor party and don't want the contents of your home accidentally beaten, a pull string pinata is for you.
If you've never used a pull string pinata, here's how it works. Hang the pinata, then have the children, one by one, pull a single string off the bottom of the pinata. Most of the ribbons will just fall off, doing nothing to the pinata. But once one string (indistinguishable from the others) is pulled, a trap door in the pinata will open and all the candy will fall out.
Sometimes you can find ready made pull string pinatas, but often you have to convert traditional pinatas into pull string pinatas. In the past, I've purchased pinata conversion kits, but the truth is, it's really easy to make a DIY pull string pinata - you don't need a special kit. Here's how.
What You'll Need:
A pinta
Exacto knife or box cutter (you could use scissors, but it's more dangerous!)
Scissors
Curling ribbon
Transparent adhesive tape (the kind used for wrapping gifts)
Small piece of cardboard
Extra tissue paper in a matching color
1. Begin by selecting a relatively flat location on the bottom of the pinata. Carefully remove the crepe or tissue paper covering an approximately 3 1/2 inch square near the center of the bottom. (If, for some reason, that seems too difficult, it's fine to skip this step...as long as you have matching tissue paper on hand.)
2. Use an Exacto knife to cut a door (about 3 1/2 inches square) in the "naked" area you just made.
 3. Cut the curling ribbon into long lengths. How long depends upon where you'll hang the pinata and how tall the kids are. (I suggest making the ribbon lengths longer than you think you need them; you can always trim them later.) You'll want at least 2 ribbons for every child who'll be playing the game.
4. With the Exacto knife, make a little hole in the center of the door. Thread one ribbon through it.
5. Cut a piece of cardboard about 1 1/2 inches square. Cut a little hole in the center. Thread the ribbon already in the door of the pinata through this small piece of cardboard.
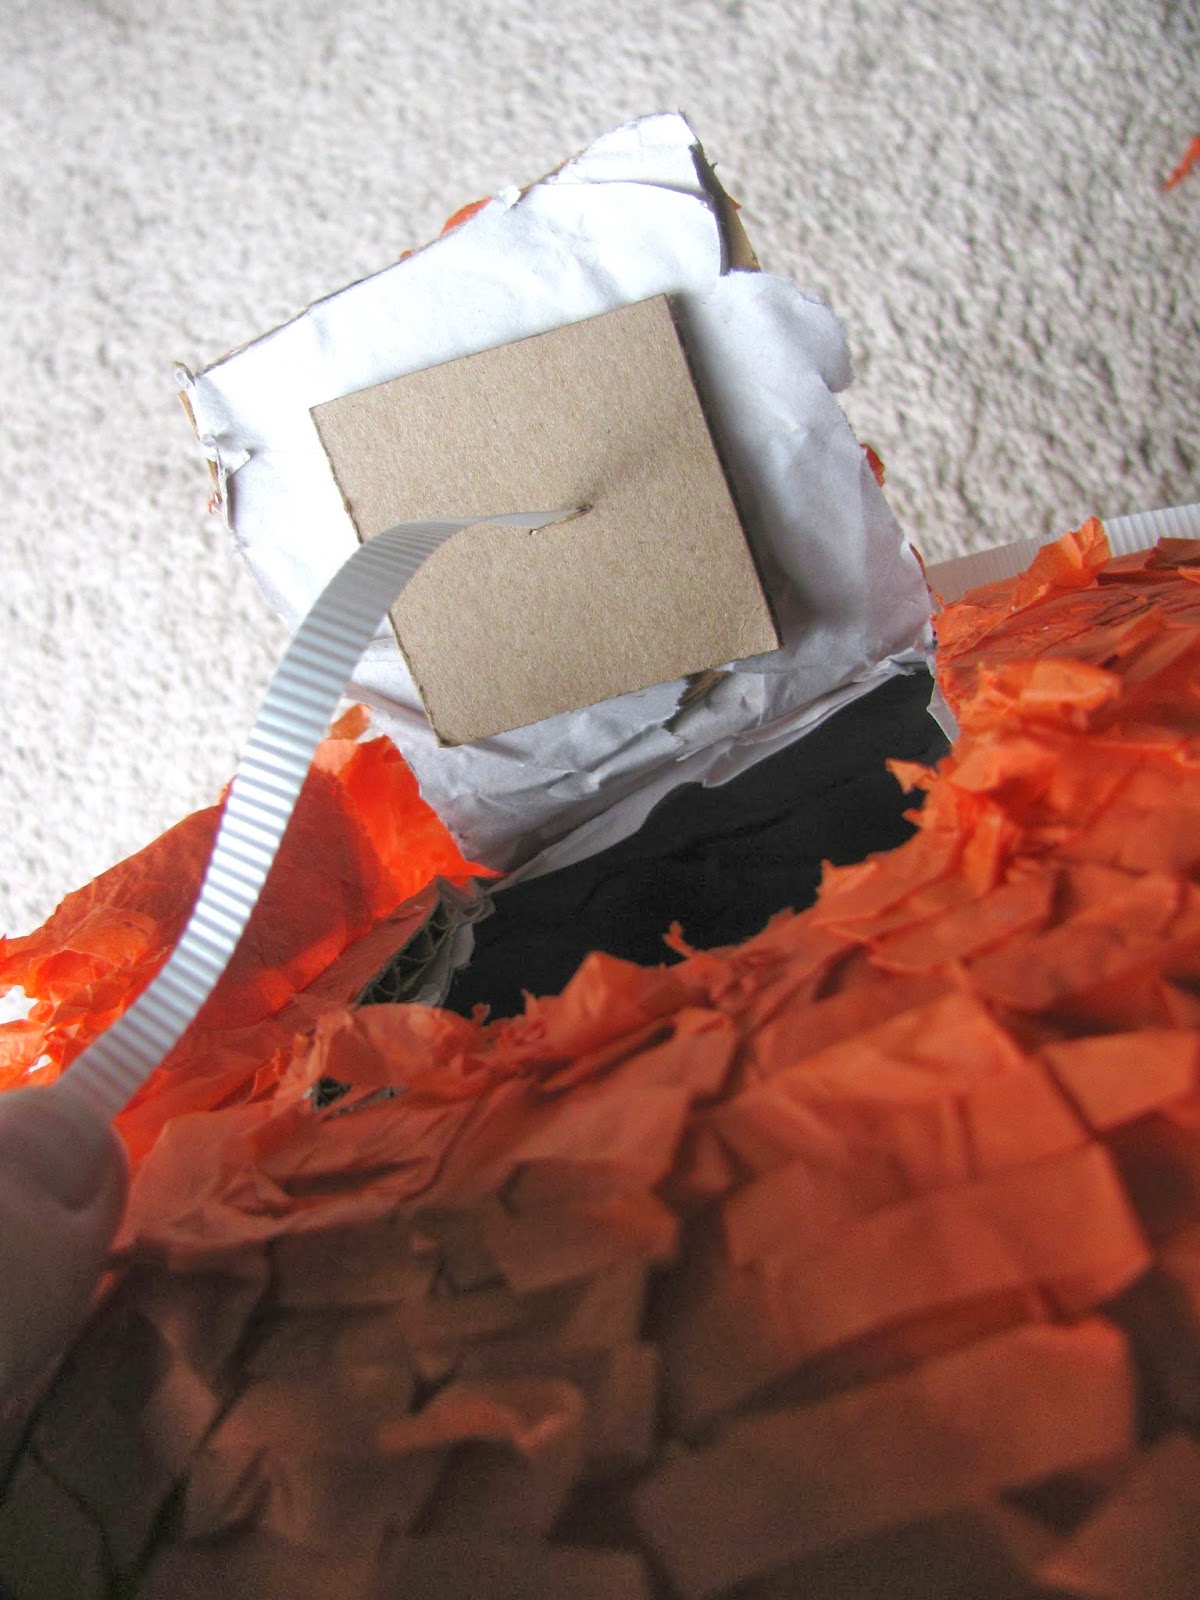 6. Knot the ribbon so it will not slip through the hole it's thread through. (If desired, you may use strong duct tape over the knot as extra insurance. This is the string that will open the door of the pinata, making all the candy fall out, so you want to be sure that when a child tugs it, it won't just slip off without opening the door.)
 7. Close the door. If desired, tape it lightly shut with one or two pieces of gift-wrapping tape. But remember, the door needs to open easily if a child pulls the string on it.
8. Use the gift-wrapping tape to tape the remaining ribbons to the pinata's bottom. Make sure they aren't on the door. (When a child pulls one of these ribbons, the ribbon will just fall off the pinata, not opening the candy door.)
 9. Replace any crepe or tissue paper you took off the pinata's bottom, making tiny slits to allow all the ribbons to come through OR cover the door and the ribbon ends with pieces of matching tissue.
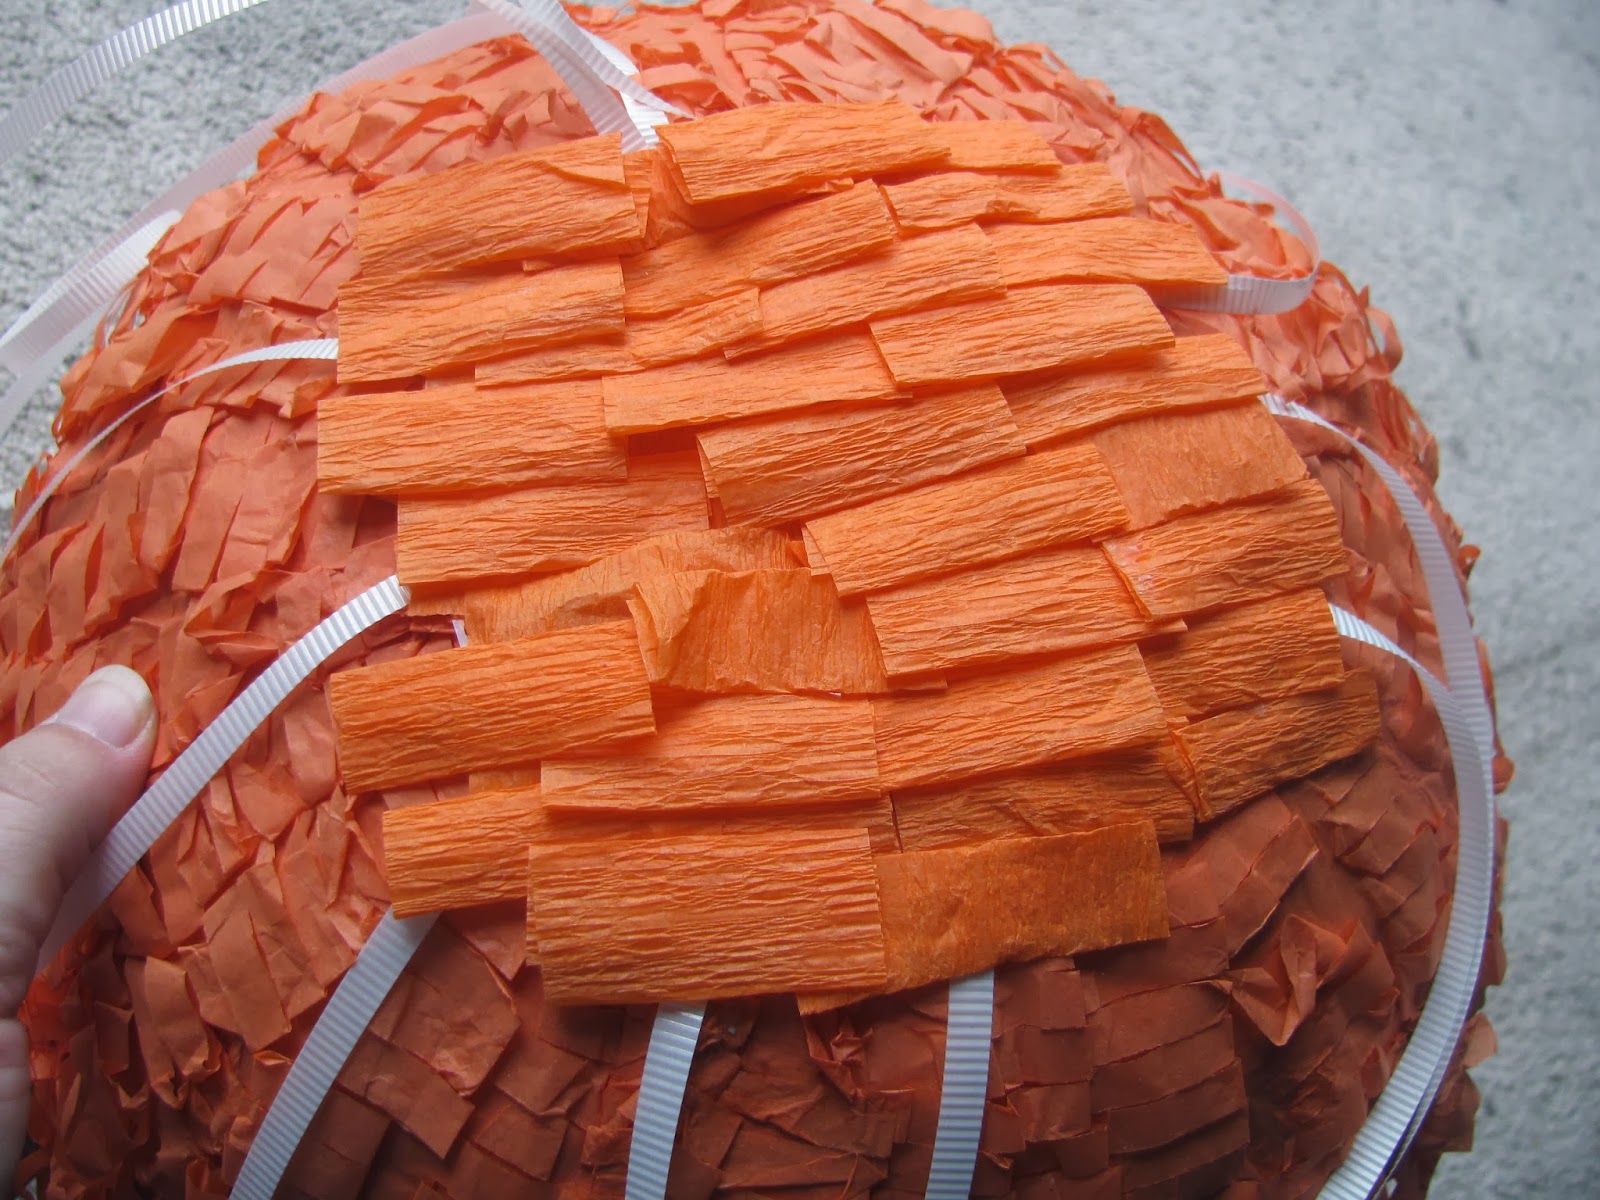 10. Fill the pinata with candy, through the opening provided for this purpose. (If, by chance, you are making your own pinata - which isn't at all difficult, though it is time consuming - you can fill it with candy through the trap door, before closing that door and covering it with tissue paper.)
 October 14, 2013
Green Tomato Pie Recipe
 Not long ago, I harvested over 28 lbs. of green tomatoes from our garden. (Our weather is no longer warm enough for them to ripen on the vine.) I always keep some to ripen indoors (a great way to have fresh tomatoes through winter!), and some I keep for my favorite green tomato recipes. But this year, I also really wanted to try making - and tasting - our first green tomato pie.
I know, it sounds really weird. Even gross. But this Southern dessert actually tastes similar to apple pie. Even my kids, who were totally turned off by the thought of the pie, became huge fans after tasting it. It's easy, too!
Green Tomato Pie Recipe
1 1/2 cups granulated sugar
5 tablespoons all purpose flour
2 teaspoons ground cinnamon
A pinch of salt
1 tablespoon apple cider vinegar
3 cups thinly sliced green tomatoes (about 4 or 5 medium tomatoes)
Pastry for 9 inch double crust pie (I used my Perfect Pie Crust recipe)
1 tablespoon butter
1. Preheat the oven to 350 degrees F.
2. In a large bowl, stir together the sugar, flour, cinnamon, and salt. Add the vinegar and tomato slices, tossing to coat well.
3. Line a 9 inch pie plate with one of the crusts. Spoon the filling into it. Cut the butter into small pieces and scatter over the filling.
4. Lay the second crust over the the filling, cutting 3 slits in it. Or cut the crust into strips and lay them, lattice-style, over the filling.
5. Bake for 60 minutes, or until tomatoes are tender and the filling is bubbly. If desired, serve with a scoop of vanilla ice cream.
October 11, 2013
Letter of the Week: B
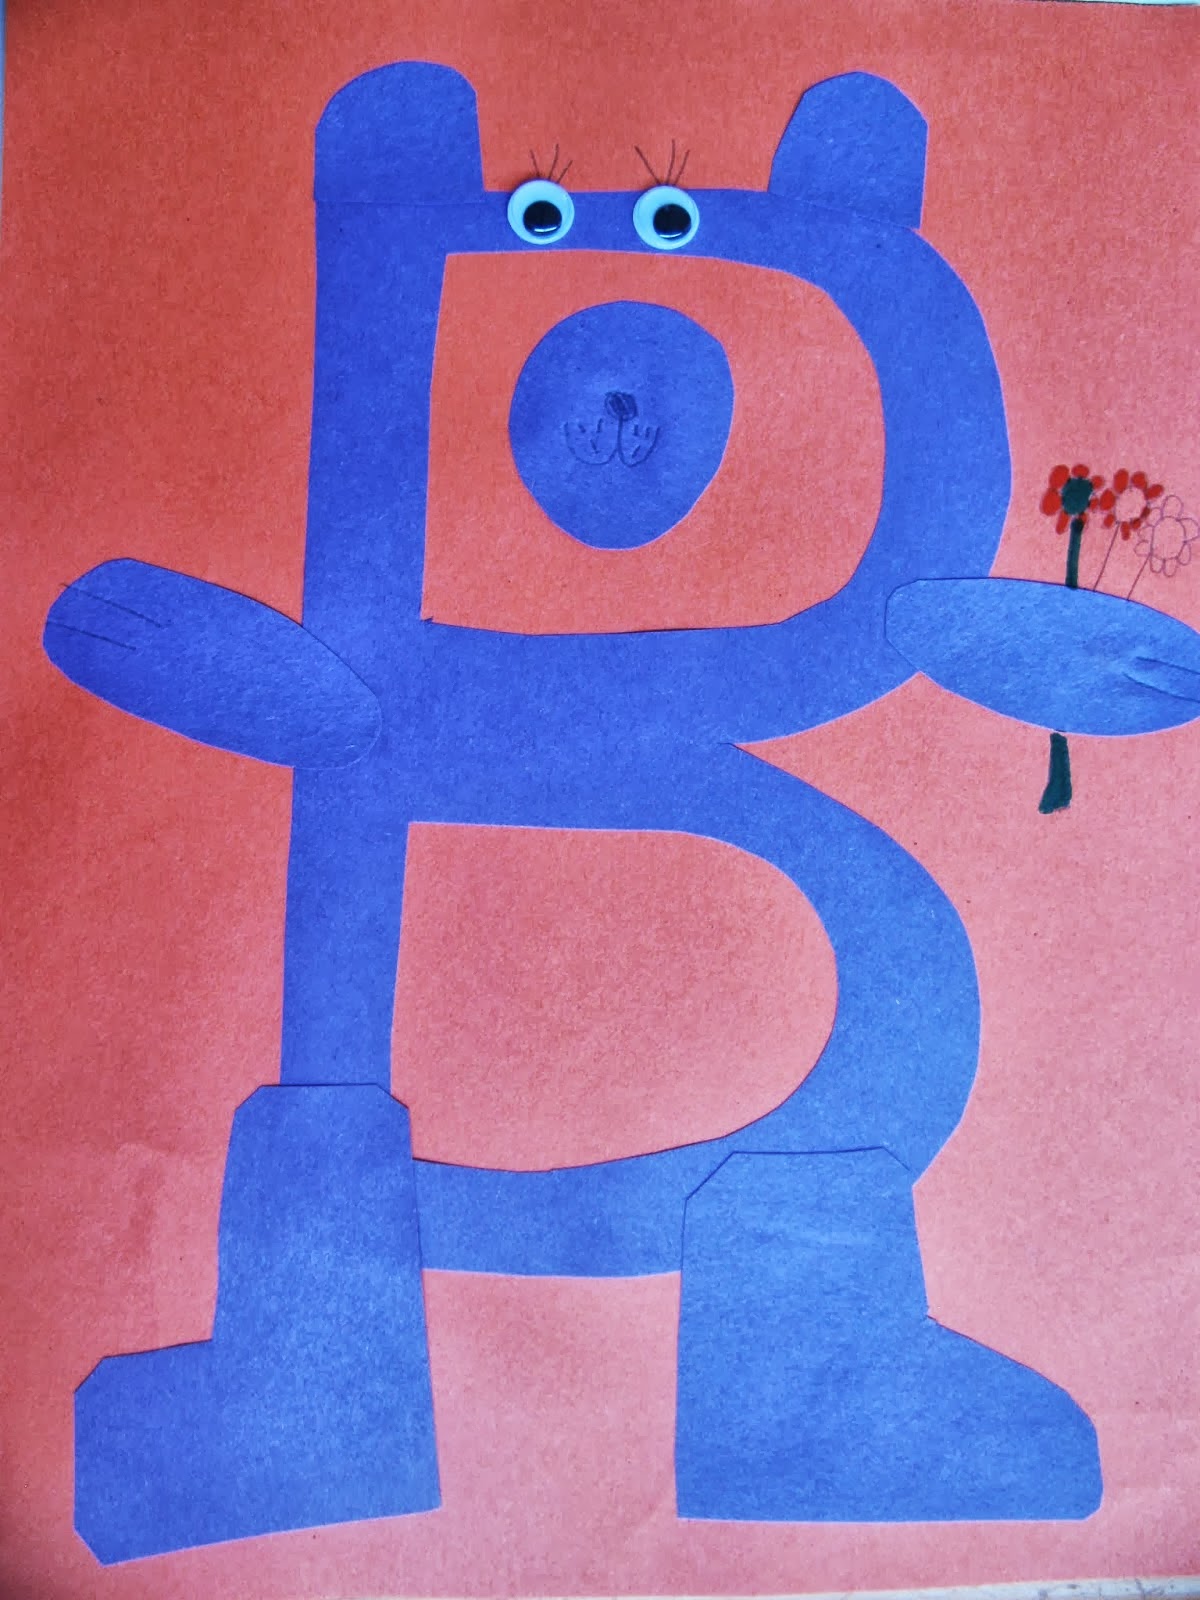 Here are a variety of letter B crafts and videos for your preschooler. Remember while doing these crafts, it's important to talk repeatedly about the name of the letter and the sound it makes. For example, say "This is the letter B. It says 'buh.' Like 'buh-ear. Hear it make the 'buh' sound?"
B is for Bear
B is for Bible cookies
B is for Bread
B is for Bunny
Bunny handprint craft
Bunny cottonball craft
B is for Butterfly
B is for Butterfly (lower case)
Butterfly coffee filter craft
Butterfly color matching
Butterfly life cycle craft
Be is for Bee
Bee craft
Bee toilet paper tube craft
B is for Bird
Another B is for Bird
B is for Bird (lower case; this is a kit, but it would be easy to make at home)
Bird stick puppet
Bird paper plate craft
B is for Band-Aid man craft
Beach Ball craft
B is for Beaver
Bat toilet paper roll craft
Boat egg carton craft
B is for Beach
Sesame Street: Letter B
Sesame Street: If I Were the Letter B
Sesame Street: Telly, Oscar, and the Letter B
Sesame Street: I Love the Letter B
Sesame Street: Gilbert and Sullivan Sing the Letter B
Sesame Street: Letter B Game Show
Phonics: The Letter B
Learn more about the Letter of the Week series here.
October 9, 2013
18 Gifts Kids Can Make - and People Won't Mind Getting
"Every man shall give as he is able,according to the blessing of the Lord your God which He has given you."
Deuteronomy 16:17
Before you know it, Christmas will be here. Will your kids be giving gifts, or just getting them? I resolved years ago that my children would work to give gifts whenever possible - not just things they pick out in a store and I pay for, and not just things they save money to pay for, but homemade gifts that require time, effort, and thought to create. Because I want giving to come as naturally to them as possible.
But the trick is, to keep it stress free and do-able, you have to start NOW. And you need to consider your child's age; it's not reasonable to expect a 5 year old to make something for your entire extended clan, for example. He could, however, make something for his sister - and maybe his parents.
Here are a few of the ideas I've gathered for my children to choose from.
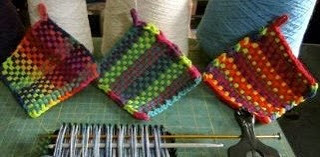 * Woven pot holders. Several years ago, my daughter received a pot holder making loom as a gift. Ever since, she's used it to make gifts for others. She can do this almost completely by herself (she's eight), though she does need help finishing off the edges.
* Handprint scarf. This is another easy project that requires no real sewing skill.
* These fleece scarves are also easy, especially if you use fabric glue.
* Ladybug pin cushion . This takes very minimal sewing skills and is a great gift for someone who sews or does needlework.
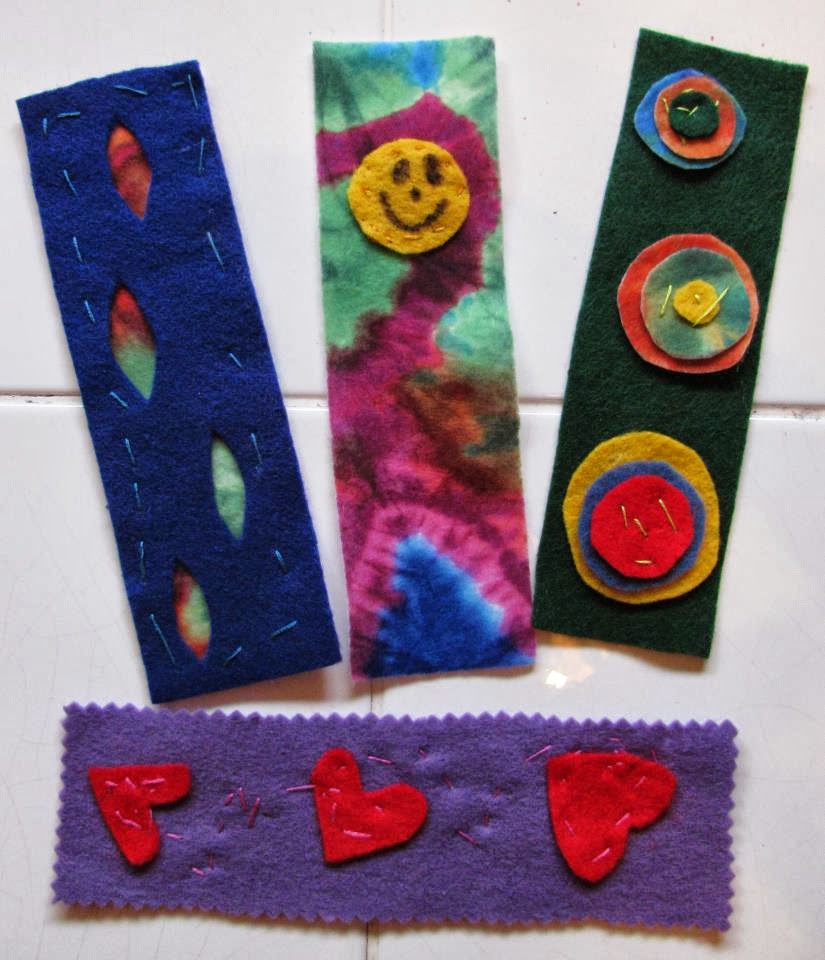
 * Bookmarks. Use felt (which can be purchased in rectangles singularly or in packs at craft stores or Wal-Mart) for an easy to sew project. (You could also use fabric glue.) Gather more ideas here, here, here, here, and here.
* If your child's sewing or embroidery is relatively neat, this cute Tic-Tac-Toe game is a great choice.
* Sachets are always a welcome gift for women. This one requires only minimal sewing skill. I'd probably pink the edges of the fabric with pinking shears. Again, you could substitute sewing for fabric glue.
* If your child can use a sewing machine - even if only minimally - this bandana quilt/tablecloth is a terrific and easy project.
* Or try this bandana tote bag .
* Christmas tree ornament.
* Teach your child simple fingerknitting, and he or she could make a simple scarf for someone.
* Any drawing or painting is a great choice, too, especially if the child creates something just for the gift receiver - perhaps focusing on something that person loves. (You can dress it up a bit, if you like, by framing it with an inexpensive 8 x 10 or document frame.)
* Food gifts. If your child can measure, she can make gifts in a jar. Or if he can bake essentially on his own, baked goods wrapped nicely are a good gift.
* Soap balls.
* Swirly
* Scrapbooks of a special event earlier in the year.
* Photo magnets.
* Felt key rings. Again, these can be as simple or complex as you like, and you may substitute fabric glue for stitching.
Before you know it, Christmas will be here. Will your kids be giving gifts, or just getting them? I resolved years ago that my children would work to give gifts whenever possible - not just things they pick out in a store and I pay for, and not just things they save money to pay for, but homemade gifts that require time, effort, and thought to create. Because I want giving to come as naturally to them as possible.
But the trick is, to keep it stress free and do-able, you have to start NOW. And you need to consider your child's age; it's not reasonable to expect a 5 year old to make something for your entire extended clan, for example. He could, however, make something for his sister - and maybe his parents.
Here are a few of the ideas I've gathered for my children to choose from.
 * Woven pot holders. Several years ago, my daughter received a pot holder making loom as a gift. Ever since, she's used it to make gifts for others. She can do this almost completely by herself (she's eight), though she does need help finishing off the edges.
* Handprint scarf. This is another easy project that requires no real sewing skill.
* These fleece scarves are also easy, especially if you use fabric glue.
* Ladybug pin cushion . This takes very minimal sewing skills and is a great gift for someone who sews or does needlework.
 * Bookmarks. Use felt (which can be purchased in rectangles singularly or in packs at craft stores or Wal-Mart) for an easy to sew project. (You could also use fabric glue.) Gather more ideas here, here, here, here, and here.
* If your child's sewing or embroidery is relatively neat, this cute Tic-Tac-Toe game is a great choice.
* Sachets are always a welcome gift for women. This one requires only minimal sewing skill. I'd probably pink the edges of the fabric with pinking shears. Again, you could substitute sewing for fabric glue.
* If your child can use a sewing machine - even if only minimally - this bandana quilt/tablecloth is a terrific and easy project.
* Or try this bandana tote bag .
* Christmas tree ornament.
* Teach your child simple fingerknitting, and he or she could make a simple scarf for someone.
* Any drawing or painting is a great choice, too, especially if the child creates something just for the gift receiver - perhaps focusing on something that person loves. (You can dress it up a bit, if you like, by framing it with an inexpensive 8 x 10 or document frame.)
* Food gifts. If your child can measure, she can make gifts in a jar. Or if he can bake essentially on his own, baked goods wrapped nicely are a good gift.
* Soap balls.
* Swirly
* Scrapbooks of a special event earlier in the year.
* Photo magnets.
* Felt key rings. Again, these can be as simple or complex as you like, and you may substitute fabric glue for stitching.
October 7, 2013
Be Ready for Cold and Flu Season!
 Now that cold and flu season is upon us, are you prepared? Here are some articles from the archives that will help your family stay well - and make sickness a little bit easier.
Medicine Cabinet: Safety & Stocking - Having the right things on hand makes dealing with illness a lot easier!
Prepping for Sick Days and Nights - Few things are more draining than having a child who is sick at night. Be prepared and those nasty nights become a bit easier.
Preparing for Family Illness - Have an inkling someone is getting sick? Make your life easier by getting a few things done before the illness really hits.
Staying Healthy When Your Kids Are Not - Yep! It's possible!
Keeping Sick Children Occupied - Make illness a little easier on your children.
Keeping Your Family Healthy This Winter - Simple steps that can prevent illness.
Herbal Healing for Colds and Flu - A simple remedy that really keeps me well during cold and flu season.
Why I Drink Apple Cider Vinegar - Another easy way to prevent illness.
October 4, 2013
Letter of the Week: A
 When teaching your children the letters of the alphabet and the sounds they make, there is no better place to begin than the letter A!
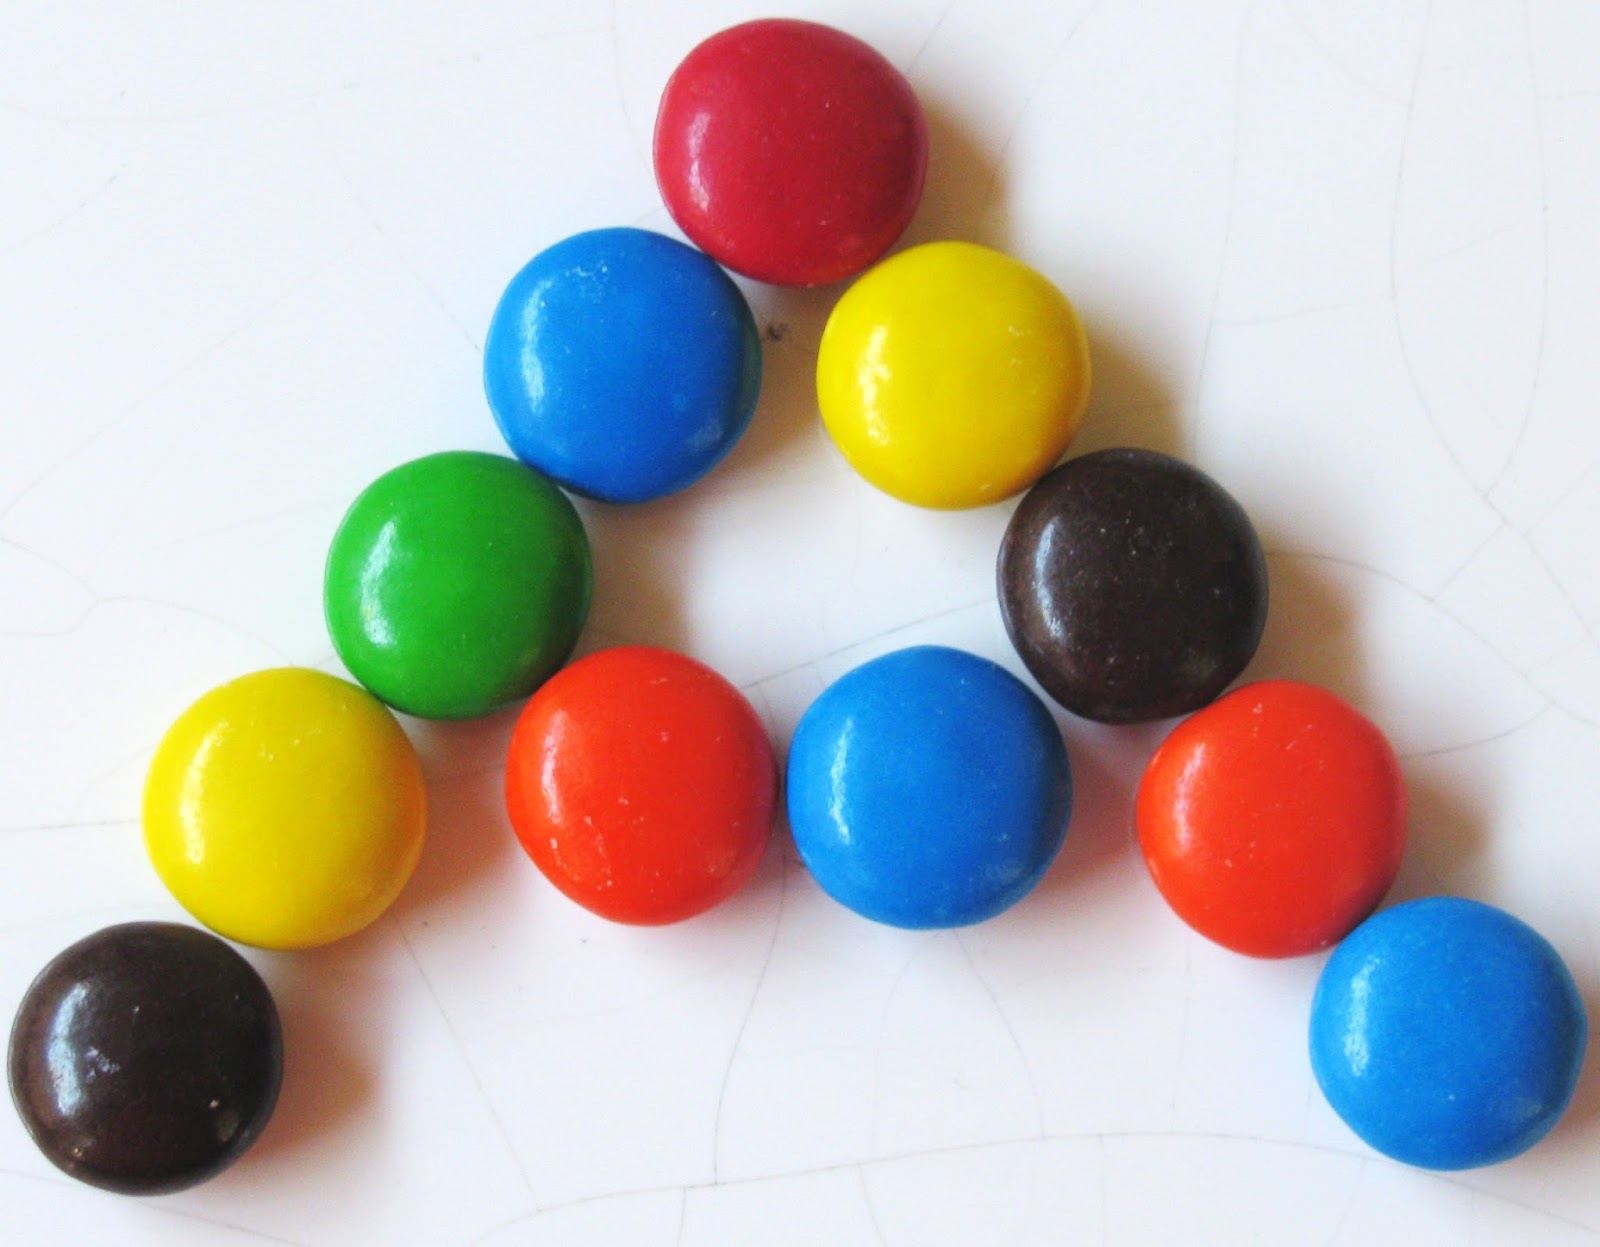
Apple counting
Paper plate apple craft
Lowercase a is for apple
Apple handprint art
Apple games and crafts
An entire apple pre-K unit
A is for Ark
A is for Alien (this is really fun, but less than ideal because "alien" doesn't have the most common phonic A sound in it.)
A is for Ant traceable
A is for Ant craft
A is for Astronaut
Lowercase a is for Astronaut craft
Abraham coloring page
A is for Alligator
Airplane craft
Lowercase a is for Airplane
A is for Angel
Angel handprint craft (the angel crafts are fun, but "angel" doesn't make the short phonic sound preschoolers are typically taught)
Sesame Street: Letter A
Sesame Street: A's Anatomy
Sesame Street: Cookie Monster Letter A
Sesame Street: Grover Finds Letter A
Phonics: The Letter A
Read more about the Letter of the Week series here.
October 2, 2013
September in the Garden
 September has whizzed by! What with the beginning of school and a family road trip, I've spent very little time in the garden. At this point, I'm mostly weeding (the more I keep the weeds under control now, the fewer weeds I'll have next year) and harvesting, but as you see from the photos, it's pretty hard to keep up with the weeds, what with all the rain we are having.
Once again, plans for a true fall garden have fallen by the wayside. I can never seem to quite get my act together in the summer to successfully start seedlings. I did plant some carrots to overwinter, and they are doing just fine. The lettuce I planted, though, just couldn't tolerate our hot summer weather, and is now dead. I also allowed the peas I planted to dry to a crisp. I really need to invest in some hoop tunnels so I can shade fall crops planted in summer (and extend our growing season, too).
 There are still lots of greens in the garden.Even so, the collards and kale will last in the garden all winter, though they will just barely grow. I also keep the parsnips and Jerusalem artichokes in the ground until I'm ready to use them - usually after a good frost, since that sweetens them up. I may keep most of the carrots in the ground, too, because they sweeten so wonderfully after a frost. (In my area, I don't have to do anything special to overwinter these crops, but if your area gets quite cold, you'll need to insulate them with a thick layer of hay.)
 Volunteer tomatoes growing amongst the squash and fall leaves.I've harvested the cabbage, which was hardly worth growing. I like huge heads that I can chop up and freeze for borscht, but this variety yielded pretty tiny heads. I'm also still getting some summer squash; I have given away bags of pattypan squash, and have made about a gazillion jars of zucchini chips. And there are still tomatoes - a wonderful crop that's allowed us to eat tons fresh, plus have quite a few for preserving. The volunteer tomatoes I allowed to remain in the garden have quite a few green tomatoes on them - and I've a handful or so of red ones, too. They were definitely worth allowing to sit in the garden, especially since I didn't do anything for them - I didn't even give them a supportive cage.
Next up will be the butternut squash. I'm really pleased with my crop this year; I will store most of it in a cool location in the house, after allowing them to cure.
 Buttercup squash.
2013 Produce Totals (All but the squash and tomatoes are from a 12 x 14 ft. garden plot; the squash and tomatoes are in an area measuring 33 x 3 ft.)
Eggs 667Chicken meat 20 ½ lbs.
Apples 13 lbs.Basil 3/4 lb.Beets 1Blackberries 3 lbs.Blueberries 7 1/2 lb.Buttercup squash 21 1/2 lbs.Cabbage 6 lb.Calendula 8 lb.Carrots 1 lb.Chives 6 1/2 lbs.Cilantro 1 1/8 lb.Collards 11 3/4 lbs.Dandelion flowers ½ lb.Dandelion greens 35 lb.Dandelion Root 2 1/8 lb.Garlic: ½ lb. scapes + 1 lb. headsGreen onions 1 lb.Kale 12 ½ lbs.Kiwi 1 lb.Leeks 5 lbs.Lettuce 11 lb.Mint 3/4 lb.Oregano 1 1/2 lb.Pattypan squash 41 1/2 lbs.Parsnips 1 lb.Passion vine 1 lb.Peas 5 1/2 lbs.Potatoes 11 1/4 lbs.Radishes 8 lb.Rosemary 1/2 lb.Sage 1 1/2 lb.Spinach 1 1/4 lb.Squash blossoms 2 1/2 lbs.Sunchokes 40 lbs.Strawberry 3 1/2 lbs.Tomato 38 3/4 lbs.Wild onion 2 lb.Wonderberries 1/2 lb.Zucchini 57 1/2 lbs.


