
Becca Hillburn's Blog, page 9
April 1, 2019
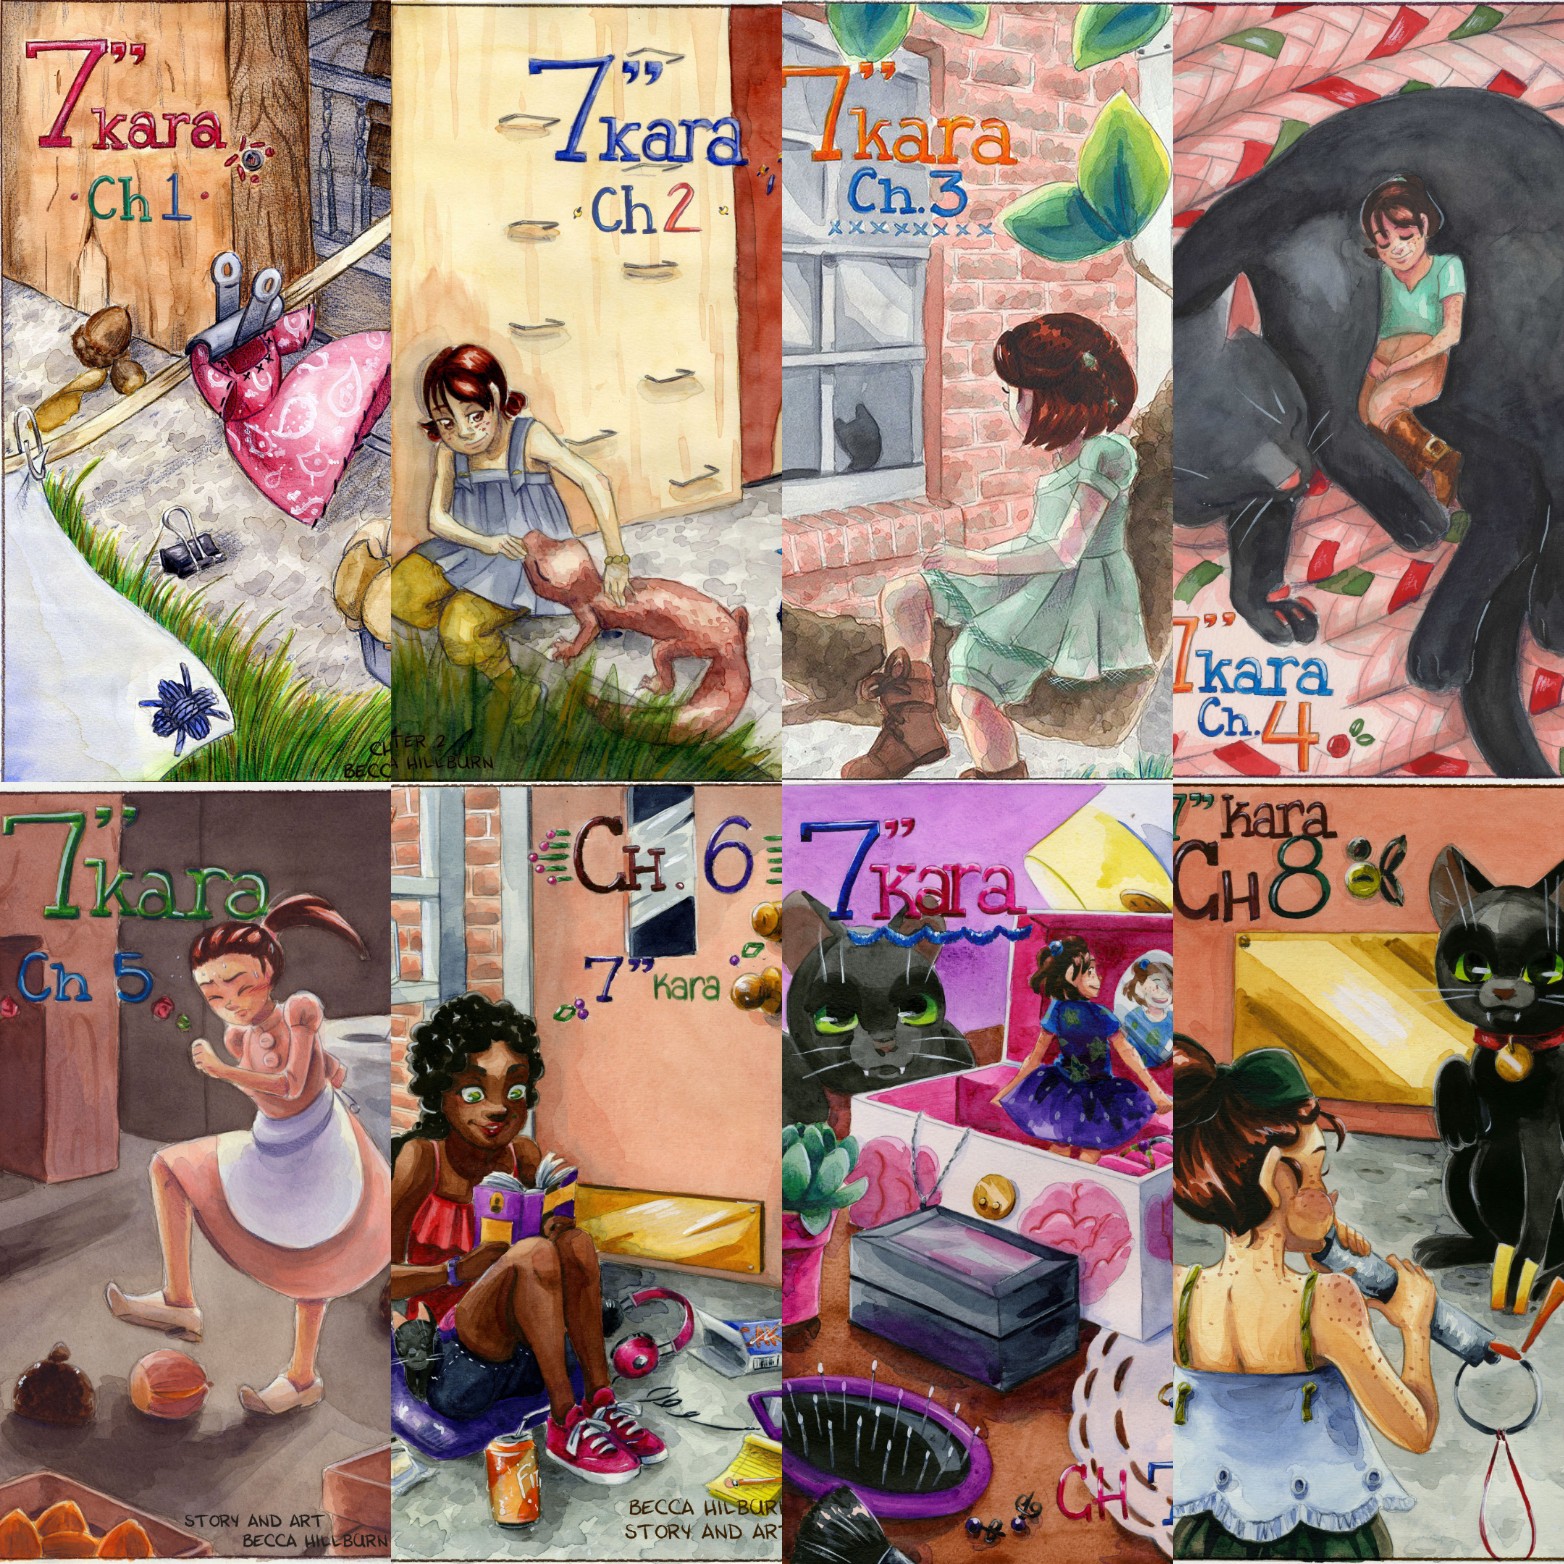
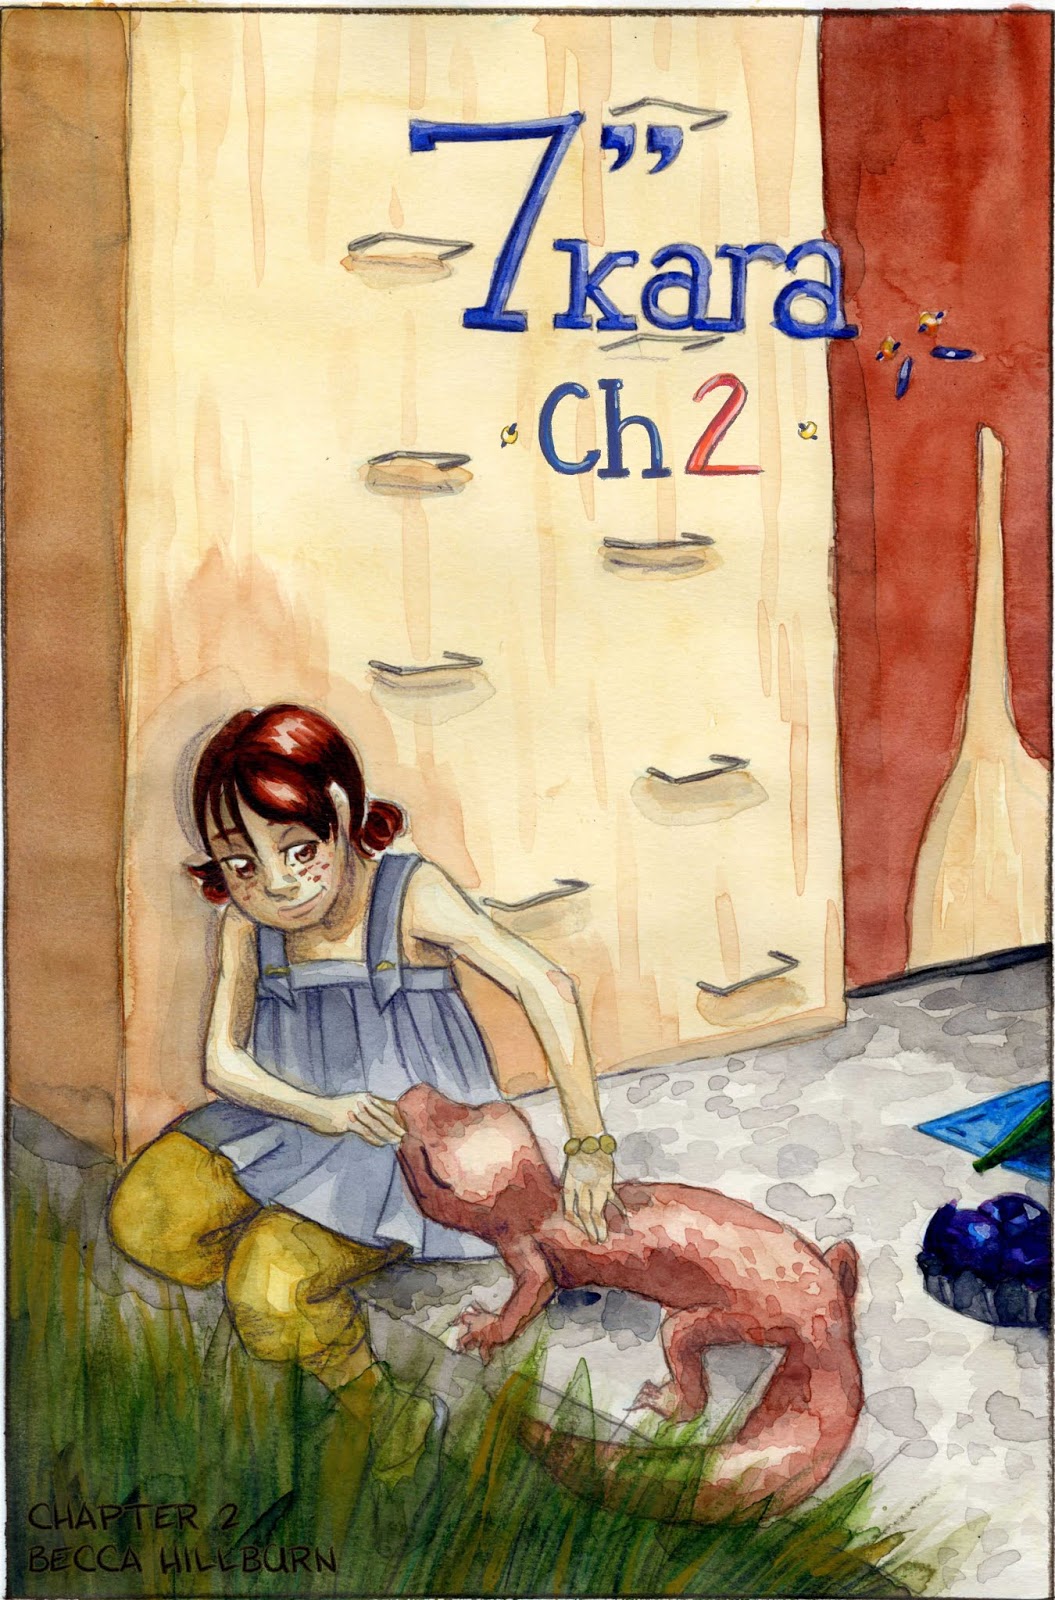
Comparing Watercolor Progress Over Time
I thought it would be neat to layout all my 7" Kara covers and compare the progression. I used the Layout app in Instagram, which forces a square format, but I think this gives a neat idea of trends and changes over time.

As time progressed, I tried to move away from my reliance on color pencils and watercolor pencils to add fine details, I refined my color sense and application, and worked toward pages that felt more finished. I tried to push my contrast and lighting as the chapters progressed and my watercolor skills improved.
Volume 1 Covers
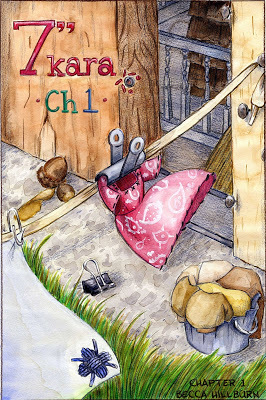
 Chapter 1 Cover- 2012, Chapter 2 Cover, 2012
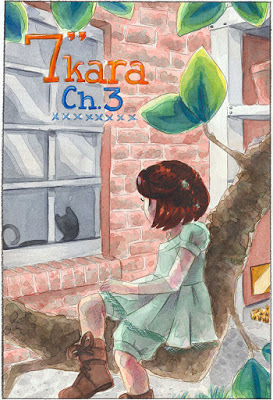
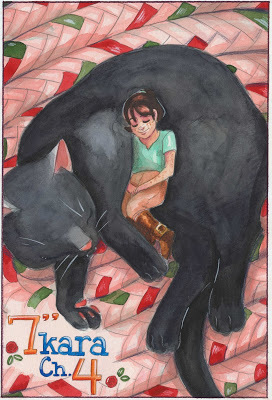 Chapter 3 Cover, 2013, Chapter 4 Cover, 2014
Volume 2 Covers
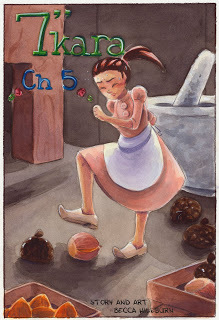
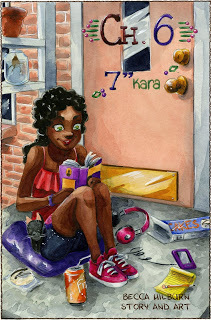 Chapter 5 Cover, 2014, Chapter 6 Cover, 2015
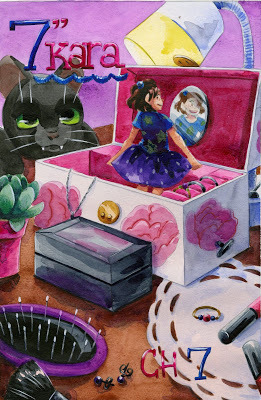
 Chapter 7 Cover, 2017, Chapter 8 Cover, 2018
While covers alone don't tell the whole tale (obviously, you should read the comic), I think they paint an interesting picture of my progress over time. While Pancake and Kara feature prominently, Naomi is definitely due for another cover, and we've yet to see a cover where all three characters are featured. Neither Rowan nor Tanner have been on a cover yet- perhaps this is also in the cards?
As I'm wrapping up work on Volume 2, and preparing for the looming Volume 2 Kickstarter (sign up here if you'd like to be notified when it launches!), its a great opportunity to look back and appreciate how far I've come on this creator owned, self published comic.
As time progressed, I tried to move away from my reliance on color pencils and watercolor pencils to add fine details, I refined my color sense and application, and worked toward pages that felt more finished. I tried to push my contrast and lighting as the chapters progressed and my watercolor skills improved.
Volume 1 Covers

 Chapter 1 Cover- 2012, Chapter 2 Cover, 2012
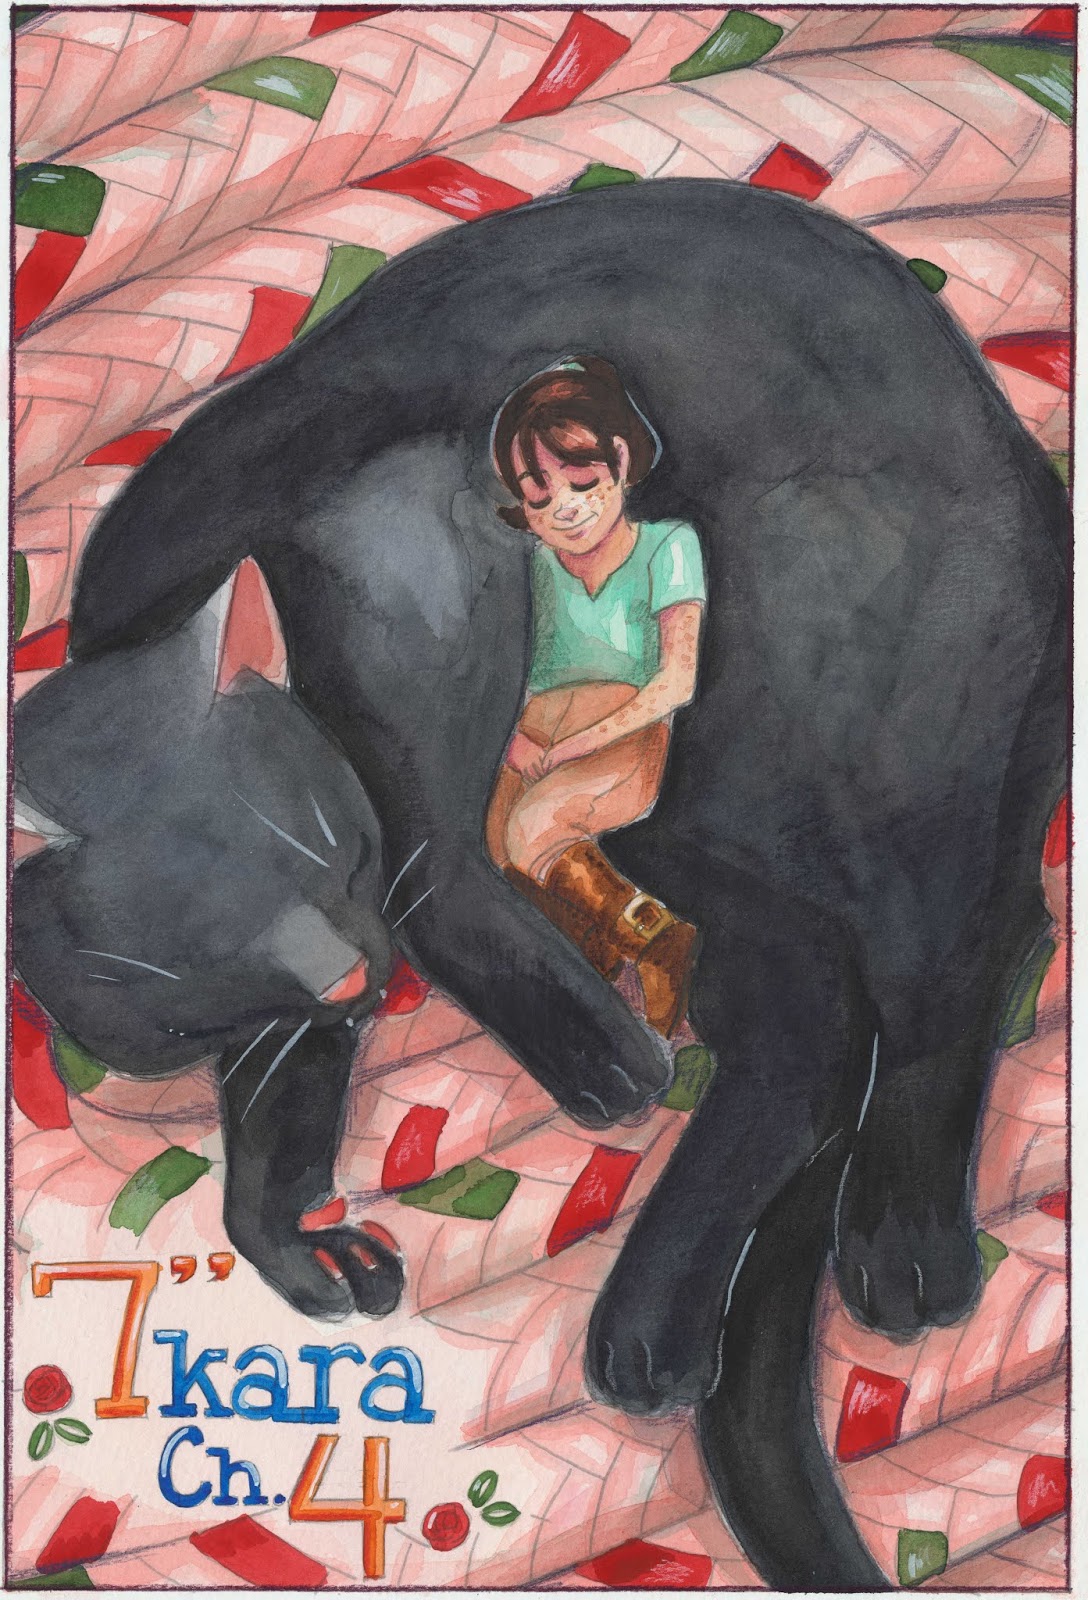 Chapter 3 Cover, 2013, Chapter 4 Cover, 2014
Volume 2 Covers

 Chapter 5 Cover, 2014, Chapter 6 Cover, 2015
 Chapter 7 Cover, 2017, Chapter 8 Cover, 2018
While covers alone don't tell the whole tale (obviously, you should read the comic), I think they paint an interesting picture of my progress over time. While Pancake and Kara feature prominently, Naomi is definitely due for another cover, and we've yet to see a cover where all three characters are featured. Neither Rowan nor Tanner have been on a cover yet- perhaps this is also in the cards?
As I'm wrapping up work on Volume 2, and preparing for the looming Volume 2 Kickstarter (sign up here if you'd like to be notified when it launches!), its a great opportunity to look back and appreciate how far I've come on this creator owned, self published comic.


March 28, 2019
An Alternative to InDesign: Affinity Publisher
Way back at UNO, I wanted to make comics and kids books and needed the ability to print them out to present at critique. As a student in a Fine Arts program that was vehemently against children's books and comics, I was on my own for most of my production and relied upon trial, error, a lot of printing mistakes, and Photoshop to manually create a booklet.
While I was a SCAD kid, I was introduced to InDesign. It seemed like the whole class (save for Heidi, who was already familiar with it) really struggled with it, and although I continued to use it post-graduation, it was only to layout Volume 1, sketchbooks, and zines. Although InDesign is capable of page design, I found myself relying on Photoshop for that, creating individual pages with all the assets, then dropping those files into InDesign.
For my Making Comics and Zines class with NCE, I've dabbled with a few free options, which you can read about here, but wasn't entirely satisfied. Most were quite bare bones, and while I wasn't expecting something as fully fledged as InDesign, I wanted something that allowed a bit more customization.

I ended up asking Kabocha what she used, and while she admitted to also using InDesign, she recommended I check out Affinity Publisher. At first, I balked- I didn't really want to learn another program, but now I'm honestly glad I noodled around with it and gave it a shot.
Affinity Publisher is part of a small suite of applications by Affinity-Serif. They currently offer three applications- Affinity Photo, Affinity Designer, and Affinity Publisher. Today we're taking a look at Affinity Publisher, a desktop publishing application that is still in it's beta phase, and free to download. Beta means they're still working on developing it, so it may not be as feature rich as the full version, and it main contain bugs, so your mileage may vary.
Downloading and Installing
To download Affinity Publisher, you're going to need to create a free Affinity account.

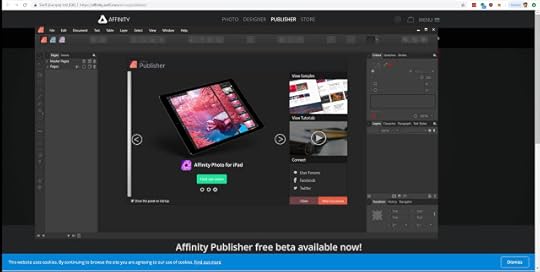
Opening Affinity Publisher
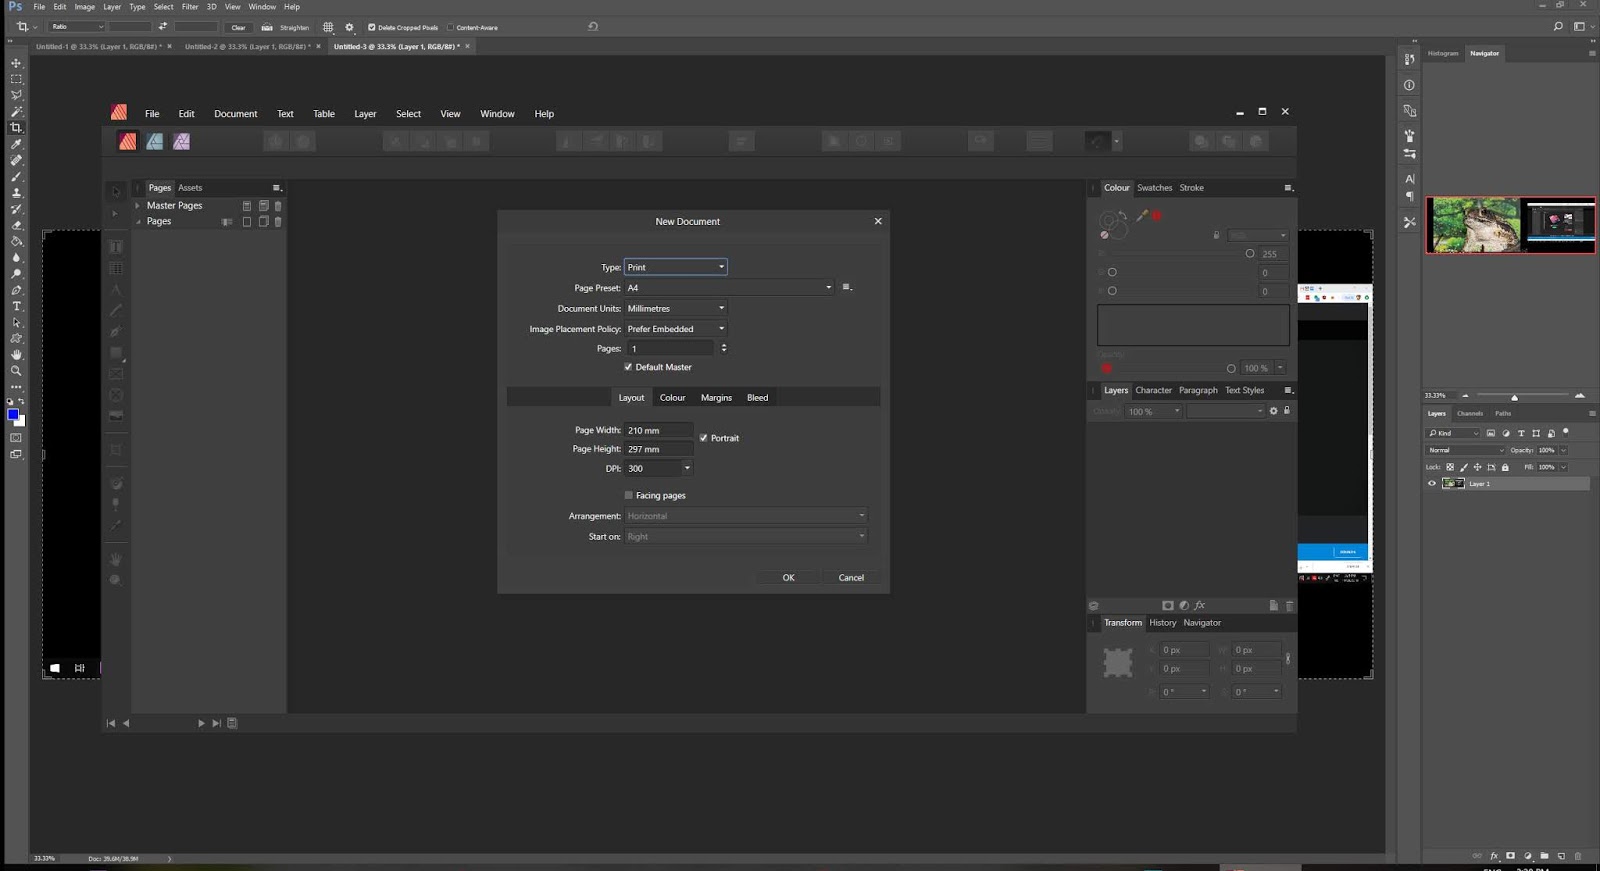
Setting Up Your Document:
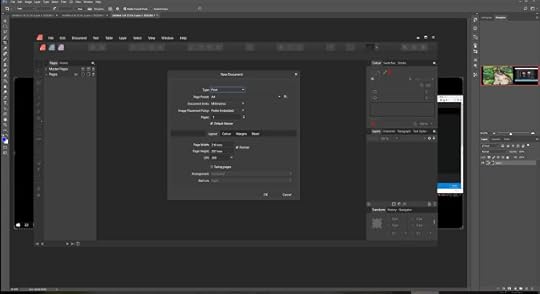
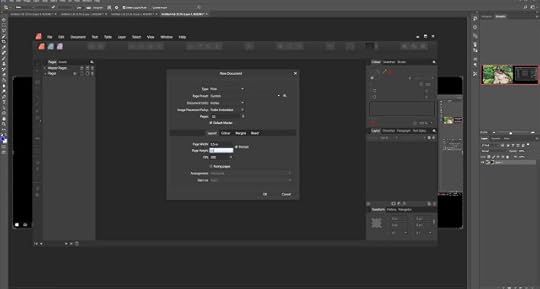
Useful Settings for Booklet/Minicomic Printing:
Assuming we're printing double sided on 8.5"x11" copier paper:
Height- 8.5"
Width- 5.5"
Number of Pages- We're aiming for multiples of 4, ideally at least 8
Select Portrait
Facing pages- this is a view setting- it lays your pages out as double page spreads. This is particularly useful if you have double page spreads or overlap between the spreads. This is not shown in this overview.
You may wish to go through the tabs and adjust Colour, Margins, and Bleed, but these settings will get you started!

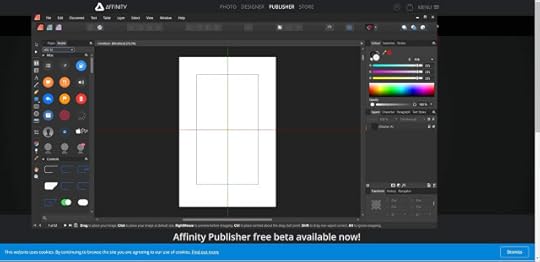
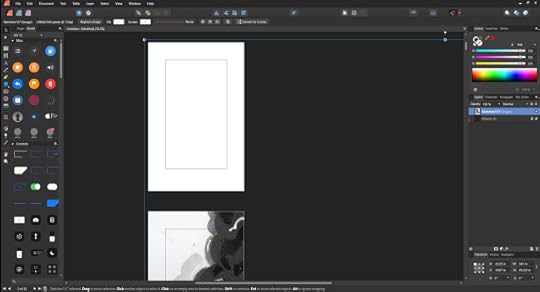
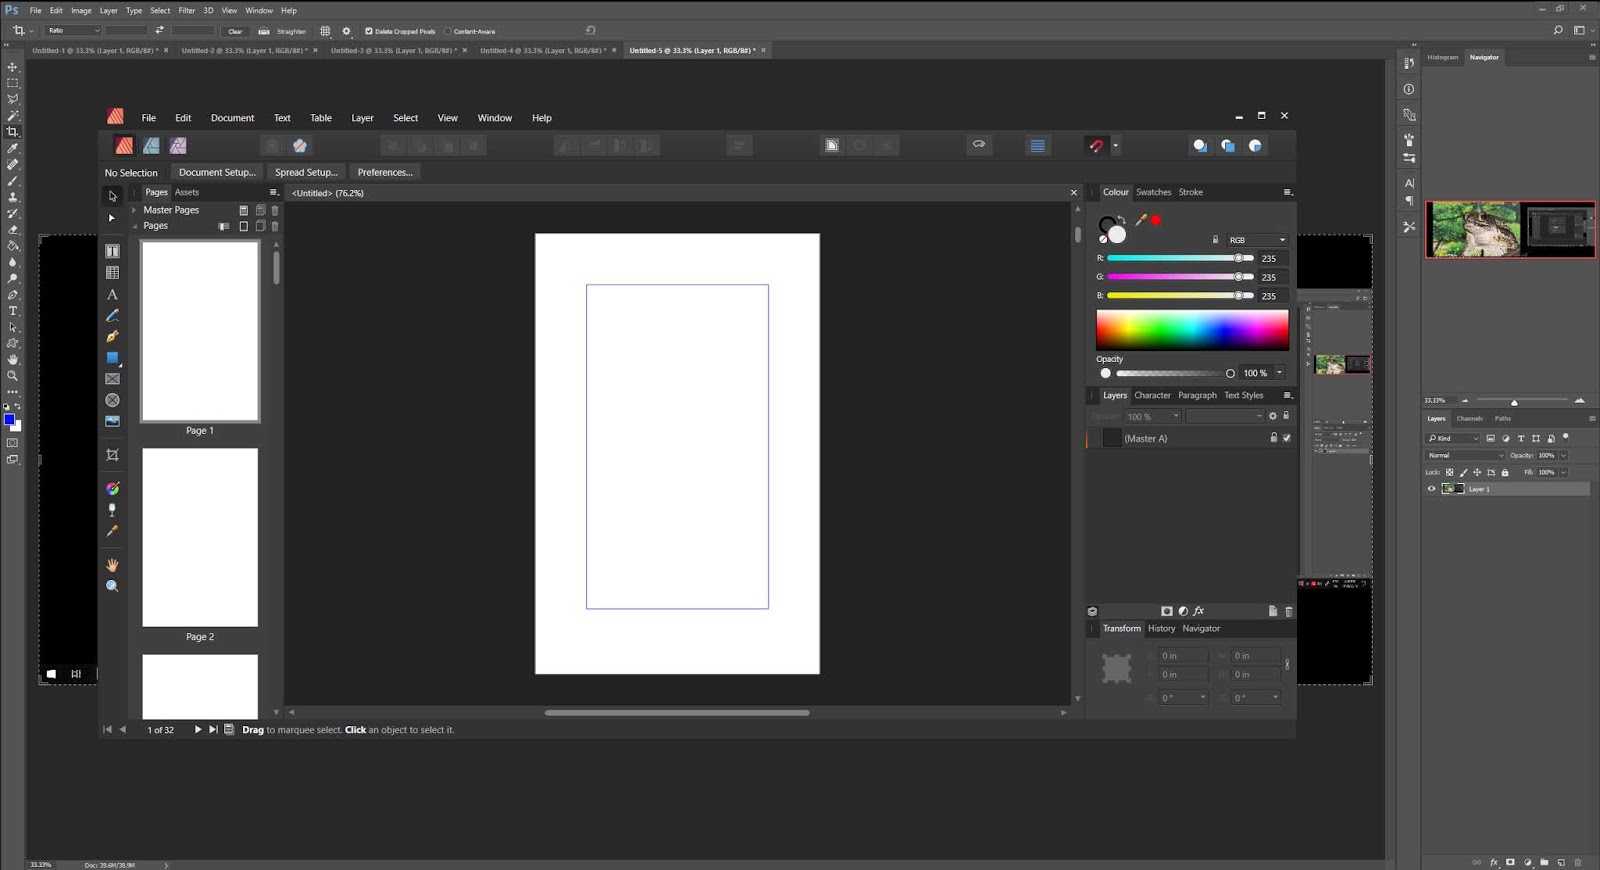
So this is the basic layout for Affinity Publisher. On the left is the Master- a quick overview of our document. Changes made to the master will effect every page.
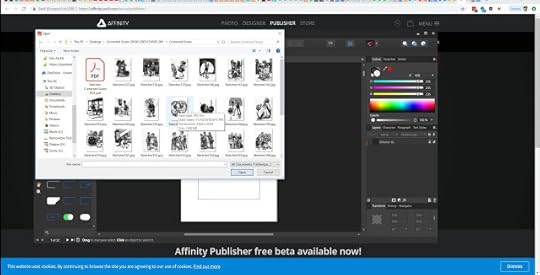
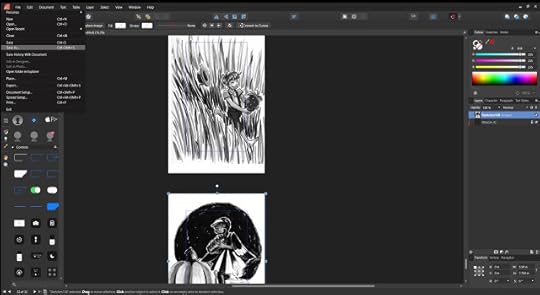
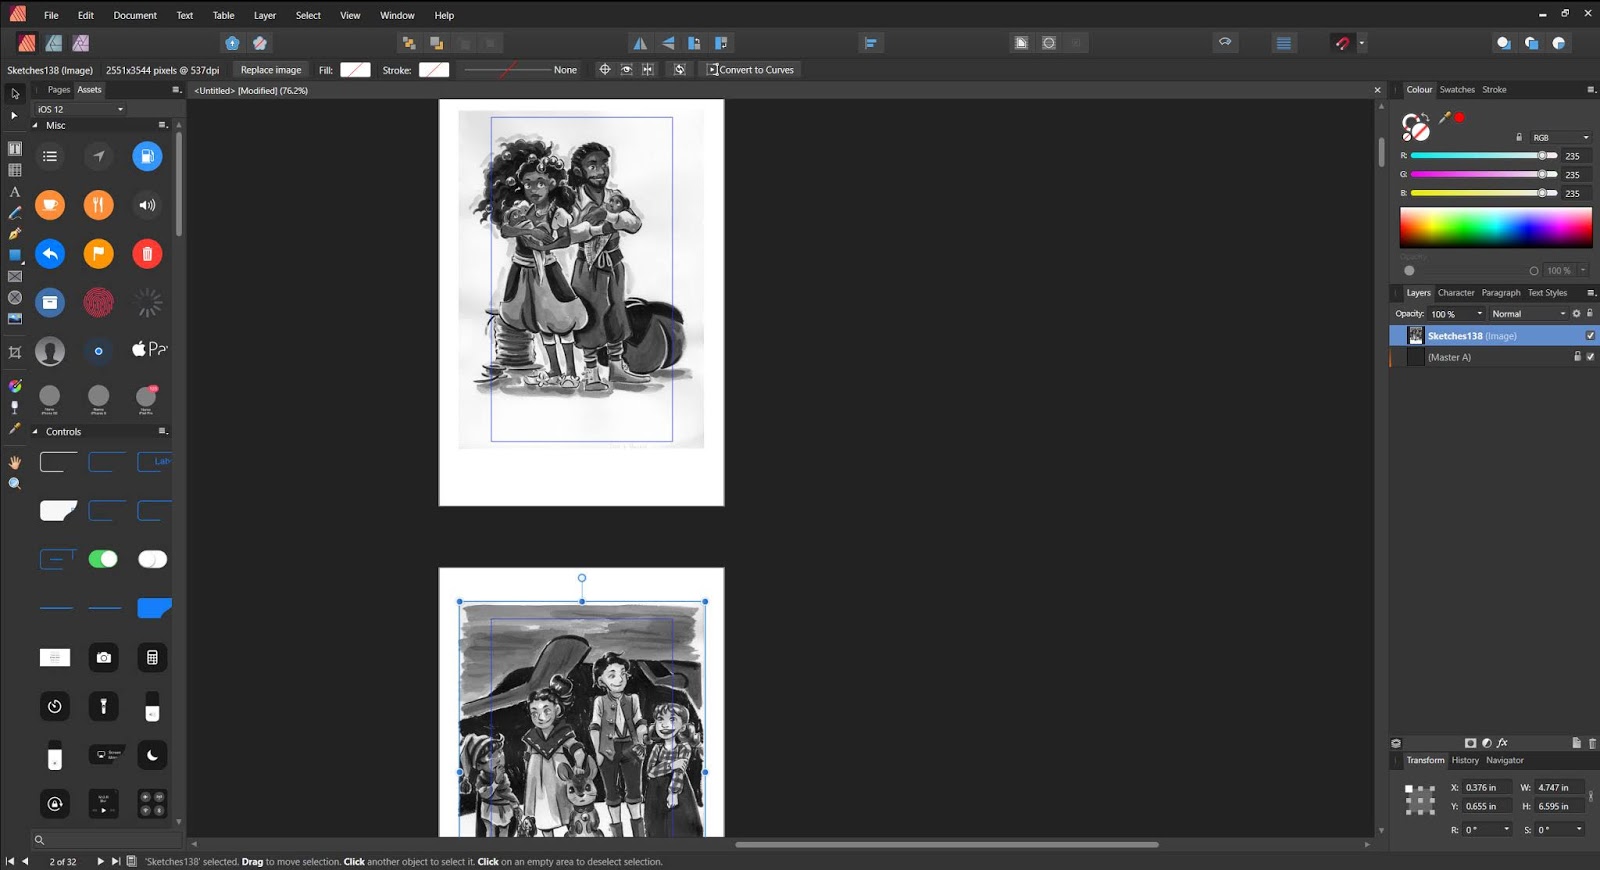
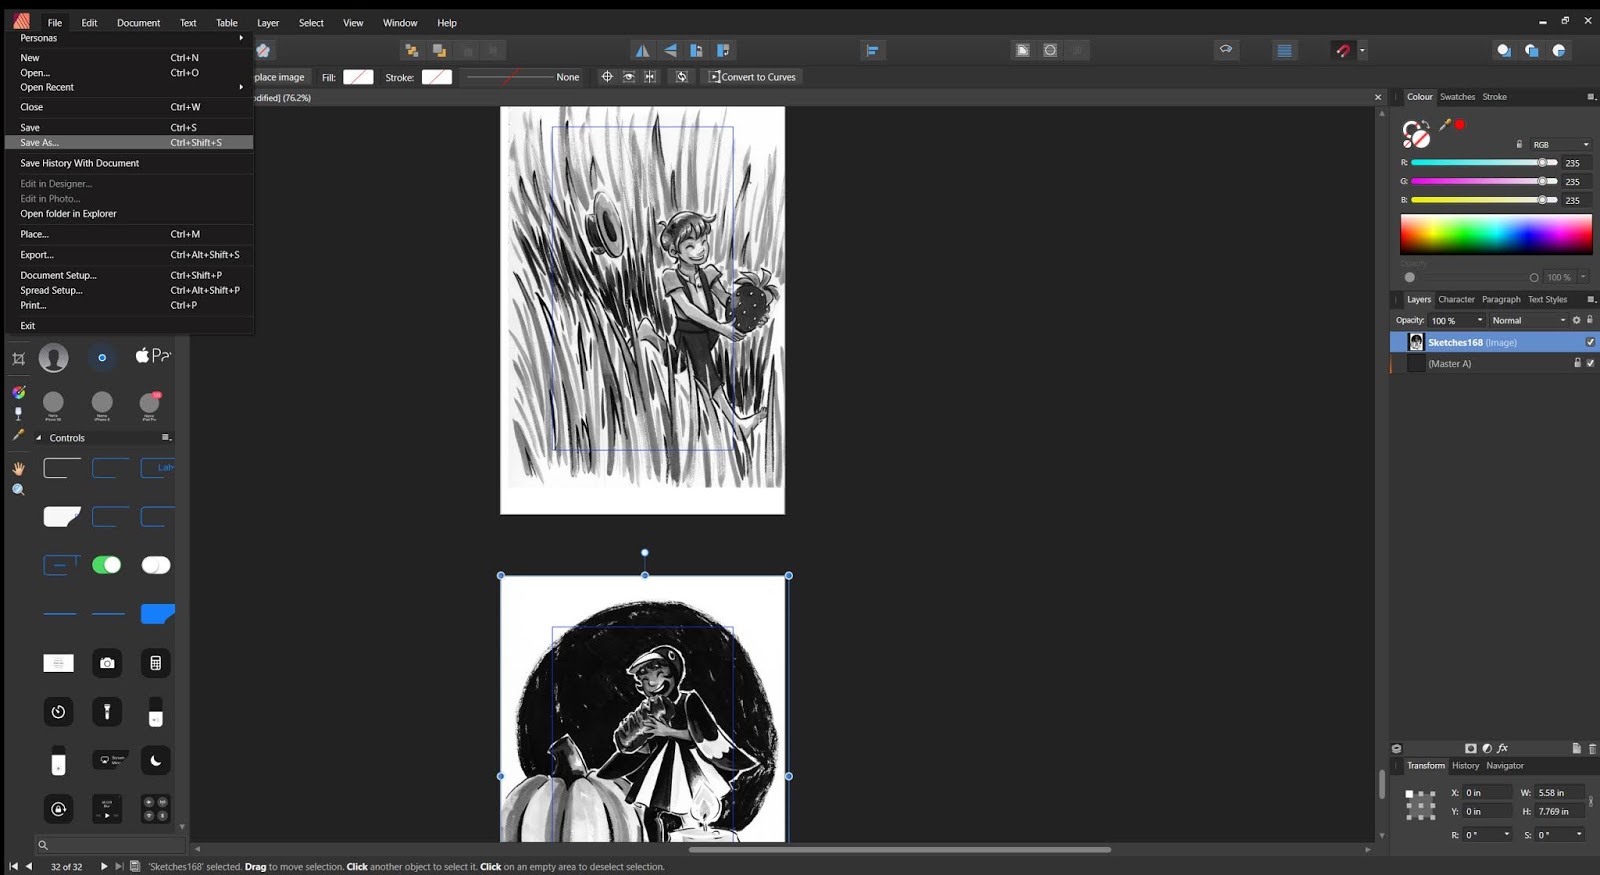
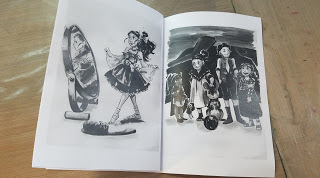
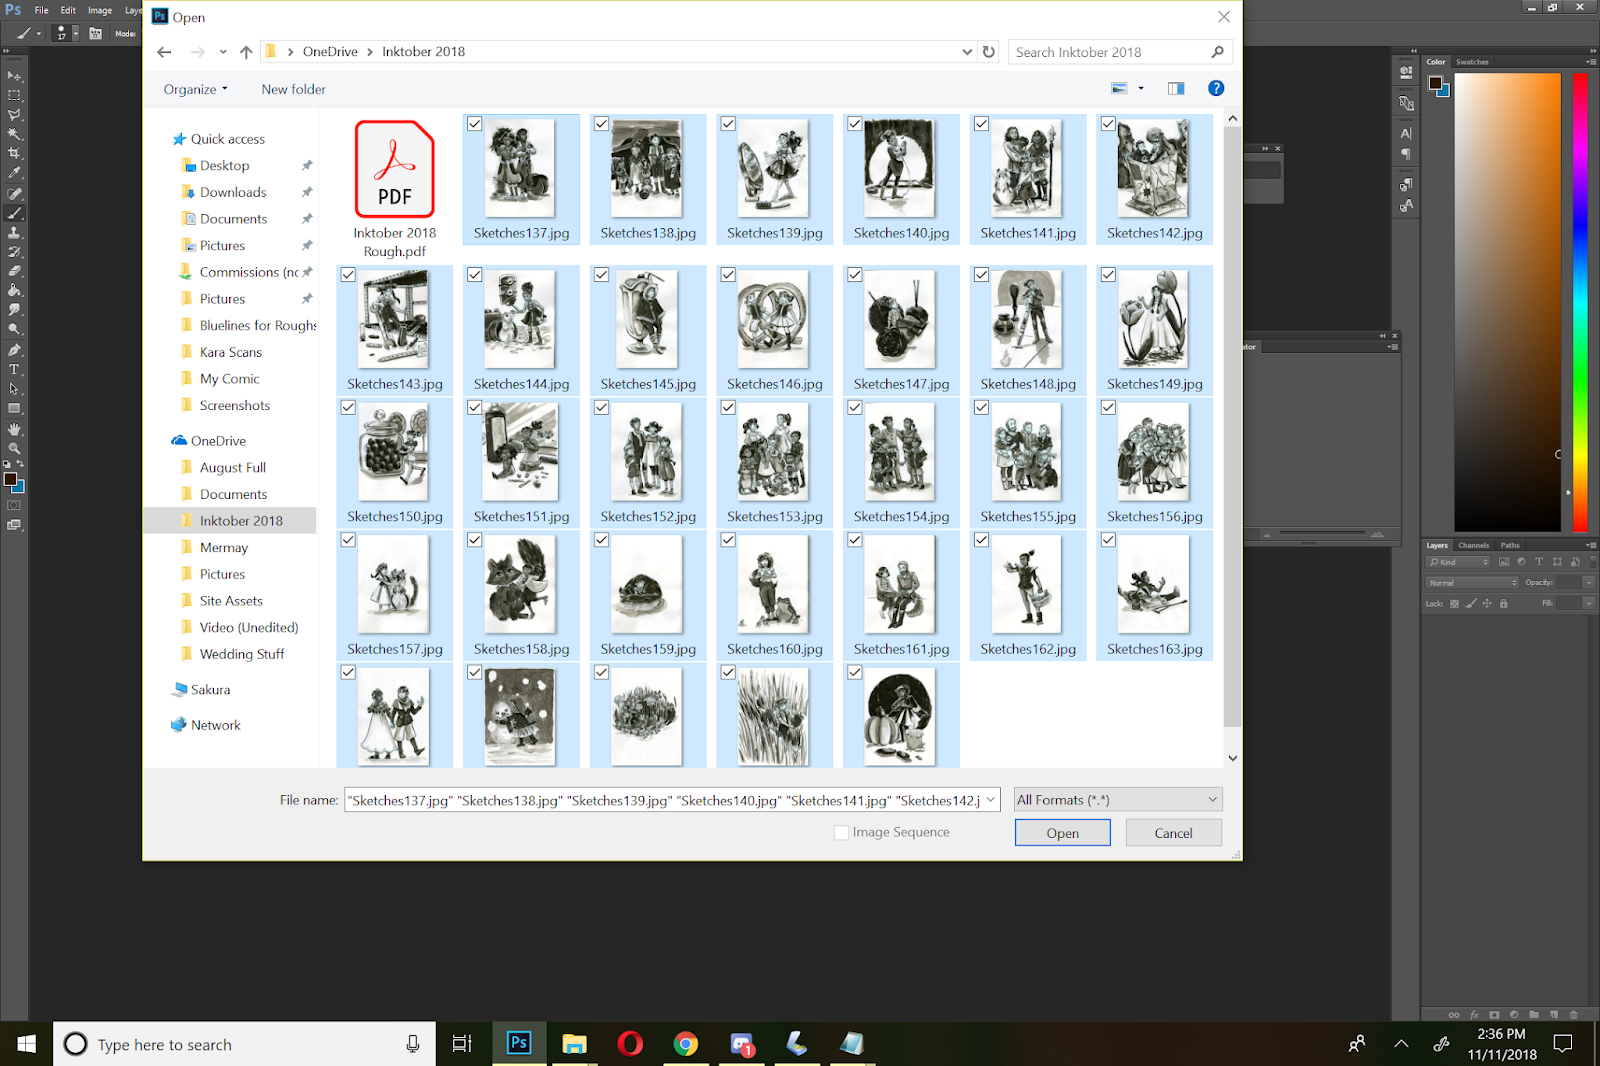
For something simple like a black and white zine with no text, select the framed picture from the toolbar- this will open a window and allow you to select your images. If you hold shift and select all the images you want to place, Affinity Publisher will hold those images in its memory.
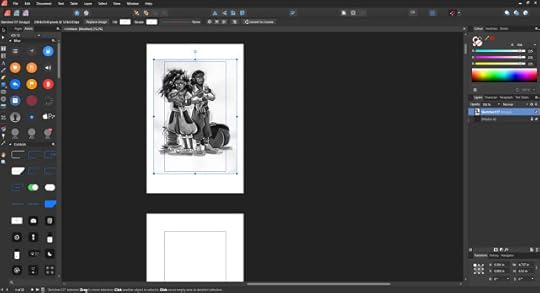
To place, you simply left click- in this example, we're placing one image per page, so I am clicking, then scrolling to the next page.
When first placed, images are placed at full size- you're going to need to scale them yourself. When laying out zines and minis, I prefer to place all my images, THEN go back and resize.
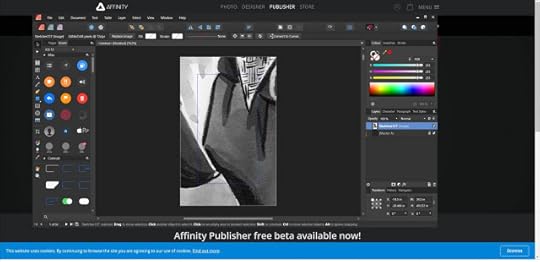
Resizing is simple- for a uniform resize, just go ahead and grab one of the corners and resize it. For a non uniform resize (lets say you want to make it taller), you would hold shift- the opposite of most Adobe programs.
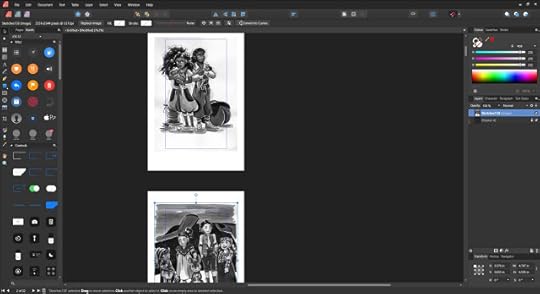
Affinity provides guidelines to help with image placement.
I'm still exploring Affinity's print and publishing options- I haven't found a way to to print as a postscript file, and then convert that file into a booklet PDF using Adobe Acrobat, which is my usual course of action when using InDesign. However, Affinity allows you to print booklets natively in the software. You do have an option to print as a PDF, just not as a printable booklet pdf that can be printed by say, Office Max.
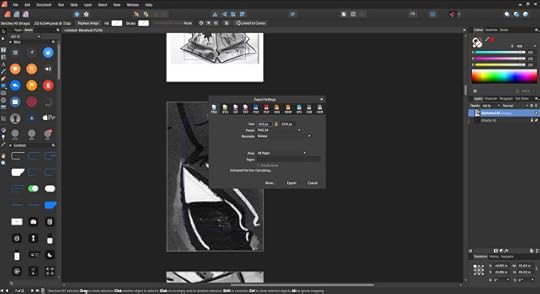
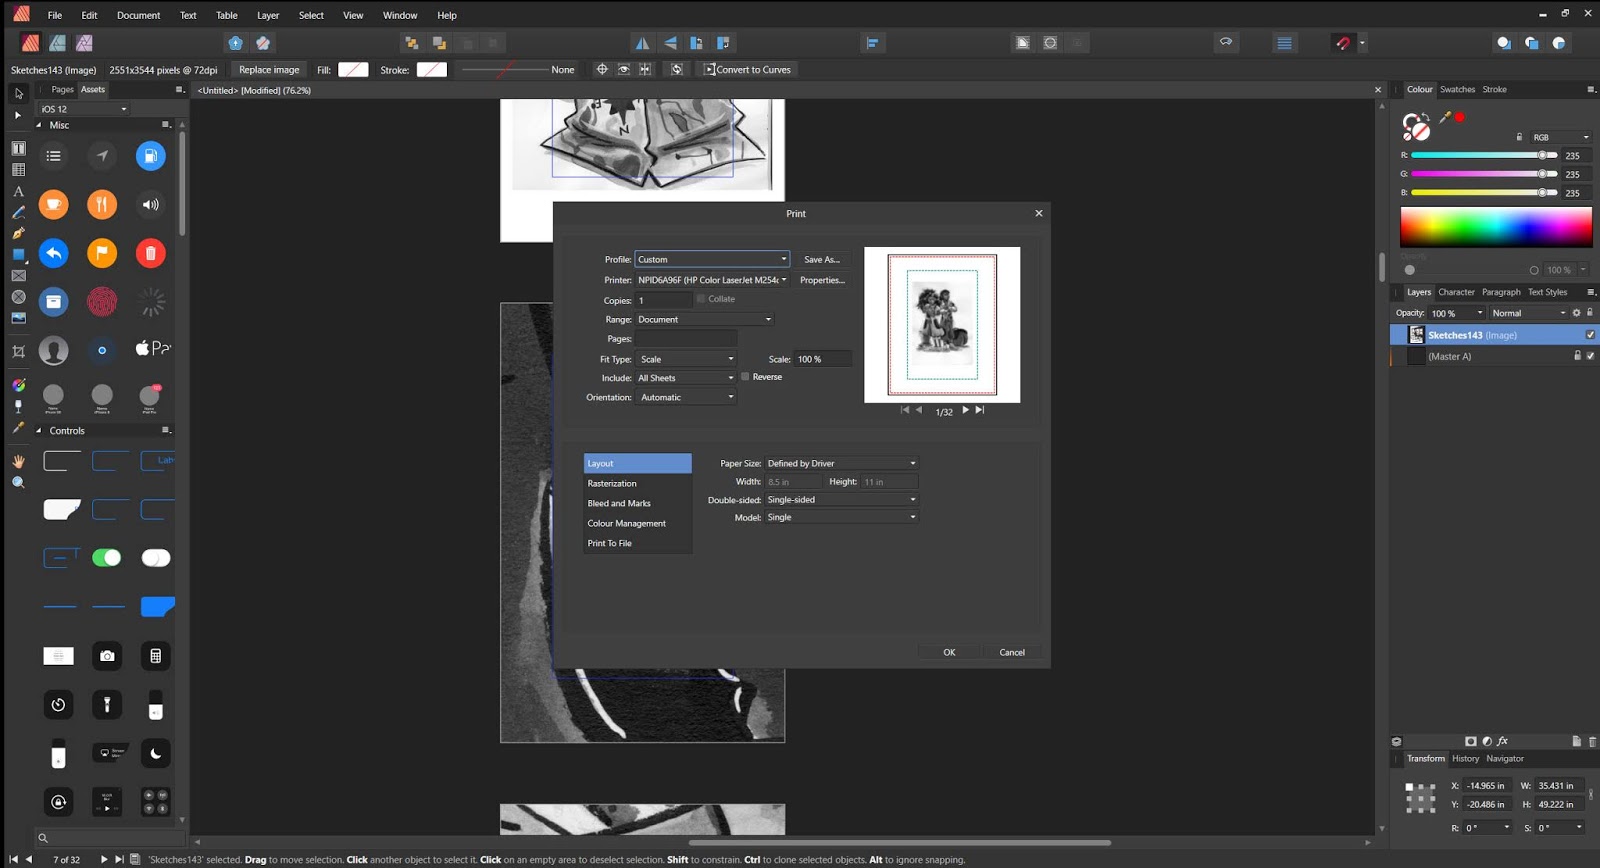
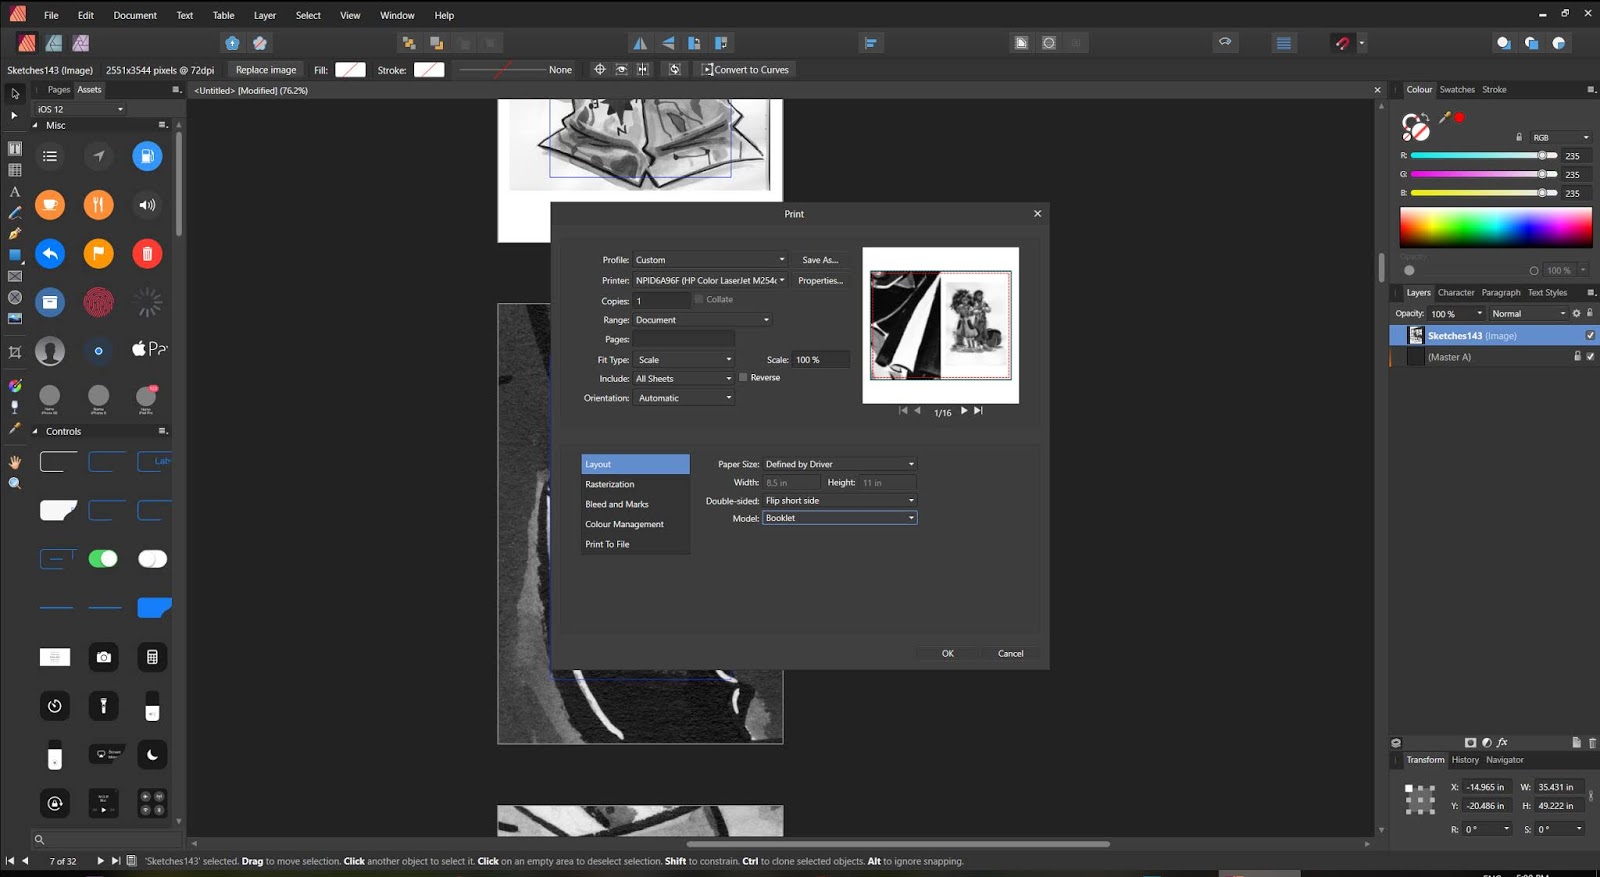
To print as a booklet from Affinity, go to Print, and you should see this dialogue box.
Remember how we talked about how your booklet should ideally be a multiple of 4 or 8 pages? That's because you can print four 'pages' on a single sheet of paper- two on one side, two on the other.
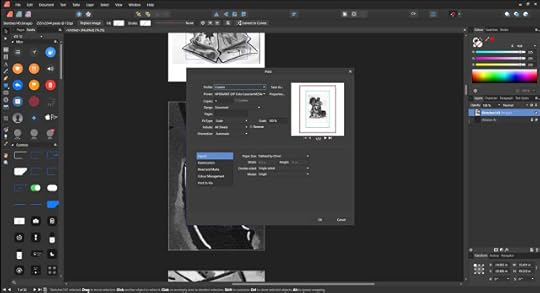
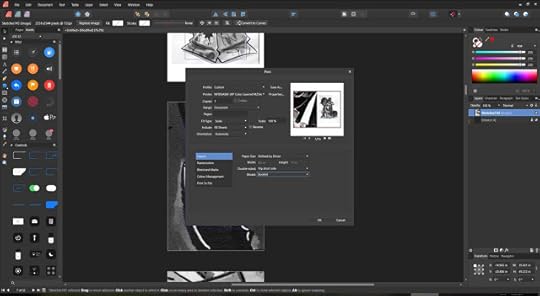
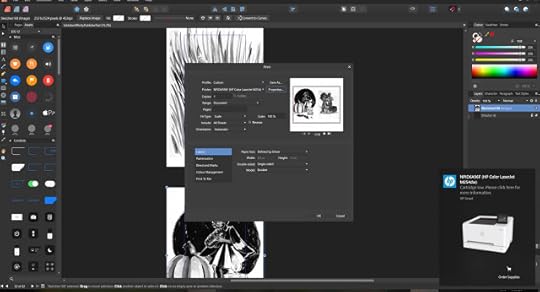
The Settings You'll Want to Select:
Paper Size- Defined by driver is fine, but if that's not working:
Width: 8.5"
Height: 11"
Model: Booklet
Double Sided: Flip on Short Side (this will only appear if you're using a duplexing printer, otherwise, you're going to have to manually flip your pages)
NOTE: If you laid the book out correctly, on the first view, you can see your front cover and your back cover. If you can't see both, you're going to need to adjust your pagecount, and possibly add pages for padding.
If you're printing more than one copy, and you have a duplexing printer, select Collate to save yourself some sanity.
And that's it!
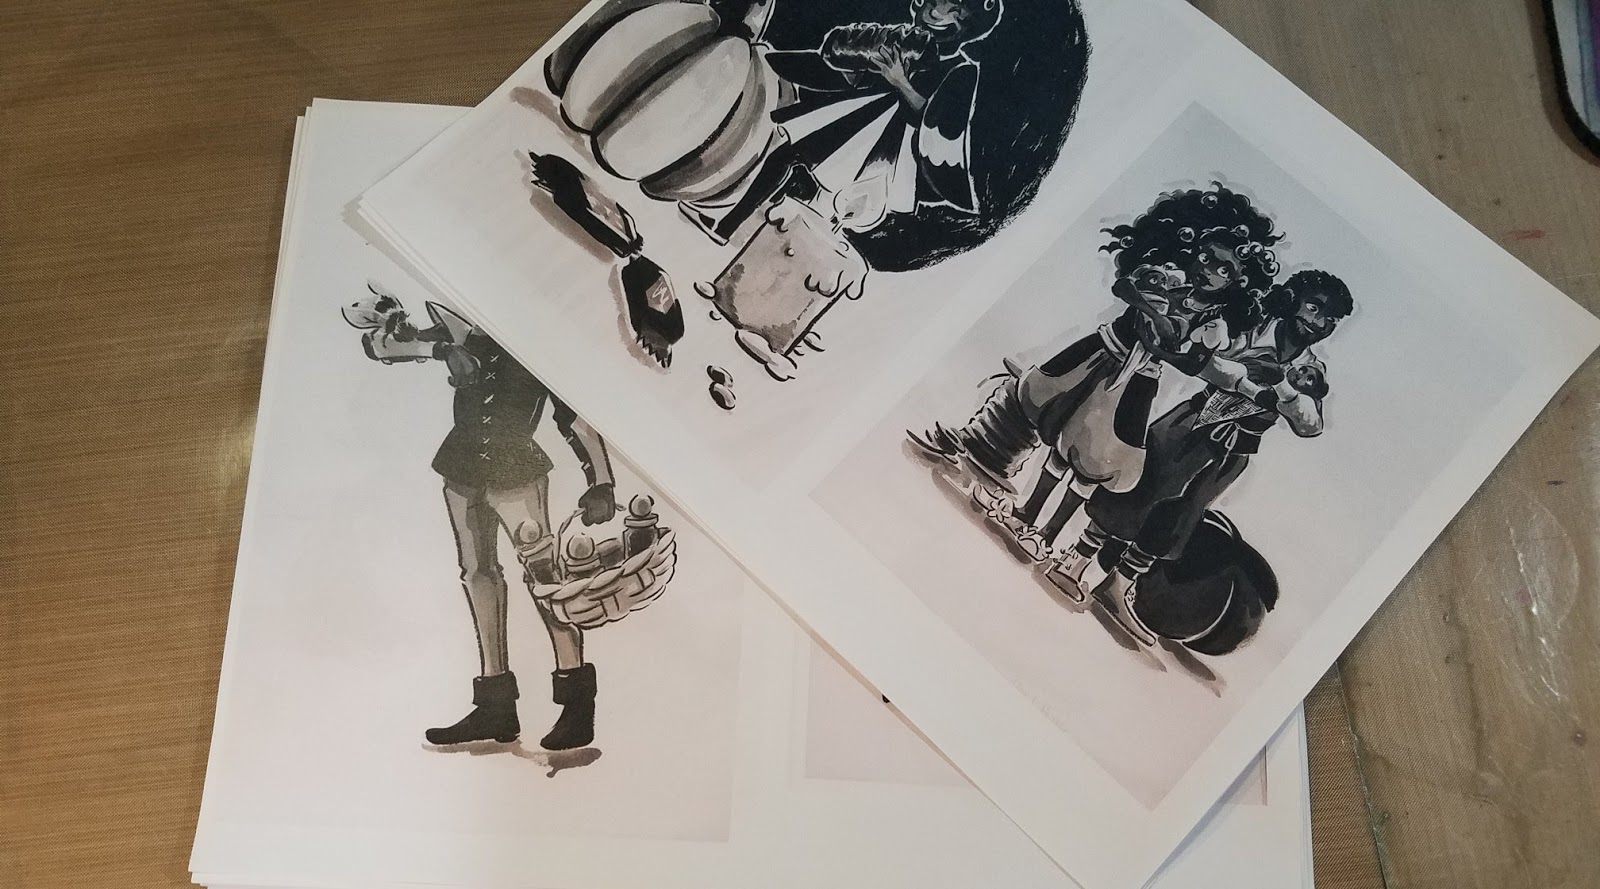
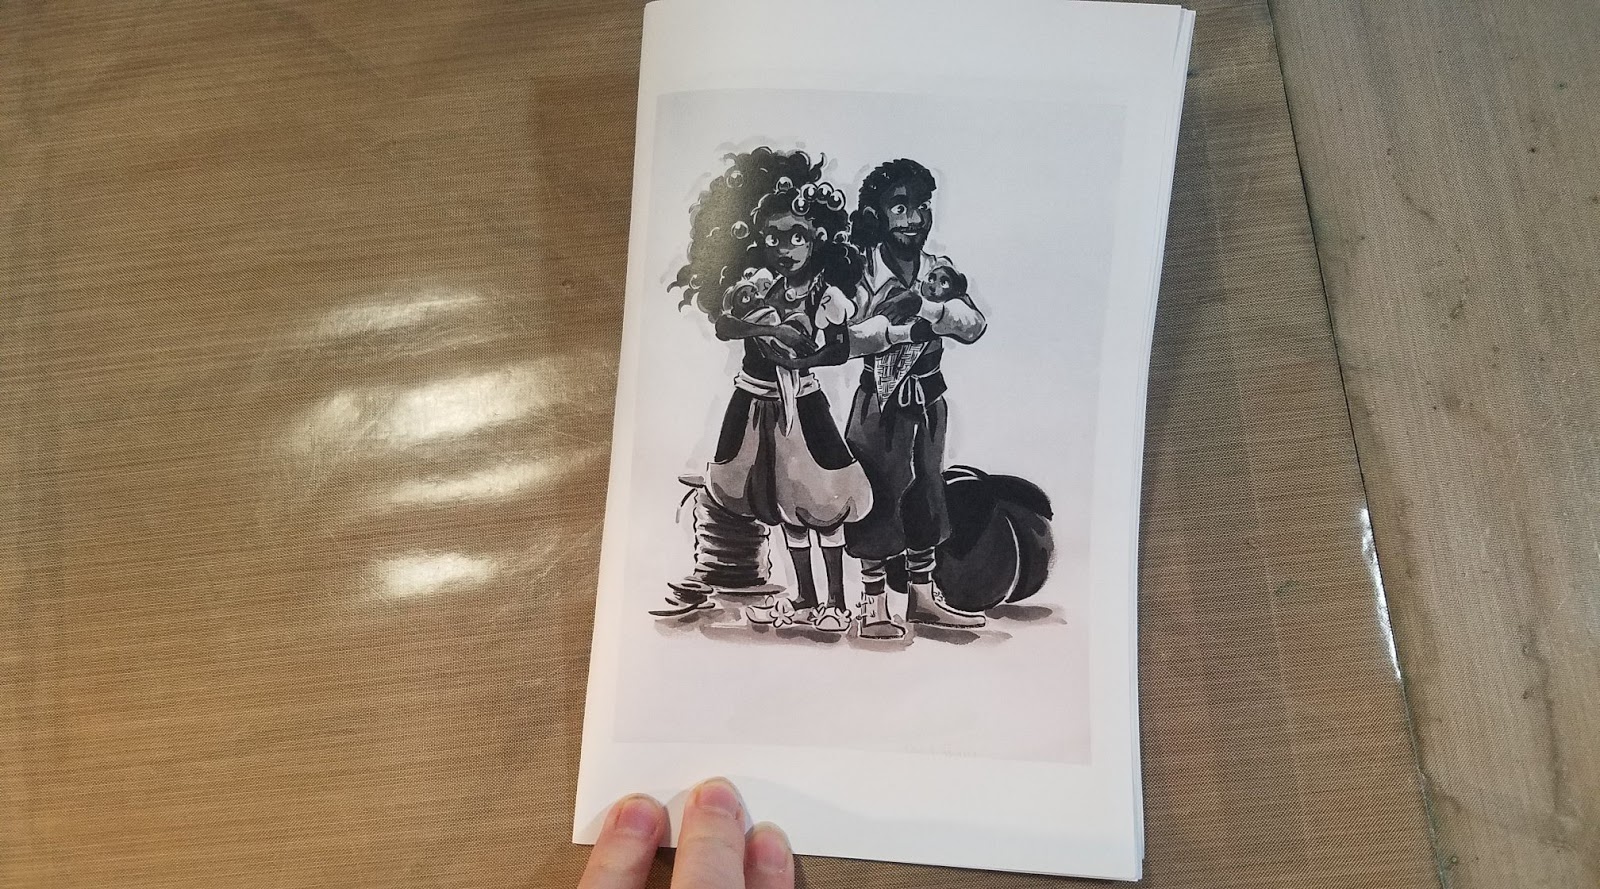
This was a quick and dirty mockup of Lilliputian Living Volume 2, mocked up to test the suitability of Affinity Publisher for my layout needs. I've gone on to use it for ALL my layout needs.
Pros:
Just like InDesign, except with a slightly different interface and larger graphicsVery easy to use if you know InDesign, might require a couple tutorials if you're new to desktop publishingAllows me to select multiple images at once, and then drop them onto pages
Cons:
I haven't yet figured out how to get large images to snap to frame/snap size, so you may spend time resizing your imagesDoes not save as a PostScript File, and saving to PDF does not save as a bookletStill have to include your source files with your booklet file, as files are just referenced, not actually embedded
To print as a booklet pdf:
Print- change your printer to Microsoft Print to PDF
To Print as a booklet from your printer:
If you have a duplexing printer:
Select: Doublesided-Flip Short Side
Model: Booklet

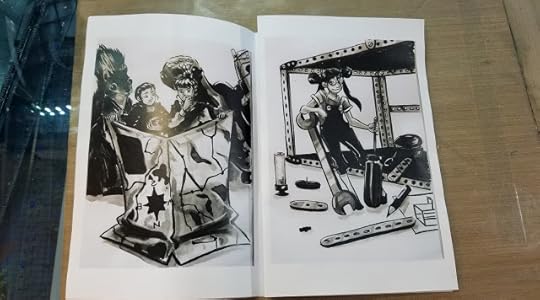
My 2017 and 2018 Volumes of Lilliputian Living. Volume 1 was laid out in InDesign, and printed through Adobe Acrobate. Volume 2 was laid out in Affinity Publisher, and printed through Affinity Publisher, although page designs and text were created in Photoshop.

I use Affinity Publisher to layout and publish my Making Comics and Zines (2018) and Making Comics (2019) students'; mini comics and zines. I really like this program- it's easy to use, lightweight, and while it does crash sometimes, it works quite well for a beta program. This is the program I recommend to my Making Comics students.
While I was a SCAD kid, I was introduced to InDesign. It seemed like the whole class (save for Heidi, who was already familiar with it) really struggled with it, and although I continued to use it post-graduation, it was only to layout Volume 1, sketchbooks, and zines. Although InDesign is capable of page design, I found myself relying on Photoshop for that, creating individual pages with all the assets, then dropping those files into InDesign.
For my Making Comics and Zines class with NCE, I've dabbled with a few free options, which you can read about here, but wasn't entirely satisfied. Most were quite bare bones, and while I wasn't expecting something as fully fledged as InDesign, I wanted something that allowed a bit more customization.
I ended up asking Kabocha what she used, and while she admitted to also using InDesign, she recommended I check out Affinity Publisher. At first, I balked- I didn't really want to learn another program, but now I'm honestly glad I noodled around with it and gave it a shot.
Affinity Publisher is part of a small suite of applications by Affinity-Serif. They currently offer three applications- Affinity Photo, Affinity Designer, and Affinity Publisher. Today we're taking a look at Affinity Publisher, a desktop publishing application that is still in it's beta phase, and free to download. Beta means they're still working on developing it, so it may not be as feature rich as the full version, and it main contain bugs, so your mileage may vary.
Downloading and Installing
To download Affinity Publisher, you're going to need to create a free Affinity account.


Opening Affinity Publisher

Setting Up Your Document:

Useful Settings for Booklet/Minicomic Printing:
Assuming we're printing double sided on 8.5"x11" copier paper:
Height- 8.5"
Width- 5.5"
Number of Pages- We're aiming for multiples of 4, ideally at least 8
Select Portrait
Facing pages- this is a view setting- it lays your pages out as double page spreads. This is particularly useful if you have double page spreads or overlap between the spreads. This is not shown in this overview.
You may wish to go through the tabs and adjust Colour, Margins, and Bleed, but these settings will get you started!
So this is the basic layout for Affinity Publisher. On the left is the Master- a quick overview of our document. Changes made to the master will effect every page.

For something simple like a black and white zine with no text, select the framed picture from the toolbar- this will open a window and allow you to select your images. If you hold shift and select all the images you want to place, Affinity Publisher will hold those images in its memory.

To place, you simply left click- in this example, we're placing one image per page, so I am clicking, then scrolling to the next page.

When first placed, images are placed at full size- you're going to need to scale them yourself. When laying out zines and minis, I prefer to place all my images, THEN go back and resize.

Resizing is simple- for a uniform resize, just go ahead and grab one of the corners and resize it. For a non uniform resize (lets say you want to make it taller), you would hold shift- the opposite of most Adobe programs.

Affinity provides guidelines to help with image placement.
I'm still exploring Affinity's print and publishing options- I haven't found a way to to print as a postscript file, and then convert that file into a booklet PDF using Adobe Acrobat, which is my usual course of action when using InDesign. However, Affinity allows you to print booklets natively in the software. You do have an option to print as a PDF, just not as a printable booklet pdf that can be printed by say, Office Max.

To print as a booklet from Affinity, go to Print, and you should see this dialogue box.
Remember how we talked about how your booklet should ideally be a multiple of 4 or 8 pages? That's because you can print four 'pages' on a single sheet of paper- two on one side, two on the other.

The Settings You'll Want to Select:
Paper Size- Defined by driver is fine, but if that's not working:
Width: 8.5"
Height: 11"
Model: Booklet
Double Sided: Flip on Short Side (this will only appear if you're using a duplexing printer, otherwise, you're going to have to manually flip your pages)
NOTE: If you laid the book out correctly, on the first view, you can see your front cover and your back cover. If you can't see both, you're going to need to adjust your pagecount, and possibly add pages for padding.
If you're printing more than one copy, and you have a duplexing printer, select Collate to save yourself some sanity.


And that's it!
This was a quick and dirty mockup of Lilliputian Living Volume 2, mocked up to test the suitability of Affinity Publisher for my layout needs. I've gone on to use it for ALL my layout needs.
Pros:
Just like InDesign, except with a slightly different interface and larger graphicsVery easy to use if you know InDesign, might require a couple tutorials if you're new to desktop publishingAllows me to select multiple images at once, and then drop them onto pages
Cons:
I haven't yet figured out how to get large images to snap to frame/snap size, so you may spend time resizing your imagesDoes not save as a PostScript File, and saving to PDF does not save as a bookletStill have to include your source files with your booklet file, as files are just referenced, not actually embedded
To print as a booklet pdf:
Print- change your printer to Microsoft Print to PDF
To Print as a booklet from your printer:
If you have a duplexing printer:
Select: Doublesided-Flip Short Side
Model: Booklet
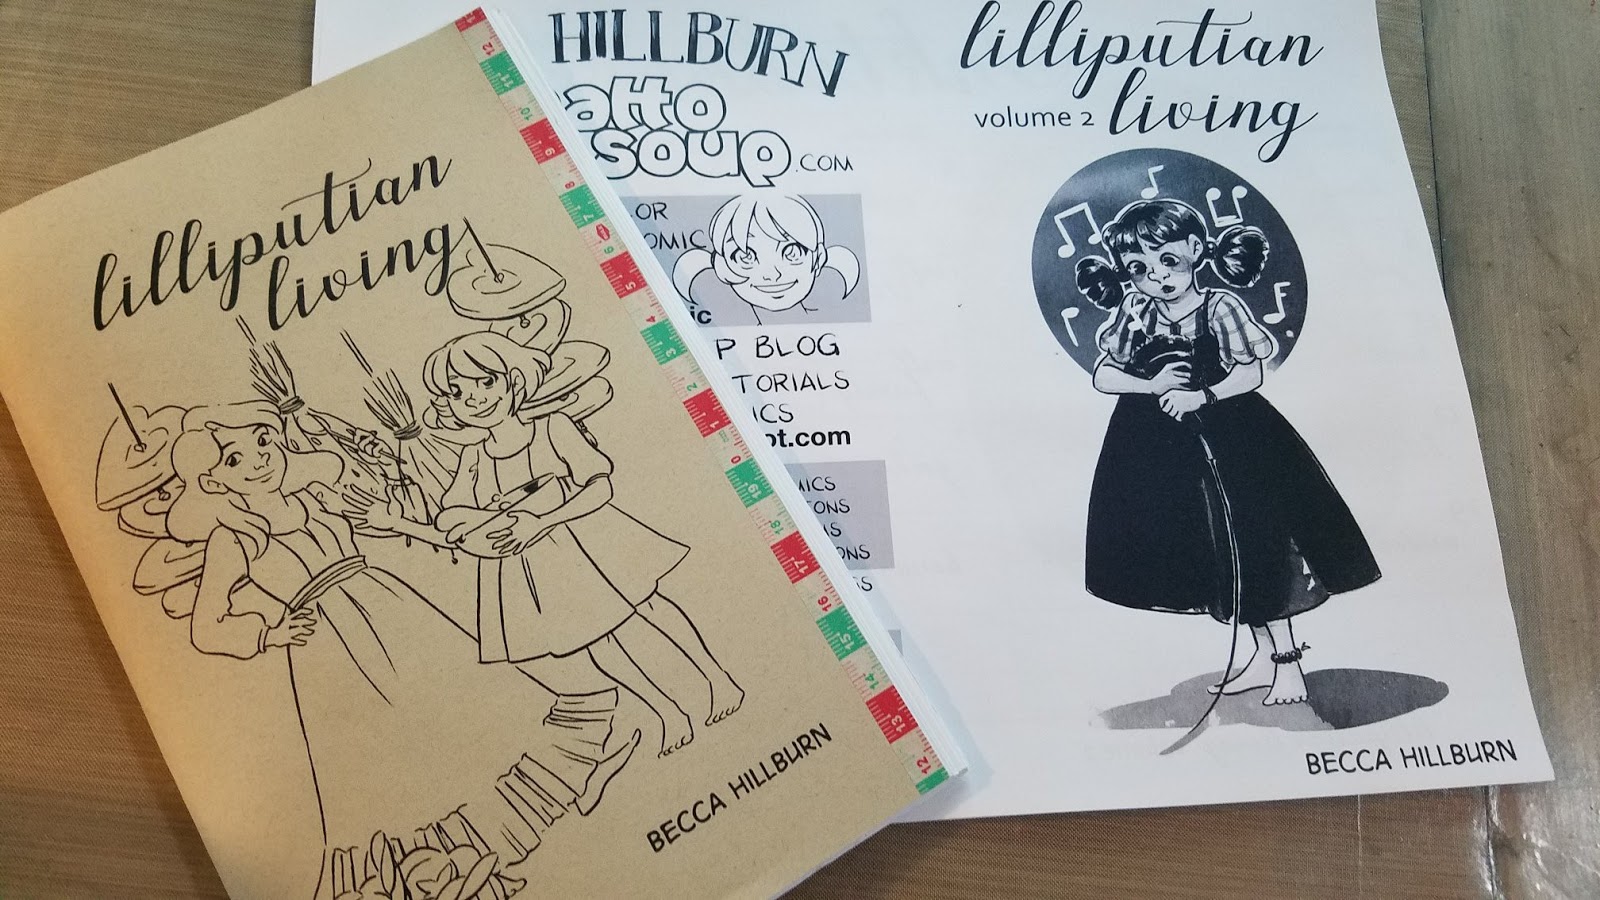
My 2017 and 2018 Volumes of Lilliputian Living. Volume 1 was laid out in InDesign, and printed through Adobe Acrobate. Volume 2 was laid out in Affinity Publisher, and printed through Affinity Publisher, although page designs and text were created in Photoshop.

I use Affinity Publisher to layout and publish my Making Comics and Zines (2018) and Making Comics (2019) students'; mini comics and zines. I really like this program- it's easy to use, lightweight, and while it does crash sometimes, it works quite well for a beta program. This is the program I recommend to my Making Comics students.
March 21, 2019
Free(to access)/Cheap Art Education Resources
Of course, you guys know that this blog, my Youtube, and my Patreon are all helpful resources for upping your artistic game, but today I wanted to share some other great resources (some local, some online) that can help you pursue your art education affordably and at your own pace.
1. Local art stores often offer art classes and workshops-some free, some paid, all cheaper than art school. Ask at the checkout counter and check the community board! Classes usually range from watercolor to printmaking to oils, but some art stores may offer comic classes!
2. Community Education often offers very affordable art classes taught by lifelong professionals.
3. Your local library may offer classes or may host events that include workshops and educational panels. These are usually free to the public!
4. Your local library has an art section, and if they're missing a text you wish to use, you can fill out a library request form and they'll order it!
Recommended Reading Shortlist:
Glen Vilppu's Figure Drawing Manual
Andrew Loomis' Figure Drawing for All Its Worth
Jack Hamm's Drawing the Head and Figure
Scott McCloud's Understanding Comics
The Animator's Bible
Writing Words and Drawing Pictures
Mastering Comics
I have loads more recommendations in the sidebar of this blog!
5. Community colleges often offer art classes at reasonable prices, and may also offer figure drawing sessions to the general public
6. Meetup.com Can be great for meeting other people in your local area who share your interests. This is a great way to find out about drink and draw meetups, figure drawing sessions, and urban sketching groups.
7. YouTube is an amazing resource for free to view art resources, lessons, and tutorials. Many brands have channels that showcase how to use their products.
A few recommended brand channels:
BlickWinsor NewtonJerry's ArtaramaSAA ProductsNickerenoguSmith Micro Graphics (Clip Studio Paint, ect)
8. Looking for a structured place to start? The Improvement Hell Challenge is one of my favorite art school bootcamp activities. It's designed to take a month, but if you're a beginner, you may wish to devote a week to practicing each type of exercise (so 31 weeks, a little over half a year). I highly recommend it: http://pencilcat.tumblr.com/post/2742...
9. Youtube also hosts many amazing channels that demonstrate art techniques and explain various art materials.
A few recommended art channels:
ProkoBobby ChiuSchoolismLachri Fine ArtJames GurneyGerimiAlphonso DunnBrandon DaytonThe Painting and Drawing ChannelFStoppersNew Masters AcademyArt MentorsMateusz UrbanowiczNaschiWaka WatercolorsRambutanWill TerrellAaron BlaiseJoy SanLemia CrescentThe Mind of WatercolorSakuemsCetriya Art n Comics ChannelMakoccinoMcKay and Gray
10. Art blogs. Not everyone learns well just listening, some need visual reinforcement! Blogs predate Youtube and podcasts, and while they've fallen out of favor as the media of choice, they're still a helpful resource and a wonderful art asset.
A few recommended blogs:
Temple of the Seven Golden CamelsGurney JourneyJane Blundell ArtMateusz Urbanowicz
11. Art and Industry Podcasts- these can be great to put on in the background, and listen and learn while you work!
A few recommended podcasts:
Graphic Novel TK talks about the publishing side of comics from an industry insider's perspective https://soundcloud.com/graphicnoveltkLean Into Art explores an analytical approach to making art from a perspective similar to journaling. Great for learning how to think holistically about the work you create. https://player.fm/series/lean-into-artUp and Coning Arts is a collection of artist interviews conducted by Joseph Coco at various conventions. The main focus is independent artists selling their art and comics: https://www.stitcher.com/podcast/anchor-podcasts/up-and-coning-artistsComix Launch: http://www.comixlaunch.com/category/podcast/Stories Unbound: https://itunes.apple.com/us/podcast/stories-unbound/id1067519207?mt=2Comics Alternative: http://comicsalternative.com/Creator's Cast: http://www.scottking.info/blog/creators-cast/12. Industry organizations often host panels, workshops, and meetups that will help you learn the trade AND meet other artists. Many also help organize critique groups!
The Society of Childrens Book Writers and Illustrators
Tennessee Watercolor Society (not in Tennessee? Your local area probably has a local art guild!)
The Society of Illustrators
13. Comic conventions often offer panels hosted by working professional artists-from watercolor to crafting autobiographical stories, all there for the cost of admission (and travel, but seriously local small cons offer these too!)
14. Patreon! Many artists share WIP, work blogs, and work vlogs to backers! This is an affordable way to gain access to their experience, their mistakes, and their process, while supporting their work. You can learn a lot from viewing work in progress!
Some great Patreons to support:
Nashi
Lean into Art
Senshi Stock
Tungles
Audra Ann Furuichi
Jesse Hamm (I highly recommend his Patreon, he shares some great blogs and awesome advice here)
Matt Cummings
Elaine Tipping
15. No figure drawing sessions in your area? Lack transportation? There are great online resources to help you practice figure drawing!
Croquis Cafe : Want a free place to level up your figure drawing game? Croquis Cafe offers hour+ videos that take you through an entire figure drawing session from warm ups to guided study, to long figure drawing poses Senshi Stock has an amazing pose generator that you can use for timed pose sketches, as well as an amazing catalogue of photo reference on their Deviantart and Patreon Quick Poses offers a similar service, with all sorts of tweakable features, from gender to amount of clothing Line of Action ALSO offers a similar tool, but also has a tool for hand poses as well! 16. Maybe you just want to get into the habit of doing daily sketches, and don't necessarily want to focus on just one thing? Sketch Daily has a reference generator you can use! http://reference.sketchdaily.net/en
17. Twitter can be a wonderful resource for learning about new opportunities, keeping up to date, meeting other artists, and learning how the industry of your choice works!
What most aspiring artists, and artists upping their skill set need most often seems to be feedback from other artists, and a system that holds the accountable for learning new skills, practicing foundational skills, and making time for referenced sketches. While many of the above resources are self propelled, many artists benefit from collaborative education- structured assignments, a set place to meet, classmates going through the same experiences. That's why, even if you opt to go the self-motivated route, I highly encourage participating in at least one group activity or class. This can be something you setup online using Discord, or it can be a class through your local art supply shop, library, or community ed.
March 18, 2019
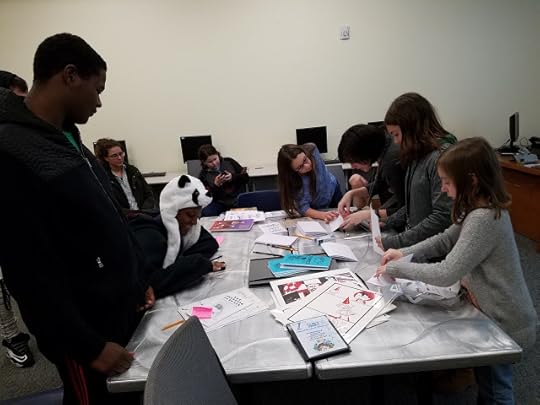
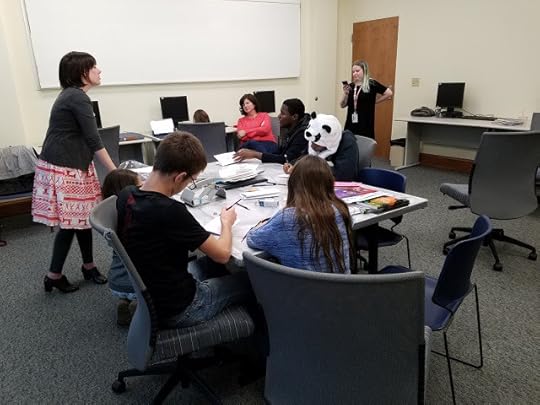
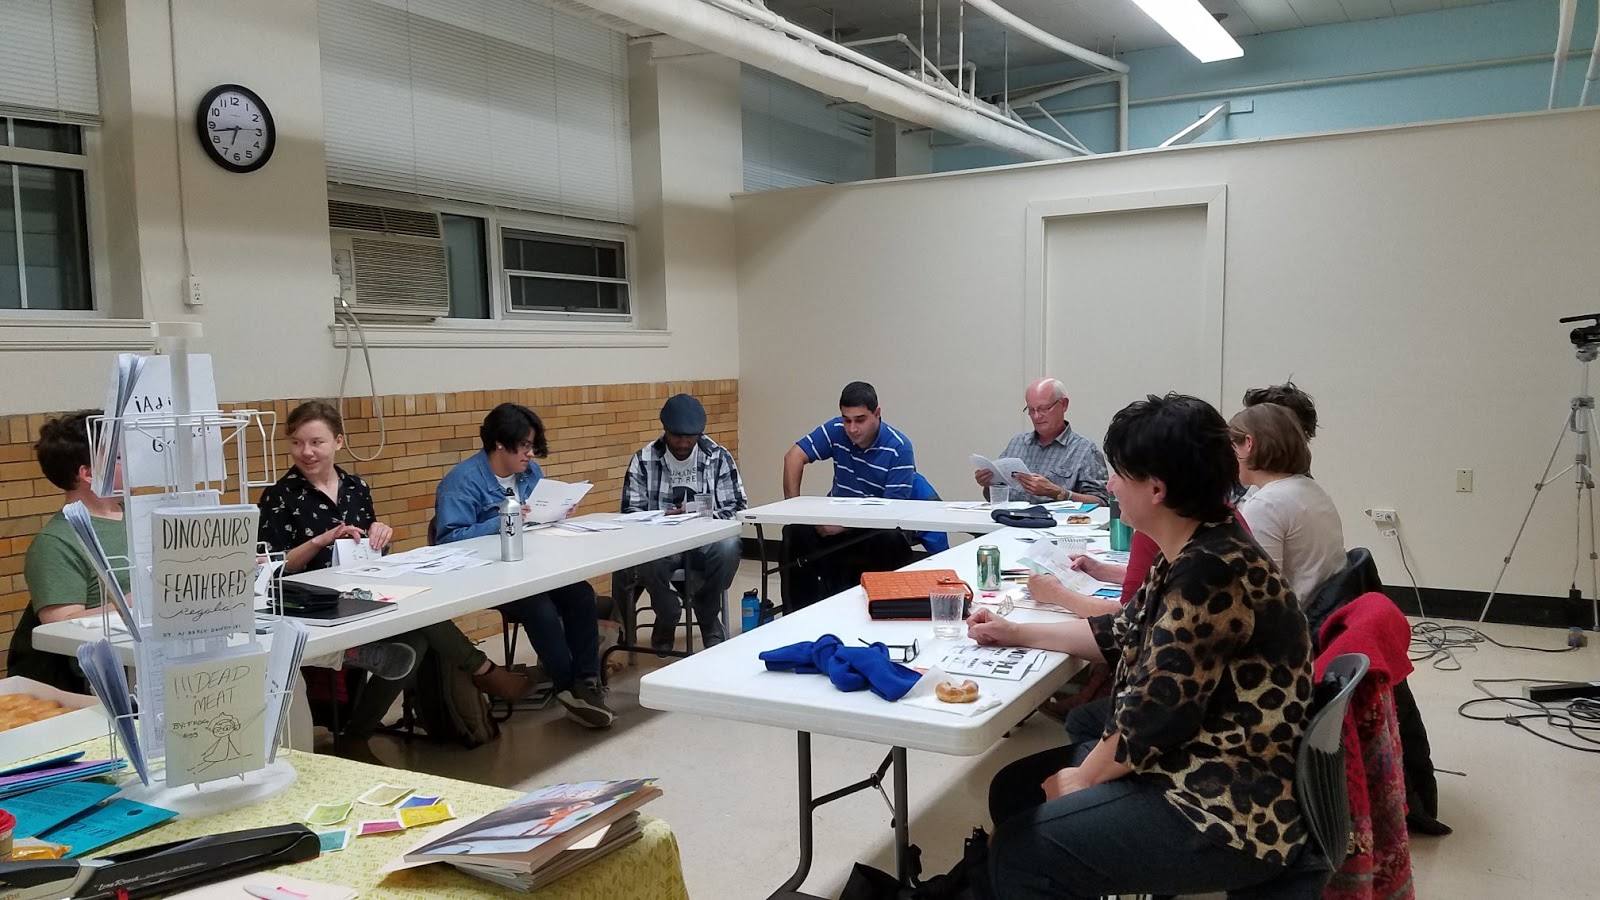
Teaching Comics Professionally
So I've taught two semesters of Making Comics with Nashville Community Education, and I thought now was a great time to share my experiences, and compare the two very different semesters.
If you're interested in taking one of my classes in the Nashville area, sign up for workshop and class notifications!
Before we dive in, I want to point out that this isn't my first time teaching- I've taught off and on in various capacities since I graduated from UNO. From volunteering at my Alma Mater to TA'ing an undergraduate Self Publishing class, to various workshops with conventions and libraries, I have some teaching experience, and felt I was prepared to teach a longer class.
I've also tried pitching various comic classes in the Nashville area for several years now, and hadn't had much lasting success. As an untested product, it was difficult to get organizations to take a chance. I'd gotten to a point where if people were interested in having me teach a comics segment, they were only remained interested if the price tag was free, and I'd grown tired of doing volunteer education that did not further my career nor helped me develop my resume. Joseph suggested I try once again with Nashville Community Education, and something told me it was worth another chance.
My initial pitch to Nashville Community Education was for an eight week class that met up twice a week. This idea was rejected, but I was given the go ahead for a six week class that met once weekly, giving me six classes to cover the basics. This was a tall order, and I wasn't sure if I could condense a thorough introduction into comics into just six weeks.
I patterned my class off SCAD's graduate intensives, as I felt that was an immersive, fairly complete deep dive into comics. Classes started at $60 for all six weeks, and I wanted to make sure my students' got their money's worth. I also needed to prove to myself that my work and knowledge had value- I'd hit my rock bottom in 2016, and was working my way back up to the surface.
Semester 1:
Fall 2018
This class was only available to people 18 and up
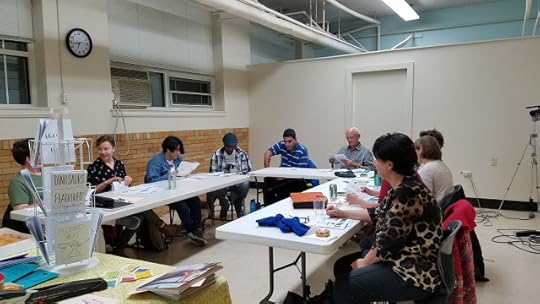
We didn't have much trouble filling the glass, promotion was fairly minimal and almost entirely online. I did table at the NCE Open House, an outdoor event that coincided with the local farmer's market, on a beautiful Saturday in August, and I feel like presenting my work in that context made it easier to find interested students. I also promoted the class during Handmade and Bound, a three day outdoor book event open to the public.
My first semester was a struggle. I started off the semester sick as a dog from Handmade and Bound, this melange lingered for the first three weeks, and this really put a damper on the class.
Although I had videos, presentations, and handouts prepared for the duration of the course, I didn't design exercises to help reinforce concepts, and tended to just plow through the lecture. The best experiences I had happened after class three (perspective), when my cold finally abated and we'd covered enough of the basics that the students were working on their own projects. This gave me a chance to actually engage them about their projects one on one, in person, and this was when things really started to click.
For this class, I handled all of the printing- from class handouts to printing their comic work to printing the final zines. I went through several reams of copy paper, and used several toner cartridges, making this an expensive class to teach.
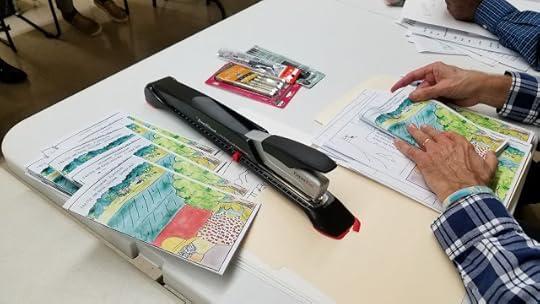
The Inking Workshop was probably the best class- entirely hands on, lots of fun art supplies to play around with, and I knew that for the next class, I needed to ease back on presentations and focus more on hands-on activities.
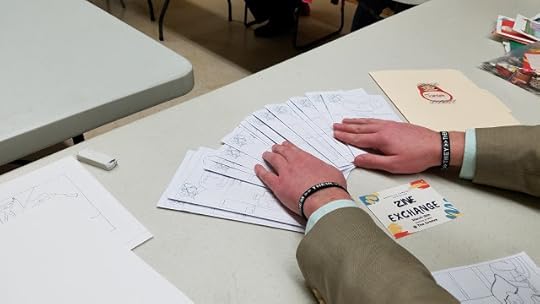
Our zine exchange took place on class six- we really had to scramble to get to that point. Most students submitted zines, but everyone submitted something. Our exchange was fairly small, and only open to students.
It was a huge relief to finish this semester, and I was determined to learn from my mistakes, and give it another semester before throwing in the towel.
Interim Teaching
In between my first and second Nashville Making Comics classes, I taught three comics-focused workshops with the St Charles Parish Library System, and this really gave me a chance to revise my presentations and work in exercises
Classes Taught:
DIY Zines
Writing Comics
Inking Comics
Each class was held at a different branch of the St Charles Parish Library system- Destrehan, Luling, and Paradis, Louisiana. Each class was supervised by a branch librarian, and all participated in the workshop to varying degrees. For these workshops, I had my mom's assistance in setting up and engaging the attendees, although for the Inking Workshop, I put my family to work learning the basics of inking.
These classes were open to students of all ages, but the majority of students were young and active, full of ideas and ready to start drawing. The classes had to be revised to better suit their needs and patience, and while revising these classes, I learned a lot about how to make my classes more interactive.
DIY Zines was the first class I taught with this group, and I was surprised by how young the attendees were. I ended up scrapping half my presentation, and just focused on assembling booklets for the kids to draw in. Many of the attendees ended up finishing their short comics during the class session, which is really impressive! Kids' willingness to A: Draw in class, B: show off their art, even if they feel they can't draw is very inspiring for me, and I feel having a few eager students in a class can really buoy the whole classroom.
Writing Comics was held the day after DIY Zines, and I spent a couple hours that evening revising the presentation to be much more kid friendly. Kids love talking about their projects, so I tried to work interaction into the presentation every couple slides. This went so well that I added that element to my NCE Making Comics presentations. During this class, we talked about planning a comic in a very basic way, then the kids launched into working on their own projects. St Charles Parish really needs a Comic Artists Club- all these kids need is a little encouragement and some paper, and they're ready to make comics!
Inking Comics was held a week after the Writing Comics class, right after Christmas, and was much more structured than the other two classes. Students practiced drawing and inking their own art, or could practice techniques on some of the blueline exercises I had prepared in advance. Everyone in the class took to inking like ducks to water, and I was really impressed by the skill shown by our first time nib users!
Semester 2:
Spring 2019


This class was open to students age 13-16 with a parent in attendance, 16 and up with parental permission. I'm really excited about this shift, because during the Open House, many parents were interested in comics classes for their kids.
Class was more difficult to fill, we really had to do a lot to promote it. I think this difficulty was due to the fact that I had no physical events scheduled where I could promote the class directly.
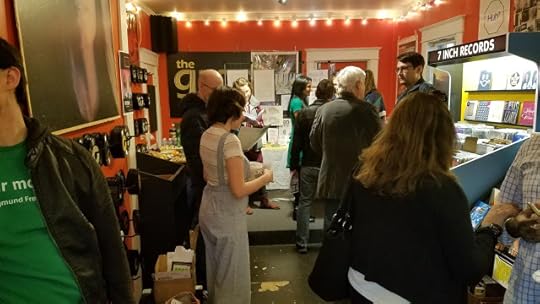
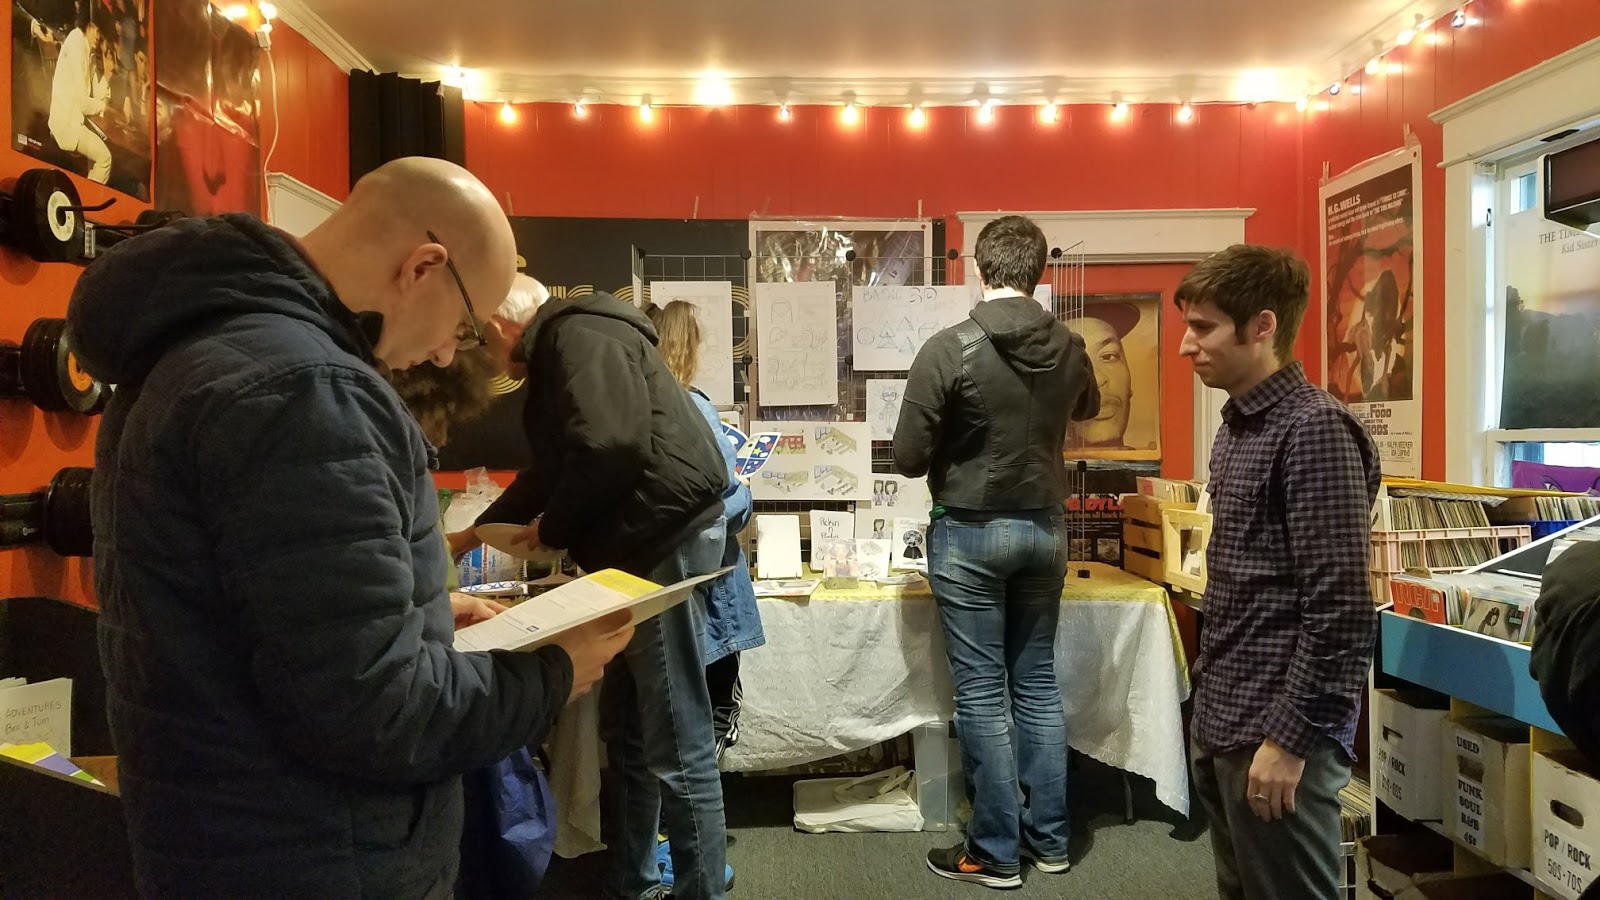
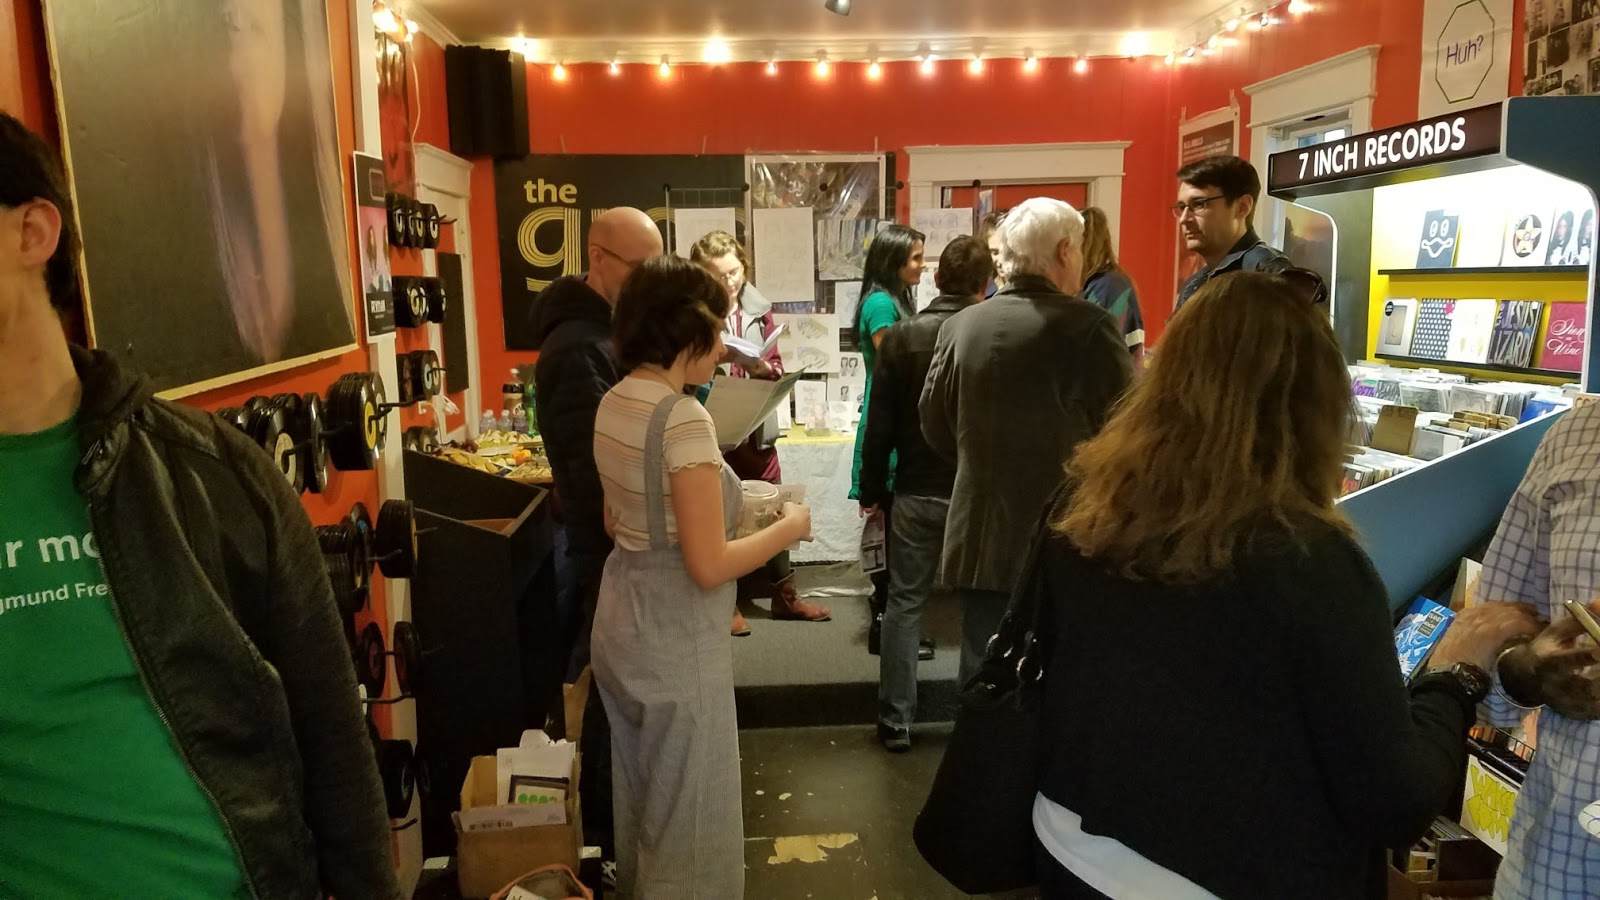
Sponsorship with Wake Up Comics allowed us to buy additional supplies such as bone folders and a long arm stapler for class use. It also allowed us to use their space in The Groove, a local record shop, for our Zine Exchange. With this as an incentive, I worked really hard to promote the class, and tried a variety of methods to get the word out.
The Second semester was much better-I started this semester off with a bang- high energy, lots of passion, and snacks for students to munch on during class! While many might find my enthusiasm a bit overwhelming in day to day situations, it's quite useful for teaching, as this enthusiasm often gets students fired up.
This semester, I recognized the importance of utilizing class time for drawing exercises, and worked many drawing and writing exercises into the first three classes of our semester. From character design to figure drawing to environmental sketching, I tried to keep the exercises short and engaging.
Since our Zine Exchange was going to be held at an outside location after the semester ended, I used the extra class time to expand some of our classes, and give students more time to work during class. This extra class gave many students an opportunity to have students fold and staple their own zines as well, which is a really nice way for students to add finishing touches to their work.
Since many students needed additional time, I negotiated with NCE to use the classroom for two bonus classes- the Tuesday and Thursday after class official ended. I feel like this extra time helped us reach the finish line as a class.
NCE handled the class materials printing- so handouts and exercises were printed and collated by NCE, while I handled comic printing and printing everyone's zines. Having NCE handle the day to day print needs saved me a lot of money, and allowed me to reclaim a lot of time.
Our Zine Exchange

Promotion was fairly minimal- small printed fliers were given to my students, distributed at the local Jerry's Artarama, and on the check out counter at The Groove. I shared announcements on Facebook and Instagram, as did Wake Up Comics and NCE. Students were encouraged to come, and invited to bring friends and family. Although students from the Making Comics and Zines 2018 class were invited to come and exchange comics, none showed up.
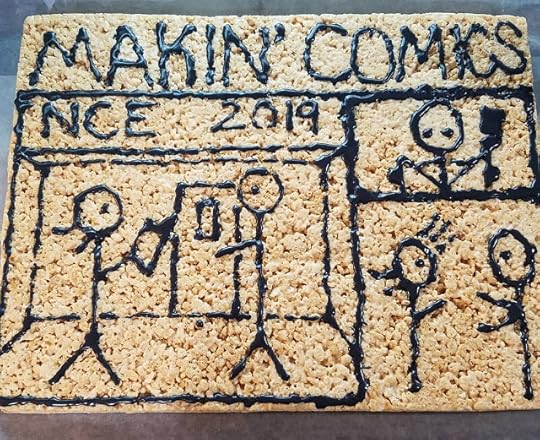
I volunteered to bring setup materials and drinks, I also ended up using a 2 pound rice krispy sheet to make a silly stick figure comic to celebrate the event.

To prepare for the zine exchange, I printed 17 copies of every student's comic, as well as 17 fresh copies of Cicada Summer. I also laid out Lilliputian Living Volume 2, so I would have something fresh and new for the exchange as well!
I brought a 6' table, my mesh gridwalls, a spinner rack, and book easels to display student comics. Students were asked to bring their original pages, which I displayed on the gridwall.
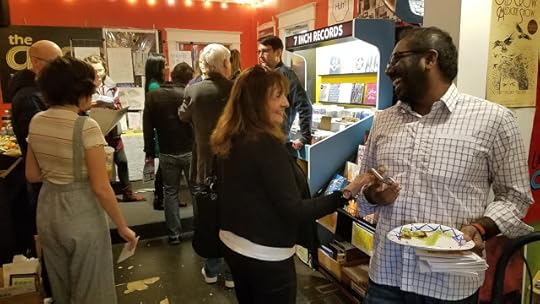
The exchange took place from 5PM-7PM at The Groove, and we had a really good turnout! Most students stayed for the entire duration of the event- I figured most would show up, grab their peers' zines, and leave- but people chatted, talked about one another's comics, and enjoyed the food.
I apologize for the lack of clear photos of the display itself- we were running a smidge late with setup, and the crowd started to show up around 5PM. However, the lack of clear photos is a testament to the popularity of the exchange! I would say it was a smashing success, and hope we can organize similar events for future classes.
Plans for Next Semester
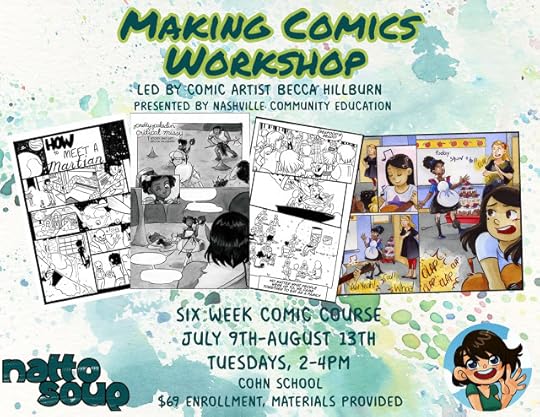
My next Making Comics course with NCE is scheduled for this summer! We've adjusted the time slot to accommodate younger comic artists who may be off during the summer, and I hope to have another group of amazing comic artists! If you're interested in learning more about my comic classes here in Nashville, you can sign up for information here!
Talking about offering a regular Making Comics (6PM-8PM) this fall, as well as adding an Advanced Making Comics course for returning students, or students familiar with making comics. I'm really excited about the future of this class!
Not in the Nashville area? My Artnerds on Patreon get access to all the resources created for my Making Comics classes, as well as any other workshop I teach! You can join the community, and gain access to these classes for just $2 a month!

If you're interested in taking one of my classes in the Nashville area, sign up for workshop and class notifications!
Before we dive in, I want to point out that this isn't my first time teaching- I've taught off and on in various capacities since I graduated from UNO. From volunteering at my Alma Mater to TA'ing an undergraduate Self Publishing class, to various workshops with conventions and libraries, I have some teaching experience, and felt I was prepared to teach a longer class.
I've also tried pitching various comic classes in the Nashville area for several years now, and hadn't had much lasting success. As an untested product, it was difficult to get organizations to take a chance. I'd gotten to a point where if people were interested in having me teach a comics segment, they were only remained interested if the price tag was free, and I'd grown tired of doing volunteer education that did not further my career nor helped me develop my resume. Joseph suggested I try once again with Nashville Community Education, and something told me it was worth another chance.
My initial pitch to Nashville Community Education was for an eight week class that met up twice a week. This idea was rejected, but I was given the go ahead for a six week class that met once weekly, giving me six classes to cover the basics. This was a tall order, and I wasn't sure if I could condense a thorough introduction into comics into just six weeks.
I patterned my class off SCAD's graduate intensives, as I felt that was an immersive, fairly complete deep dive into comics. Classes started at $60 for all six weeks, and I wanted to make sure my students' got their money's worth. I also needed to prove to myself that my work and knowledge had value- I'd hit my rock bottom in 2016, and was working my way back up to the surface.
Semester 1:
Fall 2018
This class was only available to people 18 and up

We didn't have much trouble filling the glass, promotion was fairly minimal and almost entirely online. I did table at the NCE Open House, an outdoor event that coincided with the local farmer's market, on a beautiful Saturday in August, and I feel like presenting my work in that context made it easier to find interested students. I also promoted the class during Handmade and Bound, a three day outdoor book event open to the public.
My first semester was a struggle. I started off the semester sick as a dog from Handmade and Bound, this melange lingered for the first three weeks, and this really put a damper on the class.
Although I had videos, presentations, and handouts prepared for the duration of the course, I didn't design exercises to help reinforce concepts, and tended to just plow through the lecture. The best experiences I had happened after class three (perspective), when my cold finally abated and we'd covered enough of the basics that the students were working on their own projects. This gave me a chance to actually engage them about their projects one on one, in person, and this was when things really started to click.
For this class, I handled all of the printing- from class handouts to printing their comic work to printing the final zines. I went through several reams of copy paper, and used several toner cartridges, making this an expensive class to teach.
The Inking Workshop was probably the best class- entirely hands on, lots of fun art supplies to play around with, and I knew that for the next class, I needed to ease back on presentations and focus more on hands-on activities.
Our zine exchange took place on class six- we really had to scramble to get to that point. Most students submitted zines, but everyone submitted something. Our exchange was fairly small, and only open to students.
It was a huge relief to finish this semester, and I was determined to learn from my mistakes, and give it another semester before throwing in the towel.
Interim Teaching
In between my first and second Nashville Making Comics classes, I taught three comics-focused workshops with the St Charles Parish Library System, and this really gave me a chance to revise my presentations and work in exercises
Classes Taught:


DIY Zines
Writing Comics
Inking Comics
Each class was held at a different branch of the St Charles Parish Library system- Destrehan, Luling, and Paradis, Louisiana. Each class was supervised by a branch librarian, and all participated in the workshop to varying degrees. For these workshops, I had my mom's assistance in setting up and engaging the attendees, although for the Inking Workshop, I put my family to work learning the basics of inking.
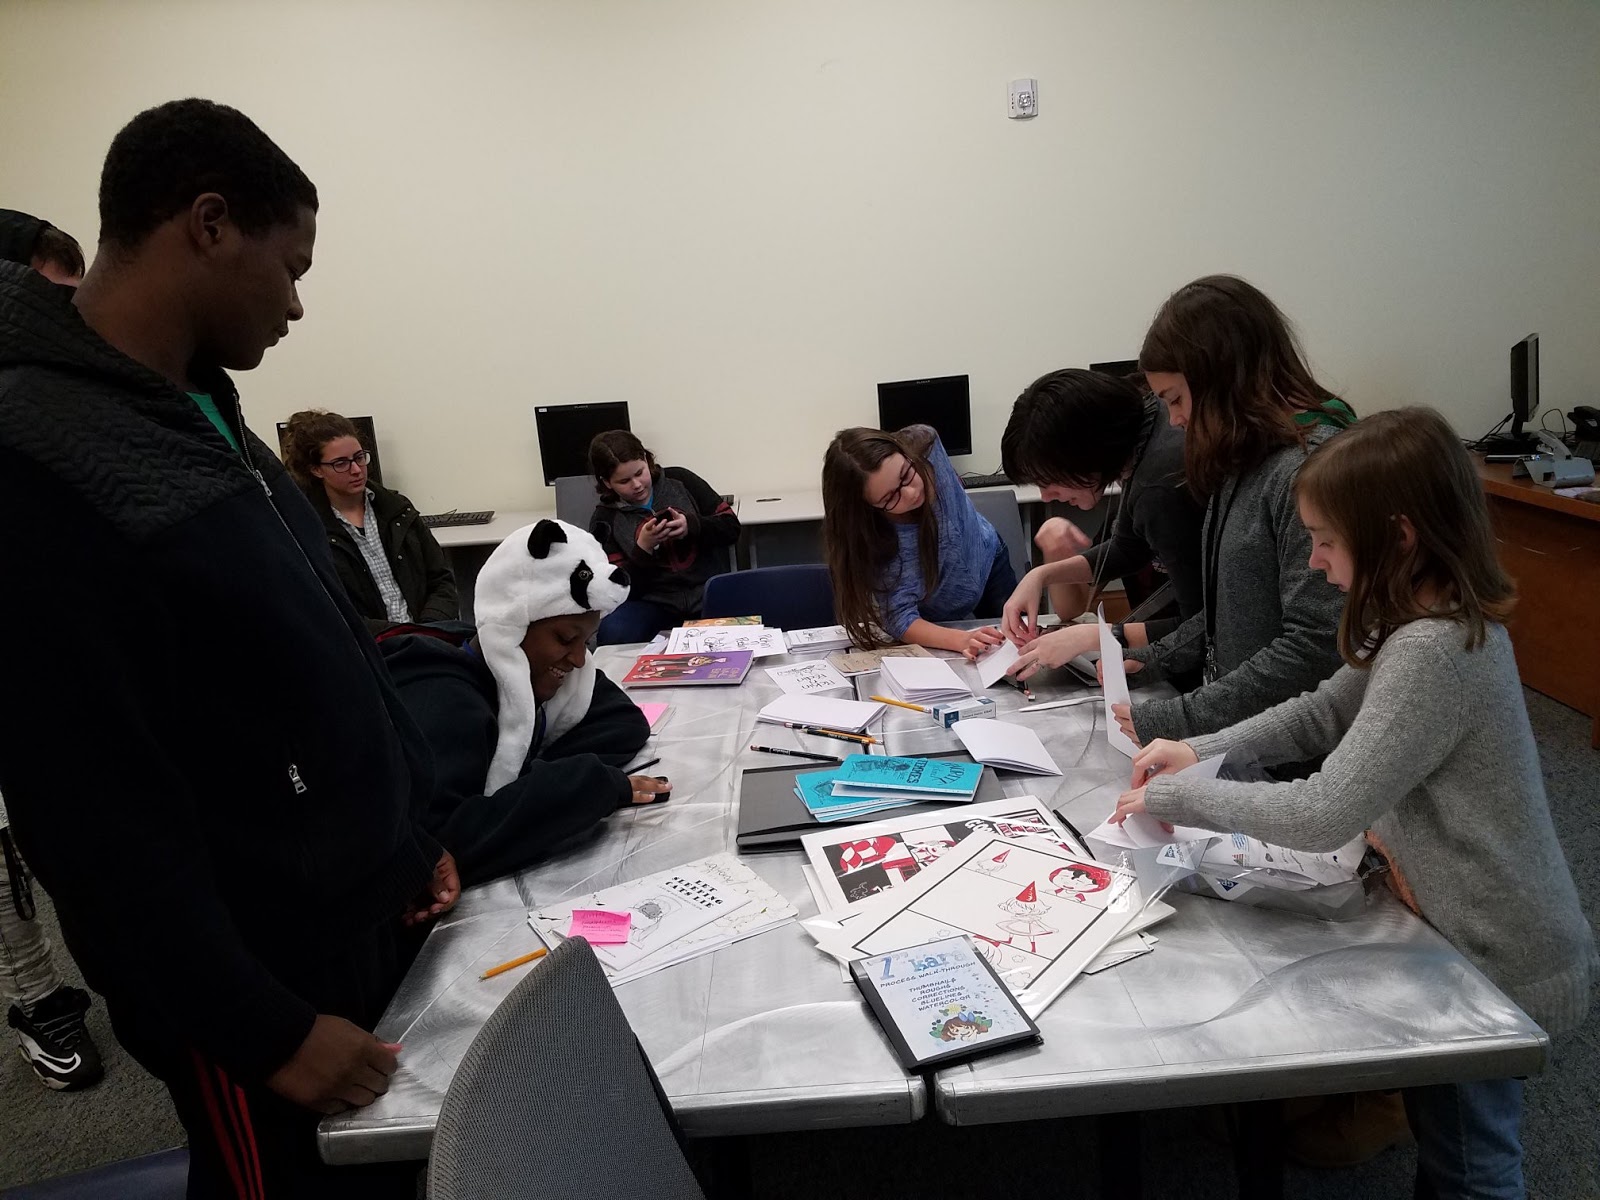
These classes were open to students of all ages, but the majority of students were young and active, full of ideas and ready to start drawing. The classes had to be revised to better suit their needs and patience, and while revising these classes, I learned a lot about how to make my classes more interactive.
DIY Zines was the first class I taught with this group, and I was surprised by how young the attendees were. I ended up scrapping half my presentation, and just focused on assembling booklets for the kids to draw in. Many of the attendees ended up finishing their short comics during the class session, which is really impressive! Kids' willingness to A: Draw in class, B: show off their art, even if they feel they can't draw is very inspiring for me, and I feel having a few eager students in a class can really buoy the whole classroom.
Writing Comics was held the day after DIY Zines, and I spent a couple hours that evening revising the presentation to be much more kid friendly. Kids love talking about their projects, so I tried to work interaction into the presentation every couple slides. This went so well that I added that element to my NCE Making Comics presentations. During this class, we talked about planning a comic in a very basic way, then the kids launched into working on their own projects. St Charles Parish really needs a Comic Artists Club- all these kids need is a little encouragement and some paper, and they're ready to make comics!
Inking Comics was held a week after the Writing Comics class, right after Christmas, and was much more structured than the other two classes. Students practiced drawing and inking their own art, or could practice techniques on some of the blueline exercises I had prepared in advance. Everyone in the class took to inking like ducks to water, and I was really impressed by the skill shown by our first time nib users!
Semester 2:
Spring 2019


This class was open to students age 13-16 with a parent in attendance, 16 and up with parental permission. I'm really excited about this shift, because during the Open House, many parents were interested in comics classes for their kids.
Class was more difficult to fill, we really had to do a lot to promote it. I think this difficulty was due to the fact that I had no physical events scheduled where I could promote the class directly.
Sponsorship with Wake Up Comics allowed us to buy additional supplies such as bone folders and a long arm stapler for class use. It also allowed us to use their space in The Groove, a local record shop, for our Zine Exchange. With this as an incentive, I worked really hard to promote the class, and tried a variety of methods to get the word out.
The Second semester was much better-I started this semester off with a bang- high energy, lots of passion, and snacks for students to munch on during class! While many might find my enthusiasm a bit overwhelming in day to day situations, it's quite useful for teaching, as this enthusiasm often gets students fired up.
This semester, I recognized the importance of utilizing class time for drawing exercises, and worked many drawing and writing exercises into the first three classes of our semester. From character design to figure drawing to environmental sketching, I tried to keep the exercises short and engaging.
Since our Zine Exchange was going to be held at an outside location after the semester ended, I used the extra class time to expand some of our classes, and give students more time to work during class. This extra class gave many students an opportunity to have students fold and staple their own zines as well, which is a really nice way for students to add finishing touches to their work.
Since many students needed additional time, I negotiated with NCE to use the classroom for two bonus classes- the Tuesday and Thursday after class official ended. I feel like this extra time helped us reach the finish line as a class.
NCE handled the class materials printing- so handouts and exercises were printed and collated by NCE, while I handled comic printing and printing everyone's zines. Having NCE handle the day to day print needs saved me a lot of money, and allowed me to reclaim a lot of time.
Our Zine Exchange

Promotion was fairly minimal- small printed fliers were given to my students, distributed at the local Jerry's Artarama, and on the check out counter at The Groove. I shared announcements on Facebook and Instagram, as did Wake Up Comics and NCE. Students were encouraged to come, and invited to bring friends and family. Although students from the Making Comics and Zines 2018 class were invited to come and exchange comics, none showed up.

I volunteered to bring setup materials and drinks, I also ended up using a 2 pound rice krispy sheet to make a silly stick figure comic to celebrate the event.

To prepare for the zine exchange, I printed 17 copies of every student's comic, as well as 17 fresh copies of Cicada Summer. I also laid out Lilliputian Living Volume 2, so I would have something fresh and new for the exchange as well!
I brought a 6' table, my mesh gridwalls, a spinner rack, and book easels to display student comics. Students were asked to bring their original pages, which I displayed on the gridwall.
The exchange took place from 5PM-7PM at The Groove, and we had a really good turnout! Most students stayed for the entire duration of the event- I figured most would show up, grab their peers' zines, and leave- but people chatted, talked about one another's comics, and enjoyed the food.
I apologize for the lack of clear photos of the display itself- we were running a smidge late with setup, and the crowd started to show up around 5PM. However, the lack of clear photos is a testament to the popularity of the exchange! I would say it was a smashing success, and hope we can organize similar events for future classes.
Plans for Next Semester
My next Making Comics course with NCE is scheduled for this summer! We've adjusted the time slot to accommodate younger comic artists who may be off during the summer, and I hope to have another group of amazing comic artists! If you're interested in learning more about my comic classes here in Nashville, you can sign up for information here!
Talking about offering a regular Making Comics (6PM-8PM) this fall, as well as adding an Advanced Making Comics course for returning students, or students familiar with making comics. I'm really excited about the future of this class!
Not in the Nashville area? My Artnerds on Patreon get access to all the resources created for my Making Comics classes, as well as any other workshop I teach! You can join the community, and gain access to these classes for just $2 a month!
March 14, 2019
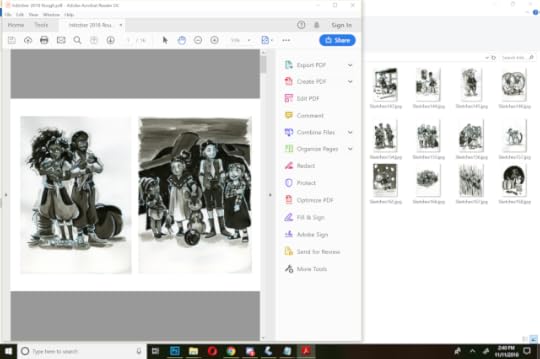
Laying Out Your Minicomics and Zines
Not everyone has a subscription to Adobe Suite, and not everyone may wish to pay for InDesign. There are other booklet printing options out there for basic booklet printing. This can be useful for printing drafts, quickly printing out mini portfolios, ore easily making folded booklets of your work, but if you're going to regularly lay out zines, ashcans, or minis, I still recommend InDesign as my first choice for layout software.
Native to Windows:
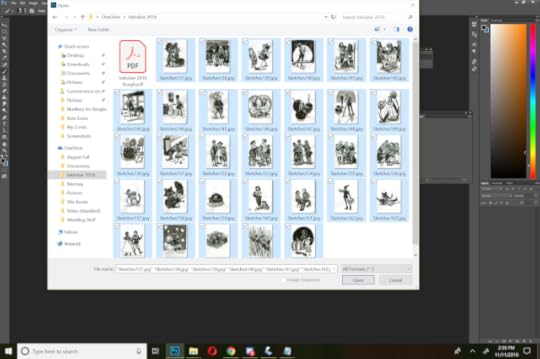
Creating a Booklet PDF
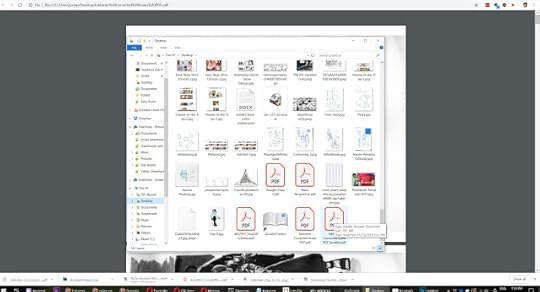
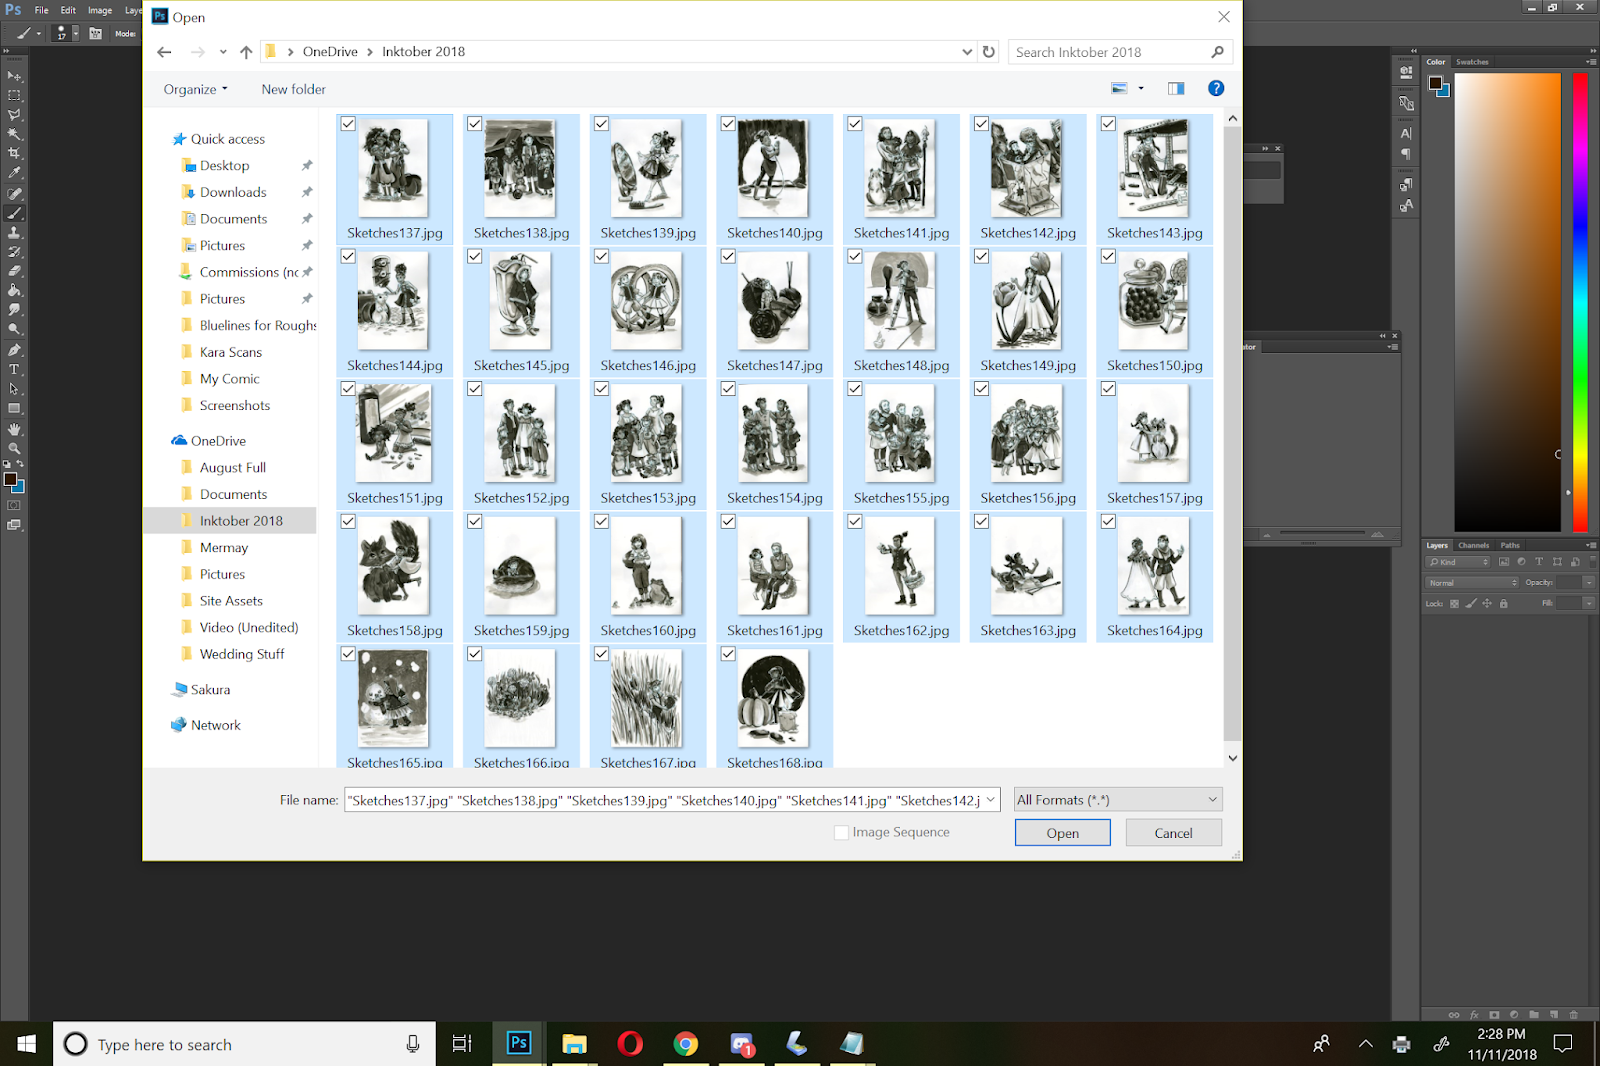
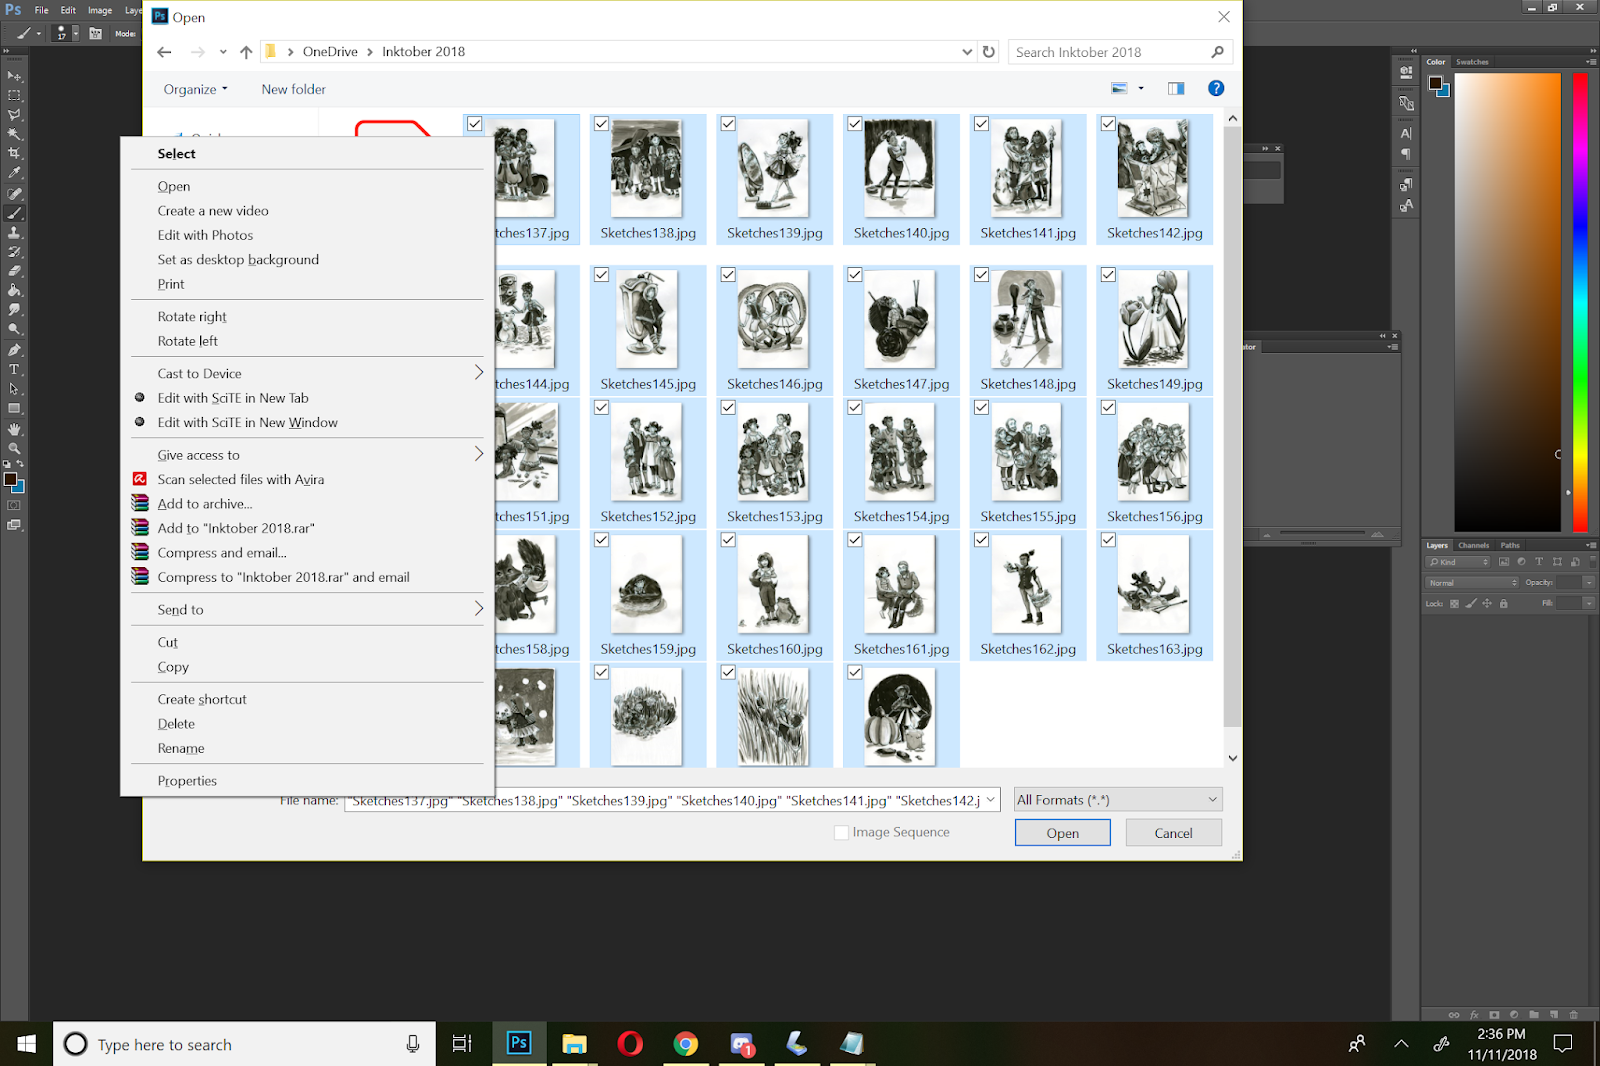
Make sure your files are in the order you wish them to print.
You can do this by:Renaming your files to sequential numbers
Select all your files. Hold control, click your first file. Hold control again, and click it again. Doing this ensures that your files will print in order.
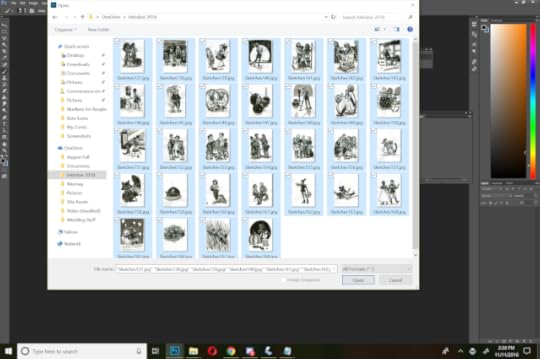
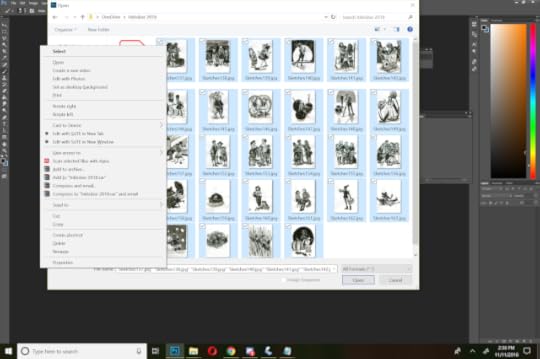
Right click on the files, and select Print
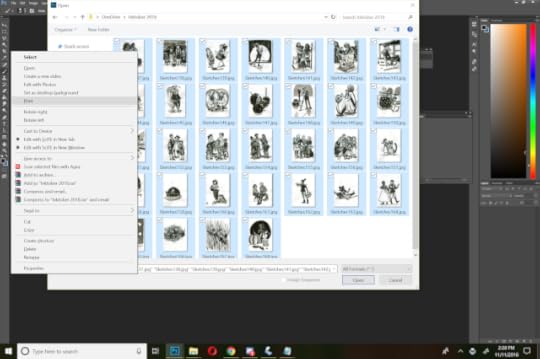
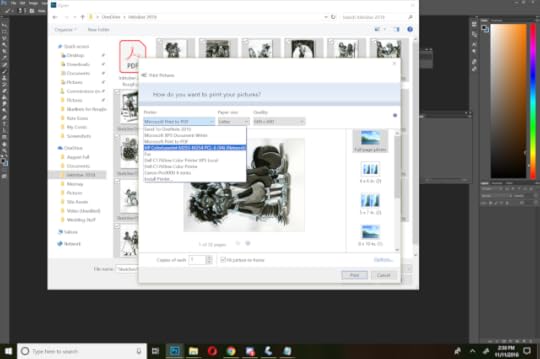
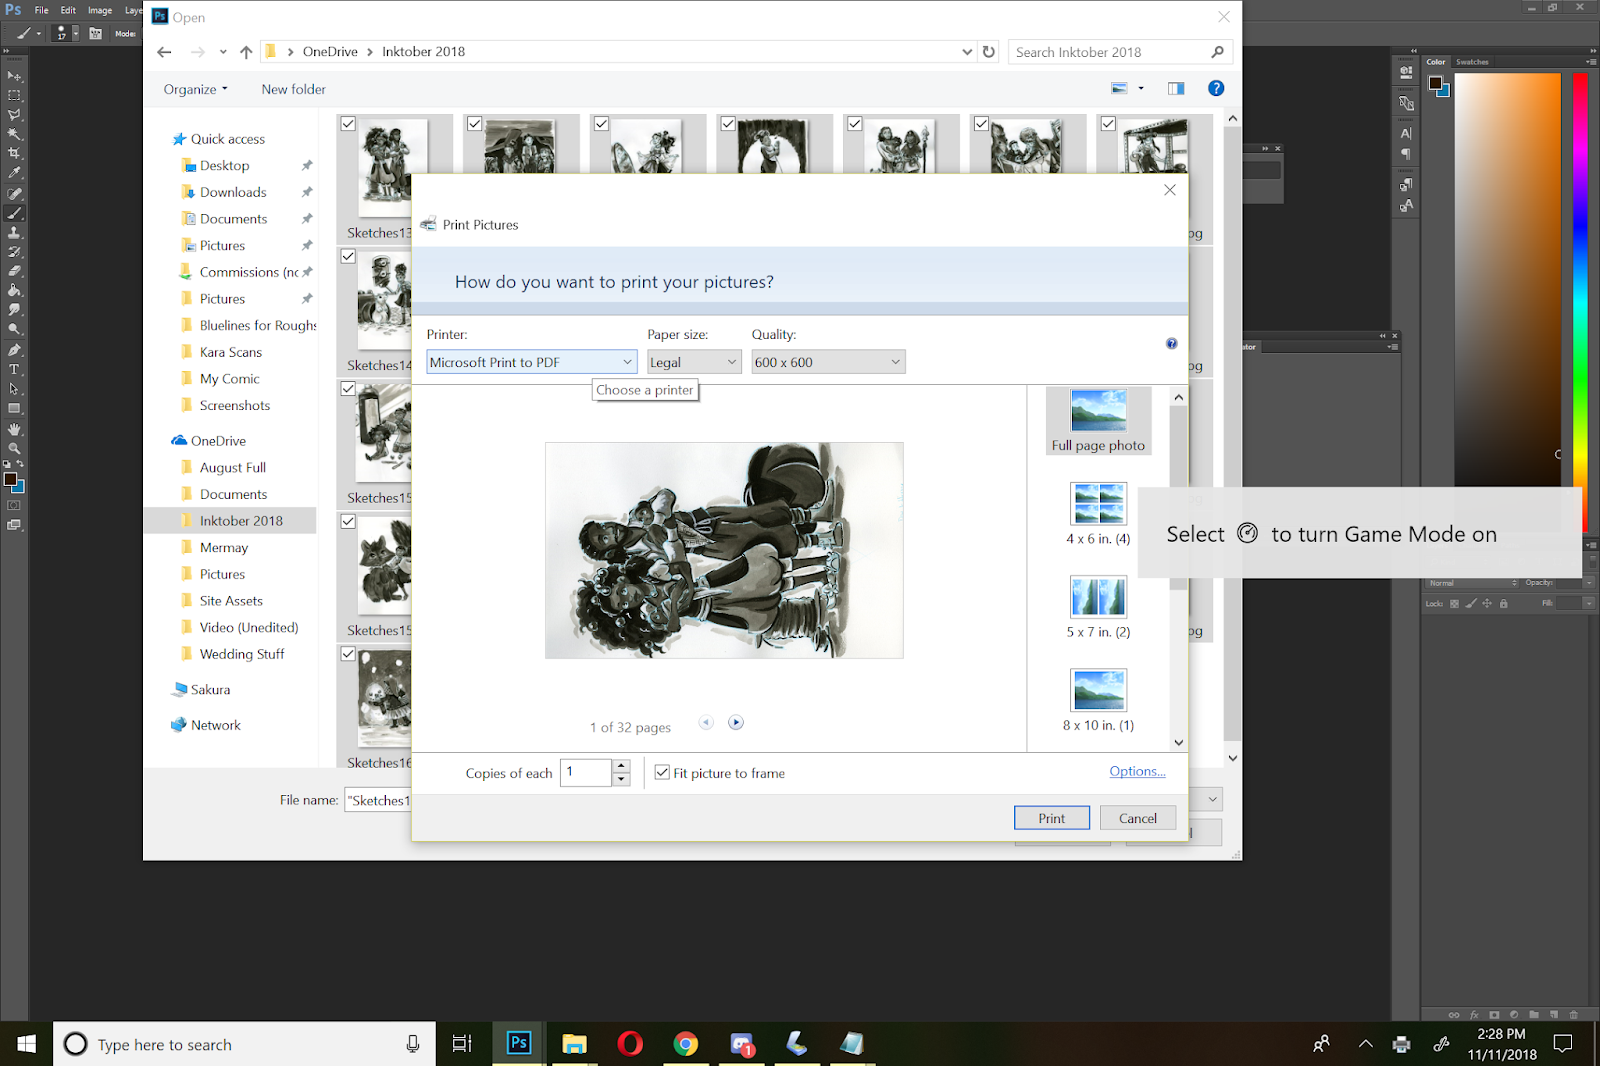
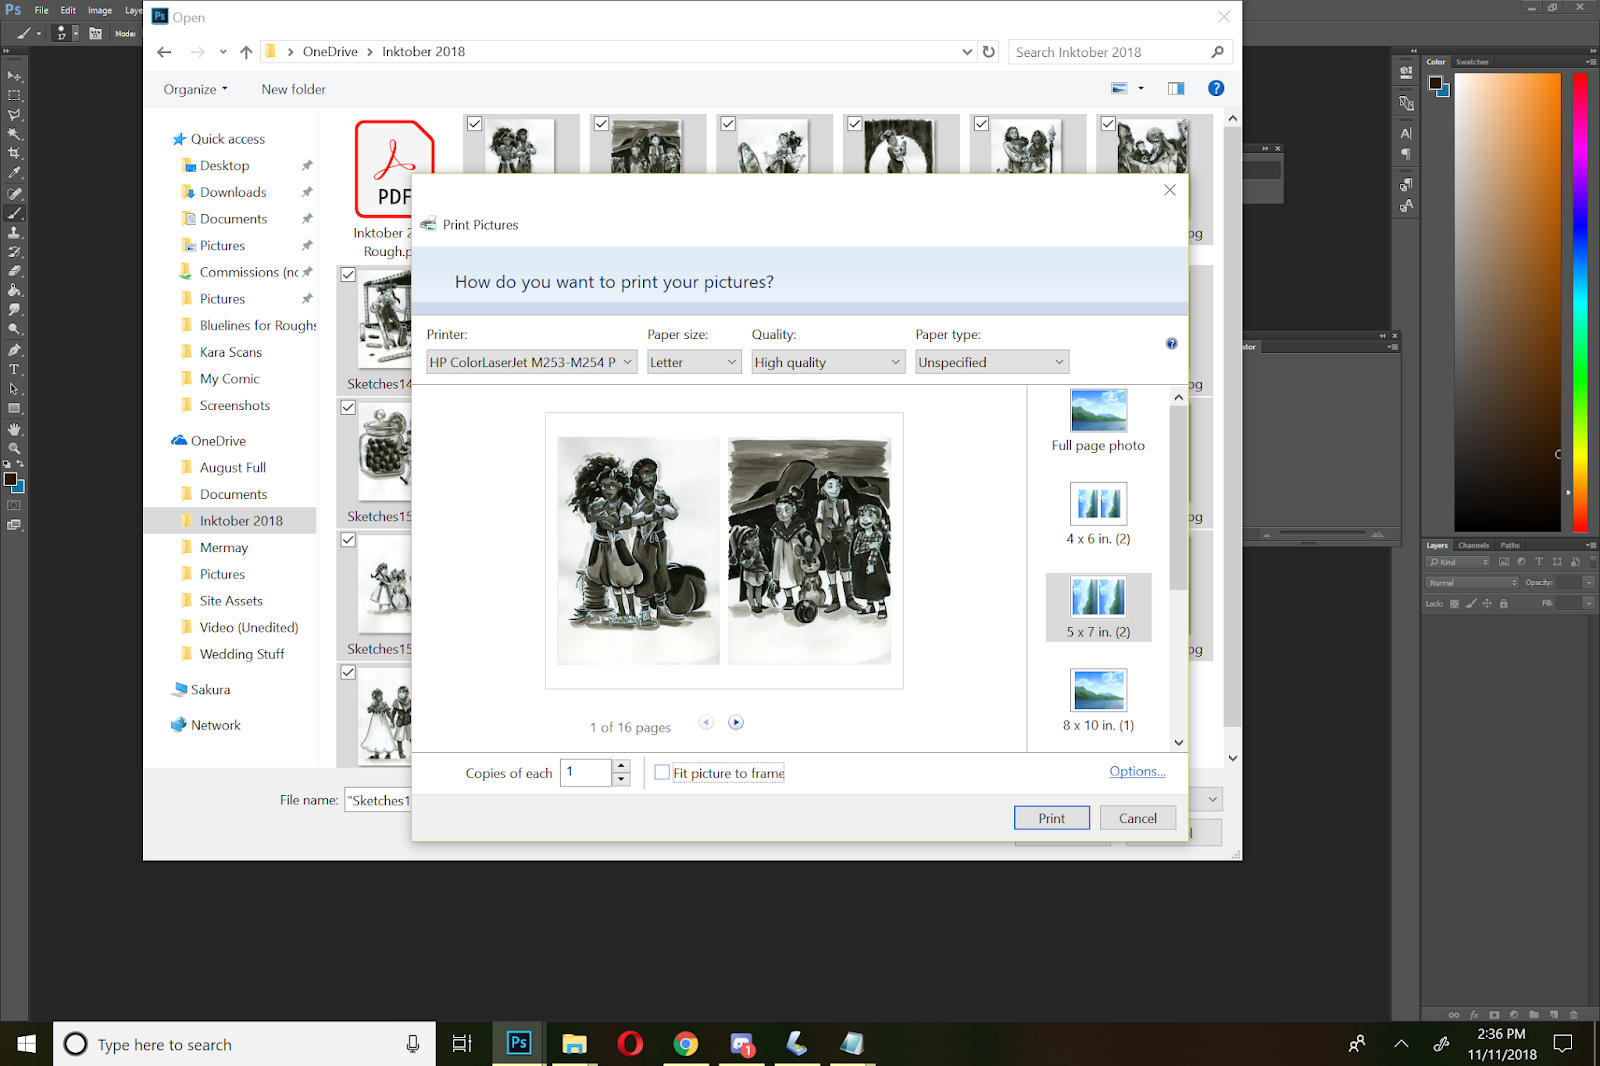
This pulls up a Print Photos window.
This brings up a menu that offers several options.
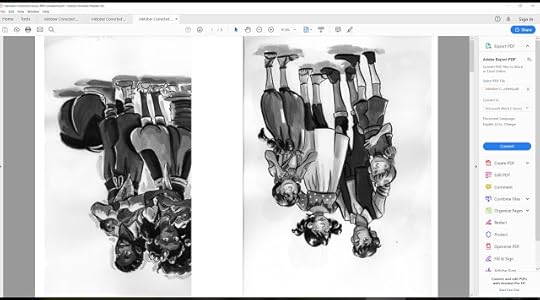
We want to select Microsoft Print to PDF, and for zines, you want to select Letter sized paper, with two images per page.

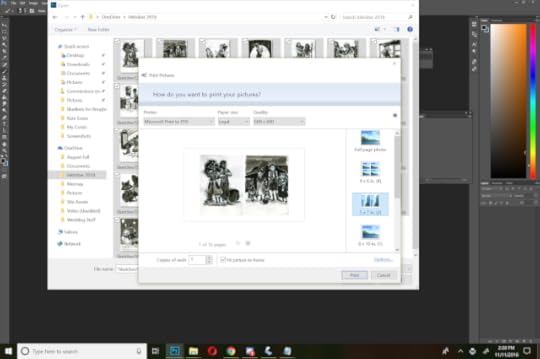
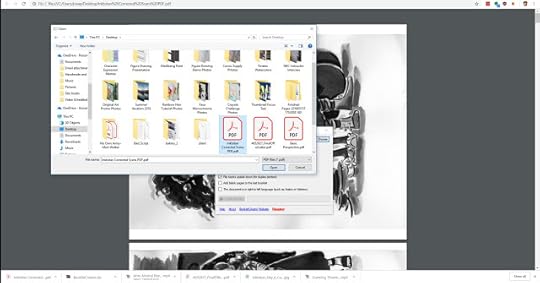
You may also wish to deselect Fit Picture to Frame
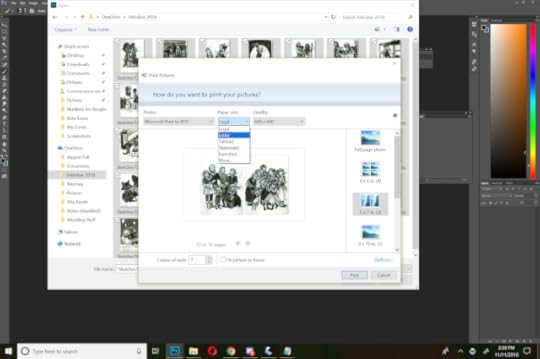
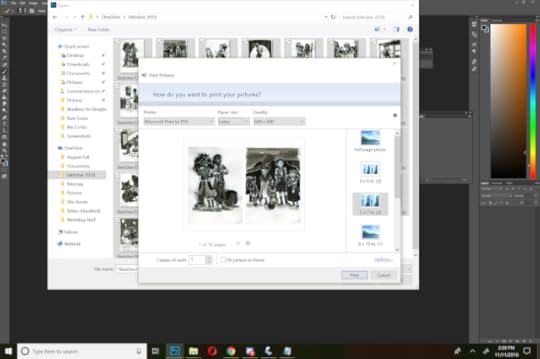

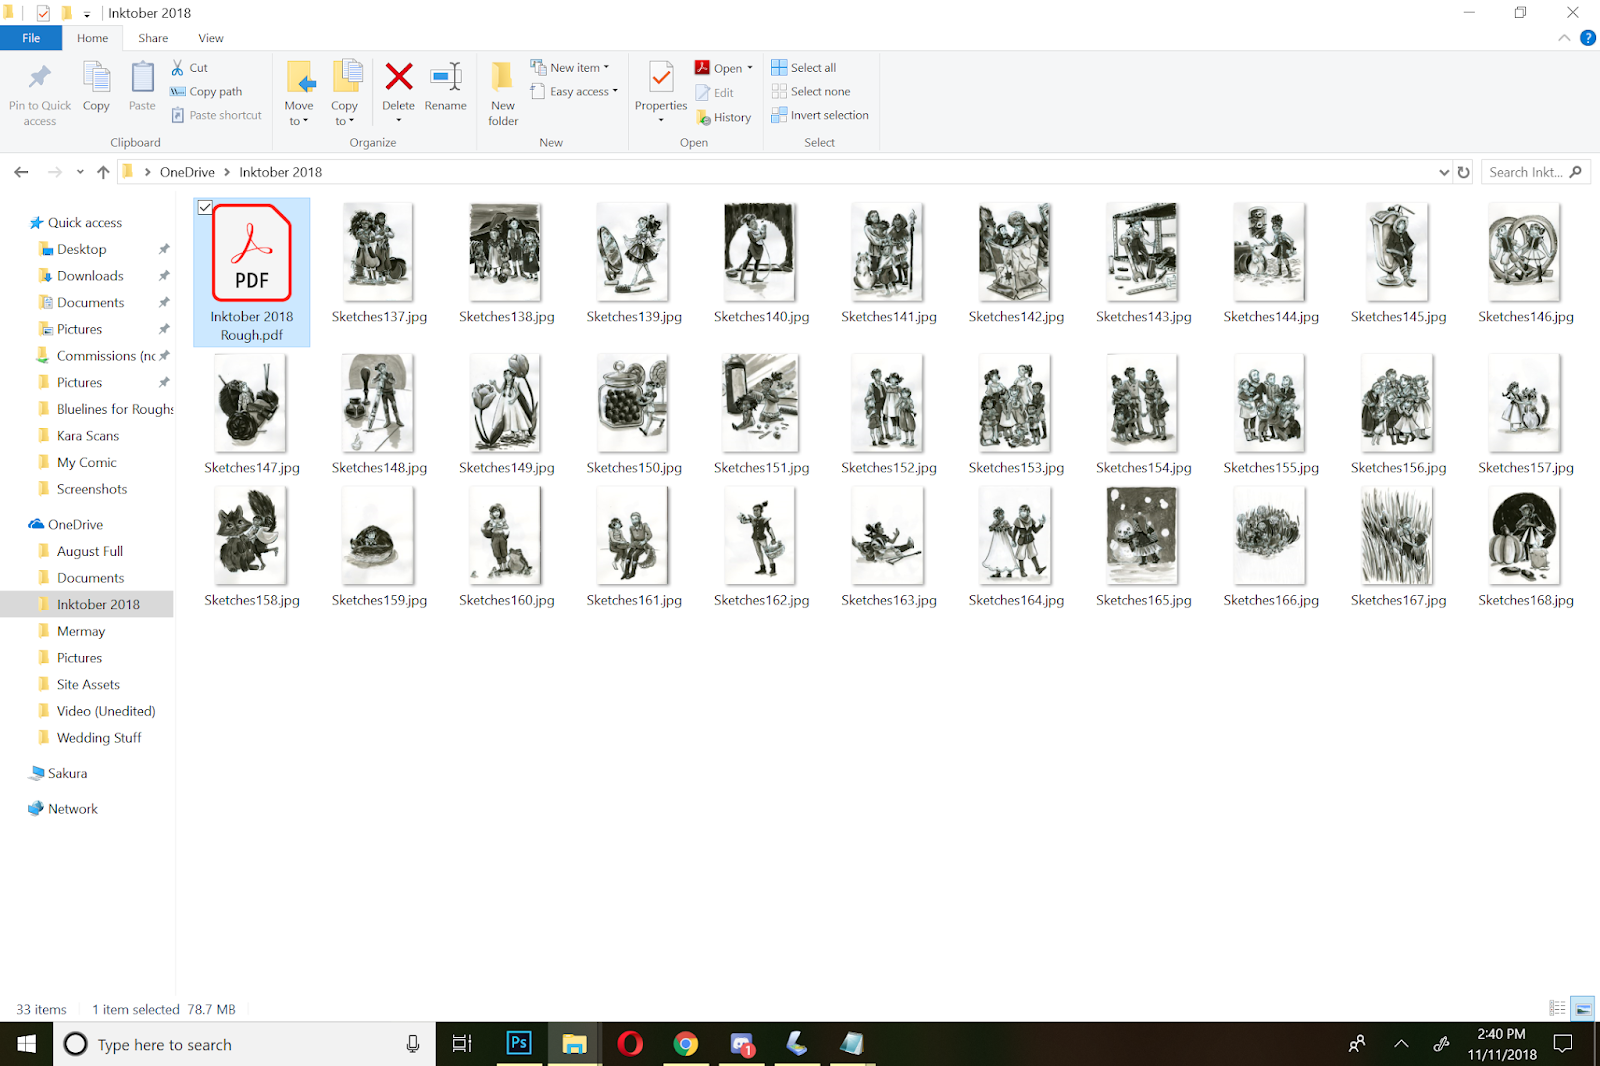
After you hit Print, it will bring up a Save As window.
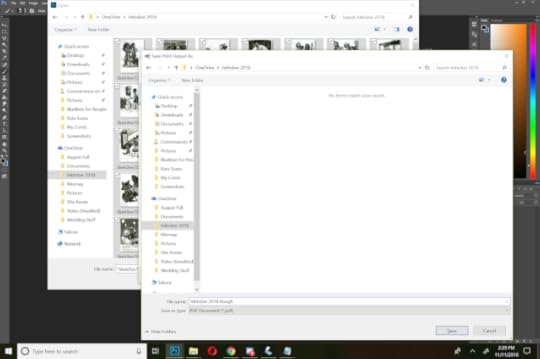
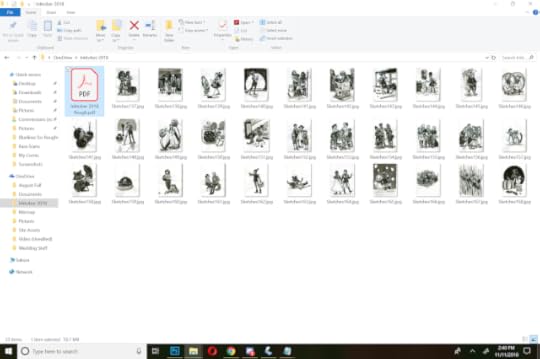
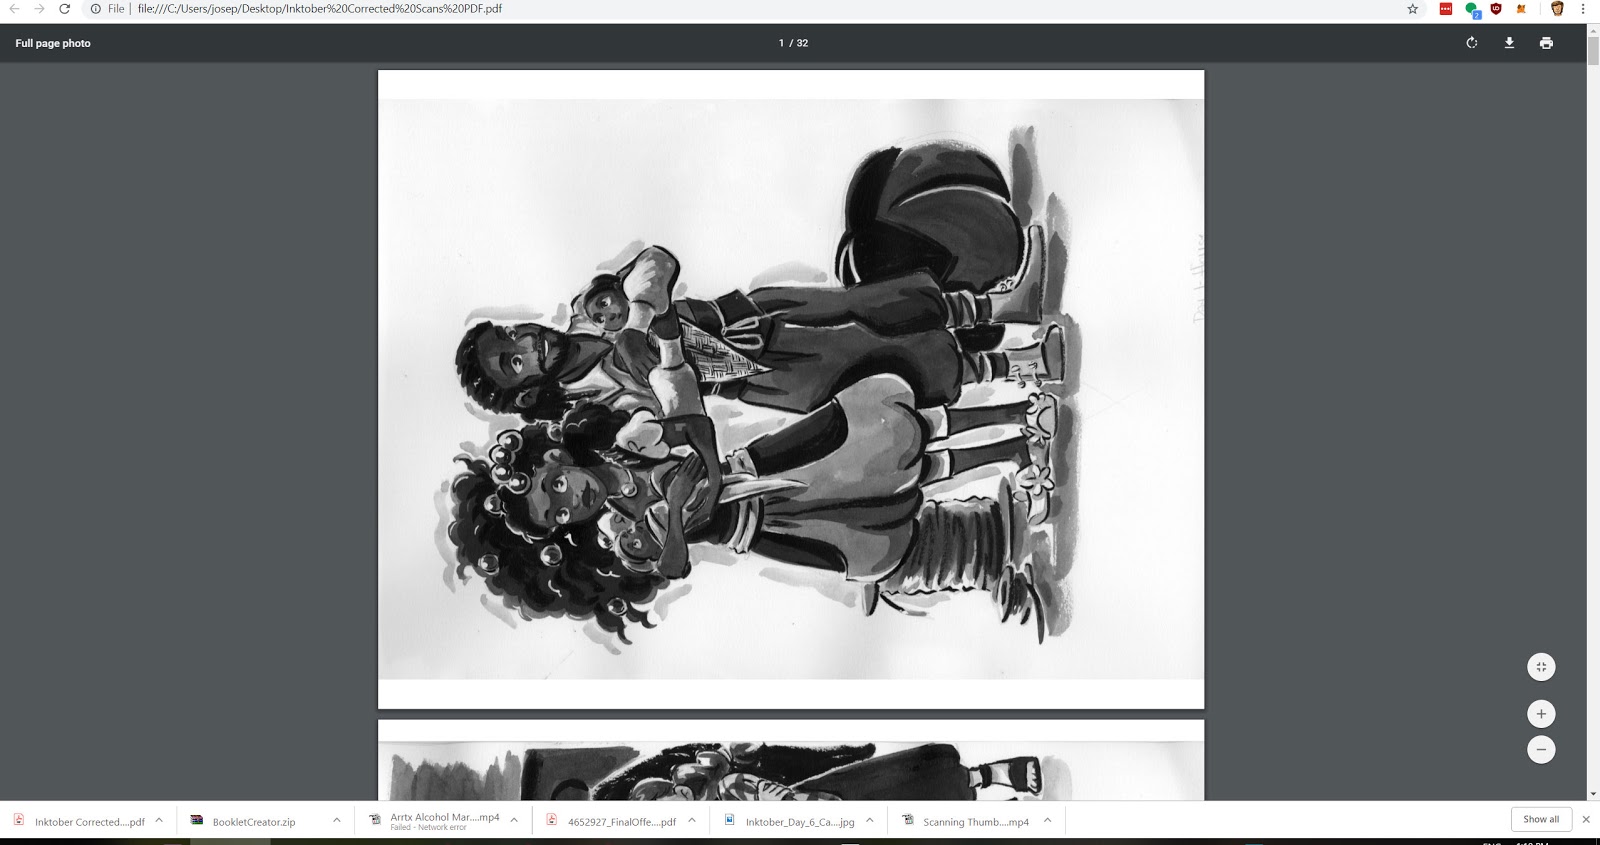
And begin converting your images into a PDF!

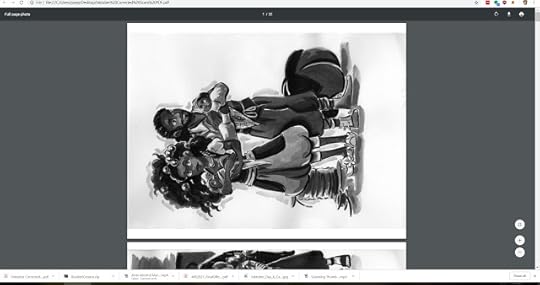
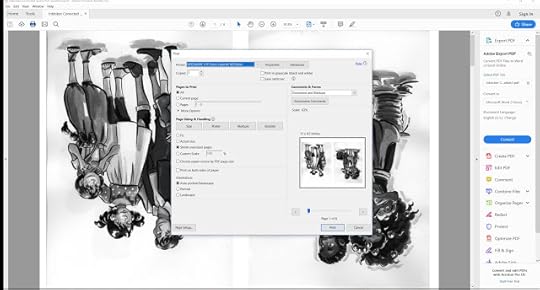
Printing From a PDF
If you have Adobe Acrobat Reader, you're going to want to set it as your default for PDF. It has print functionality that allows for printing zines, and print options you may not get with other PDF readers.
If you don't have Adobe Acrobat Reader, get it here.
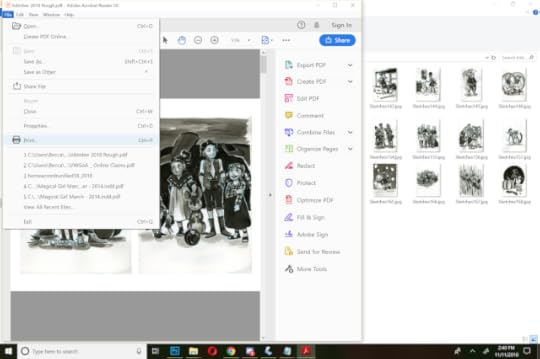
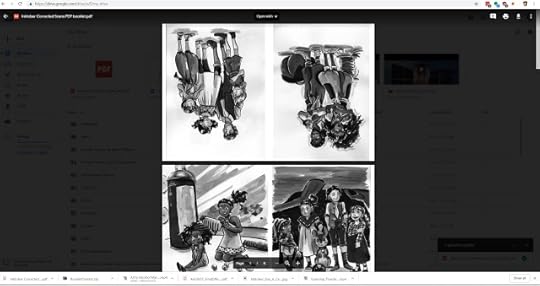
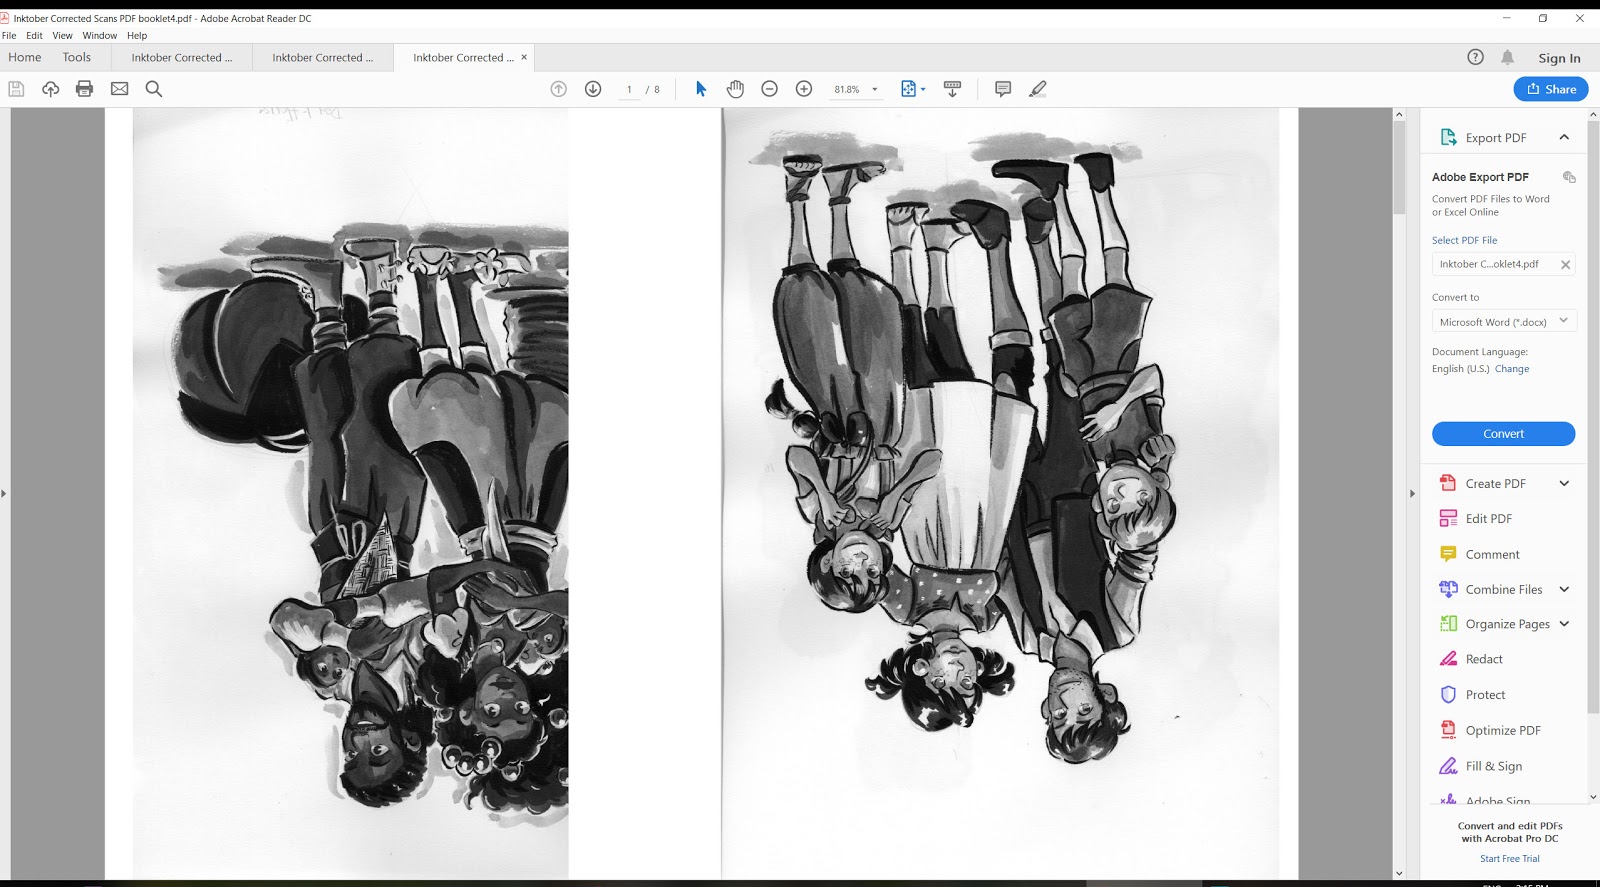
Open your PDF in Acrobat Reader
Your window should look something like this.
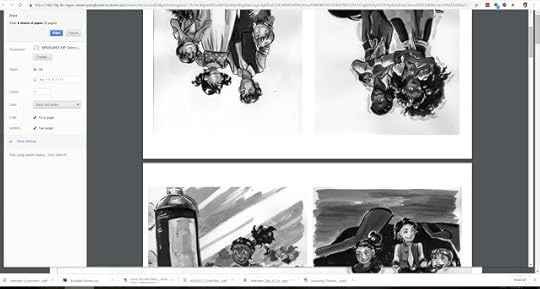
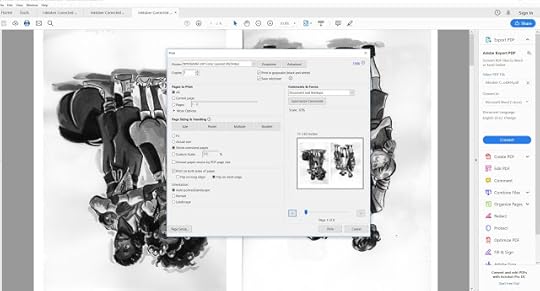
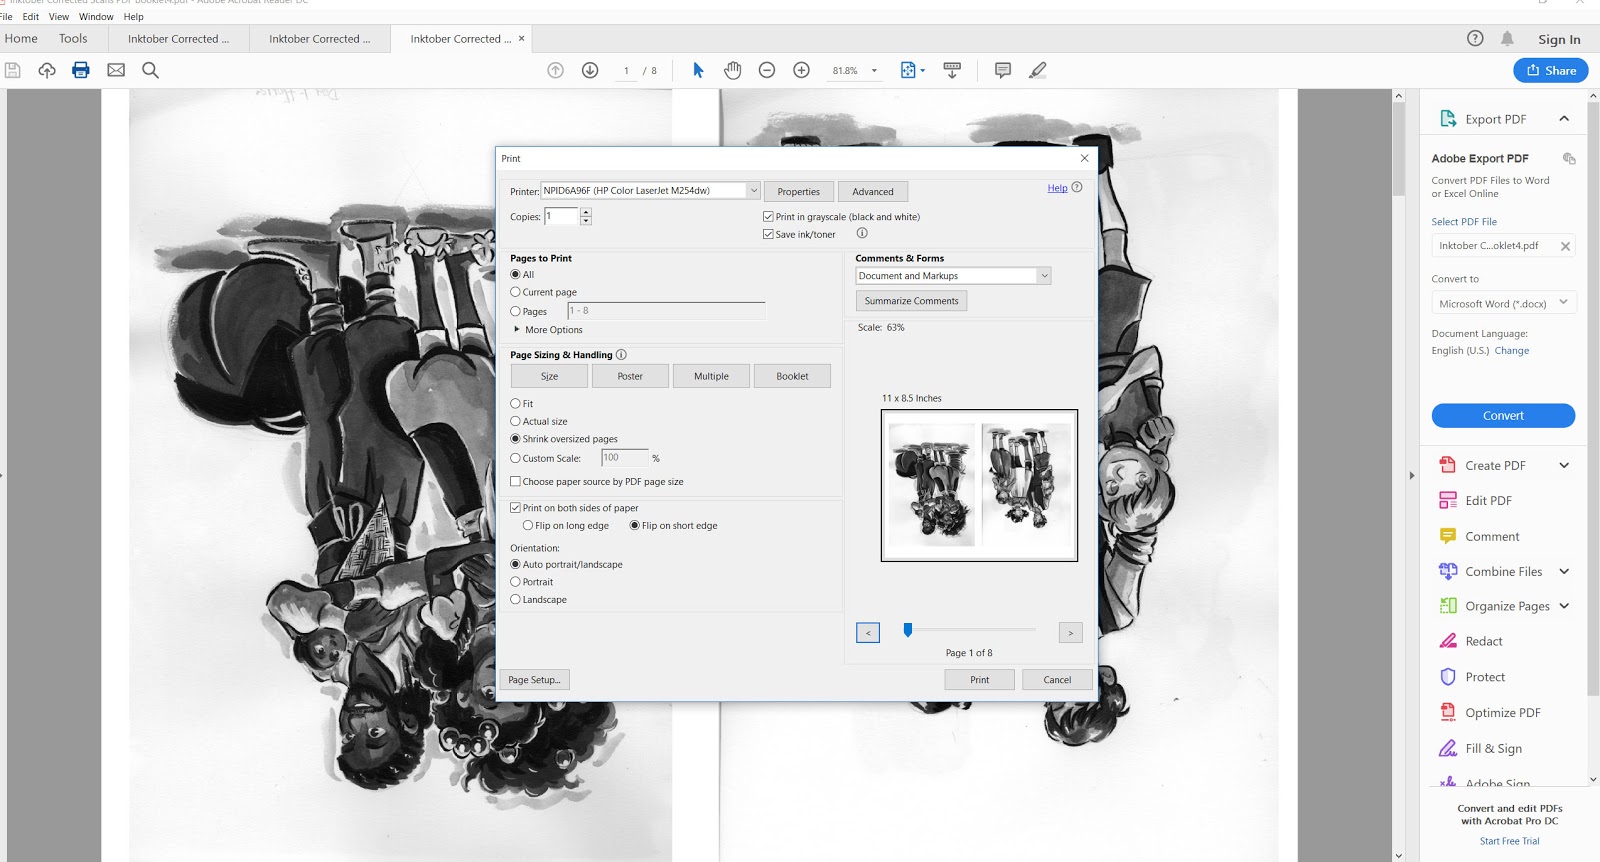
Select Print
Your Print window should look something like this, and offer similar options.
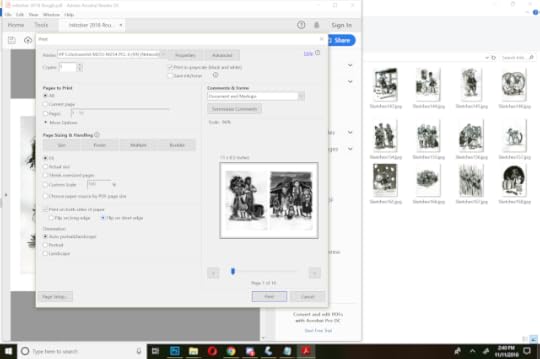
Select:
Print on Both Sides of the Paper
Flip on Short Edge
(If you wish to do color printing, you may want to toggle print in grayscale off- I found that it printed my uncorrected scans very dark)
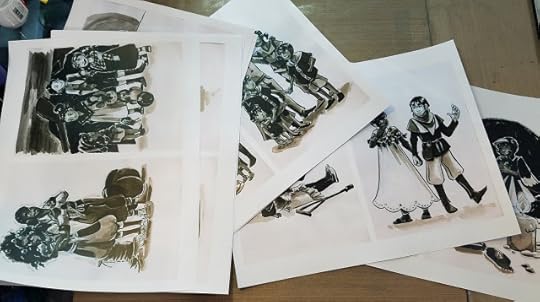
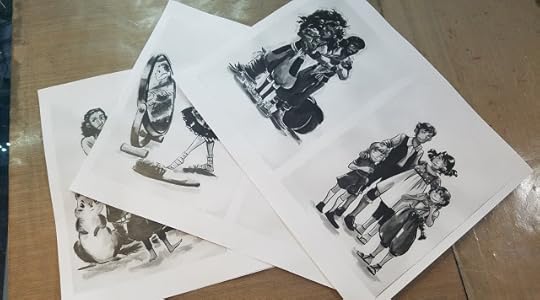
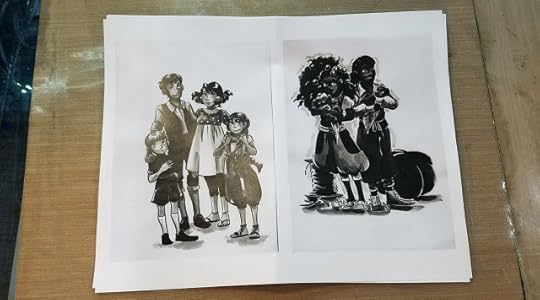
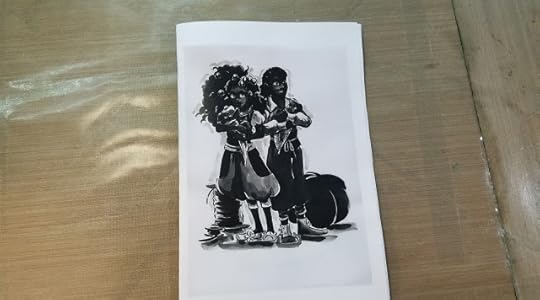
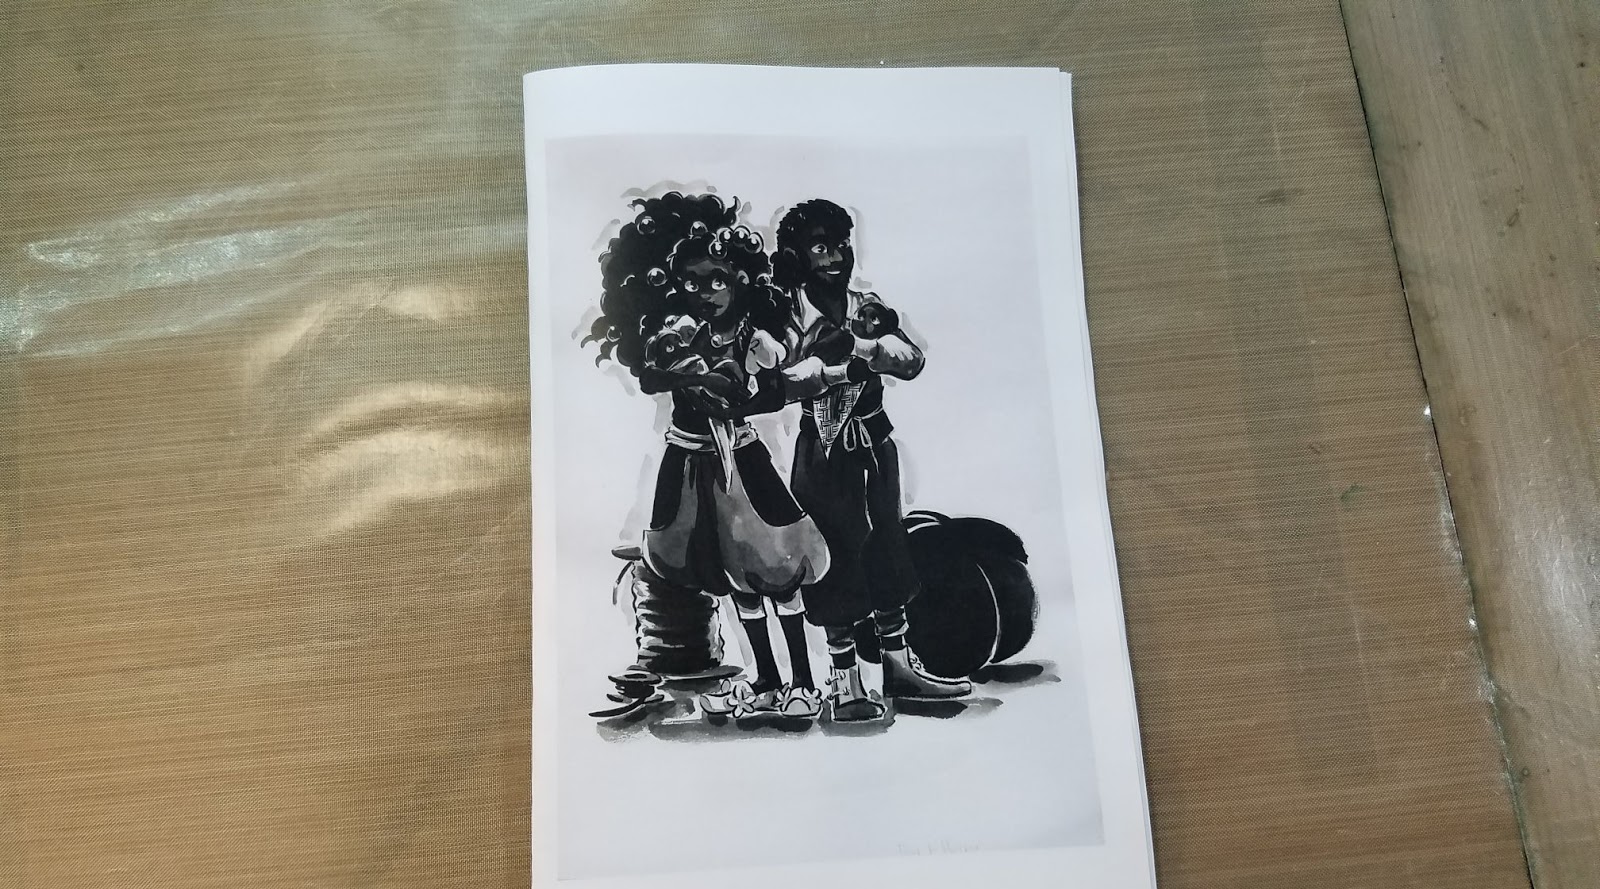
Resulting Prints
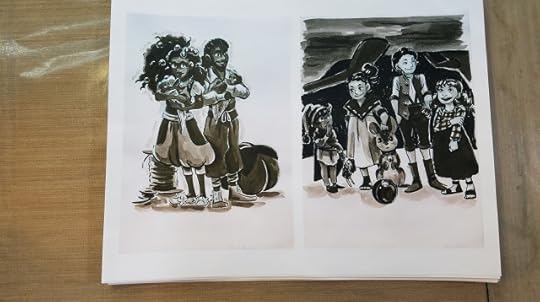

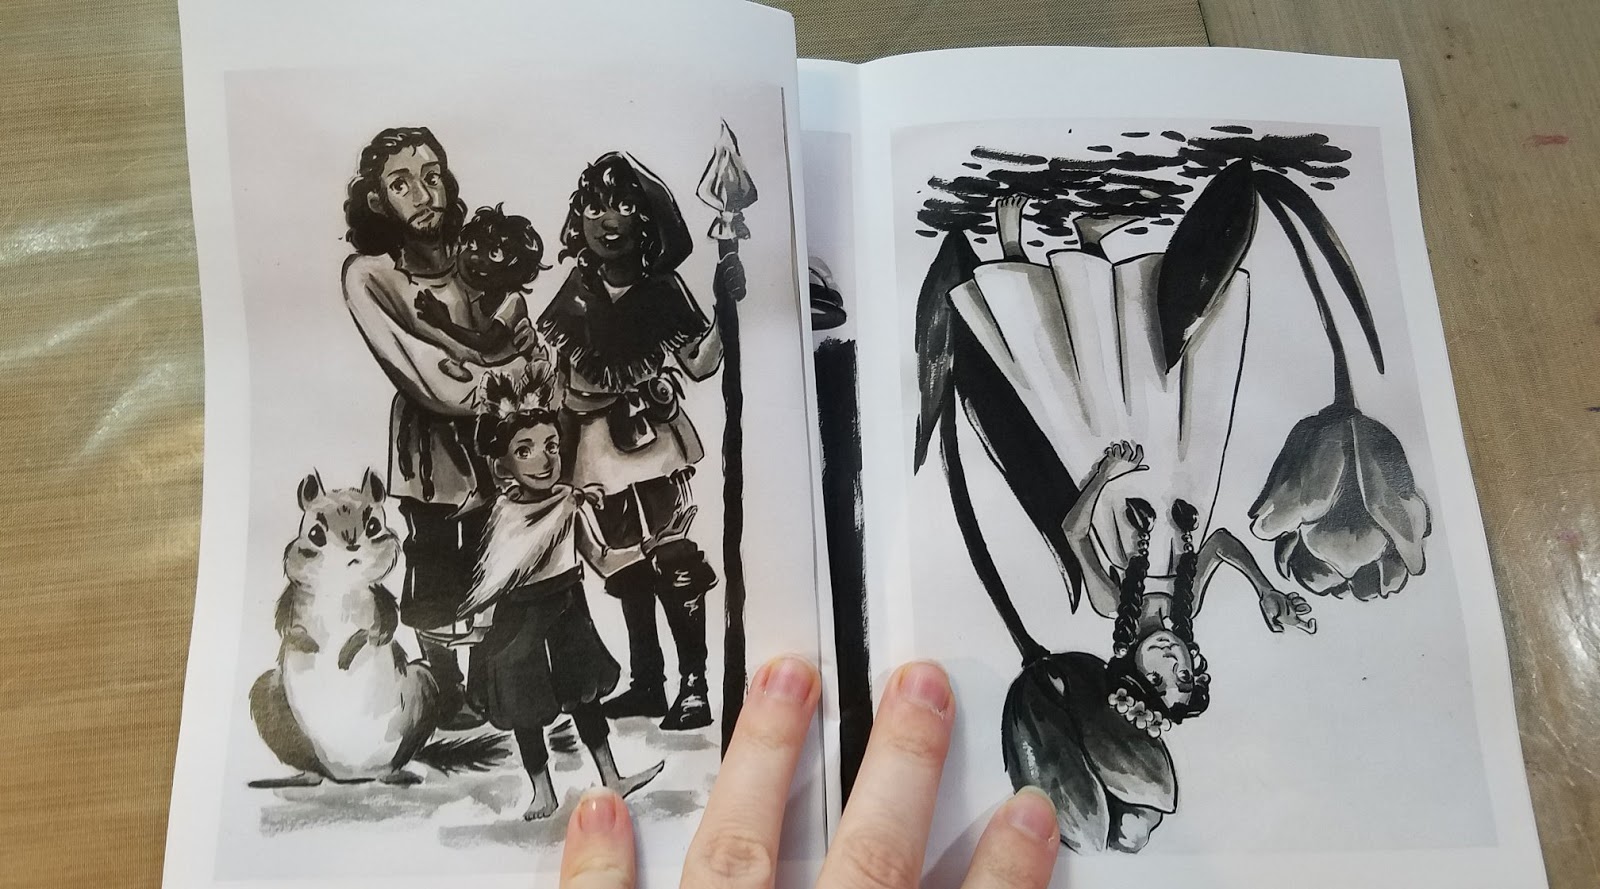
Printing from a PDF allows for double sided, booklet printing. This is a quick and easy way to create a zine or ashcan without needing InDesign for layout! Please note: These files are out of order, so while this is handy for say, sketchbooks, it's not going to work for comics or sequential books. If you wish to create a sequential book using this method, I recommend completing these steps, numbering the resulting pages, and then reordering your files to reflect this sequence so it prints in order.
Printing Without Creating a PDF
What if we skip the Print PDF step?
Select Files using method described above.
Right click, hit Print.
Change print source to your printer.
Adjust other settings accordingly- in my case, deselect Fit Picture to Frame, Select 5"x7", two images per frame, select Letter.


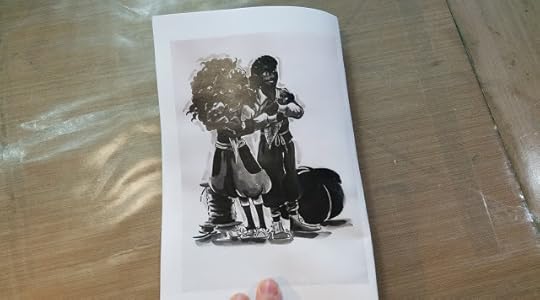
We have no option from this window for double sided printing, thus we can't make double sided booklets. The print quality is improved, however.
Resulting Prints

Downloaded and Installed Software:
Note: Your mileage may vary.
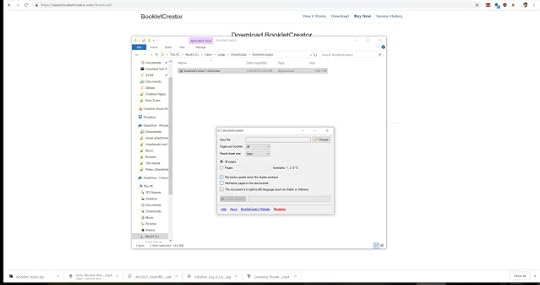
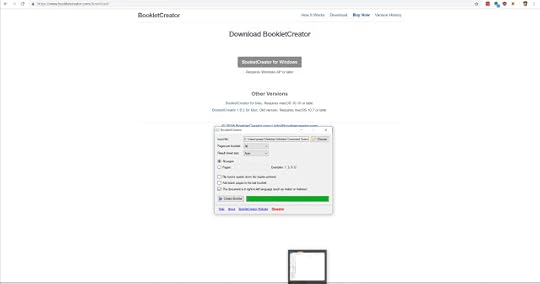
Using Booklet Creator (free trial)
Download hereFull Version: $19.95
File must already be in PDF format. Format your files the way I demonstrated above:
Creating the Booklet:
Trial 1:


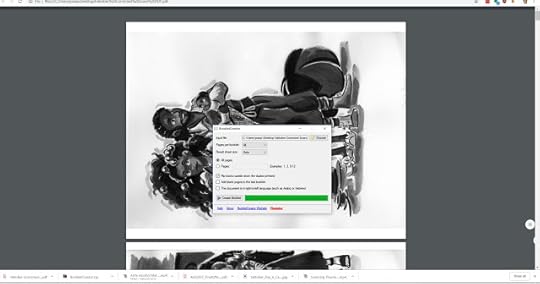
Resulting Prints:
Notes:
With these settings, the book printed in reverse order
With the trial, only the first sixteen pages of your booklet are produced. So if you have a book 16 pages or less, trial will work fine for your needs.
Trial 2:

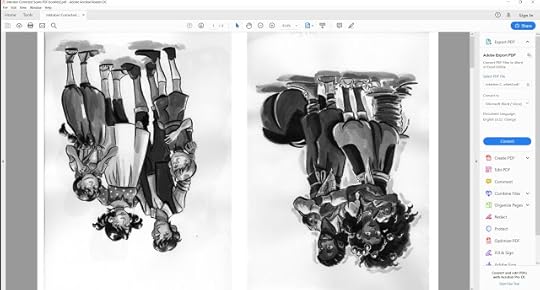

Resulting Prints:

Still reversed, now half are upside down.
Trial 3
Technically Trial 4, as I realized halfway through my issue was selecting Collate for Duplex printers
 Resulting Prints:
Notes:
Success!
If you want to print more than 4 sheets of pages (16 pages, when folded as a booklet) you'll have to pay for a license.
Settings You Want To Click
This Document is For a Right To Left Language
Note: This was formulated for my printer. You may have to dabble with your print settings to get these results.
I have an upcoming post on using Affinity Publisher for layout, so keep an eye out for that!
Please consider donating to this blog or purchasing from Natto-shop (http://nattosoup.com/shop) if you want me to continue publishing quality content. All materials tested were purchased from my own pocket. Keep on Truckin' Nattosoup is not under any sponsorship.
Native to Windows:
Creating a Booklet PDF
Make sure your files are in the order you wish them to print.
You can do this by:Renaming your files to sequential numbers
Select all your files. Hold control, click your first file. Hold control again, and click it again. Doing this ensures that your files will print in order.
Right click on the files, and select Print

This pulls up a Print Photos window.
This brings up a menu that offers several options.
We want to select Microsoft Print to PDF, and for zines, you want to select Letter sized paper, with two images per page.

You may also wish to deselect Fit Picture to Frame


After you hit Print, it will bring up a Save As window.

And begin converting your images into a PDF!

Printing From a PDF
If you have Adobe Acrobat Reader, you're going to want to set it as your default for PDF. It has print functionality that allows for printing zines, and print options you may not get with other PDF readers.
If you don't have Adobe Acrobat Reader, get it here.
Open your PDF in Acrobat Reader
Your window should look something like this.

Select Print

Your Print window should look something like this, and offer similar options.

Select:
Print on Both Sides of the Paper
Flip on Short Edge
(If you wish to do color printing, you may want to toggle print in grayscale off- I found that it printed my uncorrected scans very dark)
Resulting Prints


Printing from a PDF allows for double sided, booklet printing. This is a quick and easy way to create a zine or ashcan without needing InDesign for layout! Please note: These files are out of order, so while this is handy for say, sketchbooks, it's not going to work for comics or sequential books. If you wish to create a sequential book using this method, I recommend completing these steps, numbering the resulting pages, and then reordering your files to reflect this sequence so it prints in order.
Printing Without Creating a PDF
What if we skip the Print PDF step?
Select Files using method described above.
Right click, hit Print.
Change print source to your printer.

Adjust other settings accordingly- in my case, deselect Fit Picture to Frame, Select 5"x7", two images per frame, select Letter.

We have no option from this window for double sided printing, thus we can't make double sided booklets. The print quality is improved, however.
Resulting Prints


Downloaded and Installed Software:
Note: Your mileage may vary.
Using Booklet Creator (free trial)
Download hereFull Version: $19.95
File must already be in PDF format. Format your files the way I demonstrated above:
Creating the Booklet:
Trial 1:


Resulting Prints:


Notes:
With these settings, the book printed in reverse order
With the trial, only the first sixteen pages of your booklet are produced. So if you have a book 16 pages or less, trial will work fine for your needs.
Trial 2:


Resulting Prints:


Still reversed, now half are upside down.
Trial 3
Technically Trial 4, as I realized halfway through my issue was selecting Collate for Duplex printers

 Resulting Prints:

Notes:
Success!
If you want to print more than 4 sheets of pages (16 pages, when folded as a booklet) you'll have to pay for a license.
Settings You Want To Click
This Document is For a Right To Left Language
Note: This was formulated for my printer. You may have to dabble with your print settings to get these results.
I have an upcoming post on using Affinity Publisher for layout, so keep an eye out for that!
Please consider donating to this blog or purchasing from Natto-shop (http://nattosoup.com/shop) if you want me to continue publishing quality content. All materials tested were purchased from my own pocket. Keep on Truckin' Nattosoup is not under any sponsorship.
March 7, 2019
Nashville Community Education Zine Exchange
Hey Nashville friends! Free up your Friday, because we're having a zine exchange on the 15th of March!

Nashville Community Education Zine ExchangeMarch 15th
Starting at 5PM
Open to the public
Come trade your zines/minicomics with the NCE Making Comics Spring Class
Held at The Groove, a Nashville record store, hosted by Wake Up Comics, a Nashville zine shop
The Groove
1103 Calvin Ave, Nashville, TN 37206
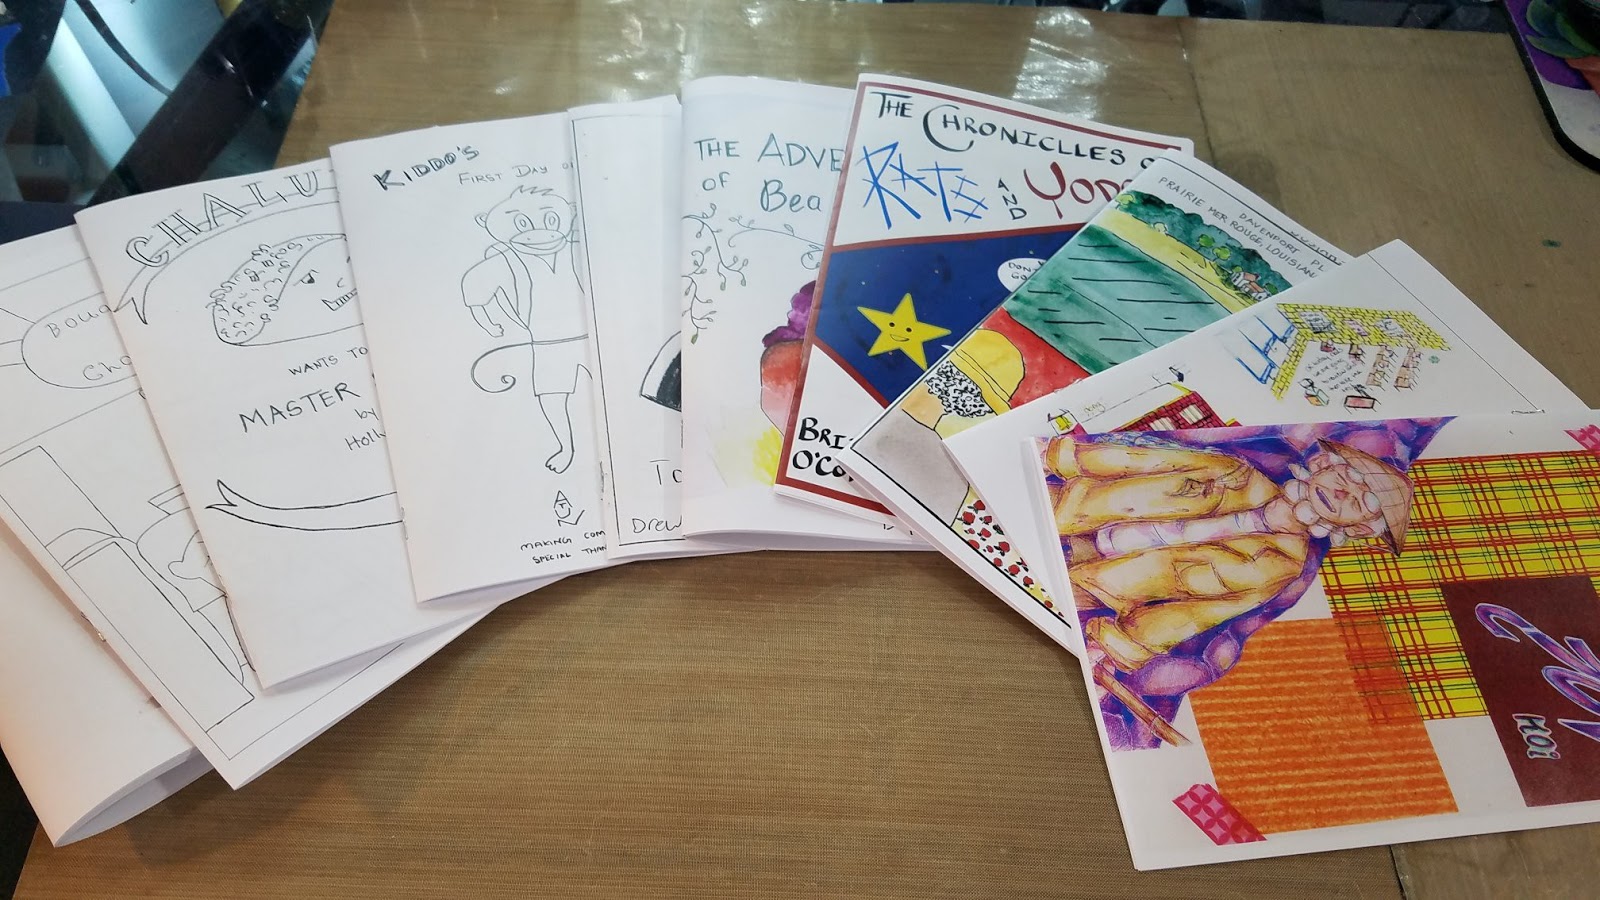
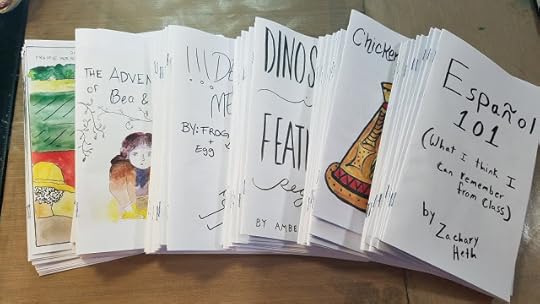
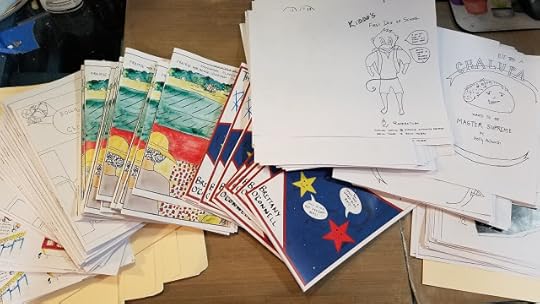
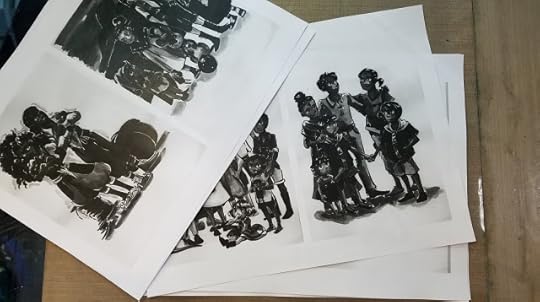
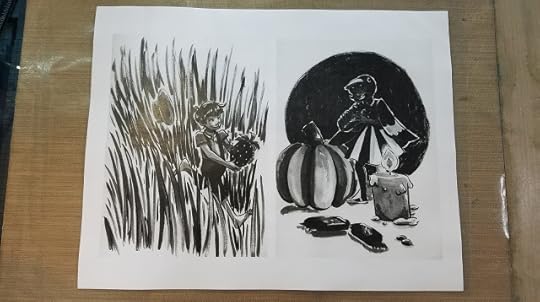
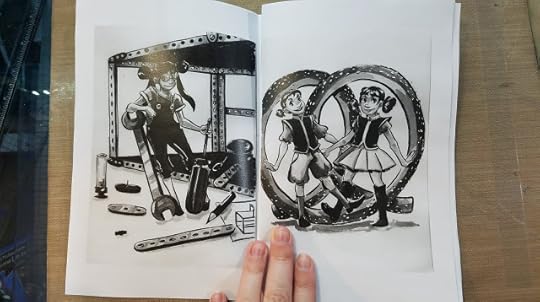
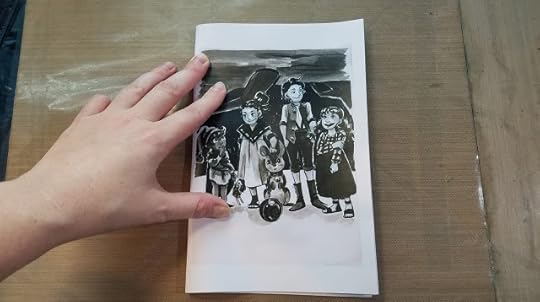
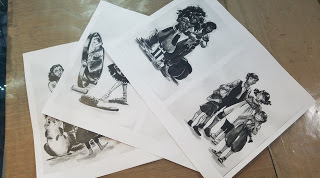
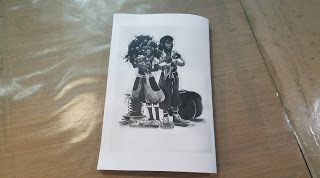
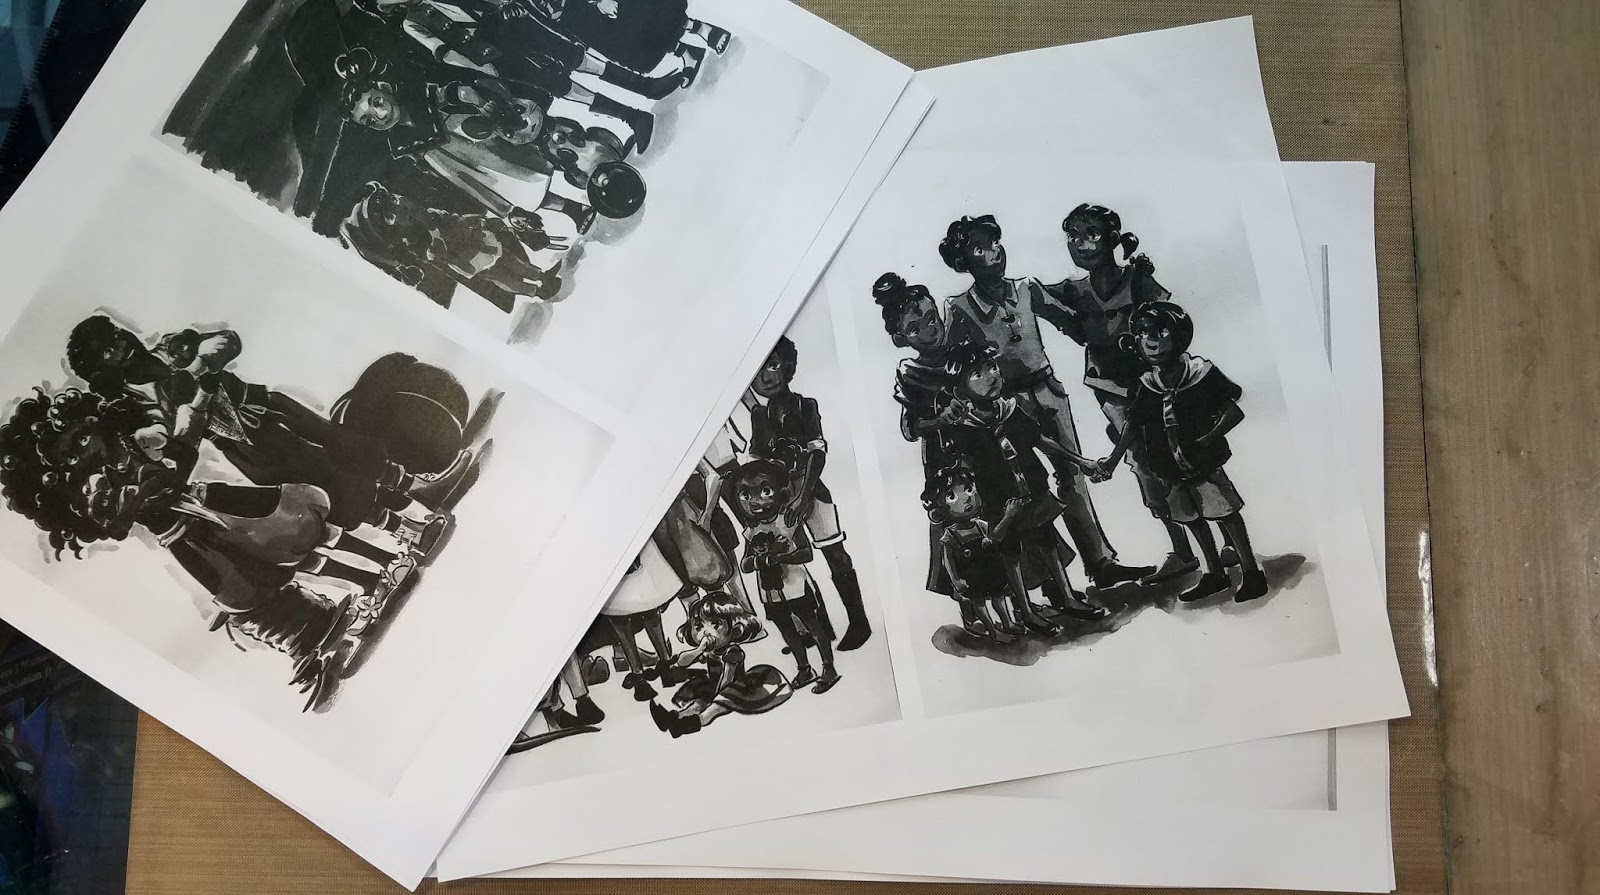
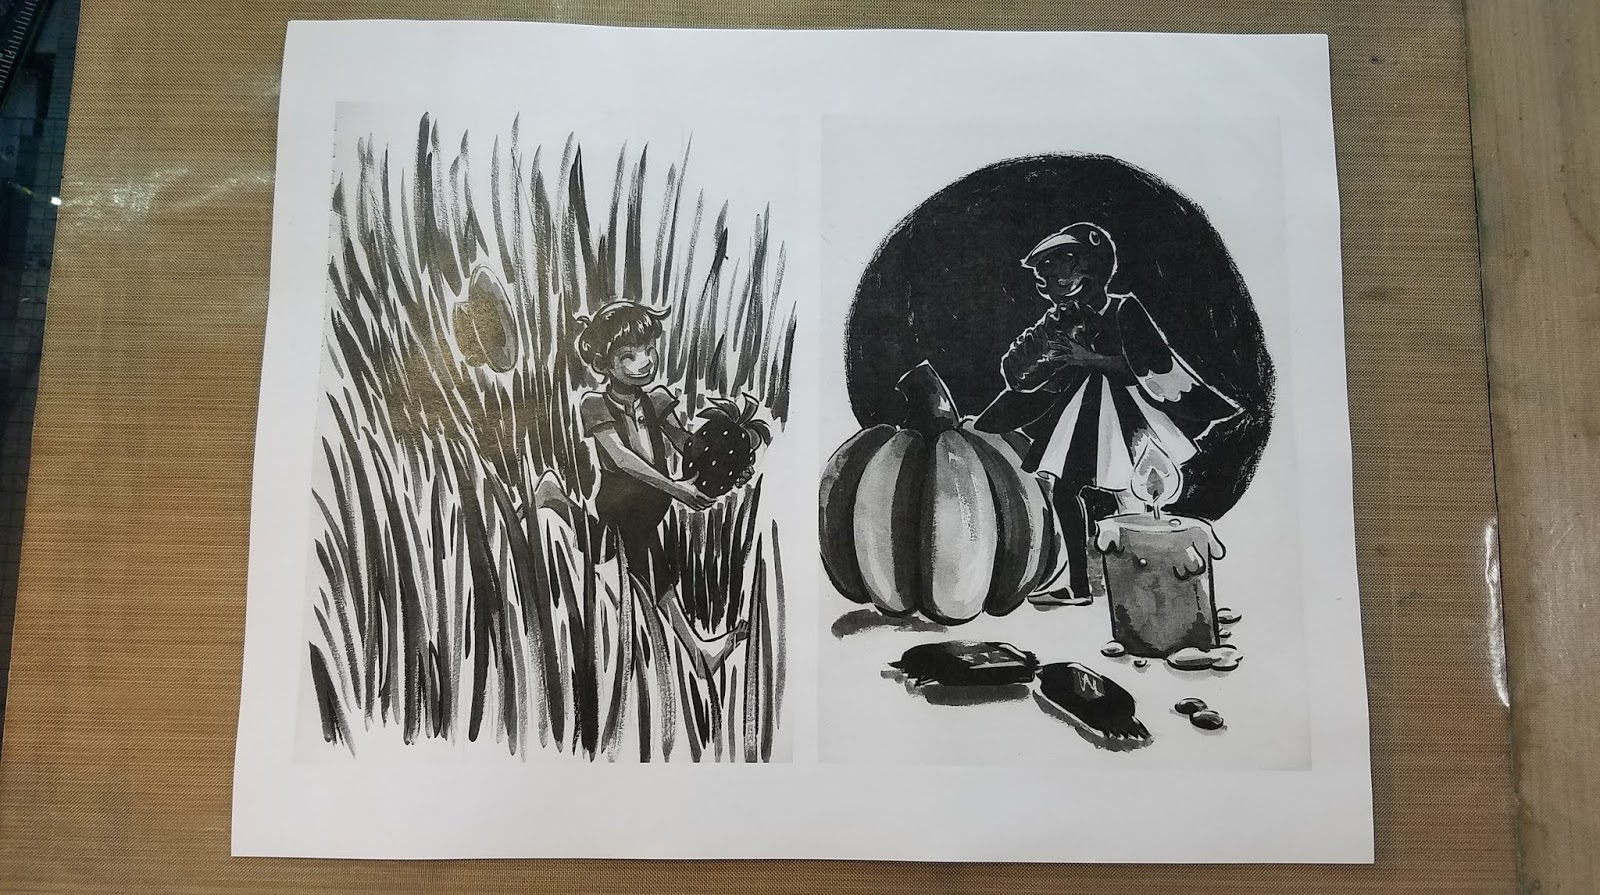
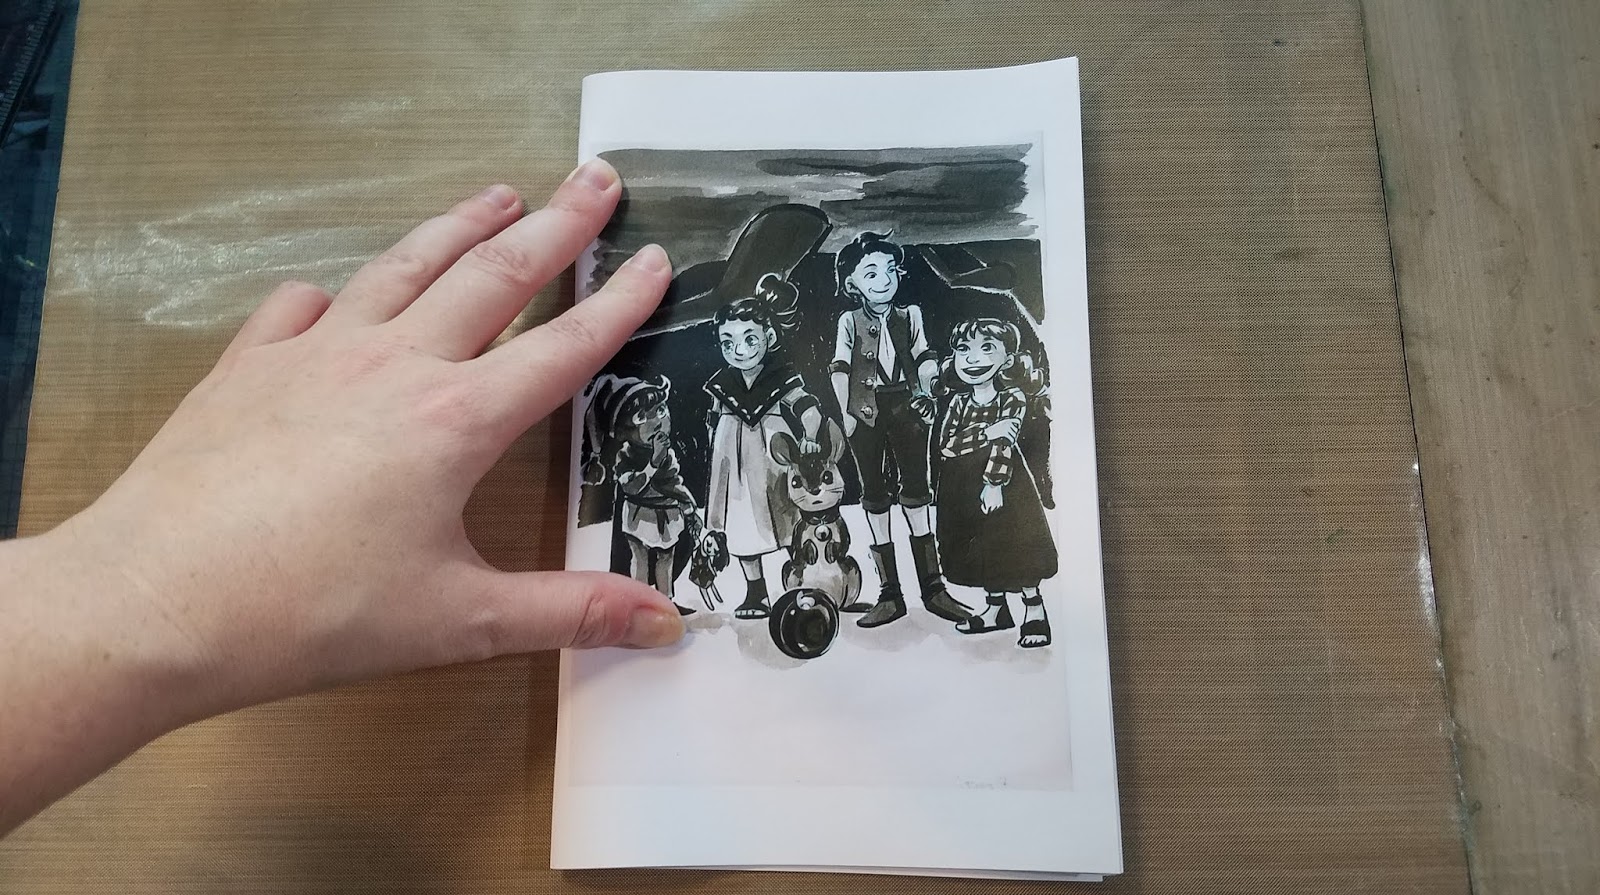
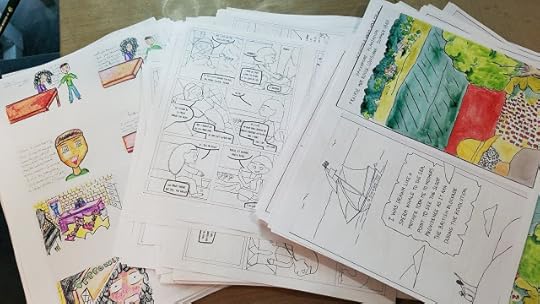
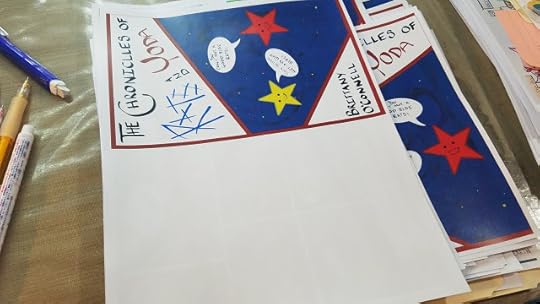
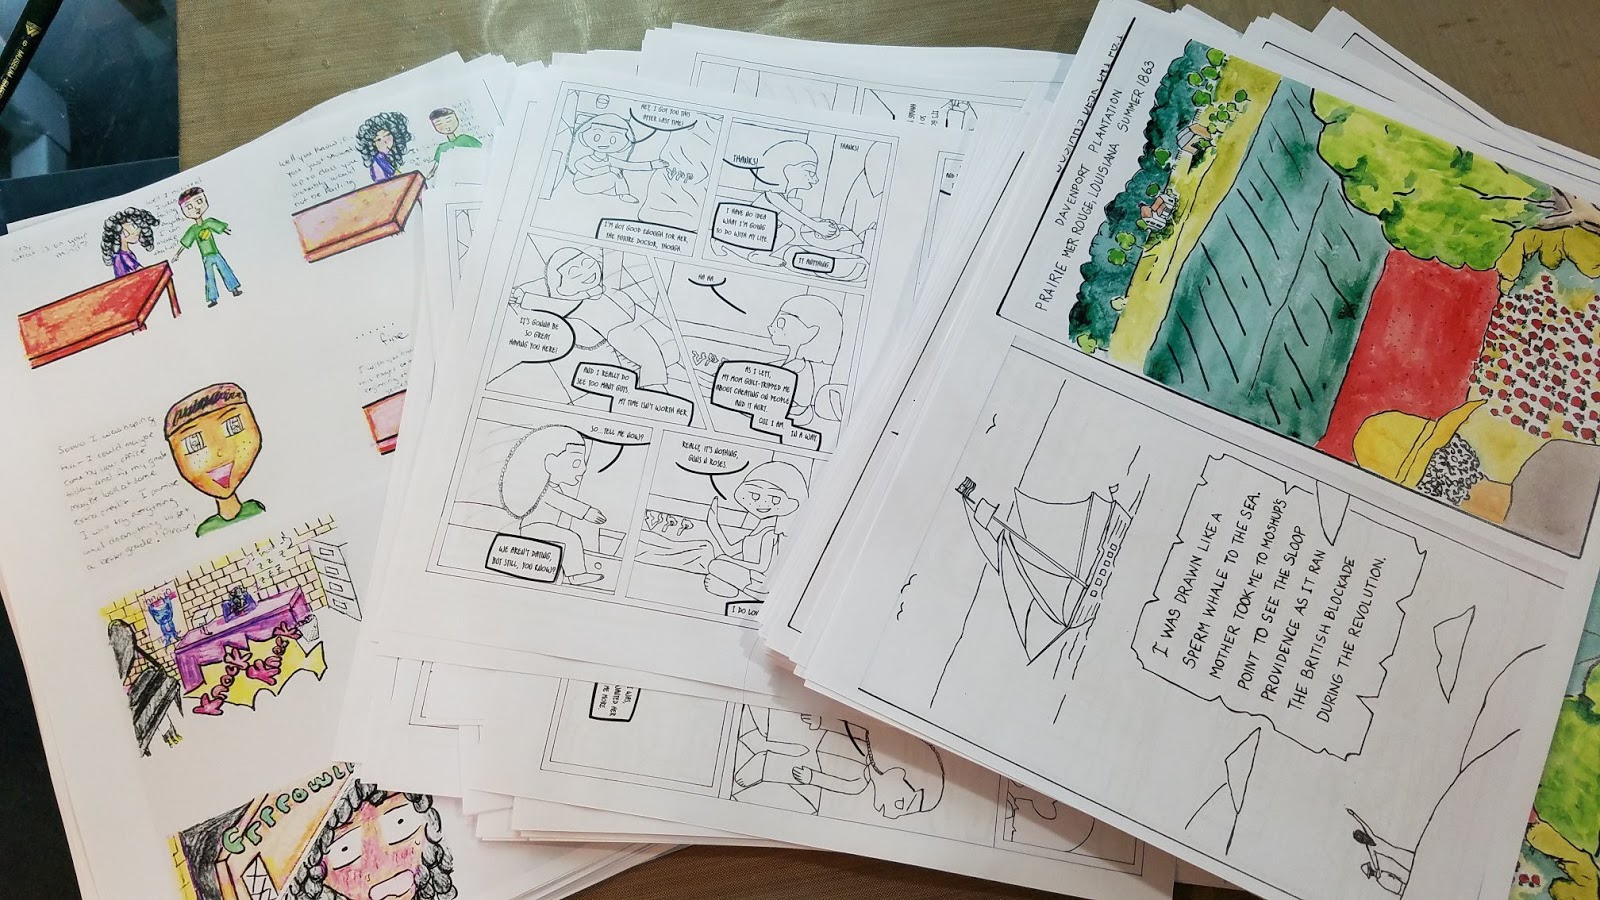
My students have worked hard to prepare a fresh batch of awesome minicomics! They did the planning, writing, drawing, and inking, I did the printing, and we assembled their zines together! We have a wonderful assortment including everything from romance, to daily life, to historical fiction to comedy. Friends are family are invited, so if you're in the area and curious about zines and mini comics, you should swing by!
Make sure you browse Wake Up Comics amazing zine and minicomic selection while you're there!
Making Comics 2019 Zines and Minicomics in Progress:

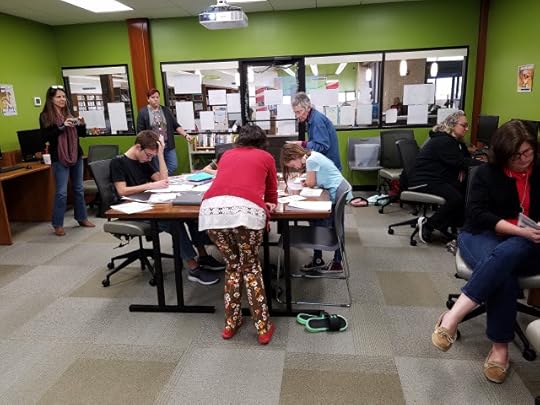
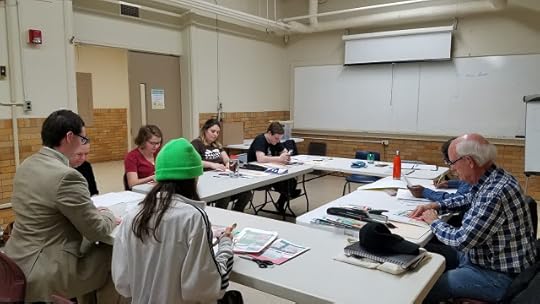
Class Assembly

Not in Nashville? Want to take the Making Comics course at home? Join me on Patreon, and send me a message- I'm happy to send you all the course materials!
Please consider donating to this blog or purchasing from Natto-shop (http://nattosoup.com/shop) if you want me to continue publishing quality content. All materials tested were purchased from my own pocket. Keep on Truckin' Nattosoup is not under any sponsorship.
Nashville Community Education Zine ExchangeMarch 15th
Starting at 5PM
Open to the public
Come trade your zines/minicomics with the NCE Making Comics Spring Class
Held at The Groove, a Nashville record store, hosted by Wake Up Comics, a Nashville zine shop
The Groove
1103 Calvin Ave, Nashville, TN 37206
My students have worked hard to prepare a fresh batch of awesome minicomics! They did the planning, writing, drawing, and inking, I did the printing, and we assembled their zines together! We have a wonderful assortment including everything from romance, to daily life, to historical fiction to comedy. Friends are family are invited, so if you're in the area and curious about zines and mini comics, you should swing by!
Make sure you browse Wake Up Comics amazing zine and minicomic selection while you're there!
Making Comics 2019 Zines and Minicomics in Progress:
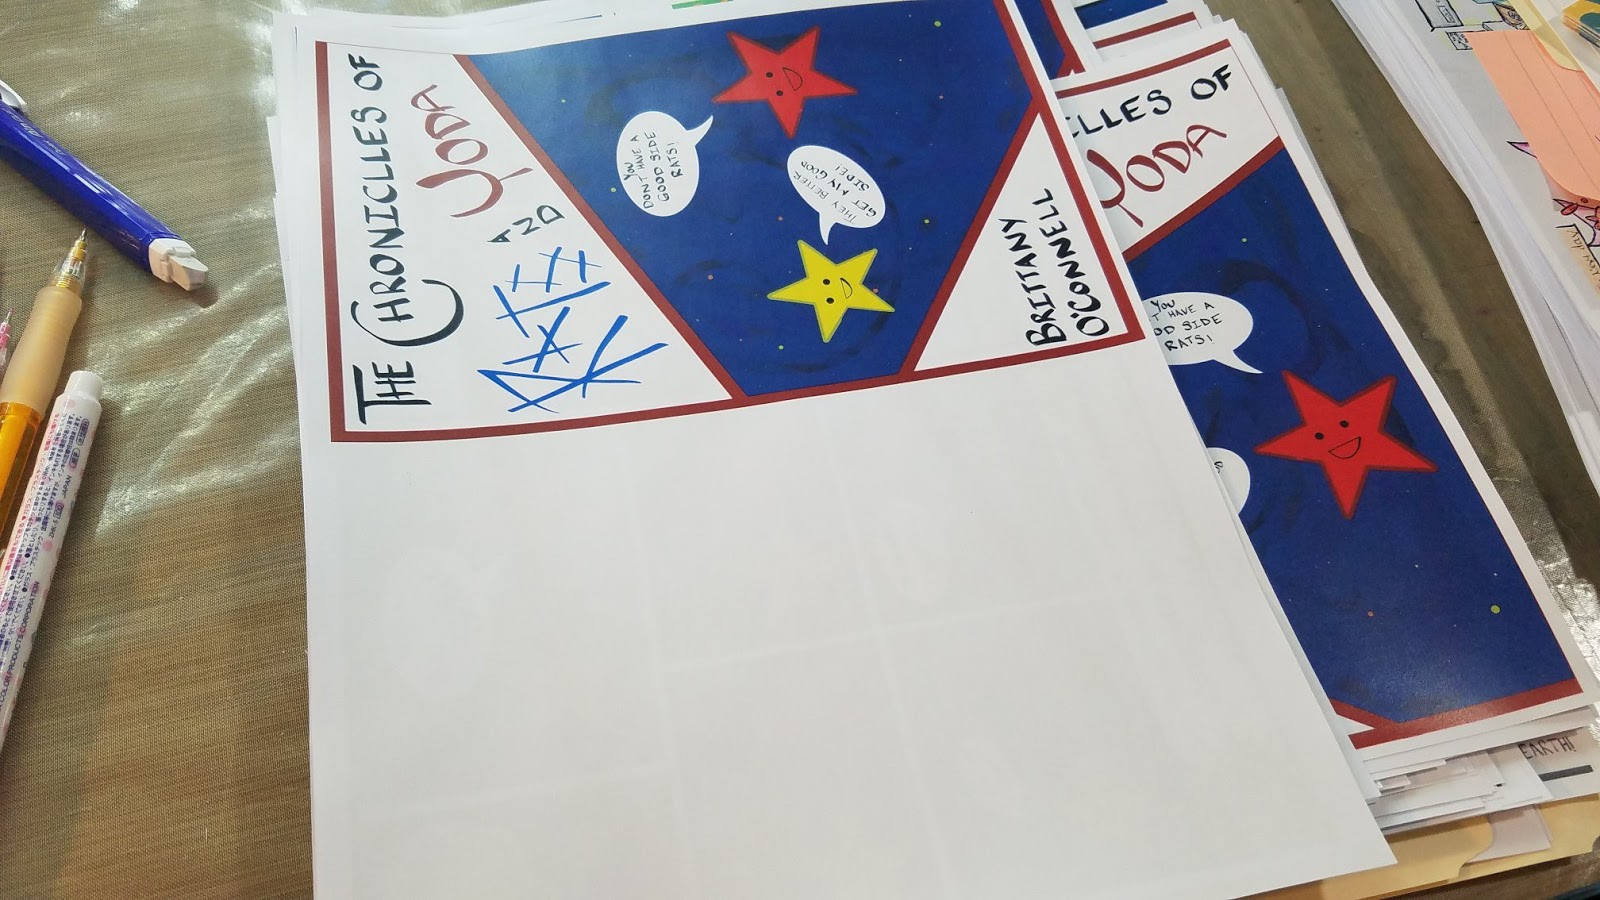

Class Assembly


Not in Nashville? Want to take the Making Comics course at home? Join me on Patreon, and send me a message- I'm happy to send you all the course materials!
Please consider donating to this blog or purchasing from Natto-shop (http://nattosoup.com/shop) if you want me to continue publishing quality content. All materials tested were purchased from my own pocket. Keep on Truckin' Nattosoup is not under any sponsorship.
February 28, 2019
Creating Art Digitally
My Tools:
Surface Pro 3
Surface Pro Stylus
Photoshop
Additional Tools:
Canon Pixma Pro 9000 MK 2
Strathmore Sequential Art 500 Series Plate Bristol
Kuretake Fudegokochi brush pen
Scanner
Drawing A Cute Custom Avatar- Part 1- Sketch:
Drawing a Cute Custom Avatar- Part 2- Inks
Drawing a Cute Custom Avatar- Part 3-Flats
Drawing a Cute Custom Avatar- Part 4- Shading
Further Resources:
Digital Chibi Timelapse
Please consider donating to this blog or purchasing from Natto-shop (http://nattosoup.com/shop) if you want me to continue publishing quality content. All materials tested were purchased from my own pocket. Keep on Truckin' Nattosoup is not under any sponsorship.
February 21, 2019
Watercolor Paper Review: Fabriano Studio
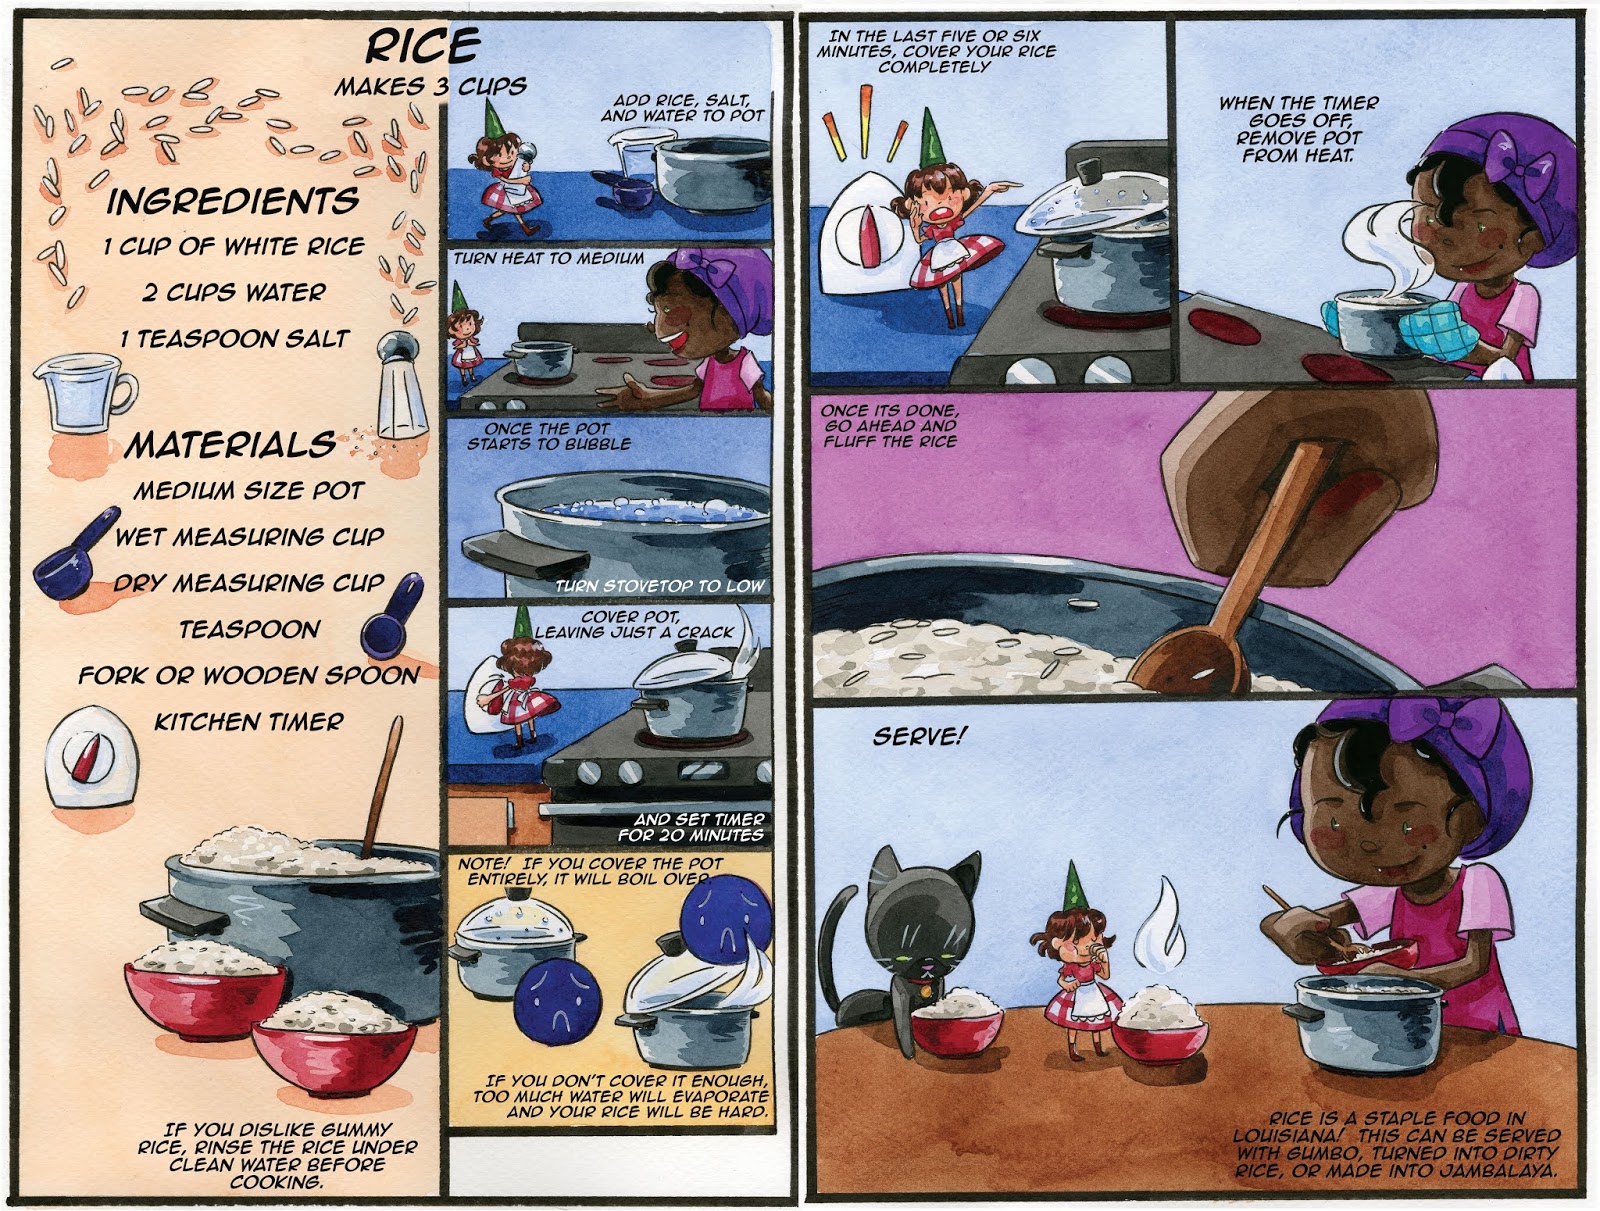 Sample treatment from my Lil Louisiana Cookbook pitch
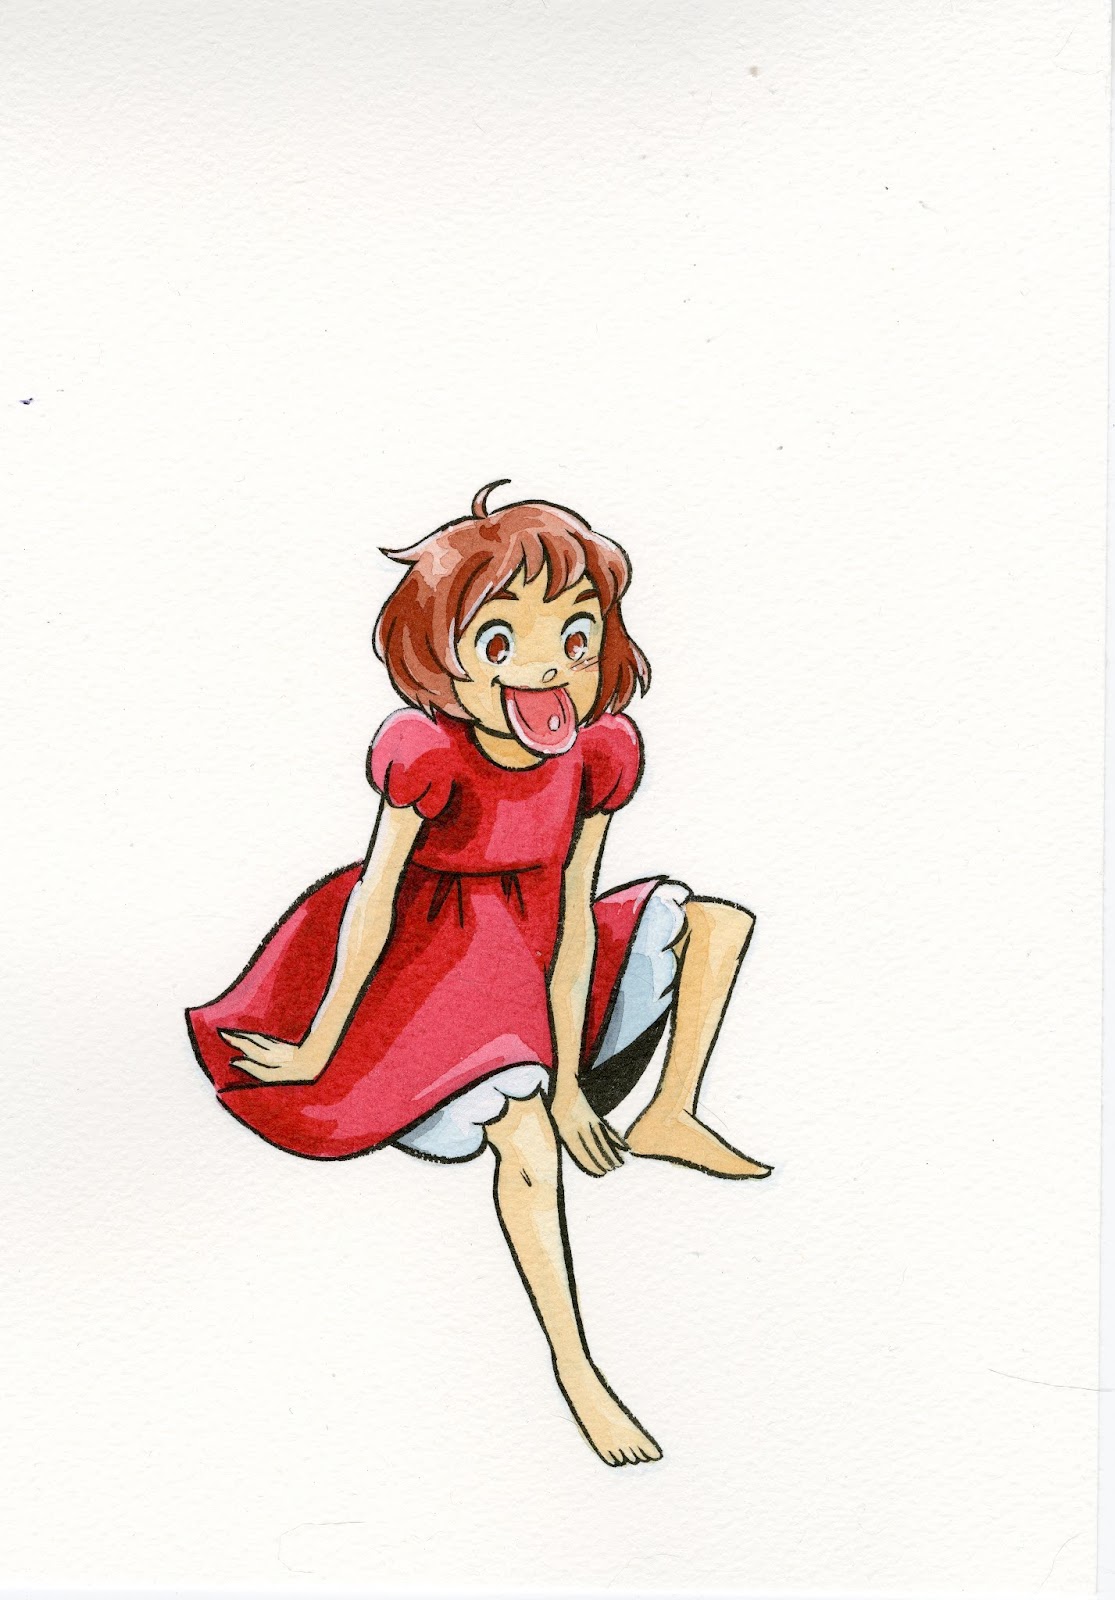
A few months ago, I wrote a review of Canson Montval, my watercolor paper of choice for painting 7" Kara comic pages. I listed a lot of caveats in that review- why it's right for me, but perhaps not you. Today's Fabriano Studio review is going to be an extension of the same.
Fabriano Studio is interesting. It's a challenging paper and does not take watercolor consistently. I feel it's best if you're painting with limited layers. It has a lot of texture, and is a really fun paper to ink on, and could be a great paper for comic inkers who love texture. The 25/75 cellulose/cottonrag mix doesn't give us the promised best of both worlds- the price of cellulose with the handling qualities of cottonrag- but creates a watercolor paper that can be prone to streaking, is prone to uneven lifting and blending, and is not a good choice if you're a watercolorist looking for an even tempered paper.
So why review it? I feel like Fabriano Studio is a great economy paper for comic artists, for mixed media techniques, and for inked watercolor pages. If you're willing to be patient, to limit your layers, and to play around with it first, you may find another affordable paper for your comic paper arsenal.
 SCBWI 2017 Illustrator's Contest Spread
The Stats
25% Cottonrag, 75%CelluloseStudent GradeAcid FreeInternal and External sizingAvailable in Hot and Cold PressBoth hotpress and coldpress are available in 90lb and 140lbPads range from 12 sheets up to 75 sheetsPads range from 8"x10"-11"x14"Available in postcard size, sheetsAvailable through Dick Blick, Jerry's Artarama, Amazon
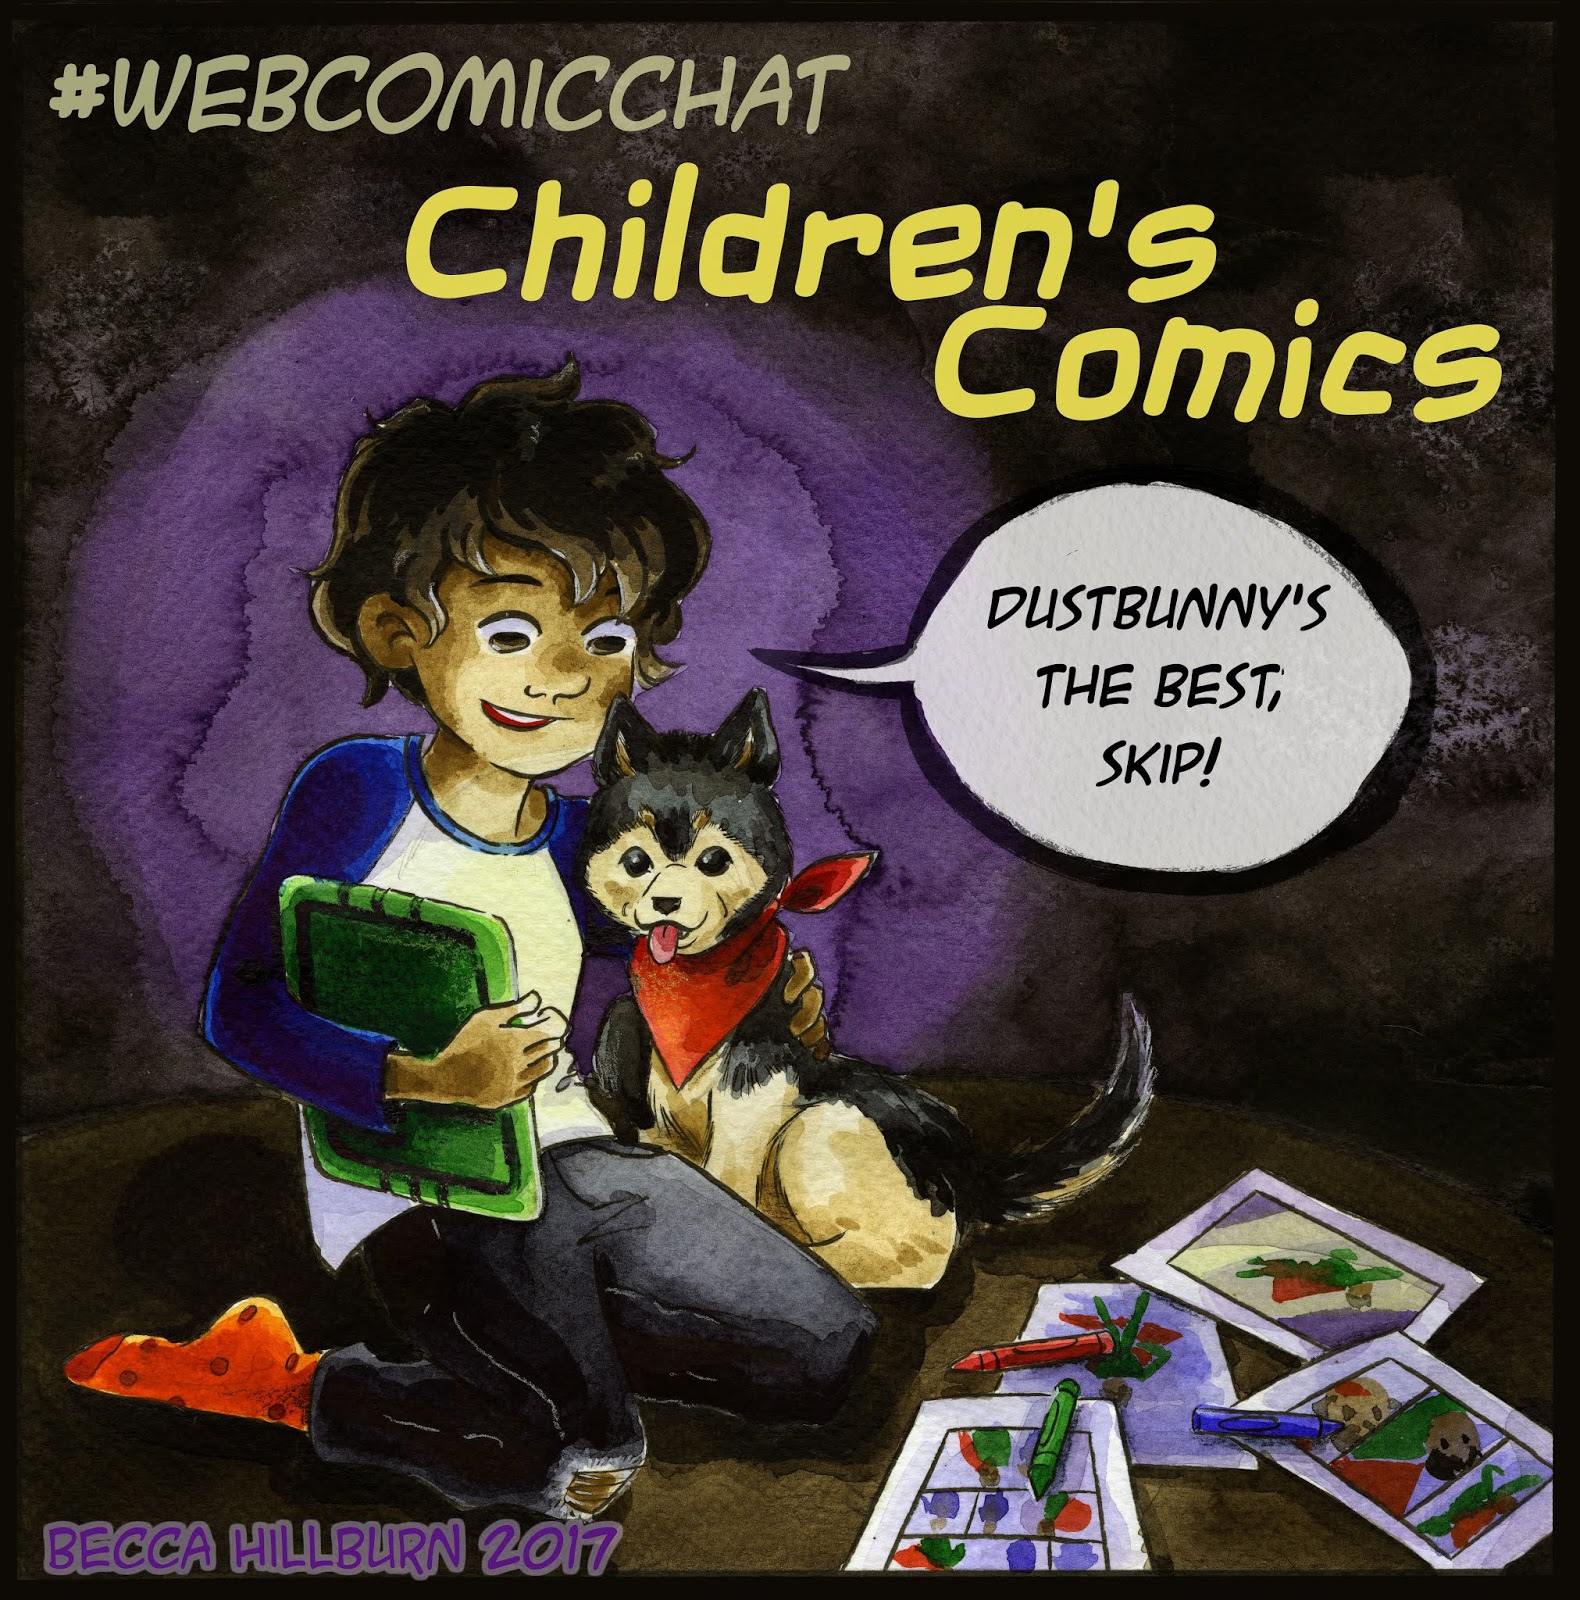 2017 WebComicChat Spot Illustration- Children's Comics
Price Comparison
Cellulose Papers:
Canson Montval
Canson Montval 140lb 10"x15" tape-bound pad, 12 sheets: $8.35 on Blick
Canson XL
Canson XL 140lb 11"x15", tape-bound pad, 30 sheets- $7.13 on Blick
Blick Studio
Blick Studio 140lb 11"x15", 15 sheets: $7.63 on Blick
Fabriano Studio
Fabriano Studio, 140lb, 11"x14" tape-bound pad, 12 sheets: $8.25 on Blick
Cotton Rag?
Moulin du Roy
Moulin du Roy Coldpress Watercolor Paper, 140lb, tape bound pad 11.8"x15.7", 12 sheets $22.91 on Amazon
Kilimanjaro
Kilimanjaro Bright White Coldpress Watercolor Paper 11"x14", 20 sheets- $29.99 on Cheap Joe's
Arches
Arches Cold Press Watercolor Paper, 140lb, tape bound pad 10"x14", 12 sheets- $14.11 on Blick
Blick Premiere
Blick Premiere Cold Press Watercolor Paper, 140lb, block or sheet only, 10"x14", 20 sheets- $21.10 on Blick8
Favorite Use Case for Fabriano Studio
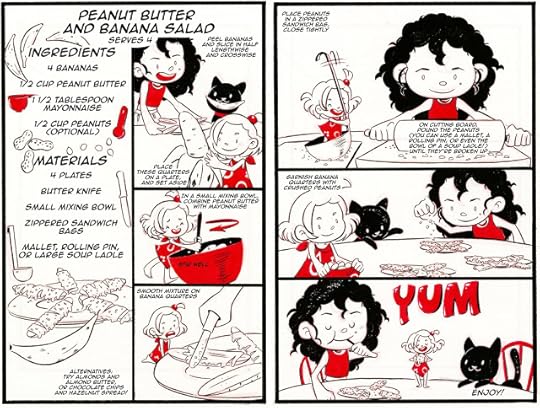
 Sample spread from Lil Lilliputian Cookbook. Spot color+Black Variation
Although Fabriano Studio doesn't shine as a watercolor paper, even by cellulose standards, it is an excellent paper for inking, particularly inking with a traditional brush, or inkers looking for gritty dry brush textures.
 Sample spread from Lil Lilliputian Cookbook. Spot color+Black Variation
I particularly like it for how it handles dye based brushpens like Pentel's brushpens. Fabriano Studio is a perfect surface for spot color illustration and comics.
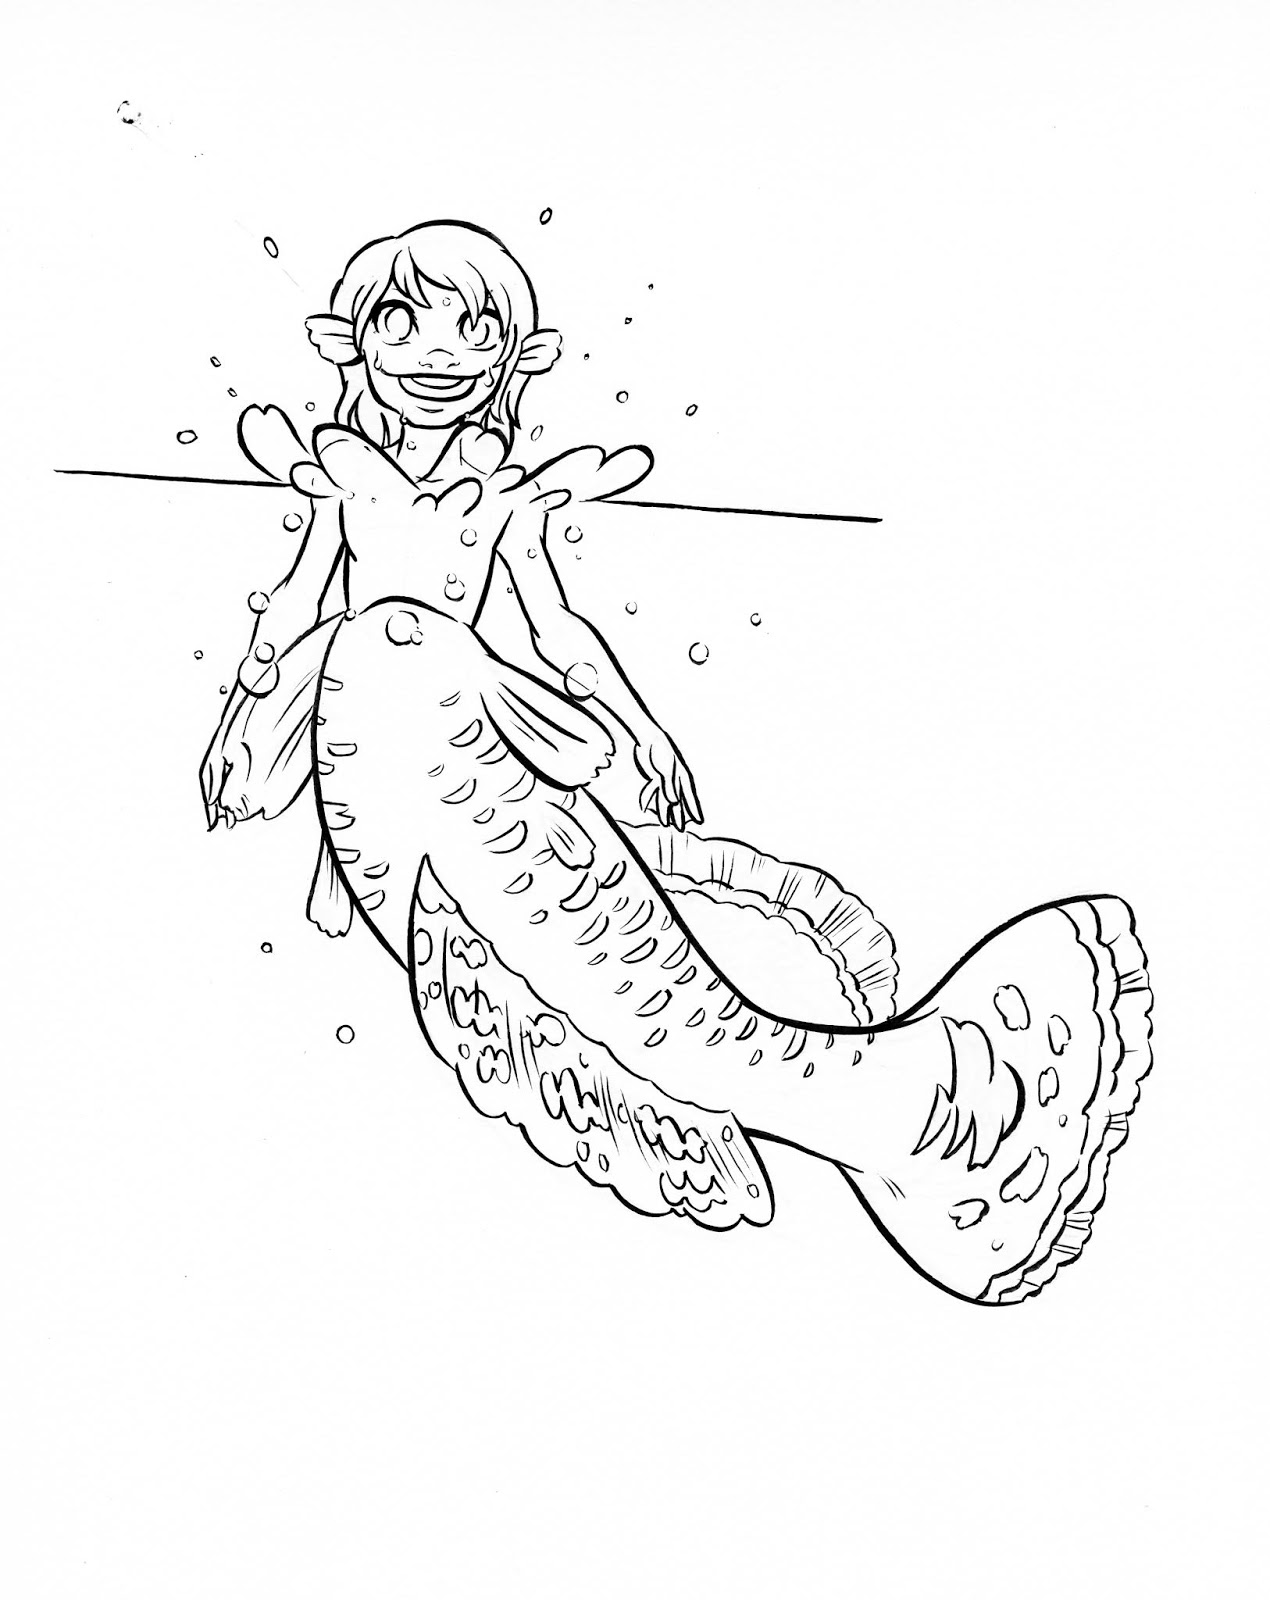 Mermay Killifish mermaid. FW Acrylic Ink- Payne's Grey, BrushI also find Studio to be delightful in combination with brush inking, particularly large sizes such as 3 and 4. It takes acrylic ink like FW Acrylic ink like a champ.
Pros:Available in 50 and 75 sheet packs- very economicalTakes ink super well- very fun to ink onLoads of texture can be great for watercolor pencil, watercolor crayonRuns through my printer takes bluelines well
Cons:Does not take layering wellDoes not take blending wellDoes not take lots of water wellDifficult to get even washesDifficult to build up layers of color
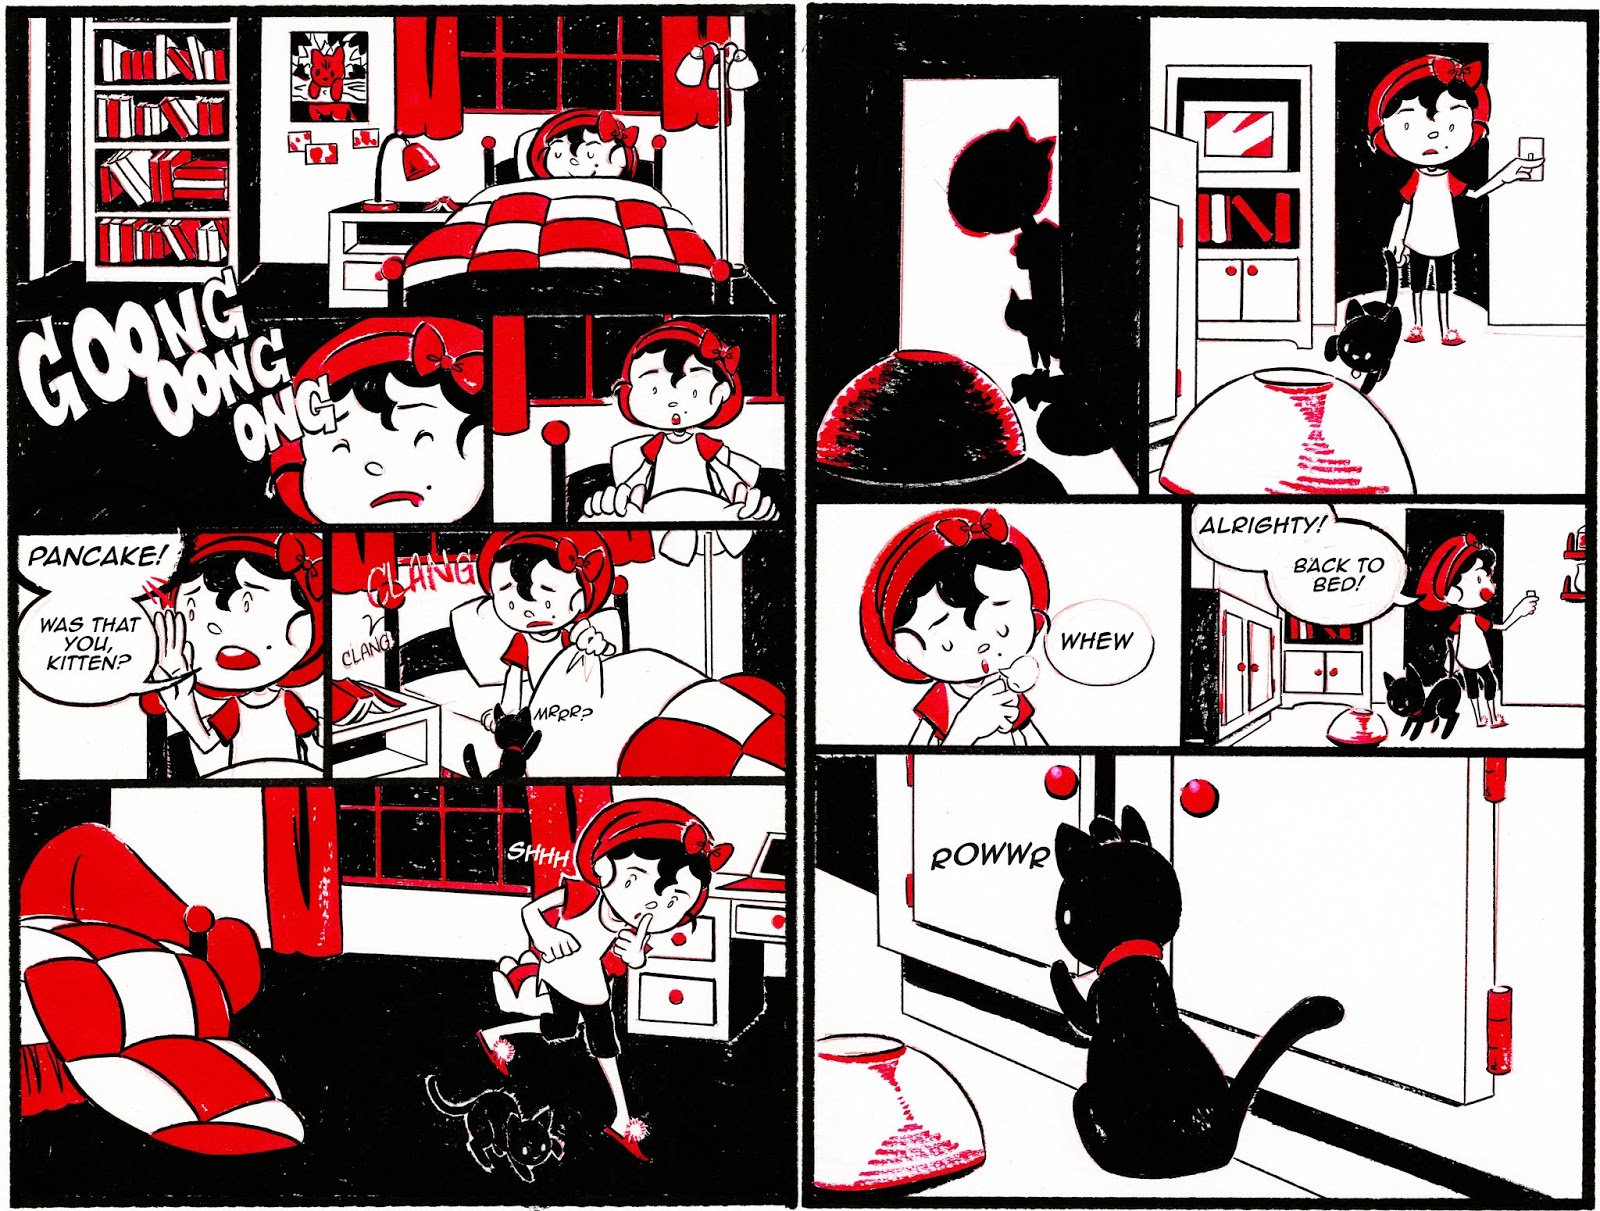
 Favorite Fictional Femme illustration. Waterproof India ink, watercolor
The Verdict:

 Favorite Fictional Femme illustration. Waterproof India ink, watercolor
 Fabriano Studio is an affordable paper that behaves better than many bulk watercolor papers (Canson's Bulk Watercolor paper comes to mind). I'm not a fan of mixed content watercolor papers generally- I find they behave with the worst aspects of both fibers. Fabriano Studio is not an exception, but it does have some qualities that make it exceptional for comic work and the needs of comic artists. I would not choose to paint a longform watercolor comic on Fabriano Studio given it's quirks, but I have used it for series of illustrations including my 2016 Inktober and my 2018 Mermay Mermaids.
Please consider donating to this blog or purchasing from Natto-shop (http://nattosoup.com/shop) if you want me to continue publishing quality content. All materials tested were purchased from my own pocket. Keep on Truckin' Nattosoup is not under any sponsorship.

February 14, 2019
In Defense Of the Mini Comic
Note: This focuses on the use of the minicomic as a teaching exercise
If you want to read MY minis, you can purchase individual comics through Gumroad, or get access to all minis available by joining the Artnerd community over at Patreon.
The Problem: Art educators often assign an 8 page mini as an introduction to comic craft. Some artists, particularly webcomic artists, feel this is insulting, as it assumes the students are not capable of more.
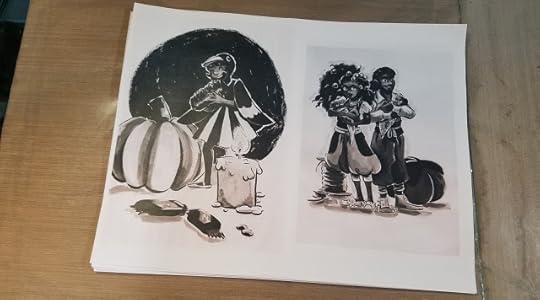
 Spread from my Lil Louisiana Cookbook pitch- which includes a 10 page minicomic
My Background:
Comics: 100+ page watercolor comic. Shorts in 10 anthologies. Began making comics at 13- stand alone single page, 4koma, strips, silent, minis, longform. Frequently table at 7-13 cons per year, from indie comics to anime. Always have minis for sale on the table.
Education:
My Education: MFA in Sequential Art from SCAD.
As an Educator: Have taught comics online for 10 years through this blog and Youtube. Have taught workshops on comics across the US, have taught classes at an elementary school (East Broad), a middle school (through Comics in the Curriculum), an arts magnet school (Esther F Garrison), a highschool (Hahnville High School), and at the university level (SCAD). Currently teaching Making Comics through Nashville Community Ed.
Why do I care? This attitude, without understanding the rational of the assignment, is toxic and can poison other, impressionable artists. Short comics are a great way for artists of all experiences to experiment with a new format, pitch to a publisher, play around with new characters, or begin their comic journey. The mini is an invaluable tool in the artists' toolkit, and to denigrate it as insulting completely misses its importance.
Spoiler Alert: A minicomic can be the first chapter of your longform comic, so long as it works as a self contained story.
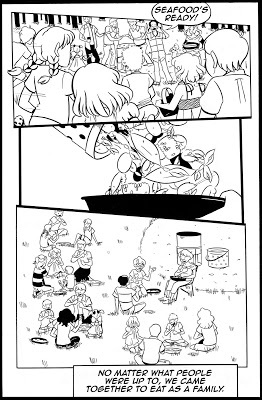
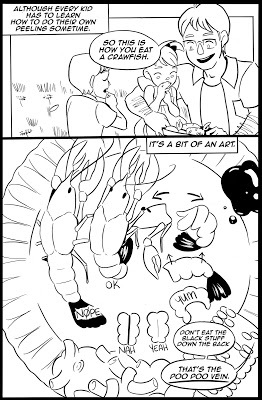
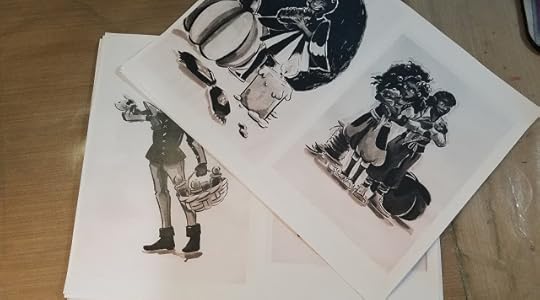
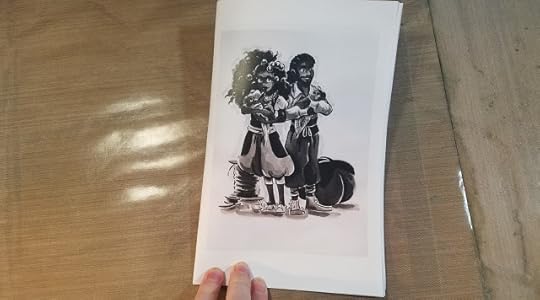
Pages from Cicada Summer's Pickin' n Peeling minicomic. This was part of a pitch to Graphix.
I've always had a handful of long stories that I've worked on steadily thru the years. I began making comics at 13, with a gag a day comic that meandered around for two years (Naki and Akira). After that? Another gag a day that meandered for one year (The Truth About Gaming). And then? A daily 2 strip 4 koma that continued for three years . After that? A 200 page attempt at a shoujo manga, drawn in pencil and ballpoint pen (Let's Make a Deal). After that? 20 pages of what would've been a longform comic that collapsed under its own weight (Ready Set Go).
When that died, I felt a bit lost. Fortunately, I was in the middle of my MFA, and my professors had plenty of short assignments to keep me busy. Strips, silent comics, 8 page shorts inspired by a trip to Japan, 3 page anthology pitches- a wide variety of topics, art styles, and lengths. Planning and executing these short stories gave me license to experiment and learn new comic tricks. Comic improvement comes from experience-actually making comics, and short comics allow you to play with a variety of storytelling techniques and formats without a huge commitment.
Now I'm consistently working on 7" Kara, my longform watercolor comic. I've worked on Kara for about eight years now, and during that time, I've created about a dozen mini comics- many for anthologies, a few as pitches, and some as standalone projects that tied in with my students' work. These minis have provided an opportunity to stretch my wings, explore other stories, and pitch to editors- something that might not be feasible if I were tied to just one longform comic. Having the opportunity to work on other projects not only keeps my work on Kara fresh and interesting, but gives me a place to experiment without negatively affecting 7" Kara's style or pace.
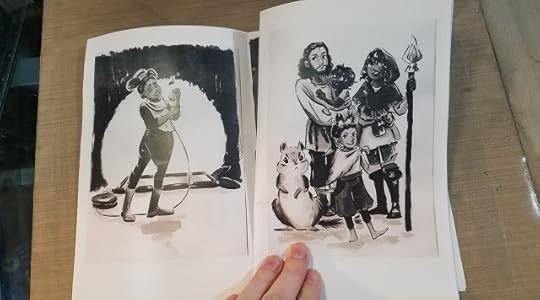
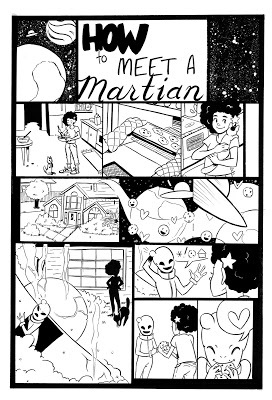 How to Meet a Martian- A Single Page Minicomic created for a Nashville Public Library workshop
Over the years, I've pitched almost a dozen mini comics to anthologies. When I pitch to editors, it's generally with a 10 page sample, a standalone mini that hopefully showcases the idea. When I'm creating a comic along with my class, it's usually a mini comic. When I sell at cons, I have a spinner rack full of mini comics and zines that customers love to flip through. Even Hourly Comic Day is all about creating a mini. The mini comic is a pillar in my comic creation process. In this instance, the mini is a useful pitch tool that allows me to feel out interest without investing too much effort.
When I teach, most of my students are either children or adults who haven't drawn a comic since they were kids. My students are generally a bit nervous about the idea of tackling a comic- many even claim that they can't draw stick figures. It's my job to inspire my students, to show them that this is something that can be accomplished, so I encourage my students to start small. I don't care if it's a standalone story or a small snapshot from a longform epic- I just want those eight pages of comic art. And why eight pages? Because the smallest number of pages you can draw that will compile into a satisfying little printed book- it's approachable and feasible to artists who are finding their bearing. In this instance, the mini builds confidence for artists who are anxious.
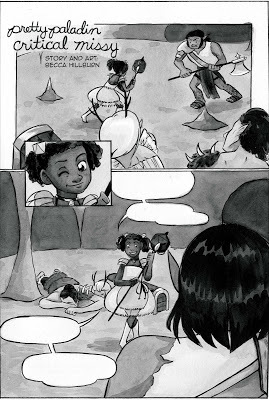
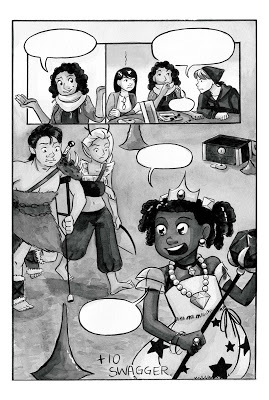
Select pages from Pretty Paladin Critical Missy, a 4 page minicomic created for the Chainmail Bikini Anthology
An eight page mini is pretty ideal for new-to-comics artists. It's easier for them to accomplish, easier for them to plan, conceivable for fledgling artists to draw. Small bites, stepping into the baby pool. A long form is a 6' sandwich, a dive into the deep end. Depending on what you need, either can be great, but just as you wouldn't deny an infant baby food, or a newly minted swimmer their water wings, don't deny artists their minicomics.
Some people know what they want, have a clear visualization, strong art skills, uninterrupted time to work. Some people just want to make a coherent comic, 8 solid pages that work, and haven't made a sequential art story since they were 5. Some people are trudging through their epic comic, are completely burnt out, and just want to draw a fun 4koma to remind them of what they love about the comic format. Some people just want a low key hobby that isn't all consuming. Every artist has unique needs, and needs often change over time.
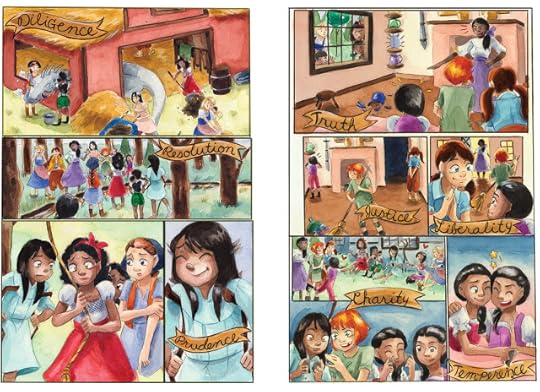 Comic spread from Knight School, a six page mini comic for 1001 Knights Volume 3- Wisdom
If that idea is insulting, that's just too bad. My goal isn't to insult established artists, my goal is to motivate those who are taking their first steps. You can always do your longform baby, no one is stopping you. Advice comes from a personal place based on real life experiences- if it's not suitable for your needs, just shrug it off. I'll continue to tell students and those who seek my advice to start with 8 pages, because once you can prove to yourself that you can do 8 pages, you can imagine doing more. You can keep going, because now you have a tangible record of success.
 2017 SCBWI Illustrator's Contest Entry- I opted to draw it as a self contained comic spreadWanna take a chunk from your longform script and make an 8 page mini to get to know the characters? Awesome, beautiful, please do. Want to make goofy 4koma side comics? Yes, please! I just want you to make comics, and respect others who make comics.
So yeah, new to comics? Make some minis, eat that elephant bite by bite. Maybe those minis will snowball into a serial, maybe you'll realize that story isn't the one you wanna work on, maybe you'll realize that method of making art is too time consuming. Maybe you'll fall head over heels in love with it, maybe an editor will read it and fall in love with your work and hire you. Minis are great because they offer possibility without signing us up for six years of work.
Whether minis are a good fit for you, I want you to find the path that works for you, that YOU enjoy, and work with that. You know yourself best, and advice given through places like Twitter is general at best, but often given from experience and a desire to help, not disrespect.
Please consider donating to this blog or purchasing from Natto-shop (http://nattosoup.com/shop) if you want me to continue publishing quality content. All materials tested were purchased from my own pocket. Keep on Truckin' Nattosoup is not under any sponsorship.
If you want to read MY minis, you can purchase individual comics through Gumroad, or get access to all minis available by joining the Artnerd community over at Patreon.
The Problem: Art educators often assign an 8 page mini as an introduction to comic craft. Some artists, particularly webcomic artists, feel this is insulting, as it assumes the students are not capable of more.
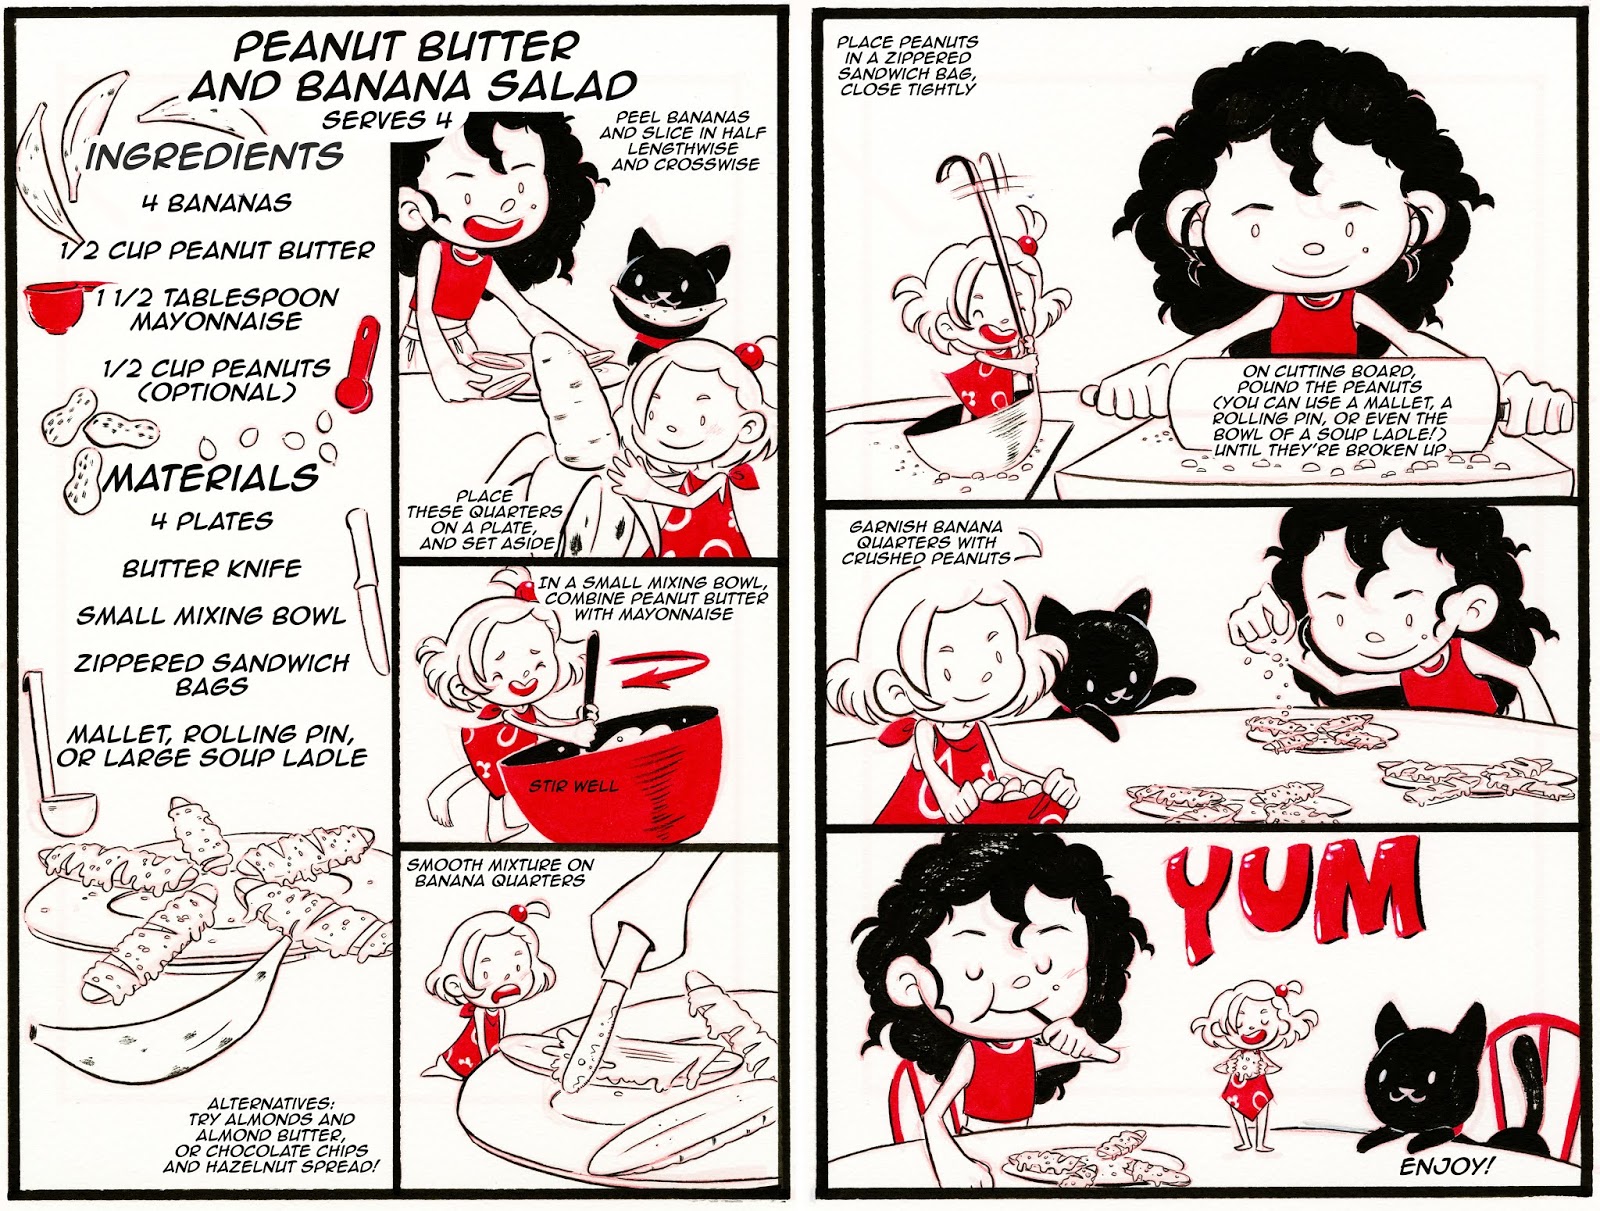 Spread from my Lil Louisiana Cookbook pitch- which includes a 10 page minicomic
My Background:
Comics: 100+ page watercolor comic. Shorts in 10 anthologies. Began making comics at 13- stand alone single page, 4koma, strips, silent, minis, longform. Frequently table at 7-13 cons per year, from indie comics to anime. Always have minis for sale on the table.
Education:
My Education: MFA in Sequential Art from SCAD.
As an Educator: Have taught comics online for 10 years through this blog and Youtube. Have taught workshops on comics across the US, have taught classes at an elementary school (East Broad), a middle school (through Comics in the Curriculum), an arts magnet school (Esther F Garrison), a highschool (Hahnville High School), and at the university level (SCAD). Currently teaching Making Comics through Nashville Community Ed.
Why do I care? This attitude, without understanding the rational of the assignment, is toxic and can poison other, impressionable artists. Short comics are a great way for artists of all experiences to experiment with a new format, pitch to a publisher, play around with new characters, or begin their comic journey. The mini is an invaluable tool in the artists' toolkit, and to denigrate it as insulting completely misses its importance.
Spoiler Alert: A minicomic can be the first chapter of your longform comic, so long as it works as a self contained story.


Pages from Cicada Summer's Pickin' n Peeling minicomic. This was part of a pitch to Graphix.
I've always had a handful of long stories that I've worked on steadily thru the years. I began making comics at 13, with a gag a day comic that meandered around for two years (Naki and Akira). After that? Another gag a day that meandered for one year (The Truth About Gaming). And then? A daily 2 strip 4 koma that continued for three years . After that? A 200 page attempt at a shoujo manga, drawn in pencil and ballpoint pen (Let's Make a Deal). After that? 20 pages of what would've been a longform comic that collapsed under its own weight (Ready Set Go).
When that died, I felt a bit lost. Fortunately, I was in the middle of my MFA, and my professors had plenty of short assignments to keep me busy. Strips, silent comics, 8 page shorts inspired by a trip to Japan, 3 page anthology pitches- a wide variety of topics, art styles, and lengths. Planning and executing these short stories gave me license to experiment and learn new comic tricks. Comic improvement comes from experience-actually making comics, and short comics allow you to play with a variety of storytelling techniques and formats without a huge commitment.
Now I'm consistently working on 7" Kara, my longform watercolor comic. I've worked on Kara for about eight years now, and during that time, I've created about a dozen mini comics- many for anthologies, a few as pitches, and some as standalone projects that tied in with my students' work. These minis have provided an opportunity to stretch my wings, explore other stories, and pitch to editors- something that might not be feasible if I were tied to just one longform comic. Having the opportunity to work on other projects not only keeps my work on Kara fresh and interesting, but gives me a place to experiment without negatively affecting 7" Kara's style or pace.
 How to Meet a Martian- A Single Page Minicomic created for a Nashville Public Library workshop
Over the years, I've pitched almost a dozen mini comics to anthologies. When I pitch to editors, it's generally with a 10 page sample, a standalone mini that hopefully showcases the idea. When I'm creating a comic along with my class, it's usually a mini comic. When I sell at cons, I have a spinner rack full of mini comics and zines that customers love to flip through. Even Hourly Comic Day is all about creating a mini. The mini comic is a pillar in my comic creation process. In this instance, the mini is a useful pitch tool that allows me to feel out interest without investing too much effort.
When I teach, most of my students are either children or adults who haven't drawn a comic since they were kids. My students are generally a bit nervous about the idea of tackling a comic- many even claim that they can't draw stick figures. It's my job to inspire my students, to show them that this is something that can be accomplished, so I encourage my students to start small. I don't care if it's a standalone story or a small snapshot from a longform epic- I just want those eight pages of comic art. And why eight pages? Because the smallest number of pages you can draw that will compile into a satisfying little printed book- it's approachable and feasible to artists who are finding their bearing. In this instance, the mini builds confidence for artists who are anxious.
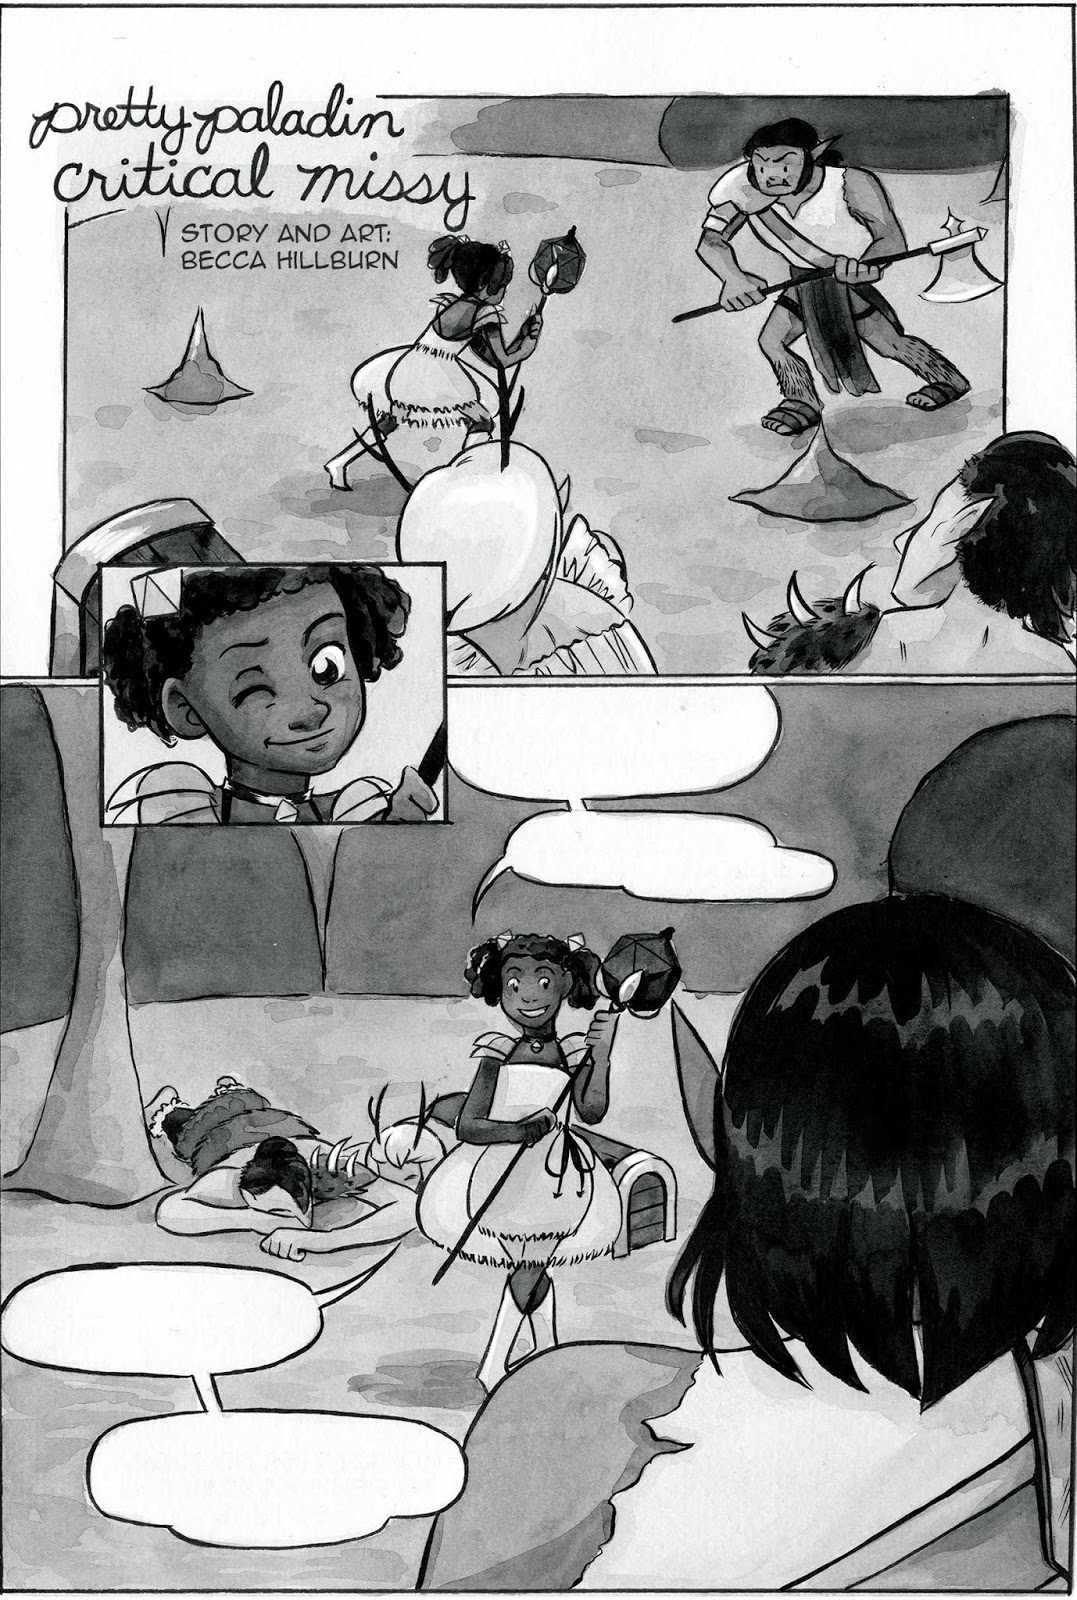
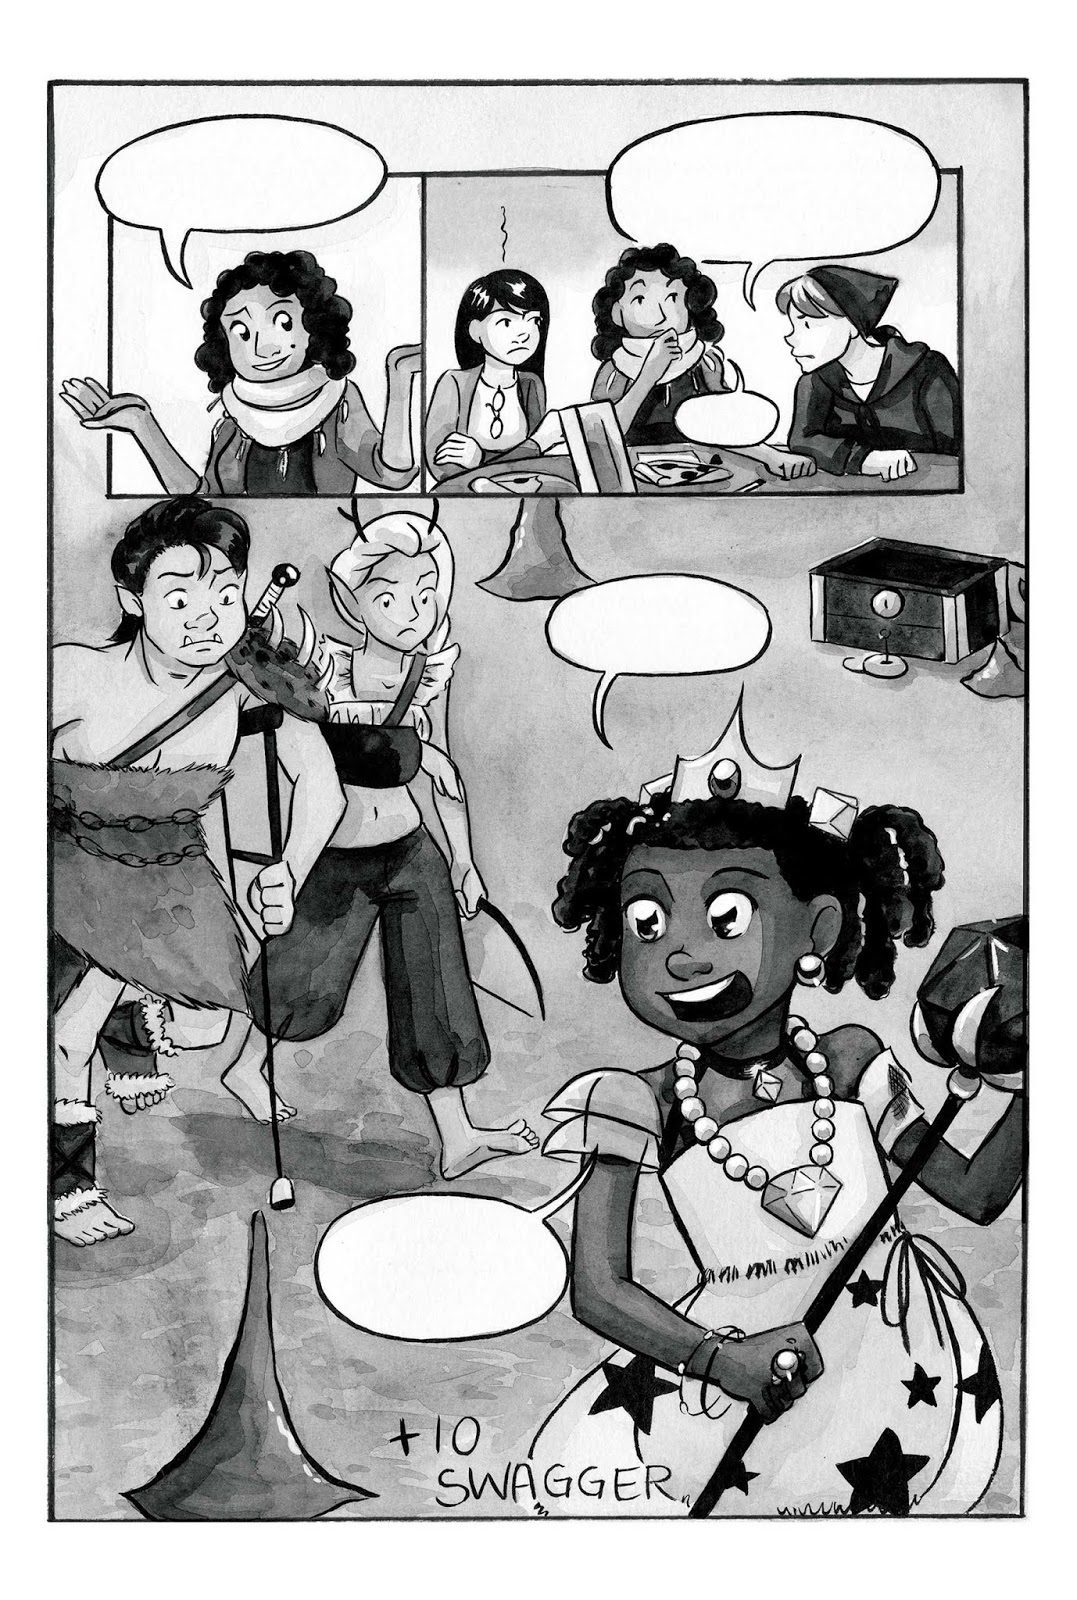
Select pages from Pretty Paladin Critical Missy, a 4 page minicomic created for the Chainmail Bikini Anthology
An eight page mini is pretty ideal for new-to-comics artists. It's easier for them to accomplish, easier for them to plan, conceivable for fledgling artists to draw. Small bites, stepping into the baby pool. A long form is a 6' sandwich, a dive into the deep end. Depending on what you need, either can be great, but just as you wouldn't deny an infant baby food, or a newly minted swimmer their water wings, don't deny artists their minicomics.
Some people know what they want, have a clear visualization, strong art skills, uninterrupted time to work. Some people just want to make a coherent comic, 8 solid pages that work, and haven't made a sequential art story since they were 5. Some people are trudging through their epic comic, are completely burnt out, and just want to draw a fun 4koma to remind them of what they love about the comic format. Some people just want a low key hobby that isn't all consuming. Every artist has unique needs, and needs often change over time.
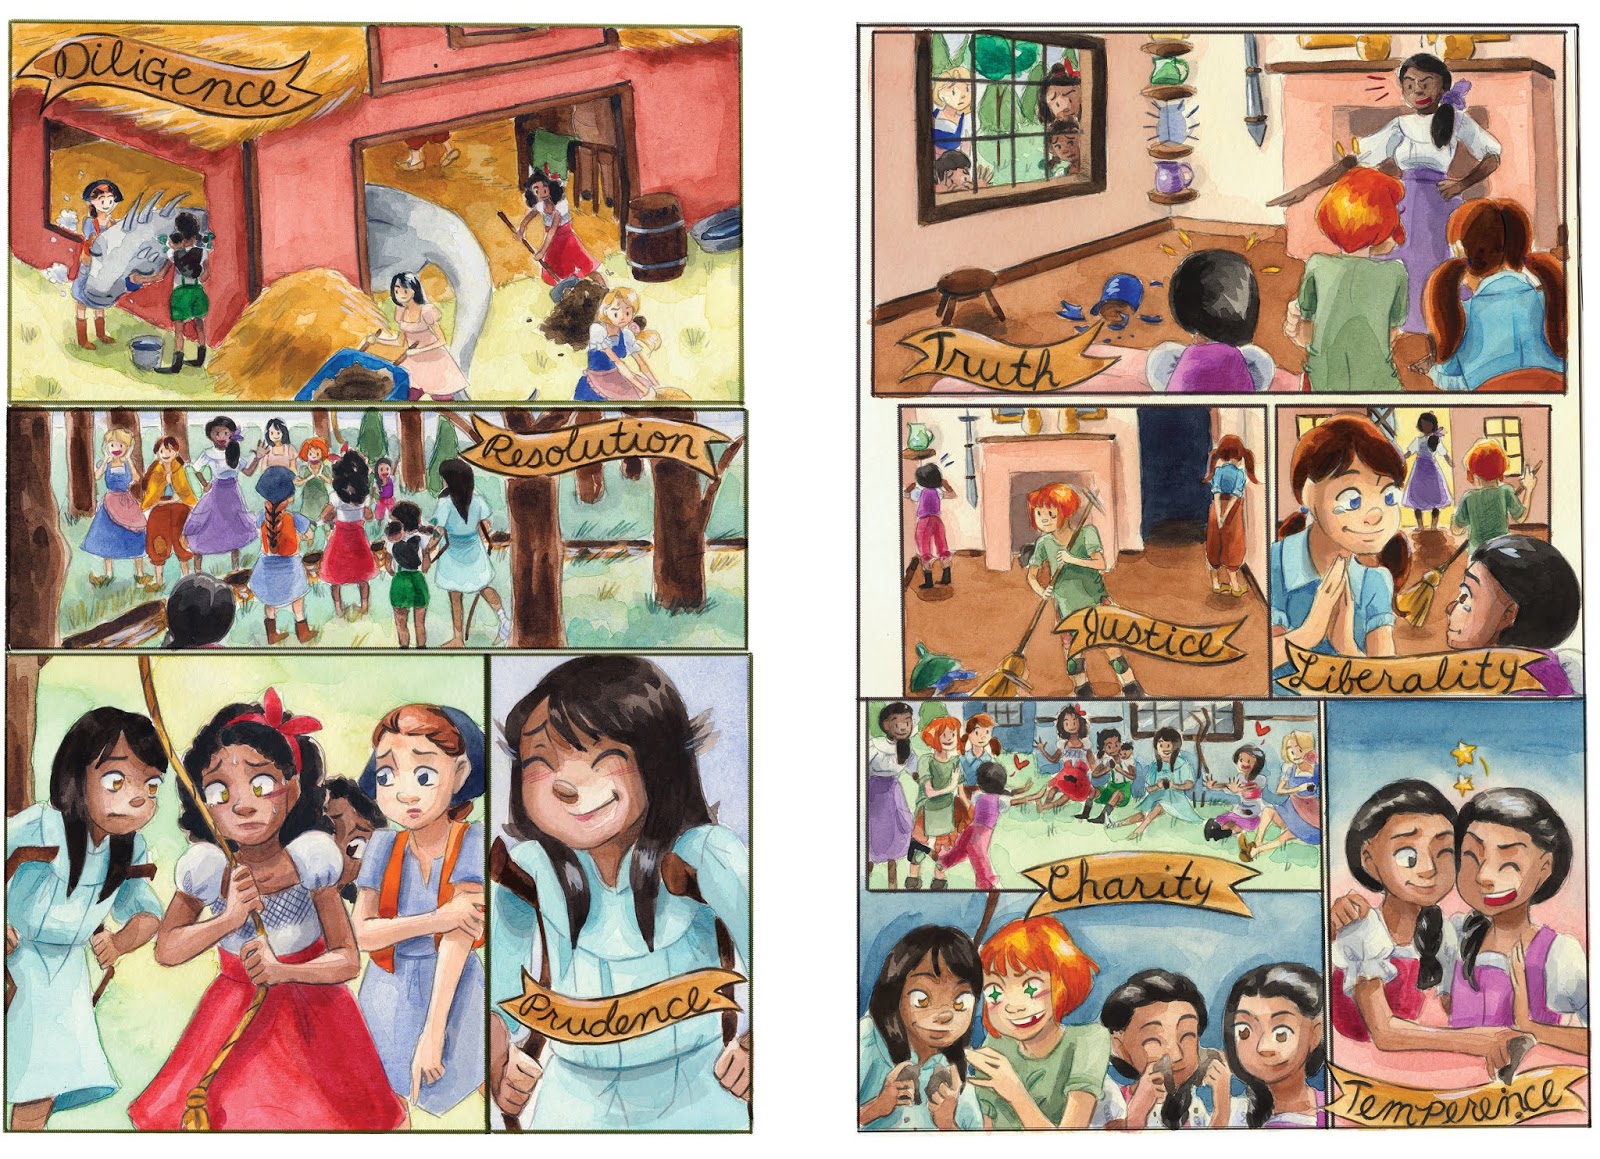 Comic spread from Knight School, a six page mini comic for 1001 Knights Volume 3- Wisdom
If that idea is insulting, that's just too bad. My goal isn't to insult established artists, my goal is to motivate those who are taking their first steps. You can always do your longform baby, no one is stopping you. Advice comes from a personal place based on real life experiences- if it's not suitable for your needs, just shrug it off. I'll continue to tell students and those who seek my advice to start with 8 pages, because once you can prove to yourself that you can do 8 pages, you can imagine doing more. You can keep going, because now you have a tangible record of success.
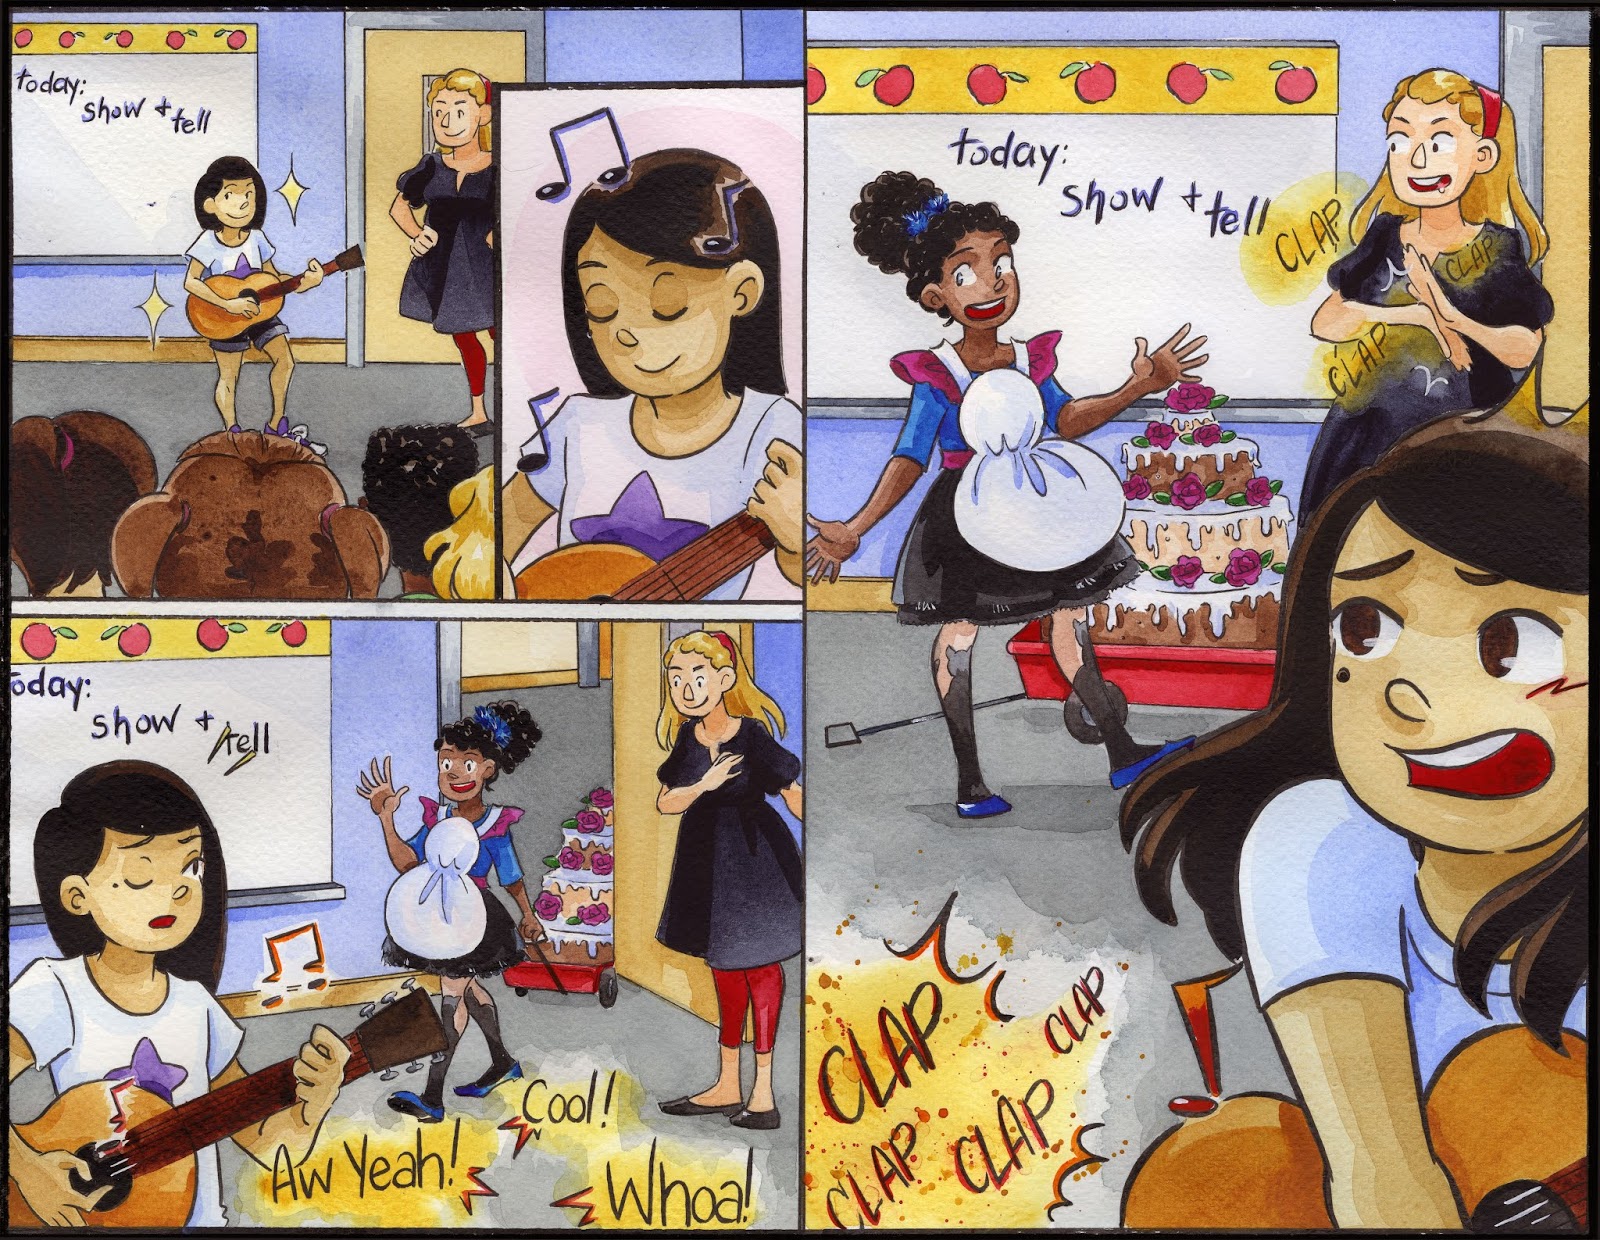 2017 SCBWI Illustrator's Contest Entry- I opted to draw it as a self contained comic spreadWanna take a chunk from your longform script and make an 8 page mini to get to know the characters? Awesome, beautiful, please do. Want to make goofy 4koma side comics? Yes, please! I just want you to make comics, and respect others who make comics.
 So yeah, new to comics? Make some minis, eat that elephant bite by bite. Maybe those minis will snowball into a serial, maybe you'll realize that story isn't the one you wanna work on, maybe you'll realize that method of making art is too time consuming. Maybe you'll fall head over heels in love with it, maybe an editor will read it and fall in love with your work and hire you. Minis are great because they offer possibility without signing us up for six years of work.
Whether minis are a good fit for you, I want you to find the path that works for you, that YOU enjoy, and work with that. You know yourself best, and advice given through places like Twitter is general at best, but often given from experience and a desire to help, not disrespect.
Please consider donating to this blog or purchasing from Natto-shop (http://nattosoup.com/shop) if you want me to continue publishing quality content. All materials tested were purchased from my own pocket. Keep on Truckin' Nattosoup is not under any sponsorship.
February 7, 2019
7" Kara 2nd Launchiversary
This Sunday, I'm celebrating the 2 year launchiversary of 7" Kara! I'm still mulling over what I want to do to celebrate, but during Friday's Power Hour, I'm definitely going to give away some cute Kara charm sets to a few lucky winners and talk at length about my paper daughter.
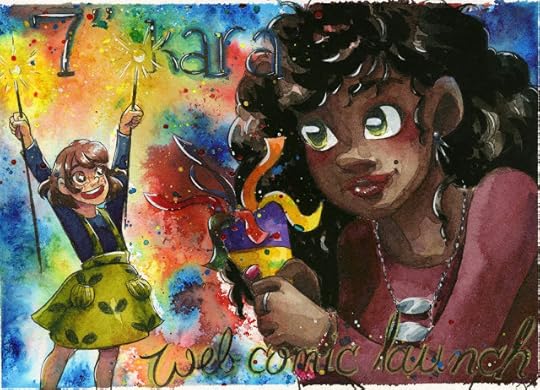
7 Inch Kara Webcomic Announcement Timelapse
Two years ago, on February 10th, I launched my print comic, 7" Kara, as a webcomic. At the time, I didn't hype the launch as much as I would have liked, and that's a mistake I really regret- a comic's launch is the BEST time to hype your comic. That's the best time to get your friends talking about it, sharing their excitement, and a great time to rehash all the self indulgent promo art we all know you've drawn over the years. This is PARTICULARLY true if this is a project you've worked on for a long time- the launch is a perfect opportunity to strut your stuff.
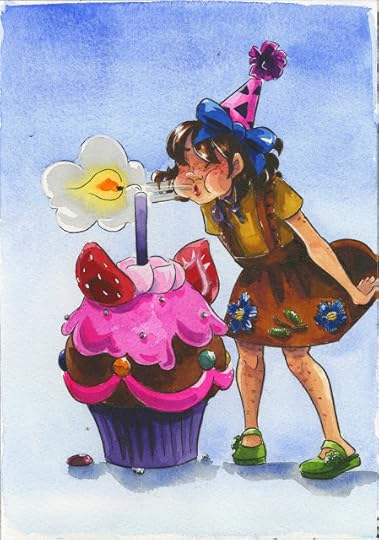 Launchiversary art from the first annivesary
And compared to some artists, who do a great job talking about and driving hype for their webcomic projects, I think I've failed to really promote 7" Kara as much as I should. I talk about it frequently- it gets plugs in almost every video I post, and I'm constantly sharing art of the characters and pages in progress, but I've never really encouraged comments or discussion of the comic itself. This is mostly due to the fact that by the time web-readers see a page, that page has been finished and dried for well over a year- if there's issue with that page in particular, there's little I can do to remedy that. It's a wall I've been reluctant to tear down, and while I've dabbled with the thought of hosting a Lilliputian RP on The Paintbox, time is the biggest factor preventing me from opening my sandbox for others to enjoy.
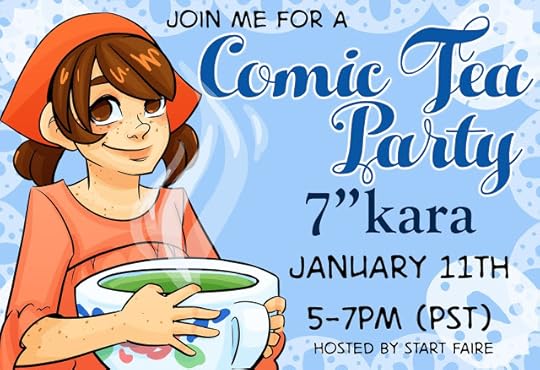 Art for my 2018 CTPSure, in the past, I've participated in Comic Tea Party (read the transcript for that chat here!)- a great opportunity to sit down and chat with other webcomic fans about what they enjoyed about your comic-, and I used to be a regular on Webcomic Chat and Comic Artists Unite, but even on Kara's home turf of the Ink Drop Cafe Discord, I've been hesitant to talk about my comic work. I think it can be difficult to talk about your soft, sweet watercolor comic when everyone else whats to talk about romance and adventure- things your comic distinctly lack.
But around the Launchiversary, I start to take things seriously. This is Kara's birthday, and I'd be a horrible comic mom if I didn't throw her the party she deserved. And Launchiversaries are a great time to promote your comic- they're big milestones!

Happy Anniversary! 7 Inch Kara 1 Year Launch Birthday
Last year, to celebrate Kara's birthday, I held an anniversary Livestream- we had cute themed events, I had a small cake, I even drew peoples characters as Lilliputians. I painted a celebratory image (Pancake's Pancakes) and made a paper child of Kara to make the event more 'real'. It was a lot of fun, but it also took a lot of energy. I'm saving the BIG event for something else Kara related that's even more exciting that will be coming up this spring. I also had a Launchiversary post that talked about my experiences launching a webcomic from a print comic, and what I did to promote 7" Kara.

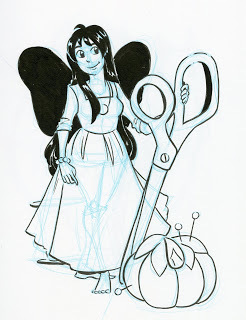 Newly minted Lilliputians during the stream- Fox and Aster (Linked), Big Sis (TAWBW)
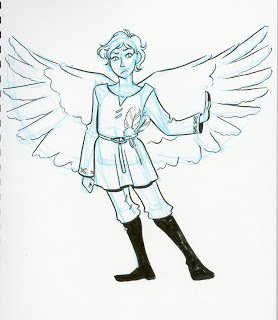
 More newly minted OC's! Diane's bird winged OC, and Nisa's Solas
Two years without hiatus or significant breaks is a long time for a webcomic, especially for a watercolor comic like 7" Kara. I've now shared 100+ pages of handpainted watercolor comic, pages that were a labor of love and laborious to paint. I'm currently working on finishing Chapter 8, the last full color chapter of Volume 2, and that means I'll have a big announcement coming up soon!
 Inktober 2017- Seamstress
If you love the world of 7" Kara, you can dive deeper into the lifestyle of Lilliputians by checking out the #LilliputianLiving hashtag on my Instagram- for the past two years, I've done Inktober prompts that help develop worldbuilding.
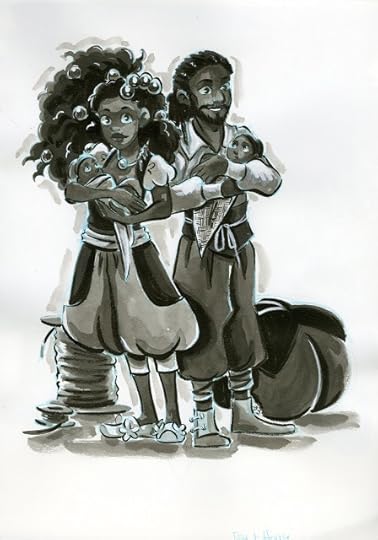 Inktober 2018- House Lilliputian family
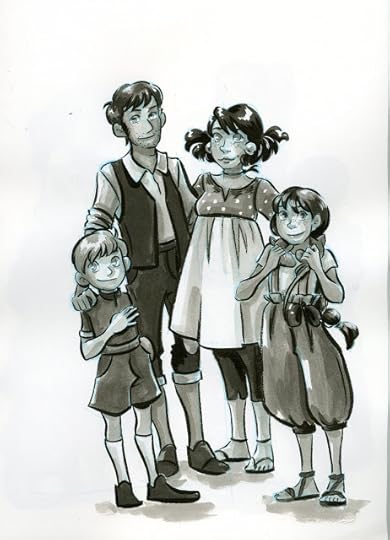 Inktober 2018- Towny Lilliputian Family
So join me this Friday, at 8PM CST over on Youtube, for Power Hour and to celebrate Kara's 2nd birthday! Make sure you brush up on your 7" Kara and Lilliputian trivia, because I've got some great prizes in store!
Please consider donating to this blog or purchasing from Natto-shop (http://nattosoup.com/shop) if you want me to continue publishing quality content. All materials tested were purchased from my own pocket. Keep on Truckin' Nattosoup is not under any sponsorship.

7 Inch Kara Webcomic Announcement Timelapse
Two years ago, on February 10th, I launched my print comic, 7" Kara, as a webcomic. At the time, I didn't hype the launch as much as I would have liked, and that's a mistake I really regret- a comic's launch is the BEST time to hype your comic. That's the best time to get your friends talking about it, sharing their excitement, and a great time to rehash all the self indulgent promo art we all know you've drawn over the years. This is PARTICULARLY true if this is a project you've worked on for a long time- the launch is a perfect opportunity to strut your stuff.
 Launchiversary art from the first annivesary
And compared to some artists, who do a great job talking about and driving hype for their webcomic projects, I think I've failed to really promote 7" Kara as much as I should. I talk about it frequently- it gets plugs in almost every video I post, and I'm constantly sharing art of the characters and pages in progress, but I've never really encouraged comments or discussion of the comic itself. This is mostly due to the fact that by the time web-readers see a page, that page has been finished and dried for well over a year- if there's issue with that page in particular, there's little I can do to remedy that. It's a wall I've been reluctant to tear down, and while I've dabbled with the thought of hosting a Lilliputian RP on The Paintbox, time is the biggest factor preventing me from opening my sandbox for others to enjoy.
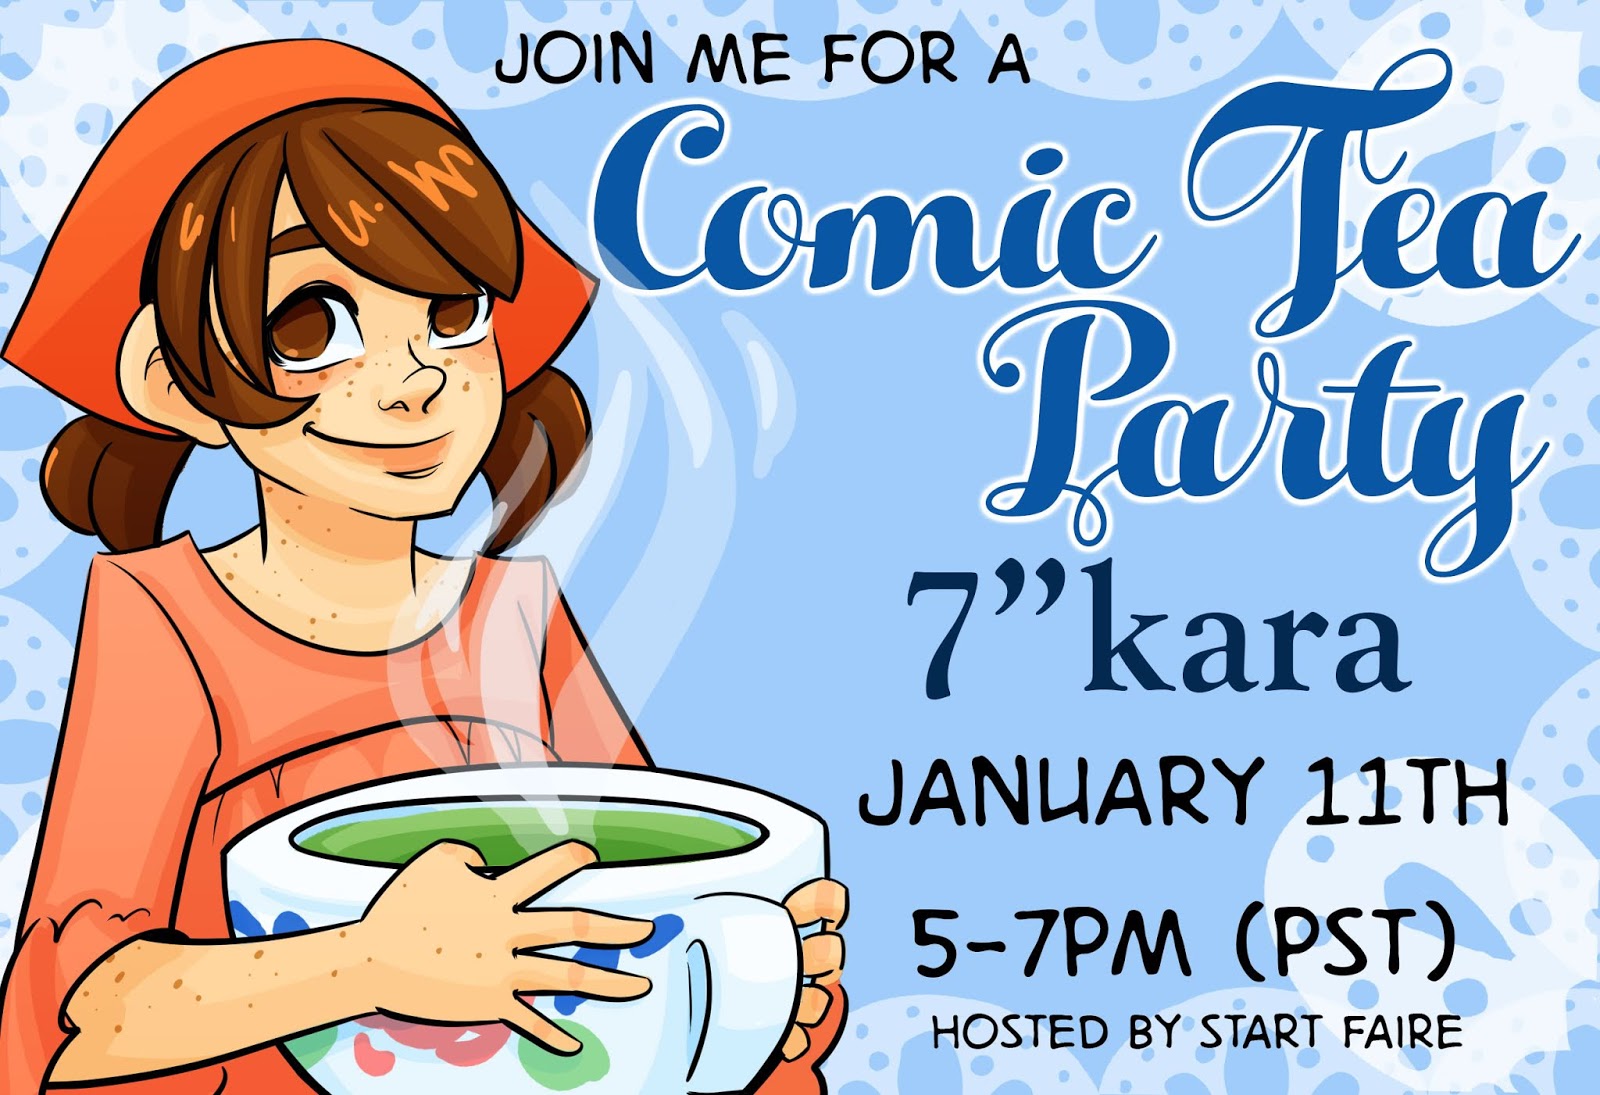 Art for my 2018 CTPSure, in the past, I've participated in Comic Tea Party (read the transcript for that chat here!)- a great opportunity to sit down and chat with other webcomic fans about what they enjoyed about your comic-, and I used to be a regular on Webcomic Chat and Comic Artists Unite, but even on Kara's home turf of the Ink Drop Cafe Discord, I've been hesitant to talk about my comic work. I think it can be difficult to talk about your soft, sweet watercolor comic when everyone else whats to talk about romance and adventure- things your comic distinctly lack.
But around the Launchiversary, I start to take things seriously. This is Kara's birthday, and I'd be a horrible comic mom if I didn't throw her the party she deserved. And Launchiversaries are a great time to promote your comic- they're big milestones!
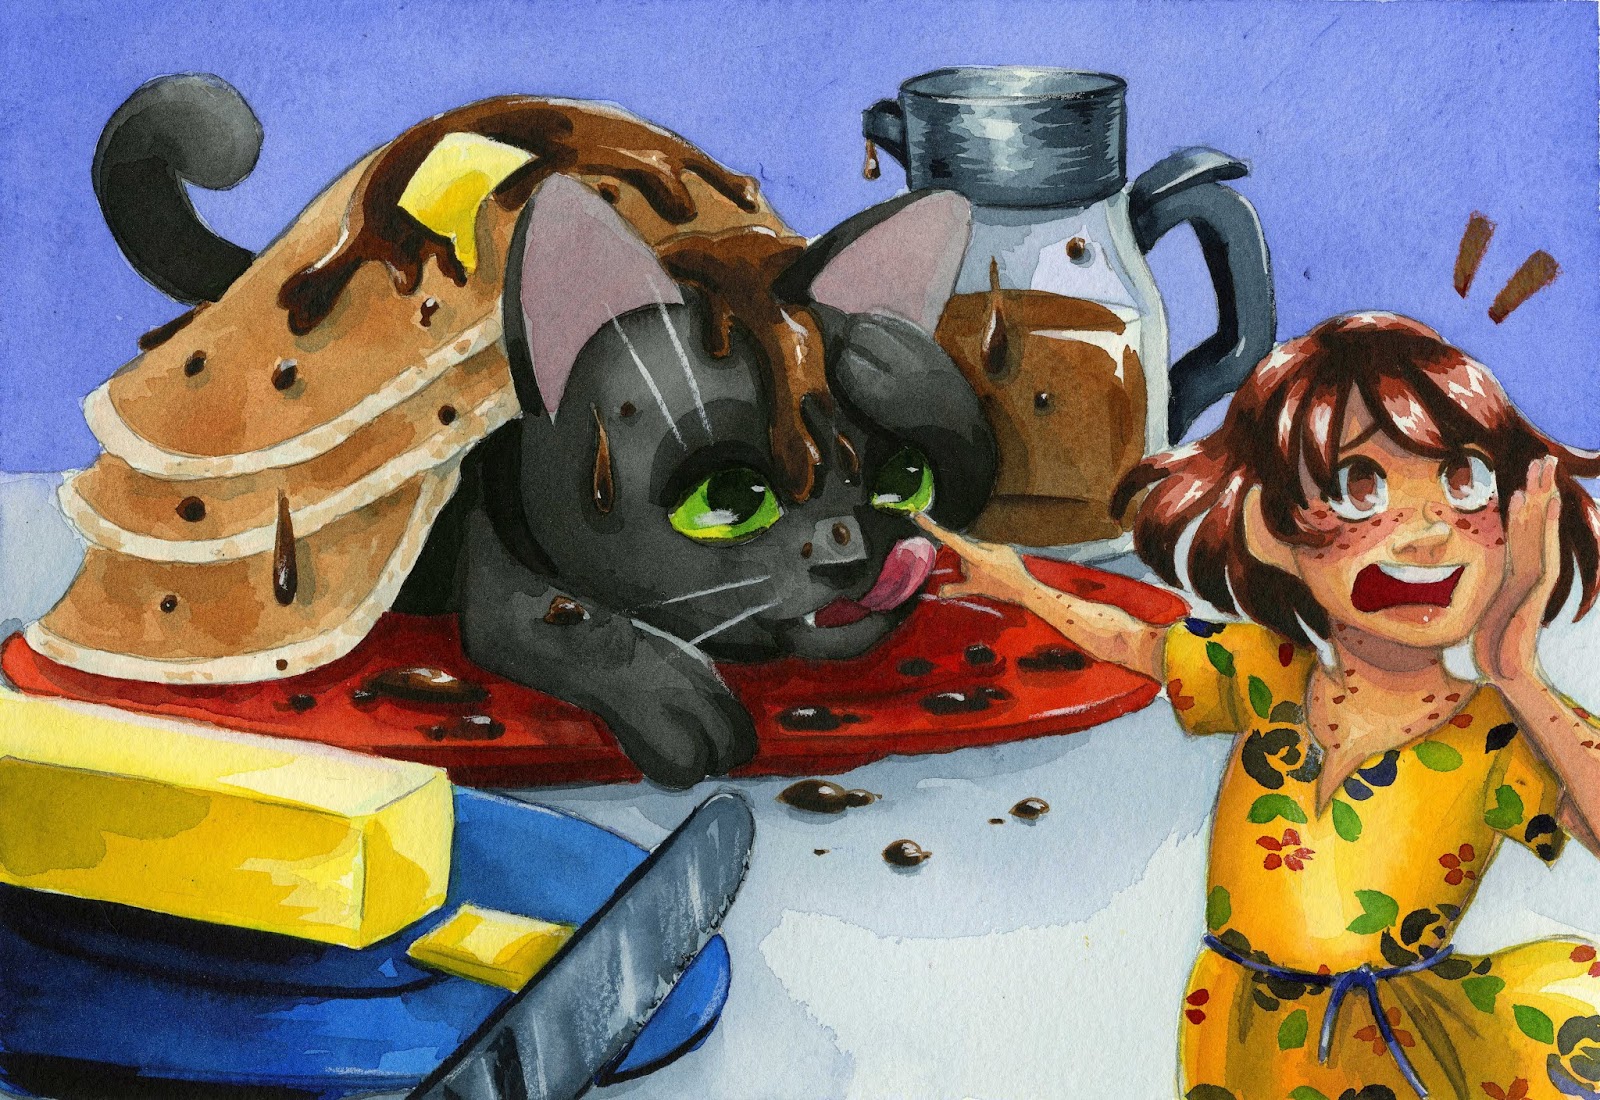
Happy Anniversary! 7 Inch Kara 1 Year Launch Birthday
Last year, to celebrate Kara's birthday, I held an anniversary Livestream- we had cute themed events, I had a small cake, I even drew peoples characters as Lilliputians. I painted a celebratory image (Pancake's Pancakes) and made a paper child of Kara to make the event more 'real'. It was a lot of fun, but it also took a lot of energy. I'm saving the BIG event for something else Kara related that's even more exciting that will be coming up this spring. I also had a Launchiversary post that talked about my experiences launching a webcomic from a print comic, and what I did to promote 7" Kara.
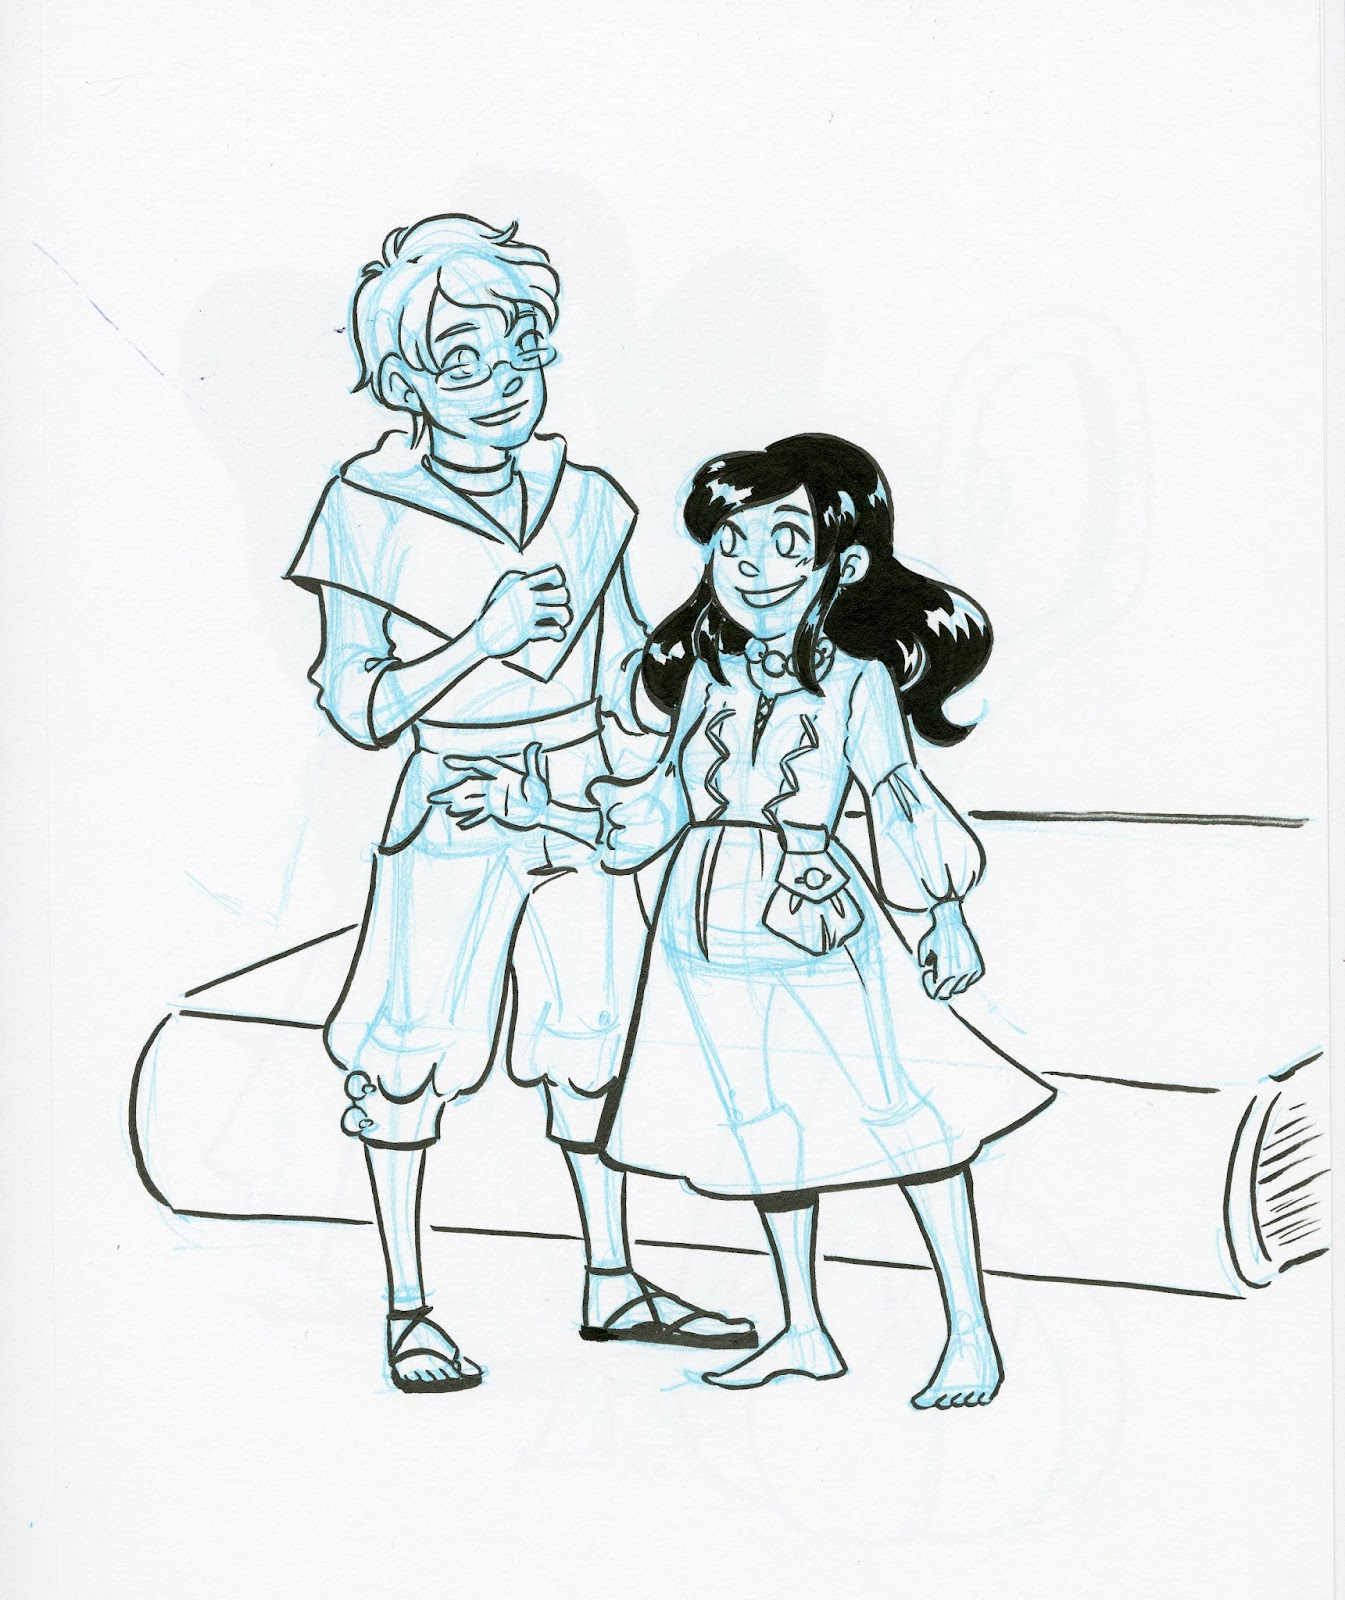
 Newly minted Lilliputians during the stream- Fox and Aster (Linked), Big Sis (TAWBW)
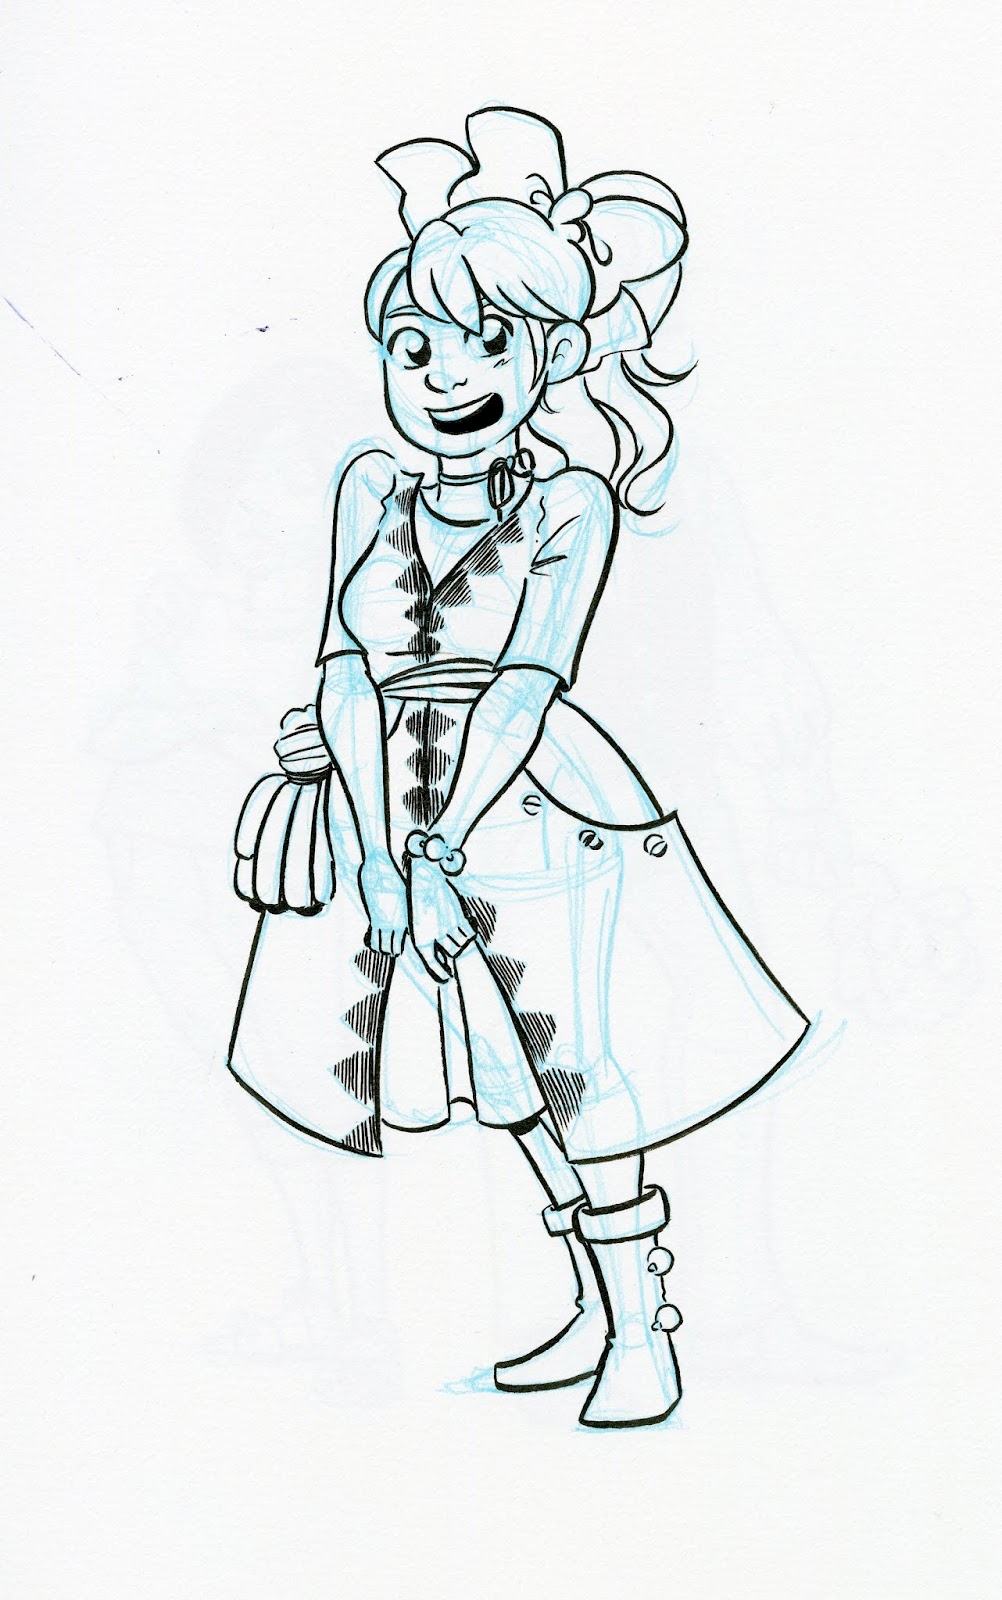 More newly minted OC's! Diane's bird winged OC, and Nisa's Solas
Two years without hiatus or significant breaks is a long time for a webcomic, especially for a watercolor comic like 7" Kara. I've now shared 100+ pages of handpainted watercolor comic, pages that were a labor of love and laborious to paint. I'm currently working on finishing Chapter 8, the last full color chapter of Volume 2, and that means I'll have a big announcement coming up soon!
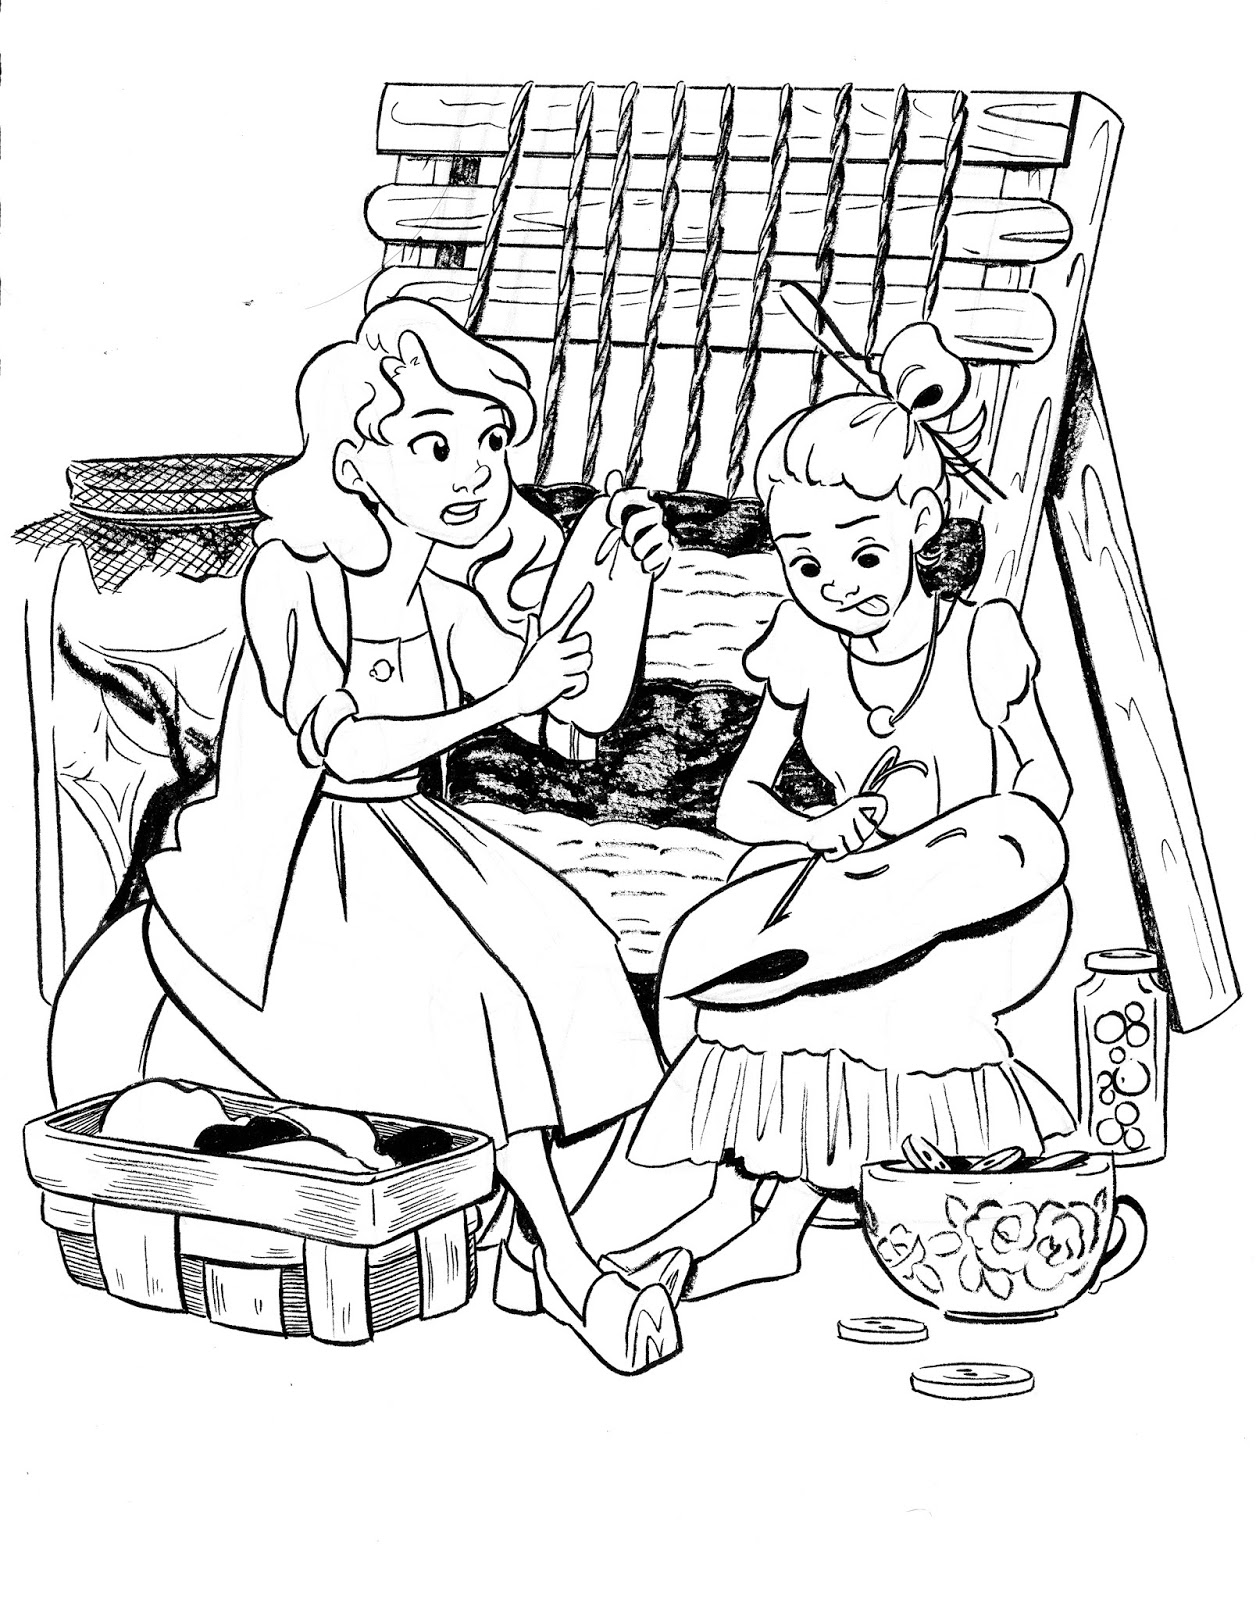 Inktober 2017- Seamstress
If you love the world of 7" Kara, you can dive deeper into the lifestyle of Lilliputians by checking out the #LilliputianLiving hashtag on my Instagram- for the past two years, I've done Inktober prompts that help develop worldbuilding.
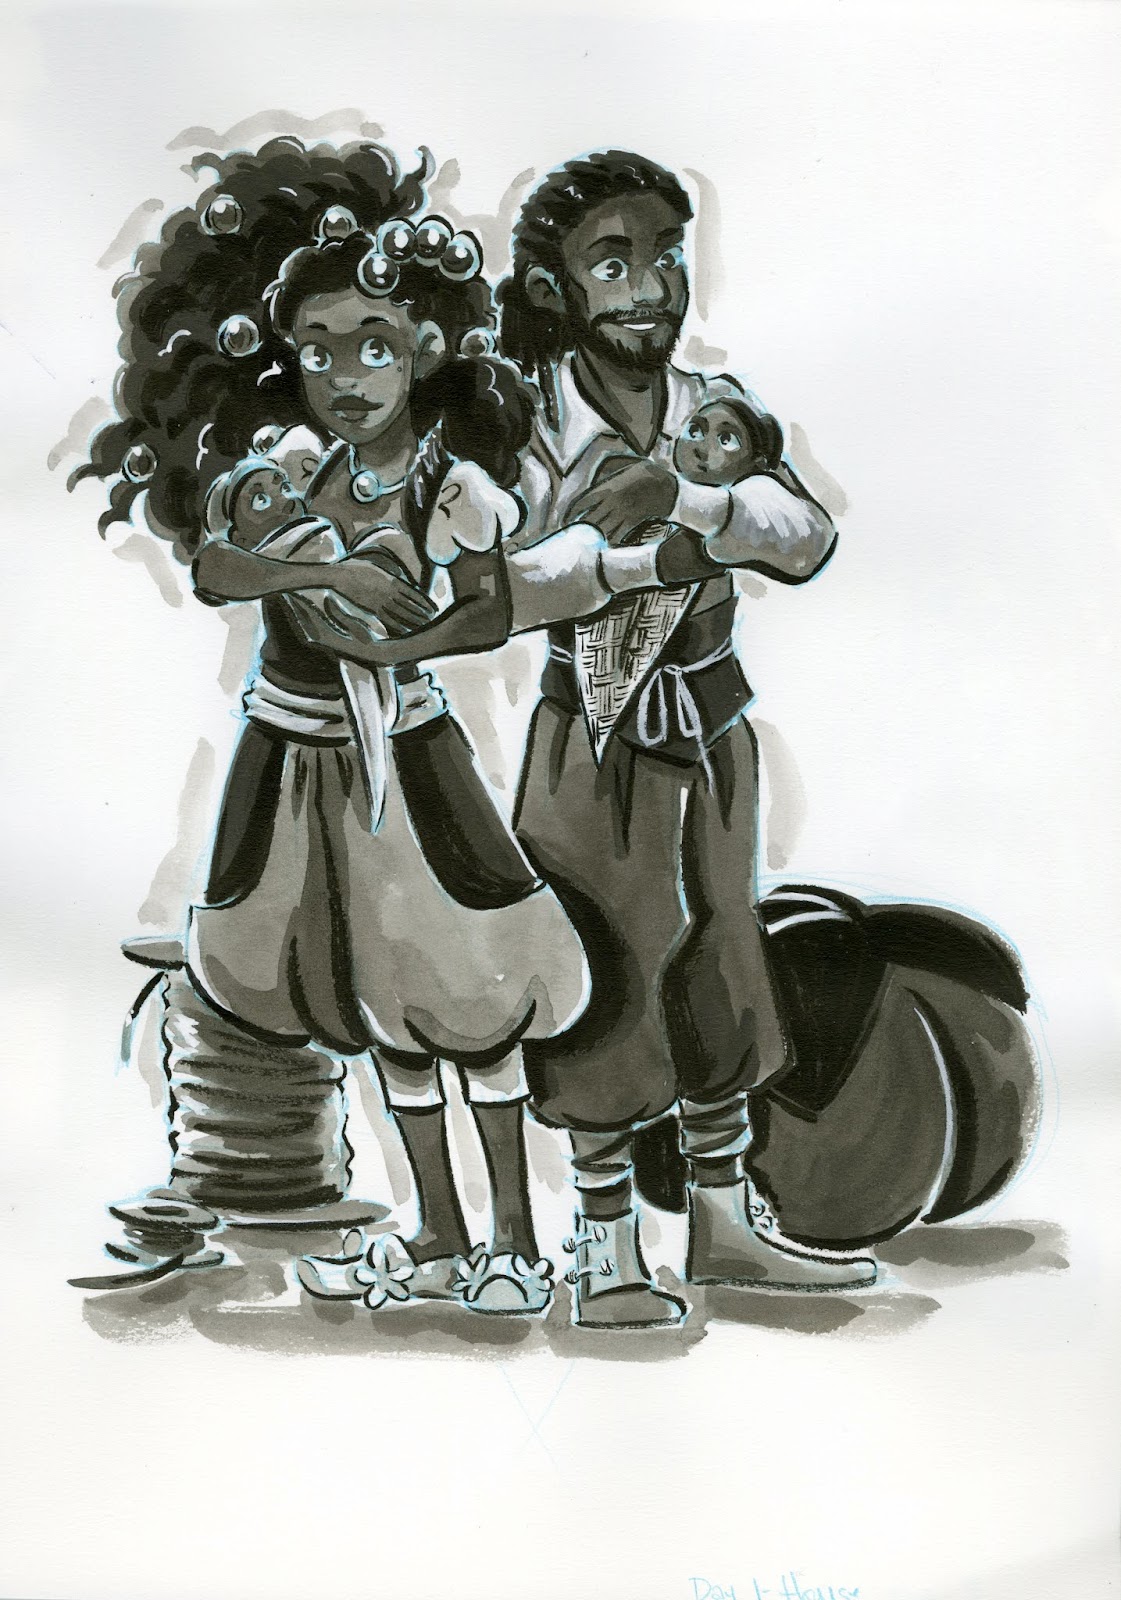 Inktober 2018- House Lilliputian family
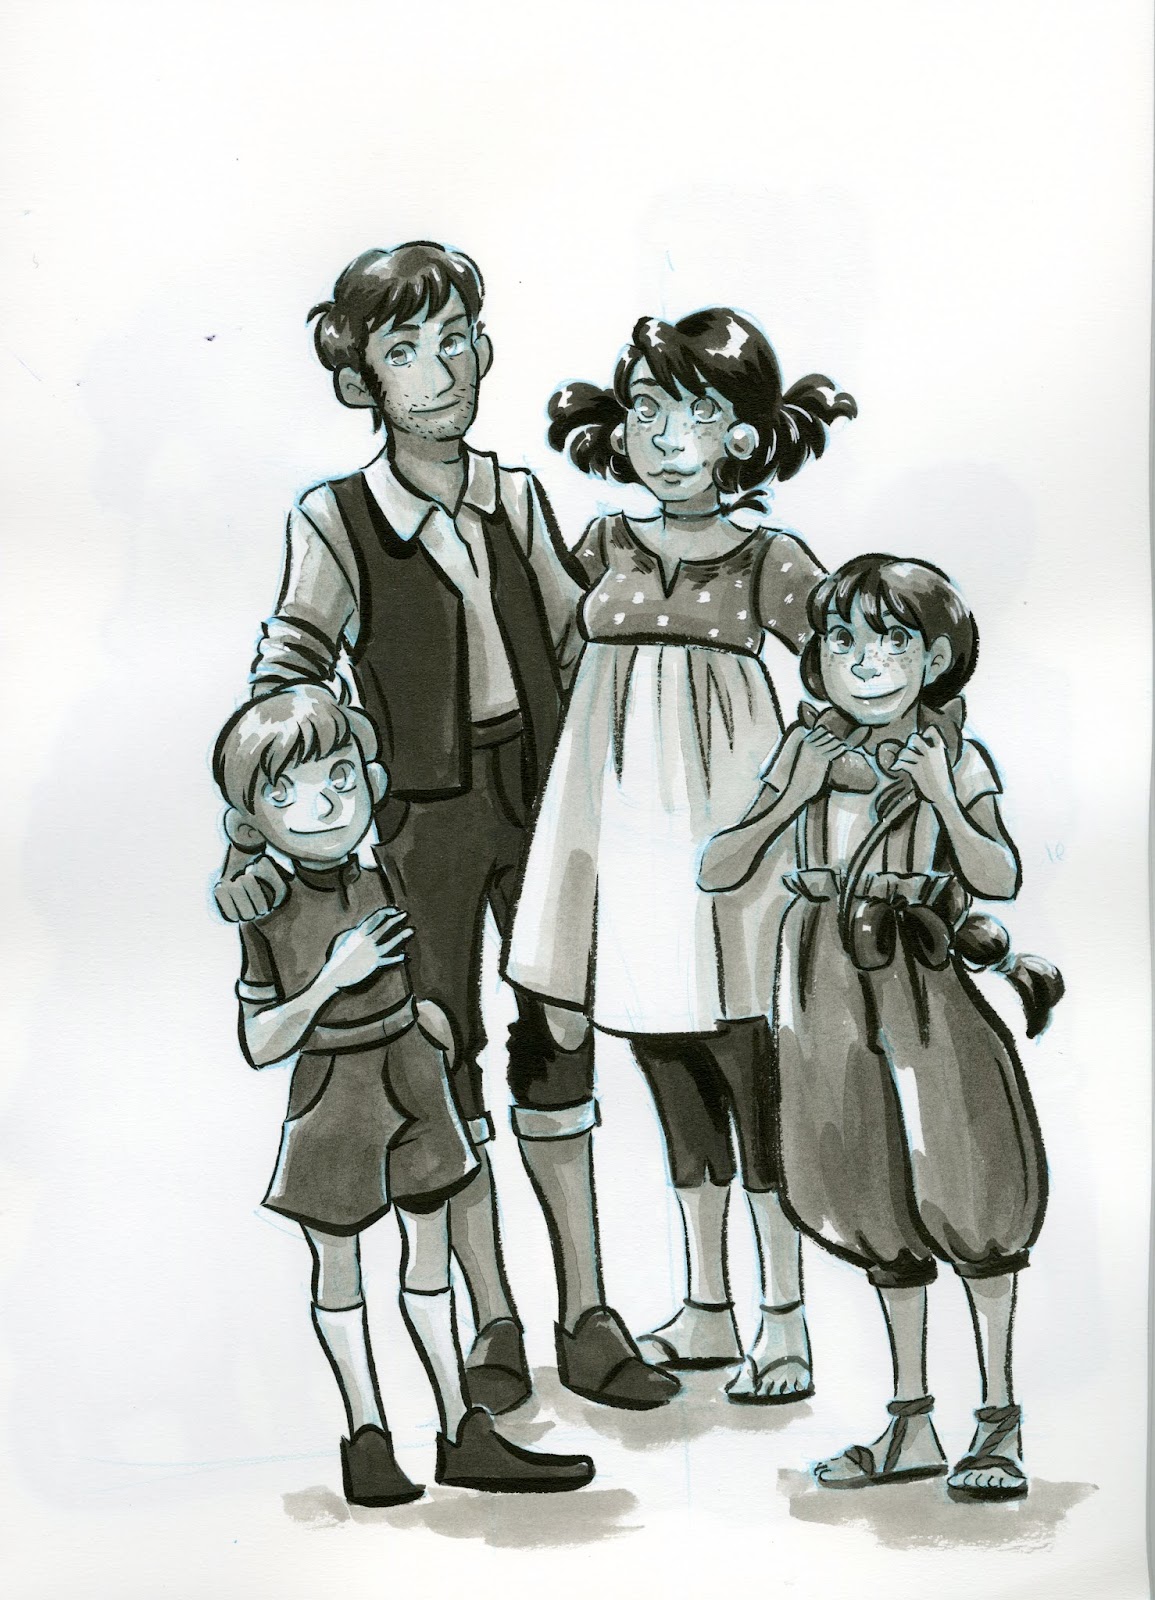 Inktober 2018- Towny Lilliputian Family
So join me this Friday, at 8PM CST over on Youtube, for Power Hour and to celebrate Kara's 2nd birthday! Make sure you brush up on your 7" Kara and Lilliputian trivia, because I've got some great prizes in store!
Please consider donating to this blog or purchasing from Natto-shop (http://nattosoup.com/shop) if you want me to continue publishing quality content. All materials tested were purchased from my own pocket. Keep on Truckin' Nattosoup is not under any sponsorship.


