
Becca Hillburn's Blog, page 57
June 14, 2015
Con Recap: Animazement
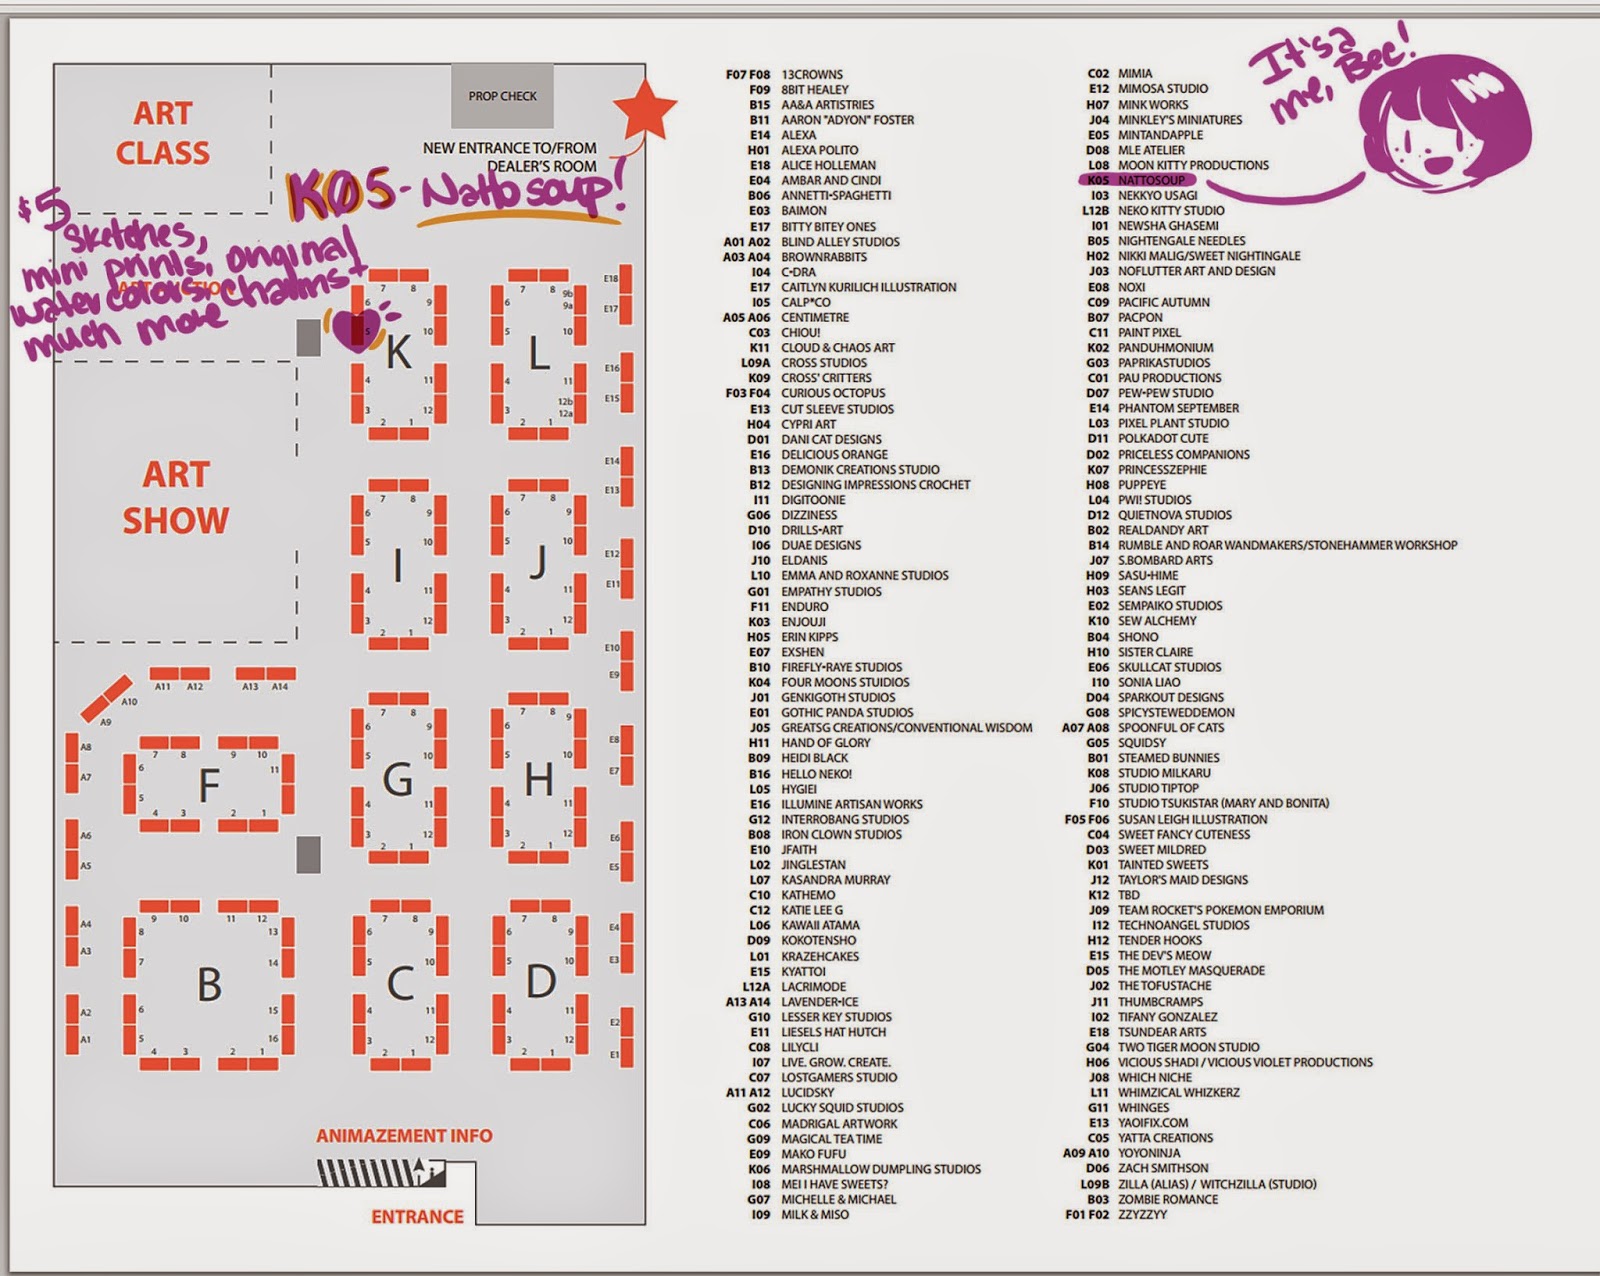
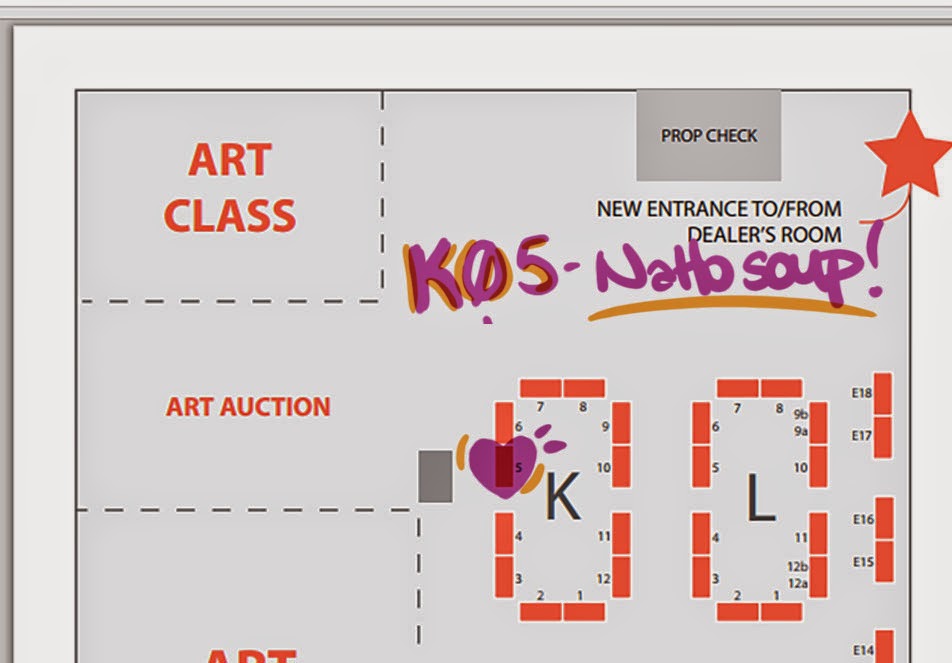
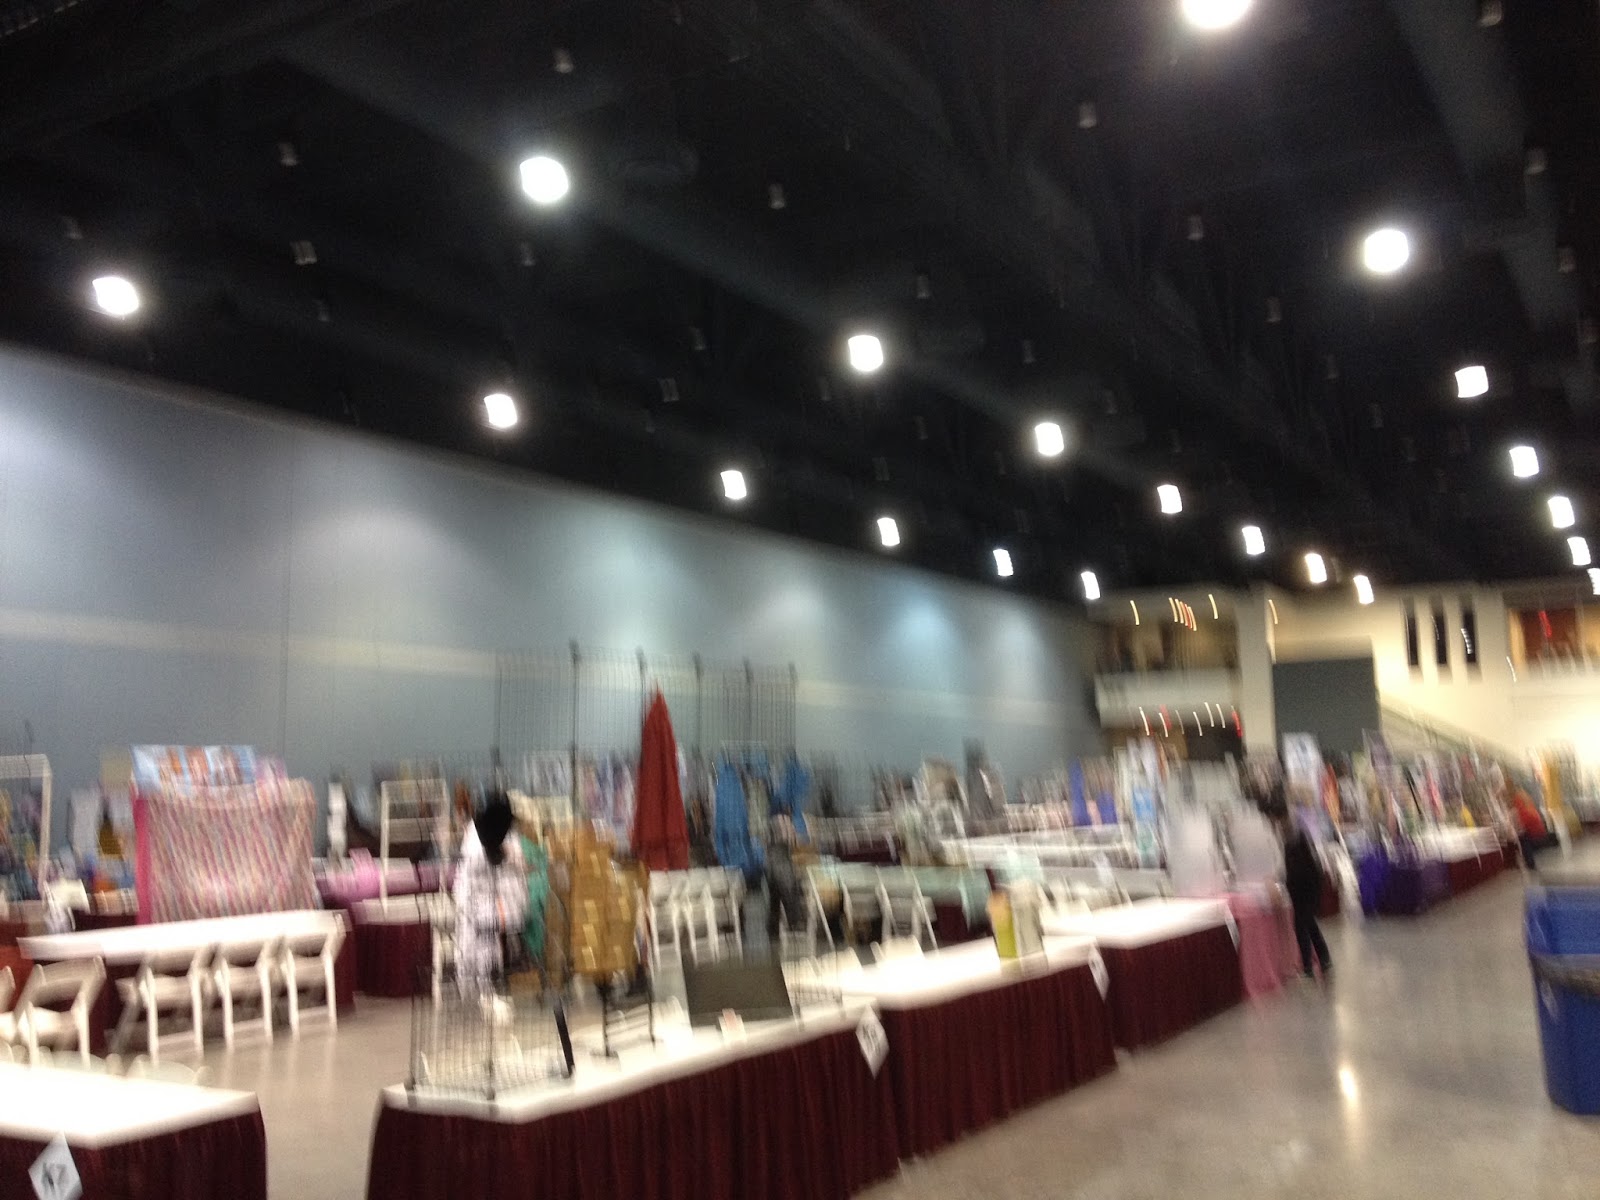
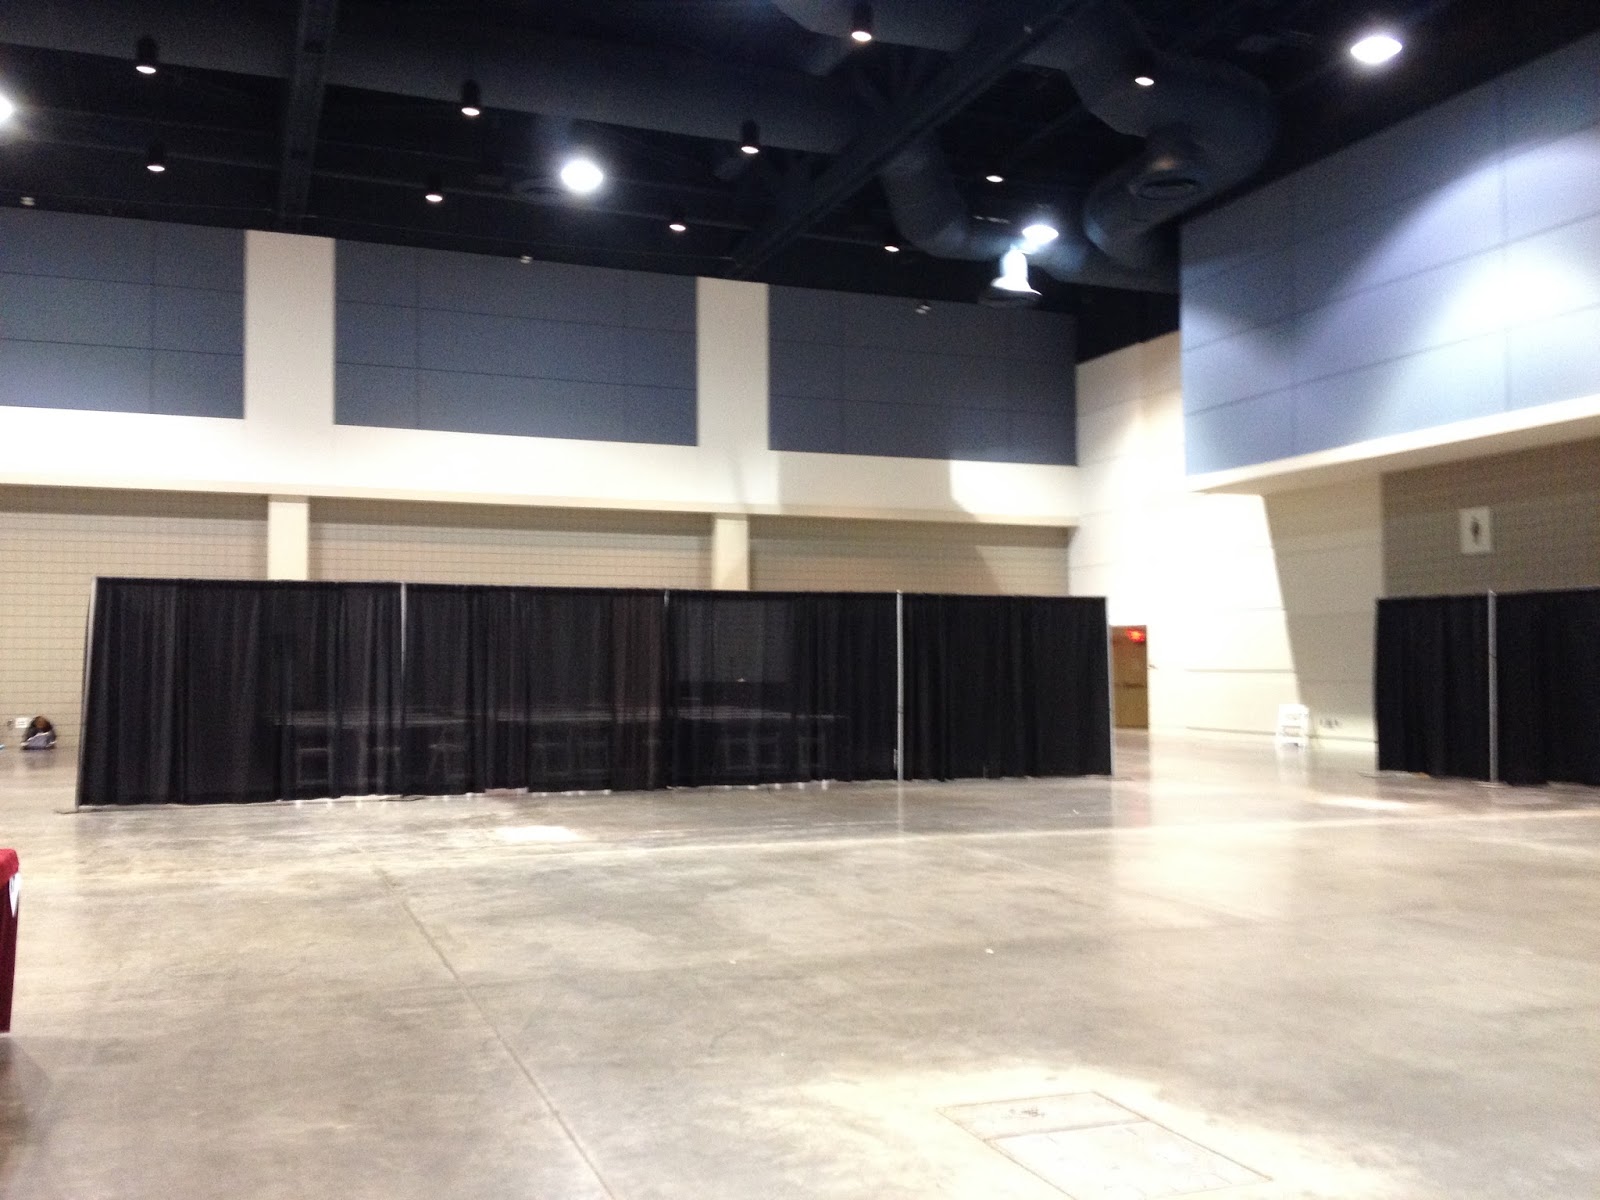
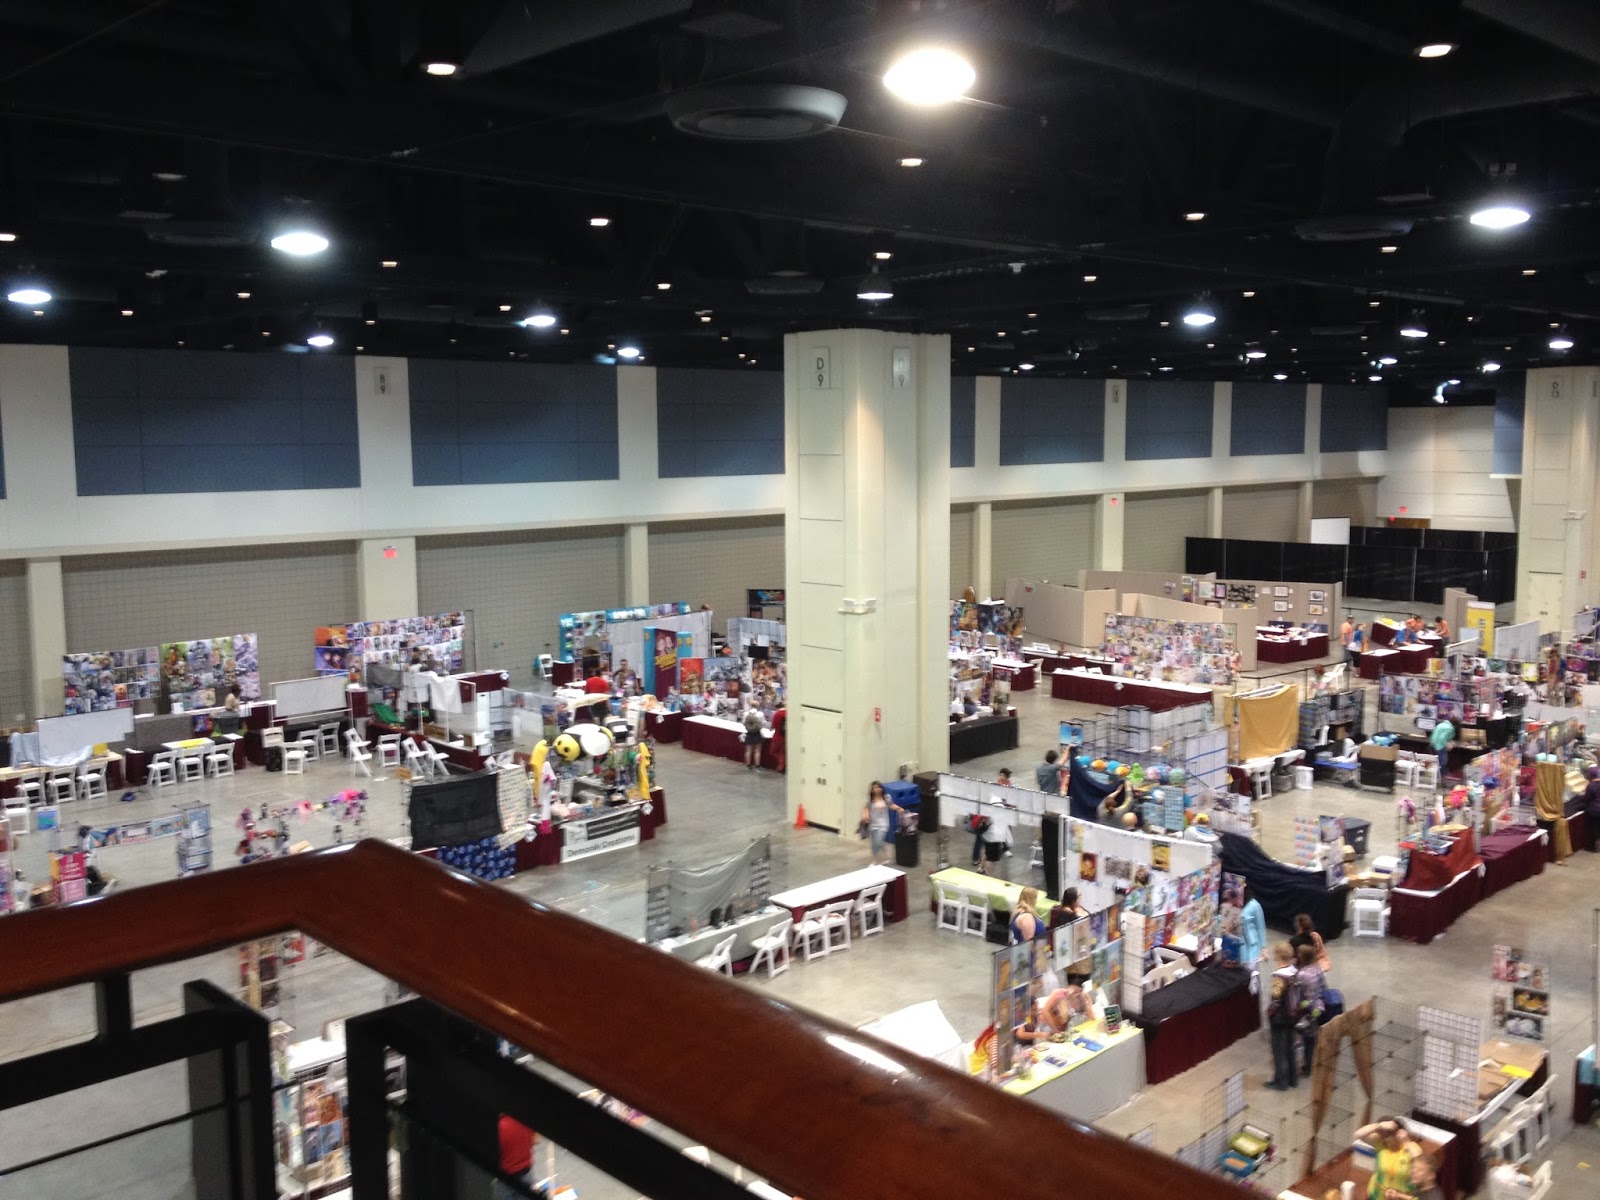
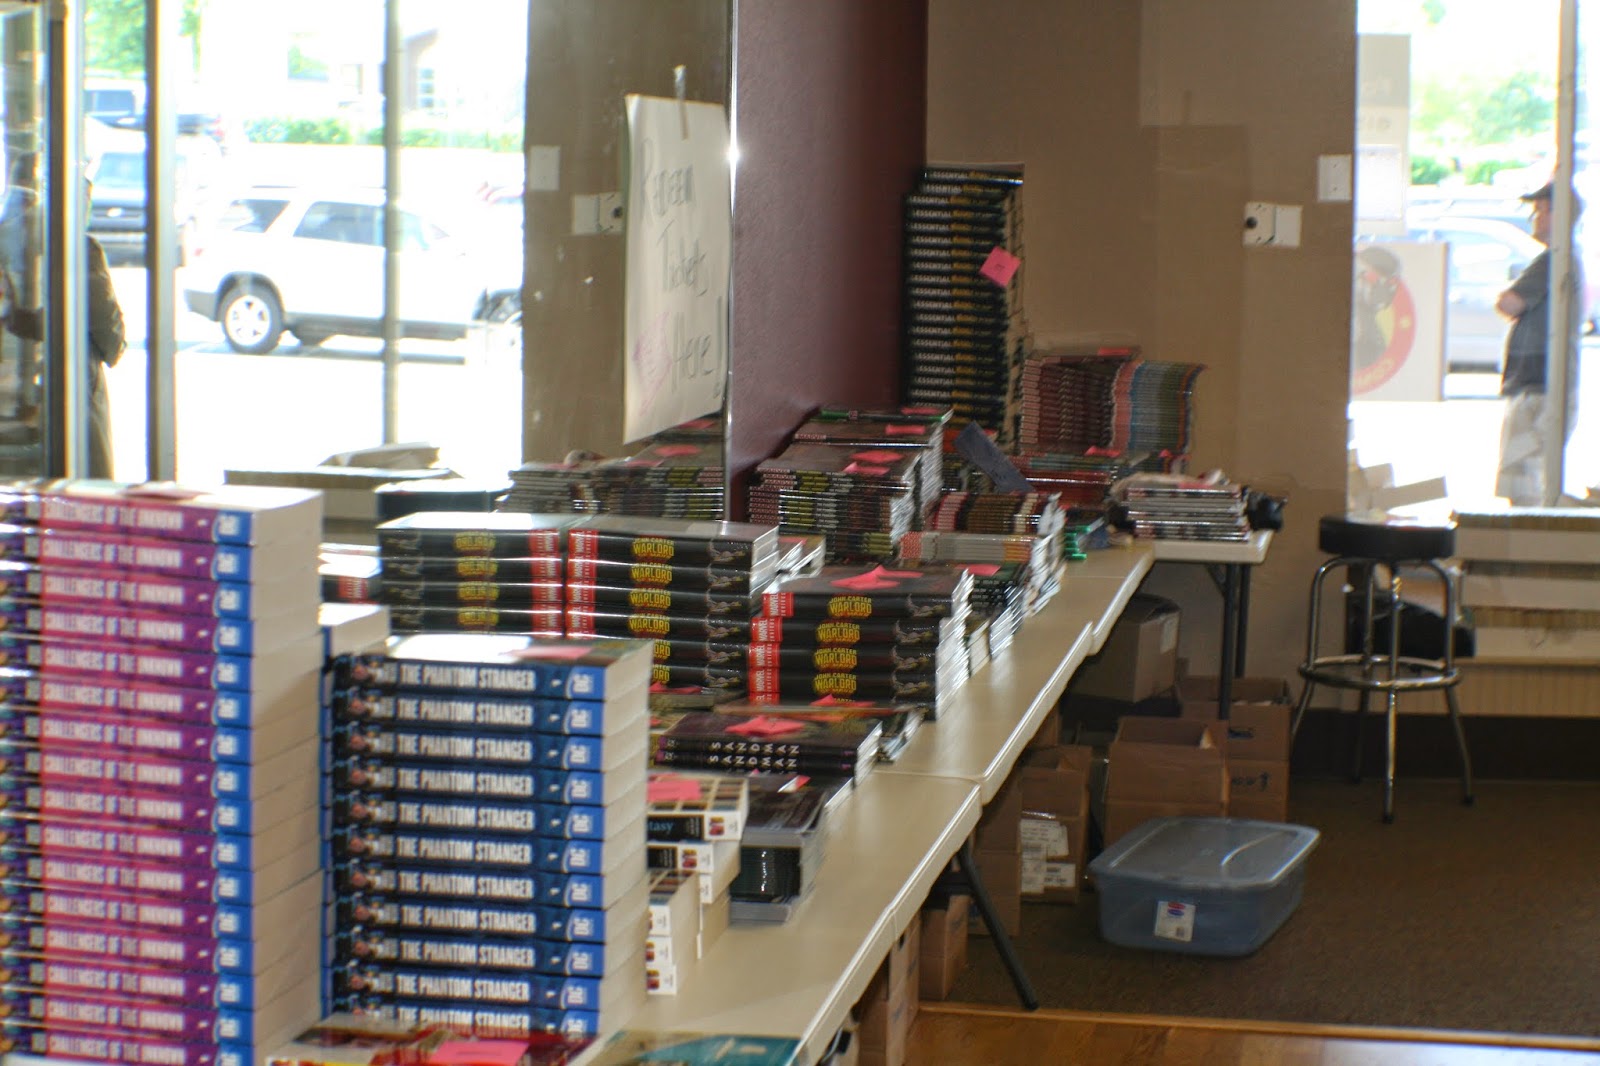
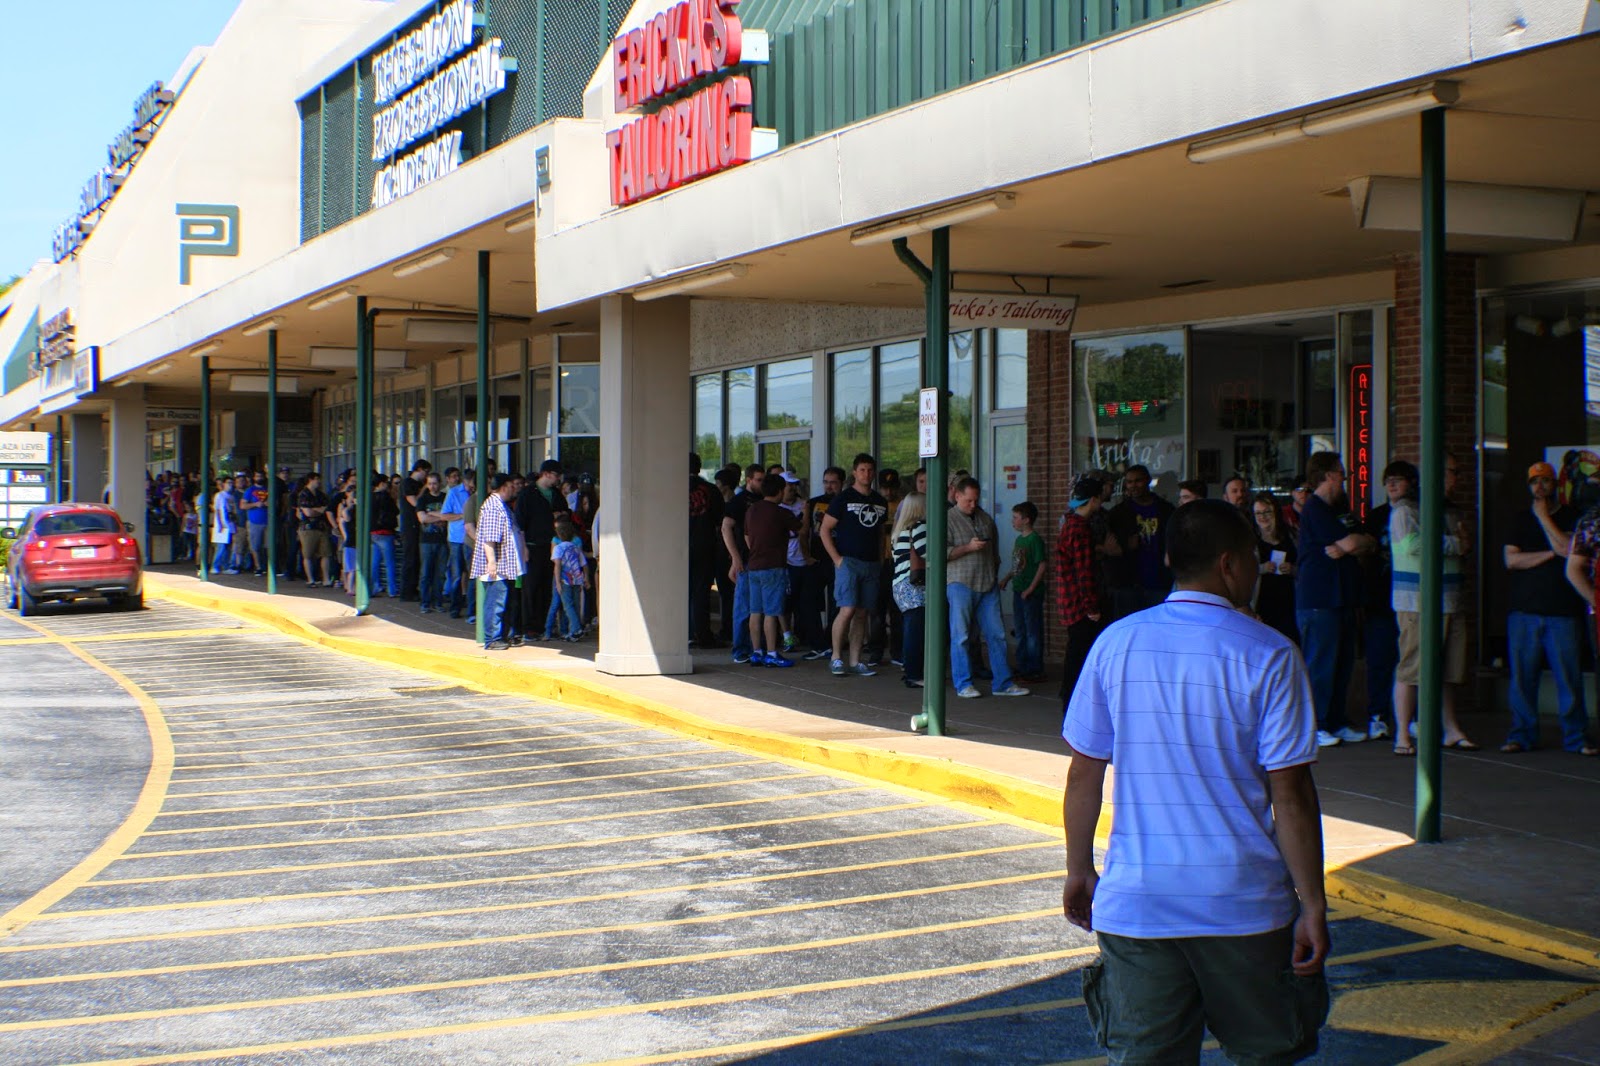
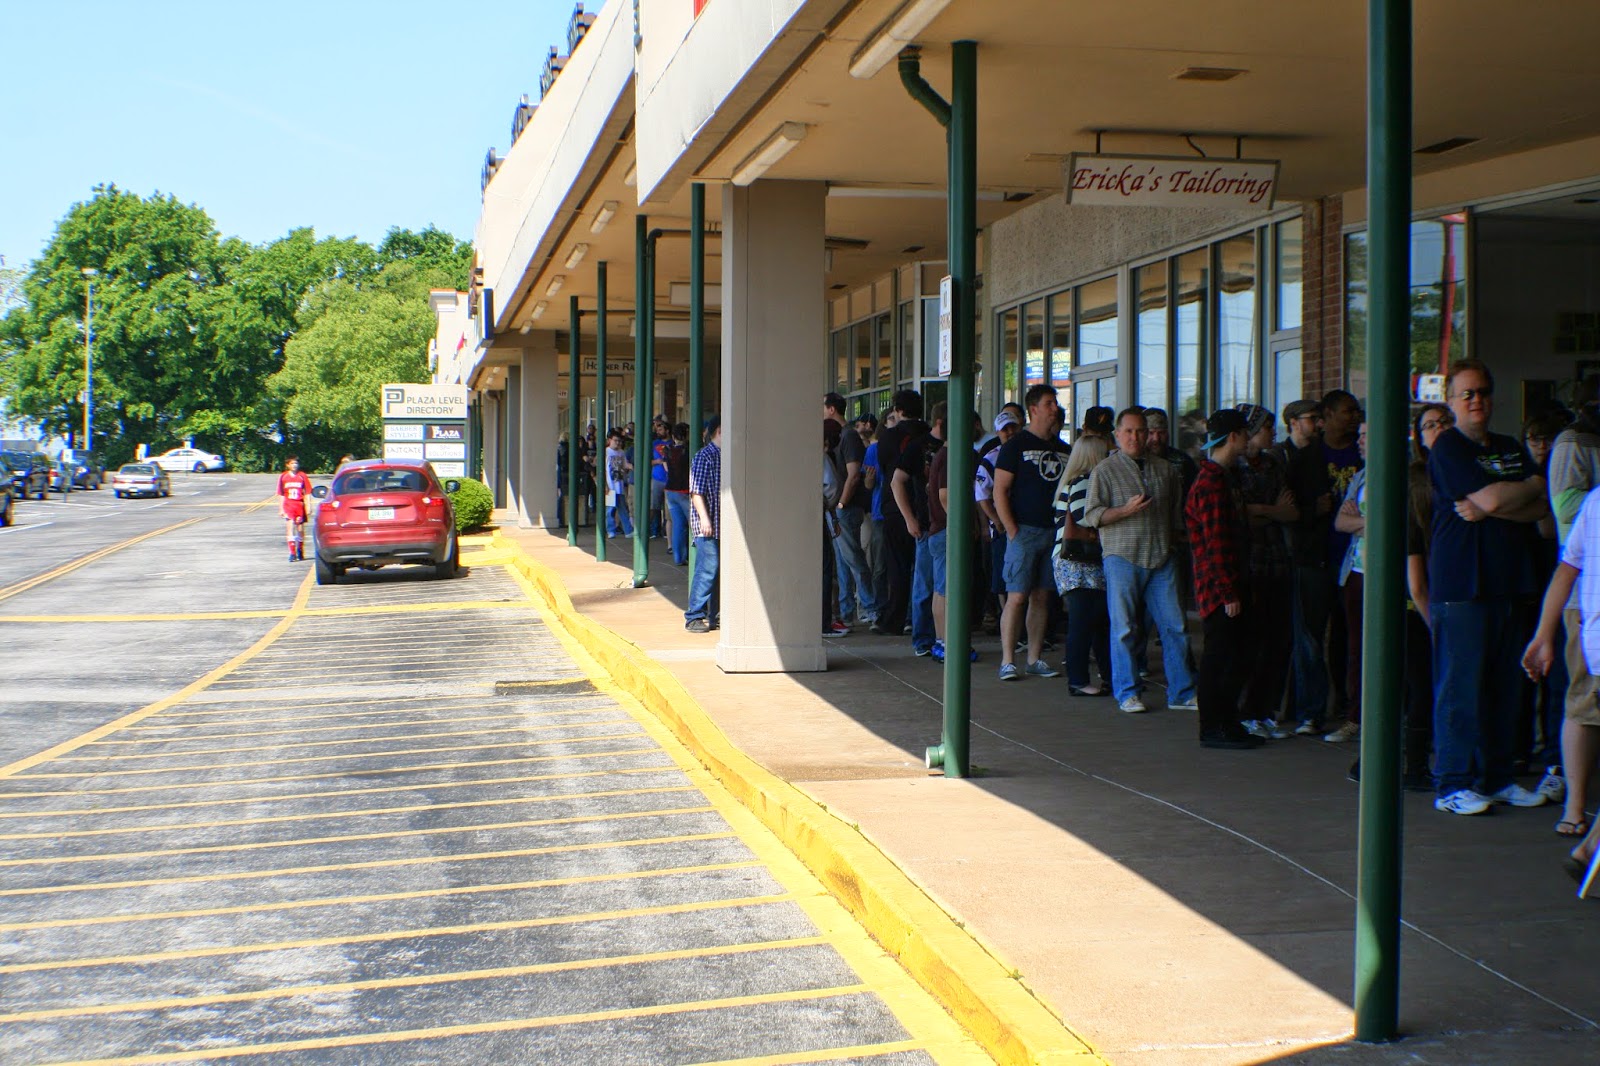
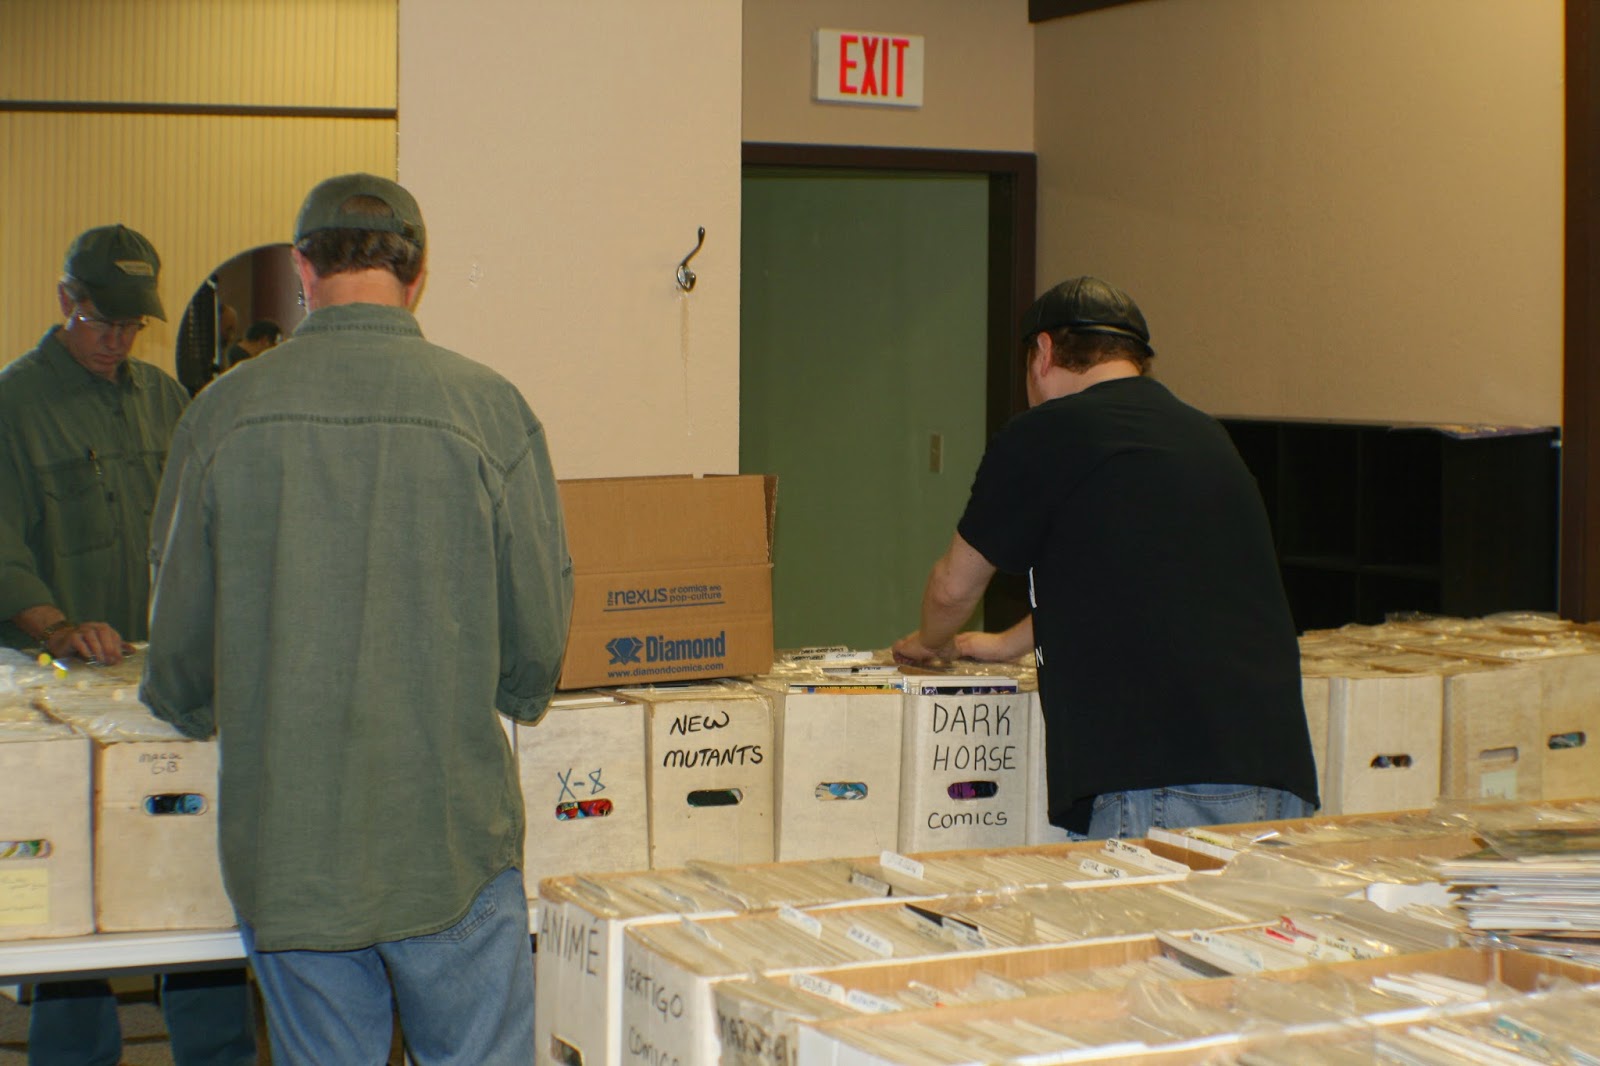
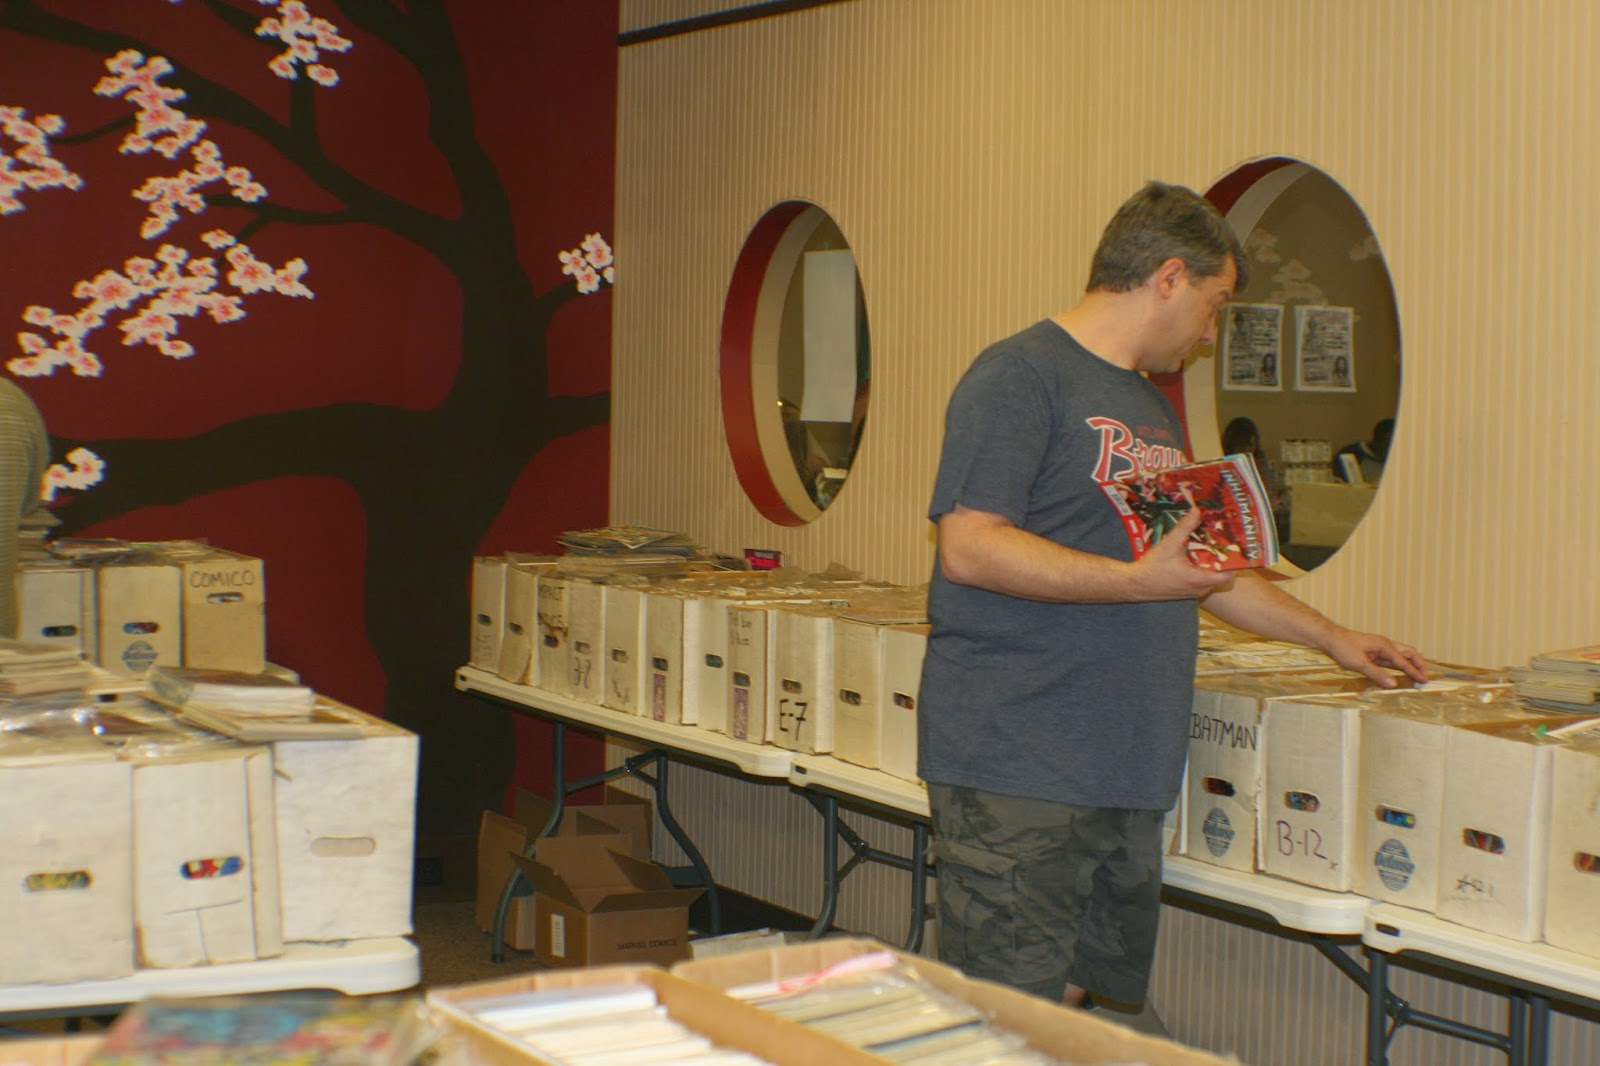
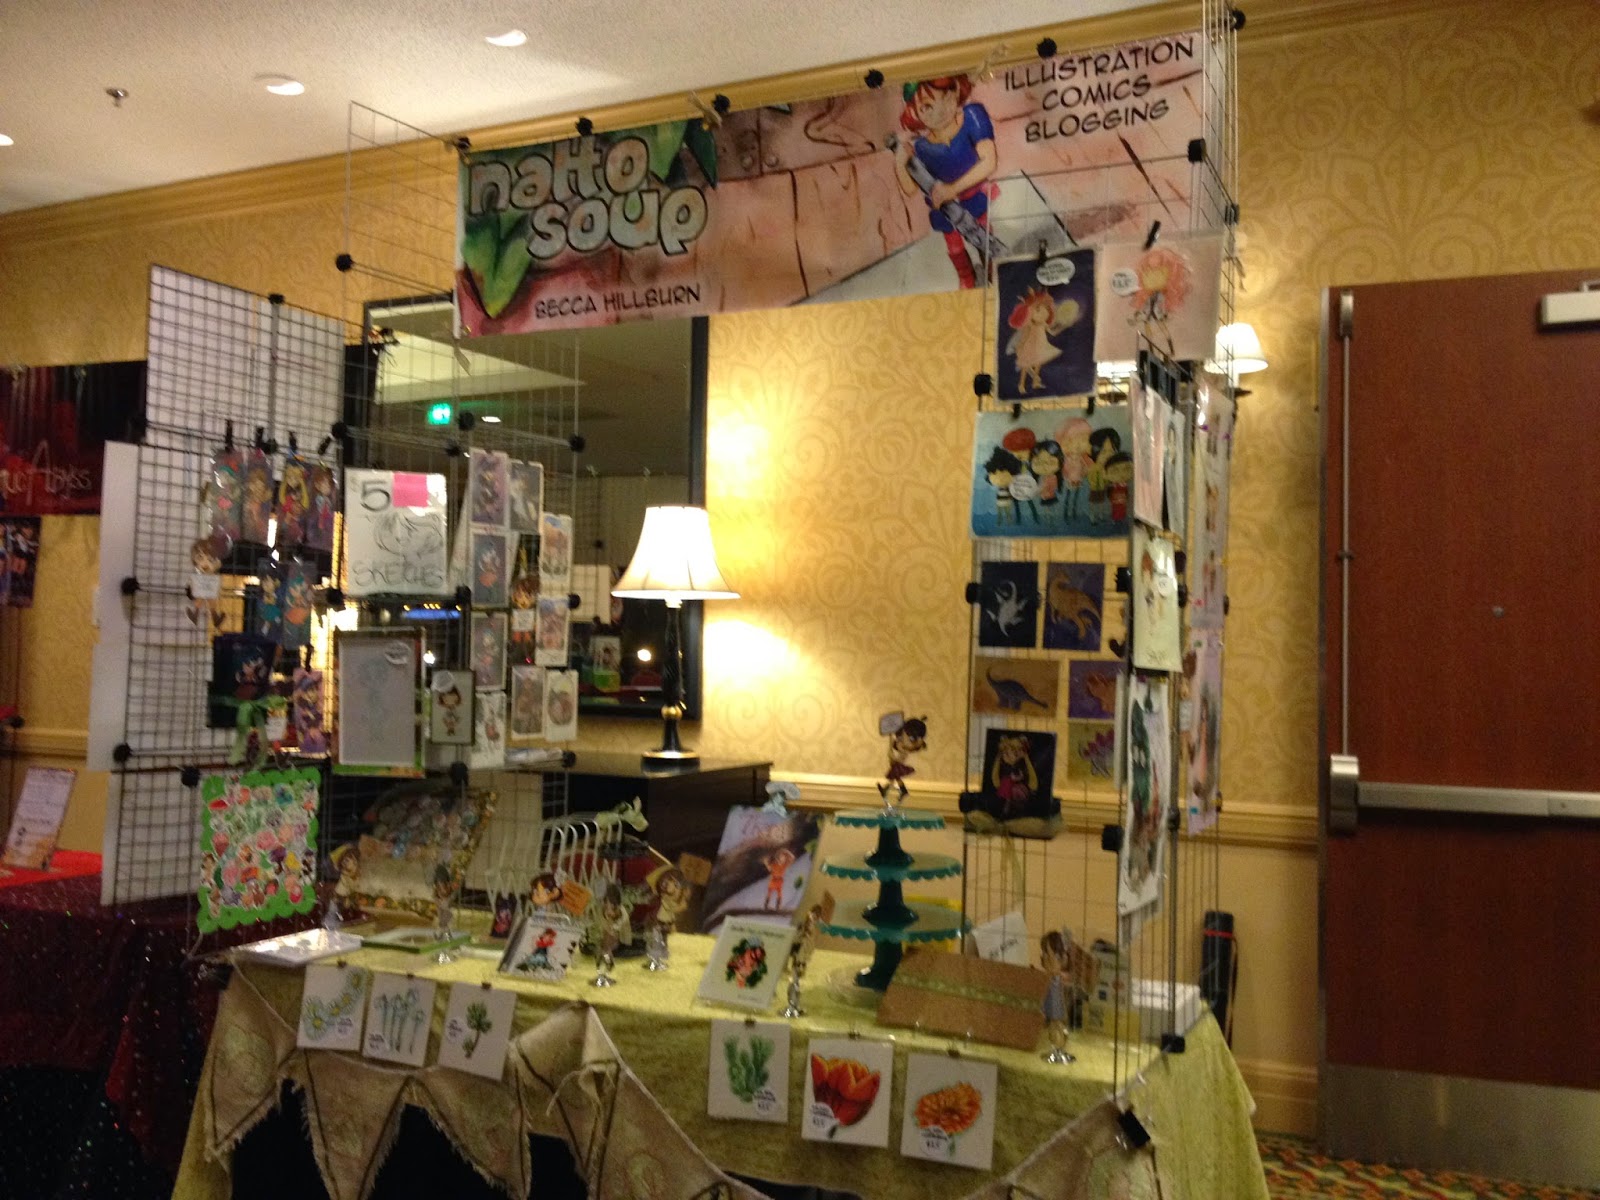
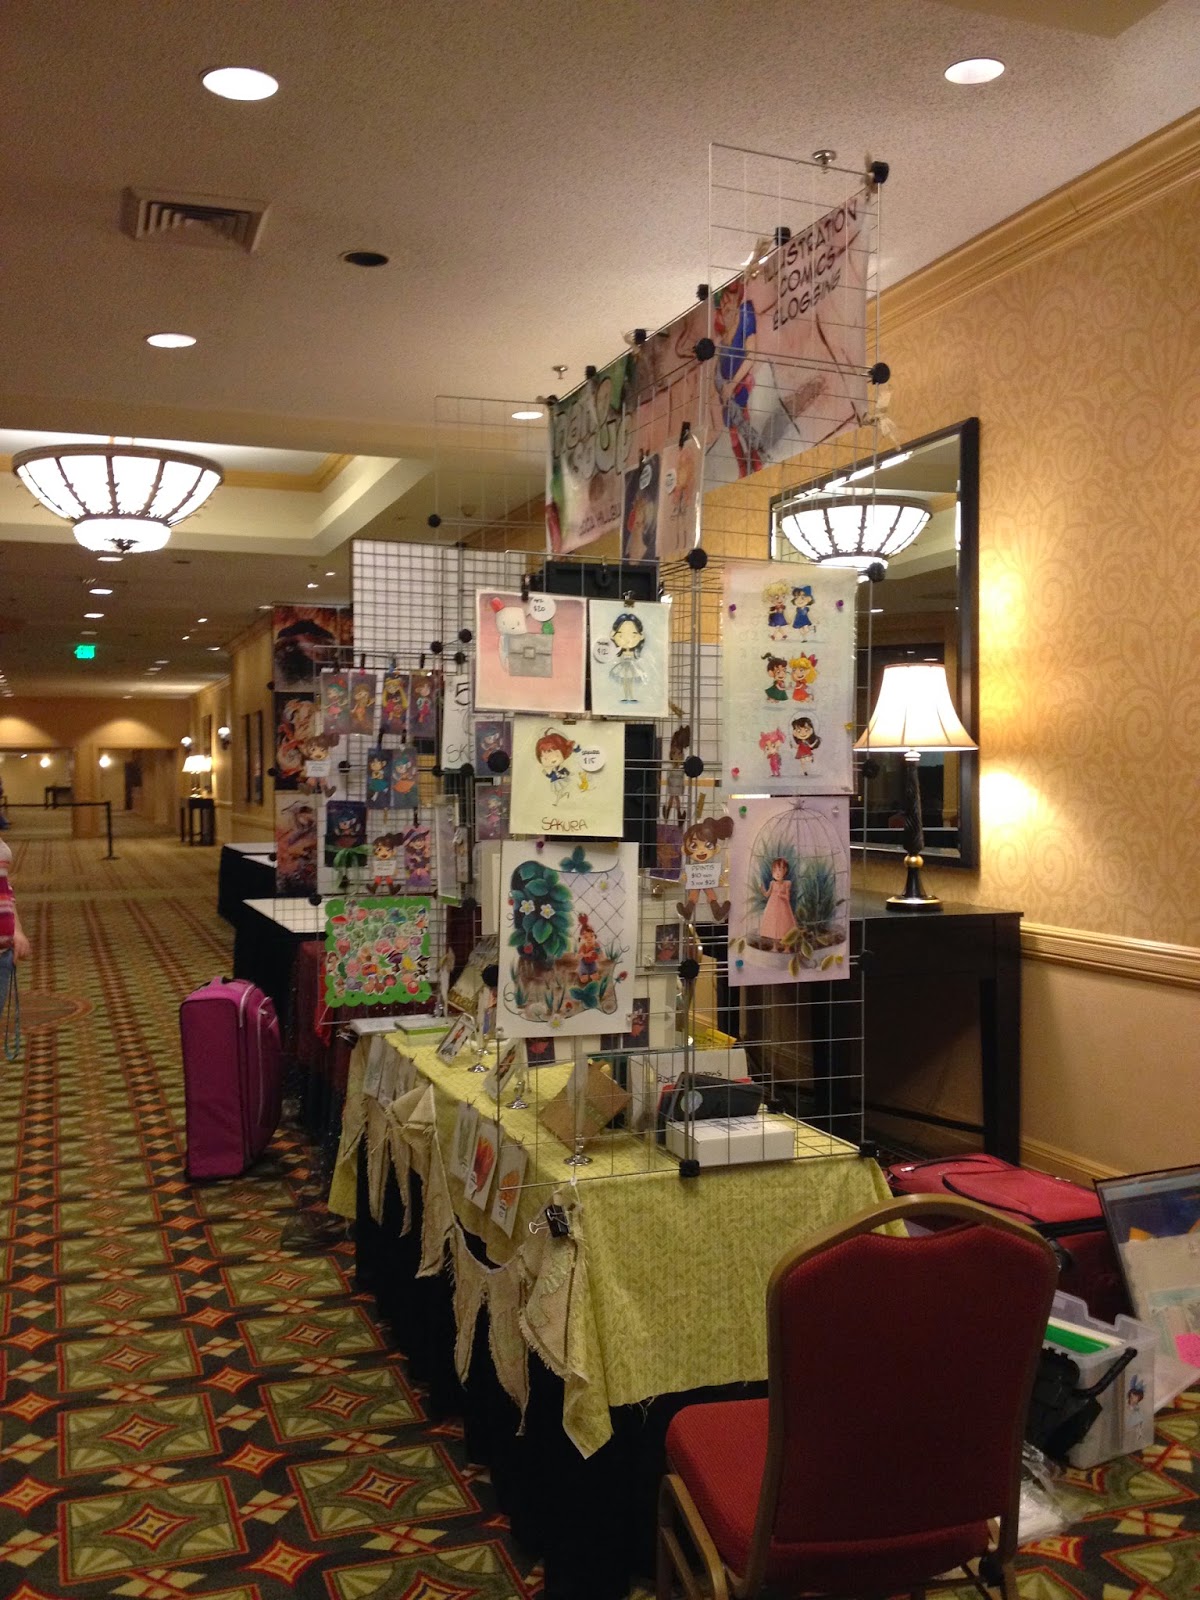
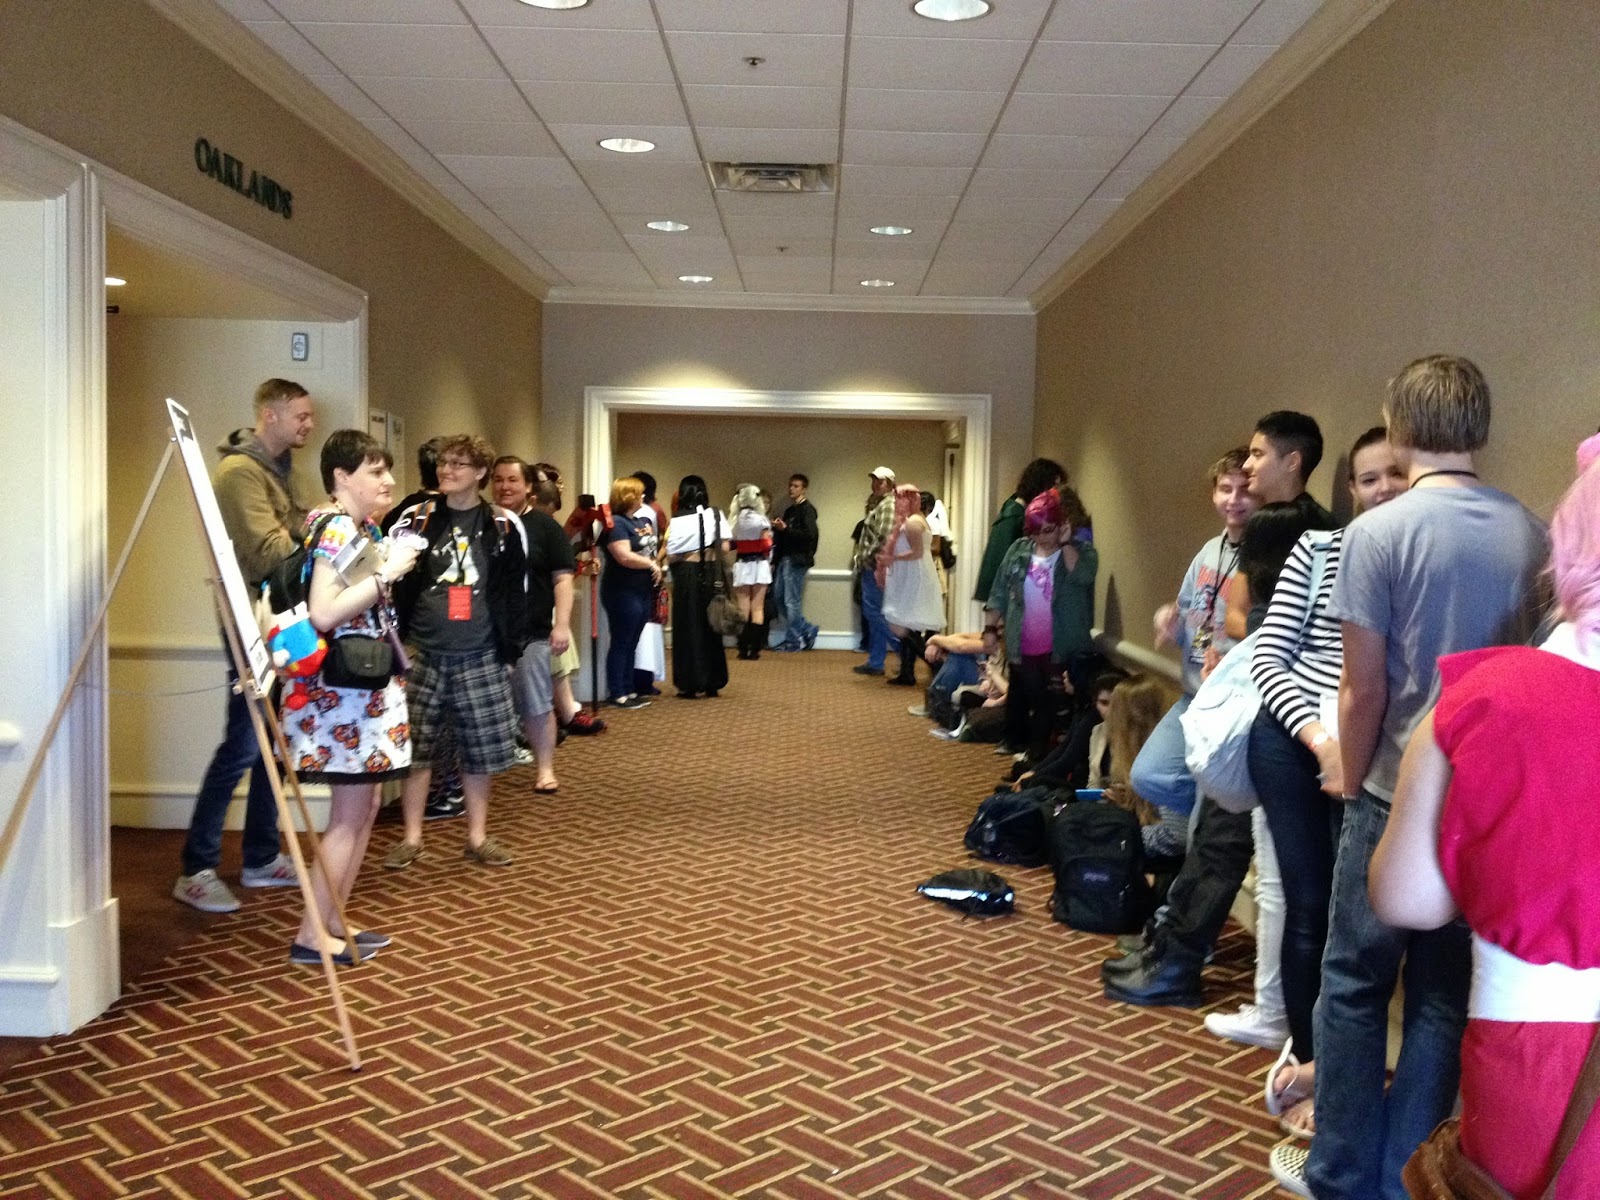
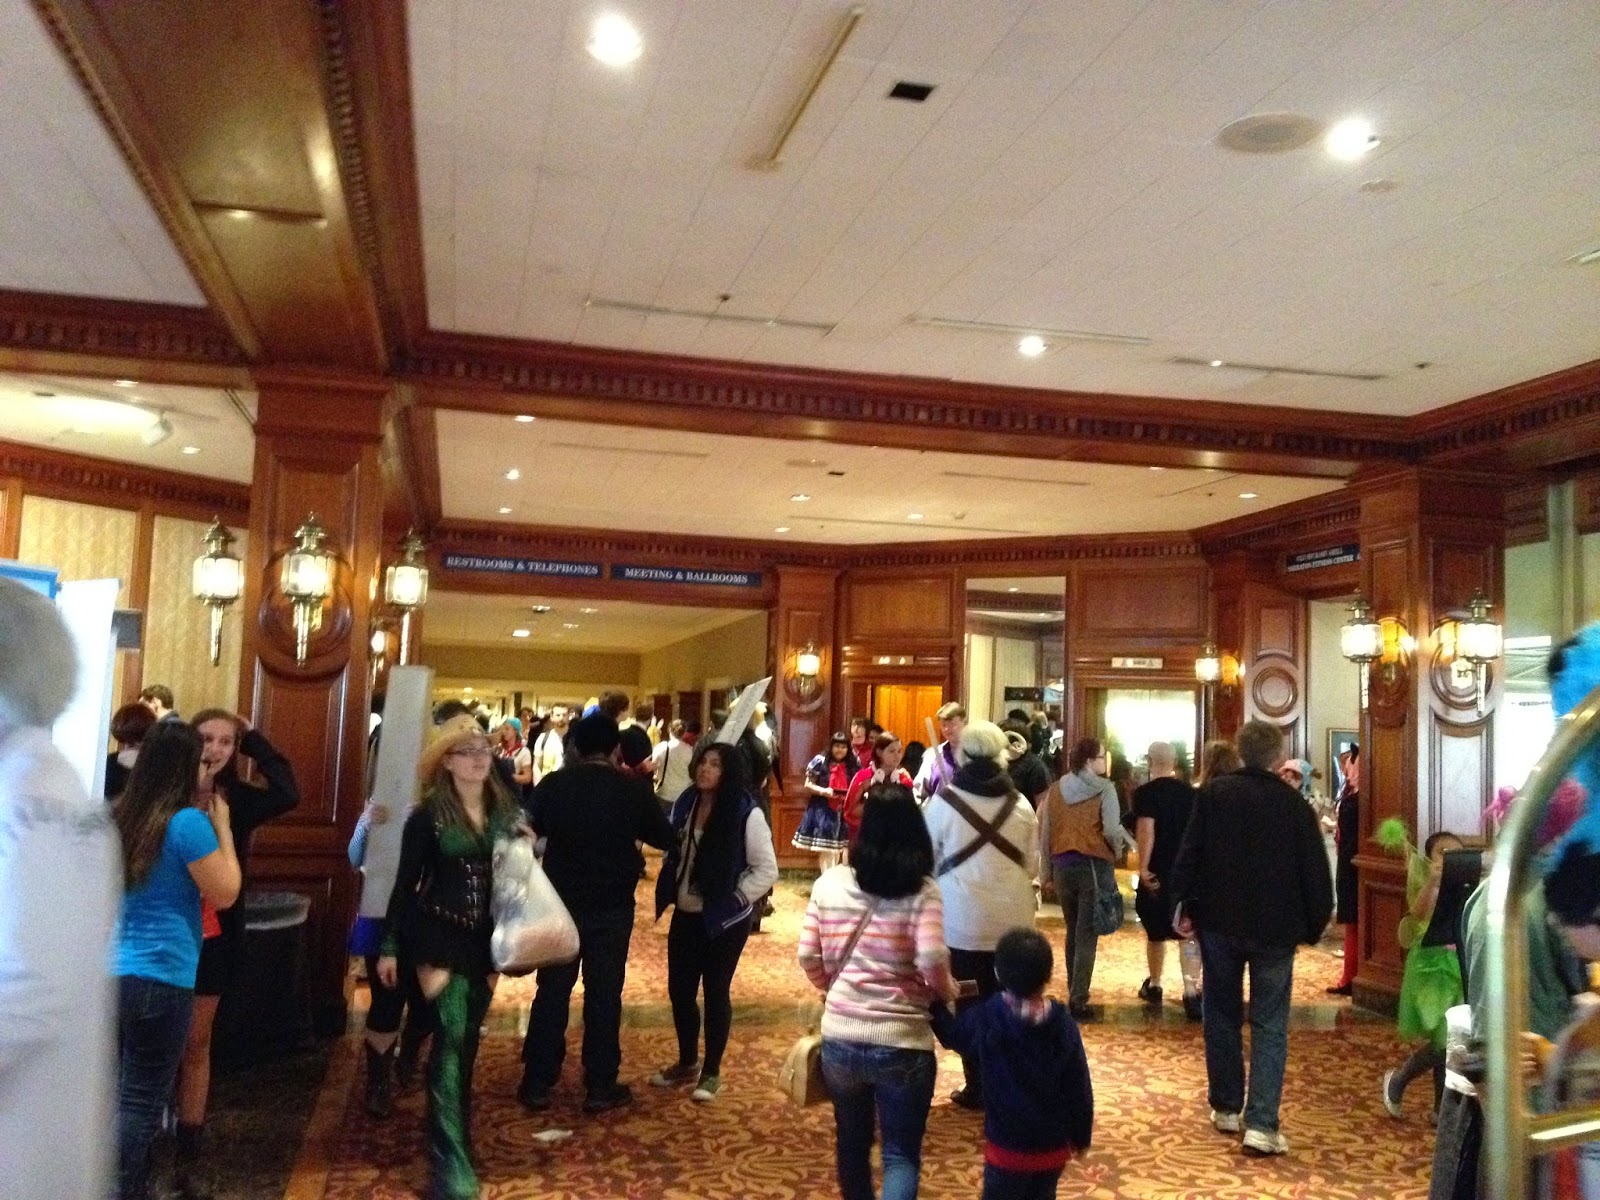
I first heard about Animazement when my friends Lane and Dylan were trying to lure me into doing North Carolina conventions. It sounded good- I assumed Raleigh was nearish Charlotte, so I went ahead and applied. When Dylan told me he was waitlisted, I assumed I didn't make it, so I was a little surprised when I got my acceptance letter a couple weeks later. At this point, I still hadn't realized what a large show Animazement was. The photos I found online showed booths in a hallway, and I assumed it was in a weird convention center/mall, the way Anime Weekend Atlanta is. I was a little nervous about that sort of set up, but I've been doing alley shows for awhile now, so I figured I'd manage. Although I'd done SOME preliminary research, it was obviously not enough, because I didn't realize how big Animazement really was until I saw people on AANI freaking out about it a week prior to the show itself. At that point, I was seriously starting to regret my decision to attend, as I have a history of doing poorly at big cons. My nerves only got worse when I saw my actual placement. This map is deceptive- my actual table was in the very back, and there was nothing to lure people back there. That dealer's room 'exit'? Mainly used as a shortcut from the artist alley to the dealer's room- people would go down that first aisle, never to return to the artist alley until their money was spent.


But gee, that map sure makes it SEEM like it's a great space, doesn't it? And you see that unlabelled gray spot? That was a huge support column that basically blocked attendees view from seeing the last few tables. The art auction and art class rooms weren't even a draw- the auction went on during the afternoon of Sunday, was closed to the public for the majority of the con, and I never saw any art classes actually in action. And the location of the art show made it seem like there really wasn't much going on beyond that point.
But I'm getting ahead of myself, aren't I?
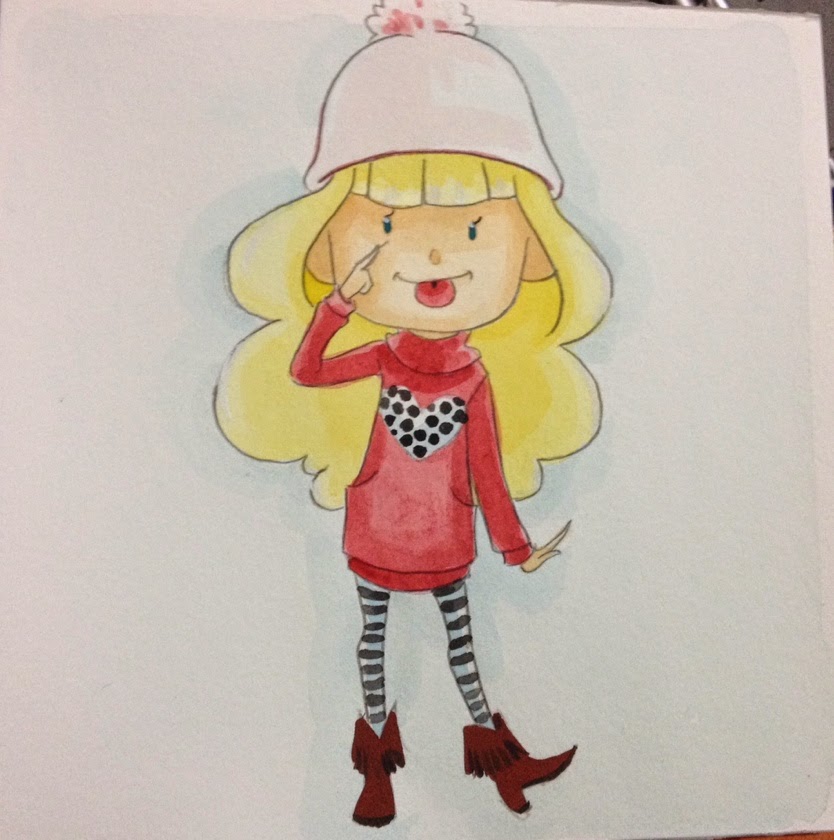
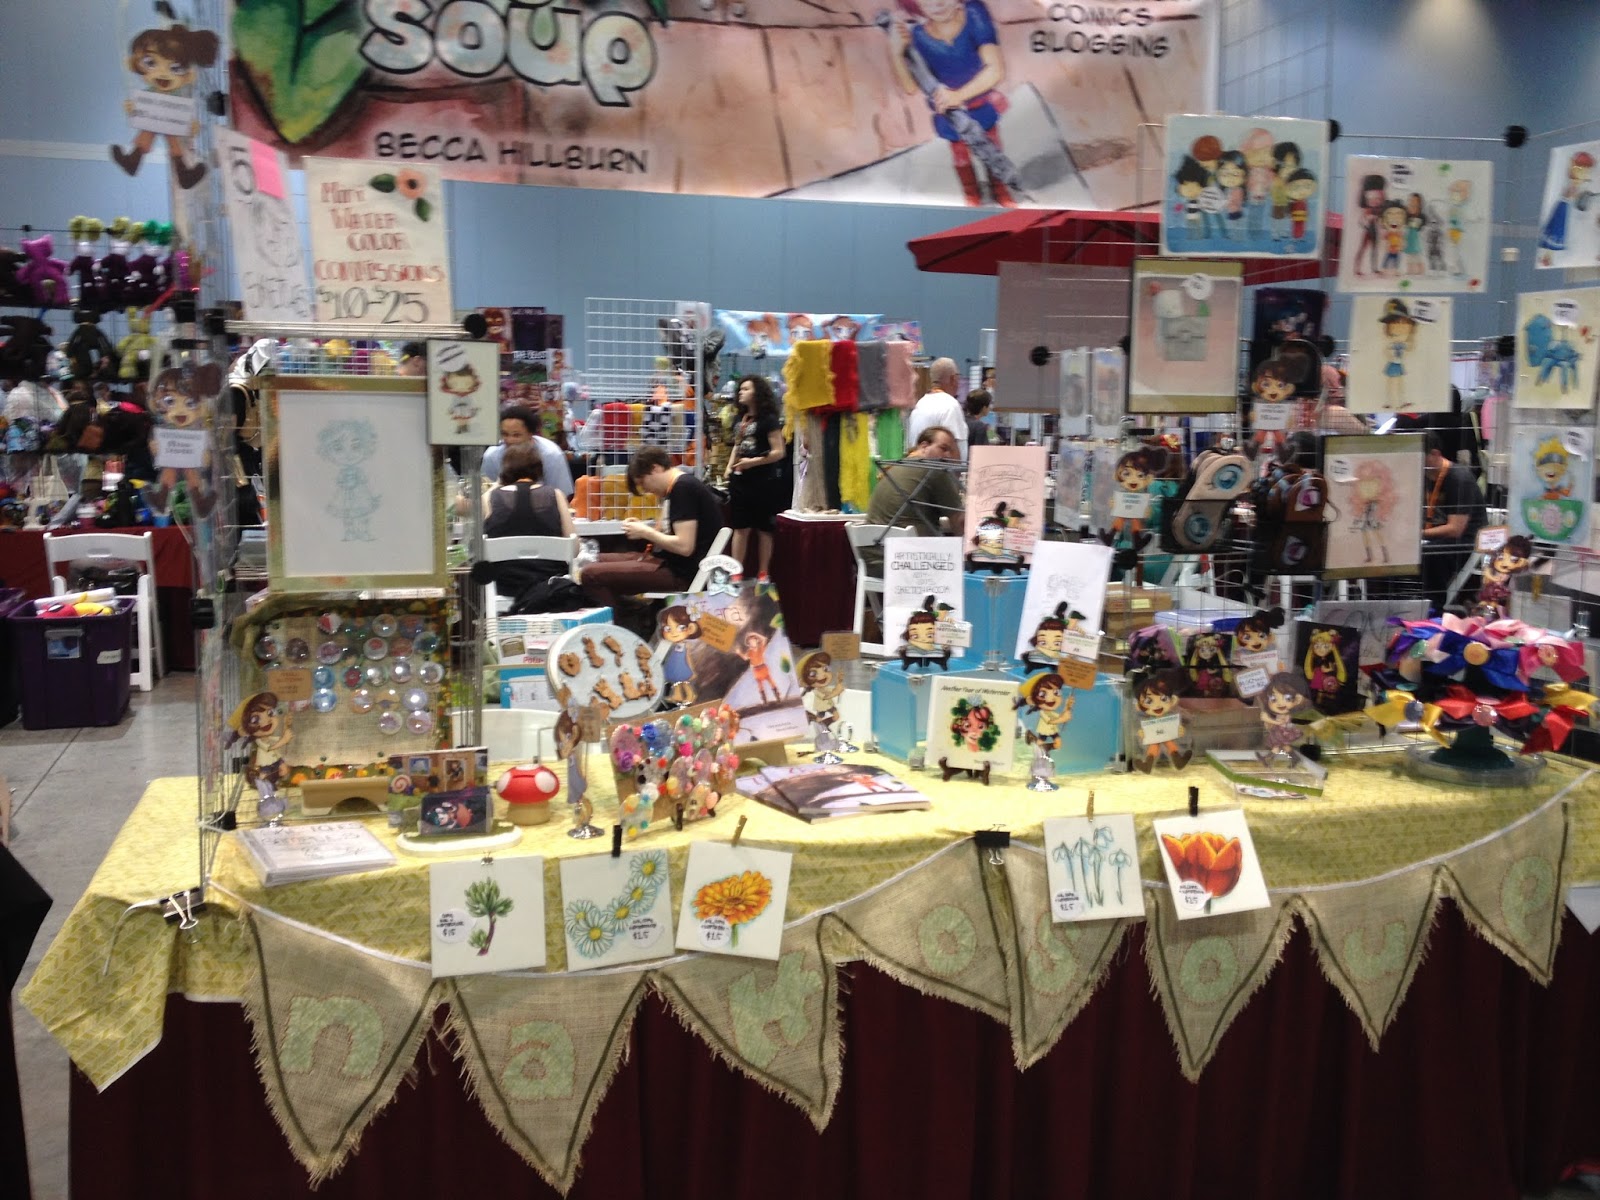
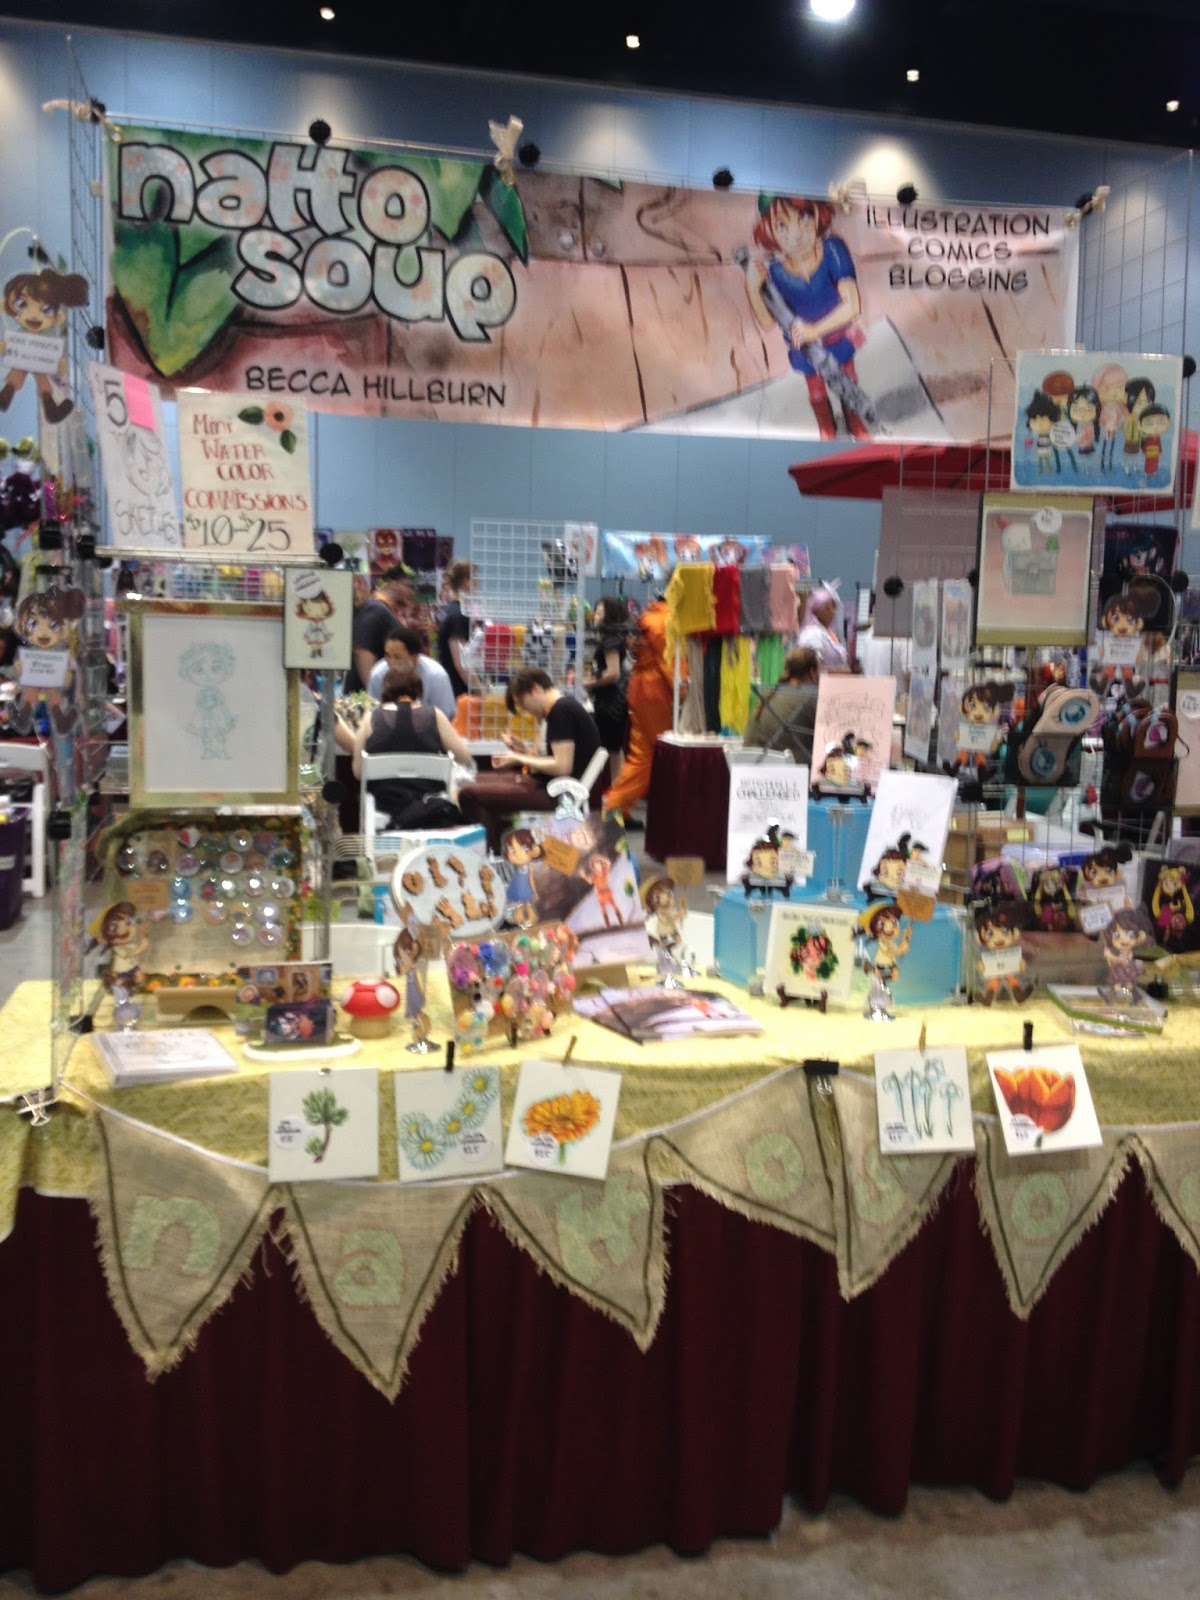
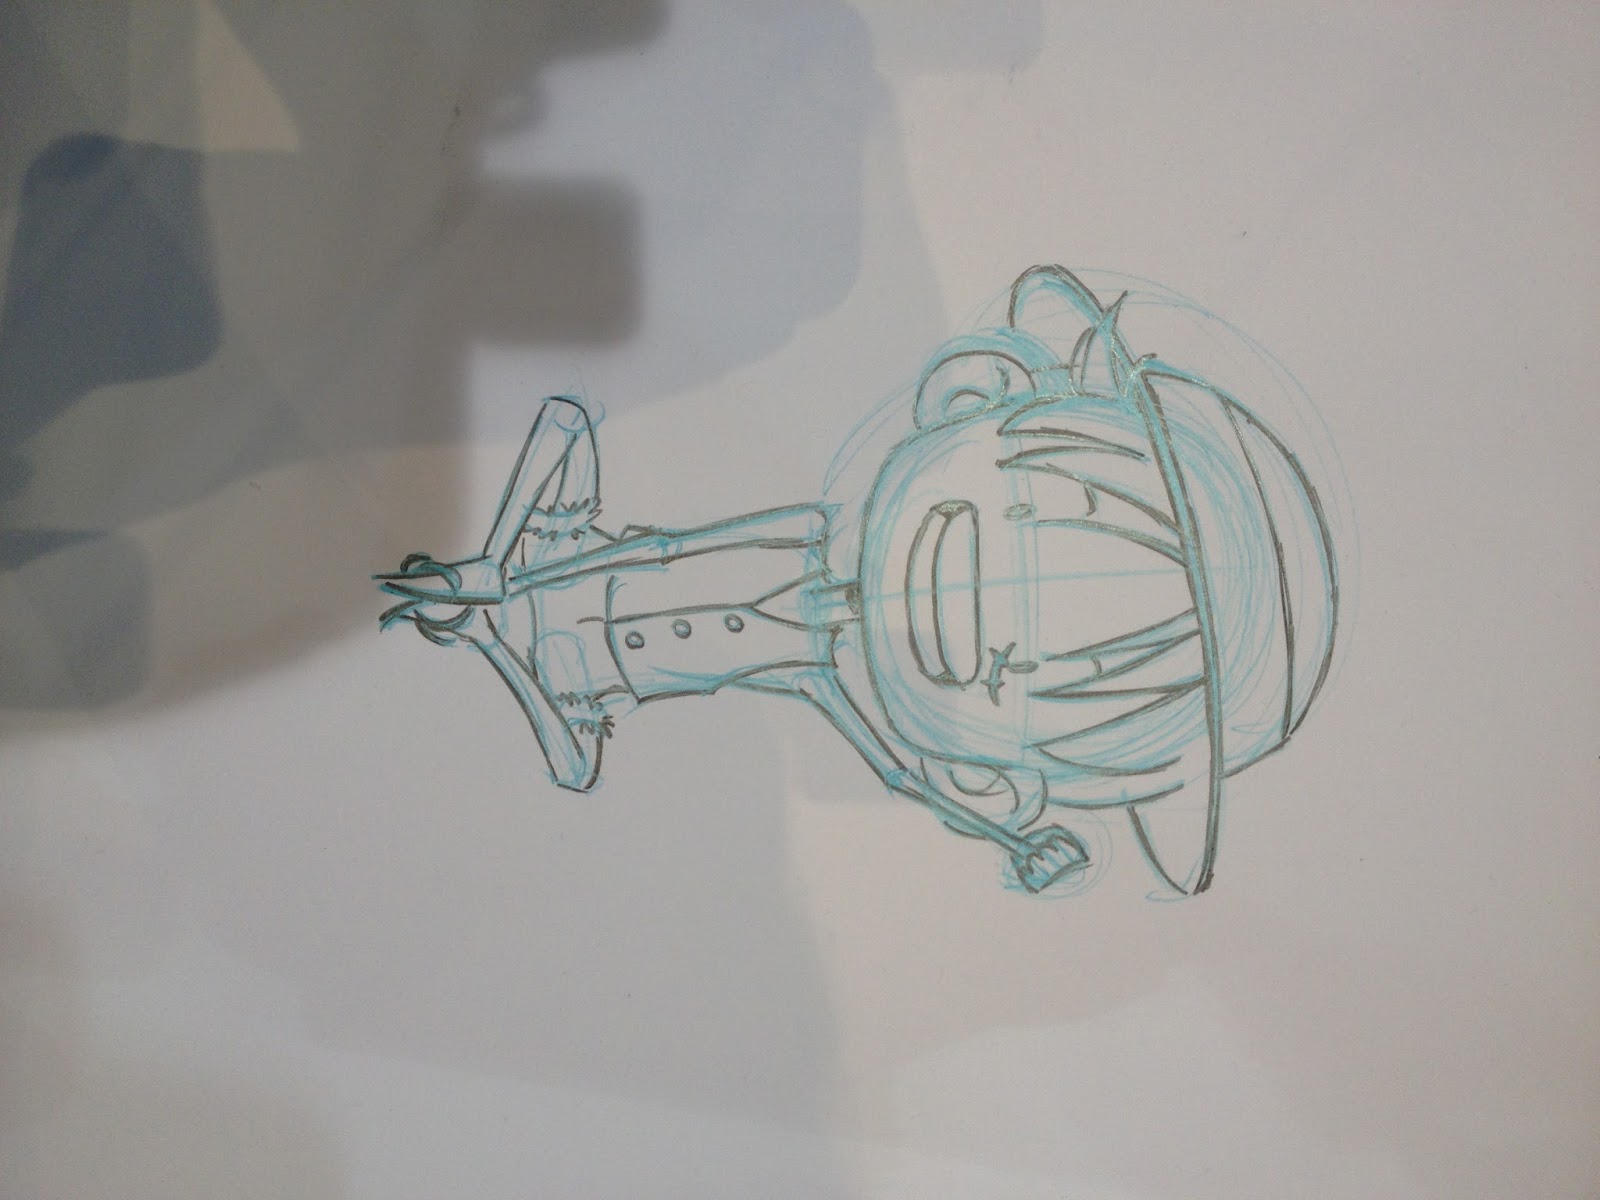
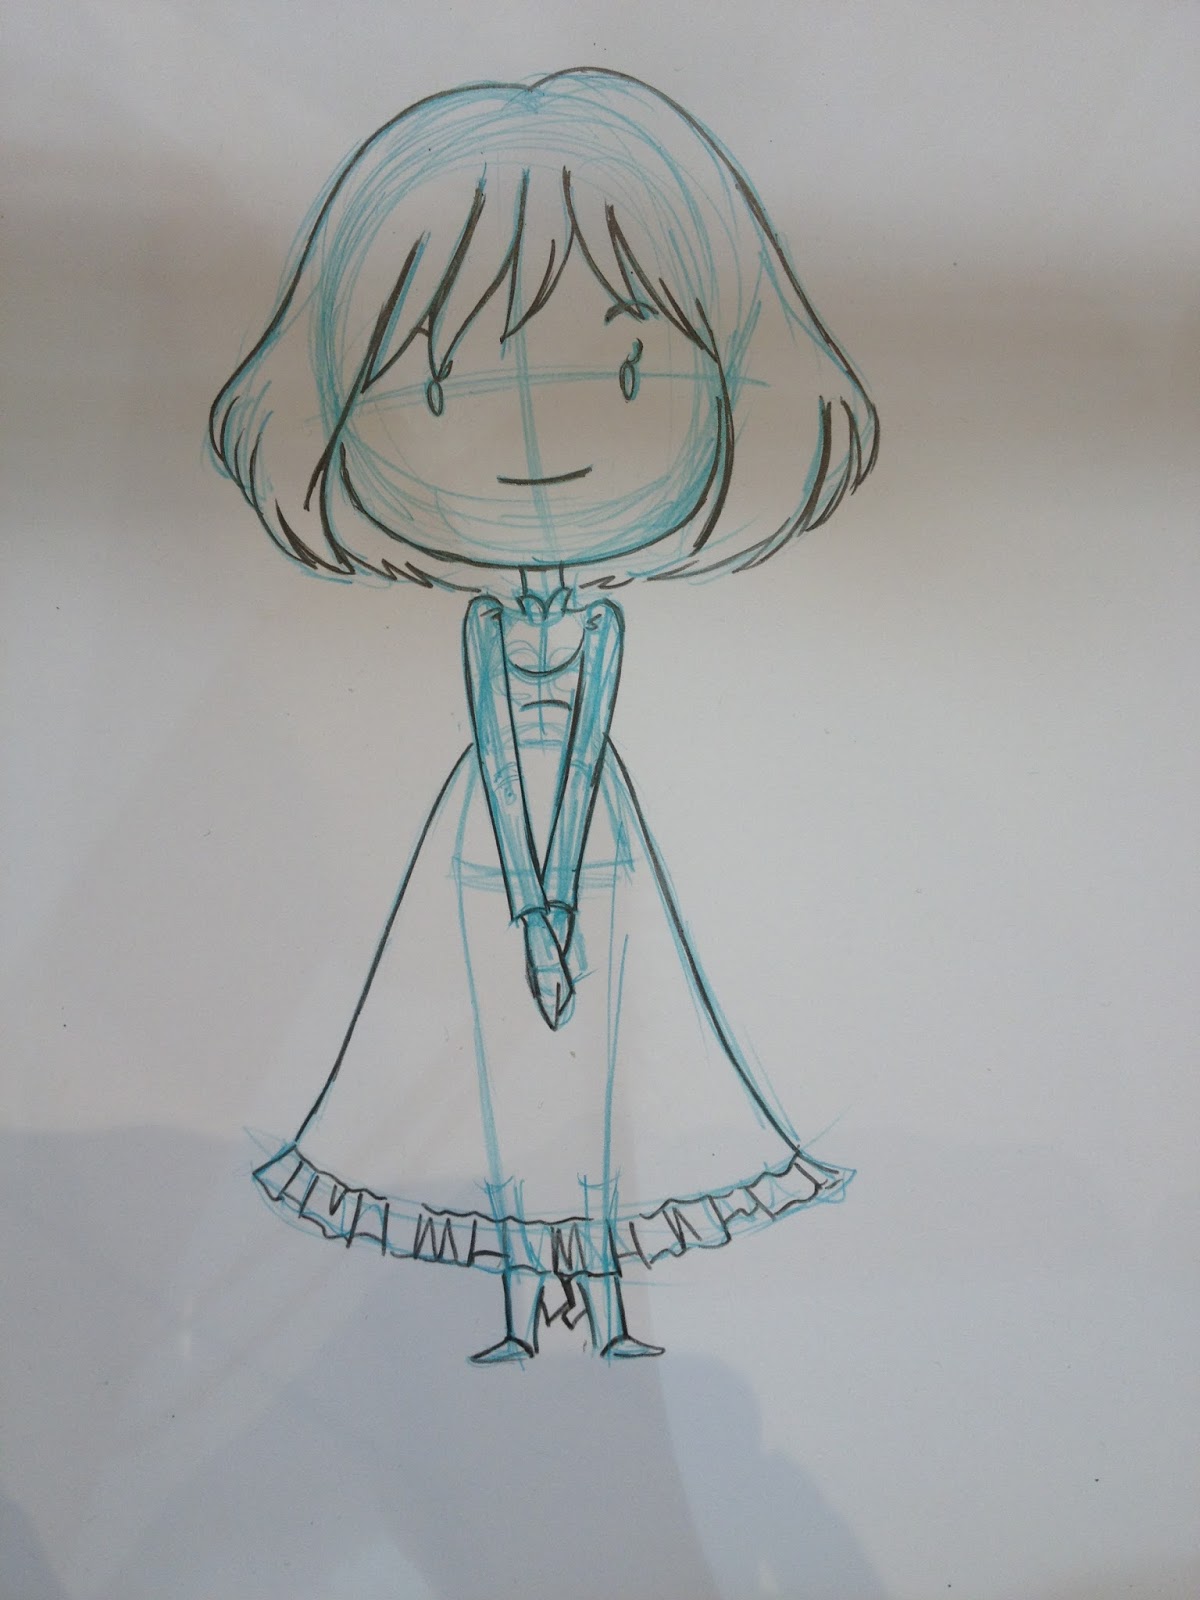
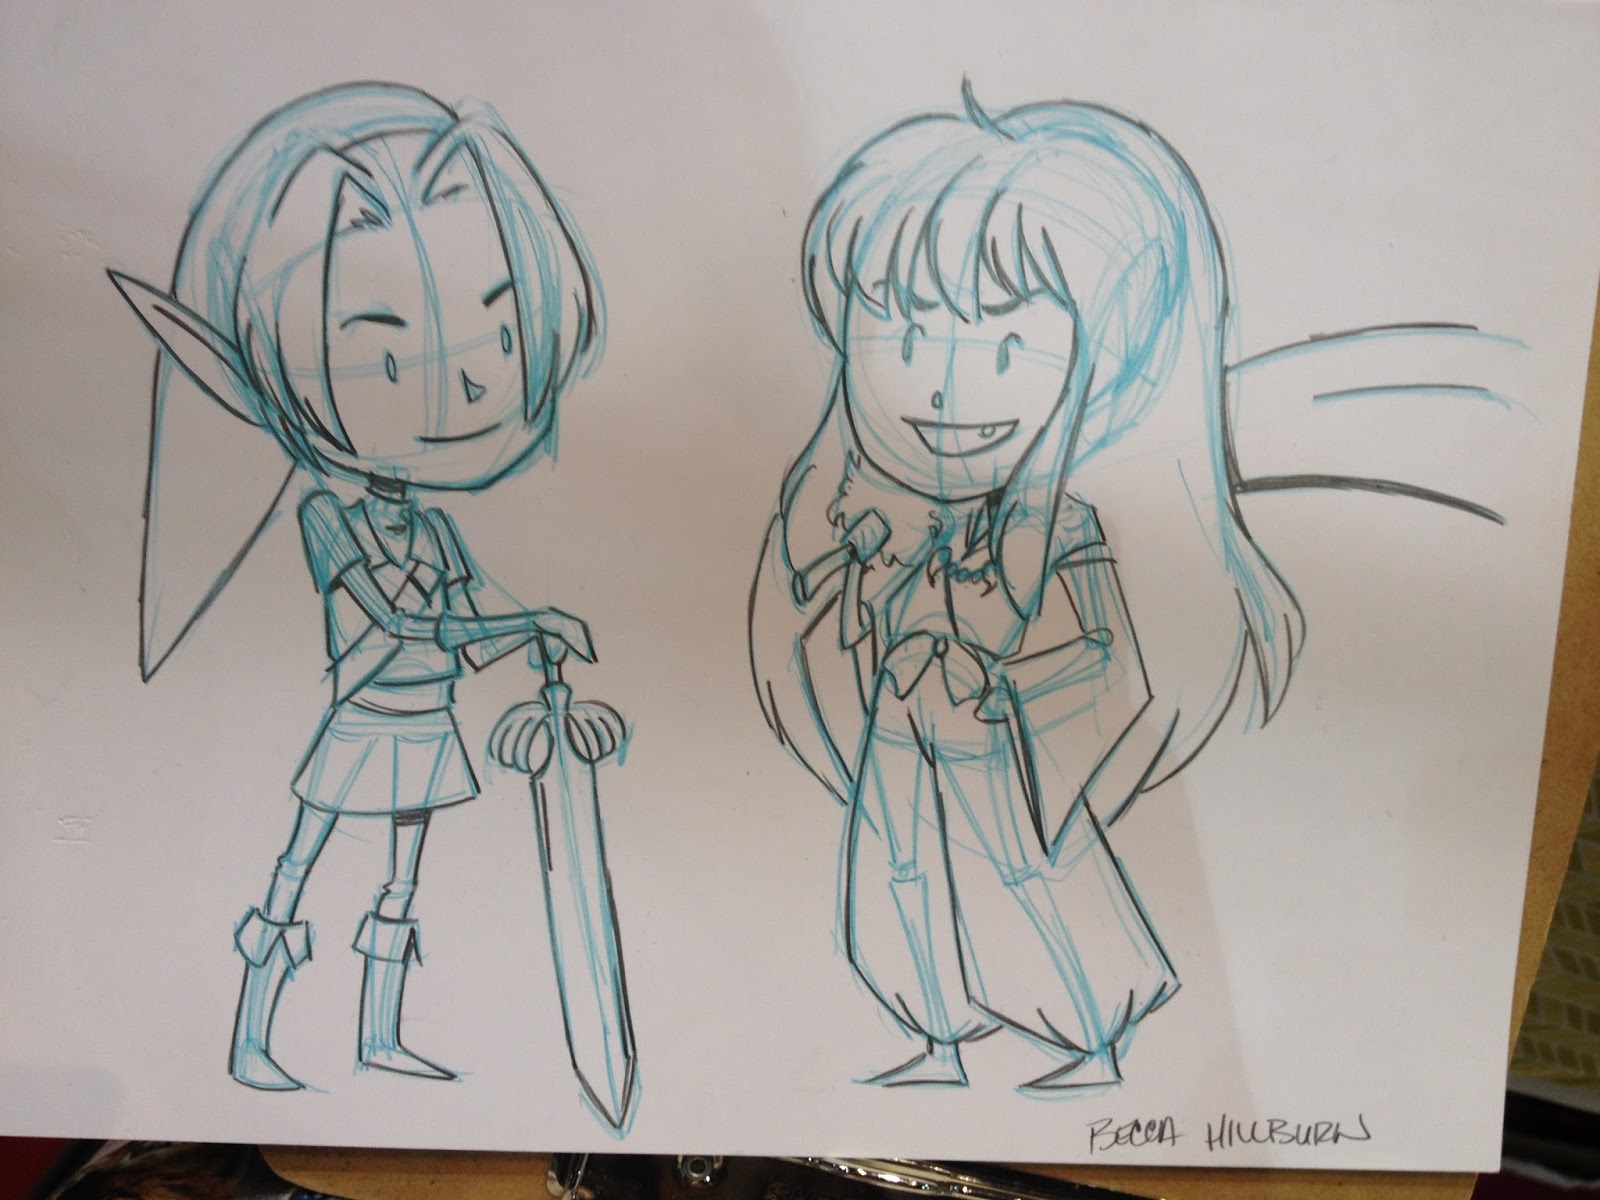
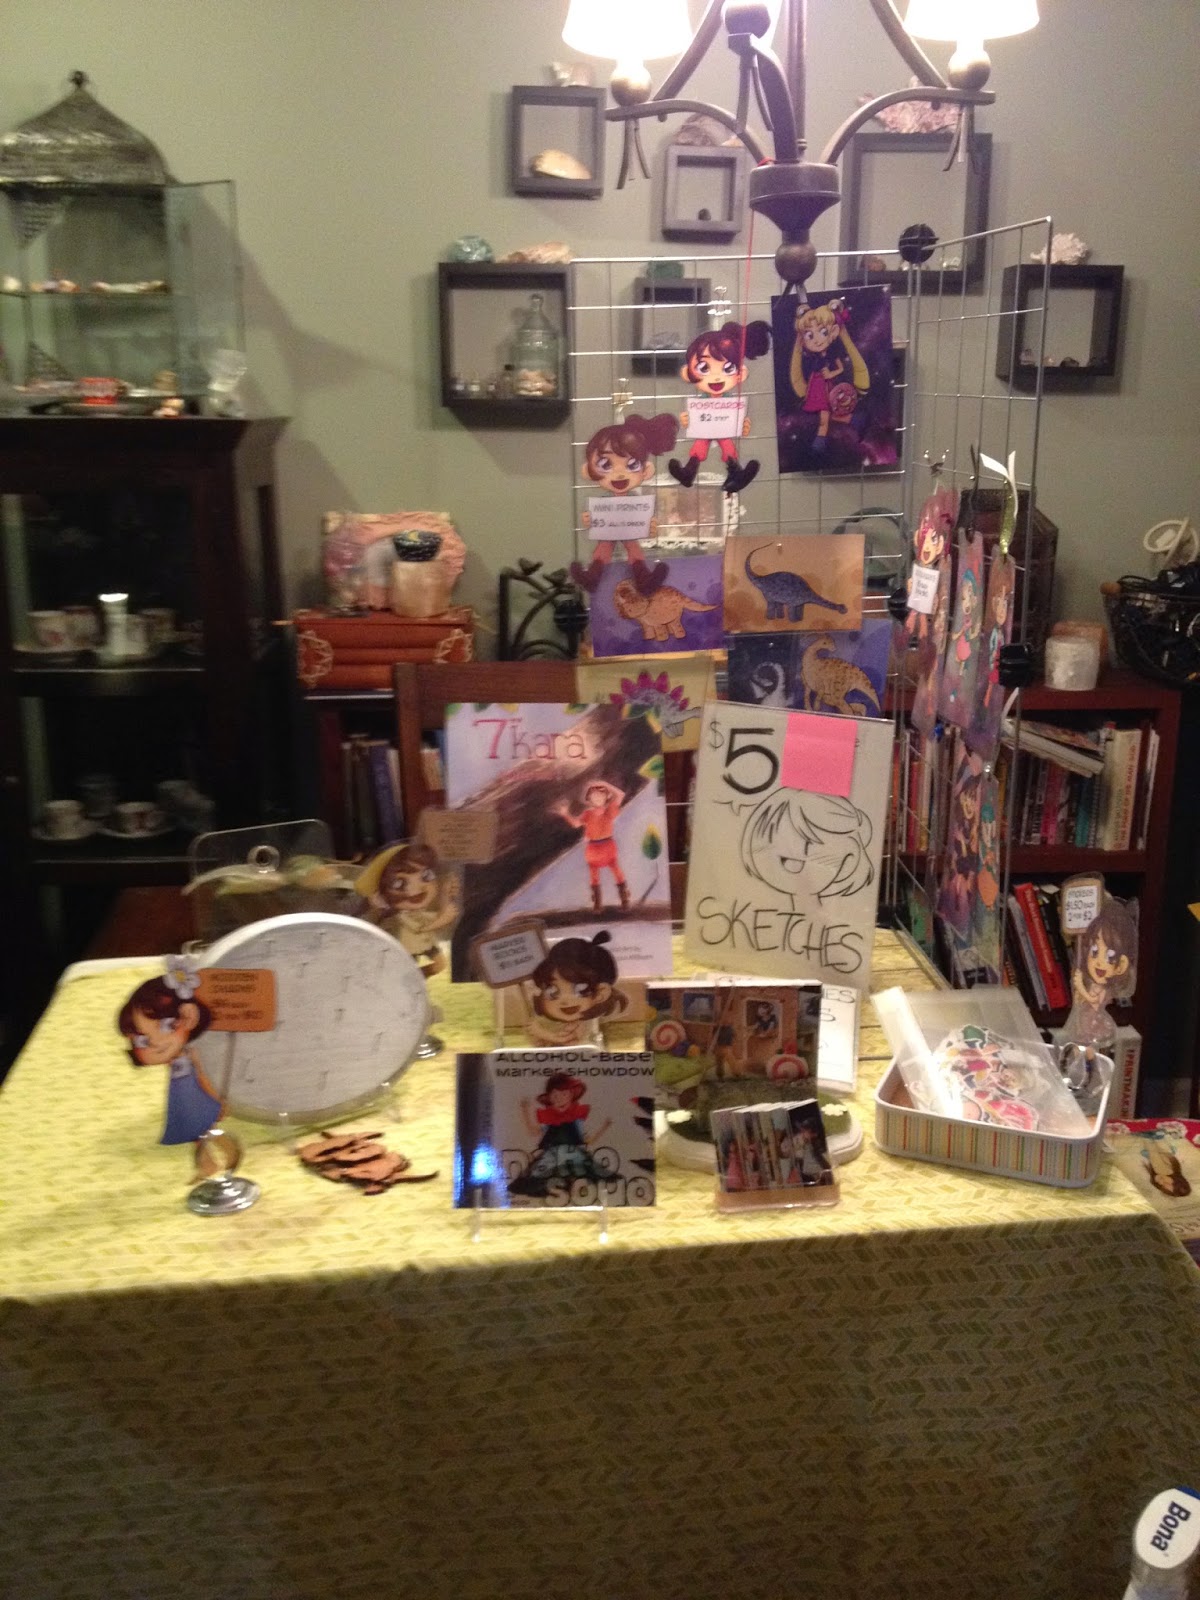
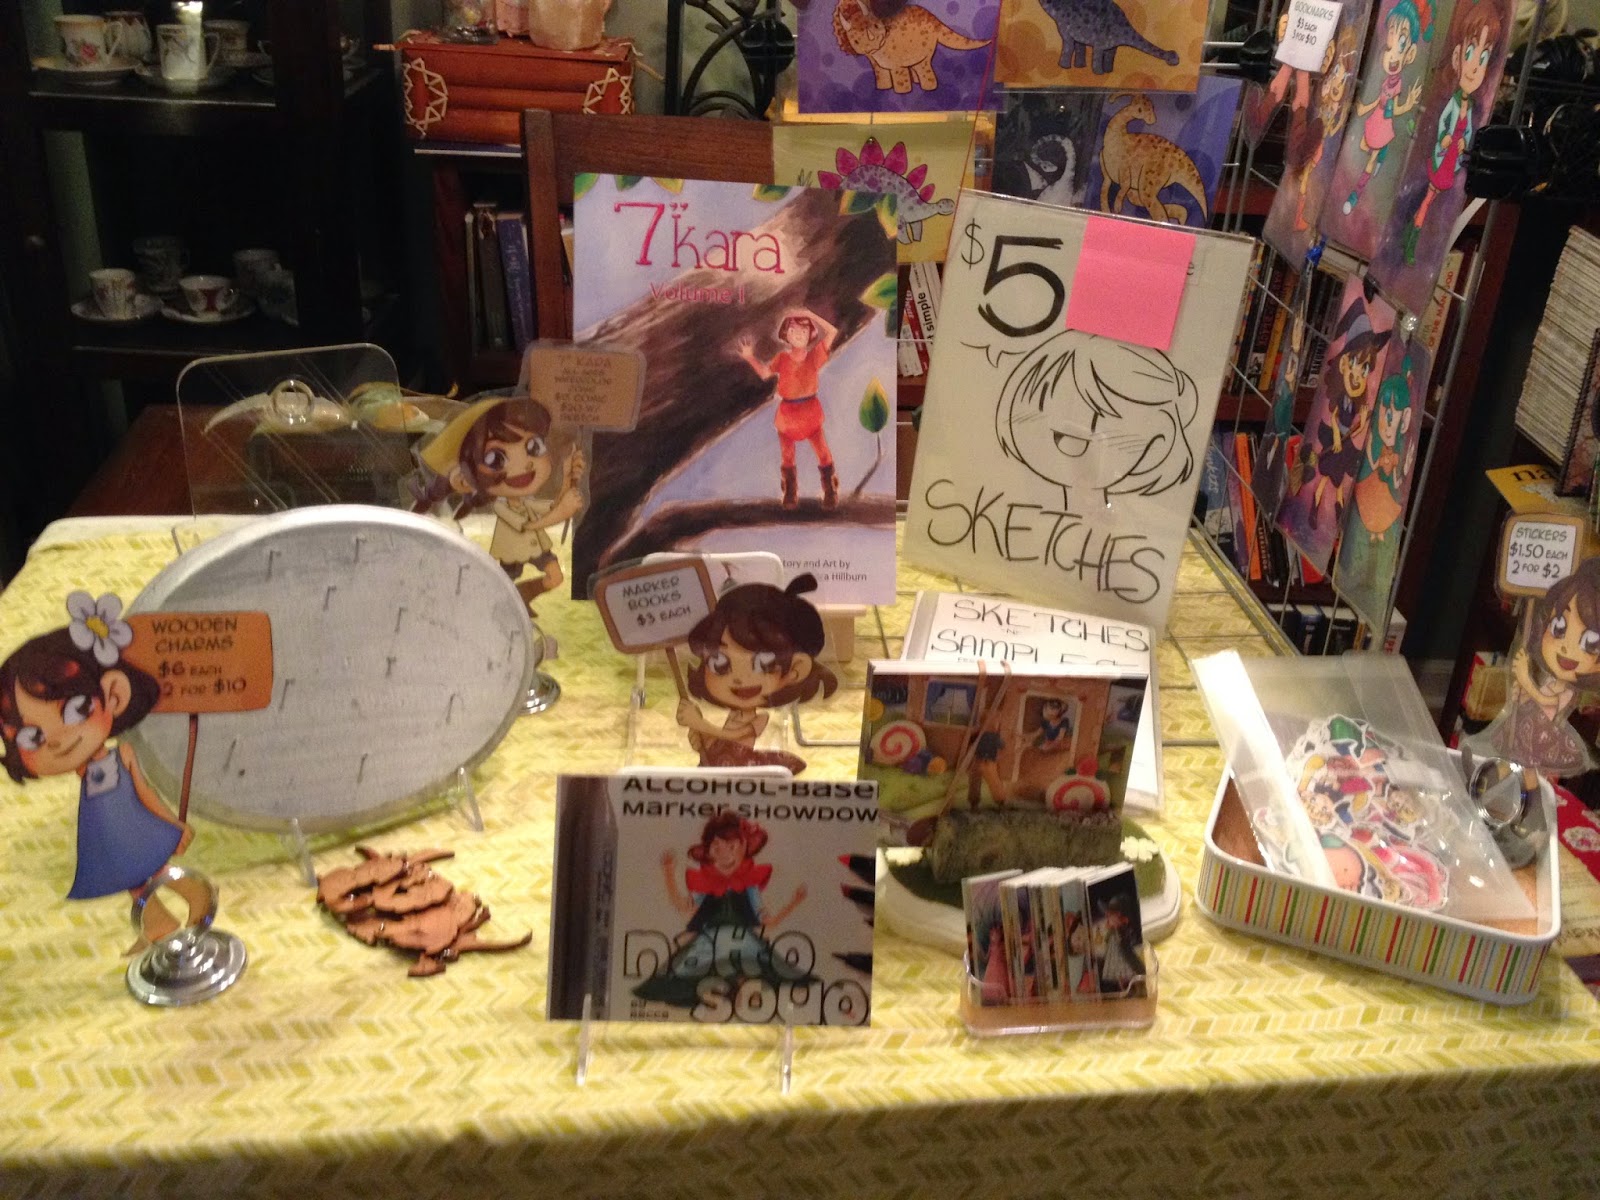
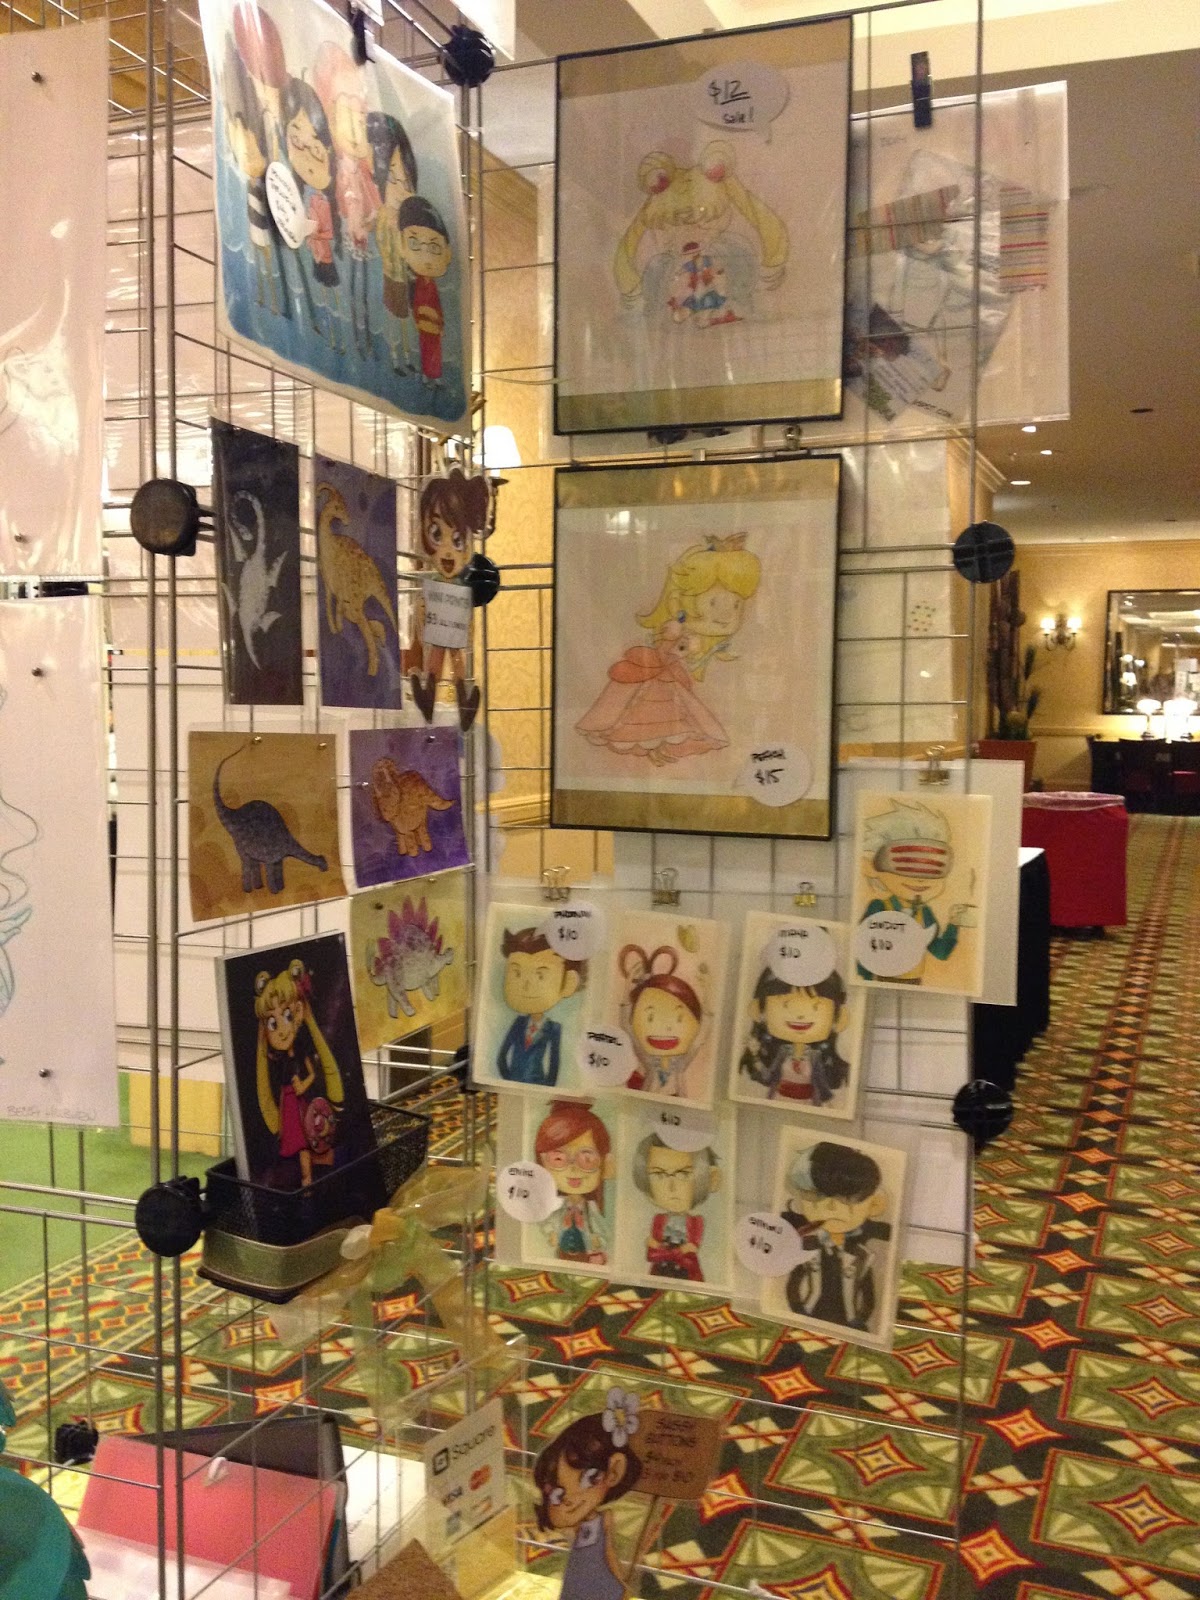
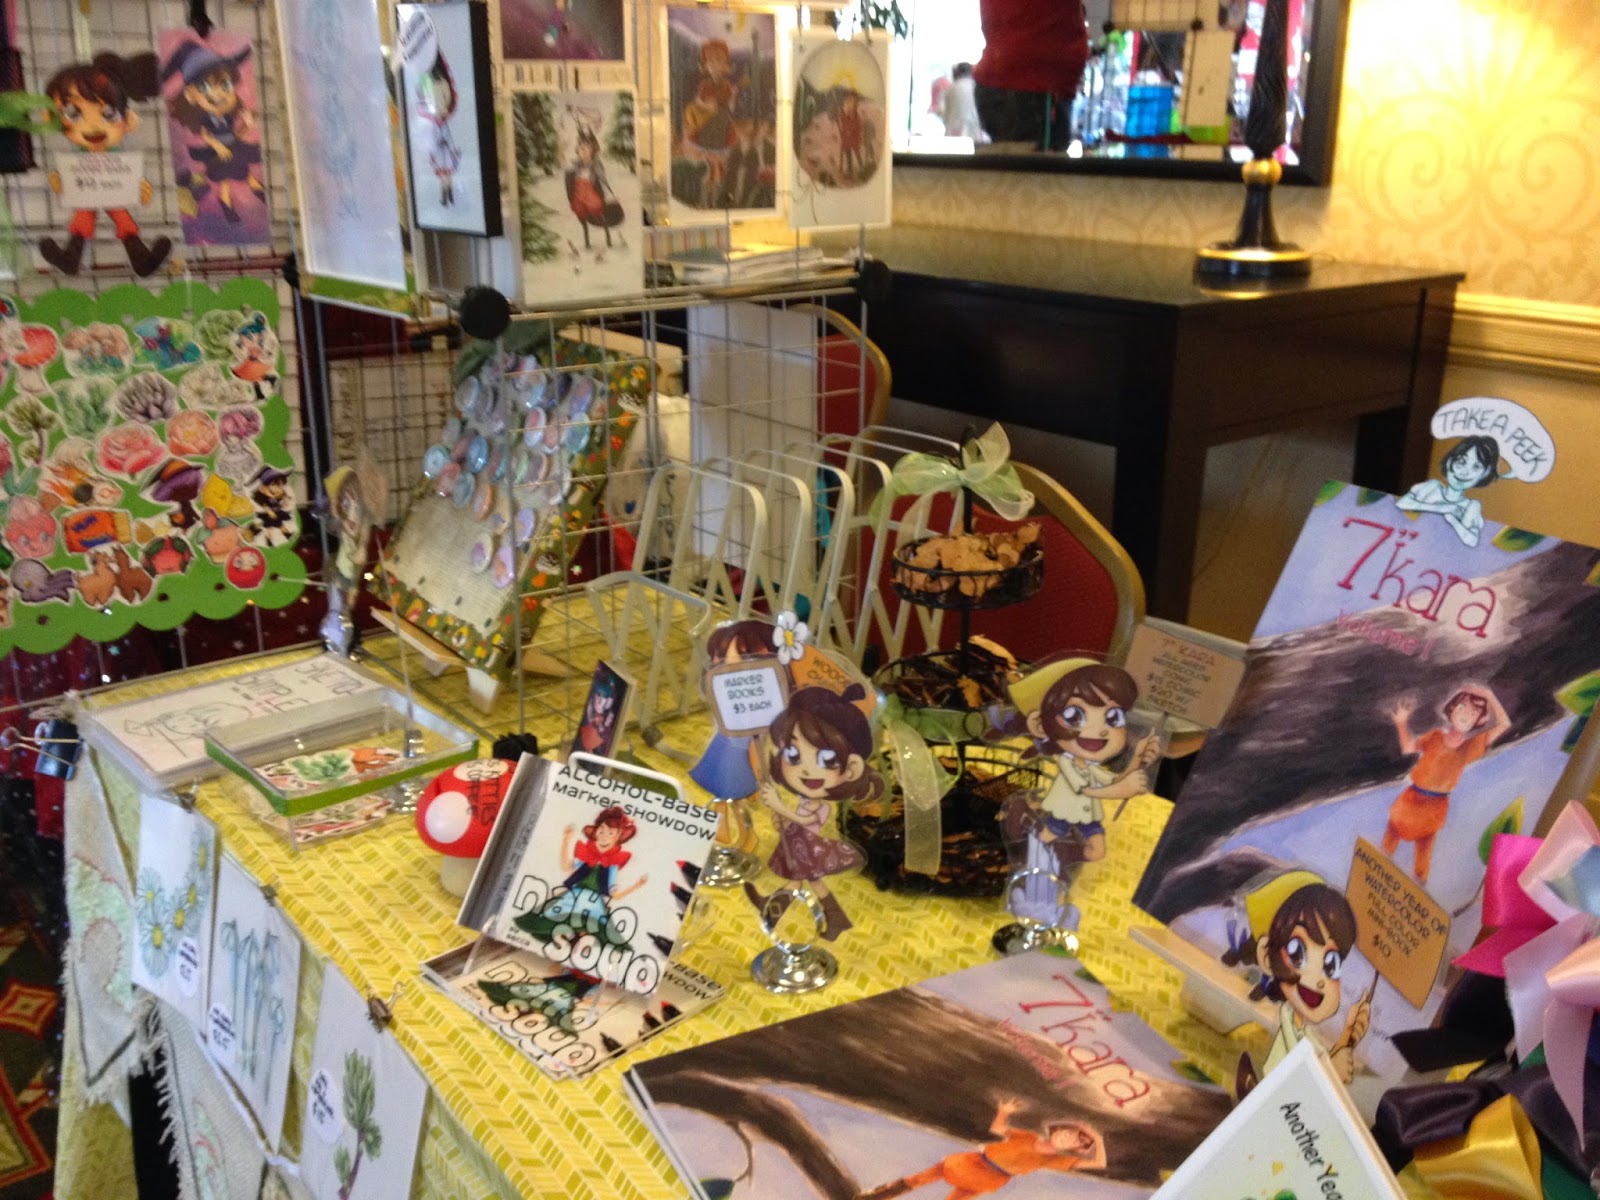
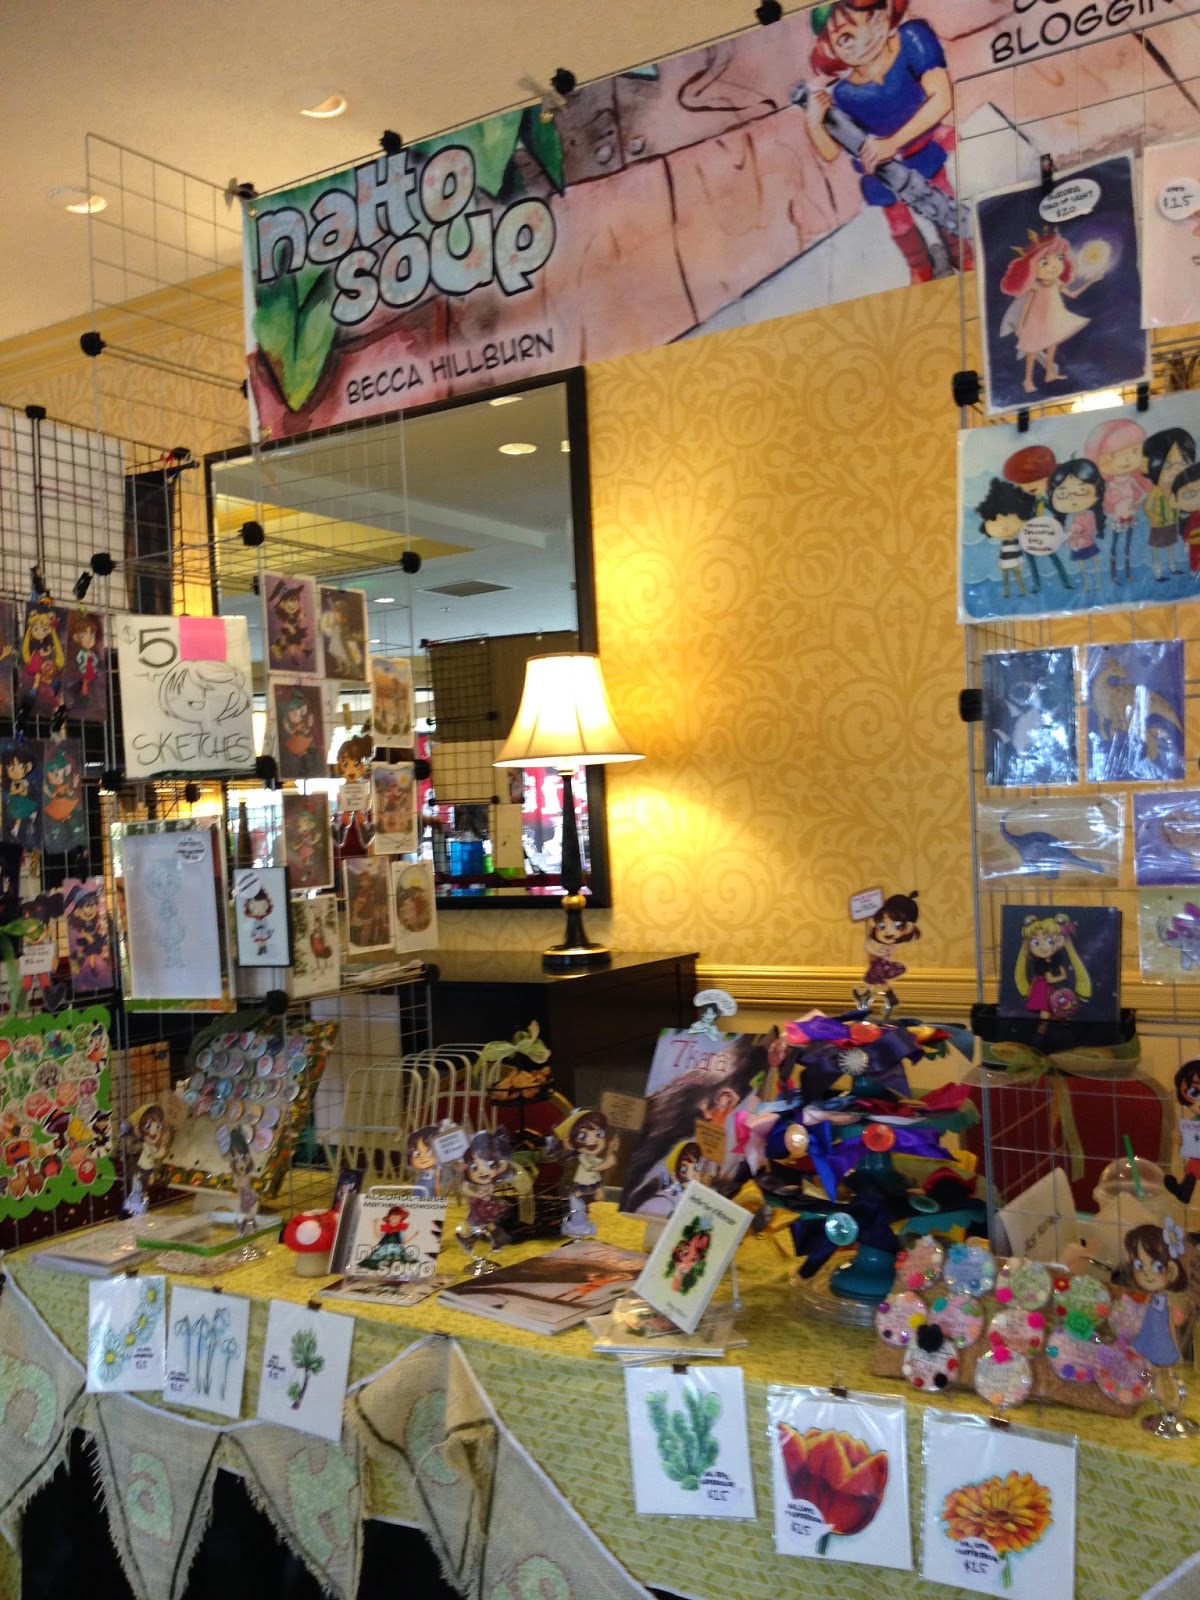
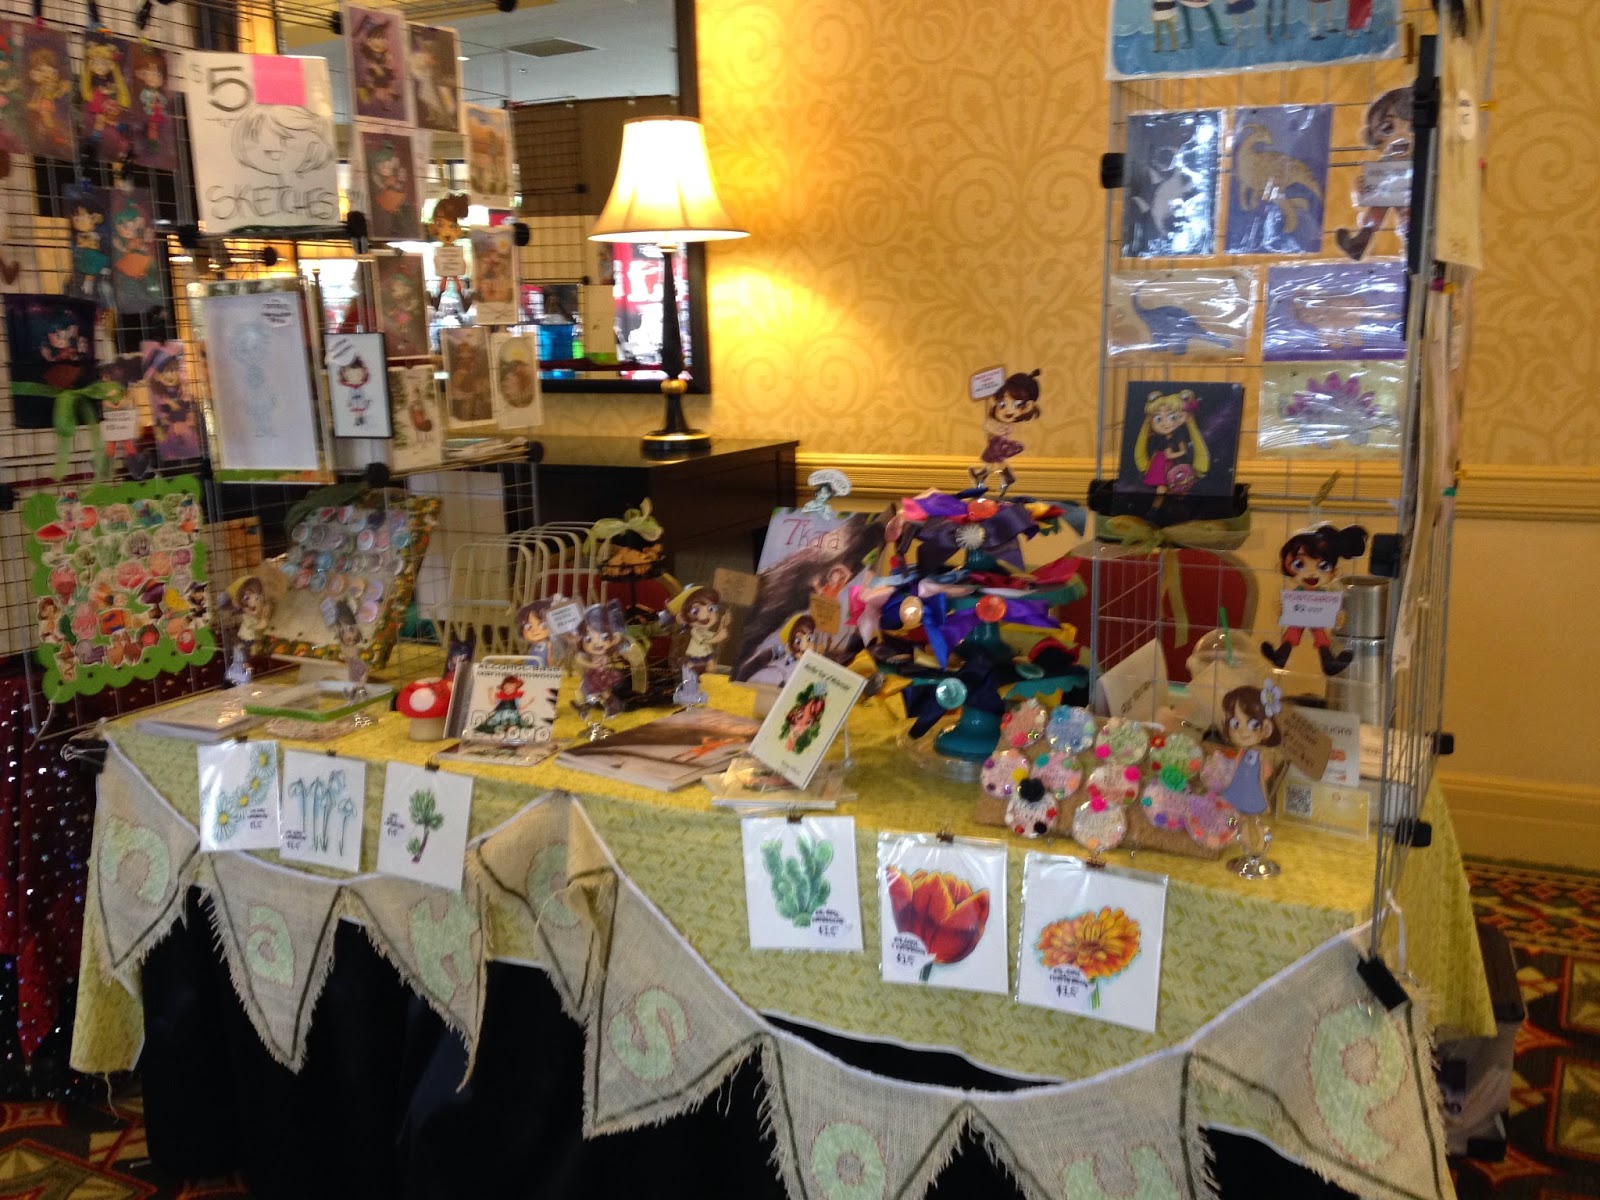
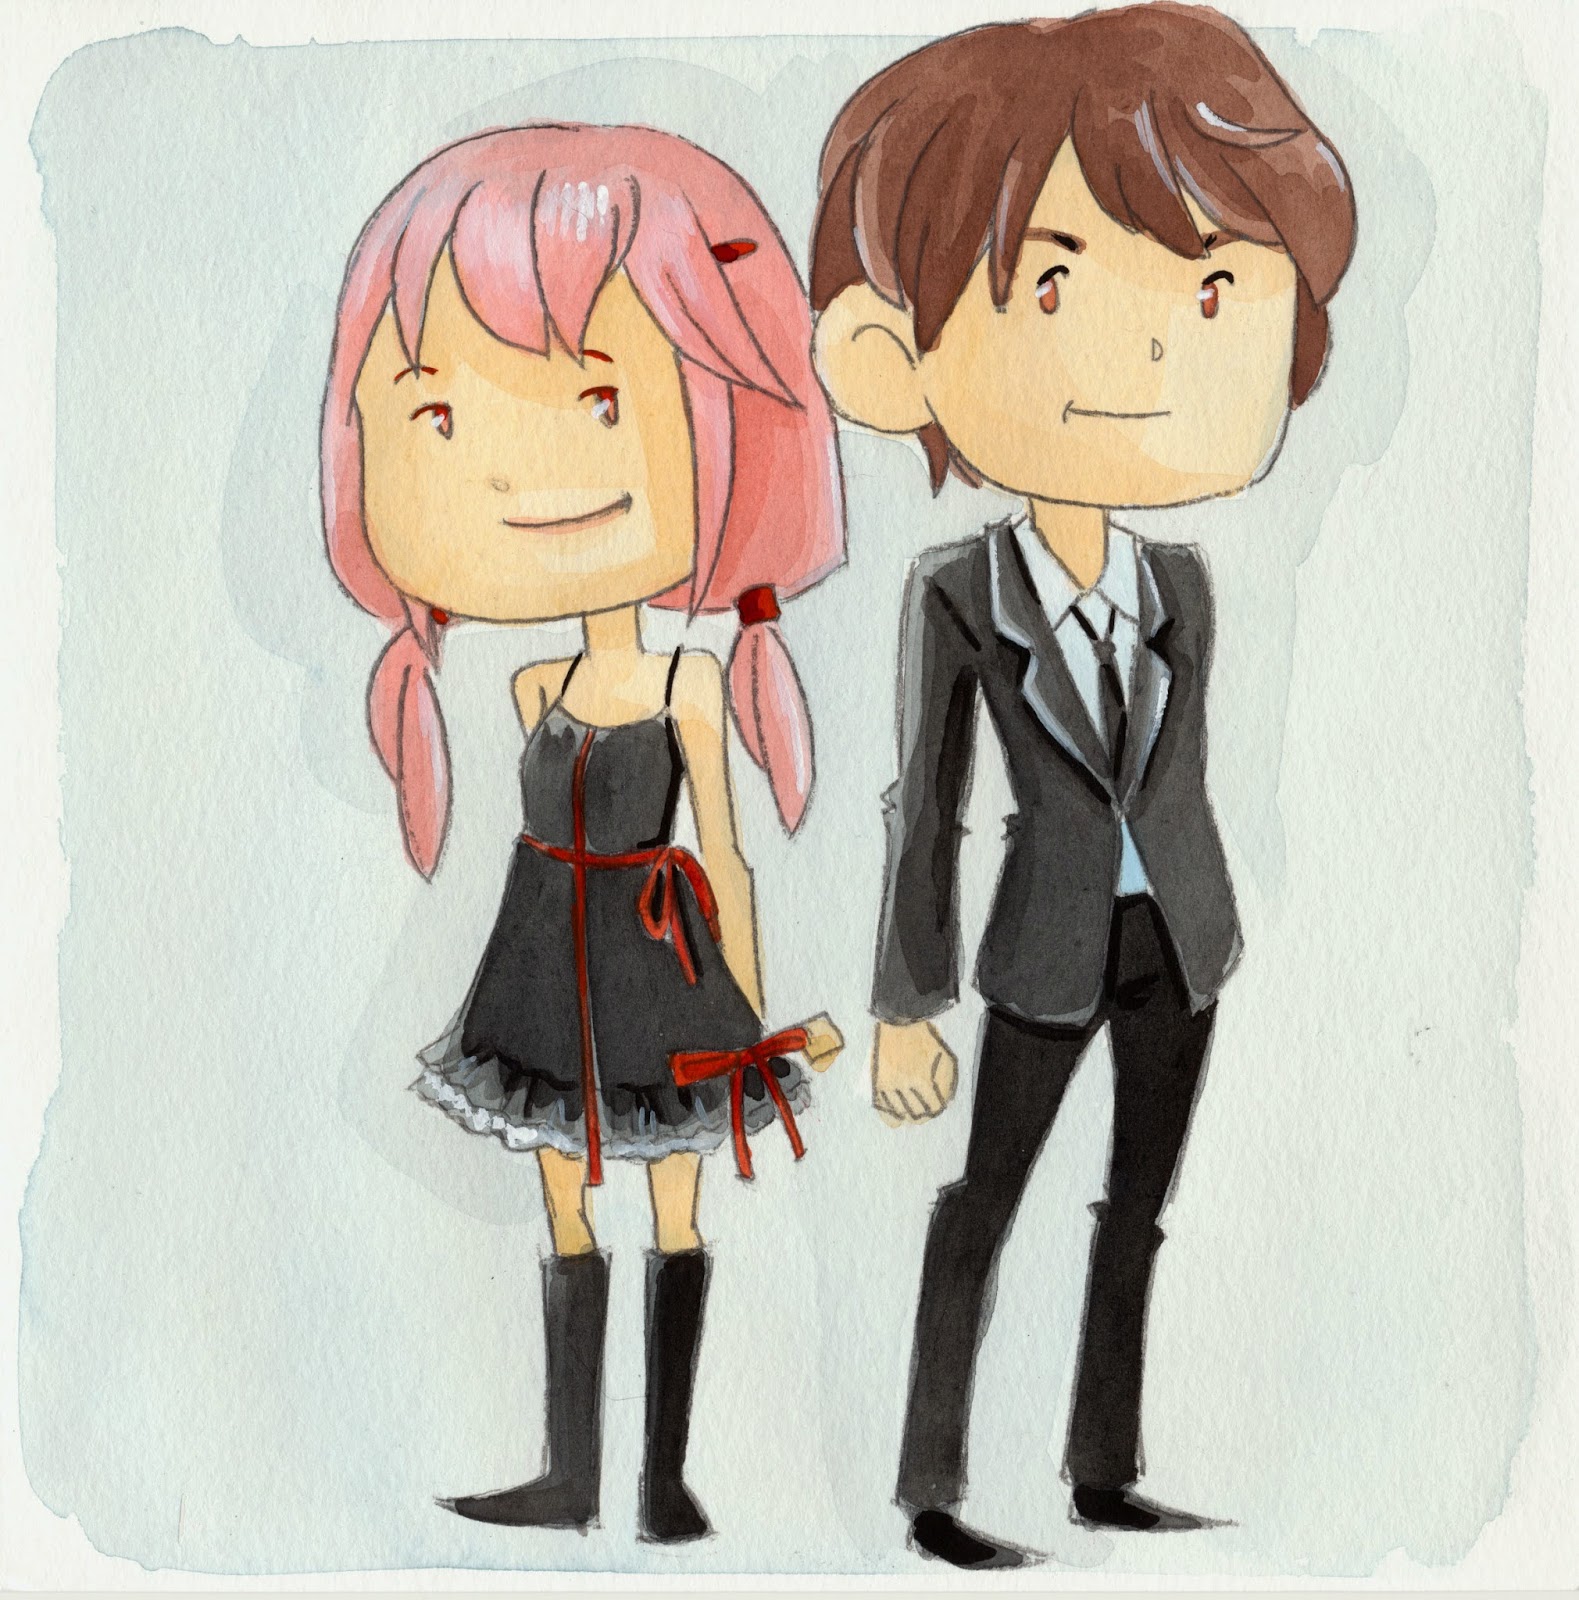
So part of my convention prep was painting new mini watercolors. I feel like my minis have skewed shoujo lately, so I wanted to do some cute shonen watercolors.


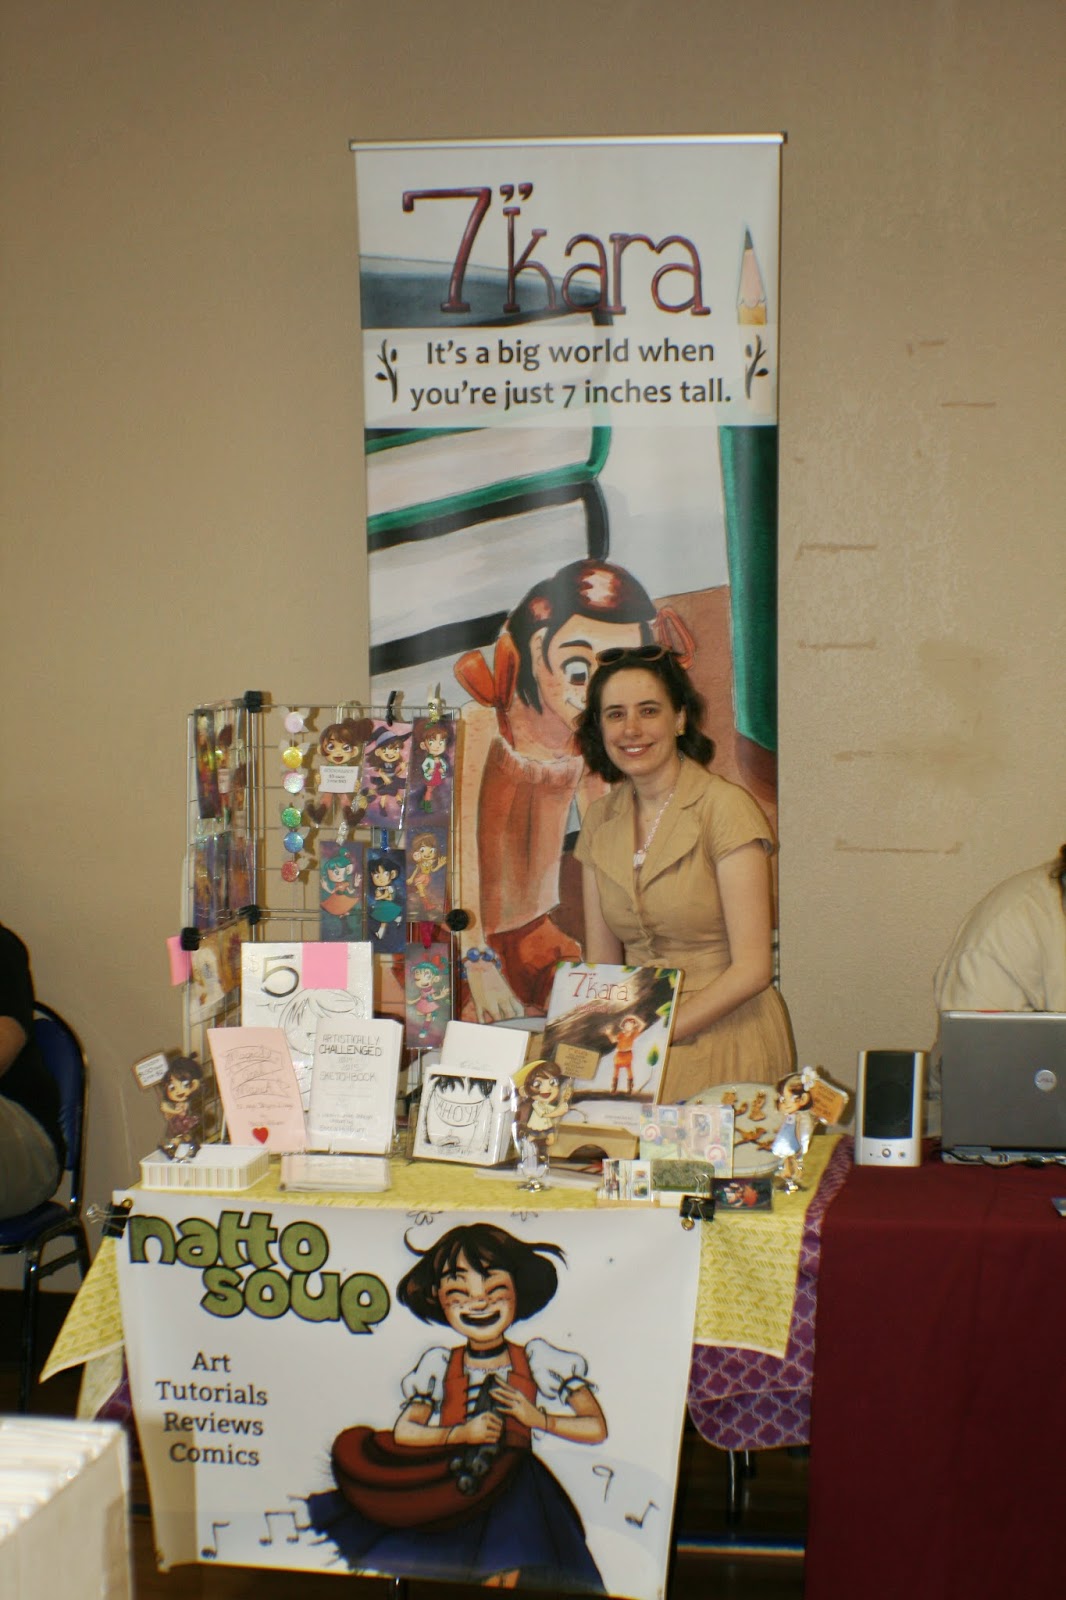
This was also the anime convention debut for several of those Artscow items I showed you guys earlier, including the Kawaiimasks.
All these new items meant the introduction of some neat new setup items, including the magnetic locker baskets I first started using at MTAC. I ordered quite a few more as it allows me to neatly display things on my wire racks, freeing up table space. I was pretty excited to see how they worked on a full scale anime-con display, rather than the half displays I'd used them on at FCBD and TCAF, but unfortunately for me, Animazement uses 8' tables, and my demo table is only 6'. I did do a test setup with my cubes on the floor, but my apartment is so weirdly laid out that there was no way I could do a full set up and take photos.
Thursday
We left at 11:00 AM, thinking we'd make it for Alley setup opening around 6:00PM, 7 at the latest. Unfortunately, neither Heidi nor myself realized there is a GIANT BLACK HOLE between Tennessee and North Carolina, and this isn't even talking about the hour lost from Central to Eastern. With no lengthy stops, we still didn't get into Raleigh until 10PM, and just went straight to the world's worst Best Western. Seriously, avoid the Best Western in Raleigh- it is full of black mould and still sick from it as of the Tuesday after the con ended. Spoiler: We ended up switching to a super nice Double Tree for the rest of the stay, as the Worst Western was making Heidi sick too.
Friday
During Setup


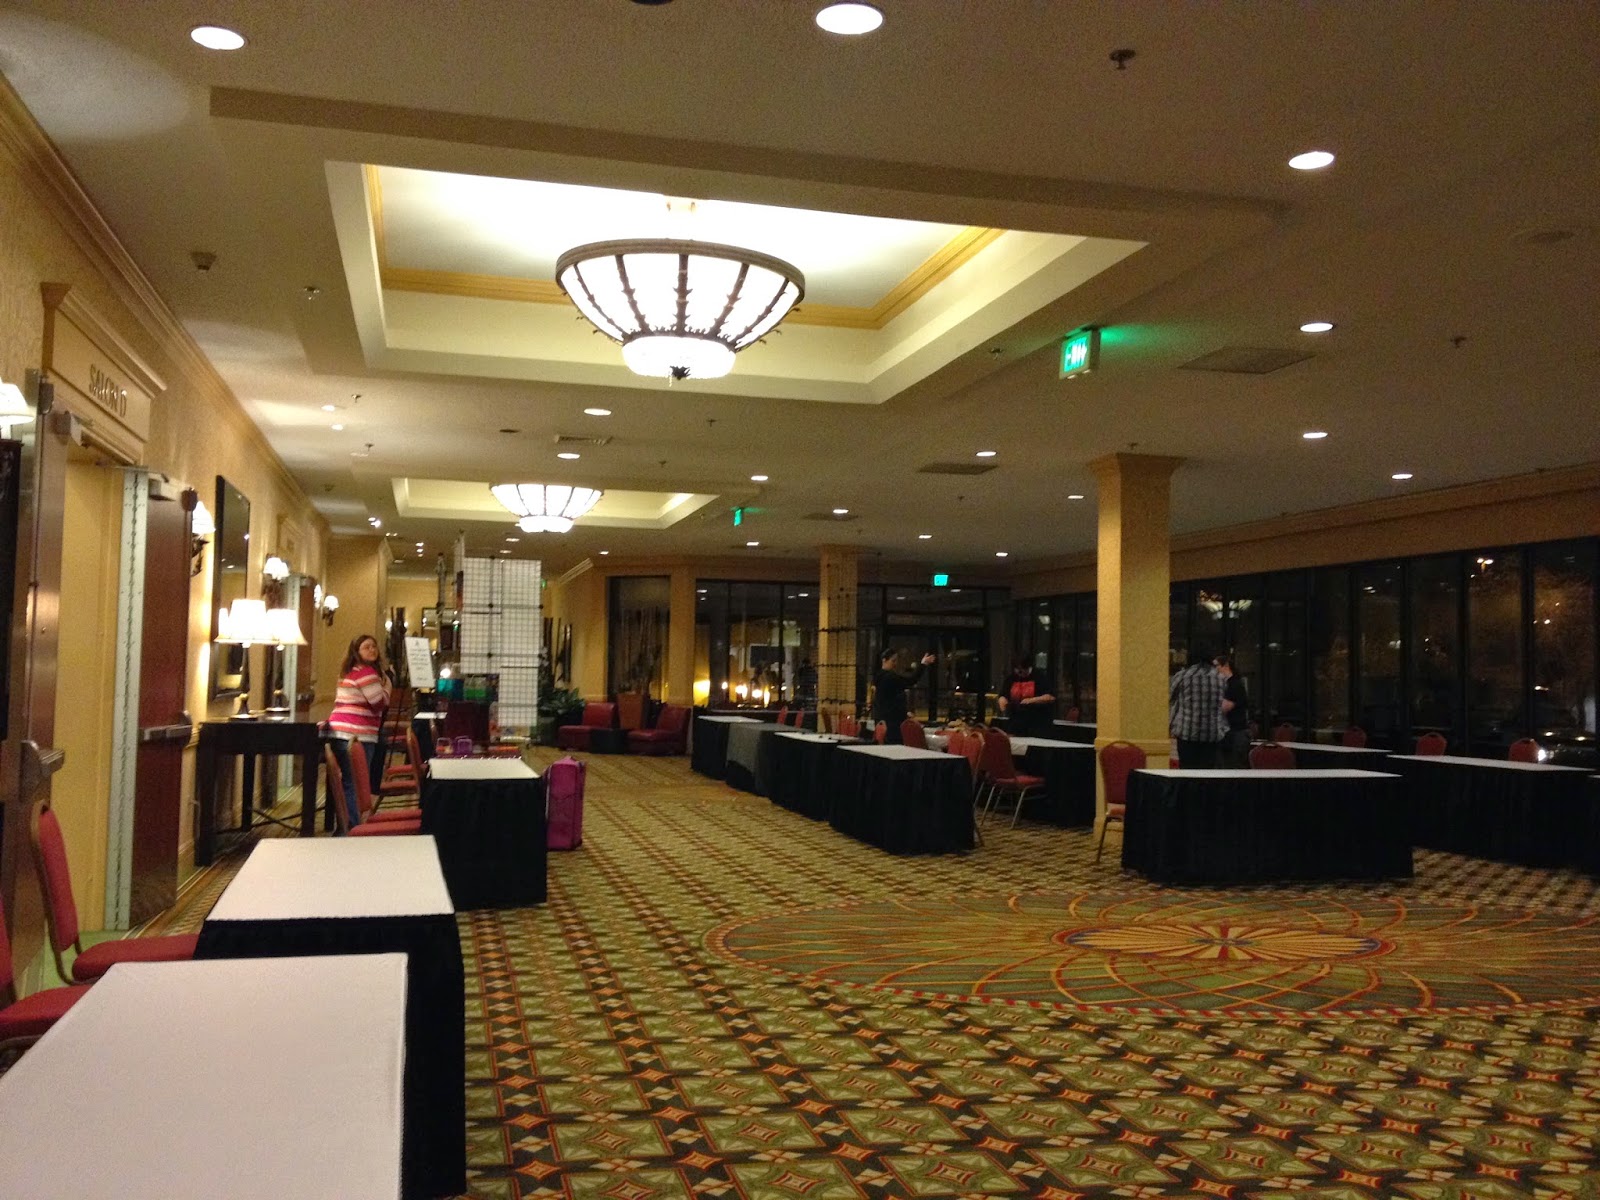
Since we missed Thursday registration pick up and setup, we had to hotfoot it over to the downtown convention center early to get everything handled. We were there around 8:40, hauled in our stuff, and I went to go take care of our registration and the purchase of two additional artist helper badges for our friends Lane and Dylan, who were heading up from Charlotte that day to help us up. As soon as the alley opened, Heidi and I went to our tables and started setting up.
Even doing my best to get set up as soon as possible the alley still opened before I could finish setting up. While nobody was actually there to buy yet, it was still difficult to get setup around people browsing my table.
Friday sales were incredibly slow- the artists around me assured me that Friday was browsing day, but that Saturday and Sunday would be hectic. While I'm used to sluggish Friday sales, it seemed that almost everyone in the alley on Friday was just browsing, and let me know that as soon as I greeted them. There's nothing wrong with this, by the way, just a type of customer I'm not used to.
Since Friday was so slow, especially commissions-wise, I ended up penciling a few Gizmo Granny illustrations while conducting sales. I usually do bring outside work to conventions, but generally don't find much time to actually get anything done, so I was glad I'd thought ahead and brought a plan B.
At Con Commissions


Saturday

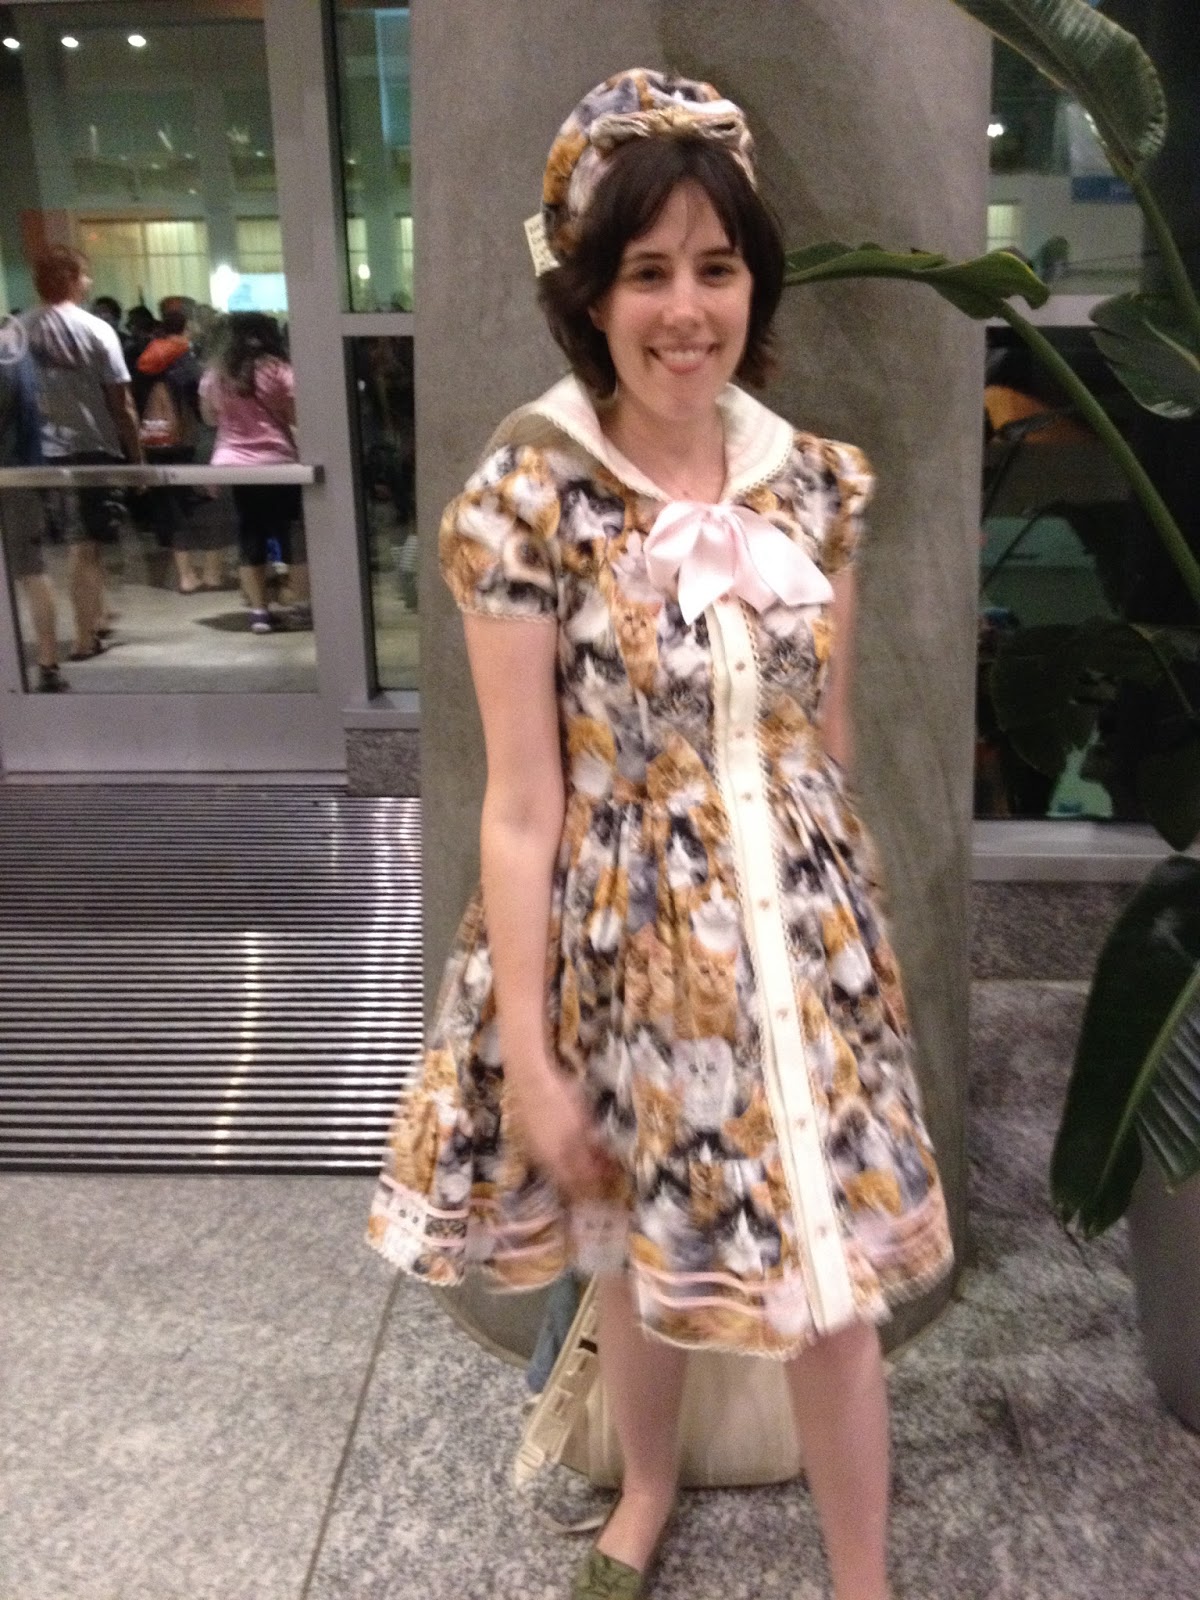
As I walked into the Artist Alley on Sunday, about 40 minutes after opening, I spotted the cutest American-made lolita dresses for sale. Sweet Mildred had an adorable selection of not-over-the-top lolita, and I ended up splurging and buying myself a new convention dress- a cute sailor collared dress covered in an obnoxious (amazing) kitten print. This was pretty much the only opportunity I had to shop, unfortunately, as by the time I was packed down for the alley each evening, everyone else had pretty much already left. After buying the dress and opting to wear it for the day, I headed back to my table to begin making sales.


Saturday at noon was the cutoff limit for artists to show up and claim their tables, after that point, the tables were available to purchase. Dylan was able to snag one of those tables, and fortunately Lane brought his convention stuff up with him the night before. He had his choice of the four unclaimed tables, and his spot was a little more prime than my own.
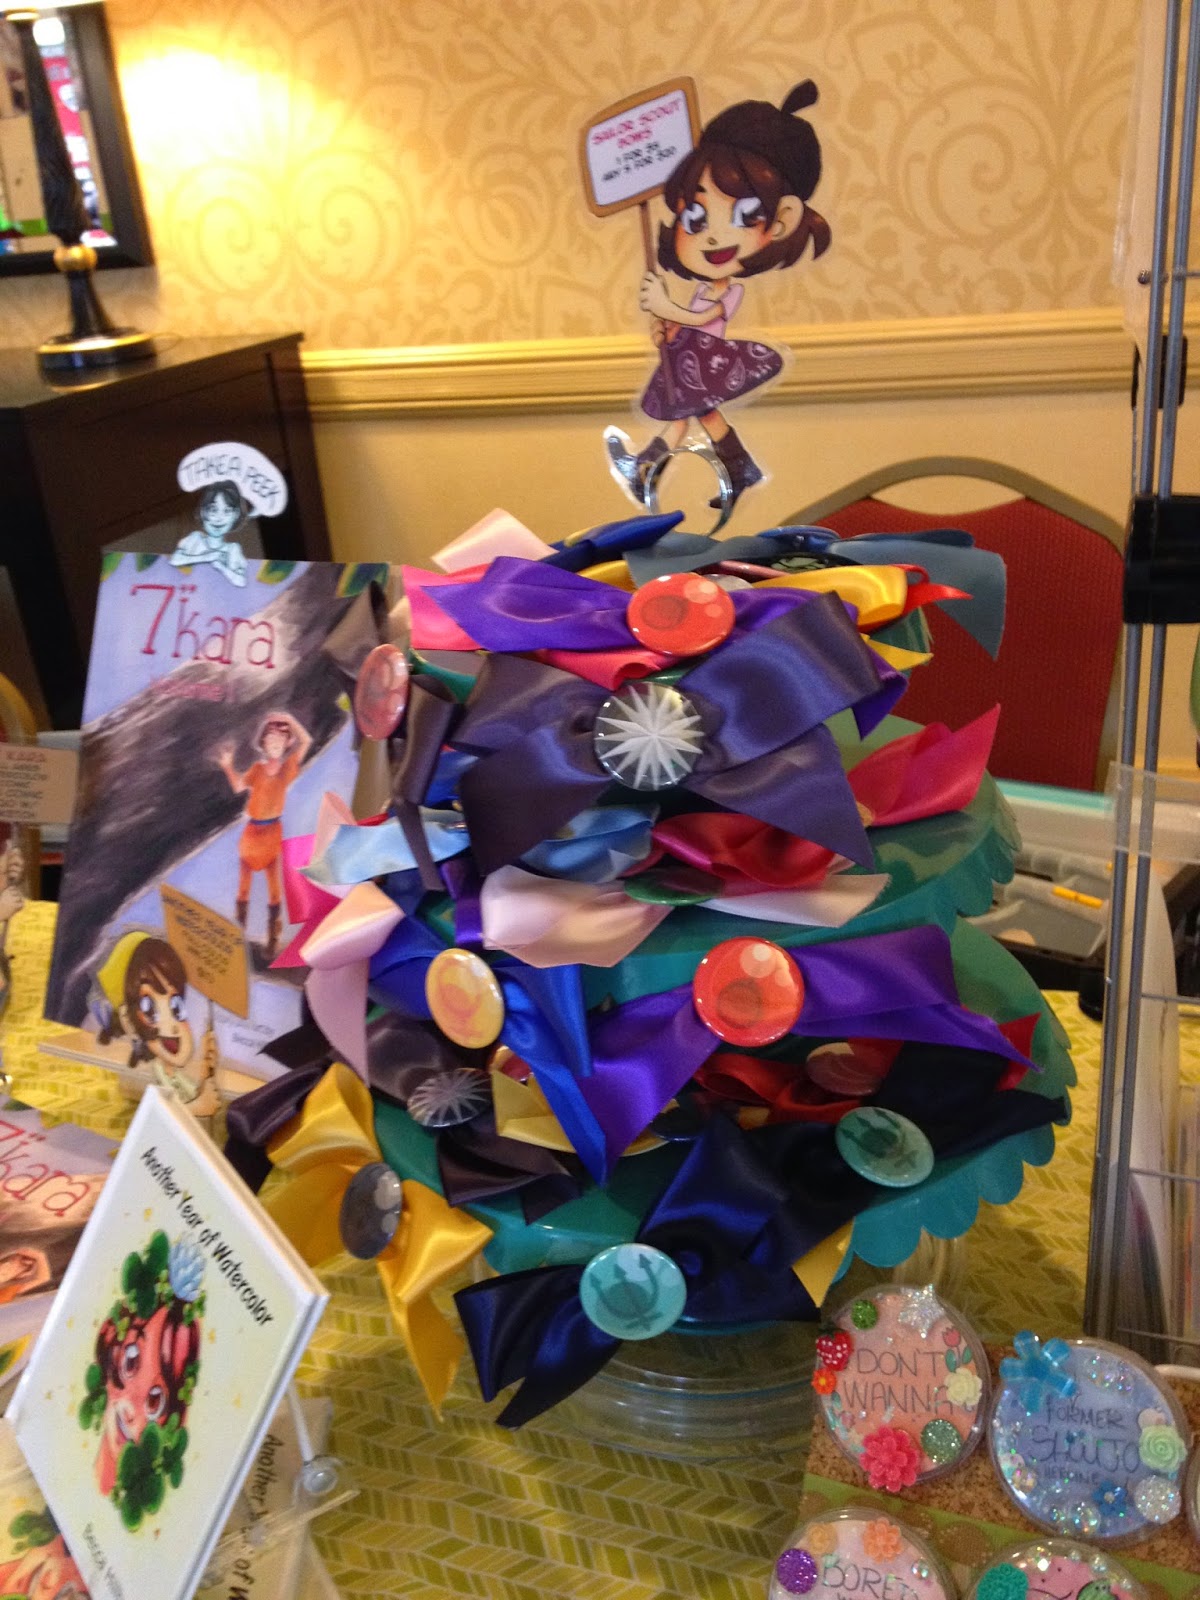
Saturday wasn't much better than Friday- the biggest sellers seemed to be stickers (2 for $2) and Sassy Buttons. I'm glad I pushed myself to make 5 dozen in the week before the con, I really needed everything I could to recoup some of my TCAF costs.
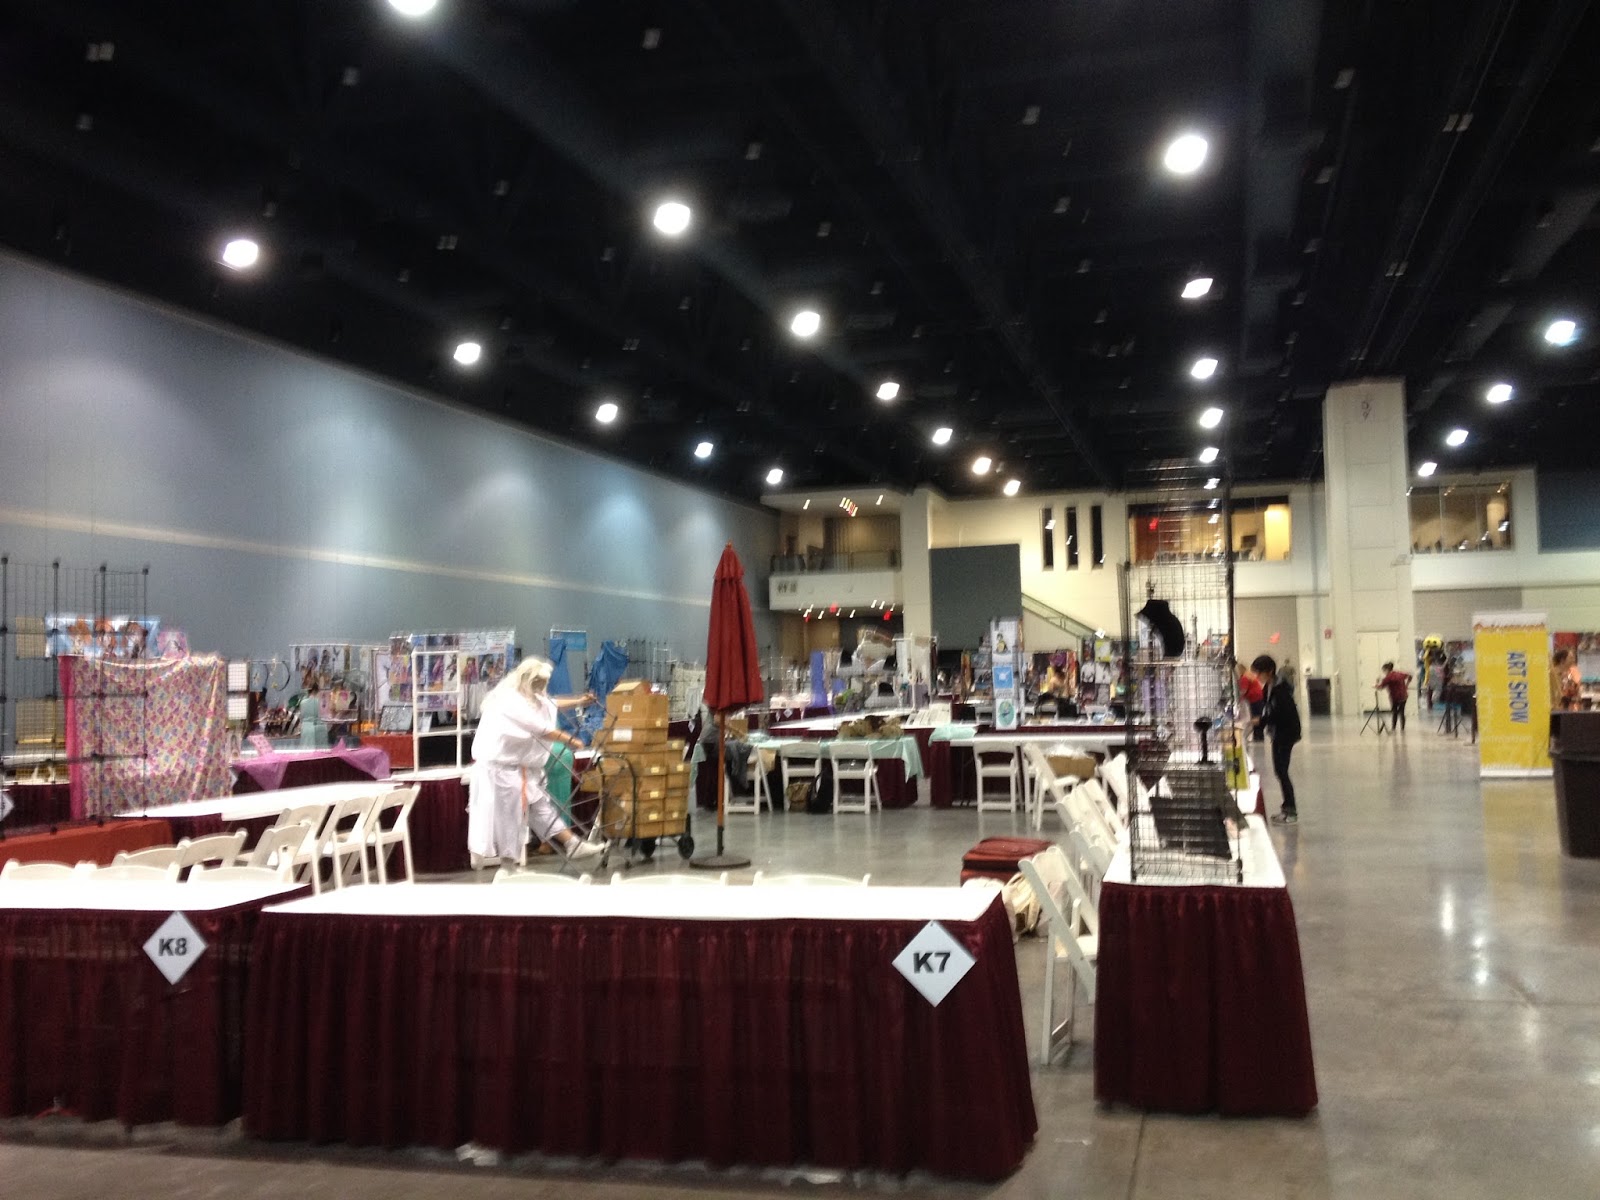
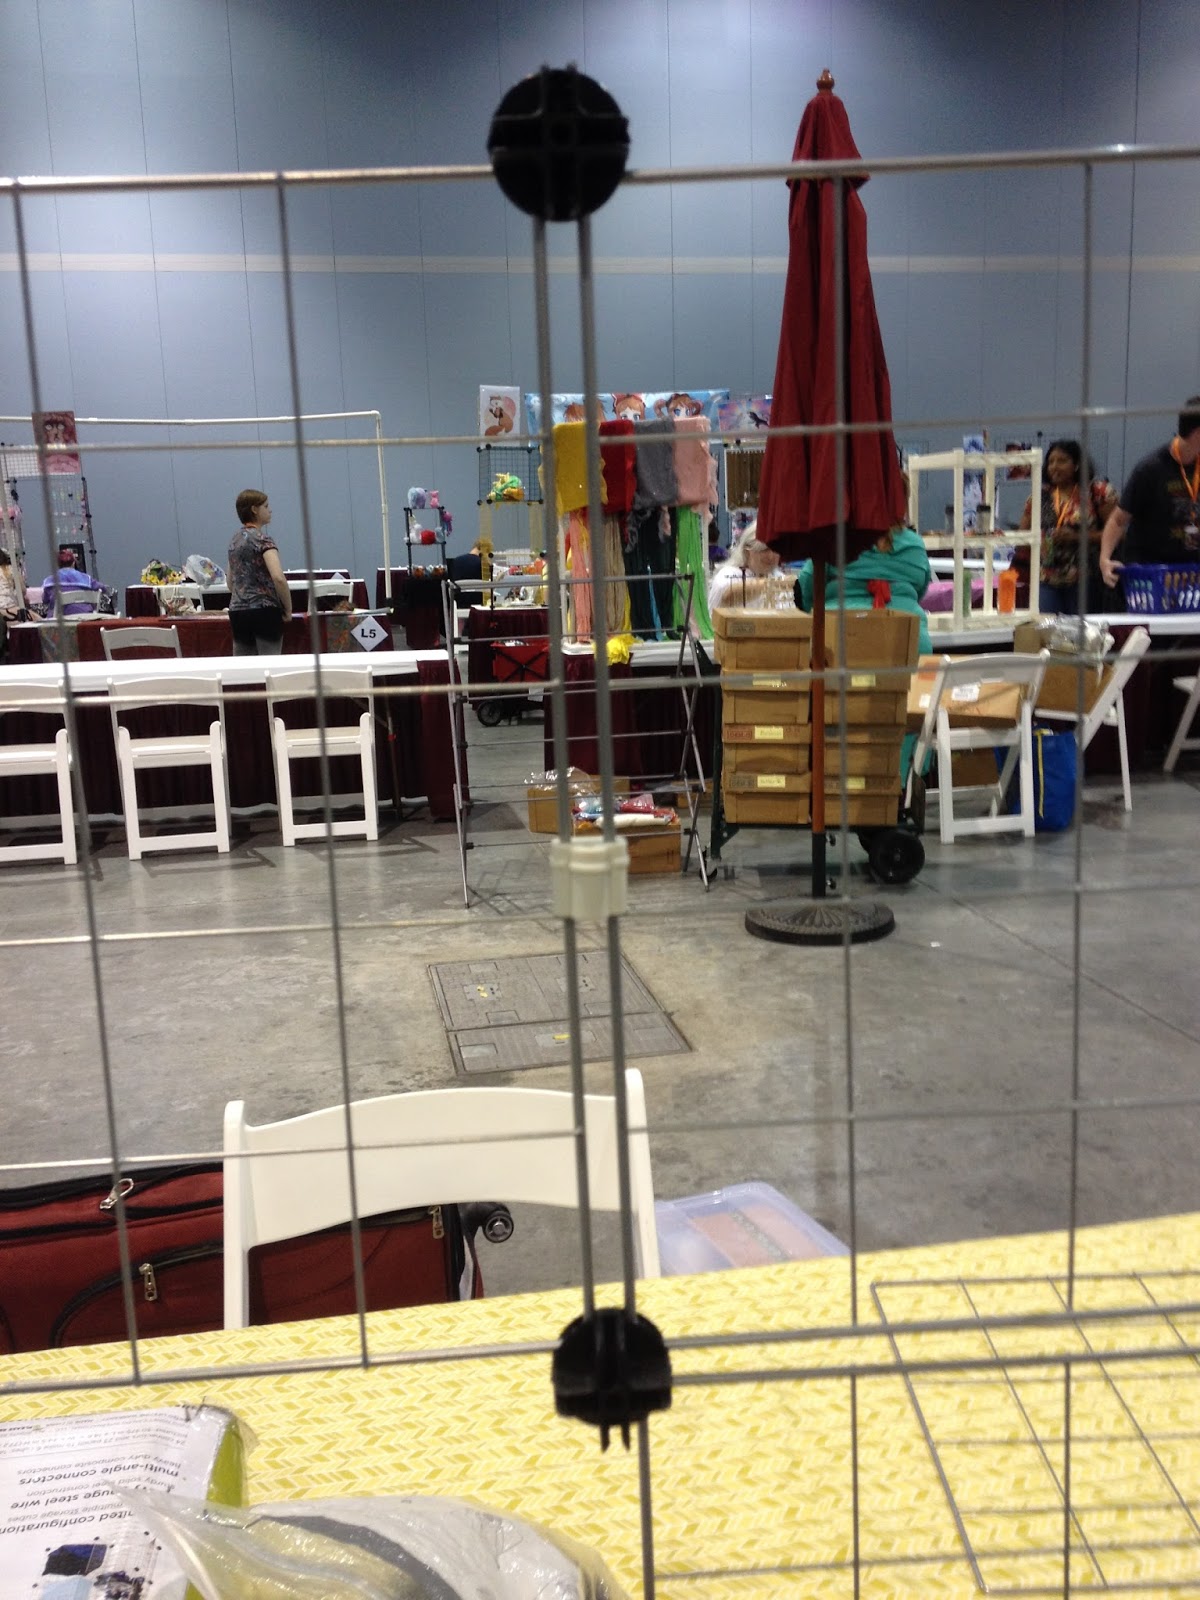
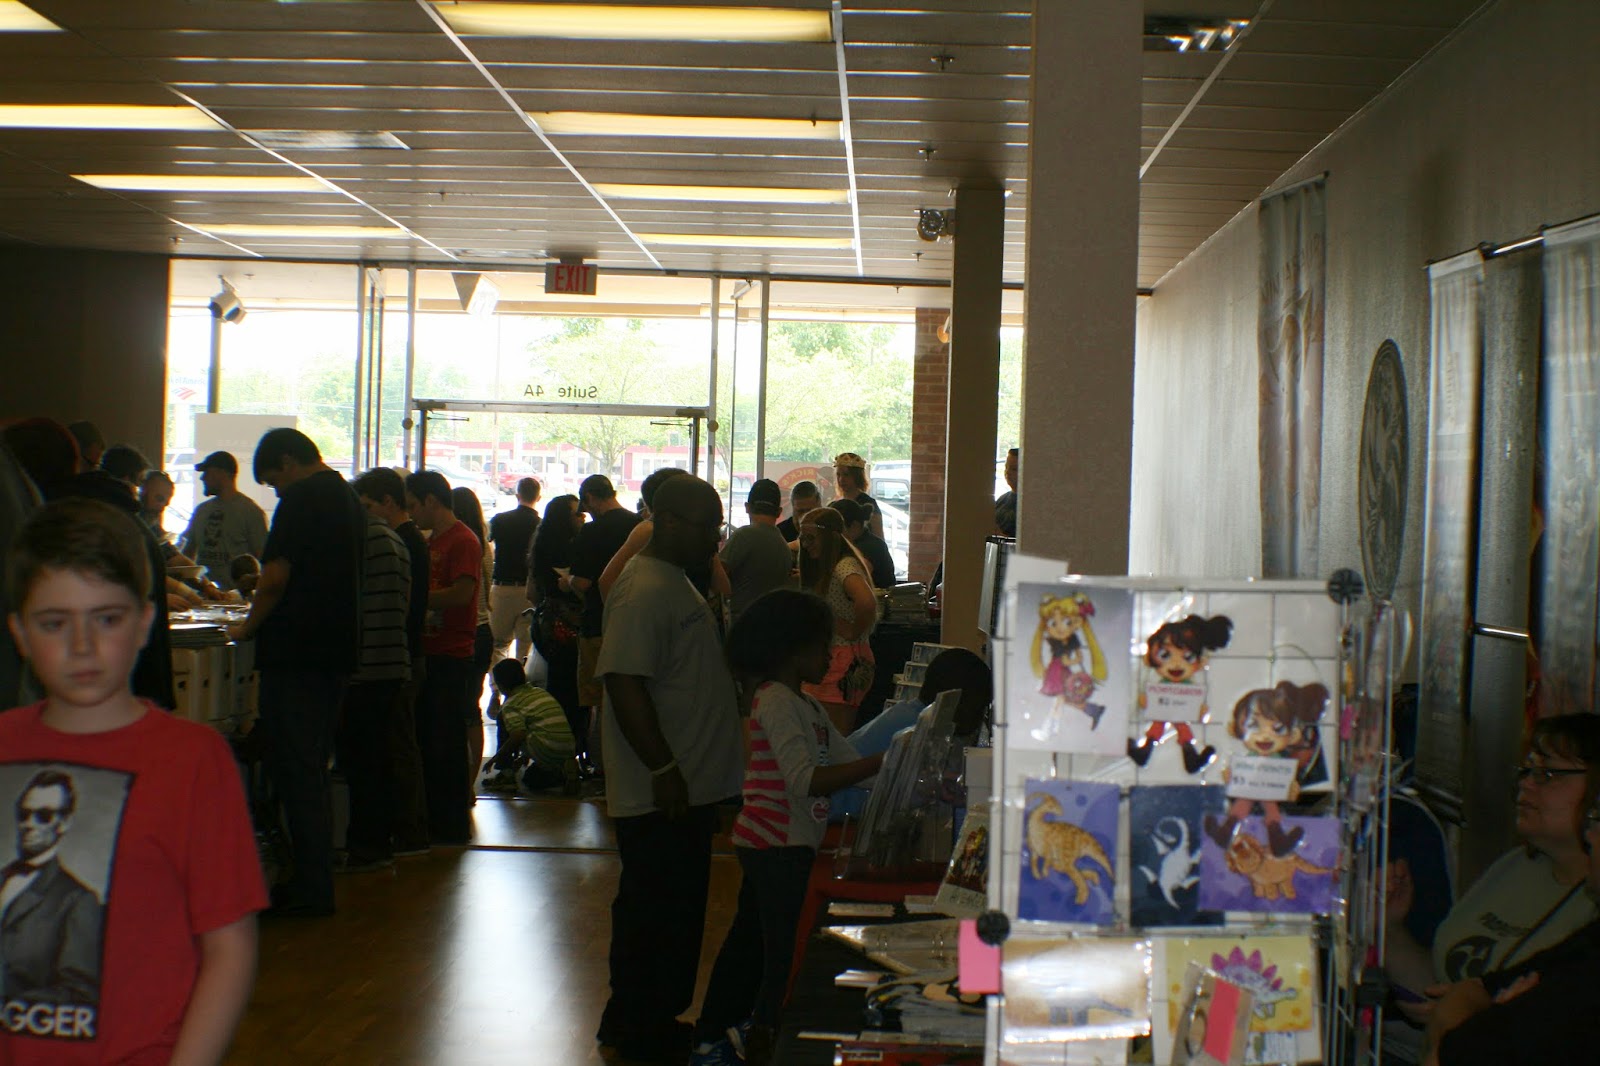
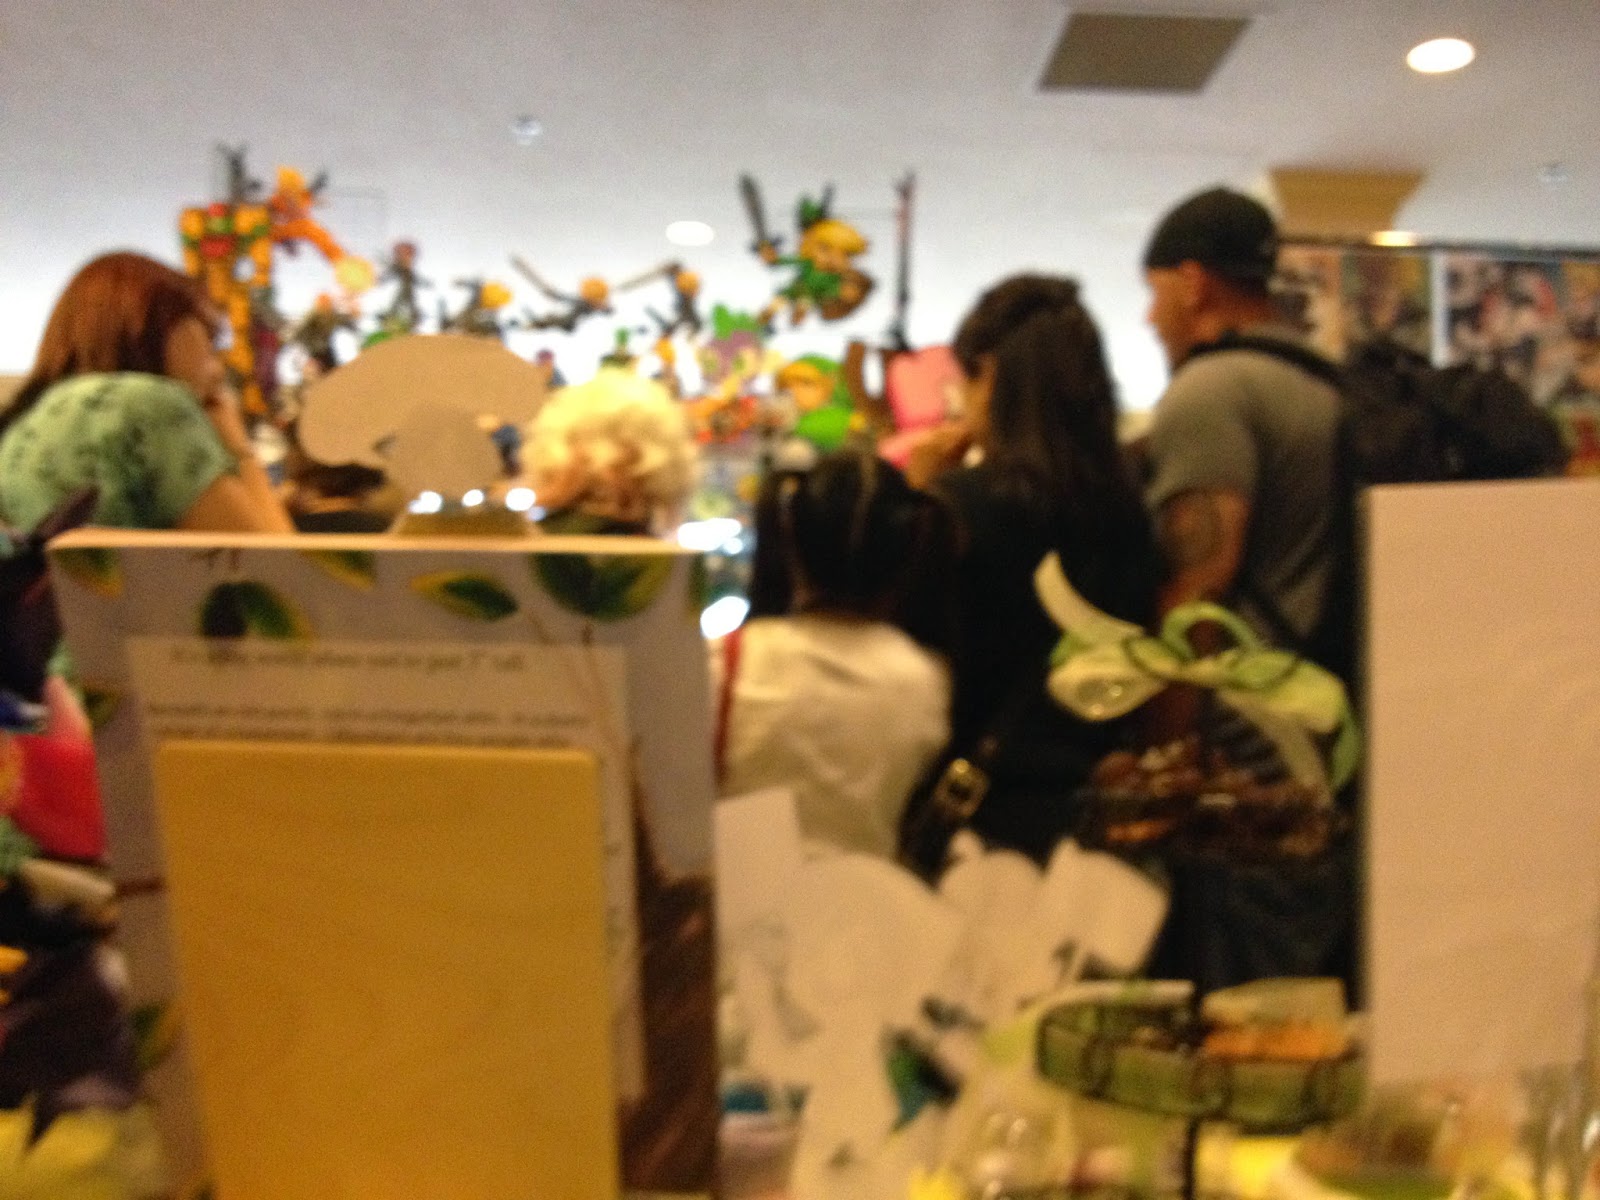
This, unfortunately, was the weekend view from my table, and is pretty standard for the amount of crowd I saw all weekend long. That curtained area is where the art auction took place, and it was only utilized on Sunday afternoon for about an hour, so it was not any sort of draw to customers.


This was taken from beside where the art auction would be held. As you can see, people just aren't really making it this far down the artist alley.

And I had a large column right in front of my table, which blocked people's view from the front of the alley.

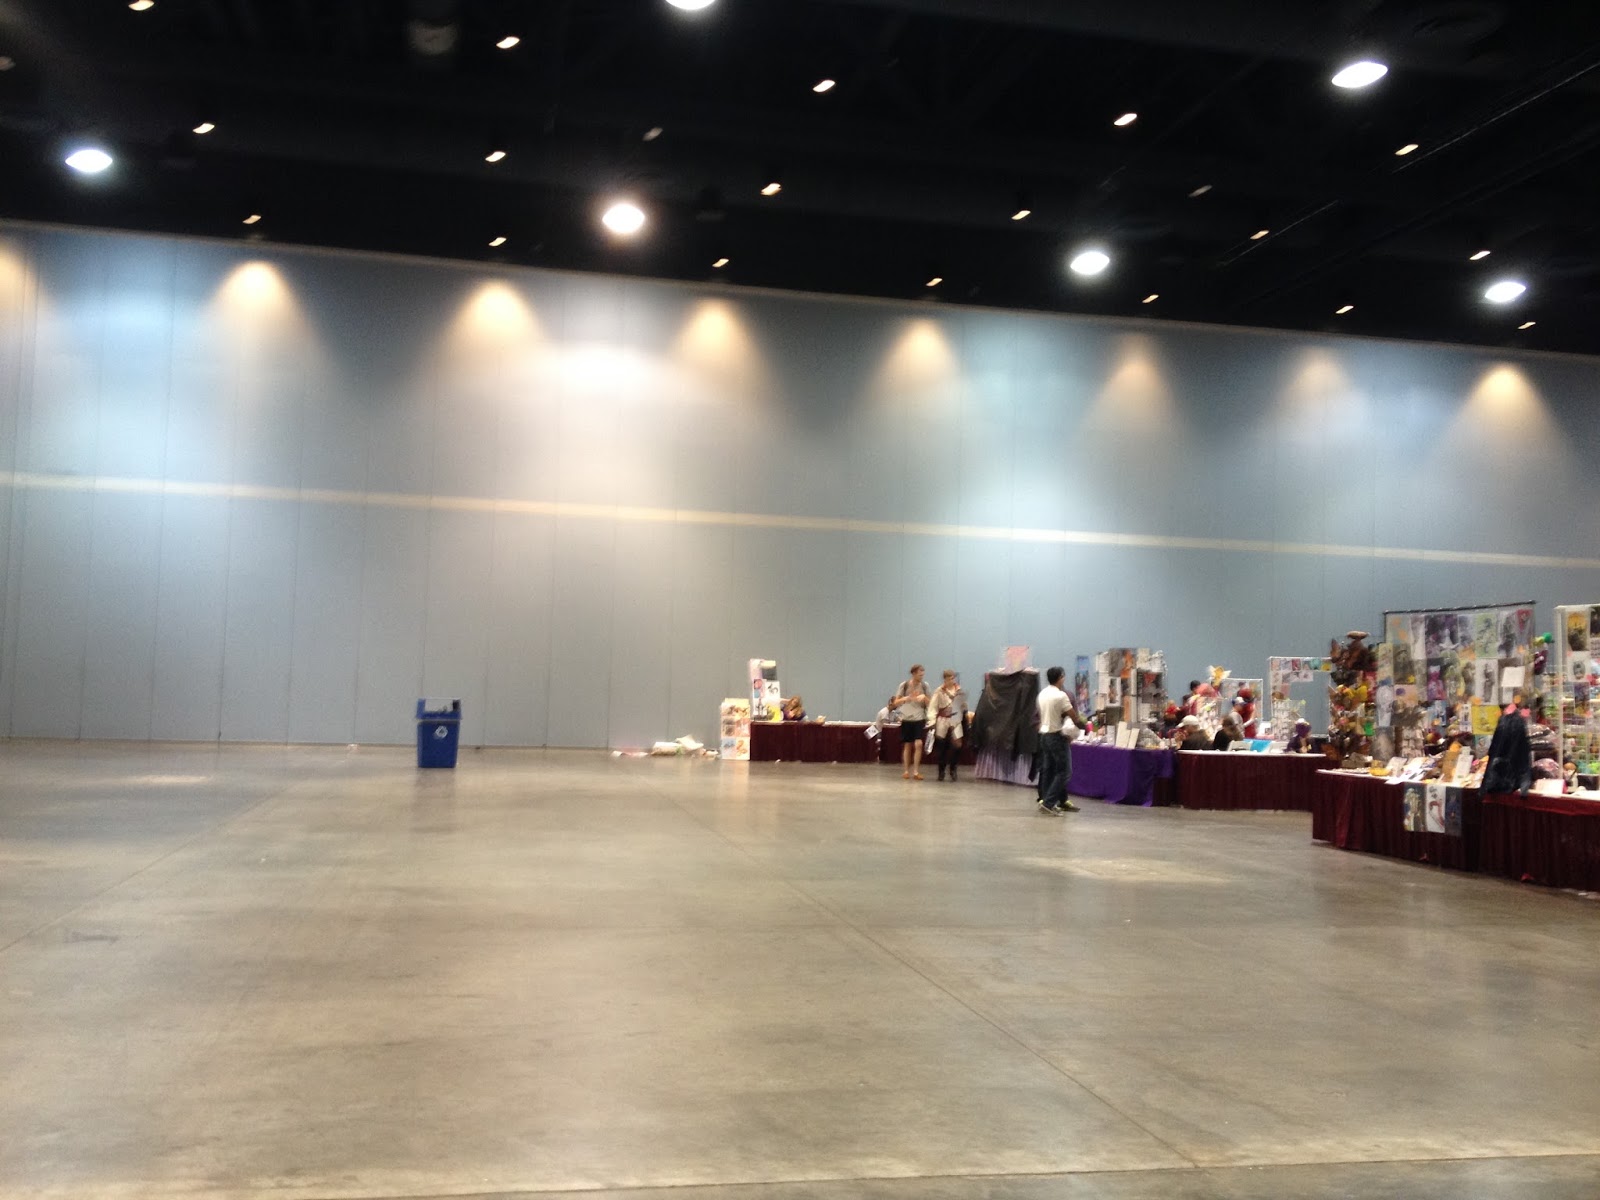
This is about as busy as the artist alley seemed to get.
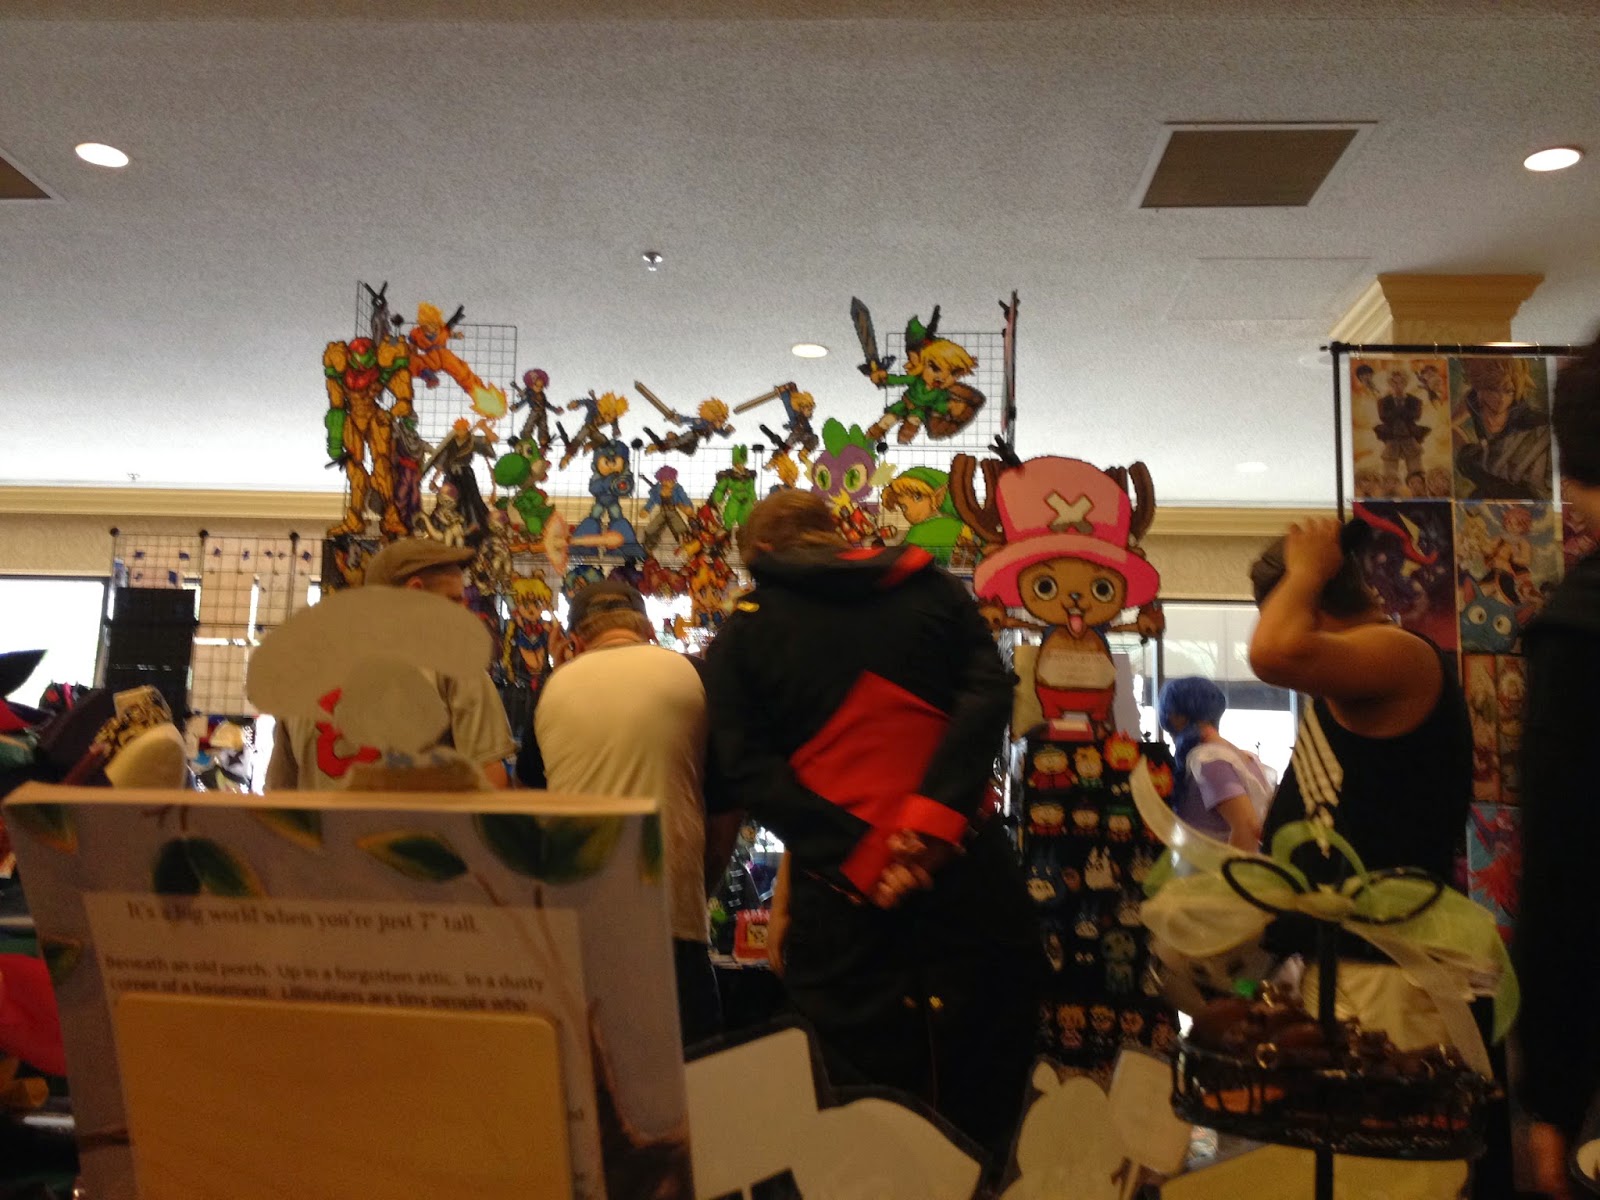
Artist Alley Photos Courtesy of Lane


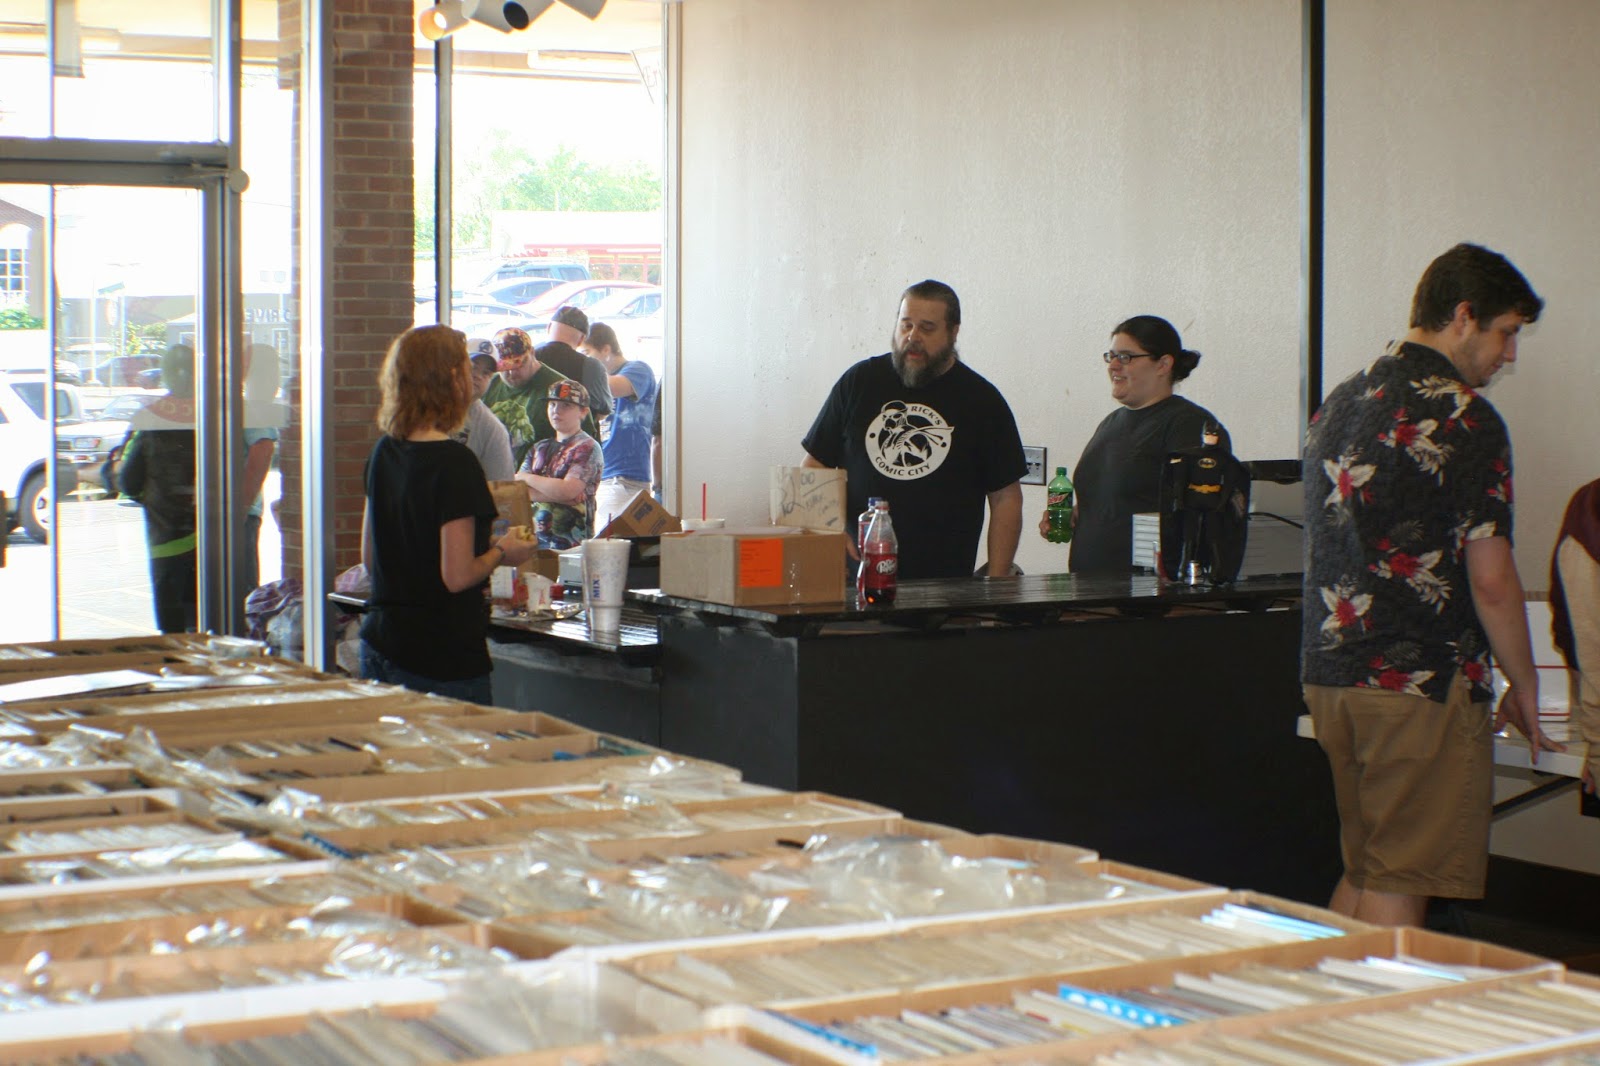
Dealer's Room Photo Courtesy of Lane

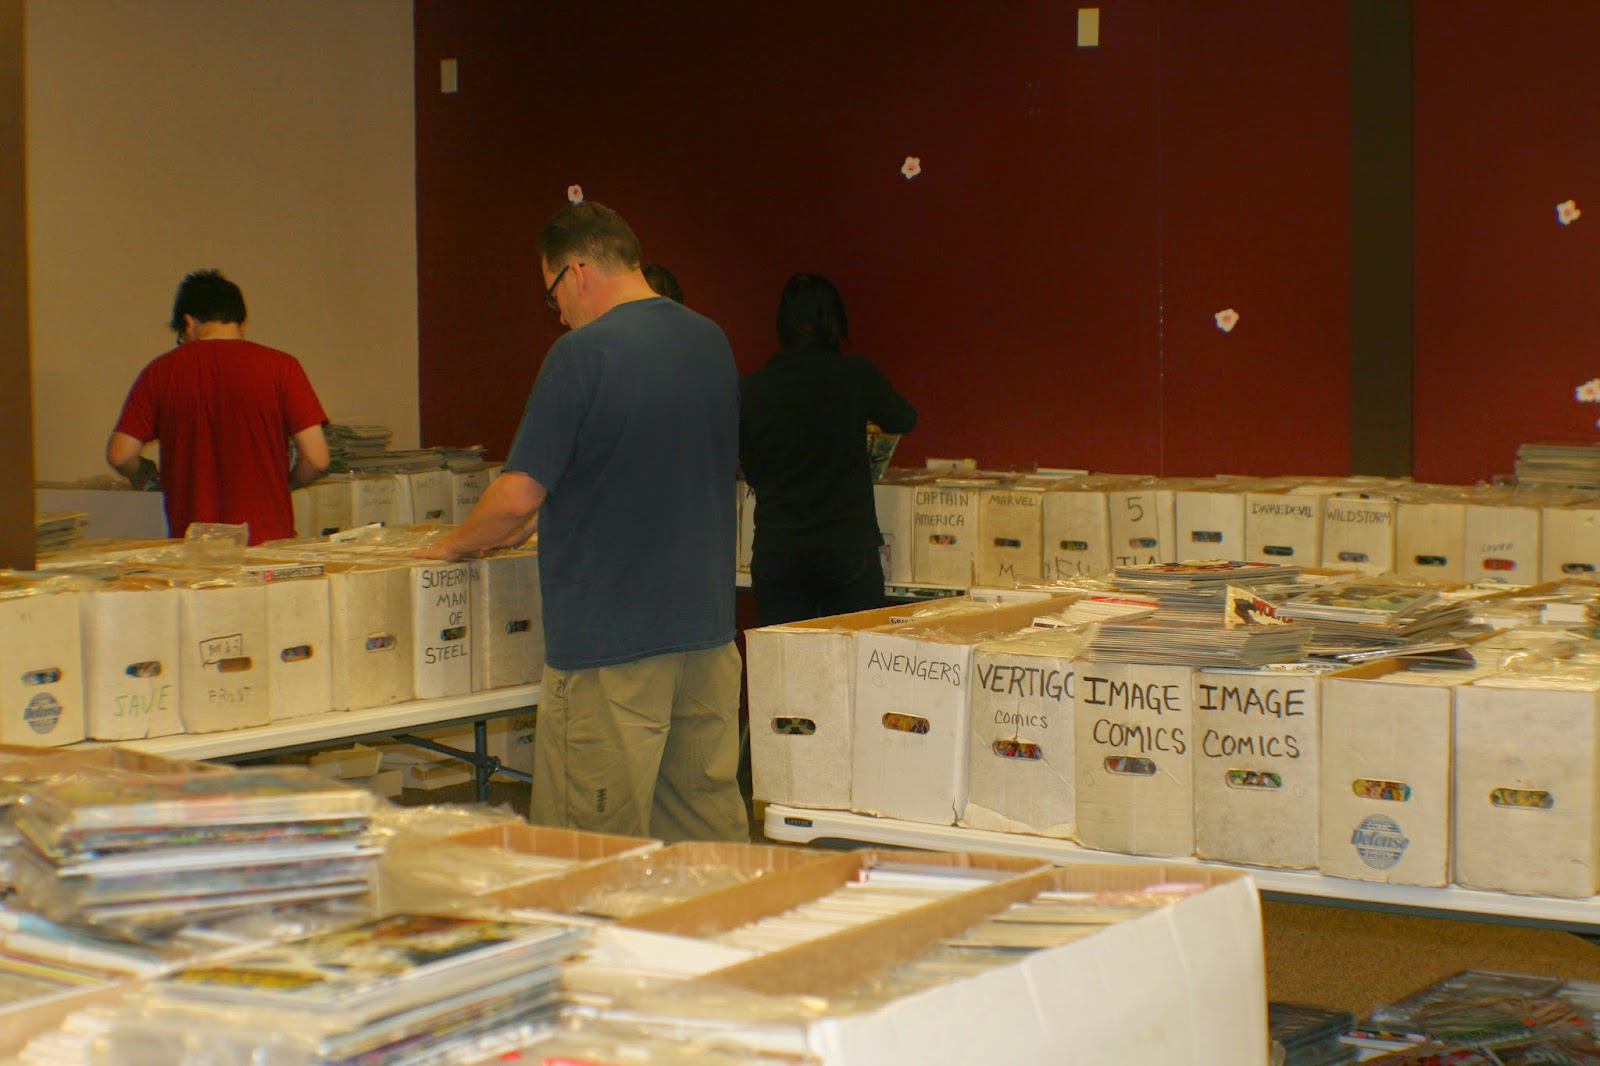
I didn't get much opportunity to leave my table, but Lane was kind enough to take photos of both the artist alley and the dealer's room for me. According to Lane, there were concession vendors in the Dealer's Room, and the room seemed to be packed nonstop. Perhaps Animazement could move some of those concession vendors into the Artist Alley, not only to draw in more customers, but also so that the artists would have a convenient food and water source. This system seems to work well for Anime Weekend Atlanta, which also has a large artist alley, though not as large as Animazement's.
Saturday Commissions


Saturday Pack Up
Below are some shots of the alley taken from the second level foyer as people were packing up to leave for the night, at 9:30 PM. I think it really helps to show the scale (and issues) of the alley. That aisle to the left was basically a highway straight to the Dealer's Room, encouraging many customers to skip browsing the immense alley save for that one aisle.


Sunday
I'm used to Sundays being the slowest day at the convention, but Animazement took me by surprise. While it wasn't as good as people promised, Sunday wasn't a slouch, and I managed to sell several Kawaiimasks and copies of 7" Kara.

Sunday Commissions


The artist alley ended at 3:00 on Sunday afternoon, which is pretty early compared to the 4:00 or 5:00 many anime cons end at on Sundays. We were expected to be packed up and out by 4:00 PM, but one of the AA staff managed to get us another 30 minutes to pack, which was much appreciated by many of the artists in the alley. Lane and I started packing around 2:30, first with little things that weren't really moving, then with larger things. It seemed like any amount of packing scared off potential customers, but honestly, they may have just been looking anyway.
Total Sales: $992
Costs:
Hotel, total: $142
Transportation: 2 tanks of gas each way, $30 per tank
Table: $150
Additional Badge for Lane: $63
Food: Thursday- Papa John's small two topping $10 (split between two people), Friday- frappechino $5, dinner- $24, Saturday frappechino $5, lunch- burger and a shake $6, dinner at Flying Saucer (one of the few places still open) $24, Sunday frappechino $5, celebratory Shabu Shabu dinner- $50
Parking: $7 per day event parking X 3 days
Total Costs: $419.50
The Verdict
While my total sales was almost that of MTAC, I honestly feel like Animazement was a disappointing convention, especially since I'd heard so many good things about it. It could have been my awful location (there's just...no reason to go back there, other than the artists), the fact that the Animazement Artist Alley is HUGE (bigger than Anime Weekend Atlanta), there's nothing to entice attendees to fully explore the alley, or maybe I'm just a terrible fit, as Animazement seems to be a print focused con, and I am not a print focused artist, but I think Animazement is a convention I'll have no problem skipping in the future. My limit for 'driving cons' is usually 4 hours (or longer, if it's Mechacon and we stay at Alex's halfway through the drive), and Animazement clocked in at a whopping 10 hours each way.
Animazement seemed to be geared mostly towards prints, with an audience used to haggling and nickeling and diming. While this is fine if your profit margin is healthy, if you're mostly selling little things you assemble yourself, being nickeled and dimed doesn't really pay the bills. While there were many fantastic customers, Lane and I were also creeped on A LOT, and that definitely takes an emotional toll. The fact that Animazement is so print-centric also seems to indicate that the audience hasn't been primed for original art- I had very few people asking if I drew OC's (a common questions) or self portraits, and many asked if I sold prints of my mini watercolors (why would I? I'd be charging the same for a print when you could buy the original)
It can be discouraging to see other artists do so well at a convention that I felt was a struggle, but I have to keep in mind that there are conventions that I excel at. I know I don't do well at larger cons, and I started to have serious misgivings when I realized how big Animazement really was. It was disconcerting how few con-goers were interested in commissions- most were more than happy to spend $15-$20 on prints rather than going home with the genuine article, and had charms and Sassy Buttons not sold exceedingly well (I'm glad I really pushed myself to make 5 dozen sassy buttons in a single day the week before Animazement), I know my sales would've been much worse. What did surprise me was how many copies of 7" Kara I moved later Saturday evening/Sunday, far more copies than I sold during TCAF, a convention that's supposed to be geared towards indie comic artists. When I did my final total, I was honestly surprised by how much I sold, as it felt like I'd struggled to make sales all weekend long.
I just filled out the Animazement artist survey, and this is what I said for my final thoughts:
Things I Saw A Lot Of:
Steven UniversePrints. Everyone had prints.ButtonsAn overabundance of cute and cute artistsSailor MoonNeonPastelPokeballsThe takeaway is, if you live nearer Animazment than I do, do well at larger cons, and have a variety of prints as well as small cheap items to consistently sell, you'll probably do pretty well. If Animazement is a local con to you, you'll probably be really happy with your sales. All of my encounters with staff were very pleasant, the convention as a whole seems well organized, and picking up and buying additional badges was a breeze.
Since I've fallen behind on my convention recaps, I'll be adding my mail in commissions to this post after the fact.
Please consider donating to this blog or purchasing from Natto-shop (http://nattosoup.com/shop) if you want me to continue publishing quality content. All materials tested were purchased from my own pocket. Keep on Truckin' Nattosoup is not under any sponsorship.
But gee, that map sure makes it SEEM like it's a great space, doesn't it? And you see that unlabelled gray spot? That was a huge support column that basically blocked attendees view from seeing the last few tables. The art auction and art class rooms weren't even a draw- the auction went on during the afternoon of Sunday, was closed to the public for the majority of the con, and I never saw any art classes actually in action. And the location of the art show made it seem like there really wasn't much going on beyond that point.
But I'm getting ahead of myself, aren't I?
So part of my convention prep was painting new mini watercolors. I feel like my minis have skewed shoujo lately, so I wanted to do some cute shonen watercolors.


This was also the anime convention debut for several of those Artscow items I showed you guys earlier, including the Kawaiimasks.
All these new items meant the introduction of some neat new setup items, including the magnetic locker baskets I first started using at MTAC. I ordered quite a few more as it allows me to neatly display things on my wire racks, freeing up table space. I was pretty excited to see how they worked on a full scale anime-con display, rather than the half displays I'd used them on at FCBD and TCAF, but unfortunately for me, Animazement uses 8' tables, and my demo table is only 6'. I did do a test setup with my cubes on the floor, but my apartment is so weirdly laid out that there was no way I could do a full set up and take photos.
Thursday
We left at 11:00 AM, thinking we'd make it for Alley setup opening around 6:00PM, 7 at the latest. Unfortunately, neither Heidi nor myself realized there is a GIANT BLACK HOLE between Tennessee and North Carolina, and this isn't even talking about the hour lost from Central to Eastern. With no lengthy stops, we still didn't get into Raleigh until 10PM, and just went straight to the world's worst Best Western. Seriously, avoid the Best Western in Raleigh- it is full of black mould and still sick from it as of the Tuesday after the con ended. Spoiler: We ended up switching to a super nice Double Tree for the rest of the stay, as the Worst Western was making Heidi sick too.
Friday
During Setup
Since we missed Thursday registration pick up and setup, we had to hotfoot it over to the downtown convention center early to get everything handled. We were there around 8:40, hauled in our stuff, and I went to go take care of our registration and the purchase of two additional artist helper badges for our friends Lane and Dylan, who were heading up from Charlotte that day to help us up. As soon as the alley opened, Heidi and I went to our tables and started setting up.
Even doing my best to get set up as soon as possible the alley still opened before I could finish setting up. While nobody was actually there to buy yet, it was still difficult to get setup around people browsing my table.
Friday sales were incredibly slow- the artists around me assured me that Friday was browsing day, but that Saturday and Sunday would be hectic. While I'm used to sluggish Friday sales, it seemed that almost everyone in the alley on Friday was just browsing, and let me know that as soon as I greeted them. There's nothing wrong with this, by the way, just a type of customer I'm not used to.
Since Friday was so slow, especially commissions-wise, I ended up penciling a few Gizmo Granny illustrations while conducting sales. I usually do bring outside work to conventions, but generally don't find much time to actually get anything done, so I was glad I'd thought ahead and brought a plan B.
At Con Commissions


Saturday
As I walked into the Artist Alley on Sunday, about 40 minutes after opening, I spotted the cutest American-made lolita dresses for sale. Sweet Mildred had an adorable selection of not-over-the-top lolita, and I ended up splurging and buying myself a new convention dress- a cute sailor collared dress covered in an obnoxious (amazing) kitten print. This was pretty much the only opportunity I had to shop, unfortunately, as by the time I was packed down for the alley each evening, everyone else had pretty much already left. After buying the dress and opting to wear it for the day, I headed back to my table to begin making sales.

Saturday at noon was the cutoff limit for artists to show up and claim their tables, after that point, the tables were available to purchase. Dylan was able to snag one of those tables, and fortunately Lane brought his convention stuff up with him the night before. He had his choice of the four unclaimed tables, and his spot was a little more prime than my own.
Saturday wasn't much better than Friday- the biggest sellers seemed to be stickers (2 for $2) and Sassy Buttons. I'm glad I pushed myself to make 5 dozen in the week before the con, I really needed everything I could to recoup some of my TCAF costs.
This, unfortunately, was the weekend view from my table, and is pretty standard for the amount of crowd I saw all weekend long. That curtained area is where the art auction took place, and it was only utilized on Sunday afternoon for about an hour, so it was not any sort of draw to customers.

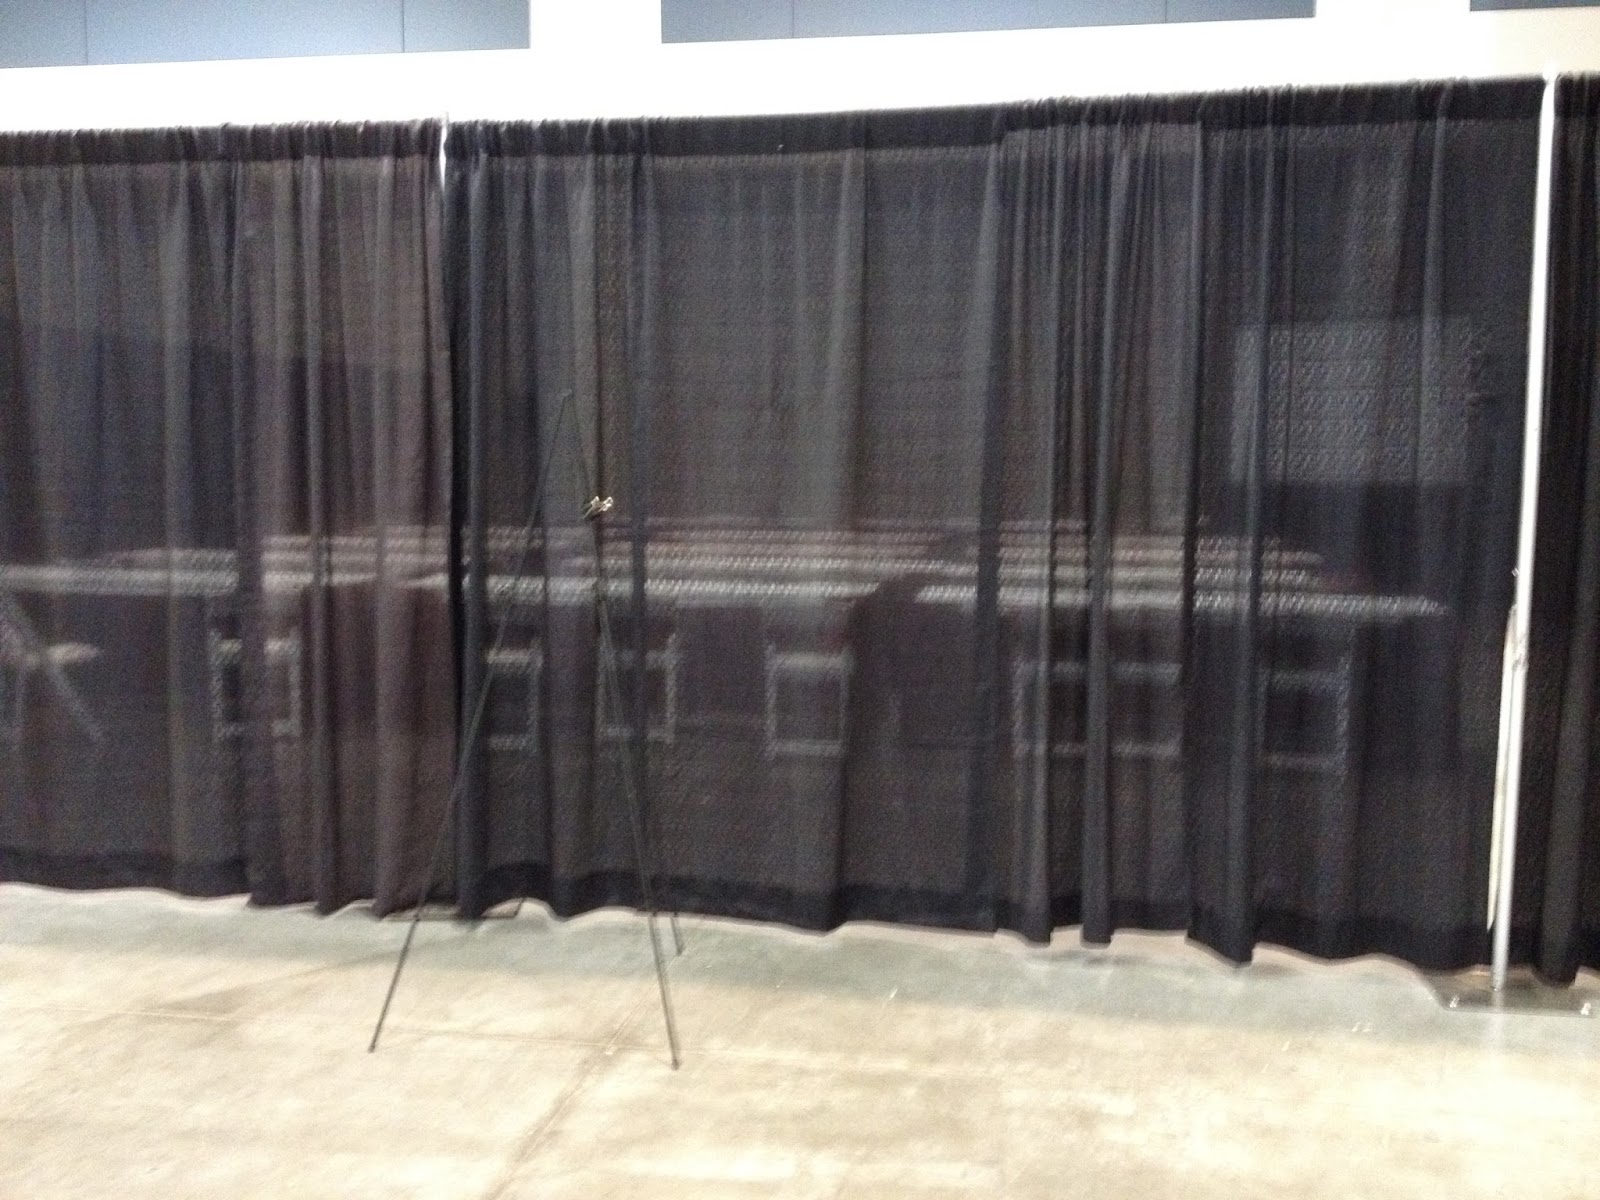
This was taken from beside where the art auction would be held. As you can see, people just aren't really making it this far down the artist alley.

And I had a large column right in front of my table, which blocked people's view from the front of the alley.

This is about as busy as the artist alley seemed to get.
Artist Alley Photos Courtesy of Lane


Dealer's Room Photo Courtesy of Lane

I didn't get much opportunity to leave my table, but Lane was kind enough to take photos of both the artist alley and the dealer's room for me. According to Lane, there were concession vendors in the Dealer's Room, and the room seemed to be packed nonstop. Perhaps Animazement could move some of those concession vendors into the Artist Alley, not only to draw in more customers, but also so that the artists would have a convenient food and water source. This system seems to work well for Anime Weekend Atlanta, which also has a large artist alley, though not as large as Animazement's.
Saturday Commissions

Saturday Pack Up
Below are some shots of the alley taken from the second level foyer as people were packing up to leave for the night, at 9:30 PM. I think it really helps to show the scale (and issues) of the alley. That aisle to the left was basically a highway straight to the Dealer's Room, encouraging many customers to skip browsing the immense alley save for that one aisle.

Sunday
I'm used to Sundays being the slowest day at the convention, but Animazement took me by surprise. While it wasn't as good as people promised, Sunday wasn't a slouch, and I managed to sell several Kawaiimasks and copies of 7" Kara.

Sunday Commissions


The artist alley ended at 3:00 on Sunday afternoon, which is pretty early compared to the 4:00 or 5:00 many anime cons end at on Sundays. We were expected to be packed up and out by 4:00 PM, but one of the AA staff managed to get us another 30 minutes to pack, which was much appreciated by many of the artists in the alley. Lane and I started packing around 2:30, first with little things that weren't really moving, then with larger things. It seemed like any amount of packing scared off potential customers, but honestly, they may have just been looking anyway.
Total Sales: $992
Costs:
Hotel, total: $142
Transportation: 2 tanks of gas each way, $30 per tank
Table: $150
Additional Badge for Lane: $63
Food: Thursday- Papa John's small two topping $10 (split between two people), Friday- frappechino $5, dinner- $24, Saturday frappechino $5, lunch- burger and a shake $6, dinner at Flying Saucer (one of the few places still open) $24, Sunday frappechino $5, celebratory Shabu Shabu dinner- $50
Parking: $7 per day event parking X 3 days
Total Costs: $419.50
The Verdict
While my total sales was almost that of MTAC, I honestly feel like Animazement was a disappointing convention, especially since I'd heard so many good things about it. It could have been my awful location (there's just...no reason to go back there, other than the artists), the fact that the Animazement Artist Alley is HUGE (bigger than Anime Weekend Atlanta), there's nothing to entice attendees to fully explore the alley, or maybe I'm just a terrible fit, as Animazement seems to be a print focused con, and I am not a print focused artist, but I think Animazement is a convention I'll have no problem skipping in the future. My limit for 'driving cons' is usually 4 hours (or longer, if it's Mechacon and we stay at Alex's halfway through the drive), and Animazement clocked in at a whopping 10 hours each way.
Animazement seemed to be geared mostly towards prints, with an audience used to haggling and nickeling and diming. While this is fine if your profit margin is healthy, if you're mostly selling little things you assemble yourself, being nickeled and dimed doesn't really pay the bills. While there were many fantastic customers, Lane and I were also creeped on A LOT, and that definitely takes an emotional toll. The fact that Animazement is so print-centric also seems to indicate that the audience hasn't been primed for original art- I had very few people asking if I drew OC's (a common questions) or self portraits, and many asked if I sold prints of my mini watercolors (why would I? I'd be charging the same for a print when you could buy the original)
It can be discouraging to see other artists do so well at a convention that I felt was a struggle, but I have to keep in mind that there are conventions that I excel at. I know I don't do well at larger cons, and I started to have serious misgivings when I realized how big Animazement really was. It was disconcerting how few con-goers were interested in commissions- most were more than happy to spend $15-$20 on prints rather than going home with the genuine article, and had charms and Sassy Buttons not sold exceedingly well (I'm glad I really pushed myself to make 5 dozen sassy buttons in a single day the week before Animazement), I know my sales would've been much worse. What did surprise me was how many copies of 7" Kara I moved later Saturday evening/Sunday, far more copies than I sold during TCAF, a convention that's supposed to be geared towards indie comic artists. When I did my final total, I was honestly surprised by how much I sold, as it felt like I'd struggled to make sales all weekend long.
I just filled out the Animazement artist survey, and this is what I said for my final thoughts:
I felt like the alley was too large given how sparse the crowd INSIDE the room was. I also felt like there were traffic flow issues- people would enter the artist alley, go straight down that long hall, and then enter the dealer's room without viewing the rest of the alley. I was in the K block, and groups of people were sporadic at best- people weren't making it past the art show down to the art auction/art classes. Because there was literally NOTHING in the back of the room, there was no reason for people to continue moving to the back. Signage would be nice, especially on those huge columns that blocked people from seeing the back of the room. Perhaps utilizing the width, rather than the length, of the room the way Anime Weekend Atlanta has done in the past would ensure more uniform dispersal of the crowd?
Things I Saw A Lot Of:
Steven UniversePrints. Everyone had prints.ButtonsAn overabundance of cute and cute artistsSailor MoonNeonPastelPokeballsThe takeaway is, if you live nearer Animazment than I do, do well at larger cons, and have a variety of prints as well as small cheap items to consistently sell, you'll probably do pretty well. If Animazement is a local con to you, you'll probably be really happy with your sales. All of my encounters with staff were very pleasant, the convention as a whole seems well organized, and picking up and buying additional badges was a breeze.
Since I've fallen behind on my convention recaps, I'll be adding my mail in commissions to this post after the fact.
Please consider donating to this blog or purchasing from Natto-shop (http://nattosoup.com/shop) if you want me to continue publishing quality content. All materials tested were purchased from my own pocket. Keep on Truckin' Nattosoup is not under any sponsorship.


June 11, 2015
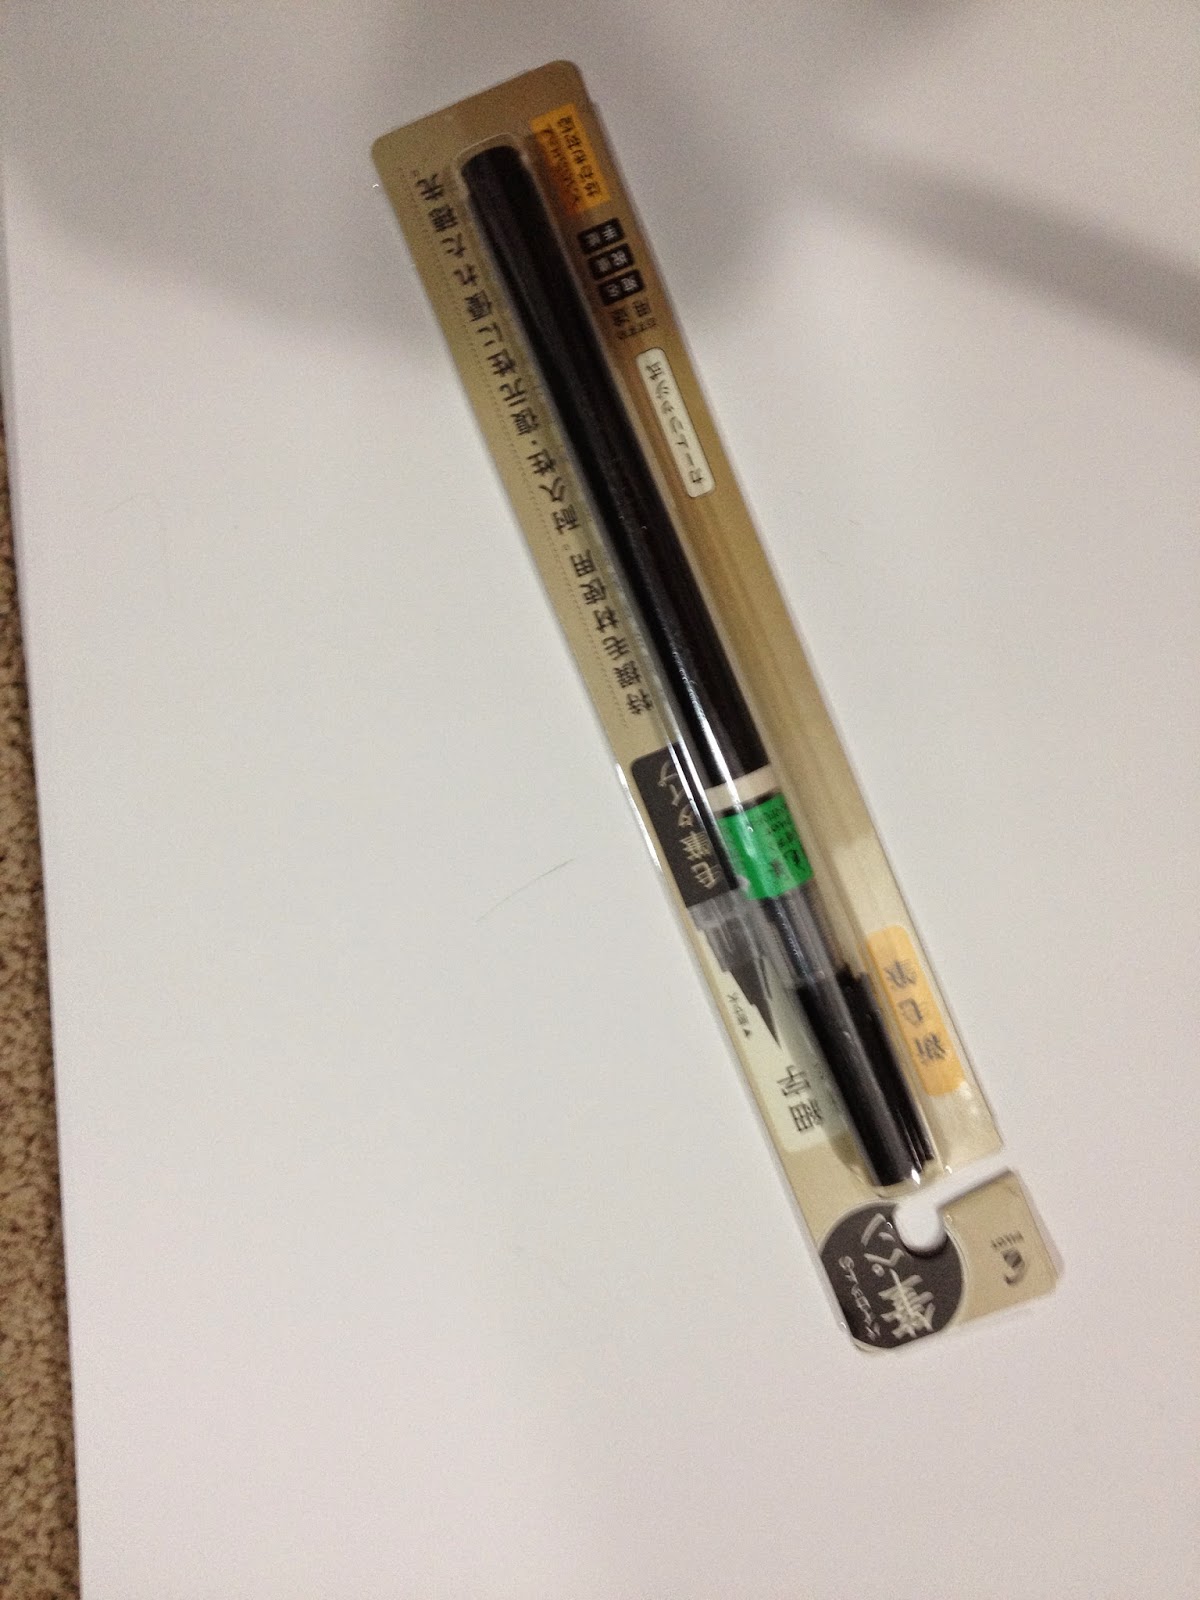
Brush Pen Review: Pilot Brush Pen Fine
It's pretty unusual, in my opinion, for a brush pen with nylon bristles to come in a 'fine' option. Unusual, but not necessarily unwanted. When I noticed that Pilot offered a brush pen in fine, I jumped on the opportunity to give it a test run. For the curious (like myself) there is also one in Medium, so I may be revisiting the Pilot Brush Pen at a slightly later date.
I must admit, when testing this pen, I was recovering from a migraine, so my memory of the pen's performance is a little hazy, especially since the pen doesn't particularly stand out in any positive or negative way.
As a heads up, the ink in these pens is waterbased and a combination of dye and pigment. These pens are not suitable for inking something you intend to watercolor over, as it will reactivate the ink, but you may be able to do a neat quick inkwash effect. I'll have to write back to you guys with the results on that one.
The Packaging
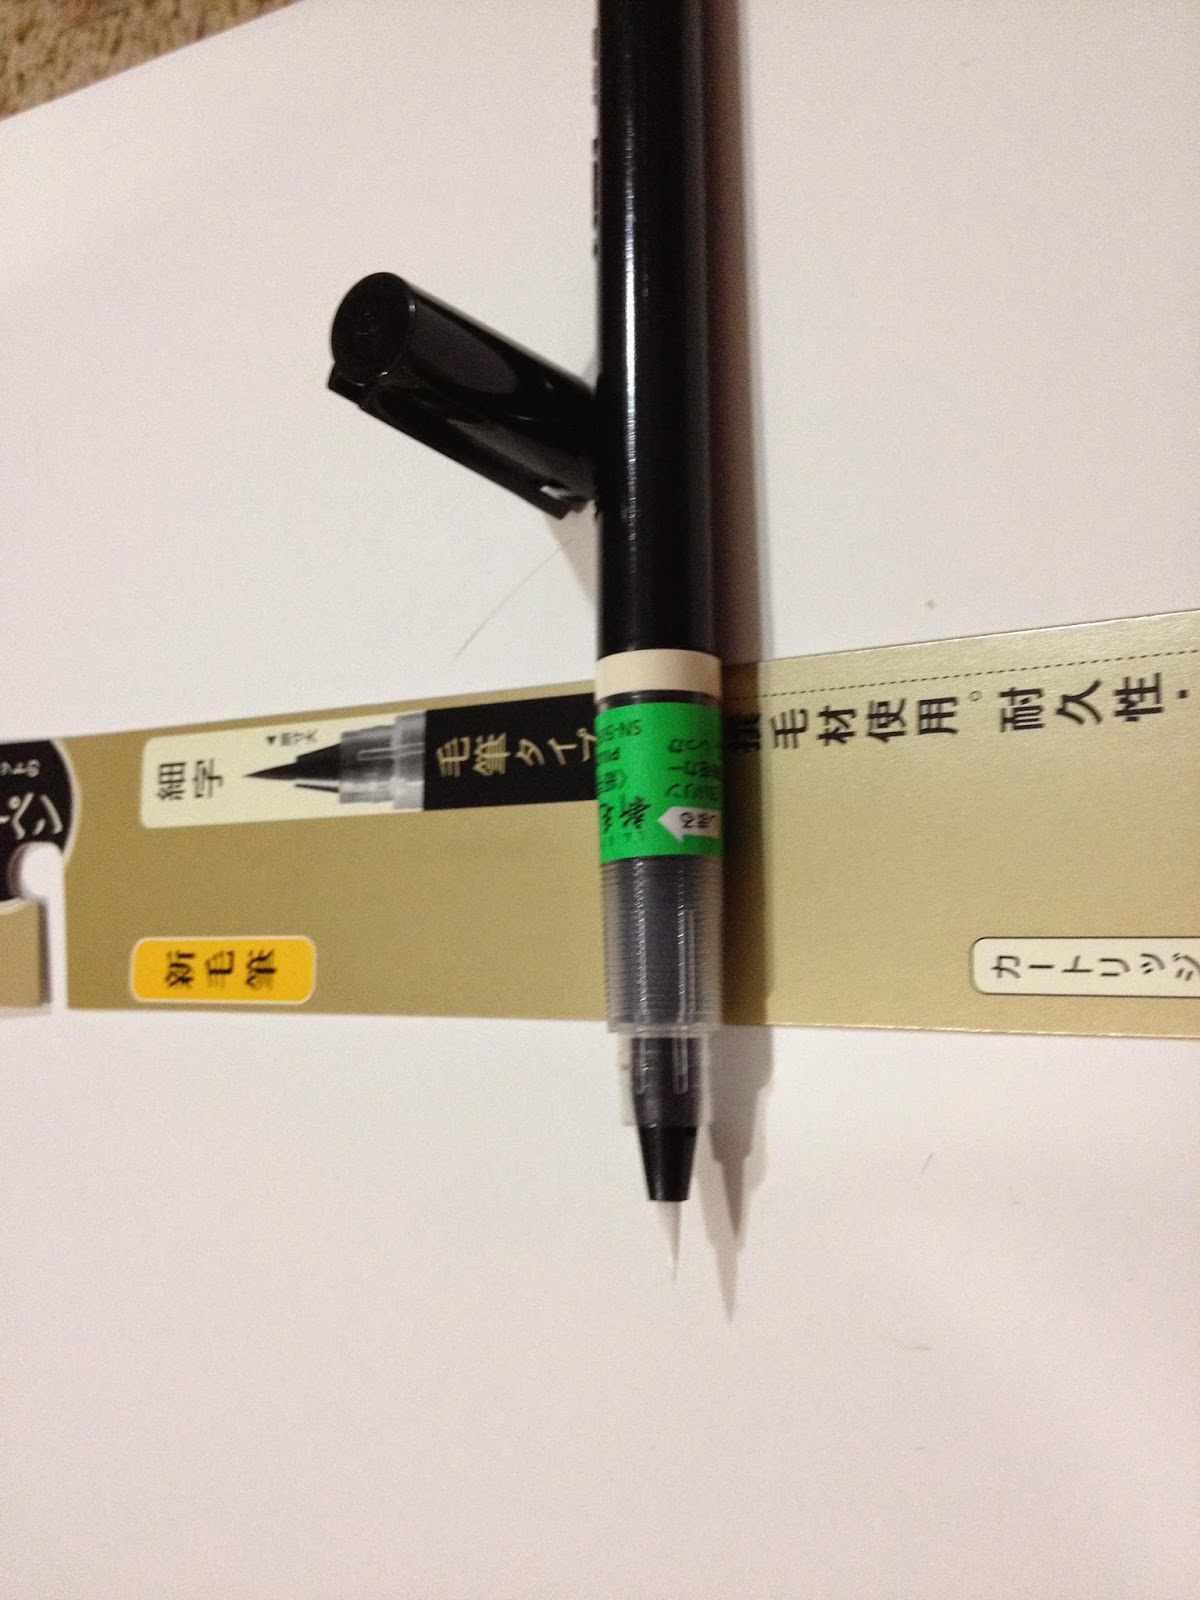
I believe this is the older style of packaging- it seems like most Japanese pen companies have moved from the plastic and cardboard package to a thin plastic bag with the pertinent information printed directly on the plastic.


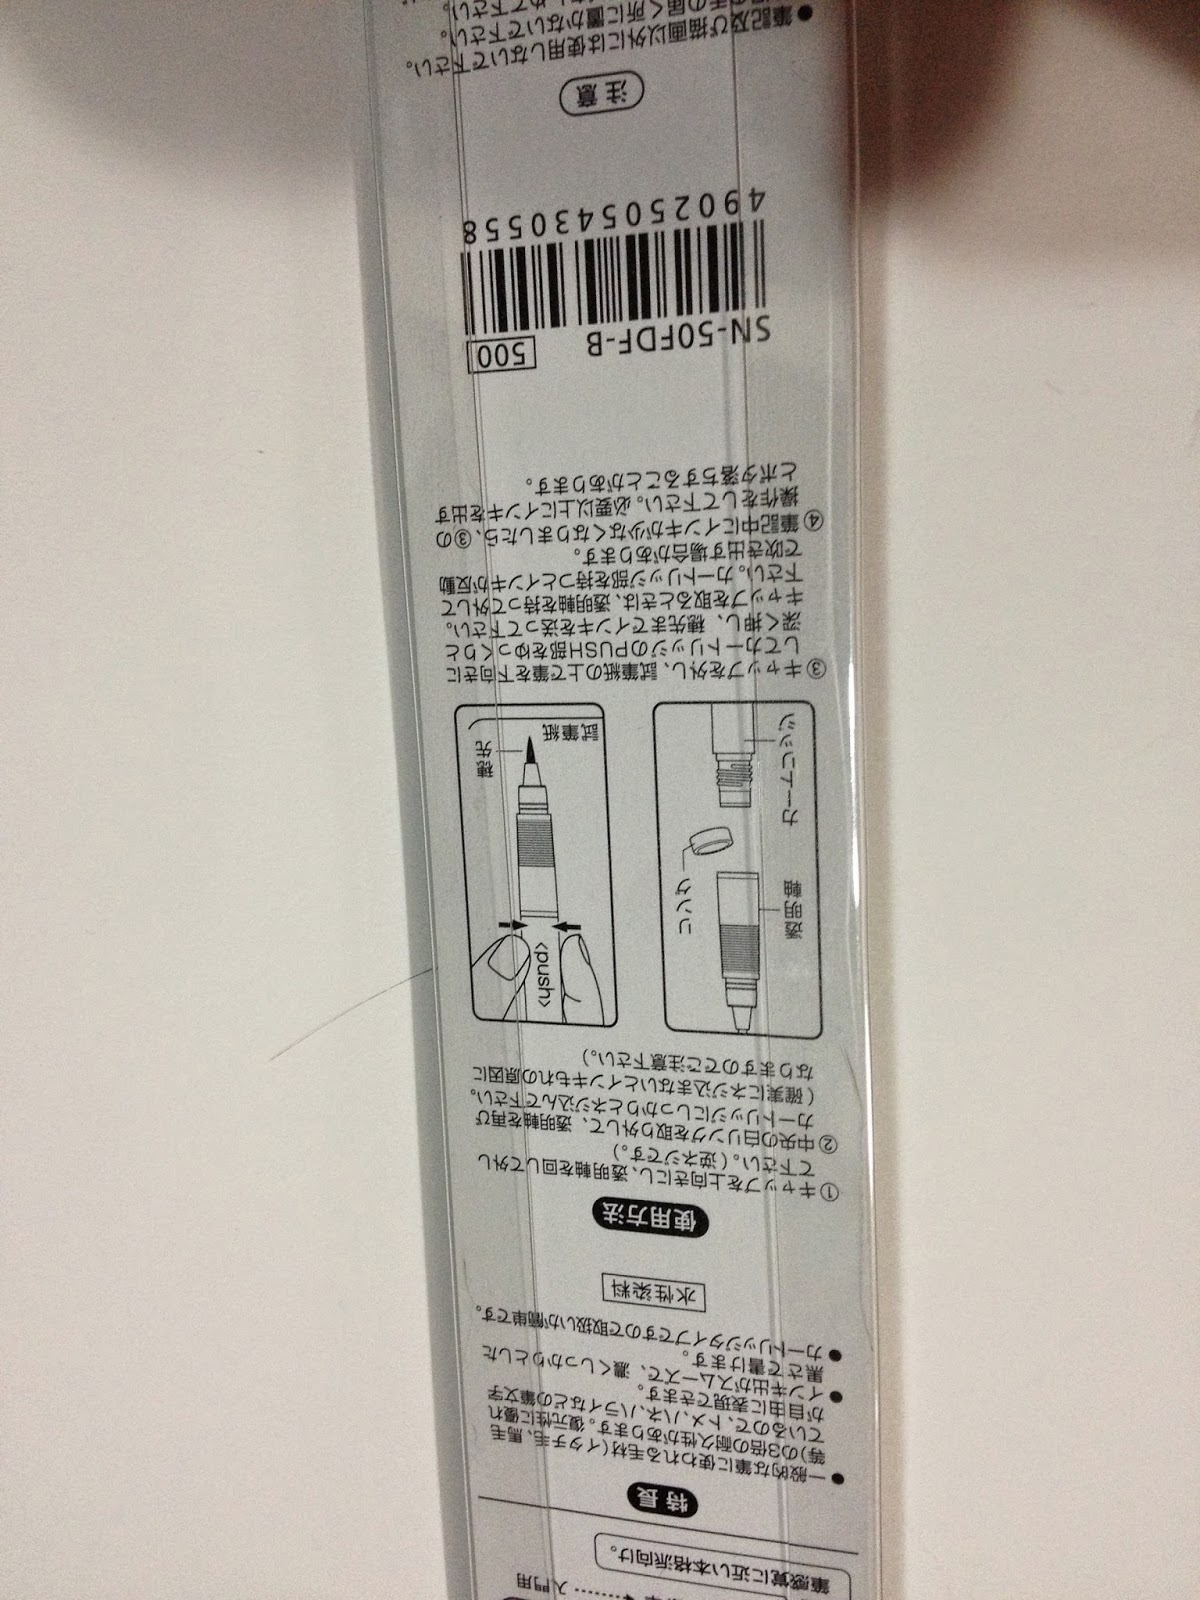
Plenty of companies make pens that work the same way this pen works- the body of the pen is soft and contains the ink, there's a divider that keeps the nib and the ink cartridge separate during shipping, and you remove the divider to activate the pen. The Pilot Brush Pen fine reminded me a bit of Pentel's brush pens, except the brush nib is much smaller. The back of the package explains how to assemble the pen.
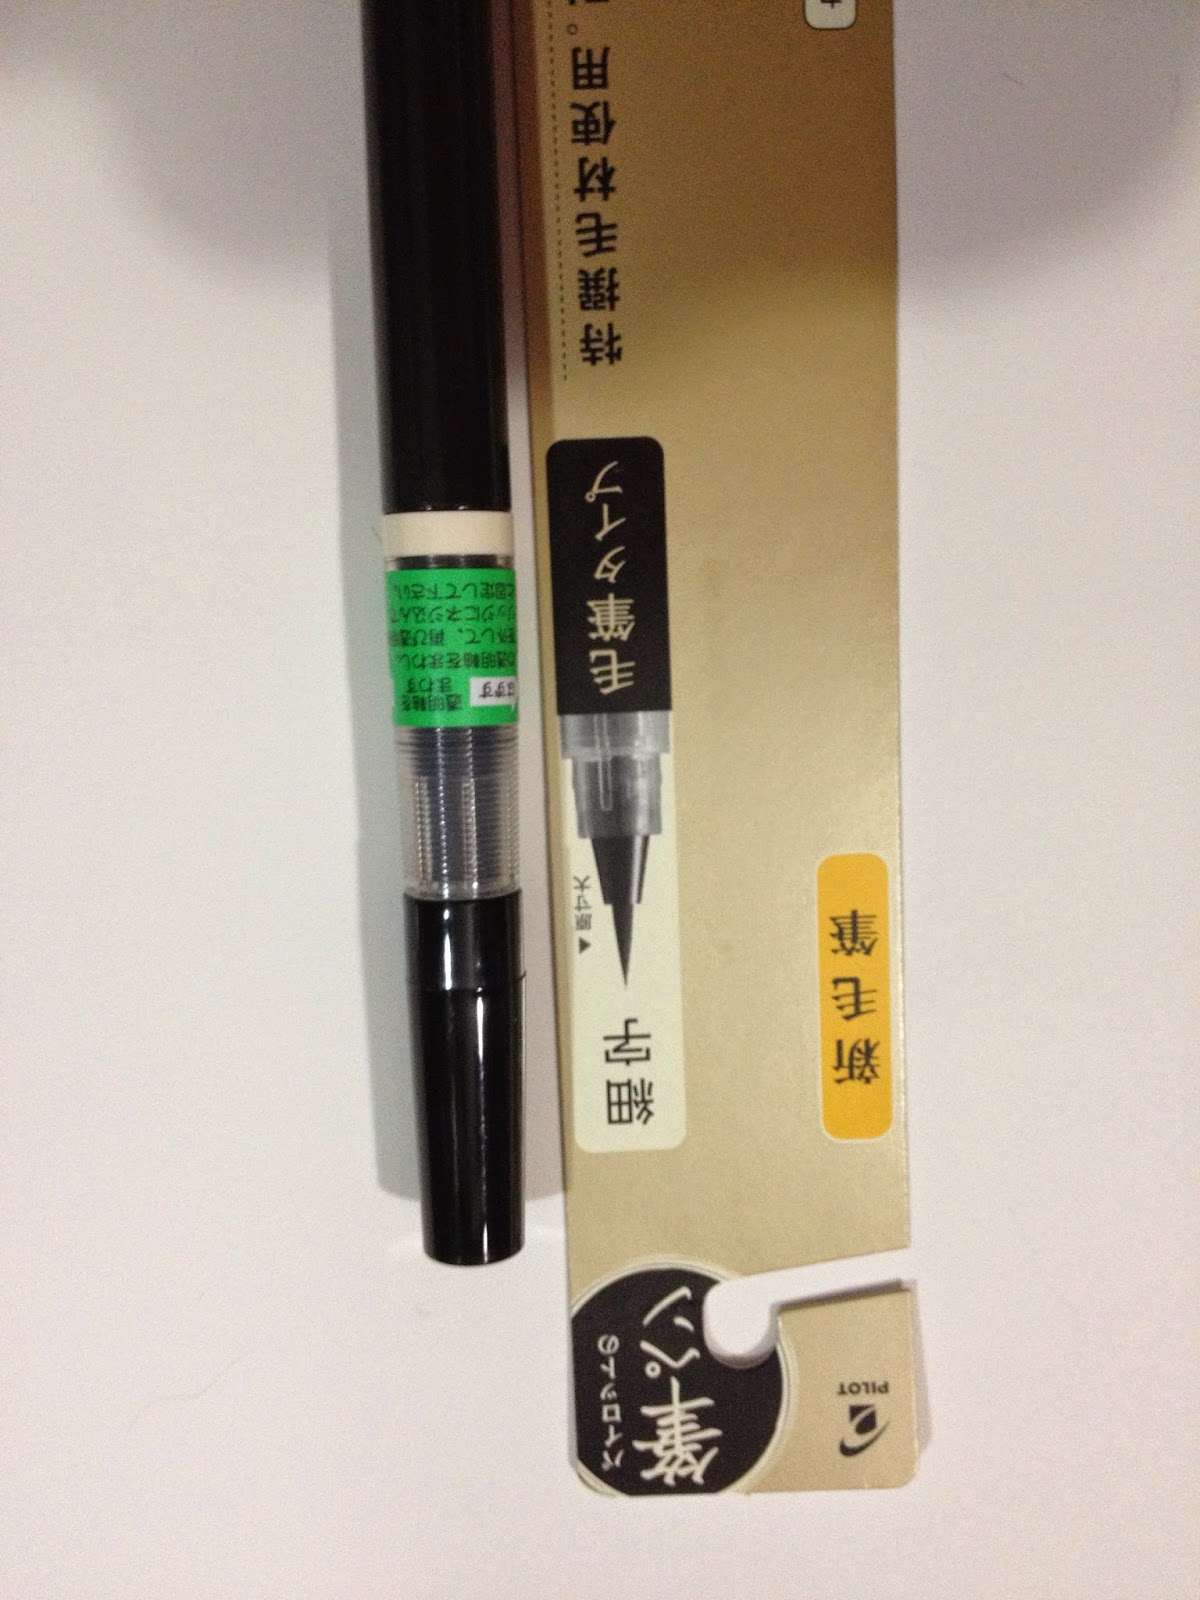
The Pen


Right now the brush is all clean, as the ink hasn't had a chance to flow into it yet. That'll soon change.

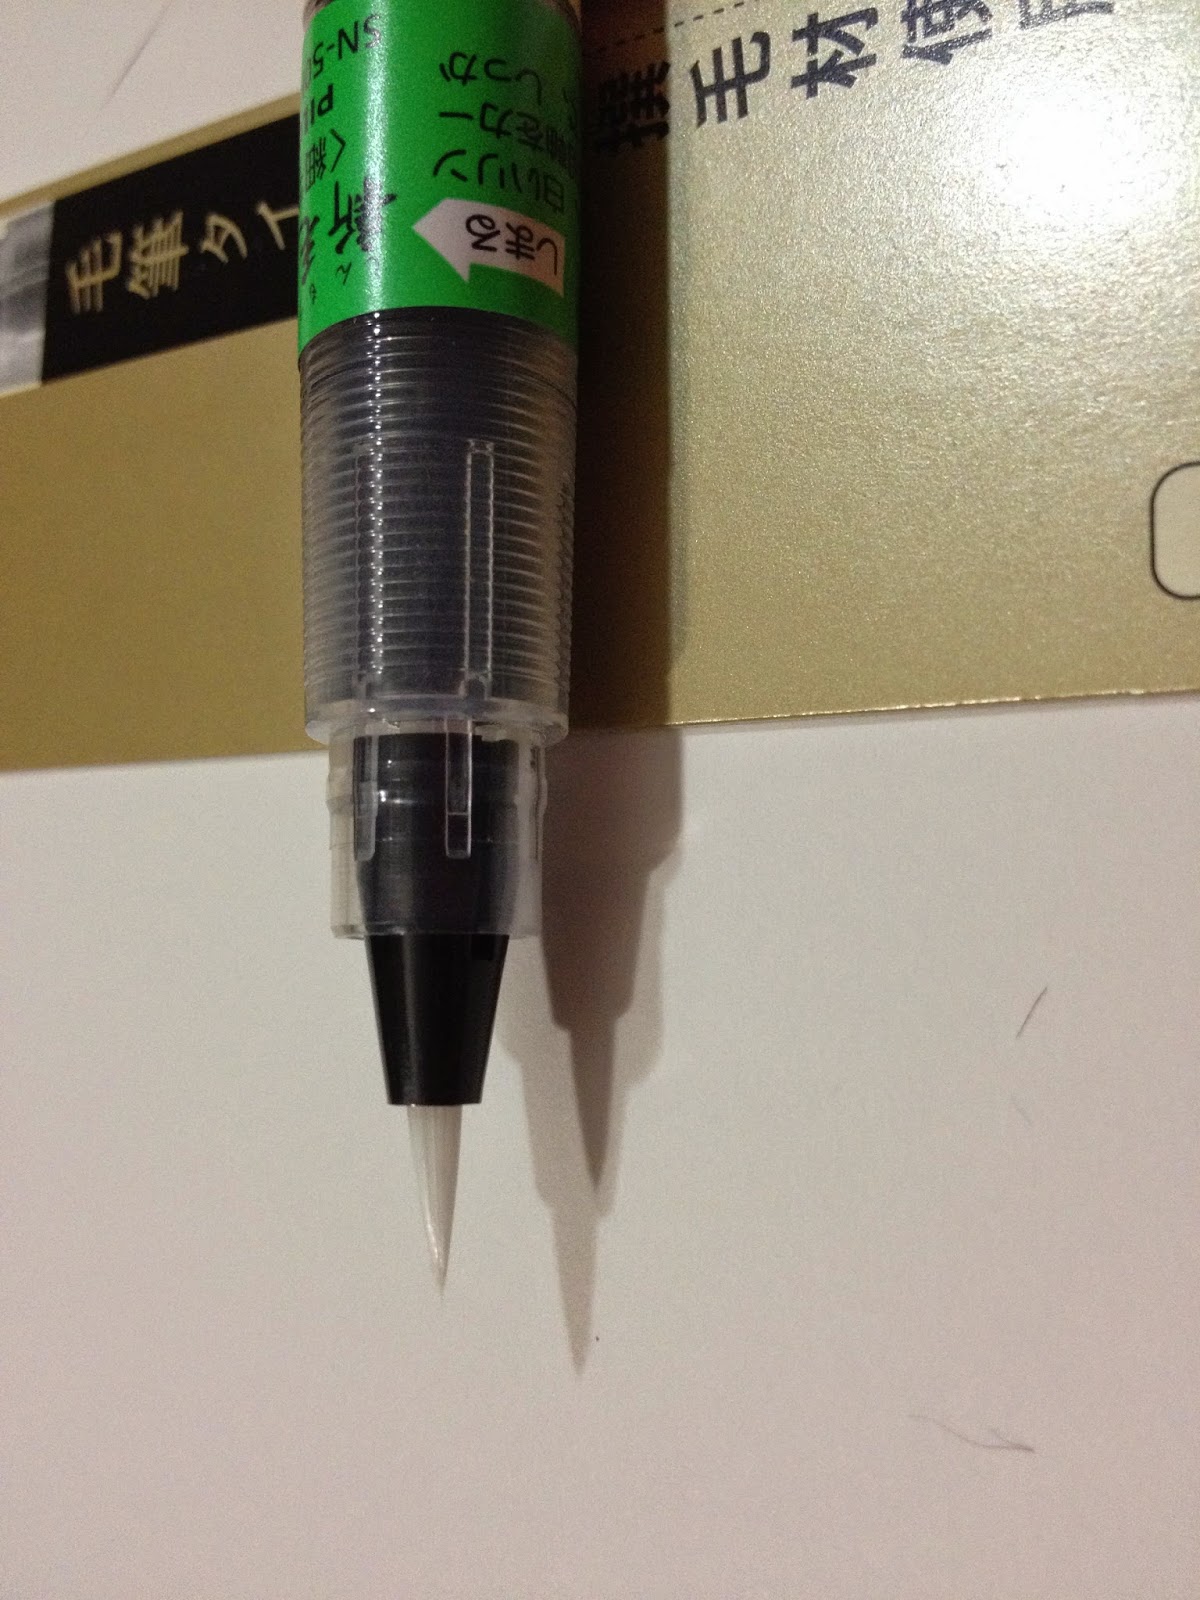
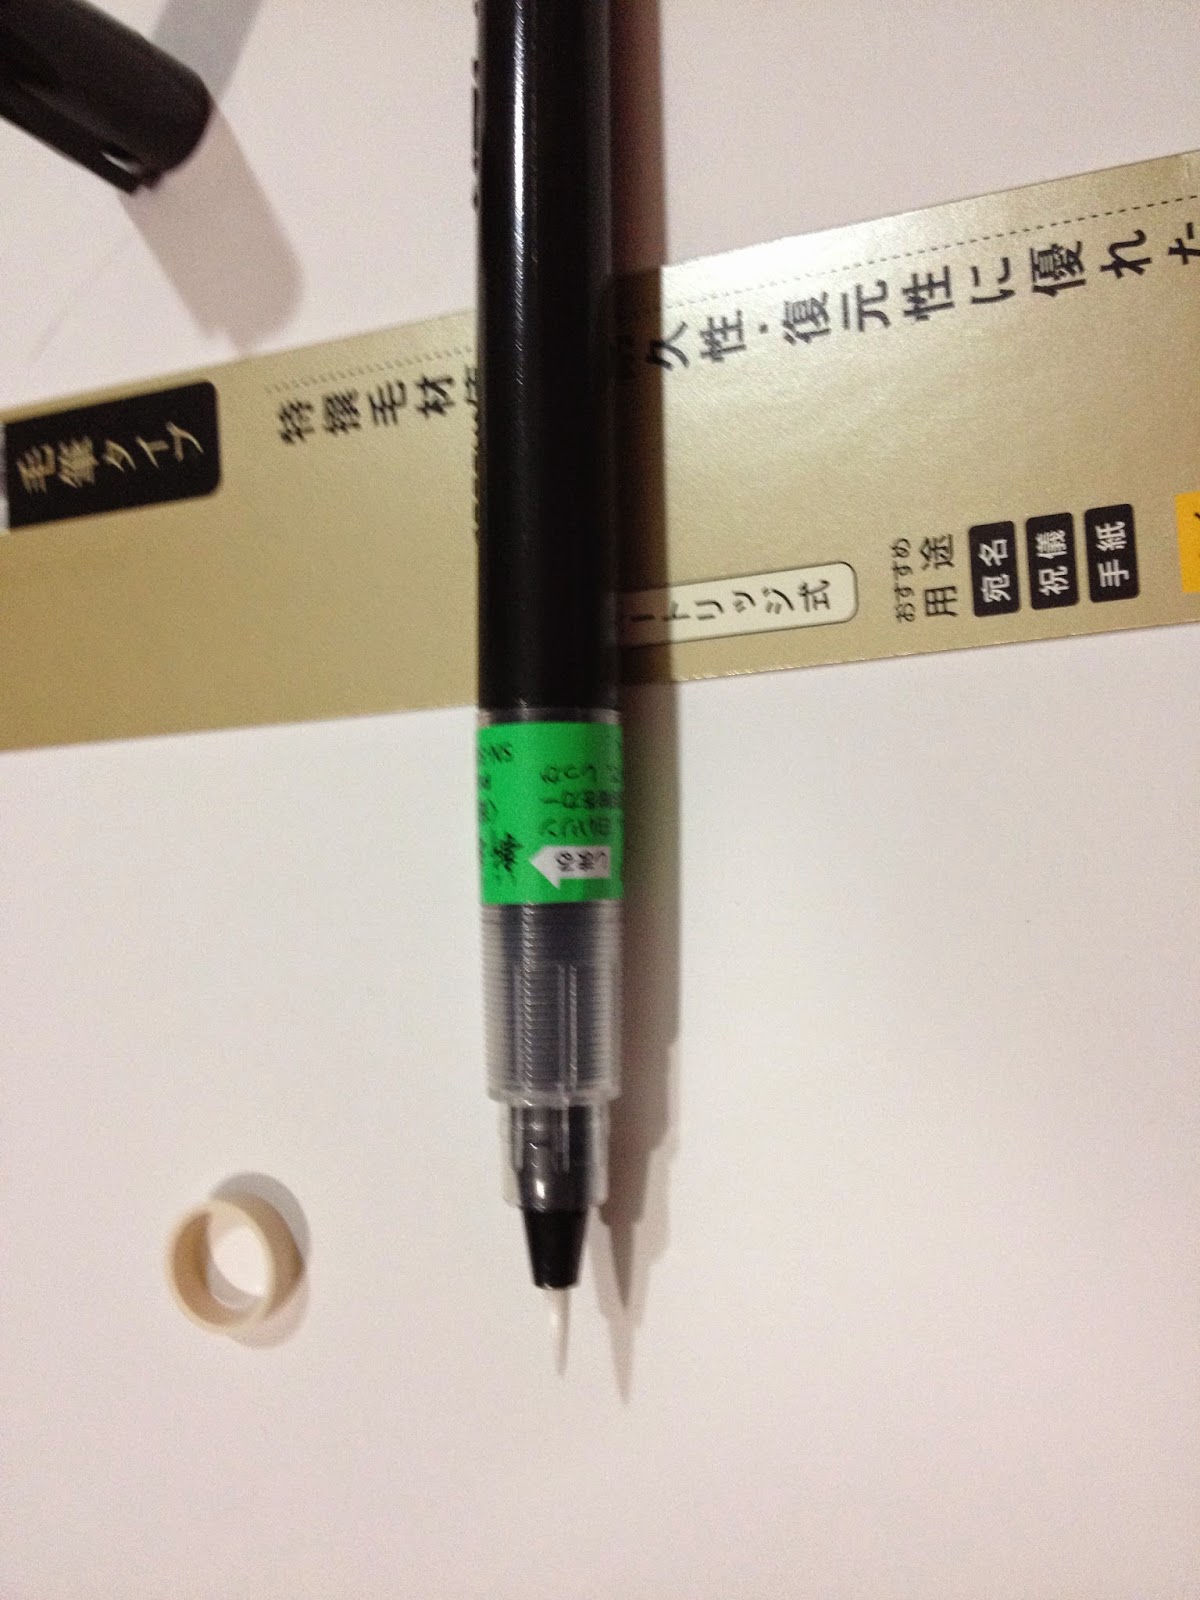
The white plastic ring is the divider that keeps the ink cartridge and the brush separated. To remove, you unscrew the two halves, remove the plastic ring, and pop the brush nib onto the cartridge.


It took a couple minutes to get the ink flowing into the brush. I like to expedite this process by propping the pen brush side down, to increase ink flow.

The black ink in the Pilot Brush is very black and highly pigmented, much like the Pilot Pocketbrush Soft. I really like this rich, dark ink, and I'll have to do further testing to see how water/Copic/erasure proof it is.
The Field Test

 So this nylon bristled brush pen handled like...a nylon bristled brush pen, albeit a finer tipped one with a nice rich ink. This pen lays down ink quickly, unlike the somewhat stingy Pentel Pocket Brush, and is capable of both fairly fine lines and nice thick bouncy lines, all without the risk of your pen going mushy. I don't usually use this type of brush pen- I've had a history of them leaking in the past (especially when flying, yikes!), but I really like the Pilot Brush Pen Fine. The Verdict In general, I think I've mentioned that I'm not the biggest fan of nylon bristled brush pens, due to a variety of issues ranging from 'gray ink' to 'tendency to drybrush' to 'hard for me to handle'. Of the nylon bristled brush pens I've used and tested, however, I like the Pilot Brush Pen in Fine a lot. It's refillable, both with cartridges you can buy on Jetpens, and probably also with a steady hand and a syringe full of the black ink of your choice.
Please consider donating to this blog or purchasing from Natto-shop (http://nattosoup.com/shop) if you want me to continue publishing quality content. All materials tested were purchased from my own pocket. Keep on Truckin' Nattosoup is not under any sponsorship.
I must admit, when testing this pen, I was recovering from a migraine, so my memory of the pen's performance is a little hazy, especially since the pen doesn't particularly stand out in any positive or negative way.
As a heads up, the ink in these pens is waterbased and a combination of dye and pigment. These pens are not suitable for inking something you intend to watercolor over, as it will reactivate the ink, but you may be able to do a neat quick inkwash effect. I'll have to write back to you guys with the results on that one.
The Packaging
I believe this is the older style of packaging- it seems like most Japanese pen companies have moved from the plastic and cardboard package to a thin plastic bag with the pertinent information printed directly on the plastic.
Plenty of companies make pens that work the same way this pen works- the body of the pen is soft and contains the ink, there's a divider that keeps the nib and the ink cartridge separate during shipping, and you remove the divider to activate the pen. The Pilot Brush Pen fine reminded me a bit of Pentel's brush pens, except the brush nib is much smaller. The back of the package explains how to assemble the pen.
The Pen
Right now the brush is all clean, as the ink hasn't had a chance to flow into it yet. That'll soon change.
The white plastic ring is the divider that keeps the ink cartridge and the brush separated. To remove, you unscrew the two halves, remove the plastic ring, and pop the brush nib onto the cartridge.


It took a couple minutes to get the ink flowing into the brush. I like to expedite this process by propping the pen brush side down, to increase ink flow.

The black ink in the Pilot Brush is very black and highly pigmented, much like the Pilot Pocketbrush Soft. I really like this rich, dark ink, and I'll have to do further testing to see how water/Copic/erasure proof it is.
The Field Test
 So this nylon bristled brush pen handled like...a nylon bristled brush pen, albeit a finer tipped one with a nice rich ink. This pen lays down ink quickly, unlike the somewhat stingy Pentel Pocket Brush, and is capable of both fairly fine lines and nice thick bouncy lines, all without the risk of your pen going mushy. I don't usually use this type of brush pen- I've had a history of them leaking in the past (especially when flying, yikes!), but I really like the Pilot Brush Pen Fine. The Verdict In general, I think I've mentioned that I'm not the biggest fan of nylon bristled brush pens, due to a variety of issues ranging from 'gray ink' to 'tendency to drybrush' to 'hard for me to handle'. Of the nylon bristled brush pens I've used and tested, however, I like the Pilot Brush Pen in Fine a lot. It's refillable, both with cartridges you can buy on Jetpens, and probably also with a steady hand and a syringe full of the black ink of your choice.
Please consider donating to this blog or purchasing from Natto-shop (http://nattosoup.com/shop) if you want me to continue publishing quality content. All materials tested were purchased from my own pocket. Keep on Truckin' Nattosoup is not under any sponsorship.
June 5, 2015
Free Comic Book Day 2015
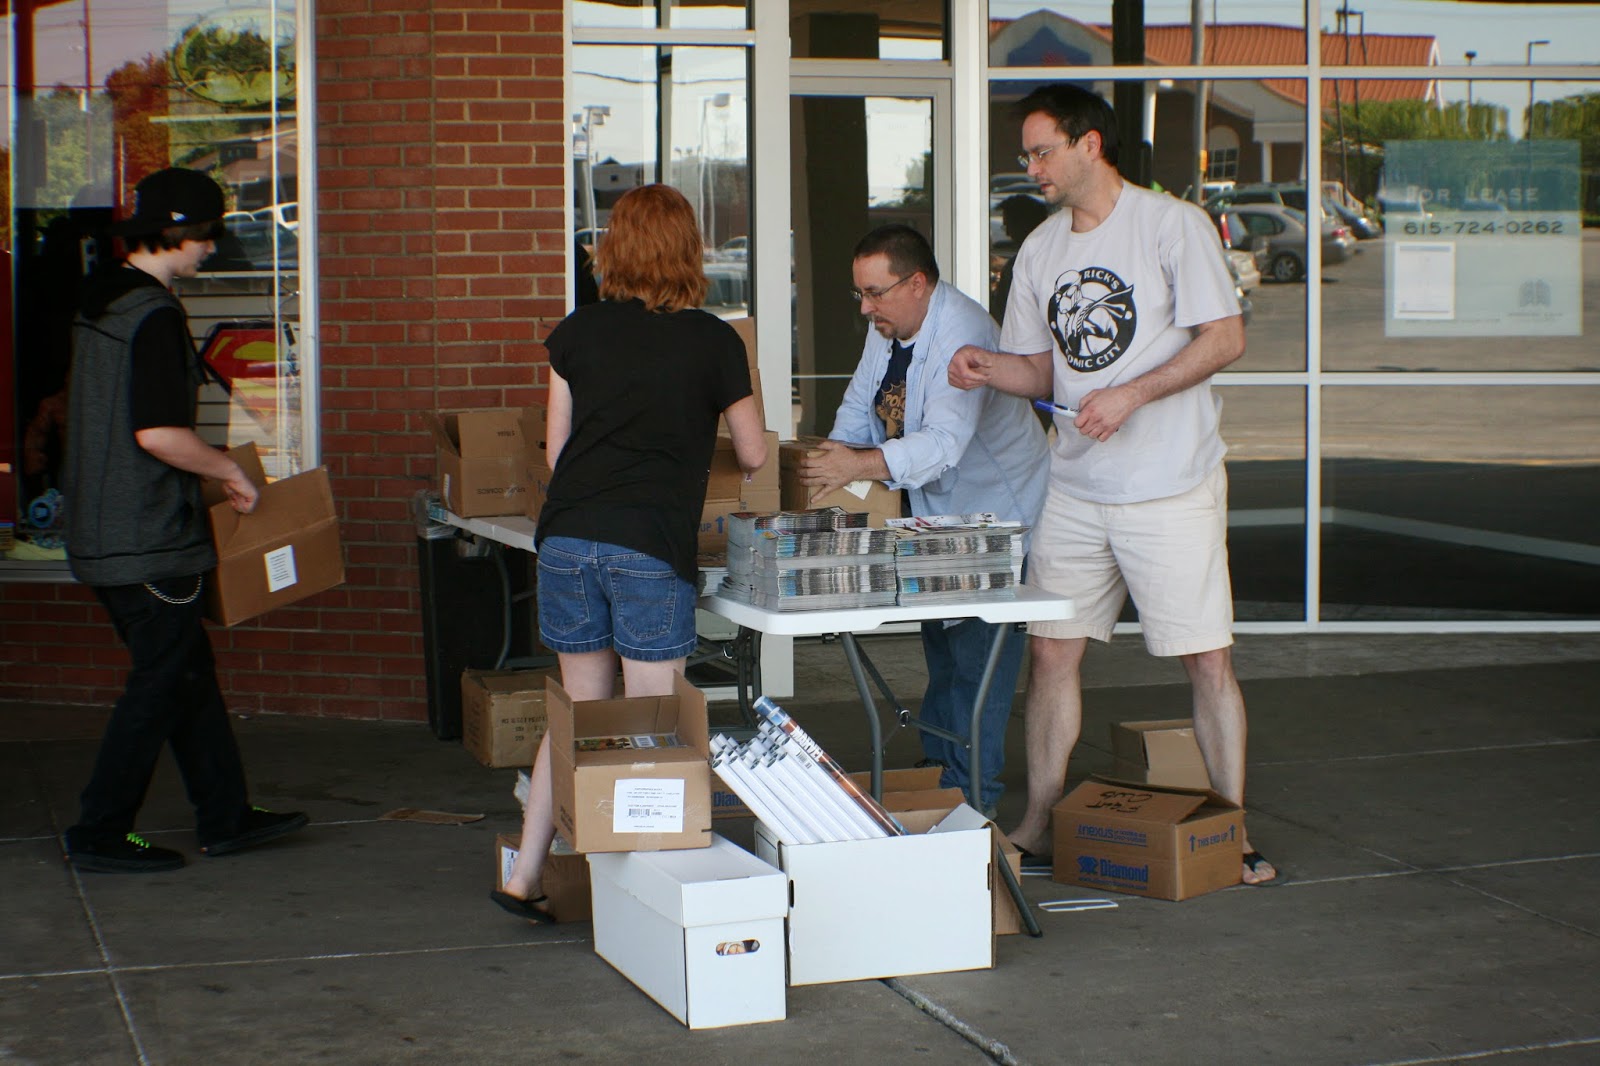
So last year, I missed out on tabling at Nashville's Free Comic Book Day event held at Rick's Comic City. I wasn't really happy with last year's demographic spread (there was none, it was almost all guys in their 40's), so I swore that I'd make it this year, despite the fact that Free Comic Book Day was only a week before TCAF, and I had a lot of prepping to do.


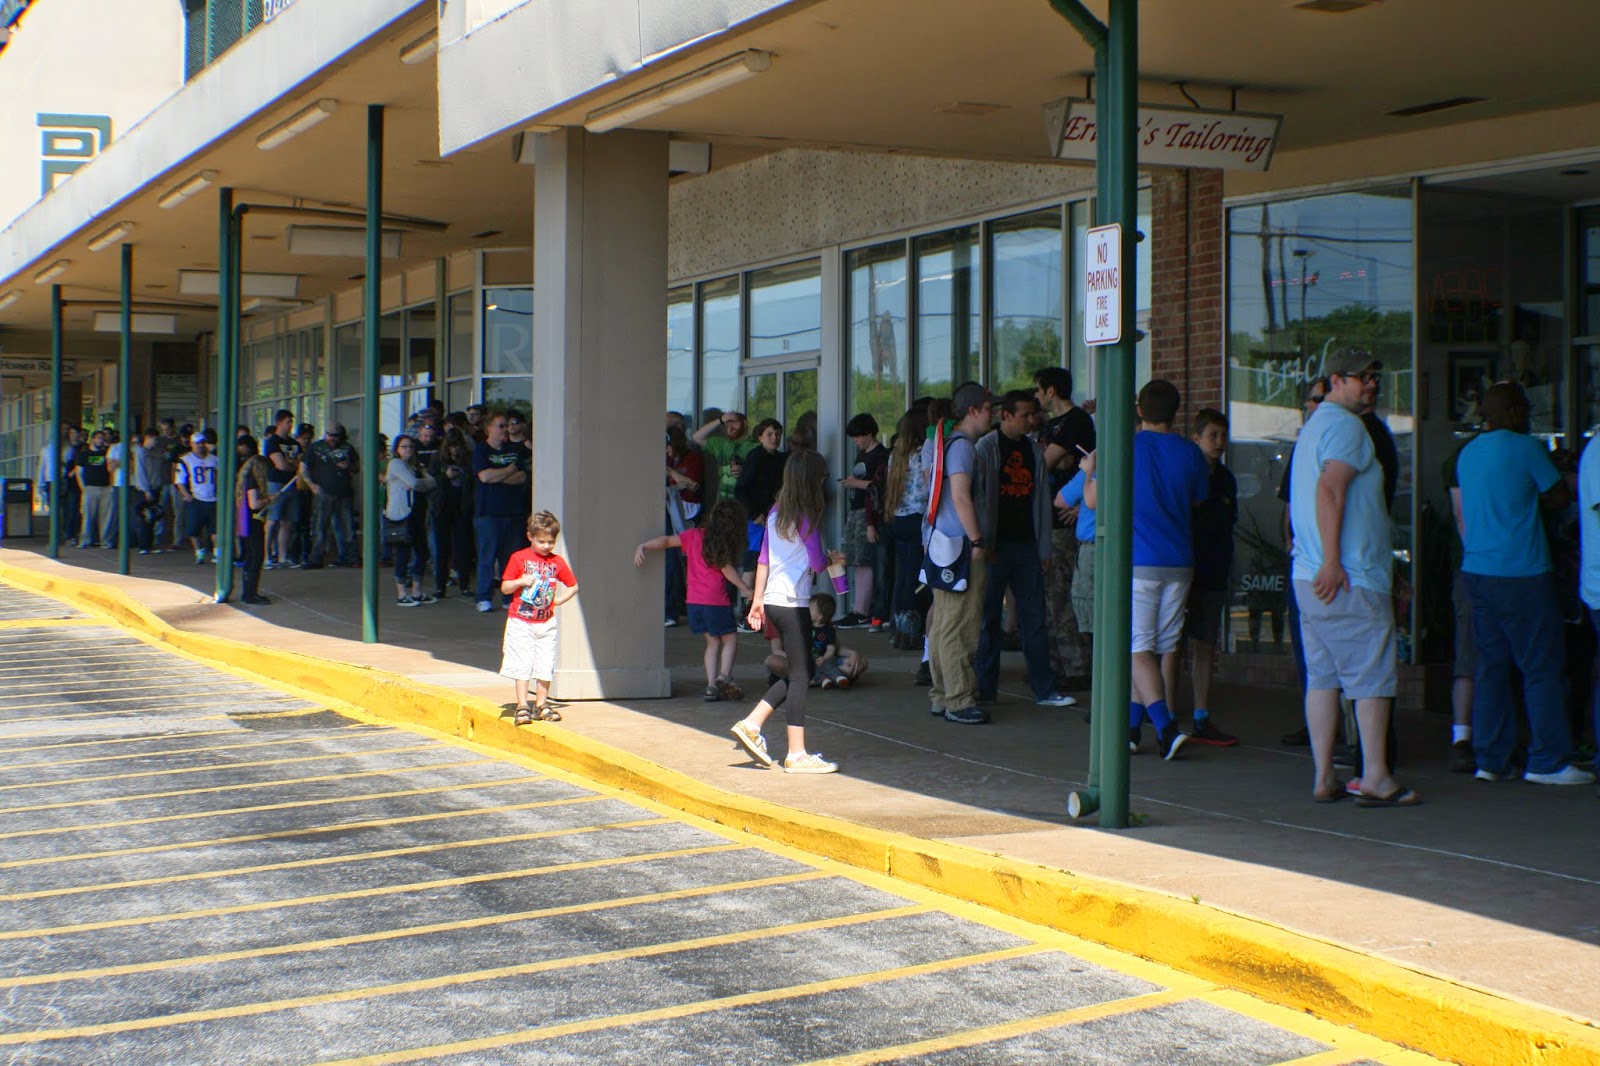
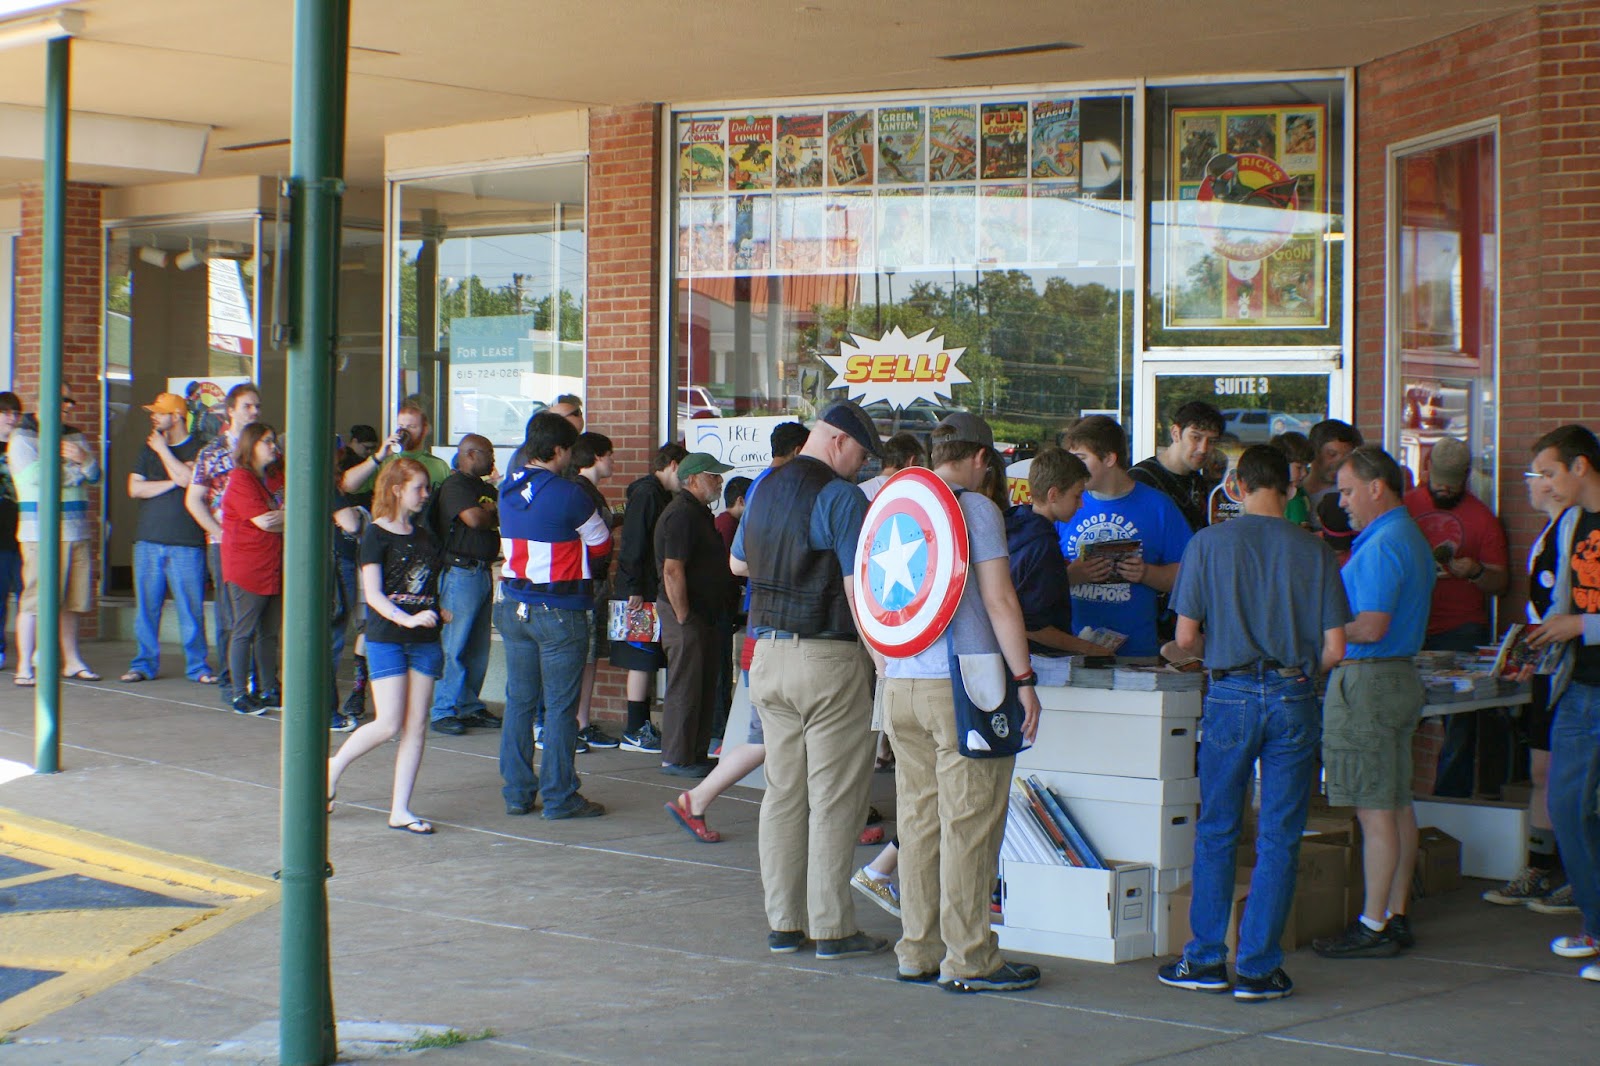
We arrived at Rick's around 10AM, and there was a HUGE line outside the door. Rick's has two storefronts for FCBD- the actual storefront and a karate studio that they rent out to give local comic artists a space to sell in on FCBD, which is incredibly nice. We checked in at the front desk and set up fairly fast. I had a rather pared down setup- charms, some mini comics, 7" Kara. I was prepared to take commissions, and I had MTAC mail in commissions with me for pick-up. I wasn't really sure what to expect, as it seemed like the crowd last year weren't really in a buying mood (often the case at free events), but we prepared for business anyway.


I shared a table with the brothers who run JABE-con, two super good natured (and talented!) guys who were also artists. When things got slow, they pulled out their horns and played vidoegame tunes, which would've been delightful if it weren't in my ear. They were really understanding when I explained that due to hearing loss, the music was causing me some issues, and I'd be more than happy to share a table with them in the future, and I'll definitely consider tabling at JABE-con when it comes around again next year.
The demographic spread was much improved over last year, it was almost an even mix of men and women behind the tables, with an age spread from 20's-40's. I've done a number of anime events in the Nashville area, so it was really nice to do an event that attracted a different set of artists. I didn't really take the opportunity to get up from behind my table during the show, which I do regret, as I would've liked to have bought things from my fellow artists, but this seems to be my eternal regret. My headstone will read "Did not get up from her table enough".
Joseph, however, DID get up, and he took lots of photos for us!


Sales went much better than expected- I was there from 10- around 5, when the crowd seemed to slow down and many of my fellow artists had already packed up and left, and I made $118. Although I was prepared to fill commissions, nobody took me up on it, so I ended up doodling Crystal Gems all day, which was fine by me. I did have one family from MTAC come pick up their watercolor commission, which was nice, as I prefer delivering my watercolors safely when I can, rather than relying on the postal service. Joseph conducted a couple interviews with his new camcorder- one with Janet K Lee and the other with Sam Payne. You guys should watch these new interviews- Joseph's come up with a whole new opening, and they're really fantastic!
The back two rooms of the karate studio were as stuffed with boxed comics as the main room, but fortunately, no artists were hidden back there.


If you have a Free Comic Book Day event in your area, I STRONGLY recommmend trying it! Tables should be free to artists, and are usually distributed first come, first serve, so make sure you show up early. I recommend having a few inexpensive items on your table, as Free Comic Book Day tends to be a family event, and make sure you have lots of business cards. If you've worked hard to establish yourself in your local area, make sure you promote where you'll be ahead of time, to help bring in customers!

And above is the Free Comic Book Day Haul, with free comics mixed in with comics purchased from other artists.
Free Comic Book Day 2015 was a great event, and I'd really like to thank Rick's Comic City for hosting it! If you live in the Nashville area, and you like comics, I highly recommend Rick's over the other comic shops in the area. The staff has always been amazingly helpful to me, and the selection is great, even for a picky comic reader like me.
Please consider donating to this blog or purchasing from Natto-shop (http://nattosoup.com/shop) if you want me to continue publishing quality content. All materials tested were purchased from my own pocket. Keep on Truckin' Nattosoup is not under any sponsorship.
June 2, 2015
Con Recap: MTAC
Right now, I live in the Nashville, TN area, and one of my goals for this year was to do fewer cons, and focus more on local cons. Although Nashville isn't a huge area for the comic arts, there are several anime conventions- Akaicon, JABEcon, MTAC- that are well worth exploring as an artist looking to table.
Last year, you guys got to hear me expound on how much I loved my first year tabling at MTAC, and it became the standard to which I held the rest of 2014's conventions. I sung MTAC's praises to almost any artist I met, but little did I realize that that would be detrimental to me. MTAC opened their artist alley application with no fanfare or prior announcement while I was at Kamicon, and I missed applying for a table the first go round. Artist friends informed me that the MTAC alley sold out WITHIN AN HOUR, which is understandable given how small MTAC's artist alley is. Apparently my praises had convinced several artists to apply for MTAC, which made it a little harder to get a table this year than last. I applied to be on the wait list, and fortunately, I managed to secure a table, which is doubly fortuitous as I was presenting two panels in conjunction with Heidi Black.
This year, it was really important to me that I offer panels at MTAC. I'd spent last year and GMX talking to attendees about possible art track paneling, and I knew the interest was definitely there. When I pitched the panels to MTAC, I mentioned a few requests that I felt were fairly do-able
1. Not to have our panels during alley hours if at all possible. 2. If that's not possible, to please not schedule panels on Saturday, our busiest sales day 3. Since MTAC was split between two hotels, to please have the panels in the same hotel as the artist alley, otherwise we'd be losing a lot of time traveling between hotels.
It took a few months to hear back from MTAC, but when we finally did, we were told that they were interested in two of the three panels we pitched: Artist Alley 101 and Introduction to Watercolor. At that time, we were told they'd try to work around Artist Alley hours, also told they'd try to schedule our panels in the same hotel as the Artist Alley, so we wouldn't have to try to navigate parking or the shuttle. Unfortunately, later correspondence informed us that our panels were at 10:00 AM on Saturday and 1:30 on Sunday. This meant that we'd be starting a panel AS THE ALLEY OPENED on Saturday morning, and that on Sunday, we'd have to leave our tables early, catch a shuttle, and present our panel two hours into the alley on Sunday. In addition, our panels were scheduled to be in the Sheraton, rather than the Marriot. In early correspondence, the person in charge of panels, promised to send us this information when he had it, but I had to request it the week before the con, otherwise I would not have known our official times, location, or rooms. I realize it's difficult to contact panelists individually, but I think creating a mailing list to keep panelists and staffed informed would be an easy way to keep everyone on the same page.
I must admit, the process of being accepted for panels, waitlisted for tables, pressured into purchasing a badge without any information as to whether that badge's cost could be applied to a future table cost was REALLY frustrating for me, and I had to go over that coordinator's head a couple times to get the information I needed. There were a few other non-minor quirks that spoiled my excitement for MTAC in the weeks preceding the convention, but I tried my best to shove those to the back of my mind and just focus on convention prep.
As MTAC is a local convention for me, I'll go ahead and publicly reiterate that if MTAC needs help with social media, I would be more than happy to step in, especially in the weeks leading up to the show. I feel like announcing Artist Alley application opening a week before it opens, a day before it opens, and the day it opens are pretty standard for mid-sized conventions, and it would be incredibly welcome. I think right now MTAC's artist alley is first come first serve, and given MTAC's small alley size, it may be a good idea to move to a curated application process that requires a portfolio submission. Conventions like Anime Weekend Atlanta have utilized this system in the past, and it always seemed like Anime Weekend Atlanta had a wonderfully diverse alley. I do realize that this would require additional manpower during the weeks leading up to the show, but it would allow MTAC to keep their alley size, would allow for a larger submission window, and would attract artists of all skill levels who take tabling seriously.
Since MTAC was such an important show for me last year, I made sure I prepared to make it count this year.
Thursday Night Setup
Heidi and I arrived on at the Marriot on Thursday afternoon to start our artist alley setup. It's always really nice to be able to set up the day before. Although badges hadn't yet arrived, we were able to get checked into the alley very quickly, and the artist alley staff were very friendly and helpful. We were informed that the alley was actually 24 hours, which would've been nice to know from the start, but better than finding out Friday morning. We realized later in the con that even if the alley wanted to be 24 hours, the Marriot staff was going to kick attendees out at 8PM, and we were shoo'd out at 9PM. The 24 hour alley SUPPOSEDLY meant we can set our own hours, BUT it also meant we have to breakdown every evening, had this actually hyappened. I left a lot of display stuff up on Thursday with the knowledge that if the alley was indeed a 24 hour alley, I could show up and find my entire table raided, but I was relying on con security to keep an eye on the alley. I DID bring the valuable things back with me, or put them away where it would be obvious if someone was digging.
The alley was located in the foyer right outside the Dealer's Room, and the hotel was pretty much just Dealer's Room or Artist Alley. I was worried that this divide might mean we didn't get enough foot traffic, but hoped that it meant that only people with money to spend would be hanging out in our hotel.


The backlighting was pretty obnoxious, and Heidi and I ended up turning off those lights. I ended up bringing a battery powered natural light lamp with me to help me see what I was drawing during the convention.


Heidi and I were two of very few artists who took advantage of Thursday night setup.


The view from outside the convention provided a tantalizing view of our setups.
Friday
I apologize in advance- my photos got all mixed up.
It seems like my photos posted in reverse order, so I'll save the photos for the end.
My apartment is about 20 minutes away from the hotels MTAC was being held in, so while we did have to get up earlier than I usually do, it wasn't too bad, as we'd already set up the night before.
MTAC is held Easter weekend, which means kids are out on Friday, so Friday and Saturday sales tend to be pretty steady. Because the alley isn't immense, customers don't spend the entire con wandering around, unwilling to commit to a purchase. MTAC is a good con for moving commissions, and the commission portfolio I introduced at Kamicon really helped customers decide on the commission that was best for them.
I was concerned that splitting my $5 commissions up into $5 dots for eyes and $10 for detailed chibis would really kill my sales, but I got a nice split of $5 and $10 commissions, as well as several group commissions. Since we were returning to my apartment each night, it wasn't too hard to pull out the 11"x17" paper and knock out group commissions. In the future, I need to have an example one ready for shows.


The crowd around the perler bead spriter guy got pretty bad in the middle of the day, making it difficult for me to conduct sales as his crowd blocked off my table.


The view from my table before the crowd got bad. It didn't seem like the crowd he attracted were really buying much besides raffle tickets for the Chopper he was selling, and it did seem like many of his perler creations were straight from thee original sprites.

The first of the day's many shuttles. These shuttles took con-goers from the Sheraton (main events, panels) to the Marriot (Dealer's Room, Artist Alley, Signings), and ran all day long.


It seems like my photos all loaded backwards. This is a shot of the alley when Heidi and I arrived only a few minutes before the alley actually opened. A lot of people hadn't shown up, or were still in the throes of setting up.
Friday night, after the con ended, we went back to my apartment, had some dinner, and got started on commissions.
Saturday
Saturday unfortunately started with presenting panels. We went to the Marriot, and Heidi and I took the shuttles over to the Sheraton after settling Joseph in behind my table. Heidi was supposed to be given an assistant by MTAC staff to watch her table while she was gone, but that didn't seem to pan out.
The shuttles MTAC provided were free to attendees and actually very nice. There was no wait for the shuttle between the Marriot and the Sheraton.


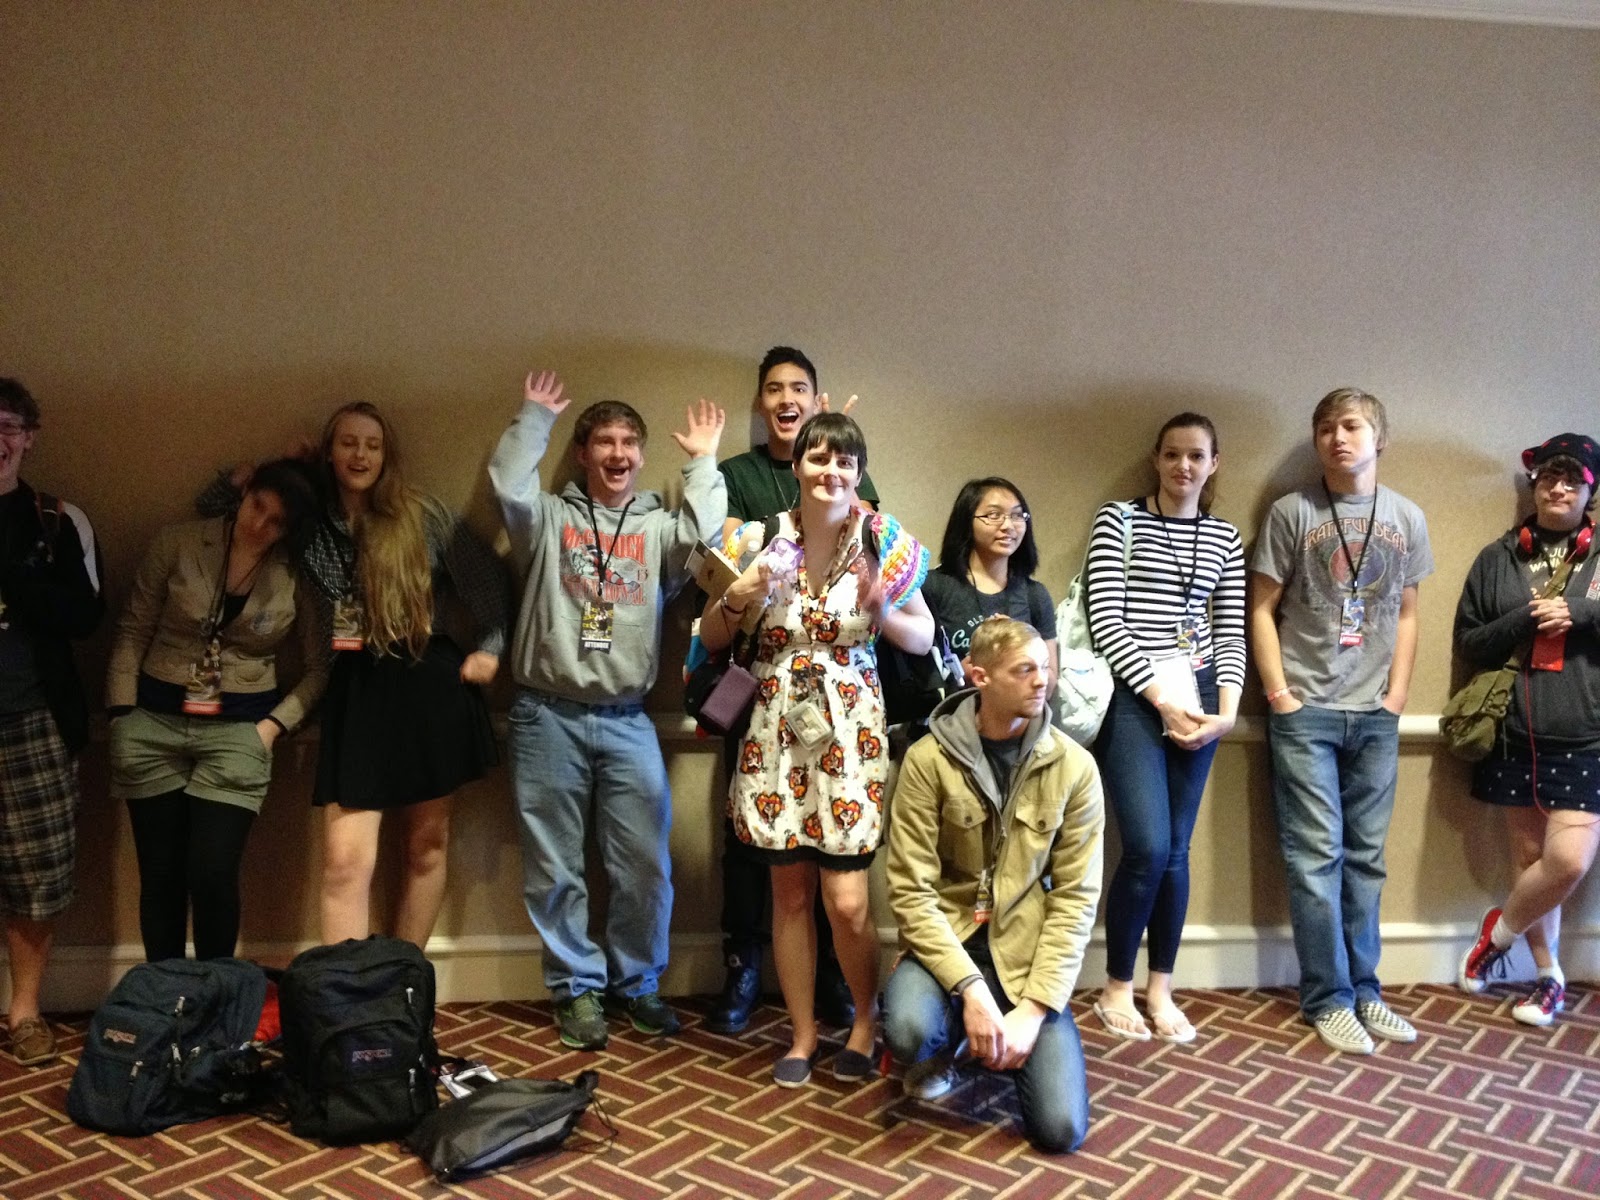
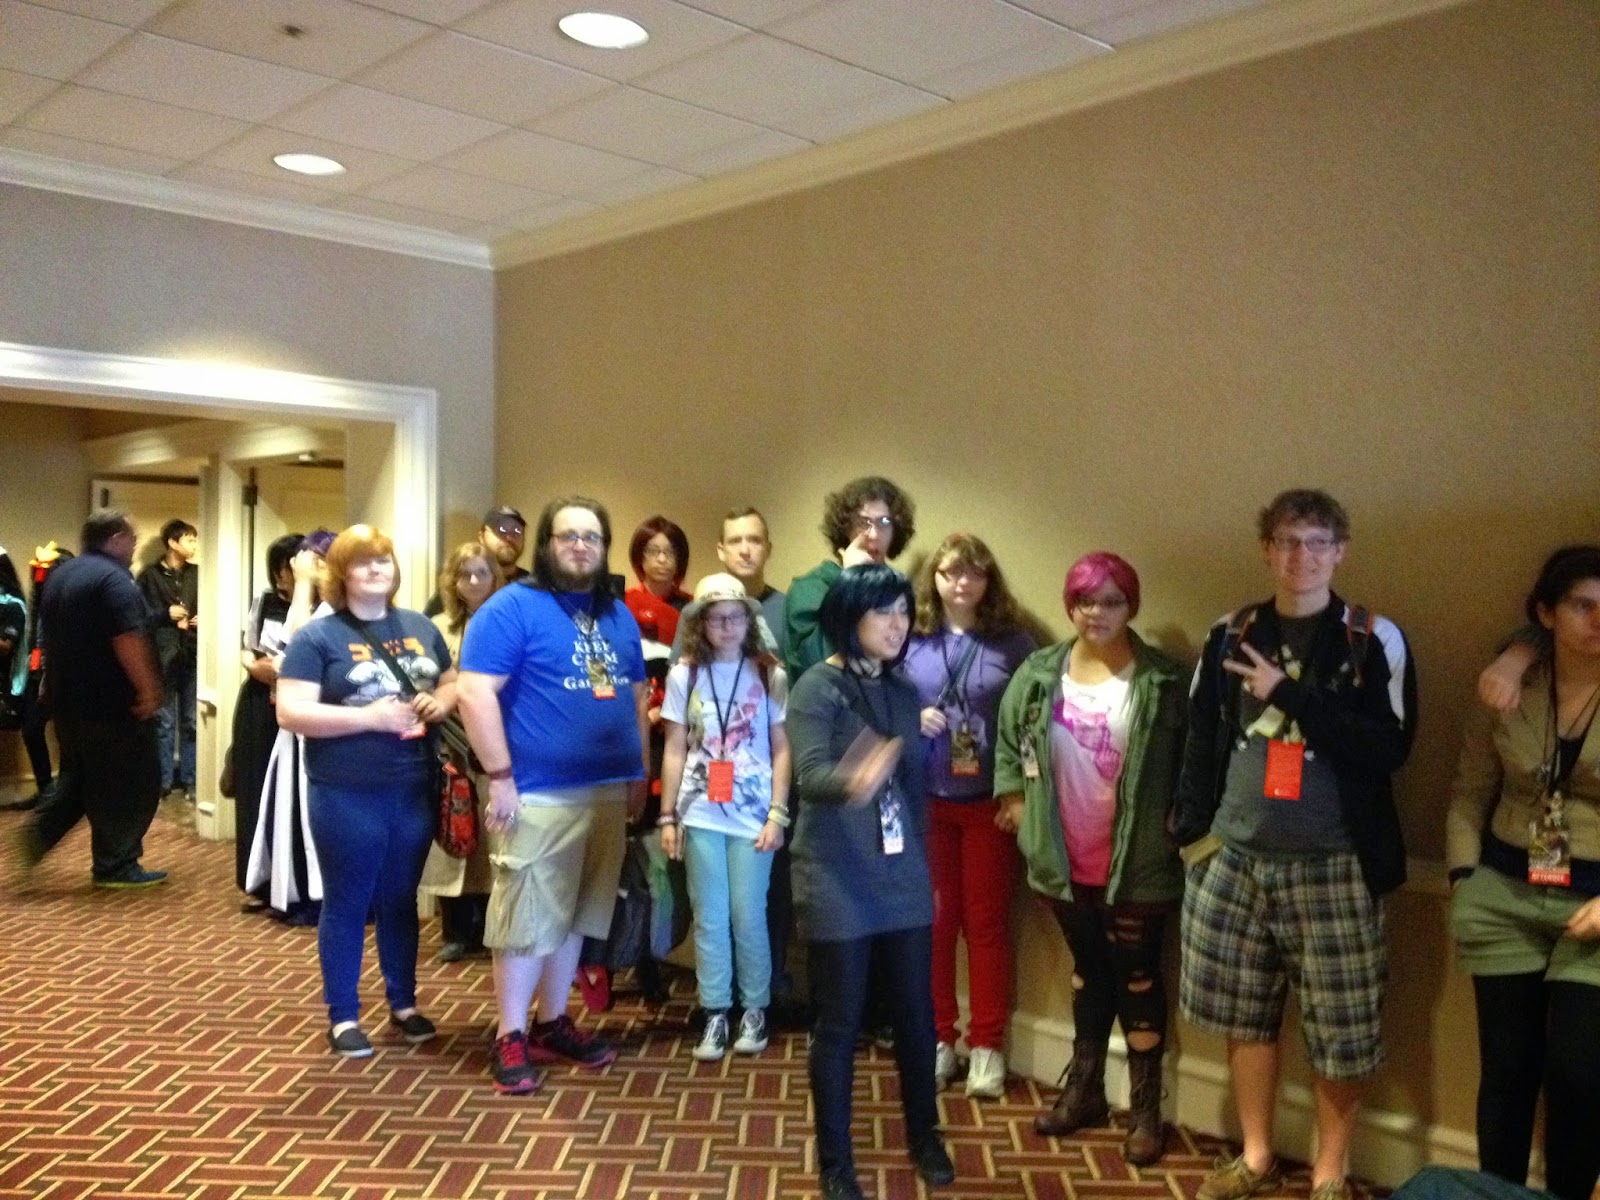
When we arrived for our 10 AM Intro to the Artist Alley panel, people were already waiting for us. I thought having the panel during alley hours was a huge shame, as artists interested in participating would have to find someone to watch their tables in order to attend. We had to wait for someone to unlock the panel room, setting us back about 15 minutes, and I got our attendees to take a photo for me to commemorate the event.


I recorded our panel with my camcorder, and hopefully we'll have the panels up on my Youtube channel as soon as Joseph edits the video!
Wow!~ It seems like my photos are OUT OF ORDER yet again. Below are shots taken on the fly while we navigated the super crowded Sheraton to find our panel room. It was like a warren, and it would've been incredibly helpful to have some staff to check in with to help us find our panel room.


Below is the line for the shuttle from the Sheraton to the Marriot. We stood in line for 45 minutes, and were eventually given a ride with MTAC's guest services van.


Back at the con, I had a list of commissions already waiting for me, and Joseph had done several sales on my behalf. I dived right in, and got to drawing.

Of course, Steven Universe was HUGE at MTAC this year.


Sunday
I was still working on Saturday commissions Sunday, but I managed to knock them out before my panel at 2PM. It's always really hard to pull yourself away from your work (and sales!) to present panels in another hotel. Keep in mind that all the back and forth ate up at least an additional hour of our time. Our watercolor panel's video and slides will be online soon!


Mail Ins
And MTAC was a really good convention for mail in commissions. Unlike SOME conventions (which will be mentioned later, haha), I never had to really sell commissions- people knew what they wanted and were ready to pay for it, which was a refreshing change of pace.


The Breakdown
Hotel: $0
Transportation: $40 (for a week's worth of gas, I'm sure we used far less than that)
Food: Friday- Starbucks Frappchino $5, Soylent held me through til we got home, Dinner Saturday- Frappechino $5, Soylent held me til 3:00 PM, $13 Grits at the hotel, leftovers for dinner, Sunday- Frappechino $5, Soylent until closing, dinner at The Row for $24 (never order the seafood special in Nashville, they don't know what seafood even looks like here)
(NOTE: I could have easily brought food from home every day, as the hotels the convention was held in were super close, but it was easier for me to get hot food at the con)
Table and badge: $150 (Note, I was supposed to receive compensation- 50% off my badge, discluding table- for panel hours, but that money has never been reimbursed)
Total Cost: Around $242
Total Sales:

The Verdict
MTAC continues to be a fantastic convention for me. While it was extremely difficult juggling panels that were during peak Artist Alley hours, especially as the con was split between two hotels, it was also incredibly rewarding both emotionally and financially. MTAC continues to set the standard to which I compare other anime conventions, and the Nashville crowd continues to touch my heart. I am so humbled and honored to continue to receive the exceptionally warm reception Nashville has given me in the convention scene.
My only real concern with MTAC is as much as I love love love tabling, it's becoming increasingly hard to get a table within their small, well curated artist alley. This year the artist alley sold out within an hour of opening, which was a shame, as I was at Kamicon (along with several MTAC staff members), and unable to jump right on it. Perhaps MTAC could introduce an early buy-in system the way Anime Weekend Atlanta used to do? I have often suggested that MTAC expand their artist alley, but after attending Animazement (review to come soon) which was just TOO TOO large, I like that MTAC can curate their artists. I feel like this curation and smaller alley size ensures that the artists who table do better and that there are no dead zones.
I plan on doing MTAC as long as I live in the area, and I may even continue to table should I move, if I can afford the additional costs. To be honest, I've spent years trying to court the New Orleans anime scene through Mechacon, and have never had the warm reception that MTAC's given me in just two short years. I really think MTAC is a hidden gem of a con, and I look forward to watching and helping it grow in the upcoming years.
Please consider donating to this blog or purchasing from Natto-shop (http://nattosoup.com/shop) if you want me to continue publishing quality content. All materials tested were purchased from my own pocket. Keep on Truckin' Nattosoup is not under any sponsorship.
Last year, you guys got to hear me expound on how much I loved my first year tabling at MTAC, and it became the standard to which I held the rest of 2014's conventions. I sung MTAC's praises to almost any artist I met, but little did I realize that that would be detrimental to me. MTAC opened their artist alley application with no fanfare or prior announcement while I was at Kamicon, and I missed applying for a table the first go round. Artist friends informed me that the MTAC alley sold out WITHIN AN HOUR, which is understandable given how small MTAC's artist alley is. Apparently my praises had convinced several artists to apply for MTAC, which made it a little harder to get a table this year than last. I applied to be on the wait list, and fortunately, I managed to secure a table, which is doubly fortuitous as I was presenting two panels in conjunction with Heidi Black.
This year, it was really important to me that I offer panels at MTAC. I'd spent last year and GMX talking to attendees about possible art track paneling, and I knew the interest was definitely there. When I pitched the panels to MTAC, I mentioned a few requests that I felt were fairly do-able
1. Not to have our panels during alley hours if at all possible. 2. If that's not possible, to please not schedule panels on Saturday, our busiest sales day 3. Since MTAC was split between two hotels, to please have the panels in the same hotel as the artist alley, otherwise we'd be losing a lot of time traveling between hotels.
It took a few months to hear back from MTAC, but when we finally did, we were told that they were interested in two of the three panels we pitched: Artist Alley 101 and Introduction to Watercolor. At that time, we were told they'd try to work around Artist Alley hours, also told they'd try to schedule our panels in the same hotel as the Artist Alley, so we wouldn't have to try to navigate parking or the shuttle. Unfortunately, later correspondence informed us that our panels were at 10:00 AM on Saturday and 1:30 on Sunday. This meant that we'd be starting a panel AS THE ALLEY OPENED on Saturday morning, and that on Sunday, we'd have to leave our tables early, catch a shuttle, and present our panel two hours into the alley on Sunday. In addition, our panels were scheduled to be in the Sheraton, rather than the Marriot. In early correspondence, the person in charge of panels, promised to send us this information when he had it, but I had to request it the week before the con, otherwise I would not have known our official times, location, or rooms. I realize it's difficult to contact panelists individually, but I think creating a mailing list to keep panelists and staffed informed would be an easy way to keep everyone on the same page.
I must admit, the process of being accepted for panels, waitlisted for tables, pressured into purchasing a badge without any information as to whether that badge's cost could be applied to a future table cost was REALLY frustrating for me, and I had to go over that coordinator's head a couple times to get the information I needed. There were a few other non-minor quirks that spoiled my excitement for MTAC in the weeks preceding the convention, but I tried my best to shove those to the back of my mind and just focus on convention prep.
As MTAC is a local convention for me, I'll go ahead and publicly reiterate that if MTAC needs help with social media, I would be more than happy to step in, especially in the weeks leading up to the show. I feel like announcing Artist Alley application opening a week before it opens, a day before it opens, and the day it opens are pretty standard for mid-sized conventions, and it would be incredibly welcome. I think right now MTAC's artist alley is first come first serve, and given MTAC's small alley size, it may be a good idea to move to a curated application process that requires a portfolio submission. Conventions like Anime Weekend Atlanta have utilized this system in the past, and it always seemed like Anime Weekend Atlanta had a wonderfully diverse alley. I do realize that this would require additional manpower during the weeks leading up to the show, but it would allow MTAC to keep their alley size, would allow for a larger submission window, and would attract artists of all skill levels who take tabling seriously.
Since MTAC was such an important show for me last year, I made sure I prepared to make it count this year.
Thursday Night Setup
Heidi and I arrived on at the Marriot on Thursday afternoon to start our artist alley setup. It's always really nice to be able to set up the day before. Although badges hadn't yet arrived, we were able to get checked into the alley very quickly, and the artist alley staff were very friendly and helpful. We were informed that the alley was actually 24 hours, which would've been nice to know from the start, but better than finding out Friday morning. We realized later in the con that even if the alley wanted to be 24 hours, the Marriot staff was going to kick attendees out at 8PM, and we were shoo'd out at 9PM. The 24 hour alley SUPPOSEDLY meant we can set our own hours, BUT it also meant we have to breakdown every evening, had this actually hyappened. I left a lot of display stuff up on Thursday with the knowledge that if the alley was indeed a 24 hour alley, I could show up and find my entire table raided, but I was relying on con security to keep an eye on the alley. I DID bring the valuable things back with me, or put them away where it would be obvious if someone was digging.
The alley was located in the foyer right outside the Dealer's Room, and the hotel was pretty much just Dealer's Room or Artist Alley. I was worried that this divide might mean we didn't get enough foot traffic, but hoped that it meant that only people with money to spend would be hanging out in our hotel.

The backlighting was pretty obnoxious, and Heidi and I ended up turning off those lights. I ended up bringing a battery powered natural light lamp with me to help me see what I was drawing during the convention.


Heidi and I were two of very few artists who took advantage of Thursday night setup.
The view from outside the convention provided a tantalizing view of our setups.
Friday
I apologize in advance- my photos got all mixed up.
It seems like my photos posted in reverse order, so I'll save the photos for the end.
My apartment is about 20 minutes away from the hotels MTAC was being held in, so while we did have to get up earlier than I usually do, it wasn't too bad, as we'd already set up the night before.
MTAC is held Easter weekend, which means kids are out on Friday, so Friday and Saturday sales tend to be pretty steady. Because the alley isn't immense, customers don't spend the entire con wandering around, unwilling to commit to a purchase. MTAC is a good con for moving commissions, and the commission portfolio I introduced at Kamicon really helped customers decide on the commission that was best for them.
I was concerned that splitting my $5 commissions up into $5 dots for eyes and $10 for detailed chibis would really kill my sales, but I got a nice split of $5 and $10 commissions, as well as several group commissions. Since we were returning to my apartment each night, it wasn't too hard to pull out the 11"x17" paper and knock out group commissions. In the future, I need to have an example one ready for shows.
The crowd around the perler bead spriter guy got pretty bad in the middle of the day, making it difficult for me to conduct sales as his crowd blocked off my table.
The view from my table before the crowd got bad. It didn't seem like the crowd he attracted were really buying much besides raffle tickets for the Chopper he was selling, and it did seem like many of his perler creations were straight from thee original sprites.
The first of the day's many shuttles. These shuttles took con-goers from the Sheraton (main events, panels) to the Marriot (Dealer's Room, Artist Alley, Signings), and ran all day long.

It seems like my photos all loaded backwards. This is a shot of the alley when Heidi and I arrived only a few minutes before the alley actually opened. A lot of people hadn't shown up, or were still in the throes of setting up.
Friday night, after the con ended, we went back to my apartment, had some dinner, and got started on commissions.
Saturday
Saturday unfortunately started with presenting panels. We went to the Marriot, and Heidi and I took the shuttles over to the Sheraton after settling Joseph in behind my table. Heidi was supposed to be given an assistant by MTAC staff to watch her table while she was gone, but that didn't seem to pan out.
The shuttles MTAC provided were free to attendees and actually very nice. There was no wait for the shuttle between the Marriot and the Sheraton.
When we arrived for our 10 AM Intro to the Artist Alley panel, people were already waiting for us. I thought having the panel during alley hours was a huge shame, as artists interested in participating would have to find someone to watch their tables in order to attend. We had to wait for someone to unlock the panel room, setting us back about 15 minutes, and I got our attendees to take a photo for me to commemorate the event.

I recorded our panel with my camcorder, and hopefully we'll have the panels up on my Youtube channel as soon as Joseph edits the video!
Wow!~ It seems like my photos are OUT OF ORDER yet again. Below are shots taken on the fly while we navigated the super crowded Sheraton to find our panel room. It was like a warren, and it would've been incredibly helpful to have some staff to check in with to help us find our panel room.

Below is the line for the shuttle from the Sheraton to the Marriot. We stood in line for 45 minutes, and were eventually given a ride with MTAC's guest services van.


Back at the con, I had a list of commissions already waiting for me, and Joseph had done several sales on my behalf. I dived right in, and got to drawing.
Of course, Steven Universe was HUGE at MTAC this year.


Sunday
I was still working on Saturday commissions Sunday, but I managed to knock them out before my panel at 2PM. It's always really hard to pull yourself away from your work (and sales!) to present panels in another hotel. Keep in mind that all the back and forth ate up at least an additional hour of our time. Our watercolor panel's video and slides will be online soon!

Mail Ins
And MTAC was a really good convention for mail in commissions. Unlike SOME conventions (which will be mentioned later, haha), I never had to really sell commissions- people knew what they wanted and were ready to pay for it, which was a refreshing change of pace.


The Breakdown
Hotel: $0
Transportation: $40 (for a week's worth of gas, I'm sure we used far less than that)
Food: Friday- Starbucks Frappchino $5, Soylent held me through til we got home, Dinner Saturday- Frappechino $5, Soylent held me til 3:00 PM, $13 Grits at the hotel, leftovers for dinner, Sunday- Frappechino $5, Soylent until closing, dinner at The Row for $24 (never order the seafood special in Nashville, they don't know what seafood even looks like here)
(NOTE: I could have easily brought food from home every day, as the hotels the convention was held in were super close, but it was easier for me to get hot food at the con)
Table and badge: $150 (Note, I was supposed to receive compensation- 50% off my badge, discluding table- for panel hours, but that money has never been reimbursed)
Total Cost: Around $242
Total Sales:
The Verdict
MTAC continues to be a fantastic convention for me. While it was extremely difficult juggling panels that were during peak Artist Alley hours, especially as the con was split between two hotels, it was also incredibly rewarding both emotionally and financially. MTAC continues to set the standard to which I compare other anime conventions, and the Nashville crowd continues to touch my heart. I am so humbled and honored to continue to receive the exceptionally warm reception Nashville has given me in the convention scene.
My only real concern with MTAC is as much as I love love love tabling, it's becoming increasingly hard to get a table within their small, well curated artist alley. This year the artist alley sold out within an hour of opening, which was a shame, as I was at Kamicon (along with several MTAC staff members), and unable to jump right on it. Perhaps MTAC could introduce an early buy-in system the way Anime Weekend Atlanta used to do? I have often suggested that MTAC expand their artist alley, but after attending Animazement (review to come soon) which was just TOO TOO large, I like that MTAC can curate their artists. I feel like this curation and smaller alley size ensures that the artists who table do better and that there are no dead zones.
I plan on doing MTAC as long as I live in the area, and I may even continue to table should I move, if I can afford the additional costs. To be honest, I've spent years trying to court the New Orleans anime scene through Mechacon, and have never had the warm reception that MTAC's given me in just two short years. I really think MTAC is a hidden gem of a con, and I look forward to watching and helping it grow in the upcoming years.
Please consider donating to this blog or purchasing from Natto-shop (http://nattosoup.com/shop) if you want me to continue publishing quality content. All materials tested were purchased from my own pocket. Keep on Truckin' Nattosoup is not under any sponsorship.
May 30, 2015
Con Recap: Kamicon
This is a rather...delayed con recap isn't it? Fortunately, a con recap is only too late if the con has opened up their artist alley submissions again, so I think I'm safe. I've been so busy attending conventions in the past few weeks, I haven't had much time to write about them!
Last year, my friend Alex suggested that I try tabling at Kamicon, an anime convention in Birmingham, AL. I'd missed the deadline for their Artist Alley by a few hours, but I applied to be put in their waitlist. Unfortunately, I never made it into the artist alley last year, but I was much more proactive this year in submitting my application, and secured a table.
Part of the draw for Kamicon was that, at the time of application, Alex was artist alley staff, and I felt comfortable going to Alex with any concerns I might have. Unfortunately, Alex's talents were needed elsewhere, but I honestly didn't mind too much. Hamacon was a good convention for me, and I was pretty sure Alabama conventions were a good fit for me.
Before the Con
A couple months prior to Hamacon, I had a fairly negative convention experience with Anime Kaiju. Although I knew better, Anime Kaiju still affected my confidence, so I wanted to make sure I hit Kamicon with my best foot forward and my guns blazing. Part of doing that meant changing how I handle my display, which included cute new standee price signs.

I also collaborated with Alex for a series of pieces that combined cute chibi art with relaxing space.


And I did a full demo display to make sure everything worked together and I had everything that I needed ready to pack.


I introduced a commission sample book for Kamicon- a little portfolio filled with labelled originals to give customers a little extra help deciding what sort of commission they'd be interested in purchasing. I wanted to free up space on my display for mini prints and watercolors, and it was extremely easy to put this little book together.


Heidi came to spend the night that Wednesday, and on Thursday we made the drive down to Tuscaloosa to pick up Alex. We arrived in Birmingham on Friday morning, and went to check in with Kamicon registration immediately.
We did a four way hotel room split with Emily of Sweet Fancy Cuteness, and since Alex would be serving as staff, Alex paid towards the hotel cost. We opted to stay at the Westin attached to the convention, as that's usually the easiest solution, and paid to park in the attached parking. Since there were four of us to the room, I'm fairly sure our per person total was cheap, I'm guessing around $60, but as I didn't book the hotel, I don't have access to the numbers.
Friday
We were directed to the artist alley, which was located just past the dealer's room. I was a bit concerned that having customers travel through the dealer's room to get to the artist alley might affect our sales, but I decided to wait and see how things went before getting bent out of shape. We were able to quickly locate the Artist Alley Check In Table, nestled in amongst the artist tables. It only took a moment to check in, and we were pointed to our tables- the last two on the first row.
I was somewhat nervous about being placed next to Heidi- it's been a reoccuring theme in my convention life that when our tables are together, people will inevitably compare us. For a few years, I resisted raising my prices, as it meant my most expensive sketch commission would be the same price as her cheapest, and customers would usually just take their business to her. I didn't notice this problem when we weren't placed next to each other, and while I like to say none of us in the artist alley are competing against each other, I also feel like it's unfair to put two commission artists next to each other when you have an entire alley to play with. I feel like it's generally bad alley organization not to mix up your alley. Personally, I really like being next to plush artists, hatters, or, my dream placement, next to someone who sews American lolita-wear (but then I'd spend all my money at that table, haha). WITH THAT SAID, Heidi requested that we be next to each other (I didn't), so the alley staff was merely honoring her wishes.
 This is actually a REALLY frumpy outfit for me, but it was too cold to skip the jacket, as the loading bay door was open while artists and dealers set up.

The alley itself wasn't very big- four rows of tables with maybe 8 tables per row, some rows having two tables at each end as endcaps, so maybe 34 tables total. The room we were in could have easily accommodated more dealers and more artists, it seemed a bit empty and under utilized. It was also a very Spartan room, with an unfinished ceiling and concrete floors. Perhaps Kamicon could have used some of the extra space to host minor family-oriented events the way Hamacon did last year. By having hourly events, you could ensure that there's always some crowd hanging around.

We had PLENTY of room behind our tables though. Had I been smart, I probably could've brought more wire cubes, and set up a gallery wall, but you can never really predict what sort of space you're going to get until you see it in person. I really don't like tabling next to people who assume the con is going to provide everyone with plenty of space, and so they pack huge displays or displays that have a large footprint, and then insist on using their entire display even if our space is greatly reduced. I'd prefer to pack small and try to expand than to take up someone else's room.

 Friday sales were steady, but fairly unremarkable, and were slow from setup until around 4, when they picked up as kids got out of school and started getting to the convention. Our food option was within easy walking distance- burgers, fries, and hotdogs, and the bathroom was just a little further away. Also in this massive room were the convention recruitment tables, which seemed an odd placement, as they would've gotten more attention flanking the entrances to this room. Despite having the Dealer's Room, Artist Alley, AND convention tables in the room, the room still felt very empty, even at its busiest. On Friday, Alex was busy helping open up the convention to attendees, so while I had no problem handling sales on my own, it got a little lonely behind the table. Friday Artist Alley Hours were 4:00 PM- 8:00 PM Saturday
I apologize for the lack of photos from this point on- I spent the rest of Kamicon extremely busy with commissions. At this con, I was still offering detailed chibis and dots-for-eyes chibis at the same price, which kept me slammed but didn't net me as much money as I would've liked.
Saturday was fairly bustling from the get-go, although things definitely picked up even more after lunch. Alex was busy at registration for a lot of the day, and the artist alley was kept really cold, which made it difficult to draw, as my hands get stiff. I took commissions all day, so I didn't really have a chance to talk to the attendees as much as I would've liked. Although it was nice to stay busy, I was pretty run down by 8:00 PM, when Joe with MCFC swung by to chat. Alex was there to help out, but Alex was so run down as well that it was really difficult to juggle it all. I was definitely ready to head back to the hotel when 10:00 PM struck, and I was starving. Unfortunately, late alley hours make it really difficult for tabling artists to find places to eat that are nearby and still open. Fortunately for us, we had plans to dine with convention staff from MTAC, Otakon, and Momocon, so while we had to hit up a few restaurants, we managed to find a pizza place that could not only accommodate a party of our size, but was open late.
Although later hours makes it harder to find food late at night, I gotta admit, I'd rather get up later and stay later than get up early and leave at 6 PM. I'm a night owl, and I don't really wake up mentally around 11 AM, so the later hours are better for me, as I'm much more on the ball.
Saturday Artist Alley Hours were 10:00 AM- 10:00 PM
Sunday
On Sunday, Alex was able to hang out with us much more, as the registration swarm had all died out. Although sales had slowed down, I wasn't too disappointed, as I was working on a few remaining sketch commissions taken the night before that I hadn't been able to complete before my hand gave out. Once those were done, I did take a few additional at-cons, but Alex and I both pushed the mail ins.
I feel like the introduction of my commission portfolio, mentioned earlier in the post, really helped move sales. I also broke up some of my commission tiers- dots for eyes started at $5, detailed chibi started at $10, inks were an additional $5 on whatever base price and having labelled examples for all of these made it much easier for customers to decide what commissions they wanted.
At Con Commissions


Mail in Commissions


The Breakdown
Total Sales: Slightly over $800
Hotel: $60 per person approx
Transportation: A tank of gas each way, so $80 total
Food: $5 Frappechino at the Starbucks in the Westin, we didn't eat a real meal until a very late dinner, the only place open was the pub attached to the Westin- $25, Saturday $5 frappechino, $10 lunch at the con, $20 dinner at the pizza place, Sunday $5 frappechino, dinner on way to Tuscaloosa at Okinawa $25
Total Costs: $235
The Verdict
So far, I really, really like Alabama conventions. Hamacon was great last year, Kamicon was good this year, and could have been better if I'd had more ready-made stuff that appealed to people looking to fill a fandom need. Also, I had a lot of repeat customers from Hamacon, Anime Blast Chattanooga, and MTAC, customers who actually sought me out to say hi! It's so rewarding doing shows where people actually remember me, and I'm more than just a sketch-Walmart to them. I enjoyed filling all my commissions, had a great time chatting with people, and got to meet a lot of new friends. If you're an artist like me who often has trouble standing out at huge conventions like Otakon or Animazement, I highly recommend tabling at great smaller shows like Hamacon and Kamicon.
Please consider donating to this blog or purchasing from Natto-shop (http://nattosoup.com/shop) if you want me to continue publishing quality content. All materials tested were purchased from my own pocket. Keep on Truckin' Nattosoup is not under any sponsorship.
Last year, my friend Alex suggested that I try tabling at Kamicon, an anime convention in Birmingham, AL. I'd missed the deadline for their Artist Alley by a few hours, but I applied to be put in their waitlist. Unfortunately, I never made it into the artist alley last year, but I was much more proactive this year in submitting my application, and secured a table.
Part of the draw for Kamicon was that, at the time of application, Alex was artist alley staff, and I felt comfortable going to Alex with any concerns I might have. Unfortunately, Alex's talents were needed elsewhere, but I honestly didn't mind too much. Hamacon was a good convention for me, and I was pretty sure Alabama conventions were a good fit for me.
Before the Con
A couple months prior to Hamacon, I had a fairly negative convention experience with Anime Kaiju. Although I knew better, Anime Kaiju still affected my confidence, so I wanted to make sure I hit Kamicon with my best foot forward and my guns blazing. Part of doing that meant changing how I handle my display, which included cute new standee price signs.
I also collaborated with Alex for a series of pieces that combined cute chibi art with relaxing space.
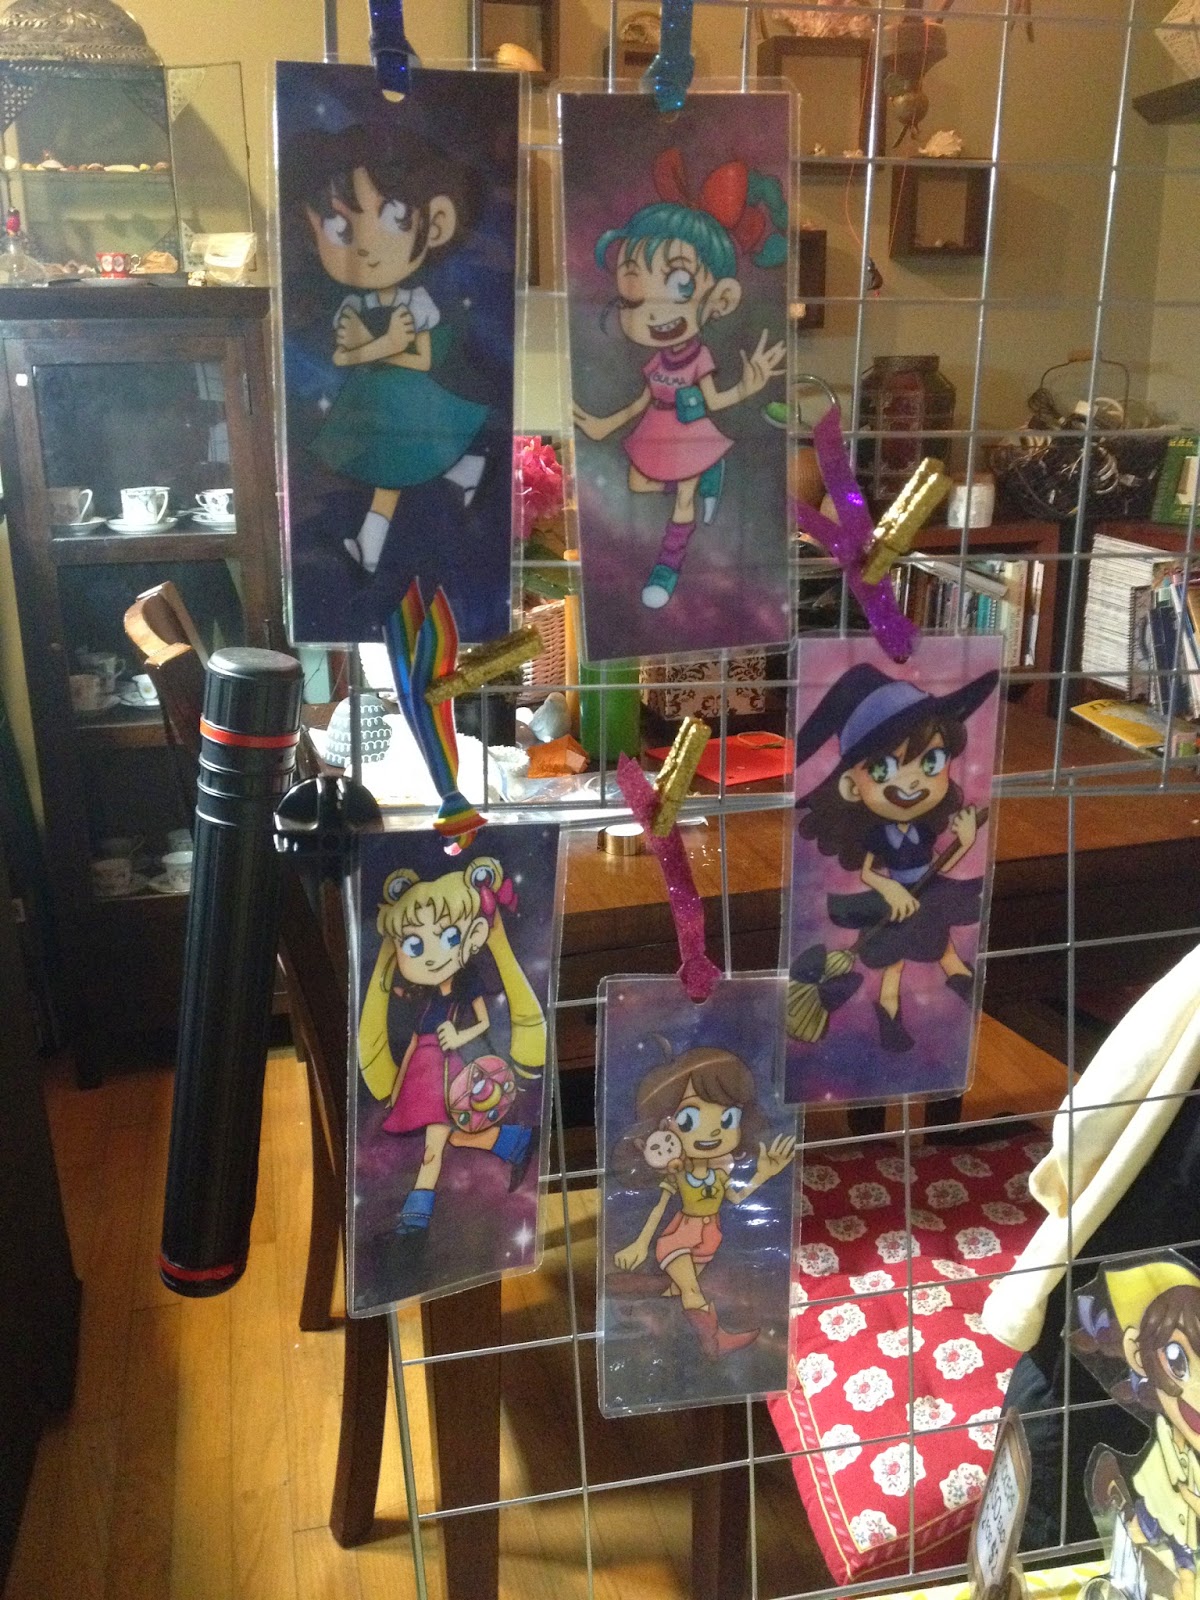
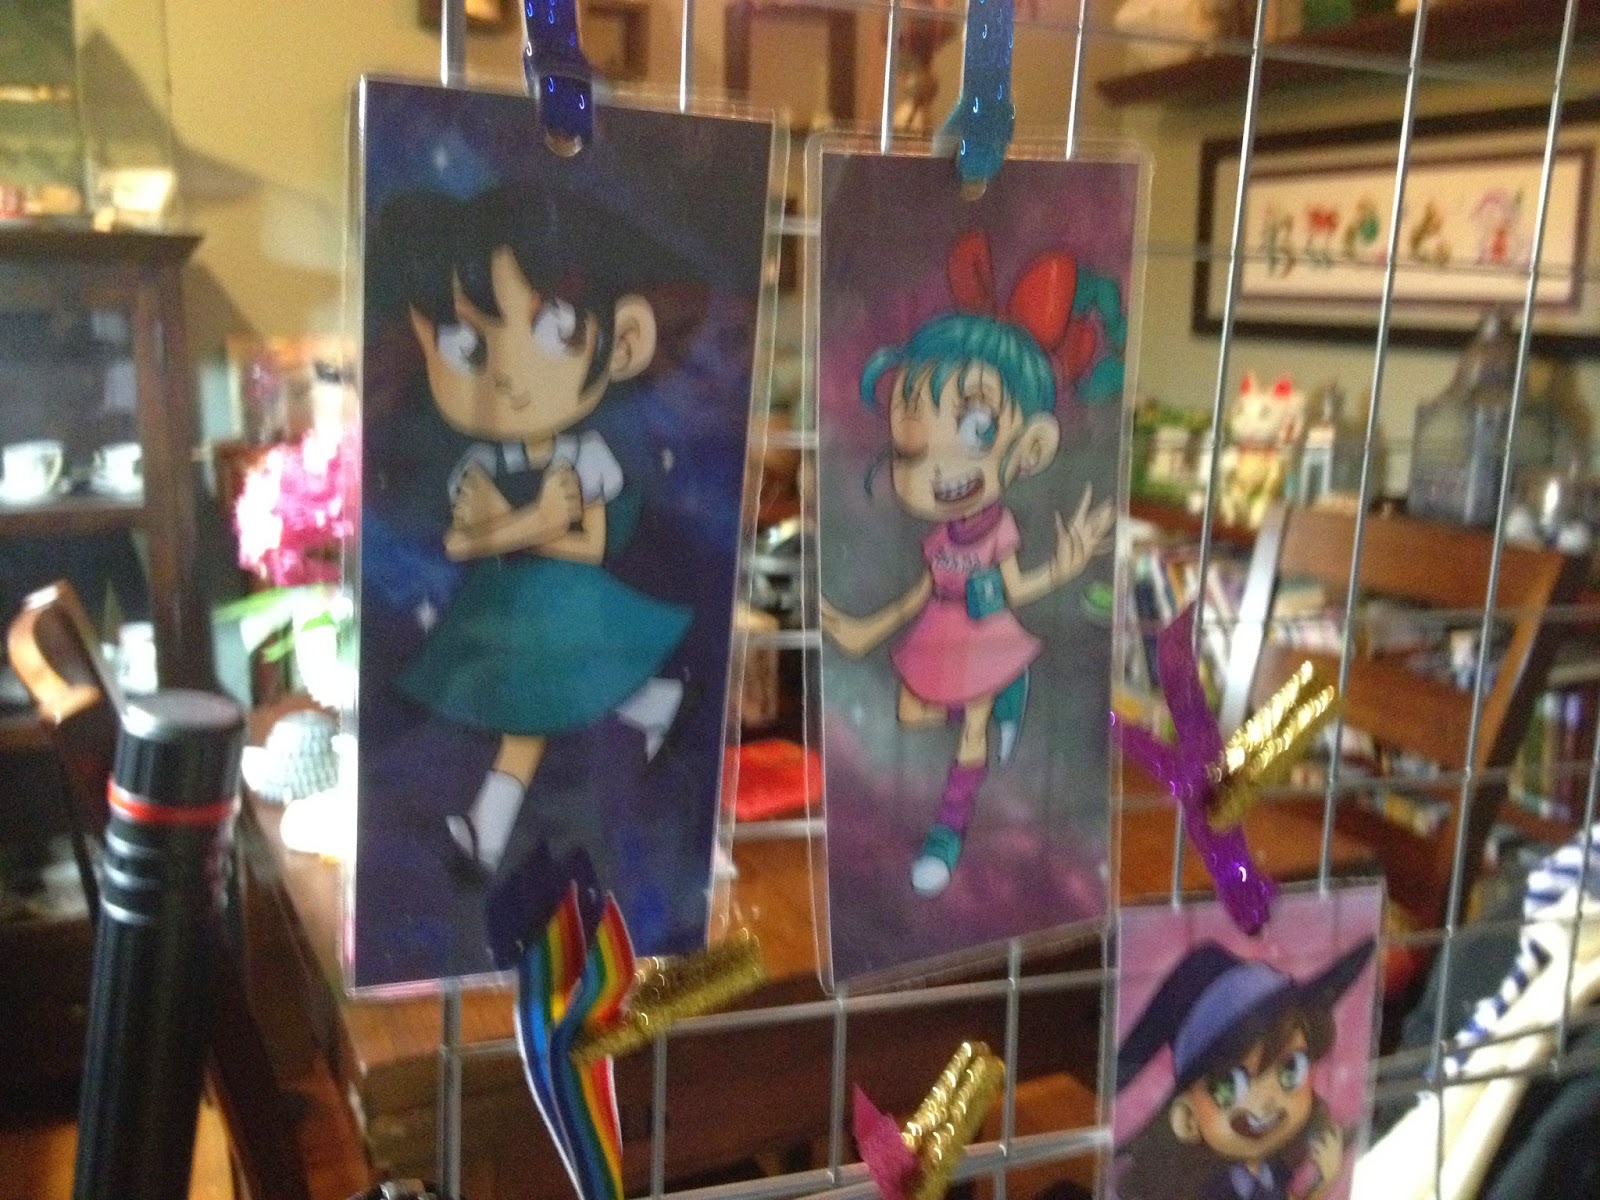
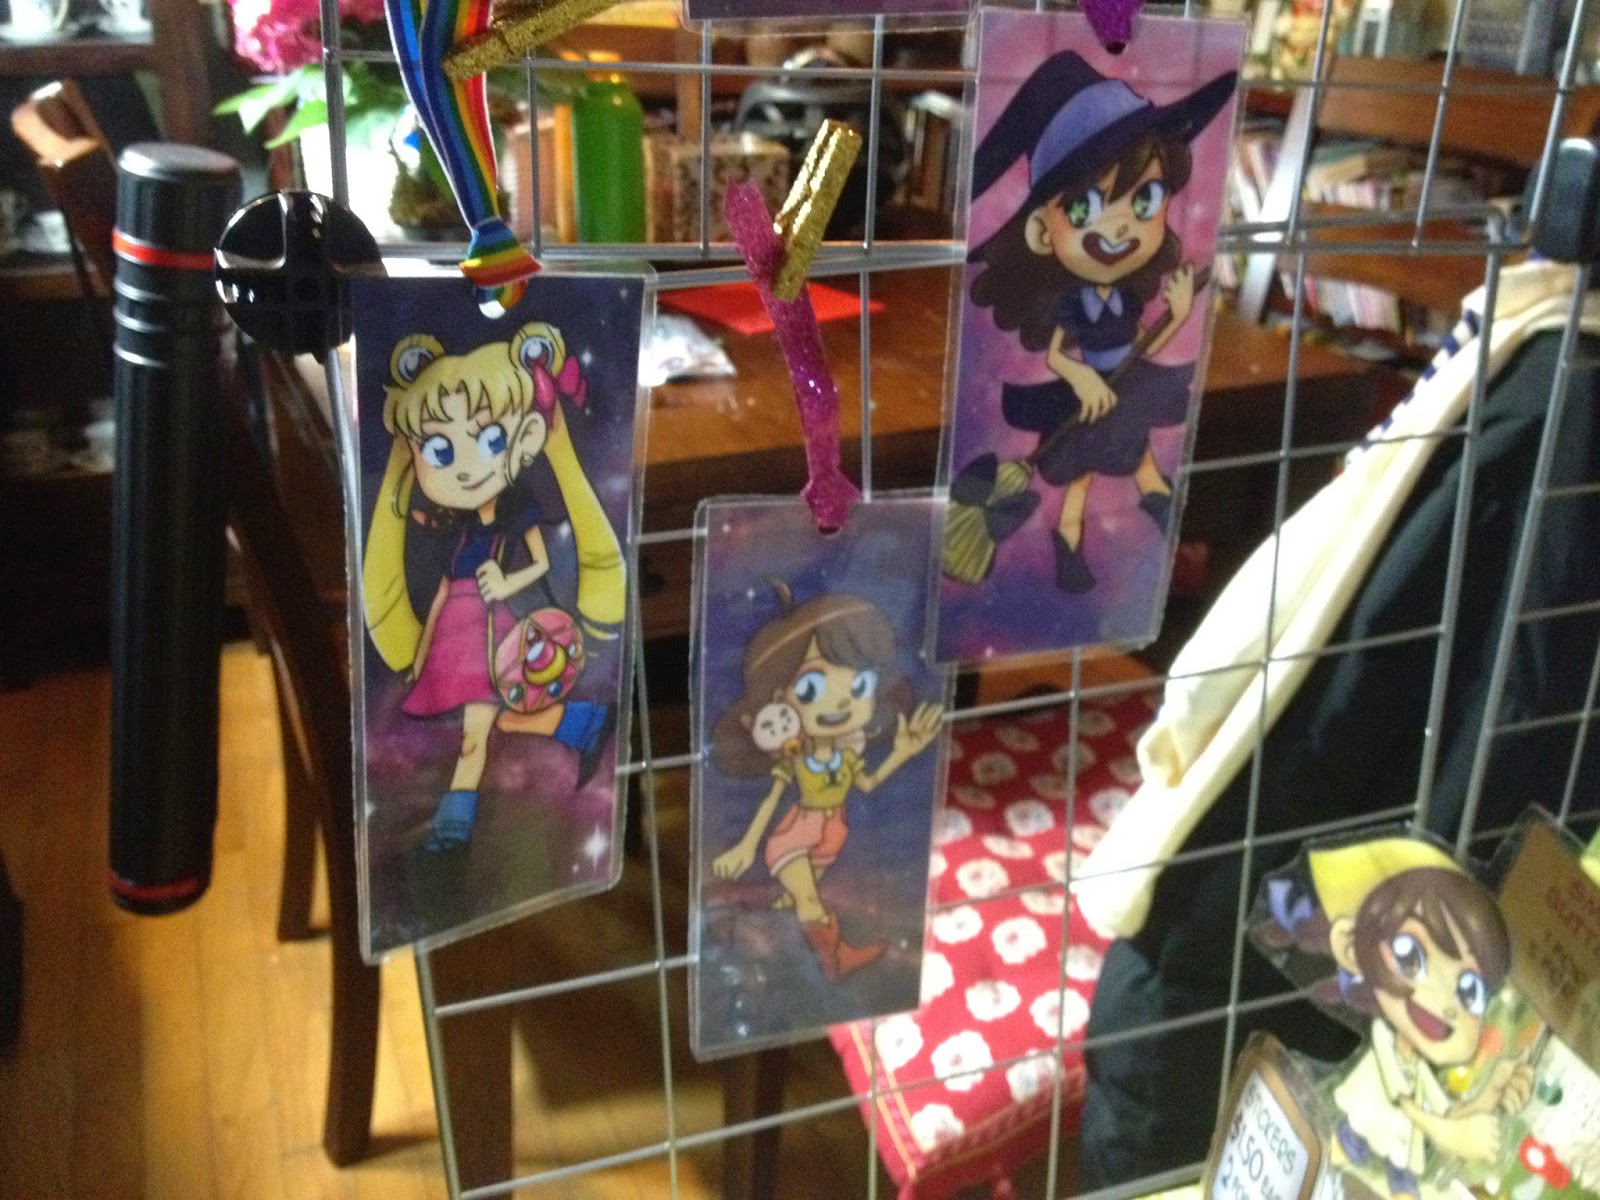
And I did a full demo display to make sure everything worked together and I had everything that I needed ready to pack.
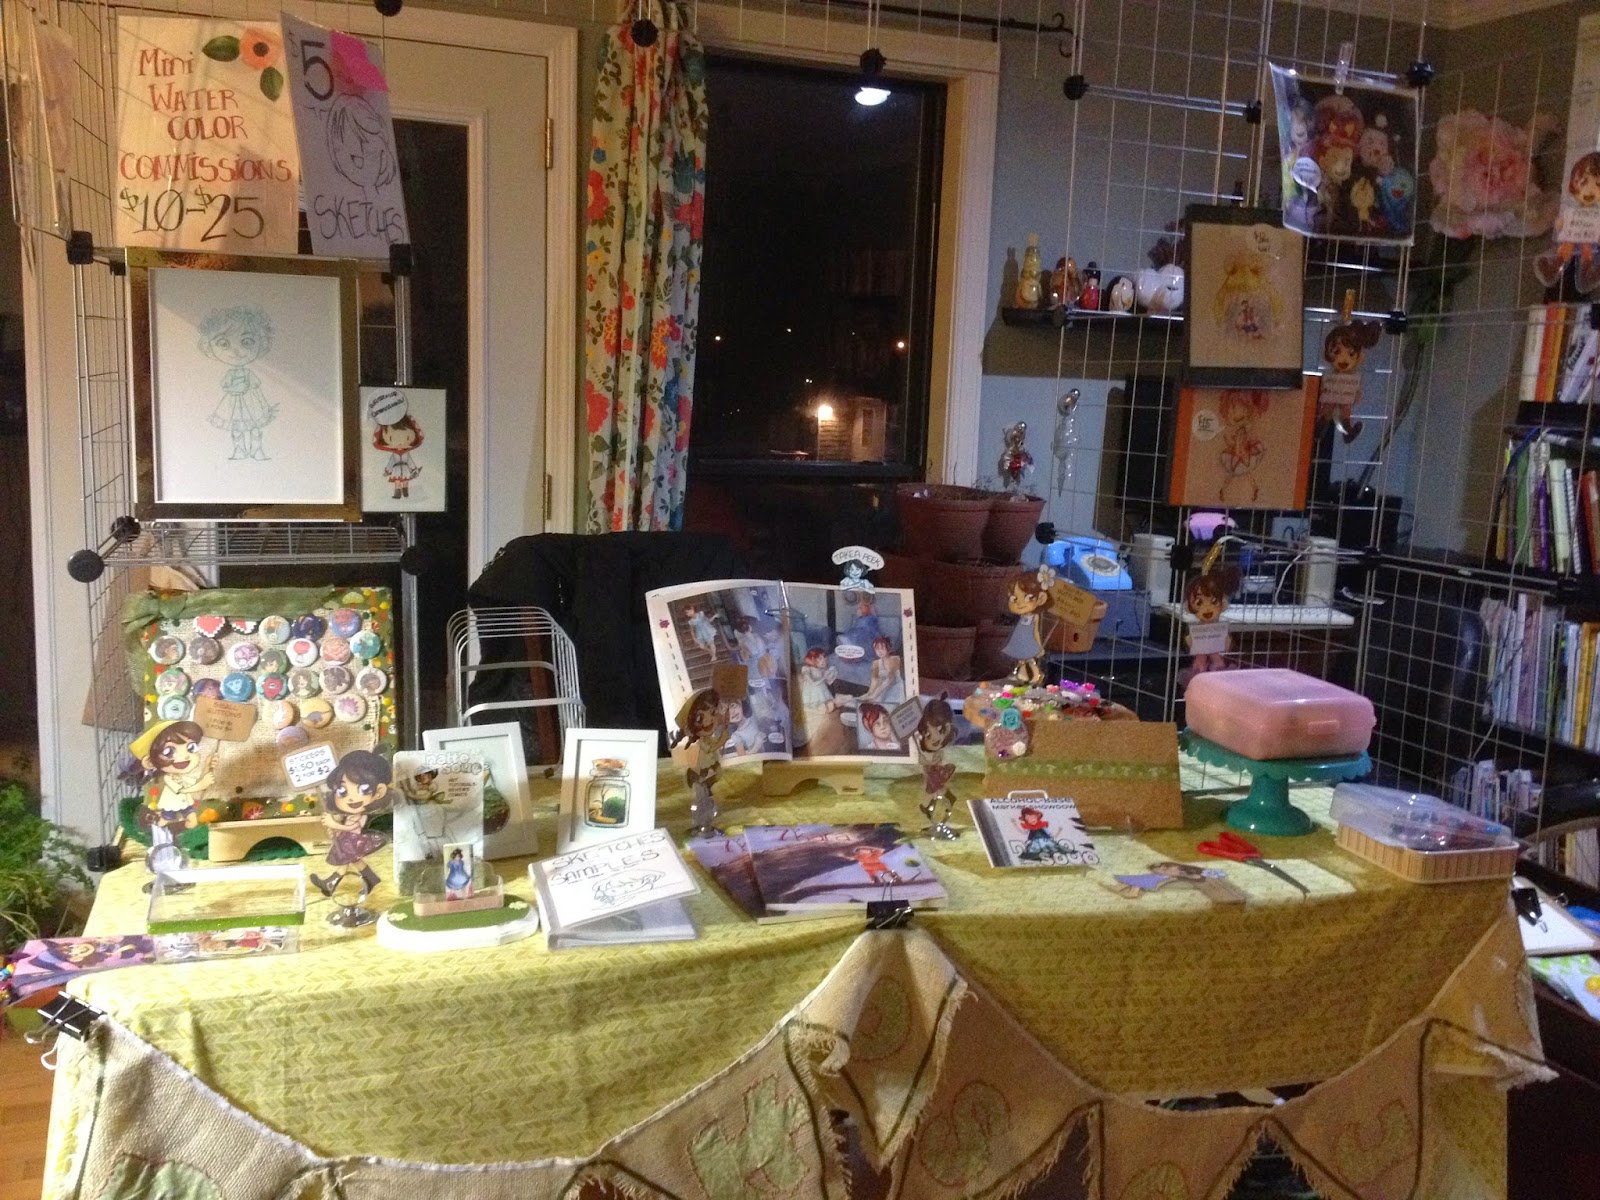

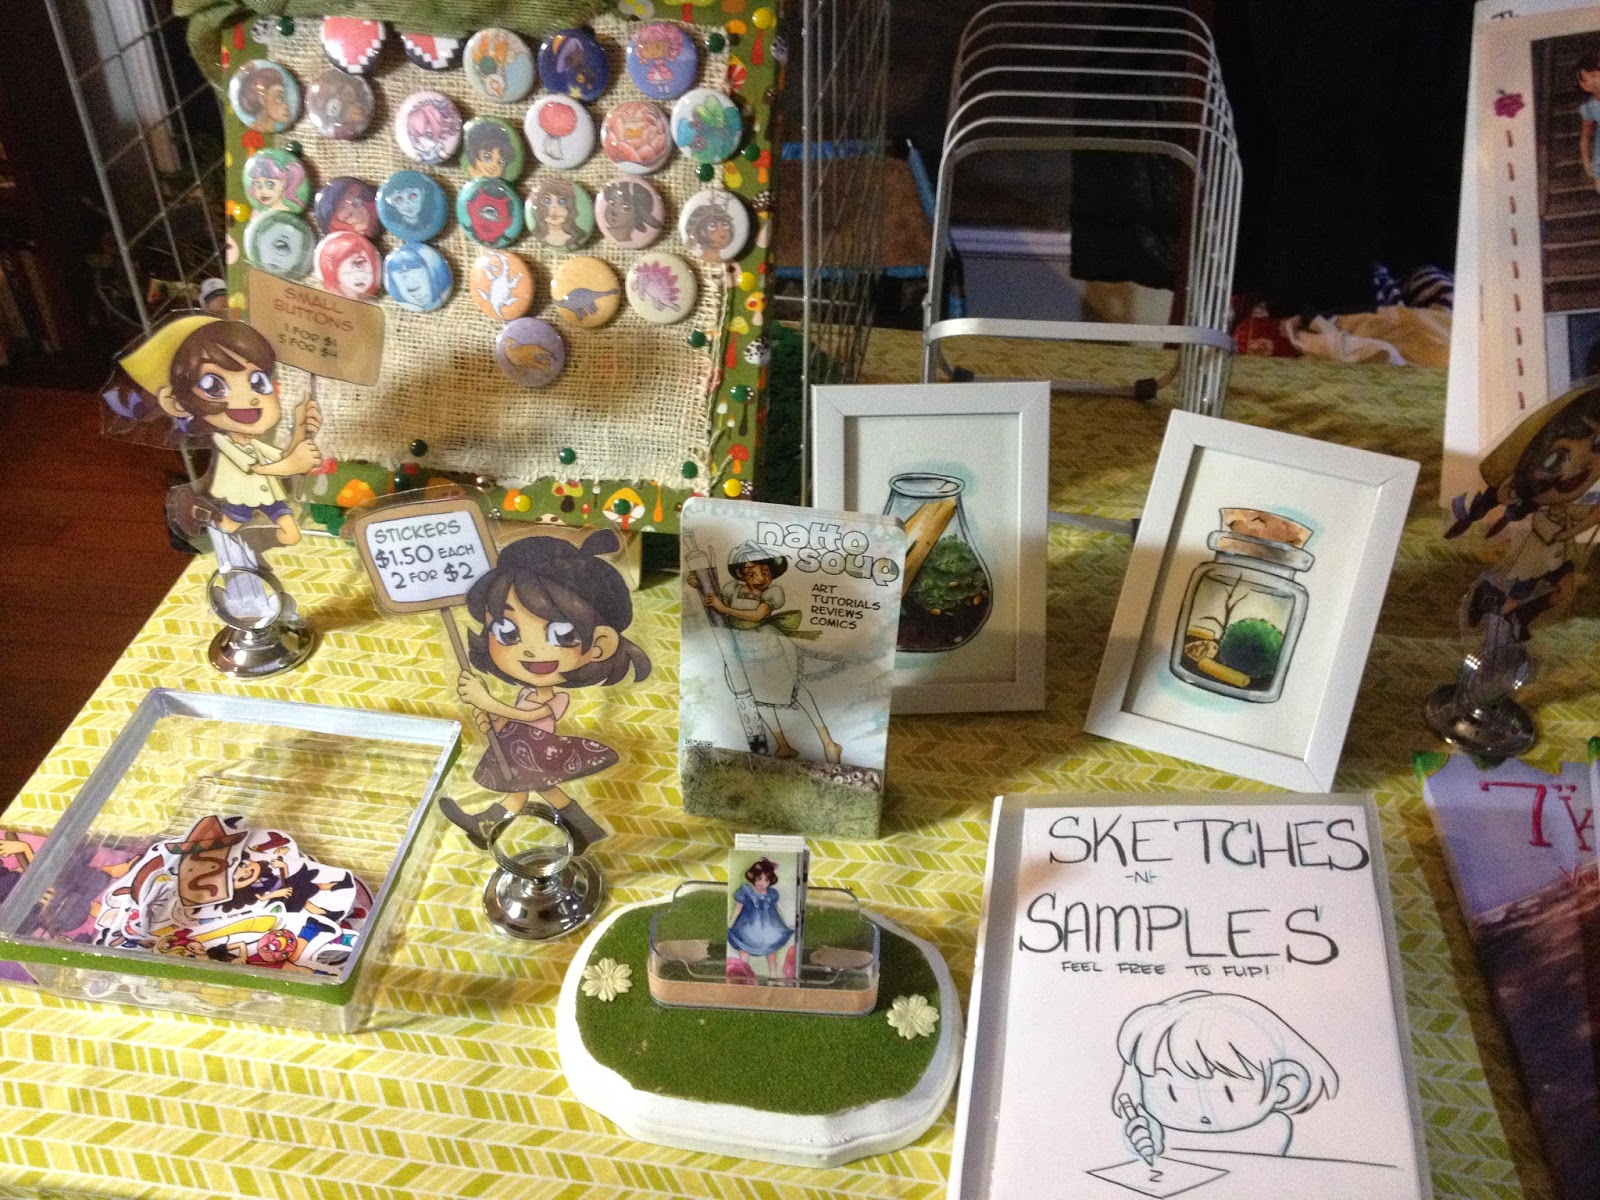
I introduced a commission sample book for Kamicon- a little portfolio filled with labelled originals to give customers a little extra help deciding what sort of commission they'd be interested in purchasing. I wanted to free up space on my display for mini prints and watercolors, and it was extremely easy to put this little book together.
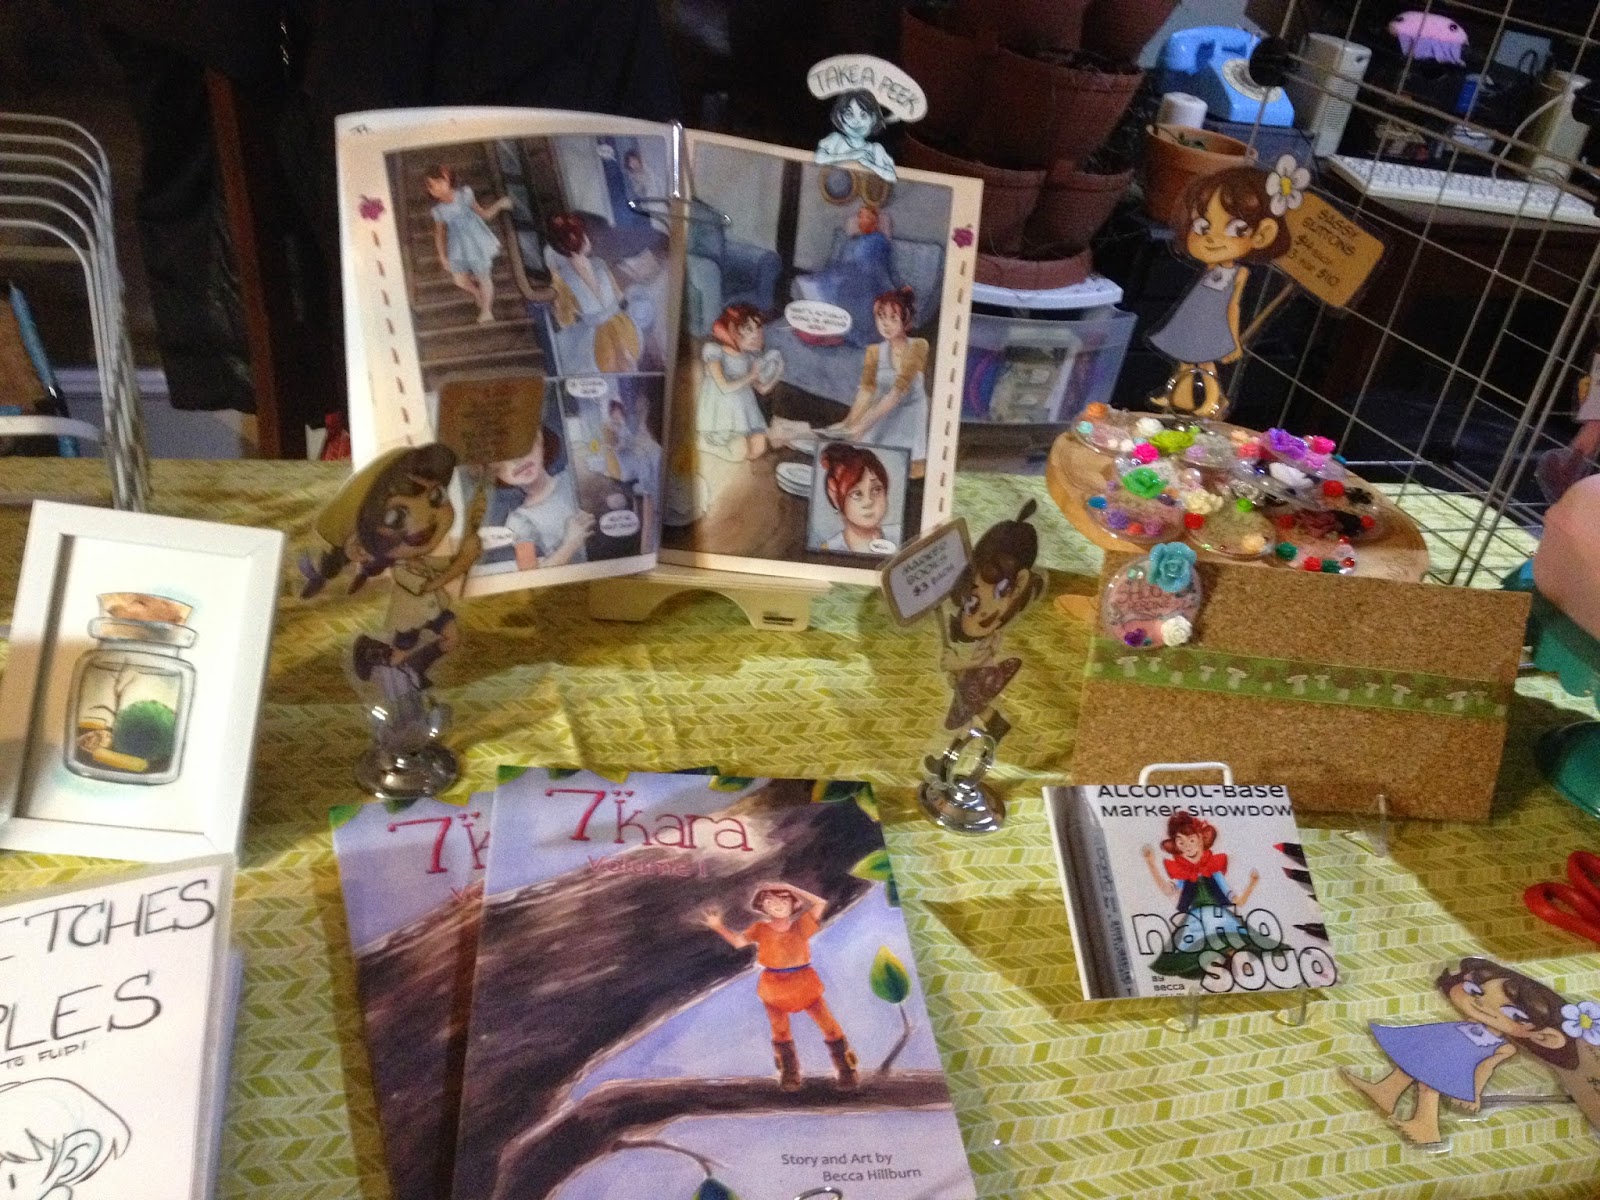

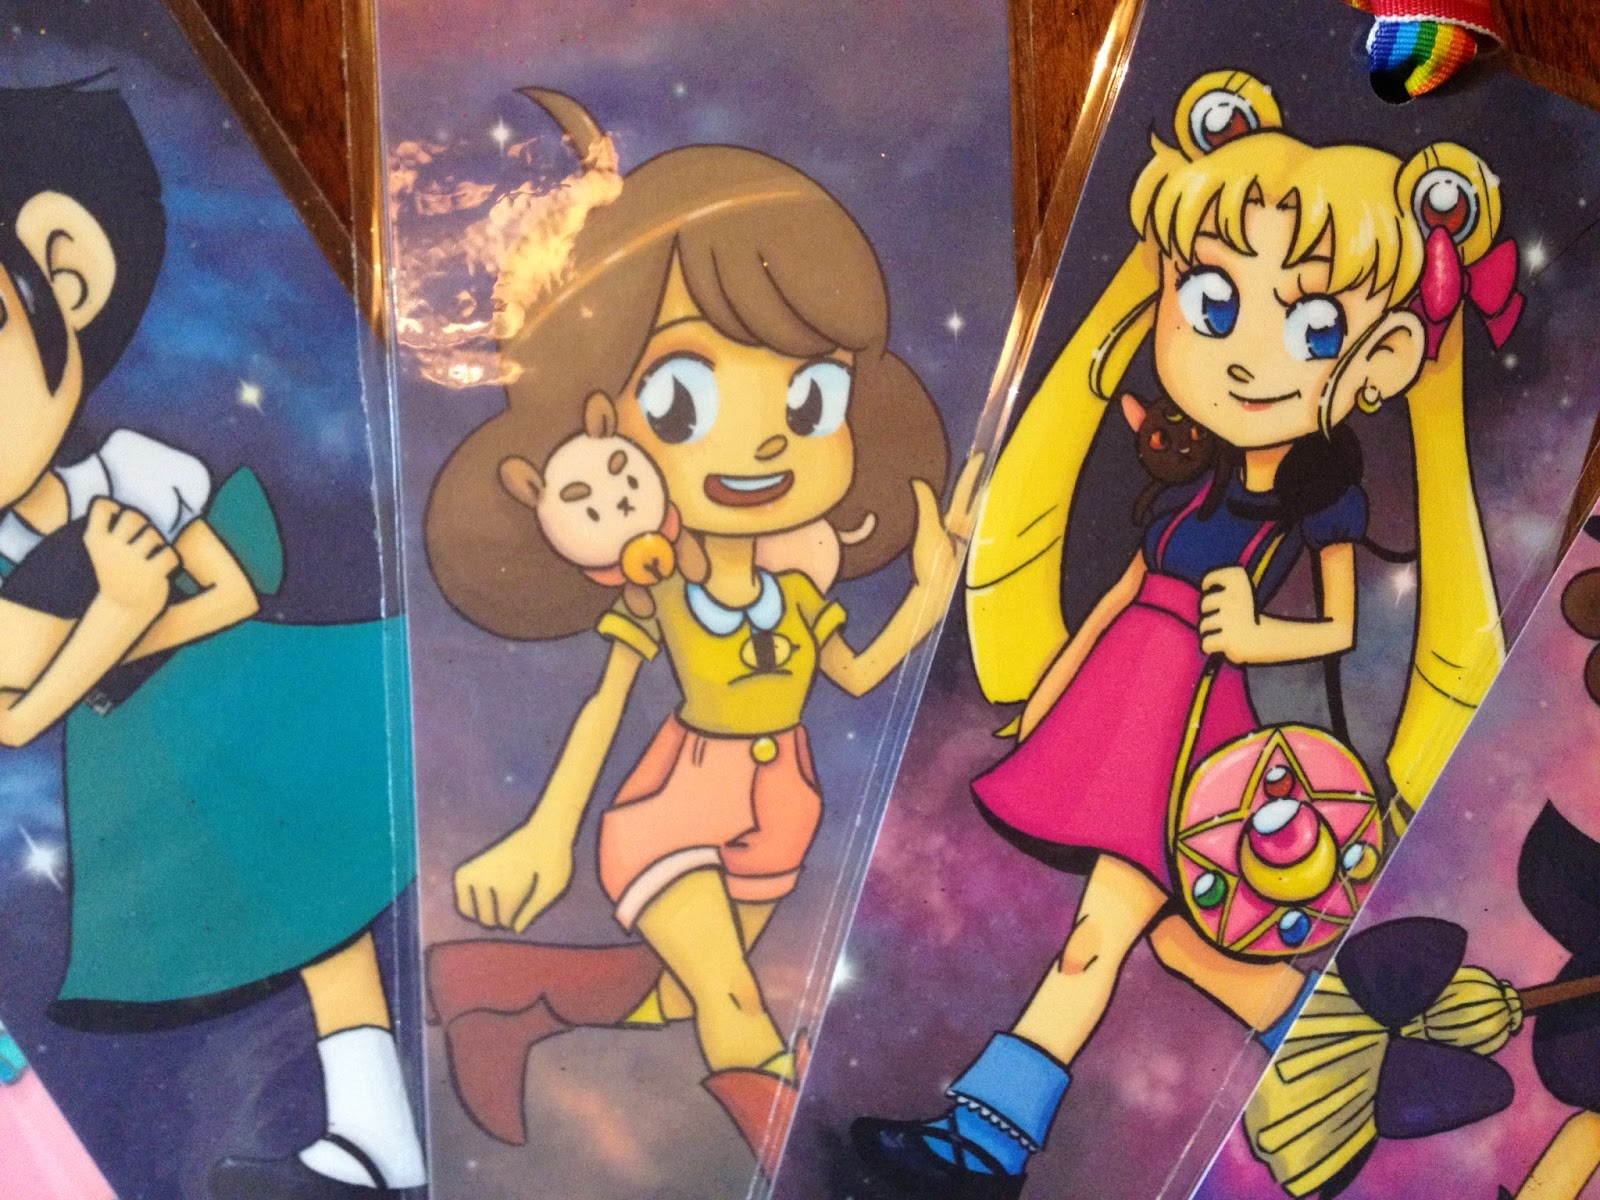
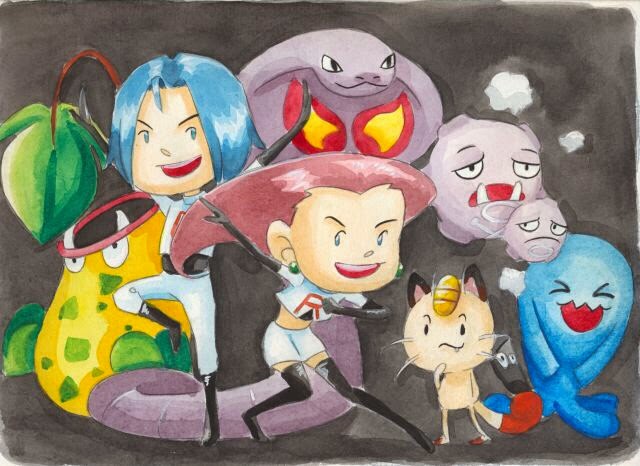
Heidi came to spend the night that Wednesday, and on Thursday we made the drive down to Tuscaloosa to pick up Alex. We arrived in Birmingham on Friday morning, and went to check in with Kamicon registration immediately.
We did a four way hotel room split with Emily of Sweet Fancy Cuteness, and since Alex would be serving as staff, Alex paid towards the hotel cost. We opted to stay at the Westin attached to the convention, as that's usually the easiest solution, and paid to park in the attached parking. Since there were four of us to the room, I'm fairly sure our per person total was cheap, I'm guessing around $60, but as I didn't book the hotel, I don't have access to the numbers.
Friday
We were directed to the artist alley, which was located just past the dealer's room. I was a bit concerned that having customers travel through the dealer's room to get to the artist alley might affect our sales, but I decided to wait and see how things went before getting bent out of shape. We were able to quickly locate the Artist Alley Check In Table, nestled in amongst the artist tables. It only took a moment to check in, and we were pointed to our tables- the last two on the first row.
I was somewhat nervous about being placed next to Heidi- it's been a reoccuring theme in my convention life that when our tables are together, people will inevitably compare us. For a few years, I resisted raising my prices, as it meant my most expensive sketch commission would be the same price as her cheapest, and customers would usually just take their business to her. I didn't notice this problem when we weren't placed next to each other, and while I like to say none of us in the artist alley are competing against each other, I also feel like it's unfair to put two commission artists next to each other when you have an entire alley to play with. I feel like it's generally bad alley organization not to mix up your alley. Personally, I really like being next to plush artists, hatters, or, my dream placement, next to someone who sews American lolita-wear (but then I'd spend all my money at that table, haha). WITH THAT SAID, Heidi requested that we be next to each other (I didn't), so the alley staff was merely honoring her wishes.
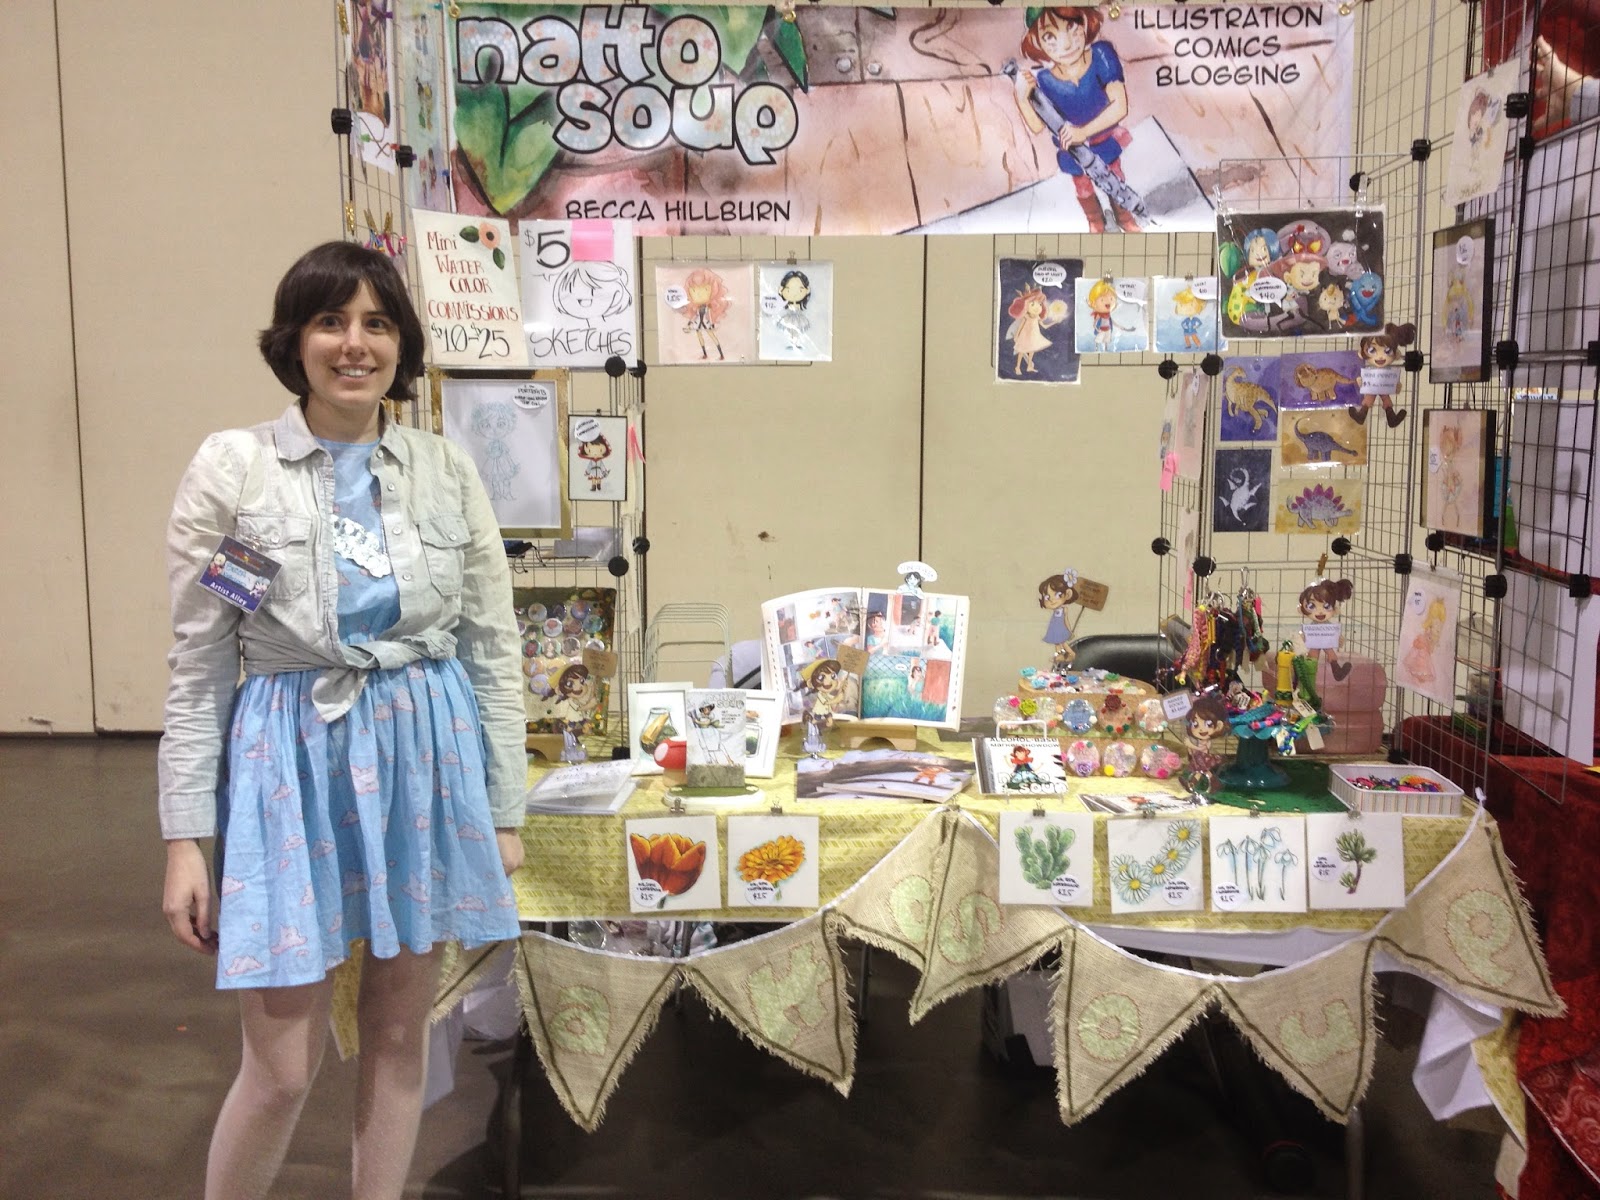 This is actually a REALLY frumpy outfit for me, but it was too cold to skip the jacket, as the loading bay door was open while artists and dealers set up.
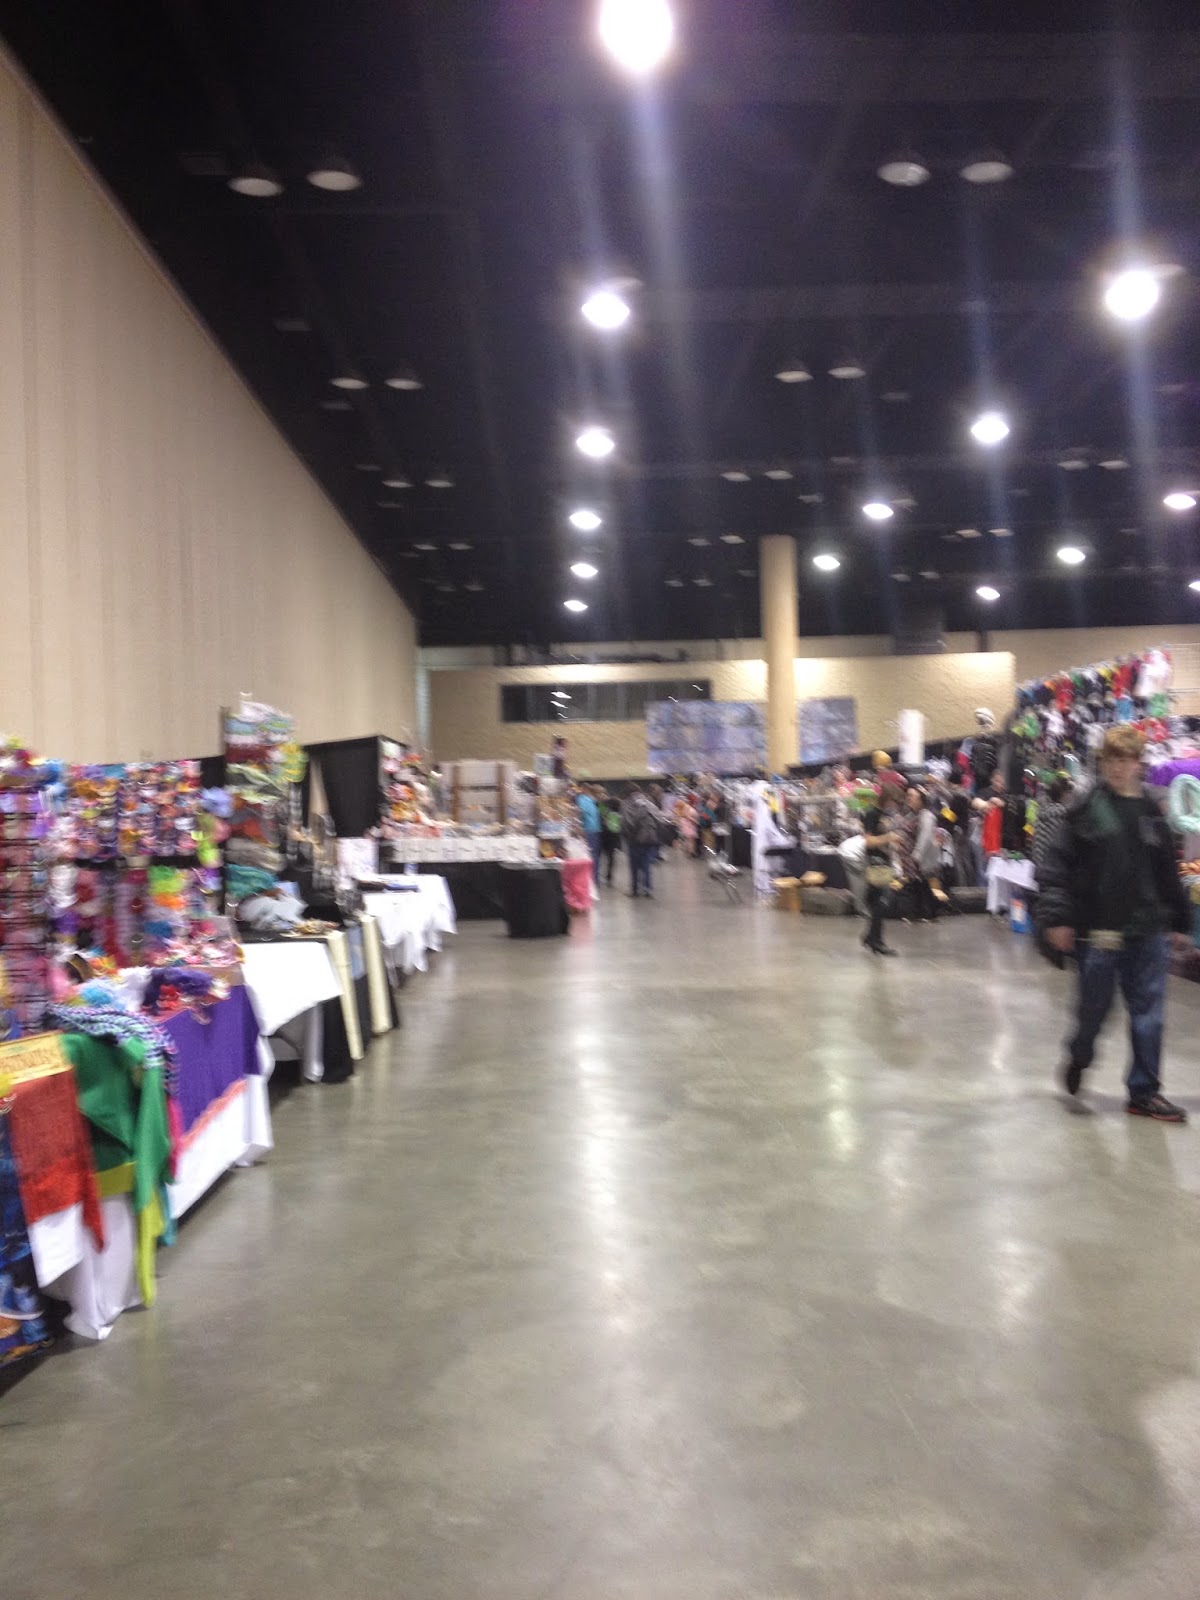
The alley itself wasn't very big- four rows of tables with maybe 8 tables per row, some rows having two tables at each end as endcaps, so maybe 34 tables total. The room we were in could have easily accommodated more dealers and more artists, it seemed a bit empty and under utilized. It was also a very Spartan room, with an unfinished ceiling and concrete floors. Perhaps Kamicon could have used some of the extra space to host minor family-oriented events the way Hamacon did last year. By having hourly events, you could ensure that there's always some crowd hanging around.
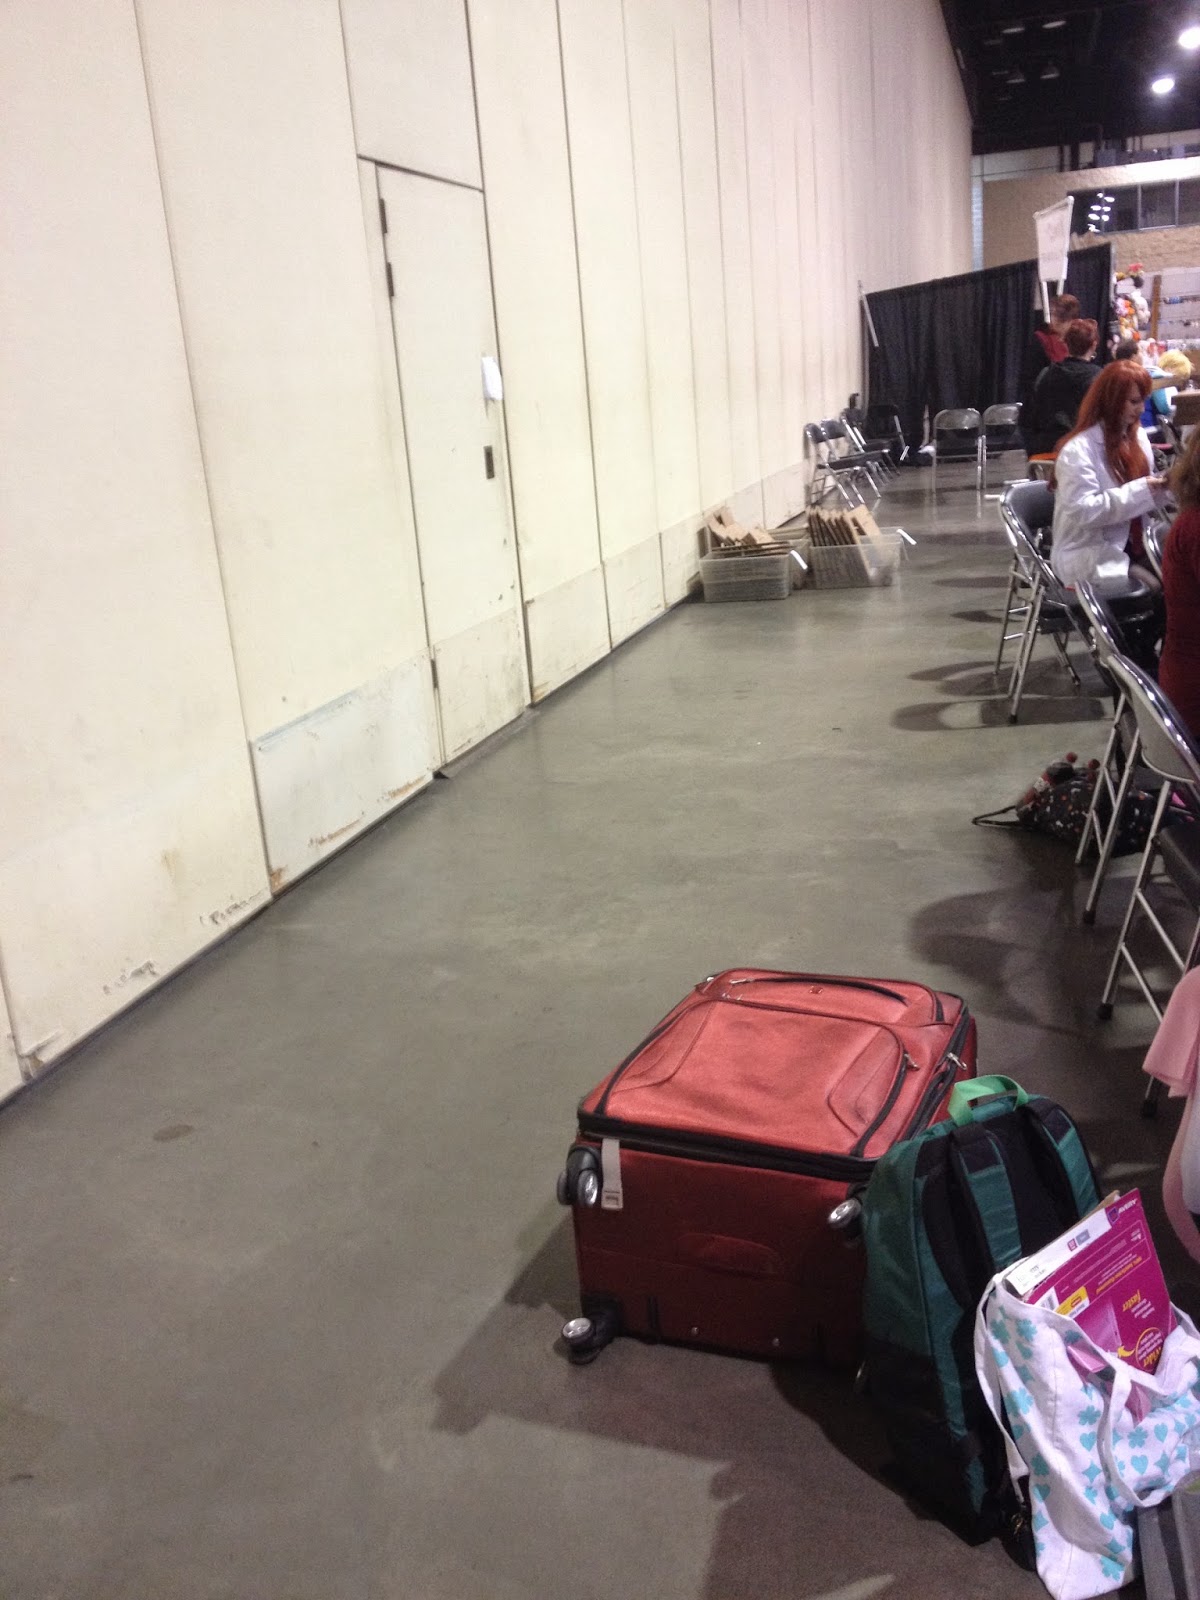
We had PLENTY of room behind our tables though. Had I been smart, I probably could've brought more wire cubes, and set up a gallery wall, but you can never really predict what sort of space you're going to get until you see it in person. I really don't like tabling next to people who assume the con is going to provide everyone with plenty of space, and so they pack huge displays or displays that have a large footprint, and then insist on using their entire display even if our space is greatly reduced. I'd prefer to pack small and try to expand than to take up someone else's room.
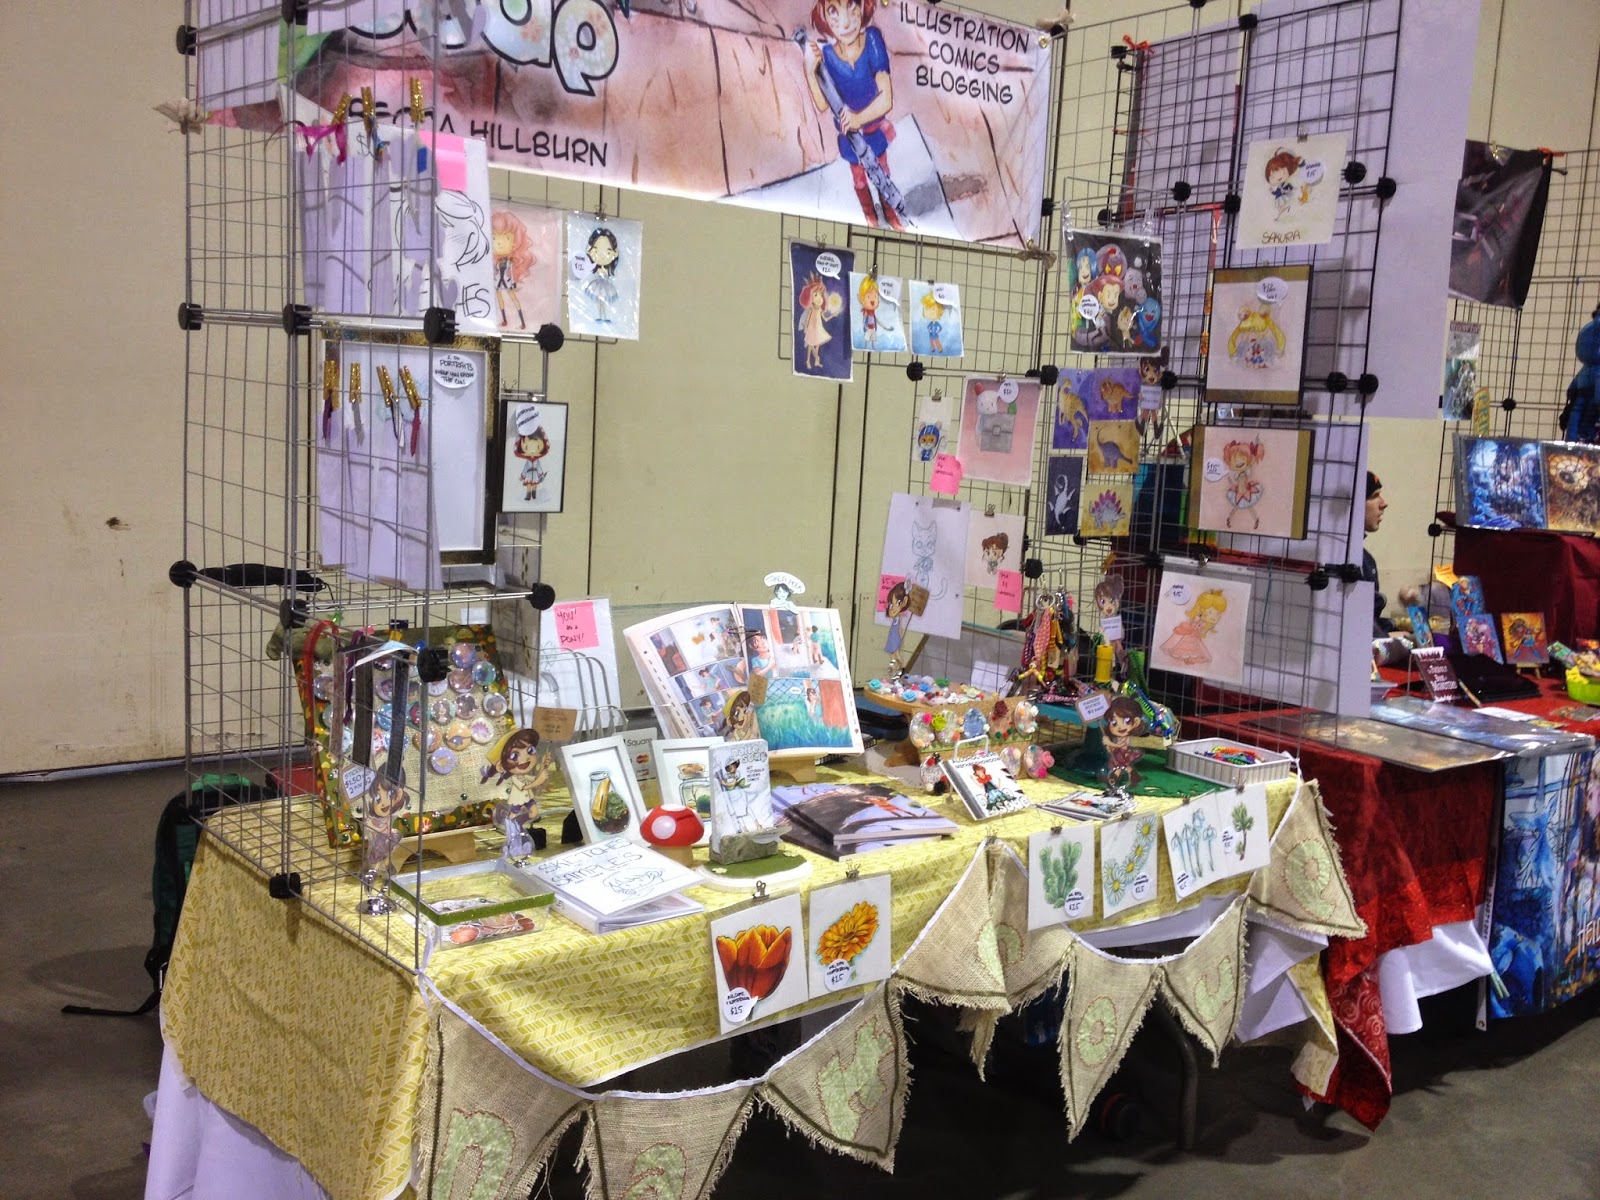
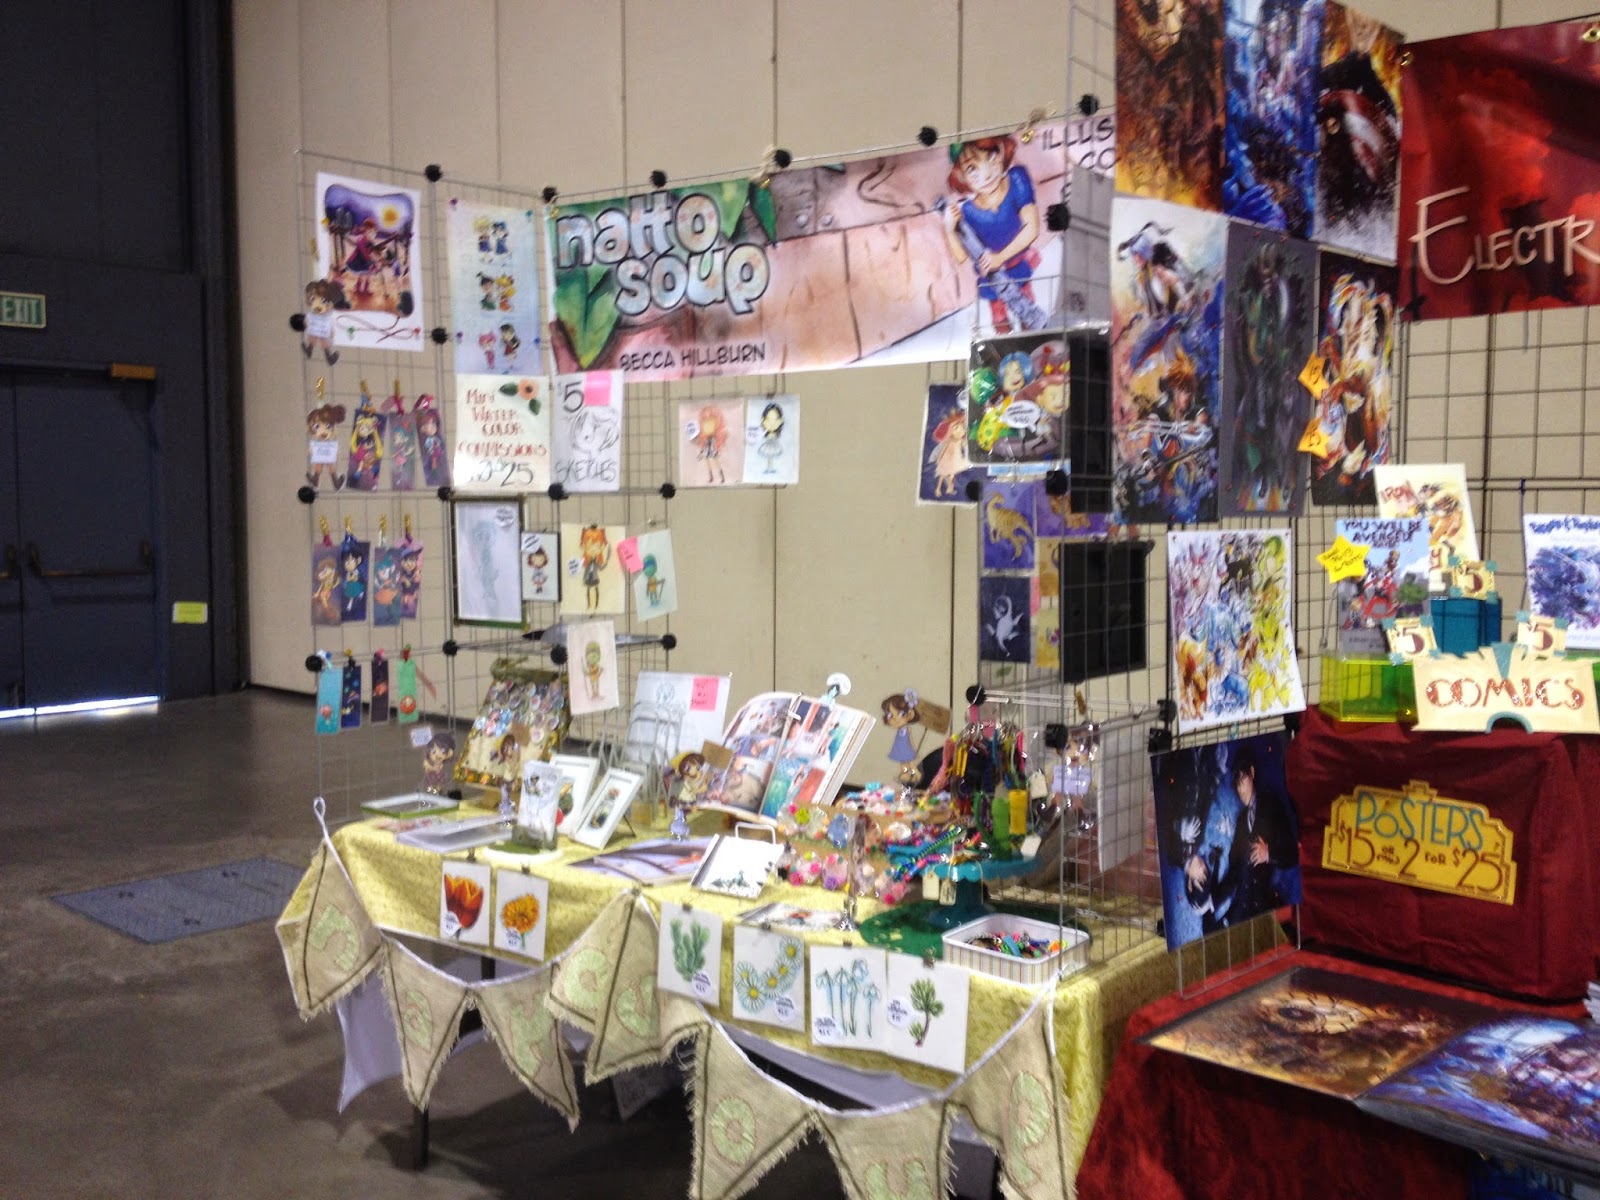 Friday sales were steady, but fairly unremarkable, and were slow from setup until around 4, when they picked up as kids got out of school and started getting to the convention. Our food option was within easy walking distance- burgers, fries, and hotdogs, and the bathroom was just a little further away. Also in this massive room were the convention recruitment tables, which seemed an odd placement, as they would've gotten more attention flanking the entrances to this room. Despite having the Dealer's Room, Artist Alley, AND convention tables in the room, the room still felt very empty, even at its busiest. On Friday, Alex was busy helping open up the convention to attendees, so while I had no problem handling sales on my own, it got a little lonely behind the table. Friday Artist Alley Hours were 4:00 PM- 8:00 PM Saturday
I apologize for the lack of photos from this point on- I spent the rest of Kamicon extremely busy with commissions. At this con, I was still offering detailed chibis and dots-for-eyes chibis at the same price, which kept me slammed but didn't net me as much money as I would've liked.
Saturday was fairly bustling from the get-go, although things definitely picked up even more after lunch. Alex was busy at registration for a lot of the day, and the artist alley was kept really cold, which made it difficult to draw, as my hands get stiff. I took commissions all day, so I didn't really have a chance to talk to the attendees as much as I would've liked. Although it was nice to stay busy, I was pretty run down by 8:00 PM, when Joe with MCFC swung by to chat. Alex was there to help out, but Alex was so run down as well that it was really difficult to juggle it all. I was definitely ready to head back to the hotel when 10:00 PM struck, and I was starving. Unfortunately, late alley hours make it really difficult for tabling artists to find places to eat that are nearby and still open. Fortunately for us, we had plans to dine with convention staff from MTAC, Otakon, and Momocon, so while we had to hit up a few restaurants, we managed to find a pizza place that could not only accommodate a party of our size, but was open late.
Although later hours makes it harder to find food late at night, I gotta admit, I'd rather get up later and stay later than get up early and leave at 6 PM. I'm a night owl, and I don't really wake up mentally around 11 AM, so the later hours are better for me, as I'm much more on the ball.
Saturday Artist Alley Hours were 10:00 AM- 10:00 PM
Sunday
On Sunday, Alex was able to hang out with us much more, as the registration swarm had all died out. Although sales had slowed down, I wasn't too disappointed, as I was working on a few remaining sketch commissions taken the night before that I hadn't been able to complete before my hand gave out. Once those were done, I did take a few additional at-cons, but Alex and I both pushed the mail ins.
I feel like the introduction of my commission portfolio, mentioned earlier in the post, really helped move sales. I also broke up some of my commission tiers- dots for eyes started at $5, detailed chibi started at $10, inks were an additional $5 on whatever base price and having labelled examples for all of these made it much easier for customers to decide what commissions they wanted.
At Con Commissions
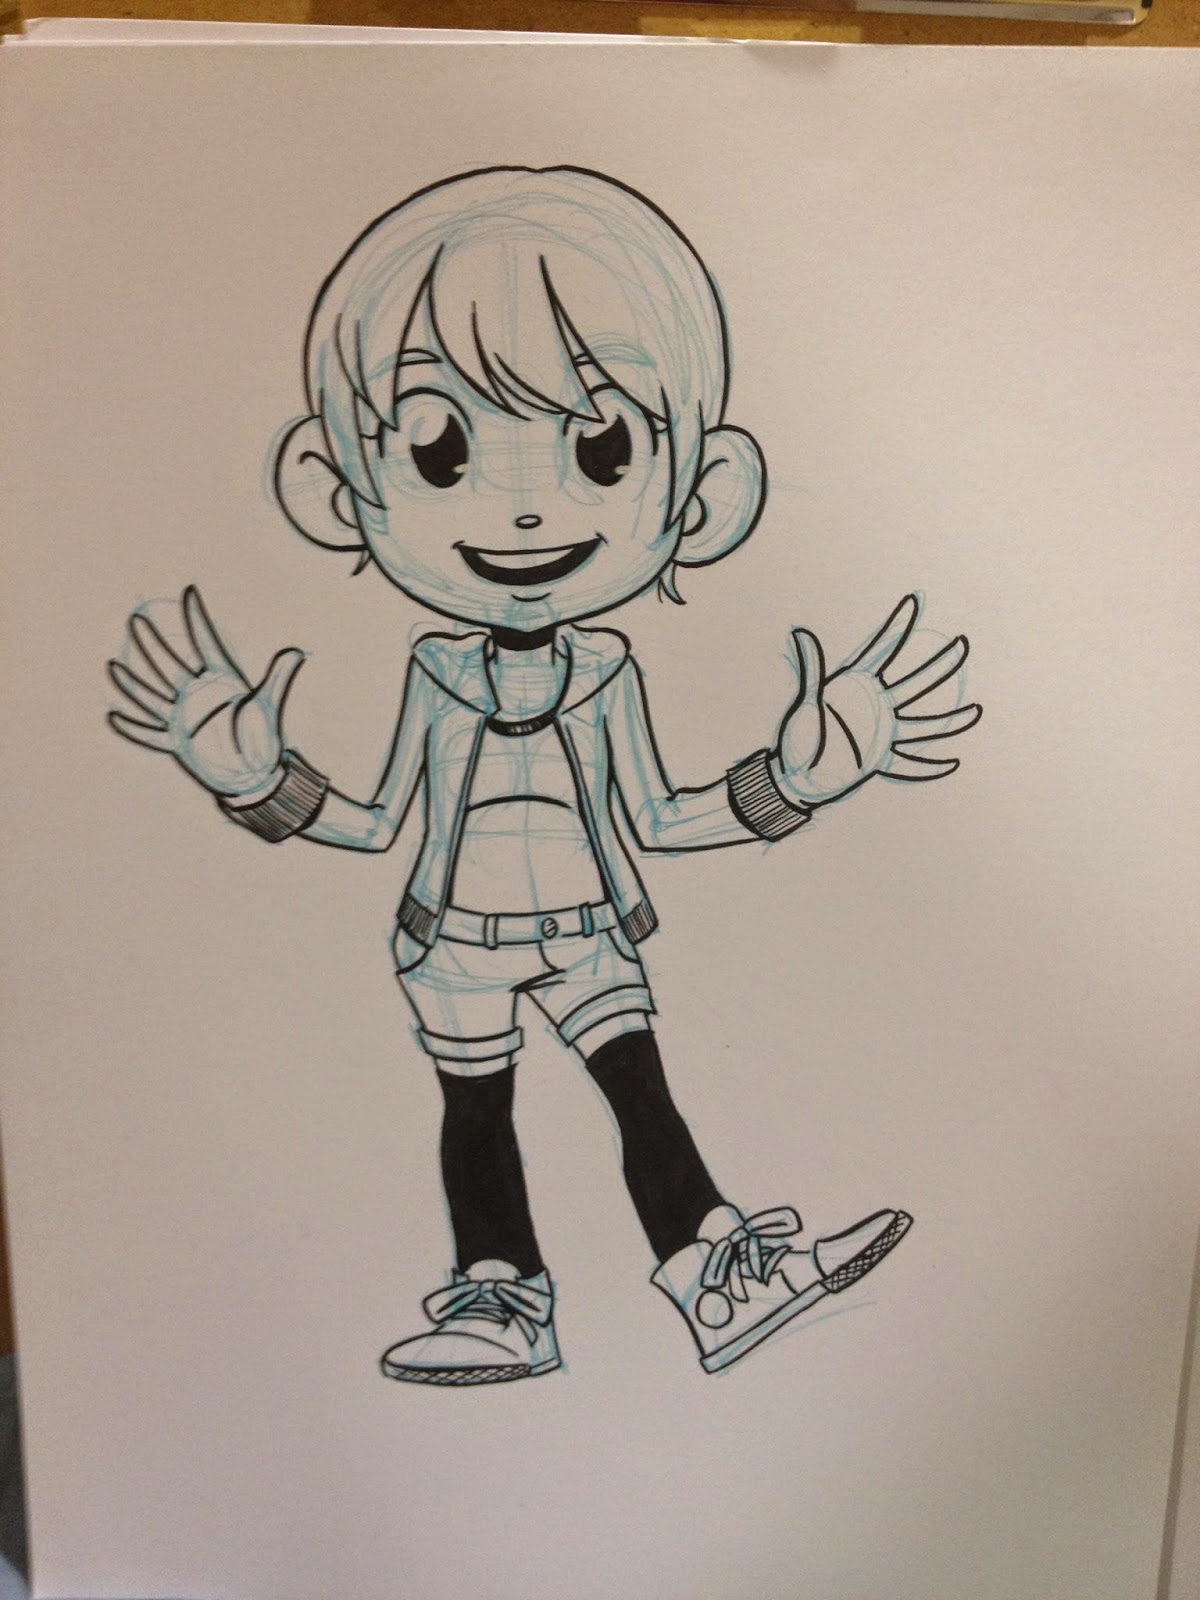

.JPG)


Mail in Commissions


The Breakdown
Total Sales: Slightly over $800
Hotel: $60 per person approx
Transportation: A tank of gas each way, so $80 total
Food: $5 Frappechino at the Starbucks in the Westin, we didn't eat a real meal until a very late dinner, the only place open was the pub attached to the Westin- $25, Saturday $5 frappechino, $10 lunch at the con, $20 dinner at the pizza place, Sunday $5 frappechino, dinner on way to Tuscaloosa at Okinawa $25
Total Costs: $235
The Verdict
So far, I really, really like Alabama conventions. Hamacon was great last year, Kamicon was good this year, and could have been better if I'd had more ready-made stuff that appealed to people looking to fill a fandom need. Also, I had a lot of repeat customers from Hamacon, Anime Blast Chattanooga, and MTAC, customers who actually sought me out to say hi! It's so rewarding doing shows where people actually remember me, and I'm more than just a sketch-Walmart to them. I enjoyed filling all my commissions, had a great time chatting with people, and got to meet a lot of new friends. If you're an artist like me who often has trouble standing out at huge conventions like Otakon or Animazement, I highly recommend tabling at great smaller shows like Hamacon and Kamicon.
Please consider donating to this blog or purchasing from Natto-shop (http://nattosoup.com/shop) if you want me to continue publishing quality content. All materials tested were purchased from my own pocket. Keep on Truckin' Nattosoup is not under any sponsorship.
May 28, 2015
Color Pen Review: Pilot Fude-Makase Color Brush Pen Extra Fine
My first time reviewing a pen system with a wide range of colors didn't go so well. I'm sure you guys remember the Uni Mitsubishi Pure Color F. Since then, I've reviewed several wonderful fude pens available in a wide range of colors, and I'm honestly happy my first was the worst. By finding what I didn't want in a pen from the start, I was able to really appreciate the great pens that came later, pens like Pentel's Touch and today's review, Pilot Fude Makase Color Brush Pens.
I think you guys have figured out by now that if Jetpens offered a full color set, rather than just buying one or two and seeing if I actually like the pens, I'll go whole hog and just collect em all. This was true for the Pure Color F, for the Pentel Touch (although I did at least know that I liked the way the pens were built before I splurged), and it's true for the Fude Makase. I justify this impulsiveness by telling myself I'm doing my readers a service- by committing to the whole set, you guys know whether the bulk savings are worth it.
The Pilot Fude-Makase Color Brush Pens are available for individual purchase for $3.30 each on Jetpens, or you can buy the 8 color set for $26.00, or $3.25 per pen. Of course, I bought the 8 color set because I'm impulsive I just love spending money I love you guys and only want to give you the best. You can always thank me for my brave financial sacrifices by A: Donating through my Paypal donate button on the left there, B: Buying something cute from my shop, like the cyclops makeup pouch shown in this post, C: Buying something spendy at a show D: Commission me for a lovely custom piece of artwork! You can also show your support by linking my posts to your friends, retweeting my content with a link, and other very public displays of affection and adoration. You guys did know it's been a lifelong dream to be ~popular~ right? Help make that happen, tell your friends, link me on your blog, give my work some credit!
Your support keeps my rent paid, feeds my cat, enables me to produce more work, and helps me buy the supplies featured on this blog. From this point on, donors who send me $10+ and leave me their mailing address will receive a copy of my pocket Marker Review Guide, a handy little guide that covers almost all of the very expensive markers I've reviewed in the past. Donors ALSO get priority requests in terms of what I review, they just need to mention it in the comments section of their donation or purchase. Non-donor suggestions are considered, but it's often prioritized by what I care about and what I can currently afford. As you guys might have guessed, this blog is totally a not-paid position in my baby small business, and while I enjoy writing it, it's sometimes difficult to juggle updating, freelance, and conventions. Any help or signal boosting you guys provide is always much appreciated.
So enough with the shill, on to the pens!

The Pilot Fude-Makase Color Brush pens are so photogenic, I just had to take some glamour shots of them and the equally beautiful Pilot Touch pens with their adorable case. I just love how classy the Pilot Fude-Makase pens look- with their ecrue bodies, adorable ink-drop shaped view windows, and color coordinated caps.
The Pens
But how do the pens hold up as pens, rather than just desk candy? Let's take a look and find out!


Jetpens only carries the Fude-Makase pens in Extra Fine, a size I really don't use often, but I knew that when I ordered these. Having a good extra fine is handy for small details that you don't want to pull the tech pens out for. My black pen arrived with ink already in the view window, which is worrying, as that tends to be a sign to me that the pen is about to run out, or that air pressure has affected the ink. This happens a lot when I fly, and I blame sending the package across the country rather than Jetpens or Pilot.

The colors available for the Fude-Makase are nice, and fairly true to the pen cap, albeit a bit lighter than promised.
The Field Test

The Fude-Makase Extra Fine is indeed that, extra fine. Just look at that little nib! It's a bit soft, which can turn mushy fast if you're heavy handed like I am or if you're trying to force your Extra Fine to pull juicy lines without a bigger pen for backup. I personally found this pen so fine that it was difficult to ink with, but if you're lighthanded and looking for a good fude pen, the Makase is a strong choice.


As with the Pentel Touch pens, the nonphoto blue affects the color the pen puts down. The pink is much less blue without the non photo blue, but with the npb, it's almost purple. This is just something to keep in mind, depending on how you plan on using these pens.


Fortunately, the non photo blue doesn't seem to clog up these pens as it did with the Foray Stylemark pens, although I do worry that with lighter colors, the non photo blue may stain the nibs if you don't remove all the non photo blue from the nib.


And unfortunately, there's a bit of smudging if you ink with Fude-Makase over non waterproof black ink, even if you wait 24 hours between inking.
The Verdict
If you want a lot of color, but you don't want an extra fine nib, I high recommend the Pentel Touch fude pens I reviewed not so long ago. If you are looking for a finer nib fude pen, I think the Fude-Makase are a fine choice, and I had one in my own pencil case until it exploded on the plane ride back from TCAF. These are not the pens to pick if you have large areas to fill, or if you can't pull back on being heavy handed, nor if you're looking for one fude pen to rule them all.
Please consider donating to this blog or purchasing from Natto-shop (http://nattosoup.com/shop) if you want me to continue publishing quality content. All materials tested were purchased from my own pocket. Keep on Truckin' Nattosoup is not under any sponsorship.
I think you guys have figured out by now that if Jetpens offered a full color set, rather than just buying one or two and seeing if I actually like the pens, I'll go whole hog and just collect em all. This was true for the Pure Color F, for the Pentel Touch (although I did at least know that I liked the way the pens were built before I splurged), and it's true for the Fude Makase. I justify this impulsiveness by telling myself I'm doing my readers a service- by committing to the whole set, you guys know whether the bulk savings are worth it.
The Pilot Fude-Makase Color Brush Pens are available for individual purchase for $3.30 each on Jetpens, or you can buy the 8 color set for $26.00, or $3.25 per pen. Of course, I bought the 8 color set because I'm impulsive I just love spending money I love you guys and only want to give you the best. You can always thank me for my brave financial sacrifices by A: Donating through my Paypal donate button on the left there, B: Buying something cute from my shop, like the cyclops makeup pouch shown in this post, C: Buying something spendy at a show D: Commission me for a lovely custom piece of artwork! You can also show your support by linking my posts to your friends, retweeting my content with a link, and other very public displays of affection and adoration. You guys did know it's been a lifelong dream to be ~popular~ right? Help make that happen, tell your friends, link me on your blog, give my work some credit!
Your support keeps my rent paid, feeds my cat, enables me to produce more work, and helps me buy the supplies featured on this blog. From this point on, donors who send me $10+ and leave me their mailing address will receive a copy of my pocket Marker Review Guide, a handy little guide that covers almost all of the very expensive markers I've reviewed in the past. Donors ALSO get priority requests in terms of what I review, they just need to mention it in the comments section of their donation or purchase. Non-donor suggestions are considered, but it's often prioritized by what I care about and what I can currently afford. As you guys might have guessed, this blog is totally a not-paid position in my baby small business, and while I enjoy writing it, it's sometimes difficult to juggle updating, freelance, and conventions. Any help or signal boosting you guys provide is always much appreciated.
So enough with the shill, on to the pens!

The Pilot Fude-Makase Color Brush pens are so photogenic, I just had to take some glamour shots of them and the equally beautiful Pilot Touch pens with their adorable case. I just love how classy the Pilot Fude-Makase pens look- with their ecrue bodies, adorable ink-drop shaped view windows, and color coordinated caps.
The Pens
But how do the pens hold up as pens, rather than just desk candy? Let's take a look and find out!
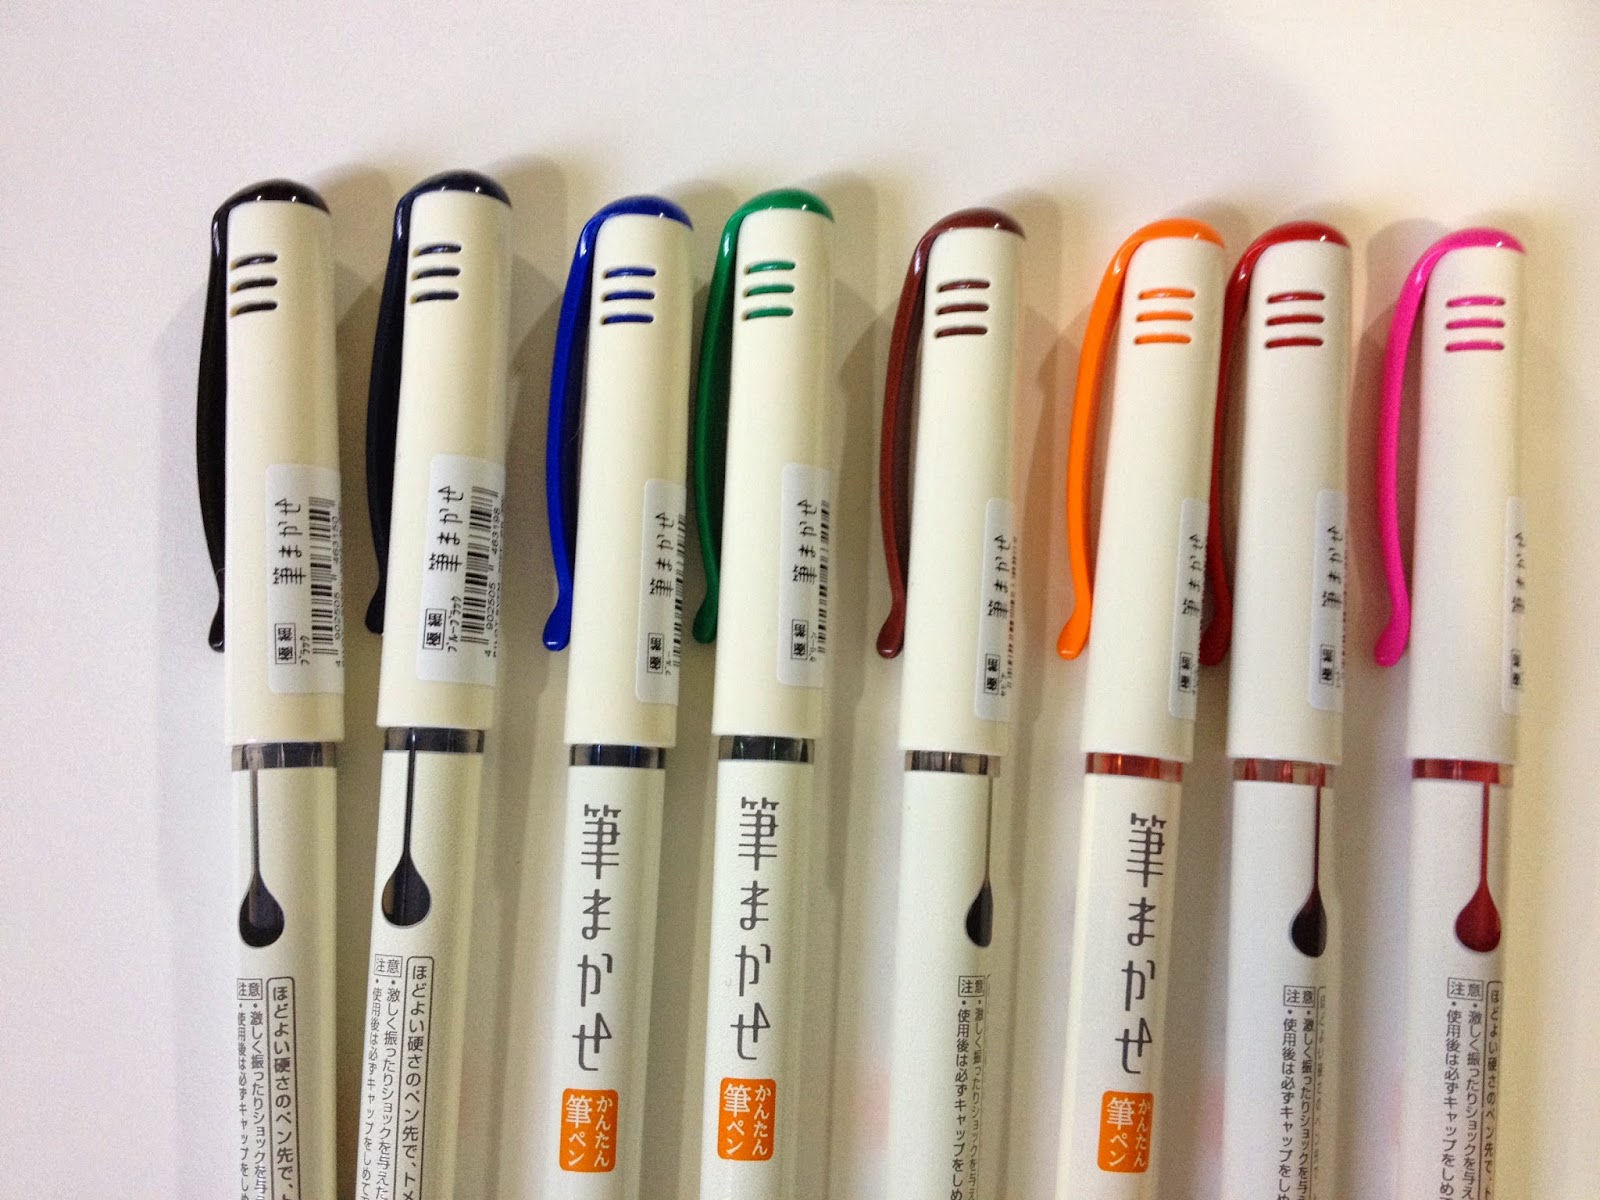
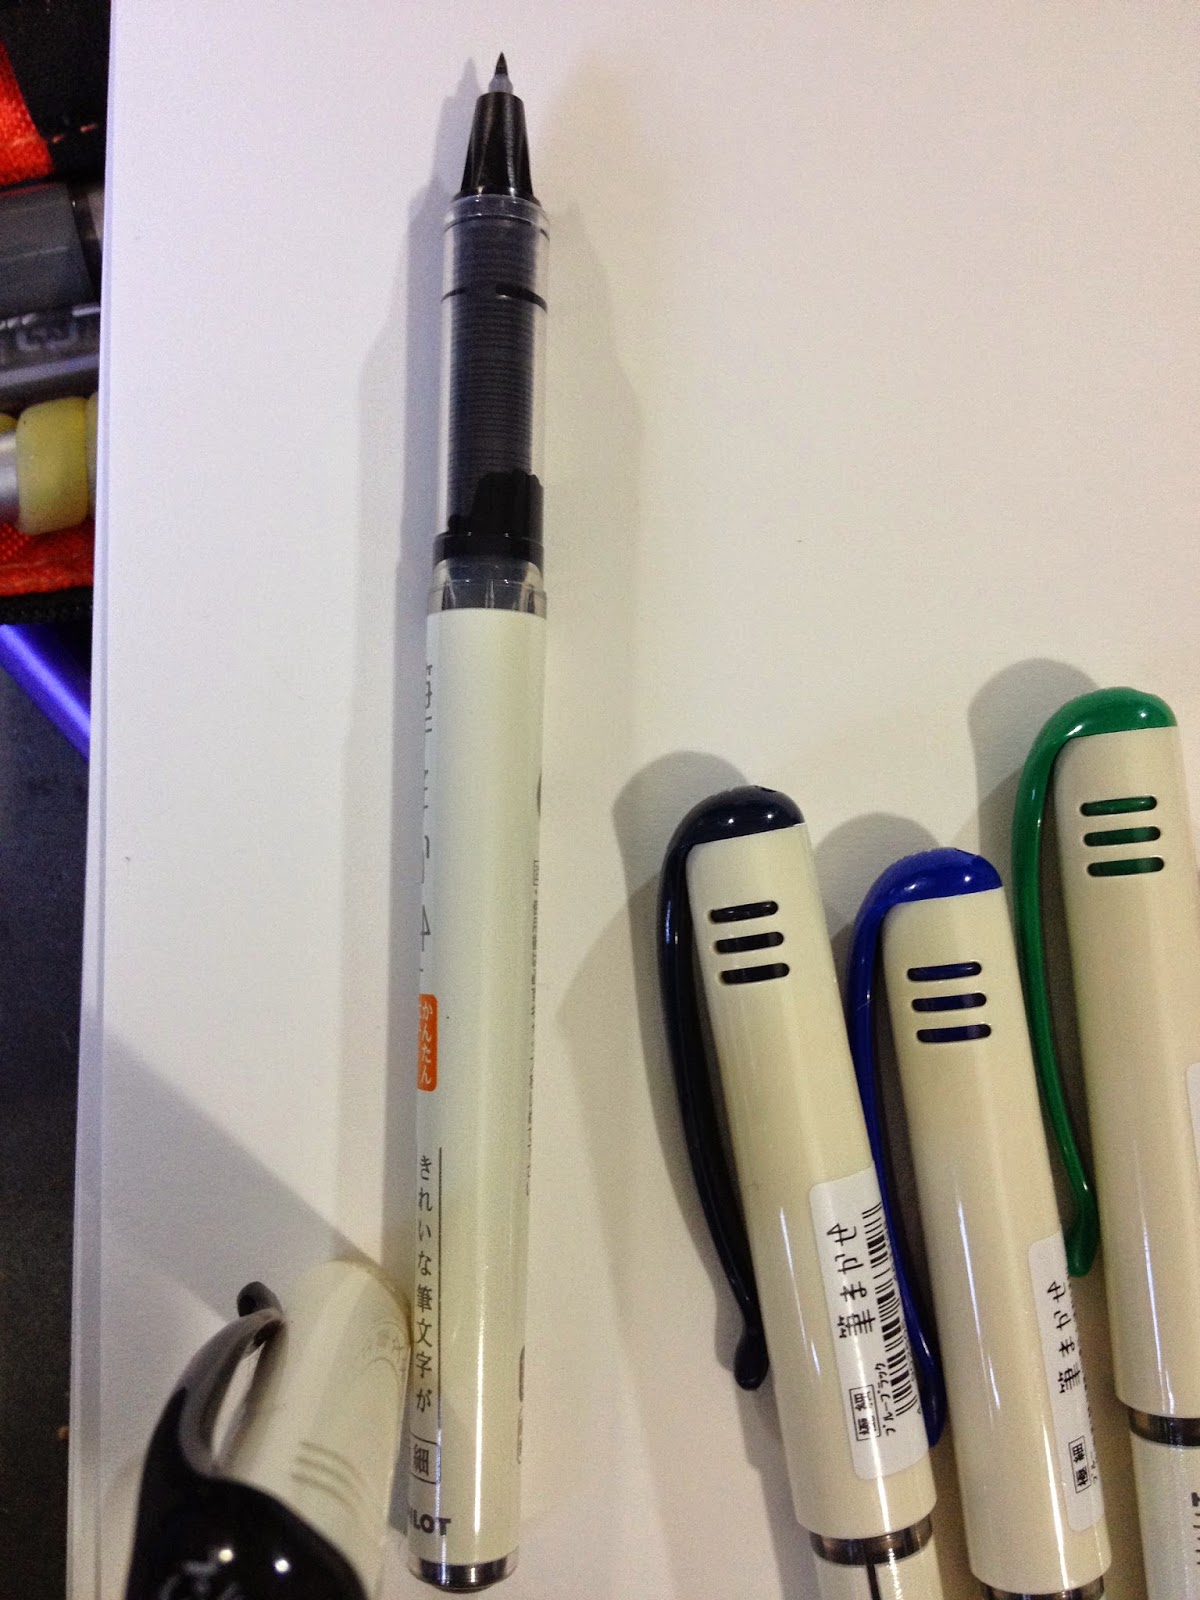
Jetpens only carries the Fude-Makase pens in Extra Fine, a size I really don't use often, but I knew that when I ordered these. Having a good extra fine is handy for small details that you don't want to pull the tech pens out for. My black pen arrived with ink already in the view window, which is worrying, as that tends to be a sign to me that the pen is about to run out, or that air pressure has affected the ink. This happens a lot when I fly, and I blame sending the package across the country rather than Jetpens or Pilot.
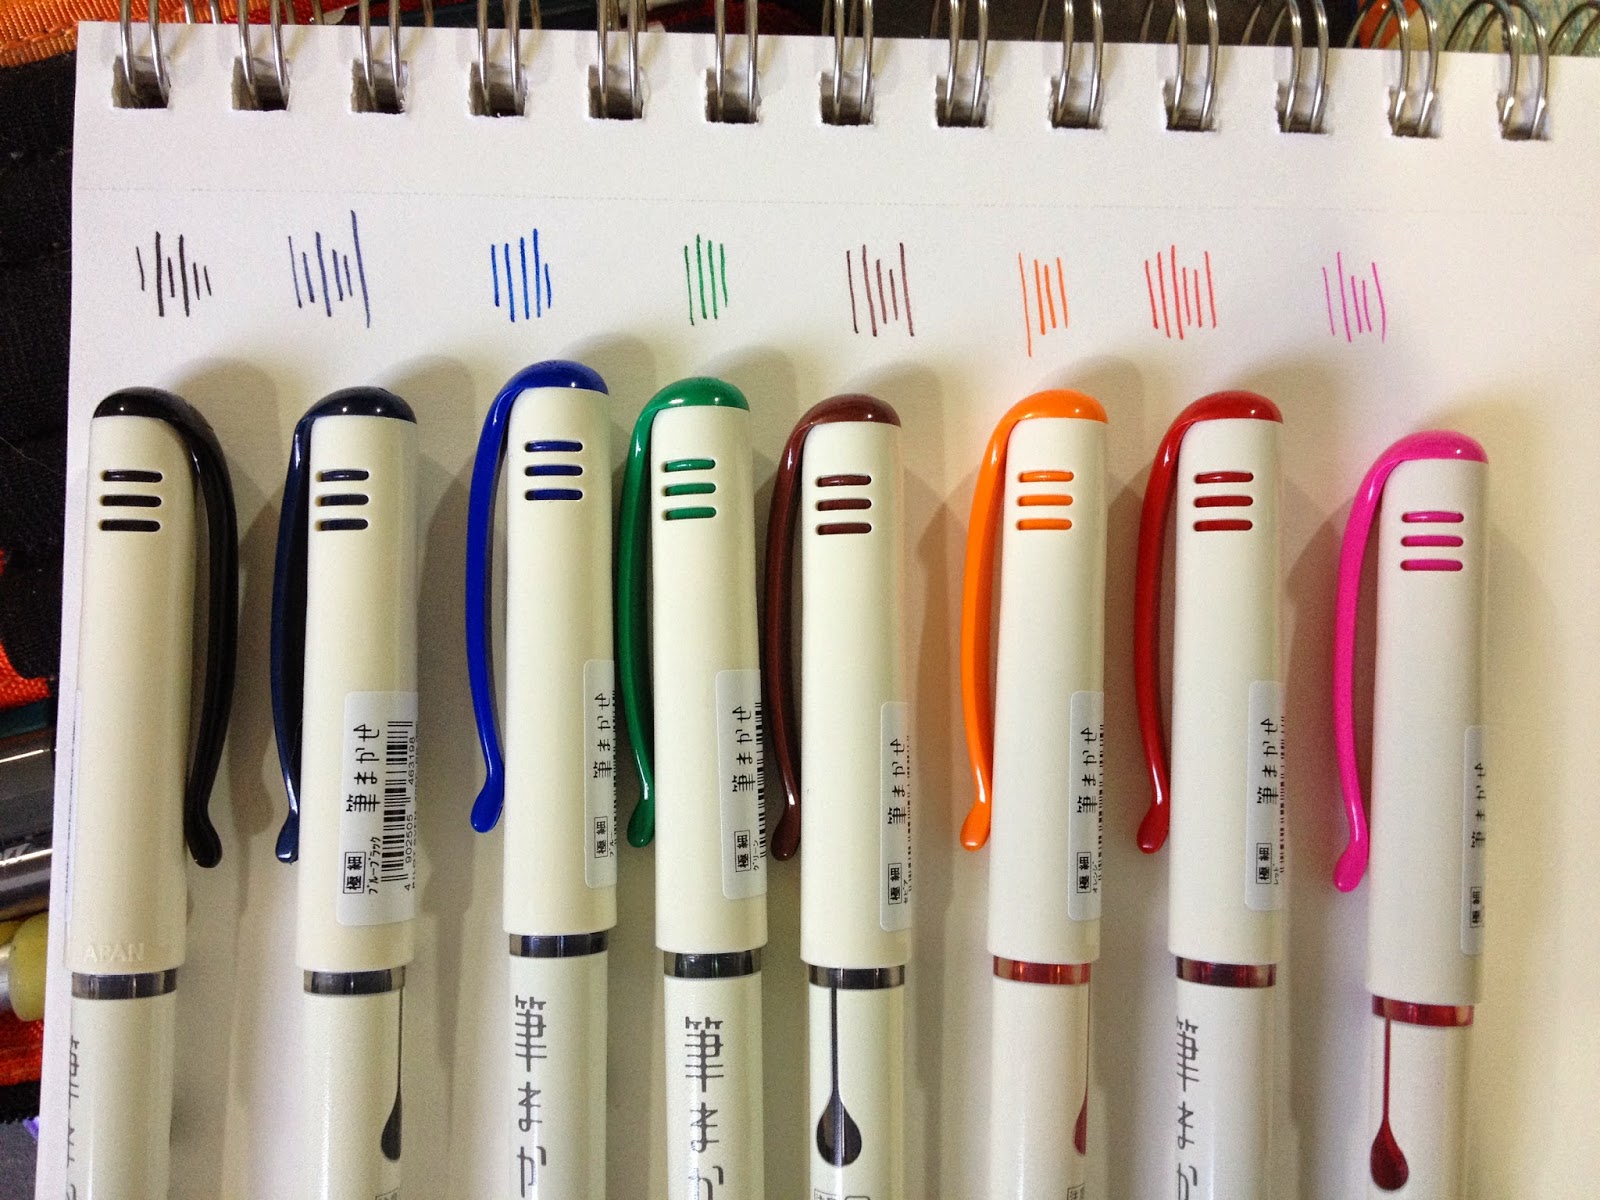
The colors available for the Fude-Makase are nice, and fairly true to the pen cap, albeit a bit lighter than promised.
The Field Test
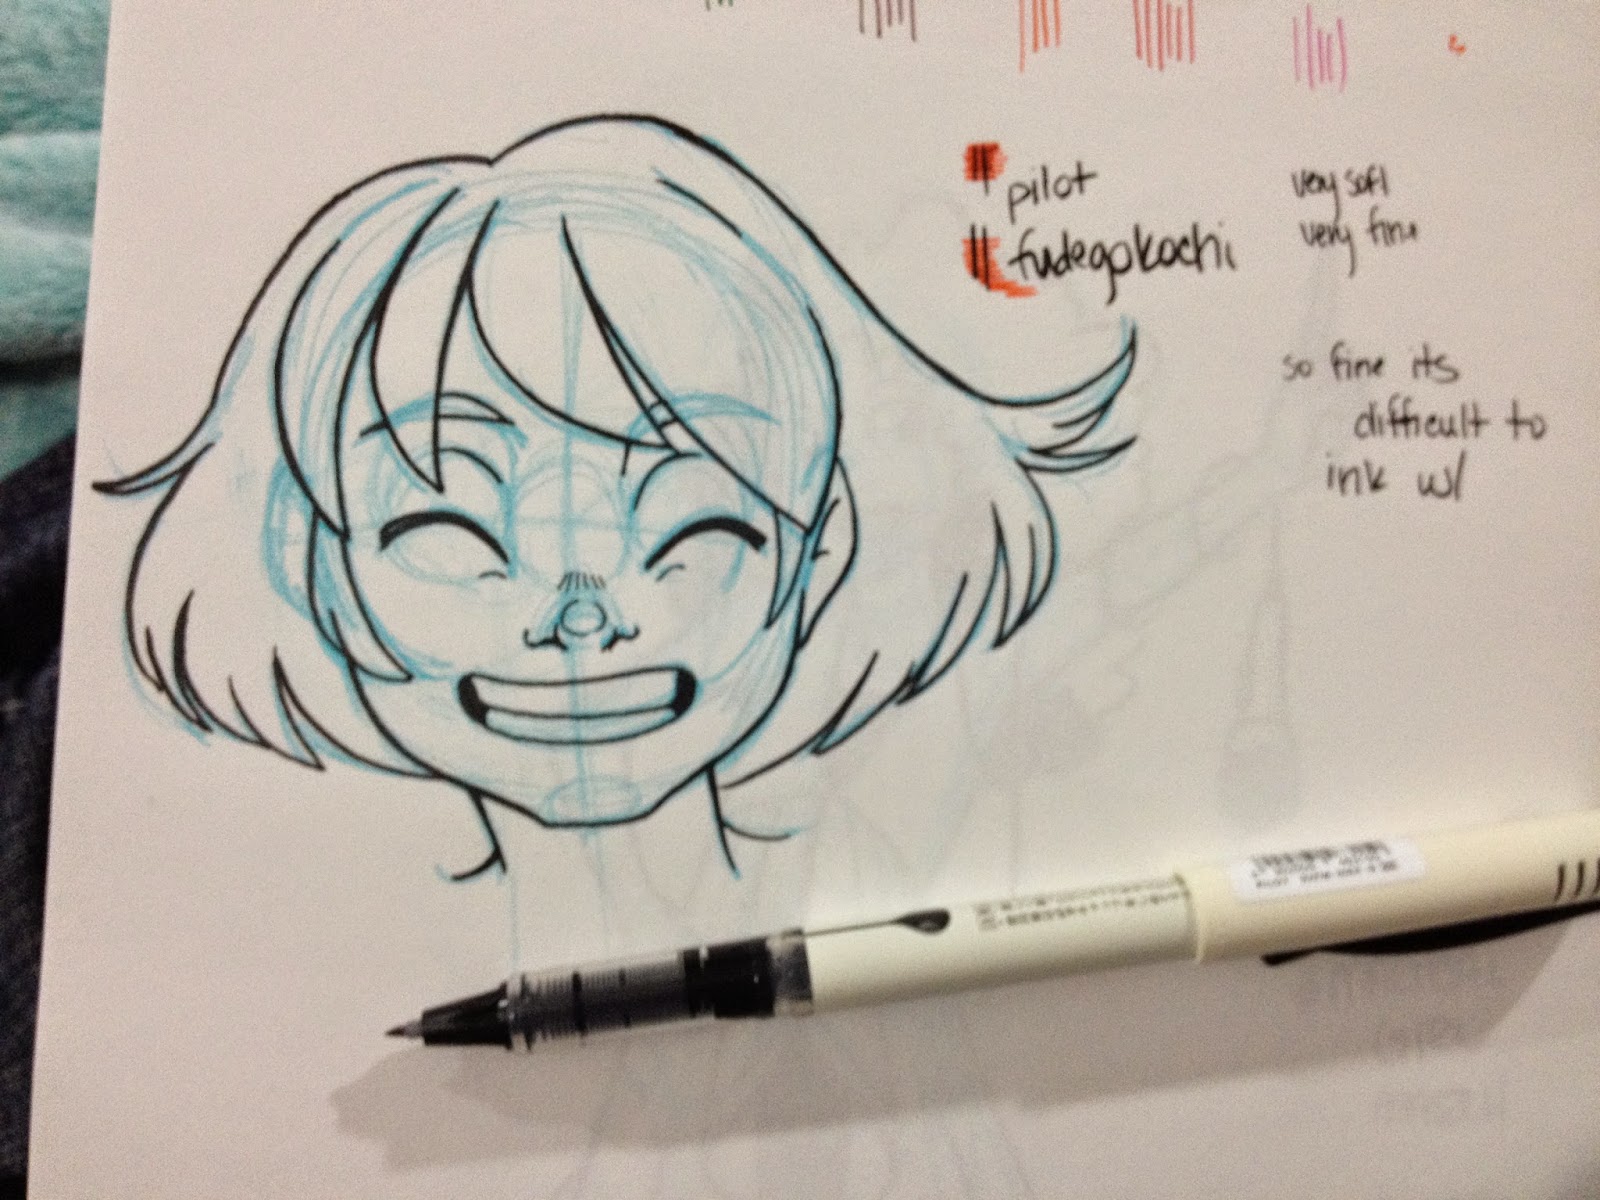
The Fude-Makase Extra Fine is indeed that, extra fine. Just look at that little nib! It's a bit soft, which can turn mushy fast if you're heavy handed like I am or if you're trying to force your Extra Fine to pull juicy lines without a bigger pen for backup. I personally found this pen so fine that it was difficult to ink with, but if you're lighthanded and looking for a good fude pen, the Makase is a strong choice.

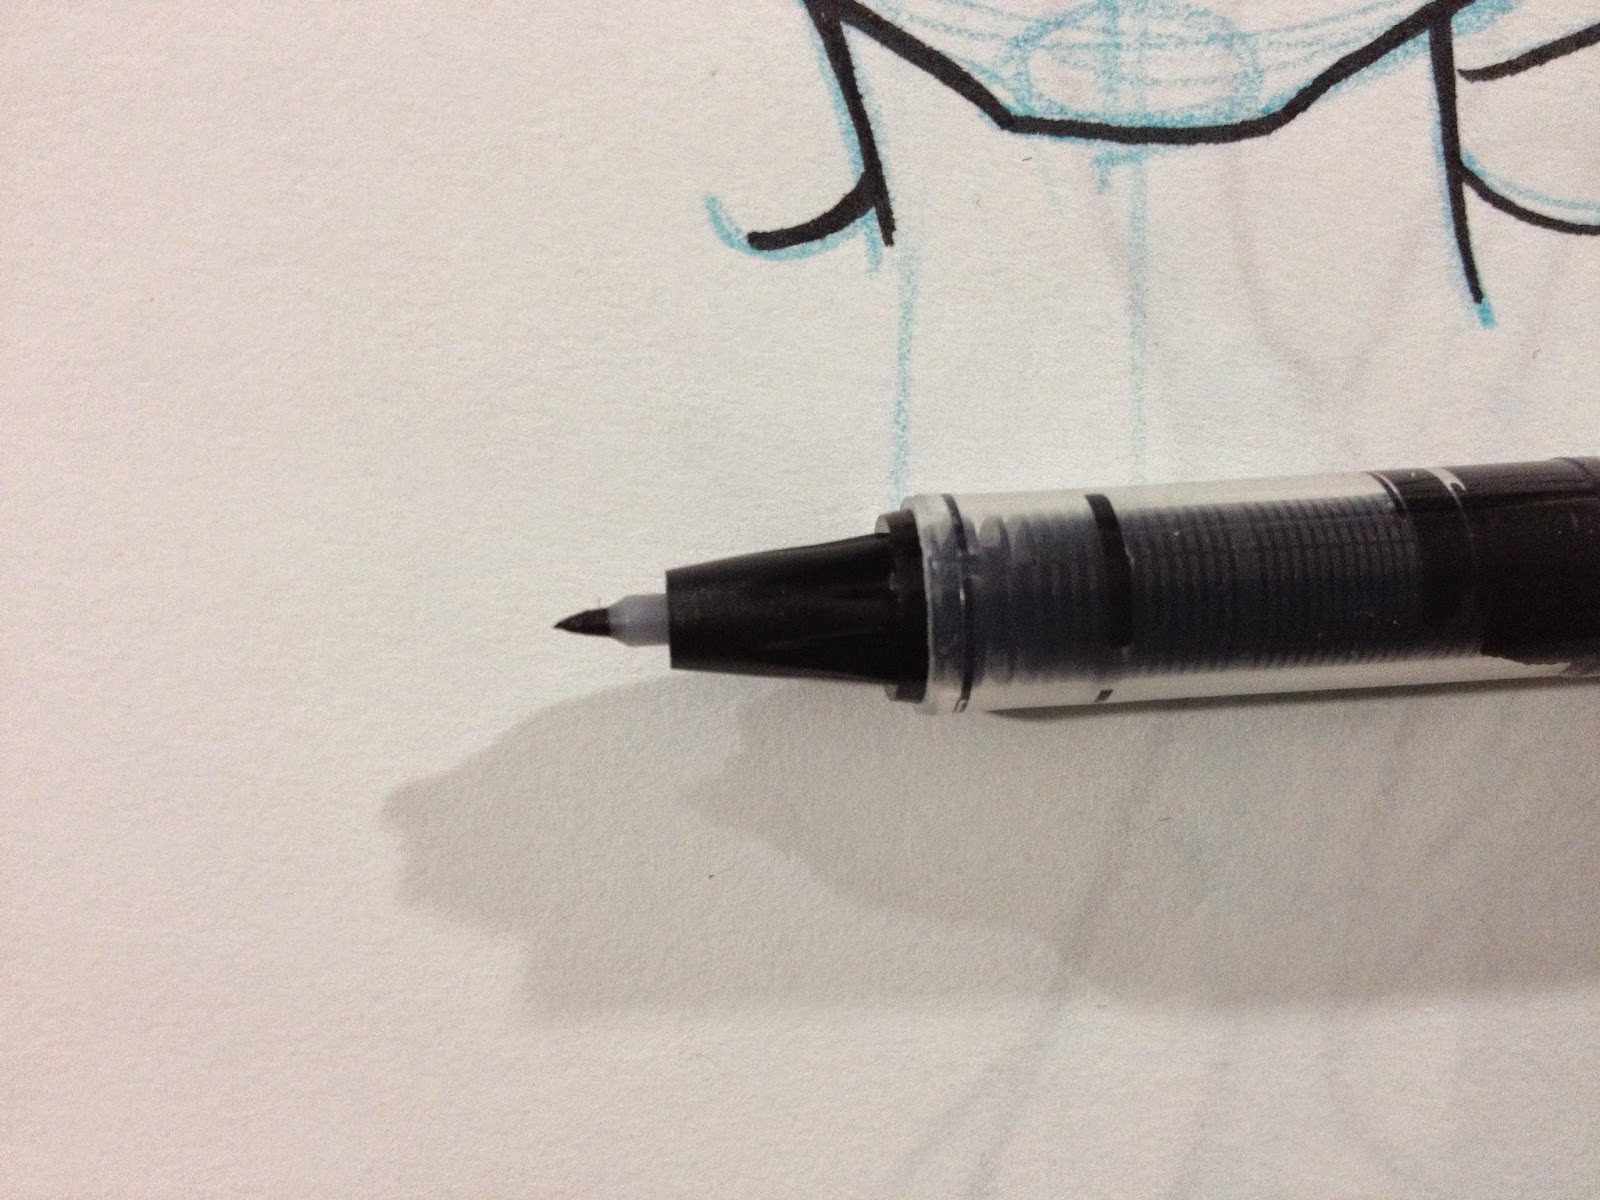

As with the Pentel Touch pens, the nonphoto blue affects the color the pen puts down. The pink is much less blue without the non photo blue, but with the npb, it's almost purple. This is just something to keep in mind, depending on how you plan on using these pens.
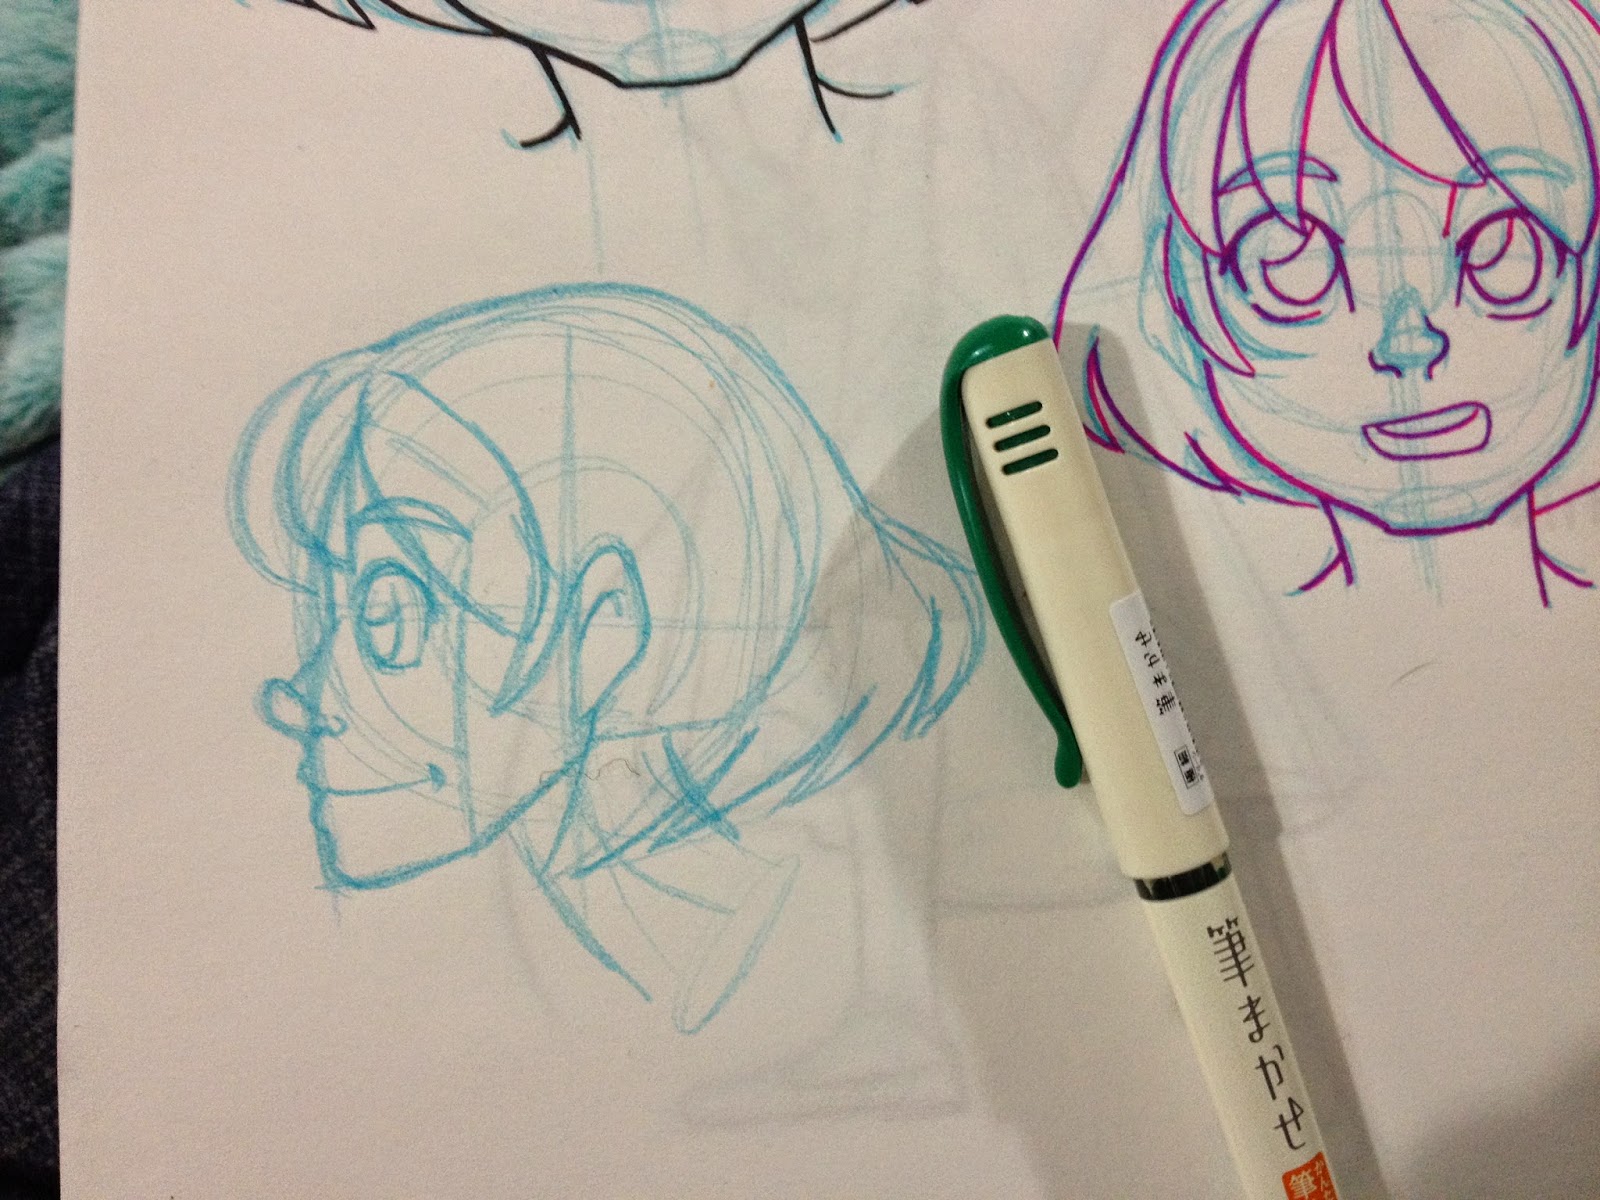
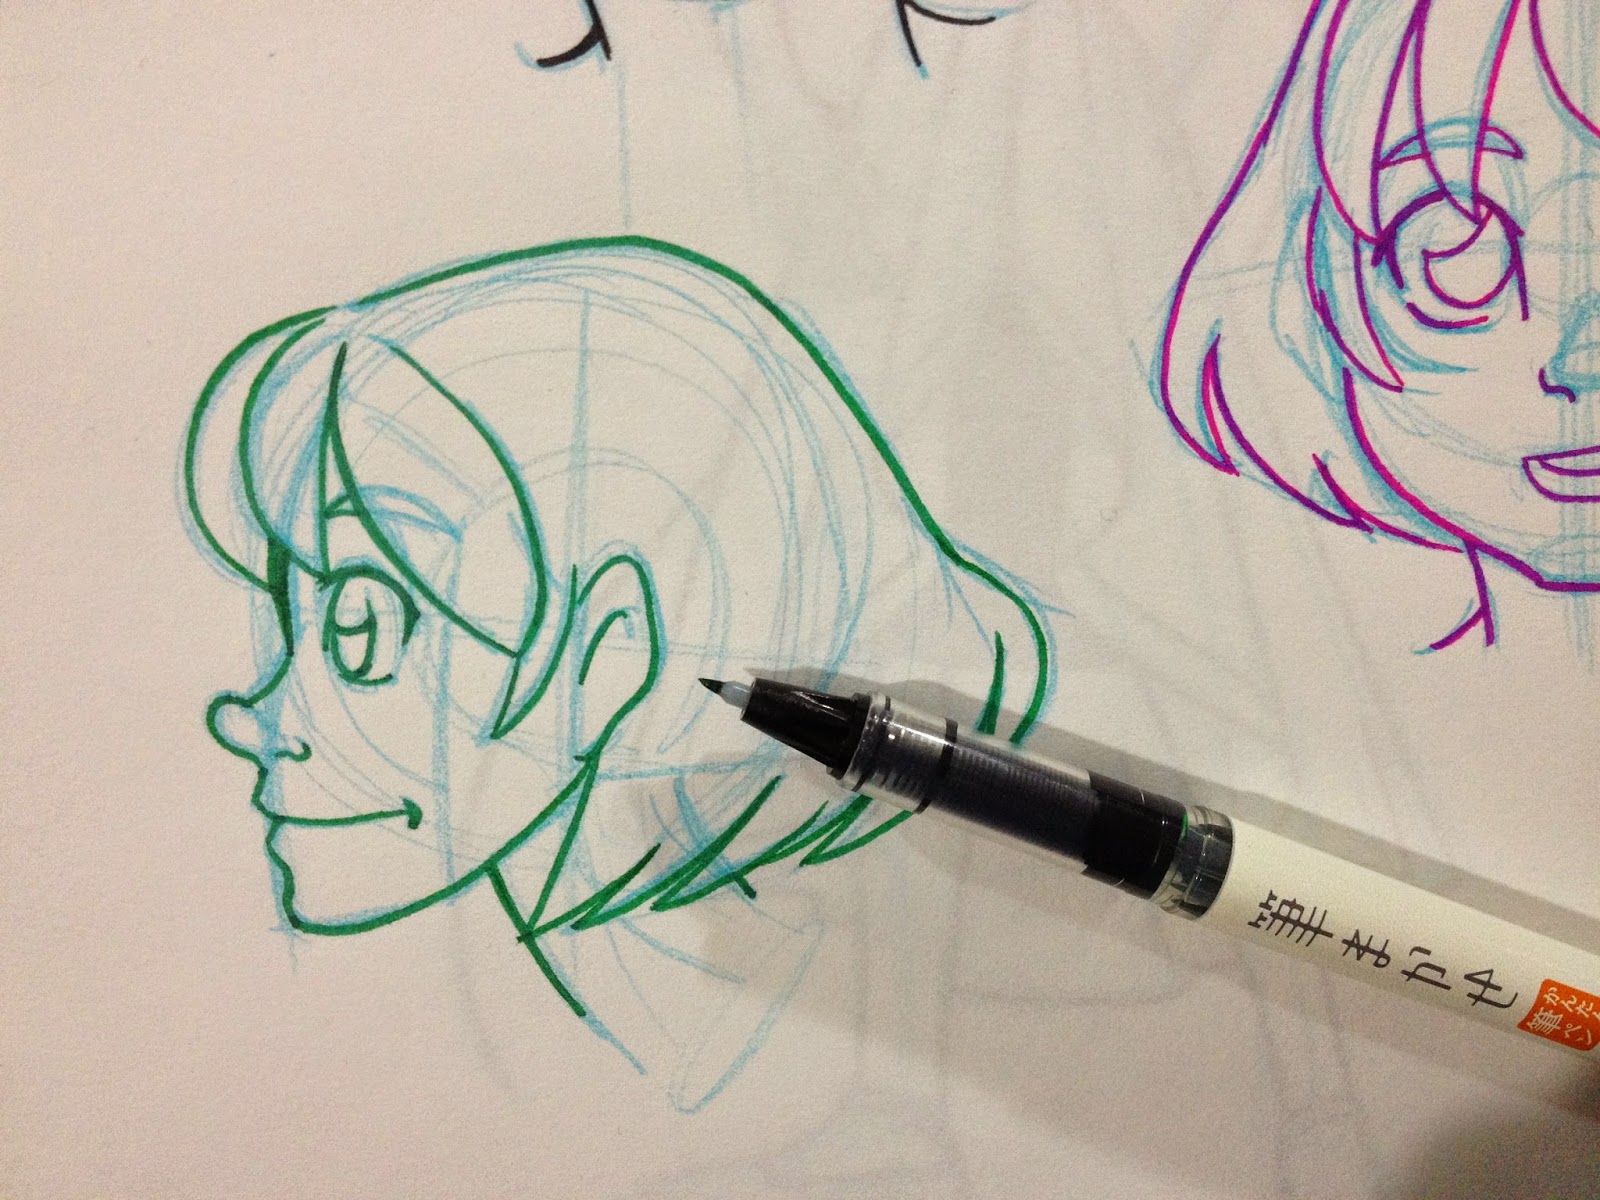
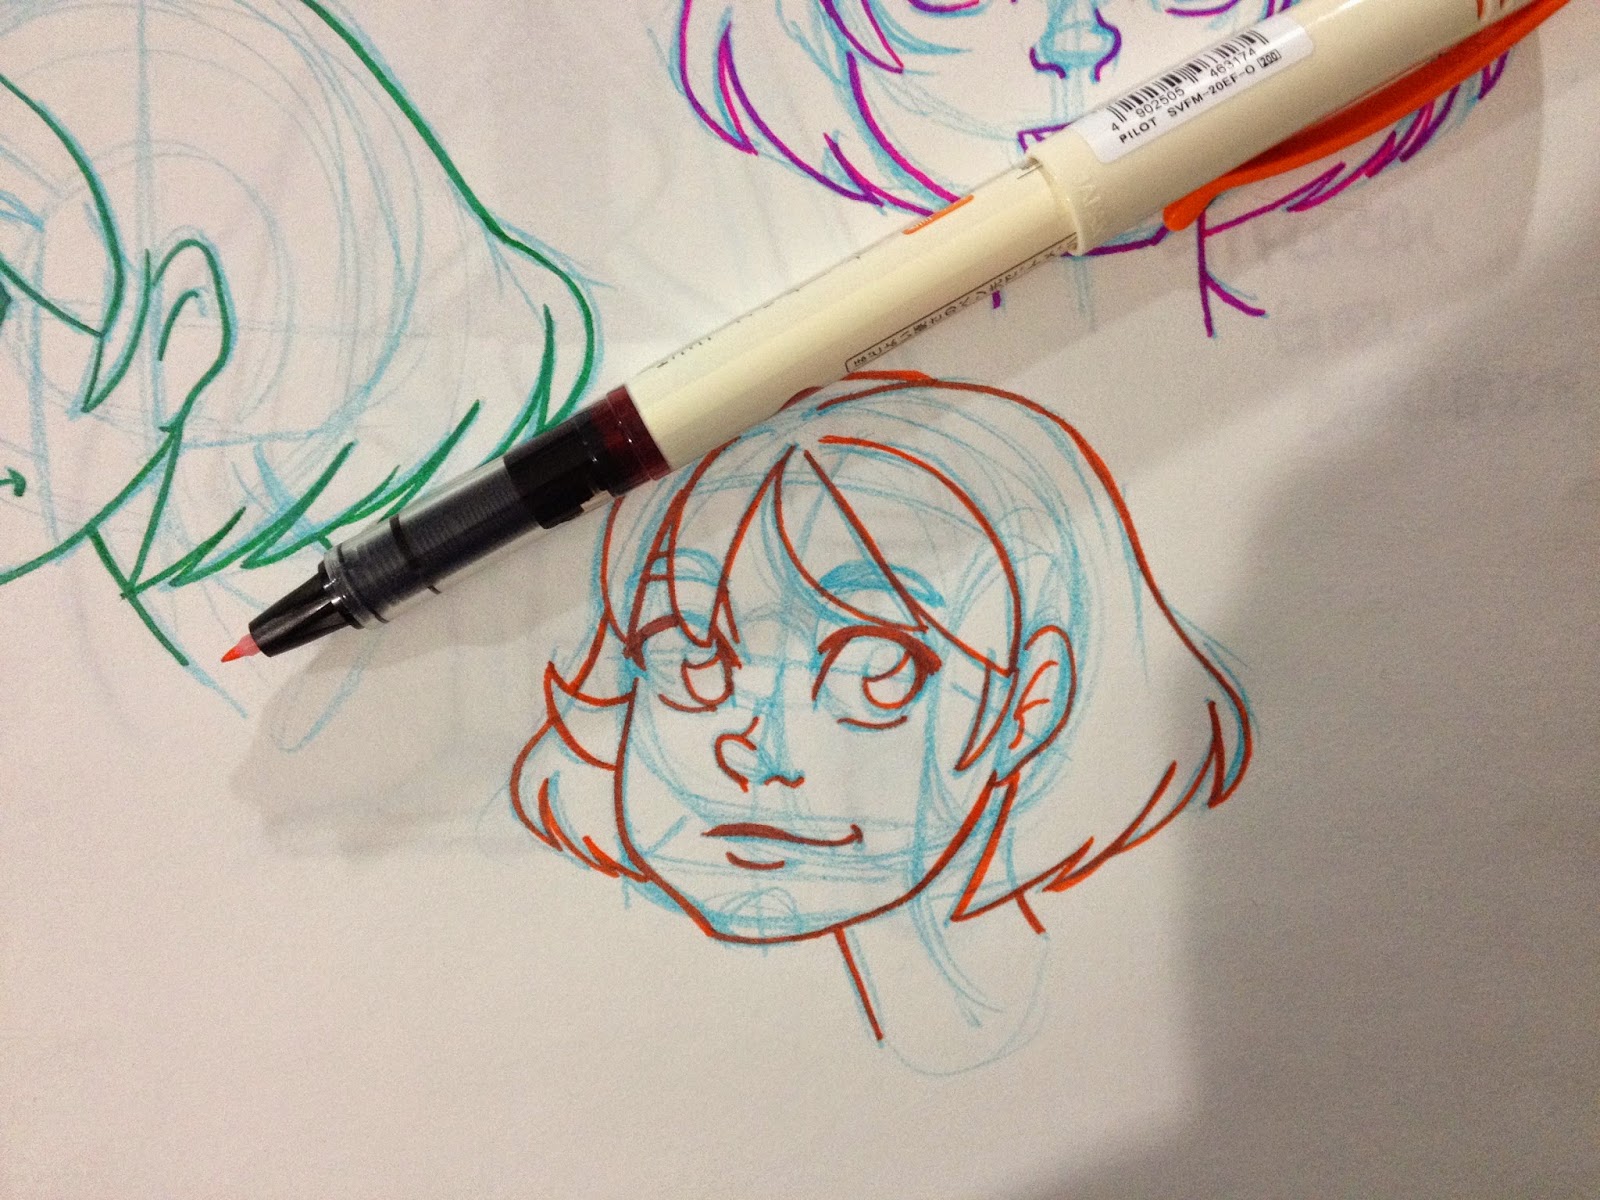
Fortunately, the non photo blue doesn't seem to clog up these pens as it did with the Foray Stylemark pens, although I do worry that with lighter colors, the non photo blue may stain the nibs if you don't remove all the non photo blue from the nib.
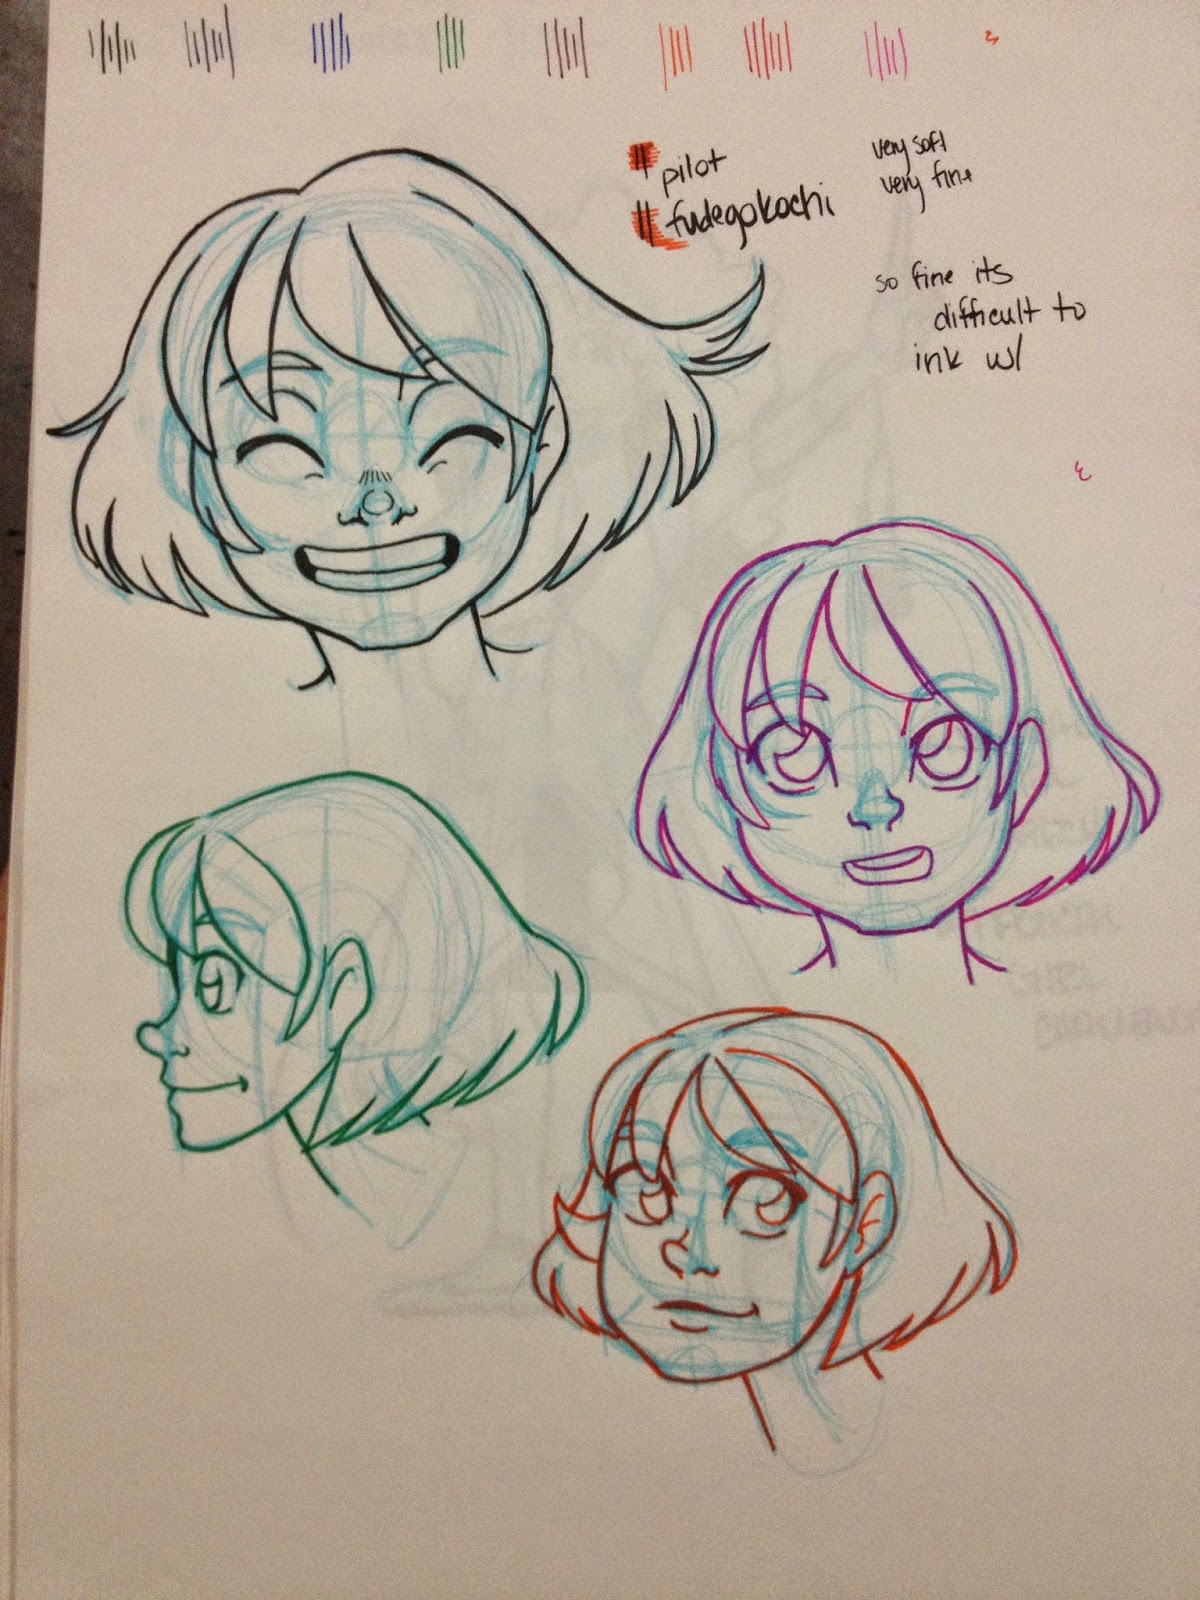
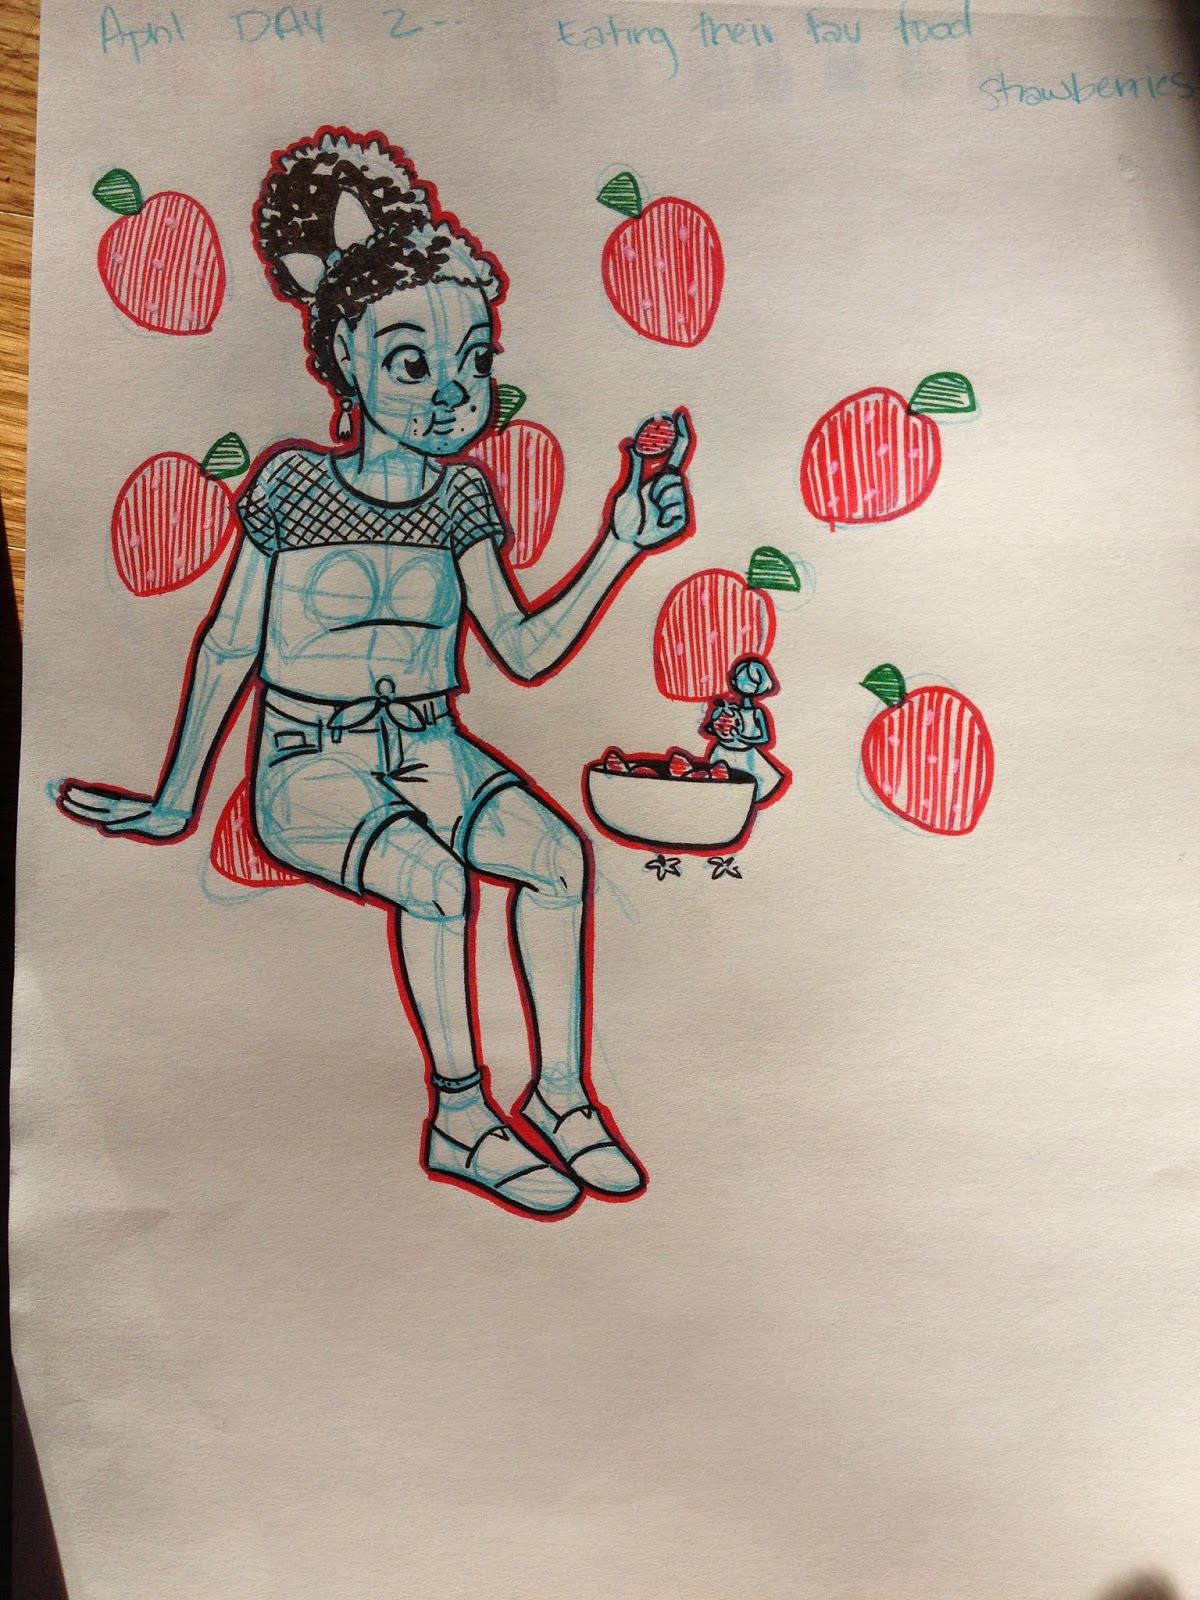
And unfortunately, there's a bit of smudging if you ink with Fude-Makase over non waterproof black ink, even if you wait 24 hours between inking.
The Verdict
If you want a lot of color, but you don't want an extra fine nib, I high recommend the Pentel Touch fude pens I reviewed not so long ago. If you are looking for a finer nib fude pen, I think the Fude-Makase are a fine choice, and I had one in my own pencil case until it exploded on the plane ride back from TCAF. These are not the pens to pick if you have large areas to fill, or if you can't pull back on being heavy handed, nor if you're looking for one fude pen to rule them all.
Please consider donating to this blog or purchasing from Natto-shop (http://nattosoup.com/shop) if you want me to continue publishing quality content. All materials tested were purchased from my own pocket. Keep on Truckin' Nattosoup is not under any sponsorship.
May 26, 2015
Brush Pen Review: Akashiya Sai Pigment Outline Brush
In the past, when I wanted to do inks for a piece I intended on watercoloring, I usually pulled out FW Acrylic Ink, or Winsor Newton Bombay ink and a brush to do my inking. I knew both of those inks were waterproof, and I liked the dynamic look of brushwork, but I didn't like that inking even a small piece took up a lot of time. I had to set things up JUST SO, and I couldn't easily take it on the go. Recently I became acquainted with the waterproof Sailor Mitsuo Aida, and I haven't looked back (too hard). About the time I found out about the Mitsuo Aida, I discovered Akashiya Sai's Outline Brush, which uses a waterproof (pigment based, maybe?) ink as well, and I decided to give it a shot.
This pen is probably meant to be used with the Akashiya Sai watercolor brushpens that I reviewed a couple years ago, but I have to admit, I'm not fans of those pens, and would probably use this pen with one of the many other watercolor markers or pens available on the market.
For the purposes of this review, I'm going to pull out a couple other brushpens for comparison- the Pentel Pocket Brush, and the Pilot Pocketbrush Soft.
 To the Left: The Pentel Pocket Brush To the Right: The Akashiya Sai Outline Pen
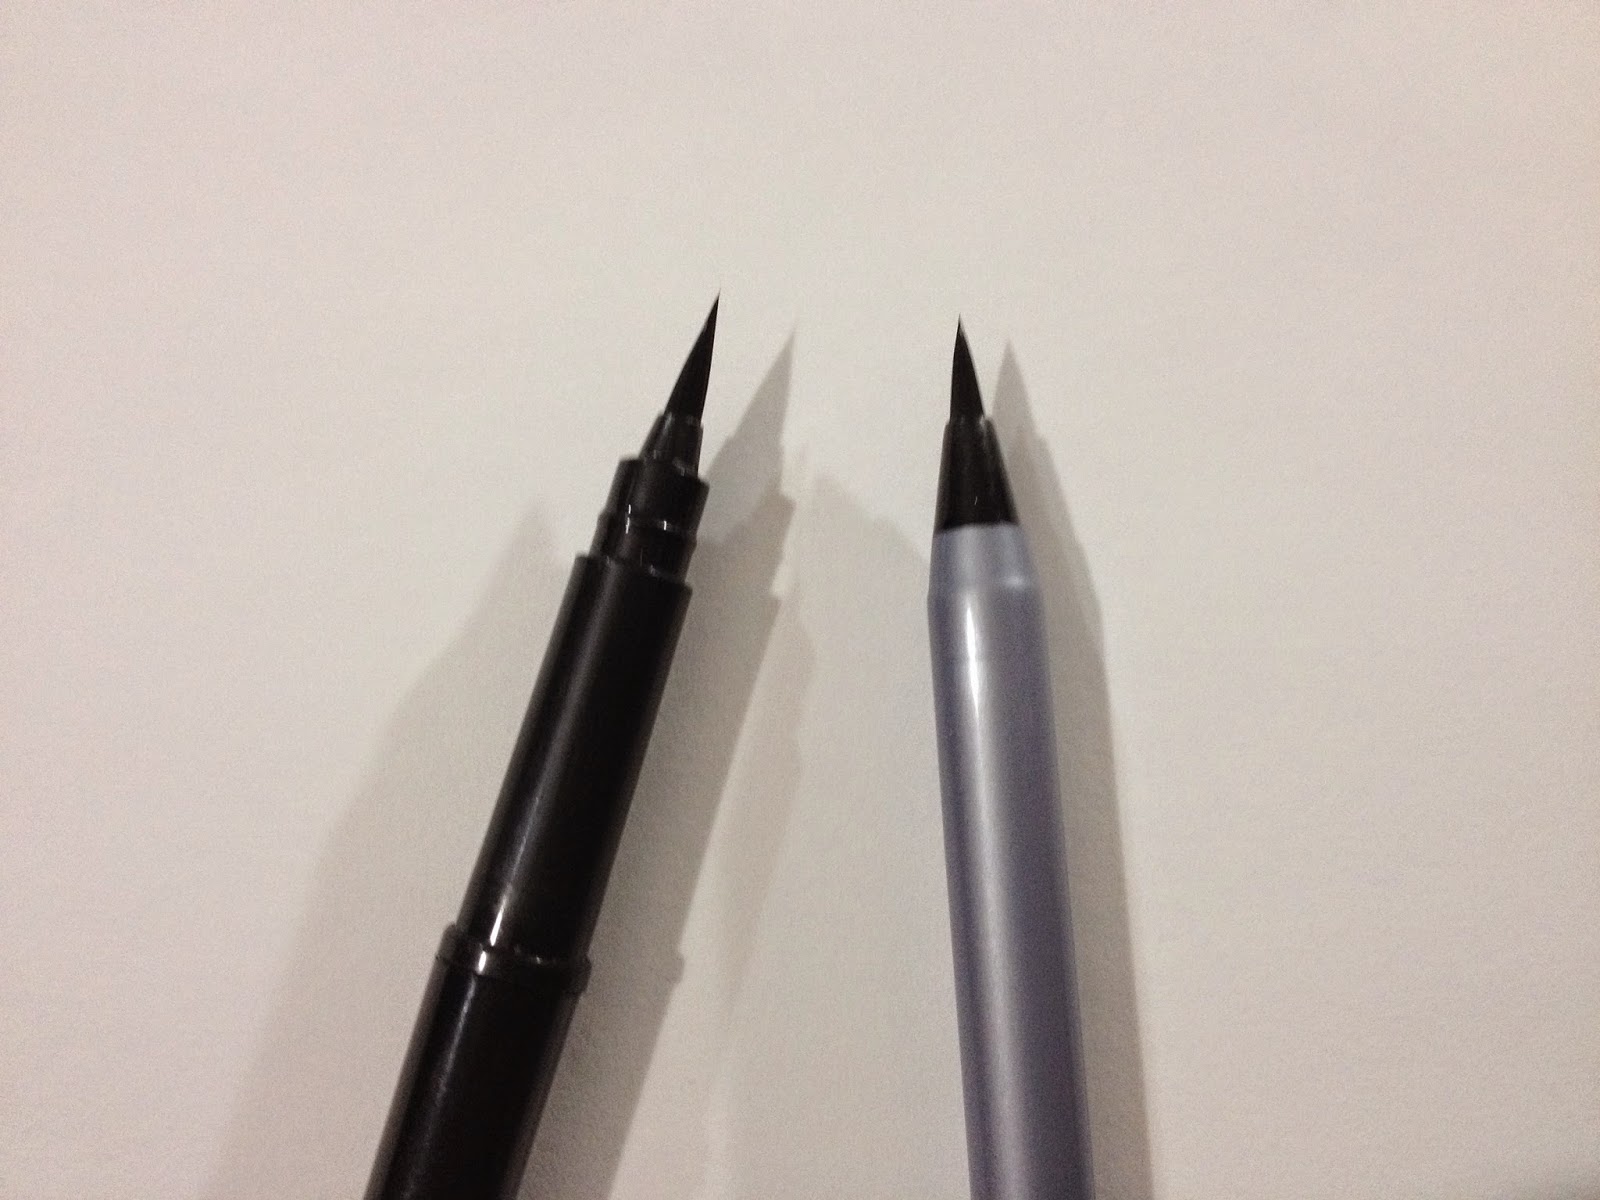
The Akashiya Sai Pigment Outline Brush pen is a little thinner than your usual brushpen, and may take a little getting used to. The tip is a brush made up of nylon bristles, similar to the Pentel Pocketbrush.
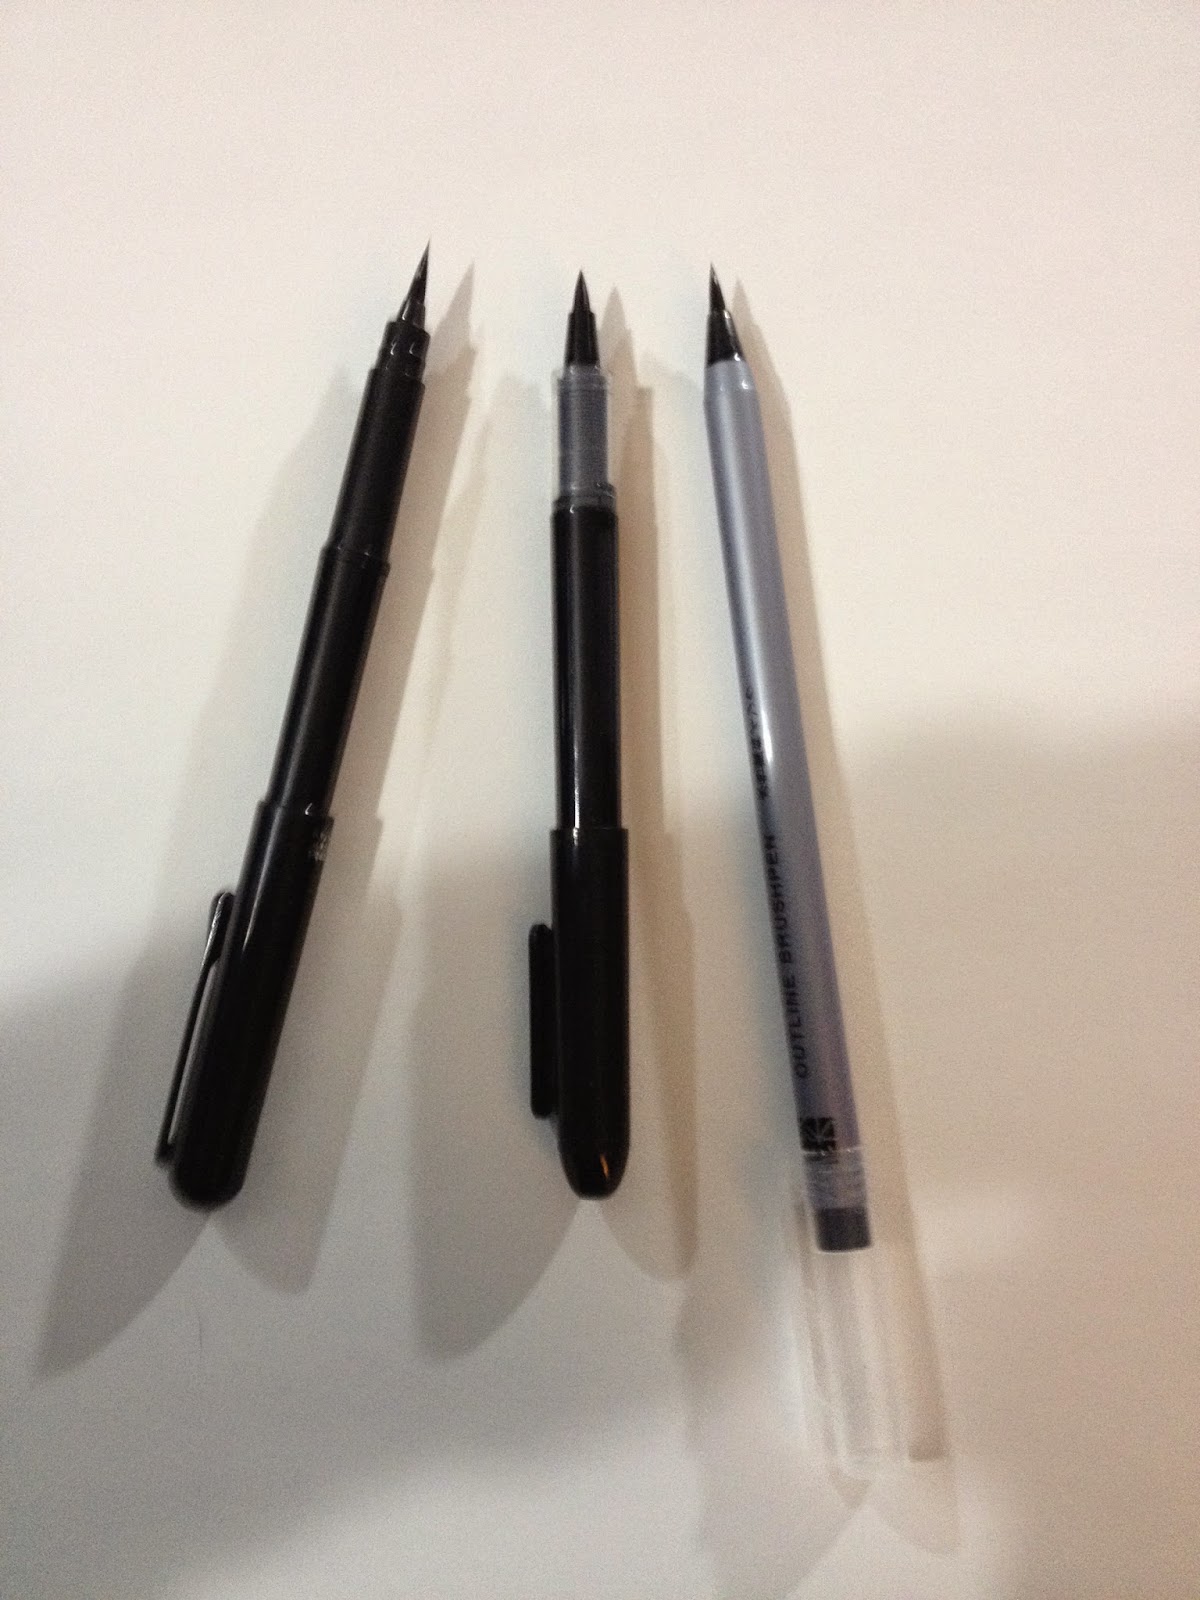 From Left to Right: Pentel Pocketbrush, Pilot Pocketbrush Soft, Akashiya Sai Pigment Outline Pen
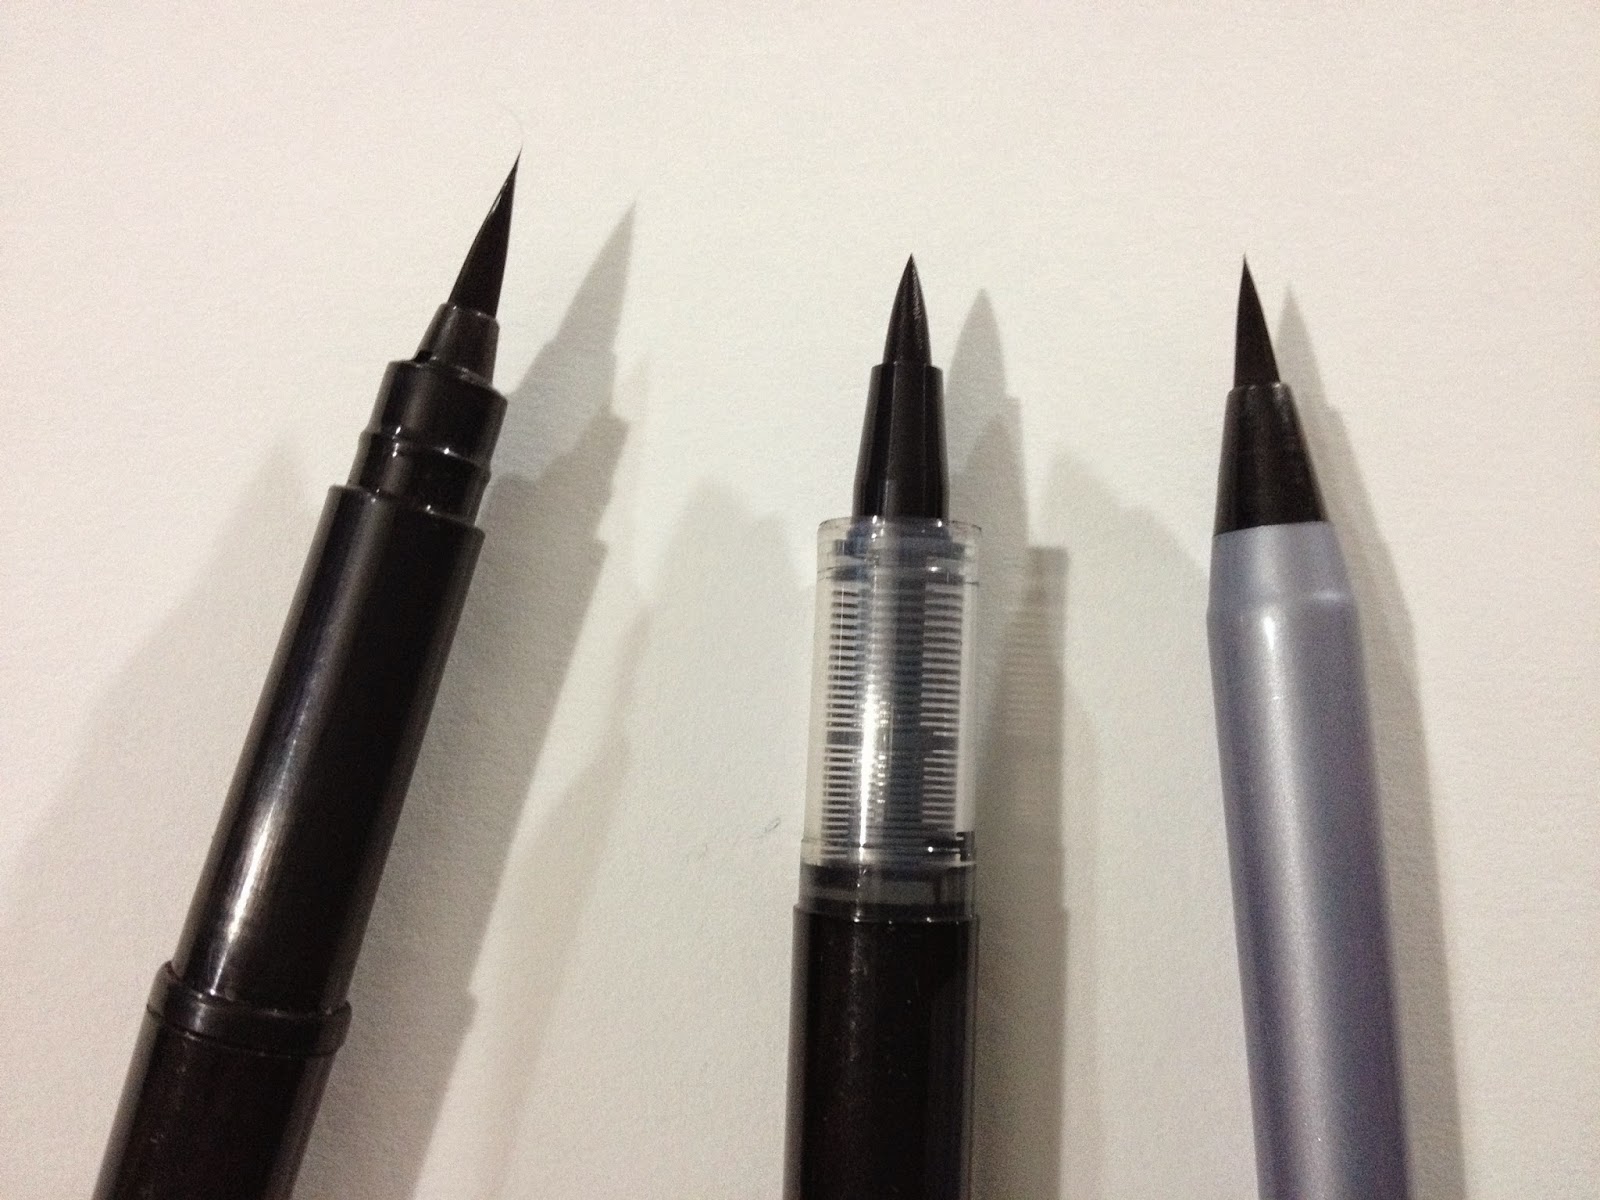 Of the three, only the Pilot .has a rubbery, single unit nib
The Field Test
I did the field test on watercolor paper, since that's the paper I'd be most likely to use when using the Akashiya Sai Pigment Outline Brushpen.
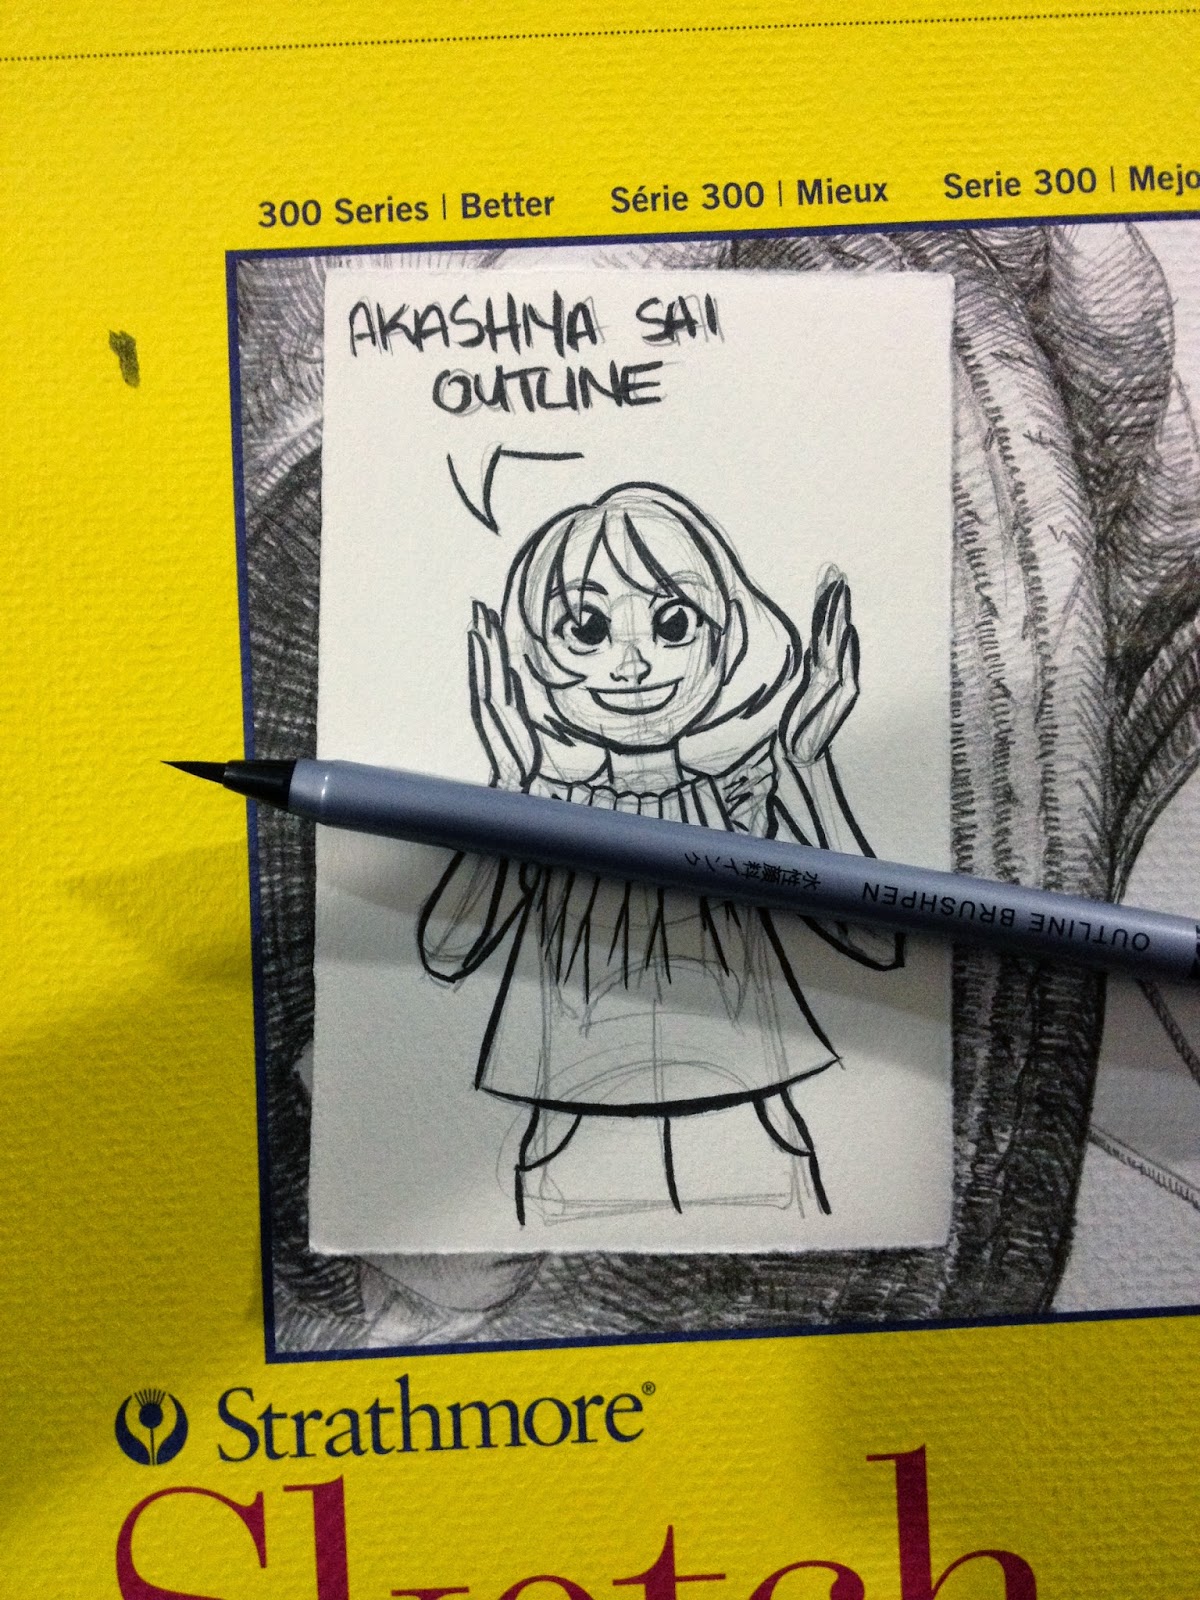

The brush tip on the Akashiya Sai Pigment Outline Brush handles a lot like the Pentel Pocket Brush- it's far easier to deliver fat lines than it is to pull fine lines. As this pen is not refillable, I wouldn't necessarily recommend it as a go-to brush for large areas of waterproof black fills, but that's what it seems best suited for at the size I draw. I let the ink dry for at least 24 hours before I move on to the next step- stretching the paper.
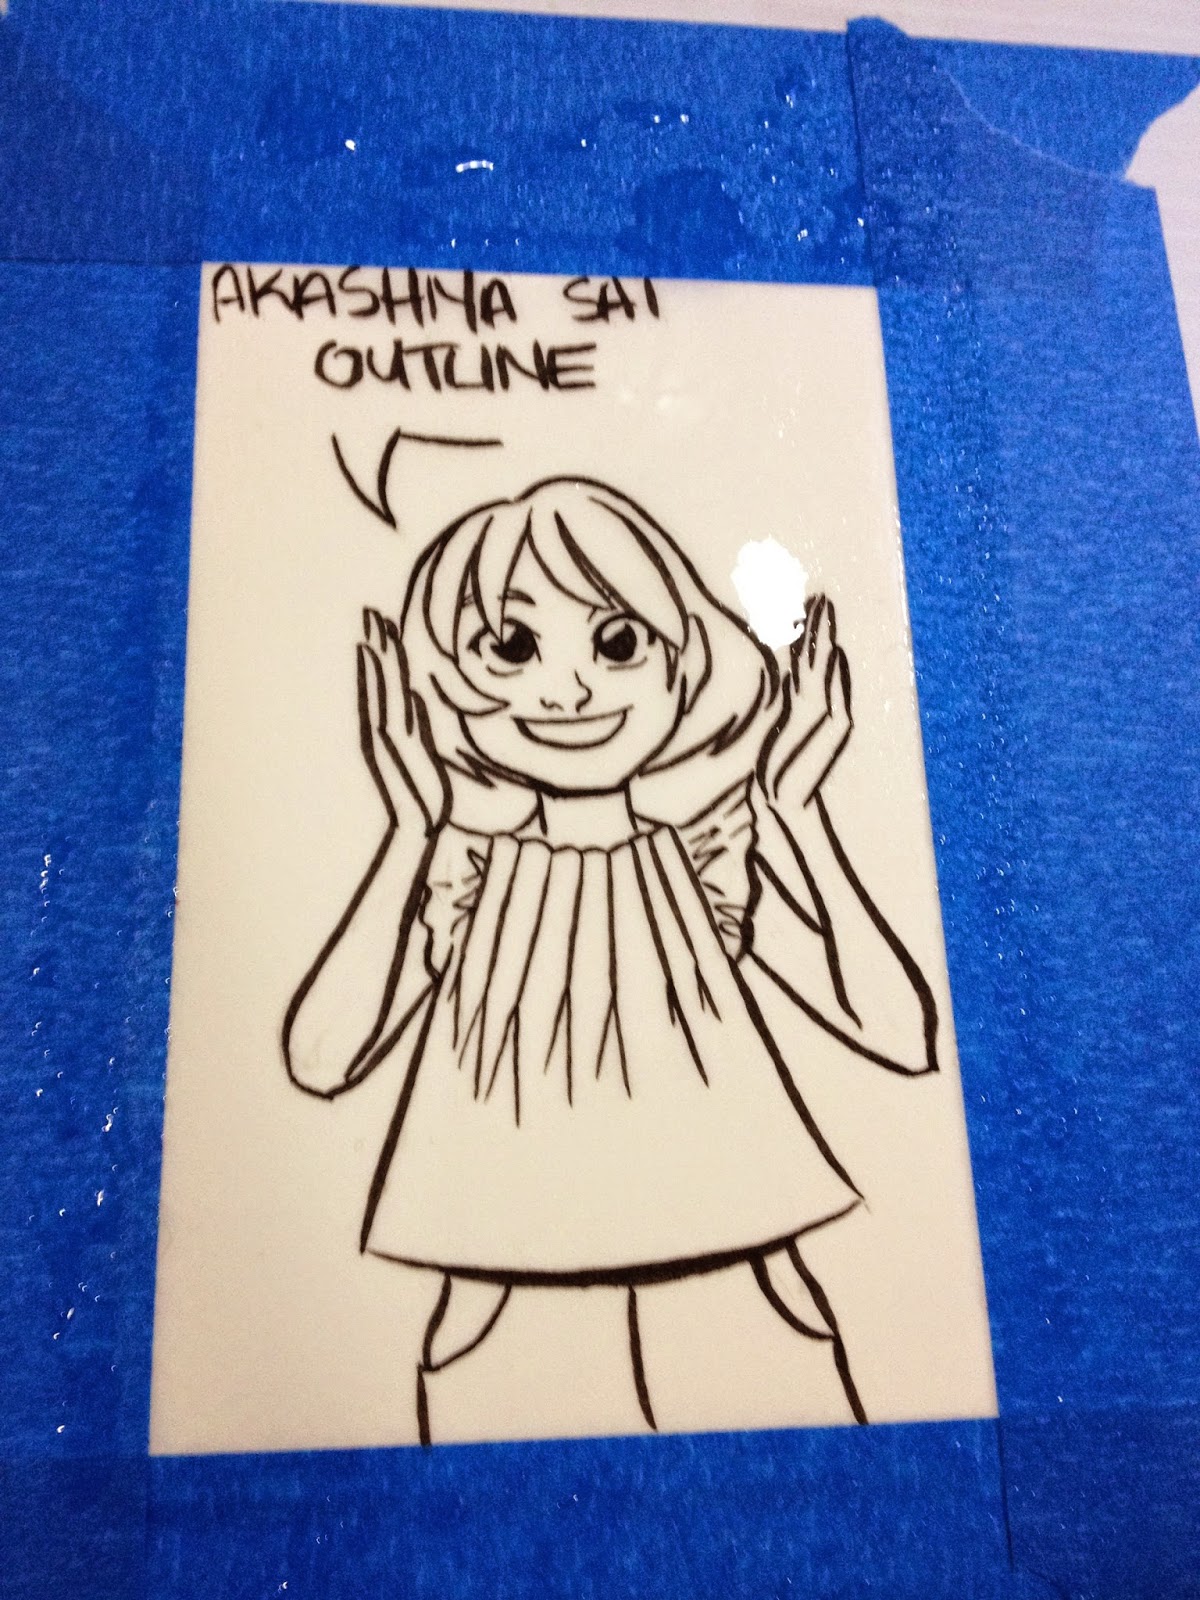
This is the paper after it's been saturated and the water is left to stand. Usually this is the point when I discover that a waterproof pen isn't so waterproof, but the Akashiya Sai Pigment Outline Pen really holds its ground.
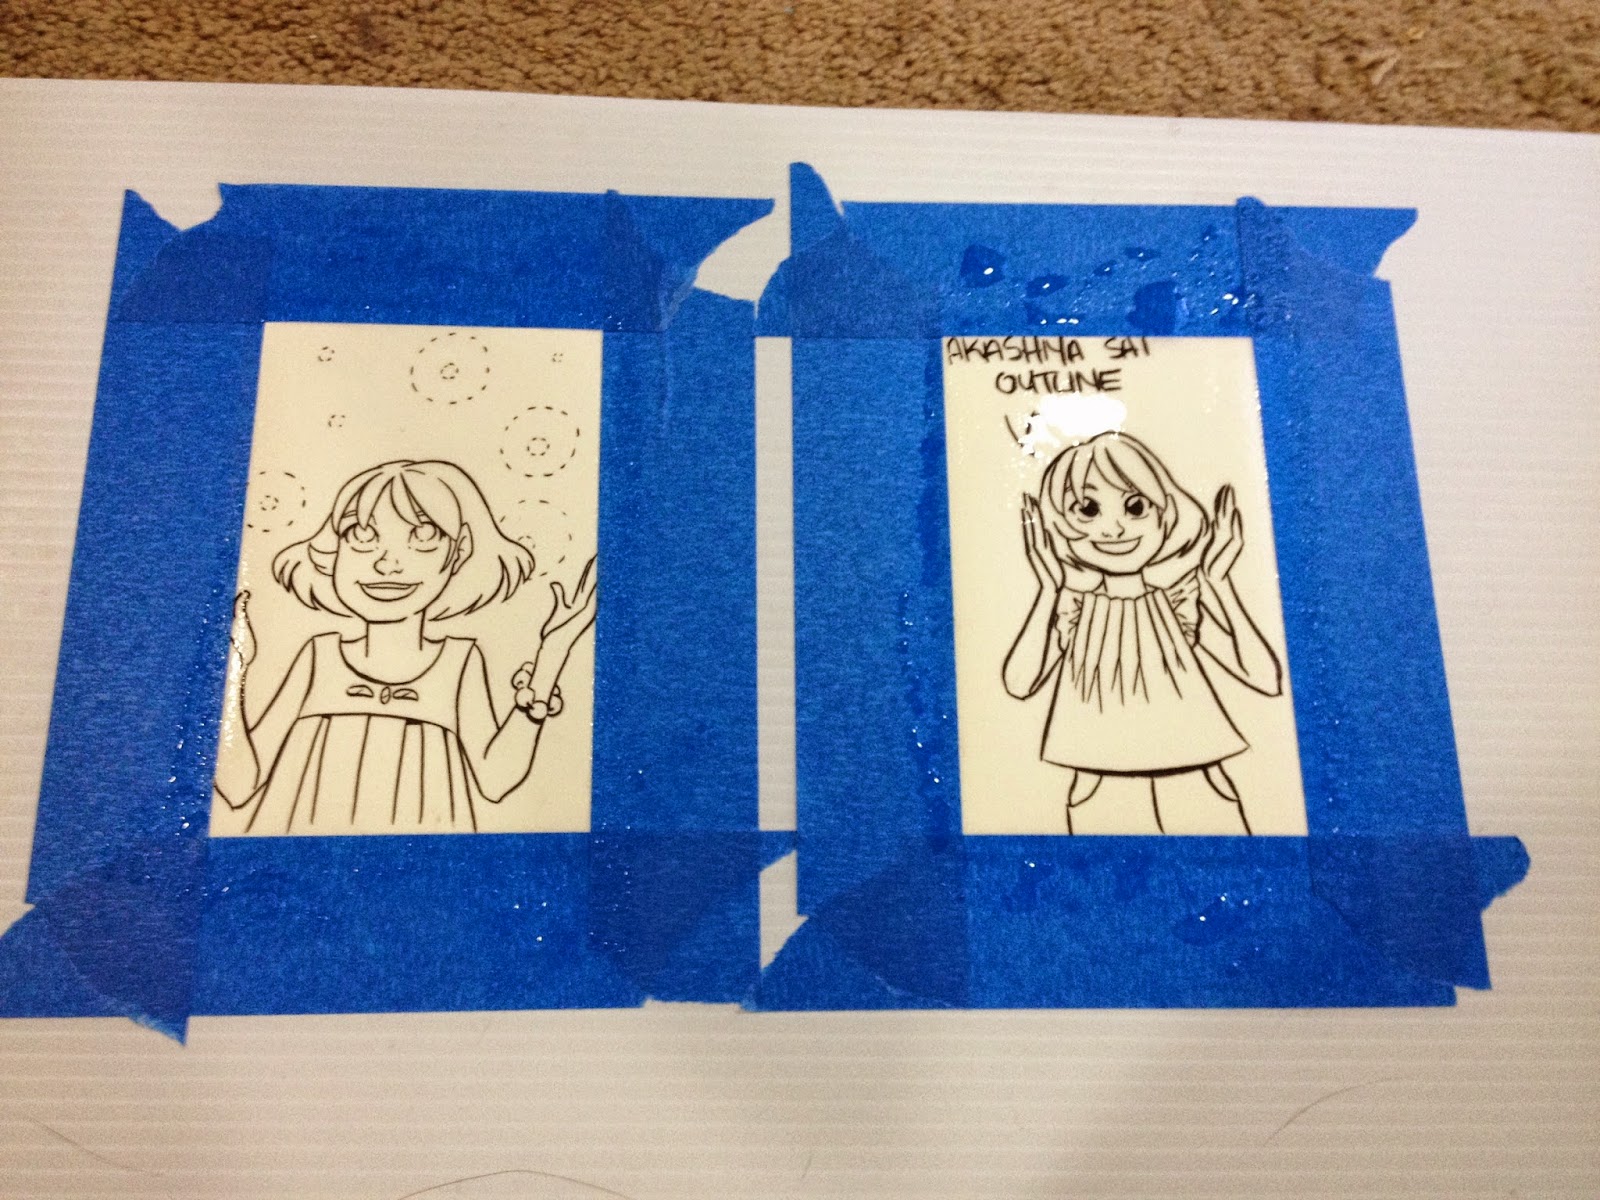
For comparison, on the left is a piece inked with the Mitsuo Aida, my other waterproof pocket pen. The piece on the right was inked with the Akashiya Sai Pigment Outline Brush. Neither one show any signs of bleeding or running when water is applied and left to dry.
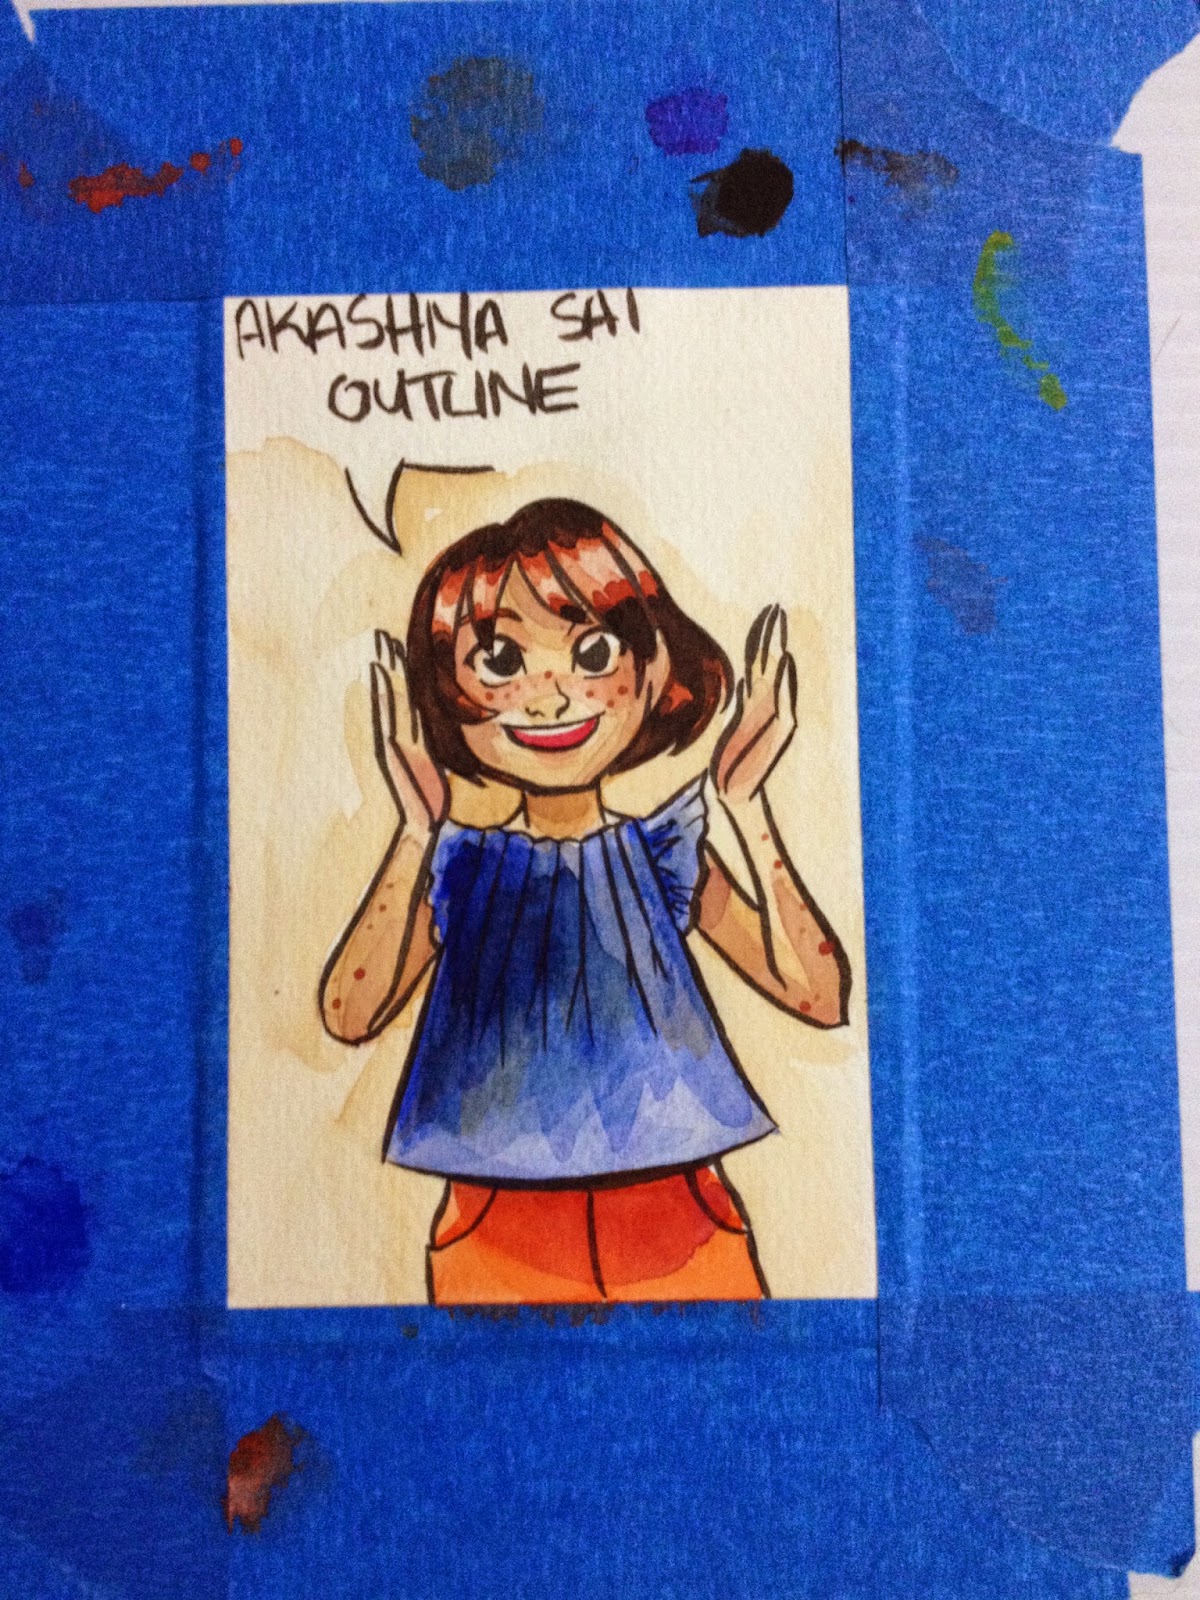
The real test always comes when I start applying color. The Akashiya Sai Pigment Outline Brush's ink held up well to erasing, it holds up well to stretching, and it held up fairly well to the addition of watercolor. In a color application, the Akashiya Sai Pigment Outline Brush's ink is a little bit gray compared to vibrant color, but some of this may have happened when I erased the pencil underneath.
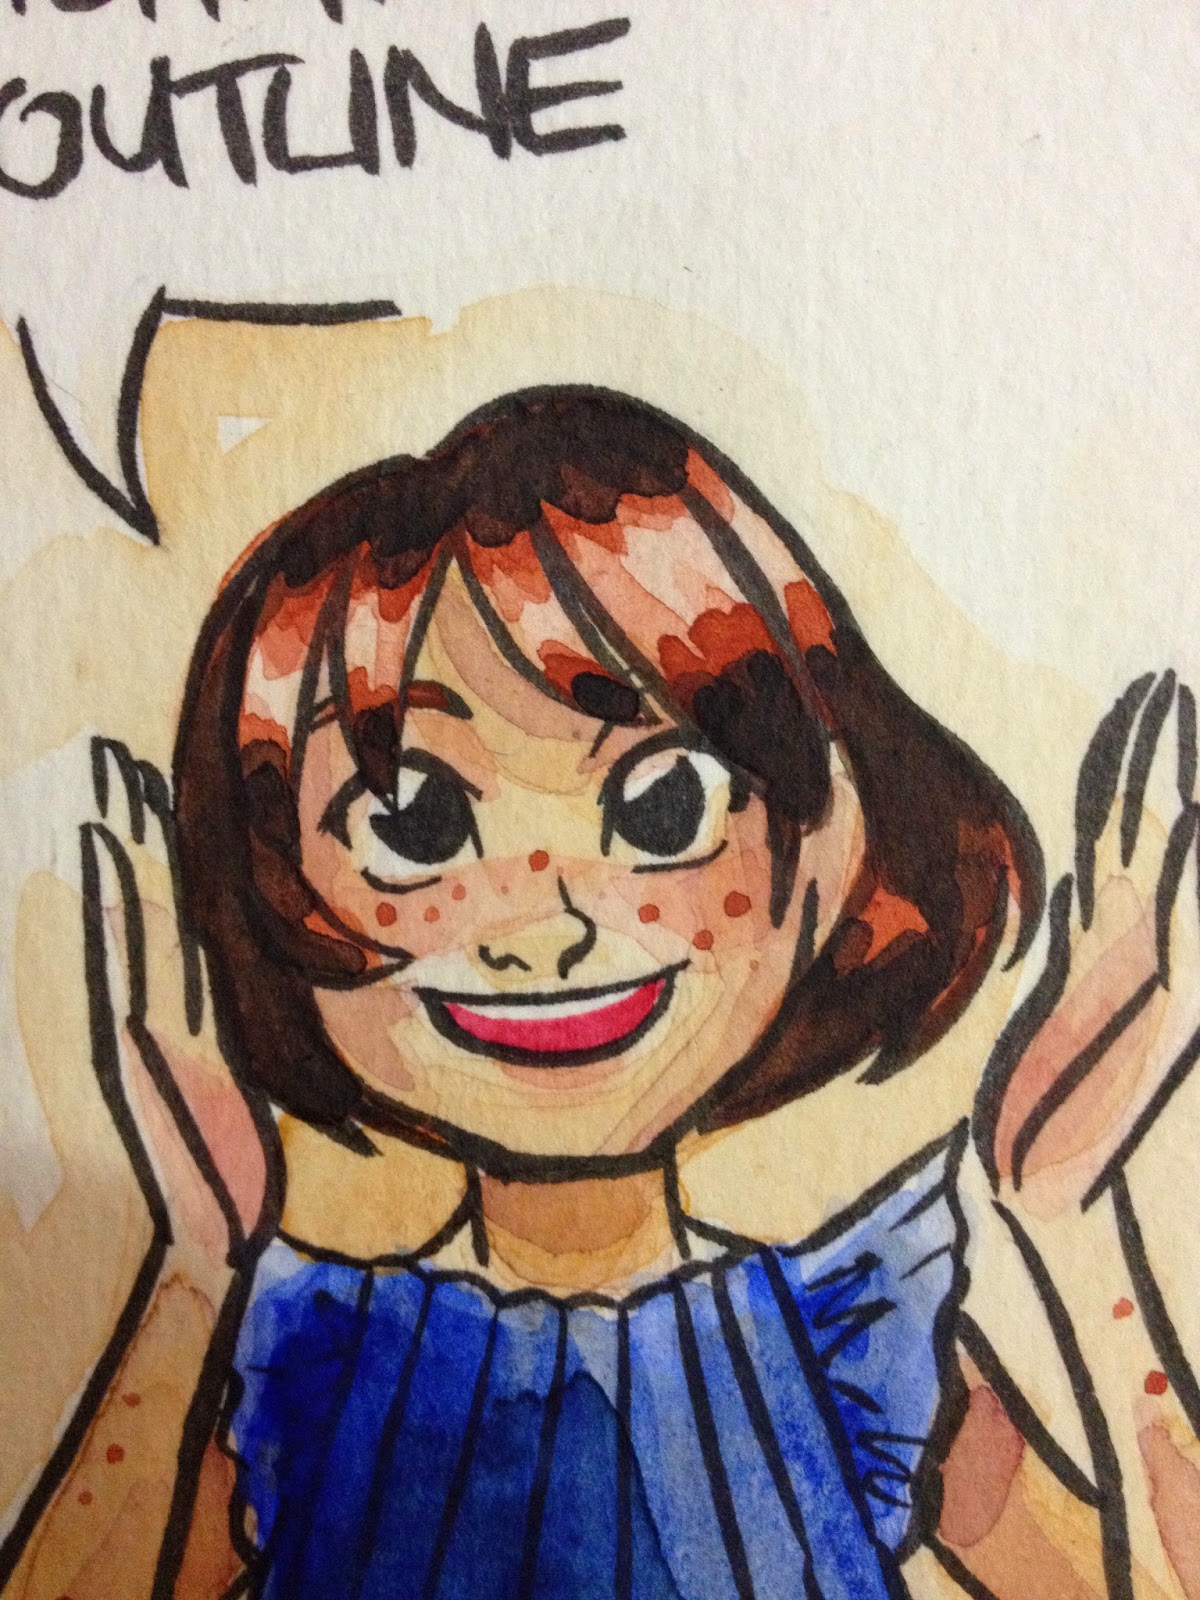
The Verdict
If you like the Pentel Pocket Brush, but wished it was waterproof out of the box, the Akashiya Sai Pigment Outline Brush might be the choice for you. I'm not the biggest fan of nylon bristled brush pens, as they have a tendency to drybrush, but I know many artists love the drybrush effect, and if you're one of those artists, the Akashiya Sai Pigment Outline Brush is a great pick. When purchasing this brush, be really careful, as the other Akashiya Sai brushes are NOT waterproof, only the Akashiya Sai Pigment Outline Brush is waterproof. The Akashiya Sai Pigment Outline Brush is $5.25 on Jetpens.
If you do NOT want a nylon bristled brushpen, but still want a waterproof brushpen, I highly recommend the Sailor Mitsuo Aida, a pen I've been using often.
Please consider donating to this blog or purchasing from Natto-shop (http://nattosoup.com/shop) if you want me to continue publishing quality content. All materials tested were purchased from my own pocket. Keep on Truckin' Nattosoup is not under any sponsorship.

May 25, 2015
Brush Pen Review: Pentel Kirari Portable Brush Pen
I suppose I'm pretty susceptible to well written spin. As a kid, I was convinced that Mondo fruit drinks would be all that was promised, as a teen, I firmly believed I needed one of those translucent Apples in order to achieve ultimate teen coolness. And as an adult, if you can write spin good enough, I'll probably fork over the money.
On the Jetpens site, the description for the Kirari Portable Brush pen sounded extremely promising.
So what sets the Kirari apart from the Pentel Pocketbrush? Let's open the package and find out!
The Packaging


The Kirari comes in a plastic clamshell case with two ink refills. If you aren't hot on the ink that comes with it (it's a bit grayish), you can refill empty cartridges with any ink but acrylic. I wrote a post about refilling existing empty ink cartridges awhile back that might be helpful!


Included in the package is a little pamphlet in Japanese that covers basic strokes.

The Pen
As soon as I uncapped the Kirari, I realized it was basically a pink Pocketbrush. I pulled out my 4 year old Pocketbrush for comparison.

There's four basic parts to both the Kirari Portable Brush Pen and the Pentel Pocketbrush: the cap, the nib, the ink cartridge, and the body of the pen itself. Visually, the only real difference is the color of the body, both pens are made of lightweight plastic.


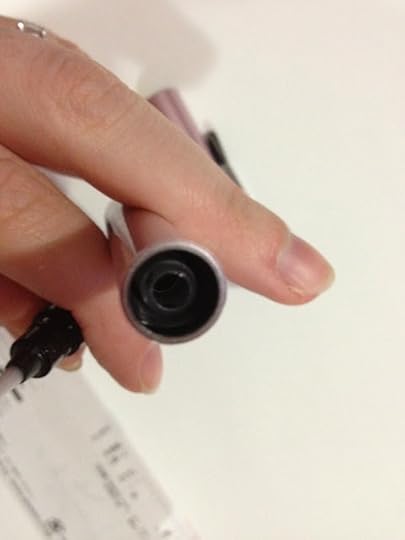
An issue common to both Pocketbrushes and Portable Brushes is that if the ink cartridge isn't jammed onto the tip, it'll get stuck in the barrel and leak everywhere. You can remove it with tweezers or needle nosed pliers.

 Because the Pentel Kirari is so similar to the Pentel PocketBrush, I didn't bother to do a field test, as I've used a Pocketbrush for years. I don't personally care for the Pocketbrush, or the Kirari by extension, for inking, but I do use it for fills. The bristles have too much snap for what I usually want, and the Pentel Pocketbrush is prone to giving a drybrush effect. The Verdict The Kirari is basically a Pentel Pocketbrush, at a higher pricepoint- $16.50 vs $13.50. The additional three dollars doesn't net you a metal-bodied pen, as the Kirari is just a plastic pen with a metallic finish. In my opinion, you're better off just buying a regular Pocketbrush for your money, as the two pens are pretty much identical from a performance point of view.
Please consider donating to this blog or purchasing from Natto-shop (http://nattosoup.com/shop) if you want me to continue publishing quality content. All materials tested were purchased from my own pocket. Keep on Truckin' Nattosoup is not under any sponsorship.
On the Jetpens site, the description for the Kirari Portable Brush pen sounded extremely promising.
This Kirari brush pen contains bold ink in a gorgeous, light metallic body. Simple and sophisticated, this pen will add a touch of class to your collection. The medium nylon brush tip is excellent for creating dramatic stroke variation in calligraphy and illustrations, and the lightweight plastic body makes the pen easy to carry. This pen comes with beautifully vivid black pigment ink that is lightfast and water-resistant. Also enclosed is a small pamphlet, which contains diagrams demonstrating how to write beautiful Japanese and Chinese characters.
Two black pigment ink FP10 cartridges are included, and additional cartridges are available separately.Pentel Kirari Portable Brush Pen Listing on Jetpens I mean seriously, doesn't that sound like you're getting something good? It's certainly more enticing than the Pentel Pocketbrush listing, Pentel's other major bristle nibbed brushpen.
Bring the elegance of Asian calligraphy to your artwork and writing. These high-quality brush pens from Pentel can form thin lines or thick lines, creating a variety of effects. Writes smoothly and conveniently refills with cartridges. Each pen comes with 2 refill cartridges. The Pentel Pocket Brush Pen for Calligraphy and the Pentel Pocket Brush Pen + 2 Refill Cartridges listed on our site are the same product but the former is branded for Japan and the latter is branded for the US.Pentel Pocketbrush Listing on Jetpens
So what sets the Kirari apart from the Pentel Pocketbrush? Let's open the package and find out!
The Packaging

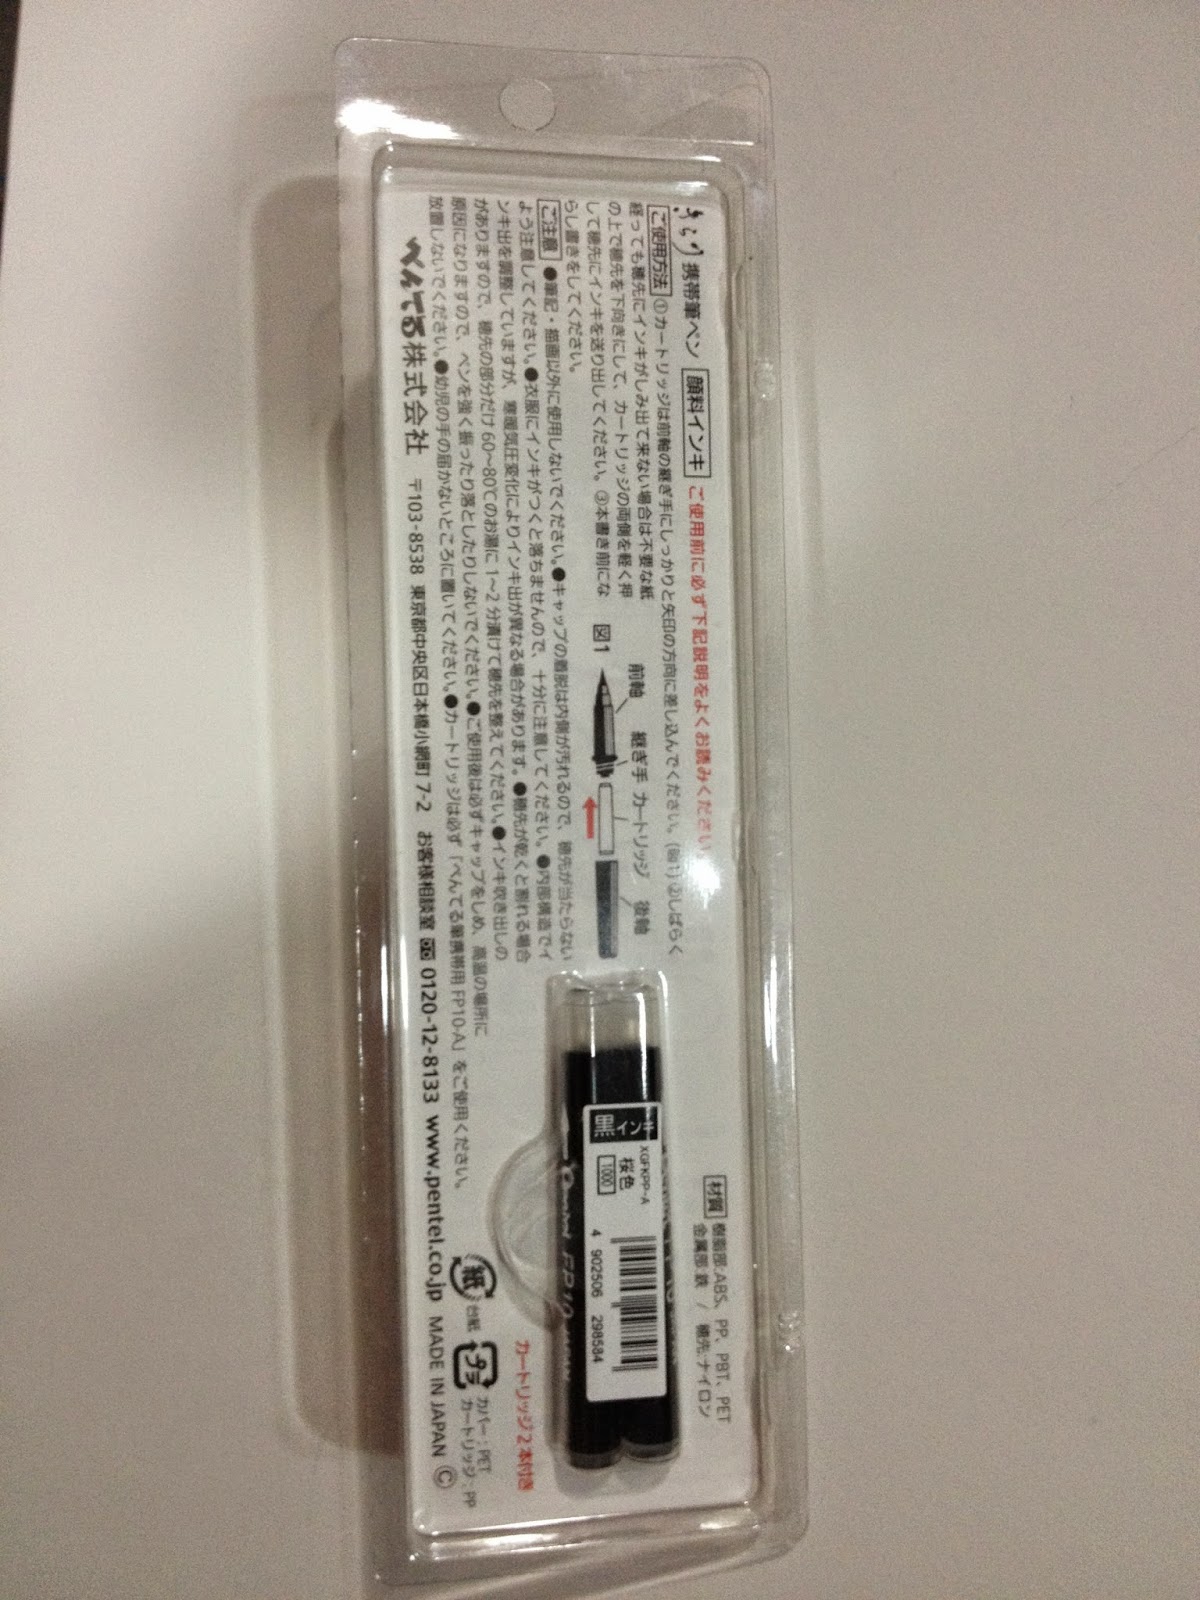
The Kirari comes in a plastic clamshell case with two ink refills. If you aren't hot on the ink that comes with it (it's a bit grayish), you can refill empty cartridges with any ink but acrylic. I wrote a post about refilling existing empty ink cartridges awhile back that might be helpful!
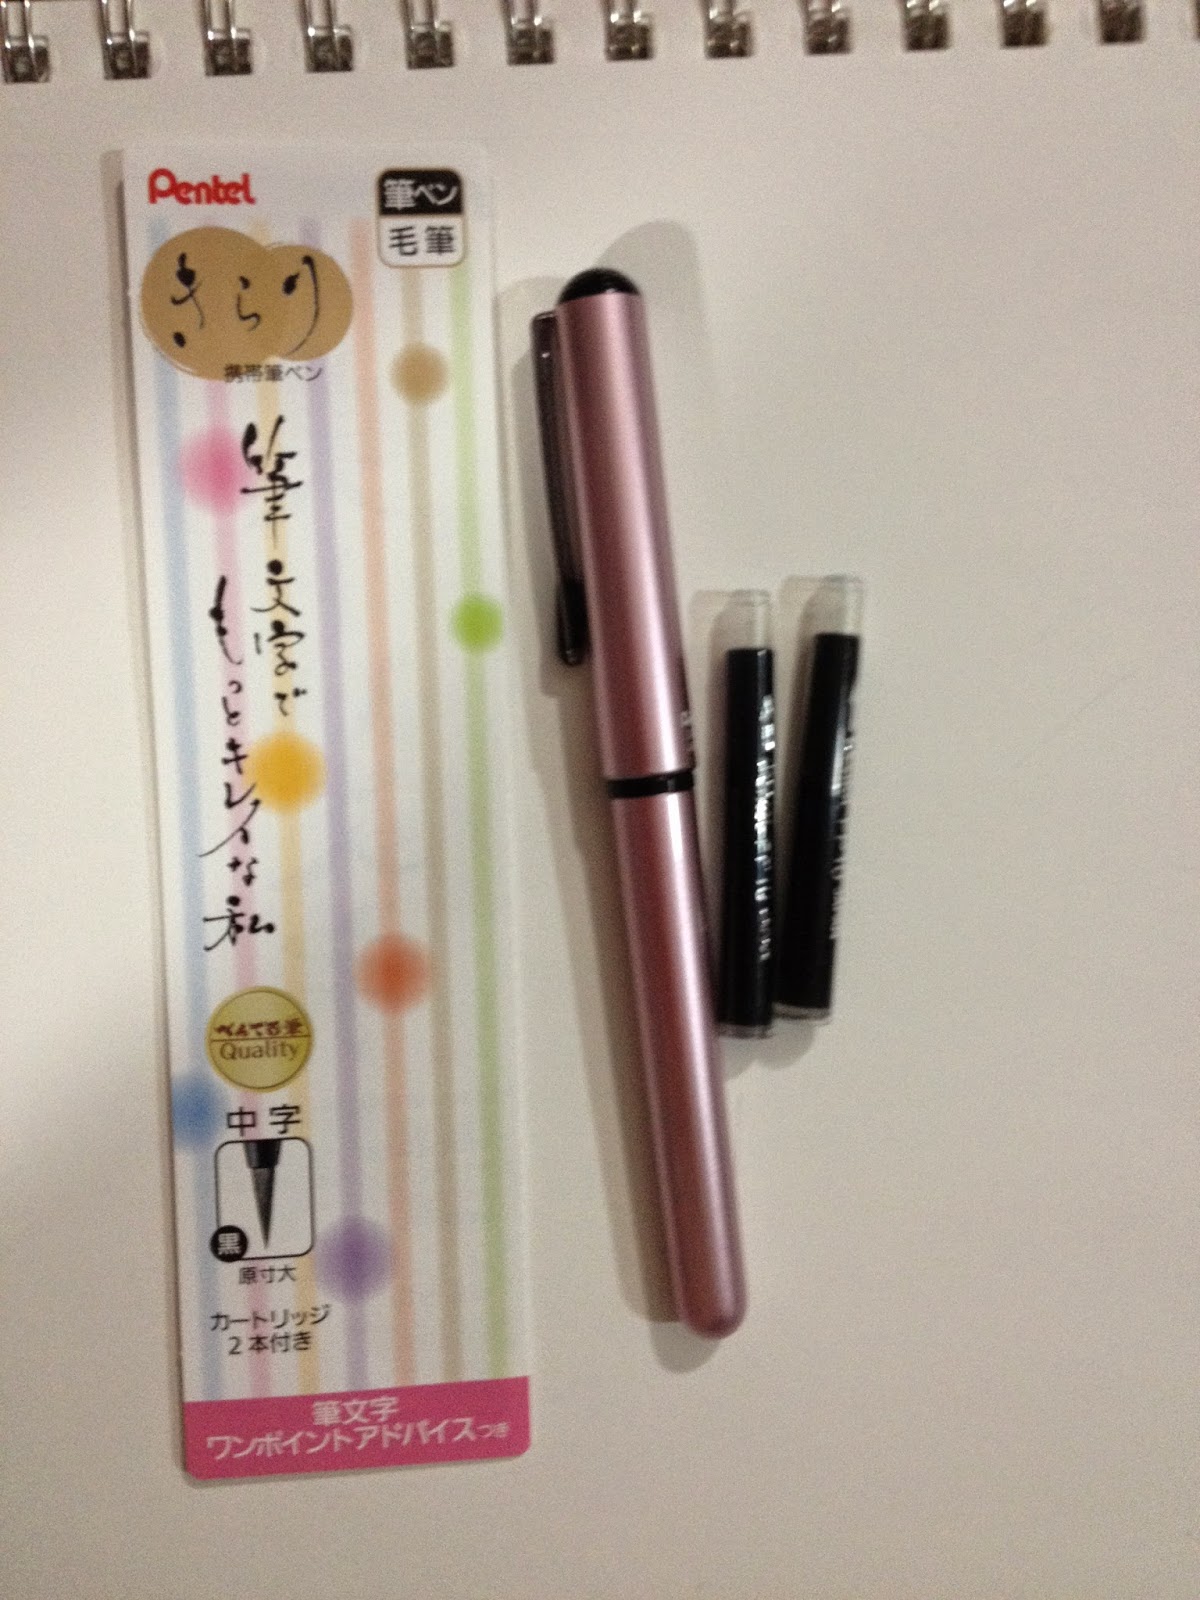
.JPG)
.JPG)
Included in the package is a little pamphlet in Japanese that covers basic strokes.
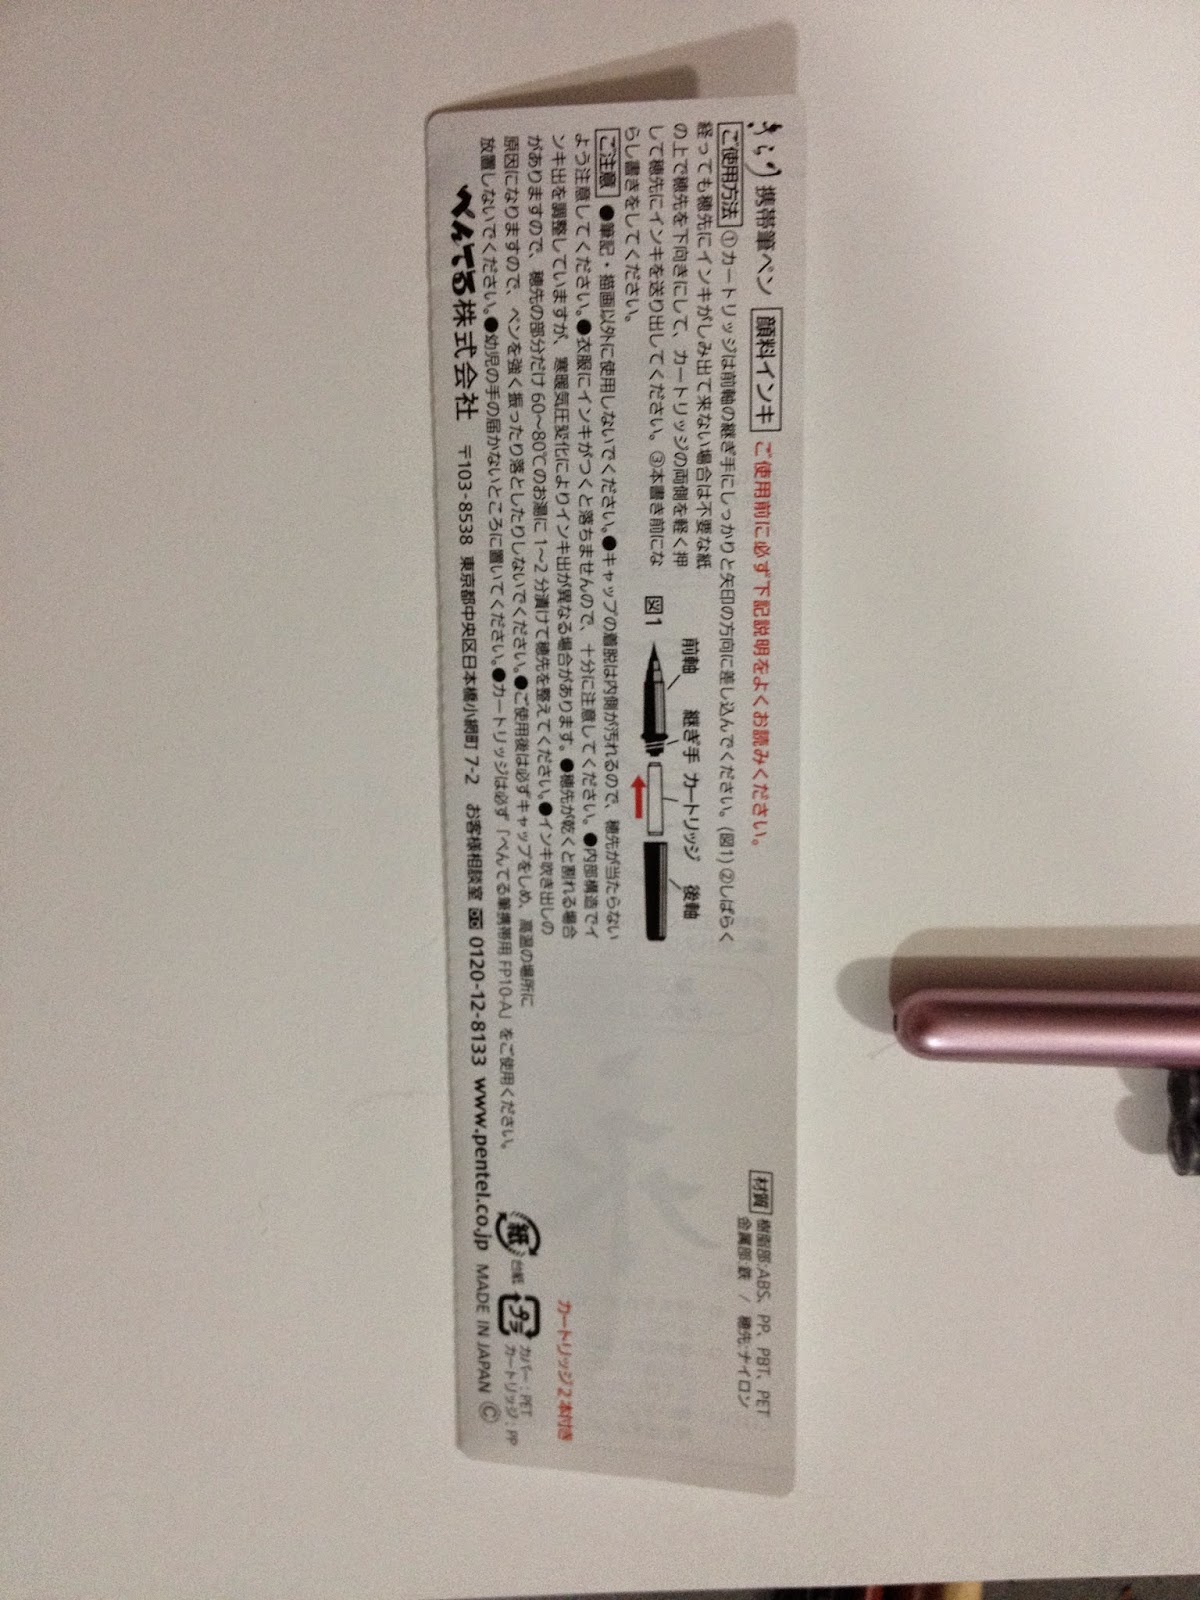
The Pen
As soon as I uncapped the Kirari, I realized it was basically a pink Pocketbrush. I pulled out my 4 year old Pocketbrush for comparison.

There's four basic parts to both the Kirari Portable Brush Pen and the Pentel Pocketbrush: the cap, the nib, the ink cartridge, and the body of the pen itself. Visually, the only real difference is the color of the body, both pens are made of lightweight plastic.
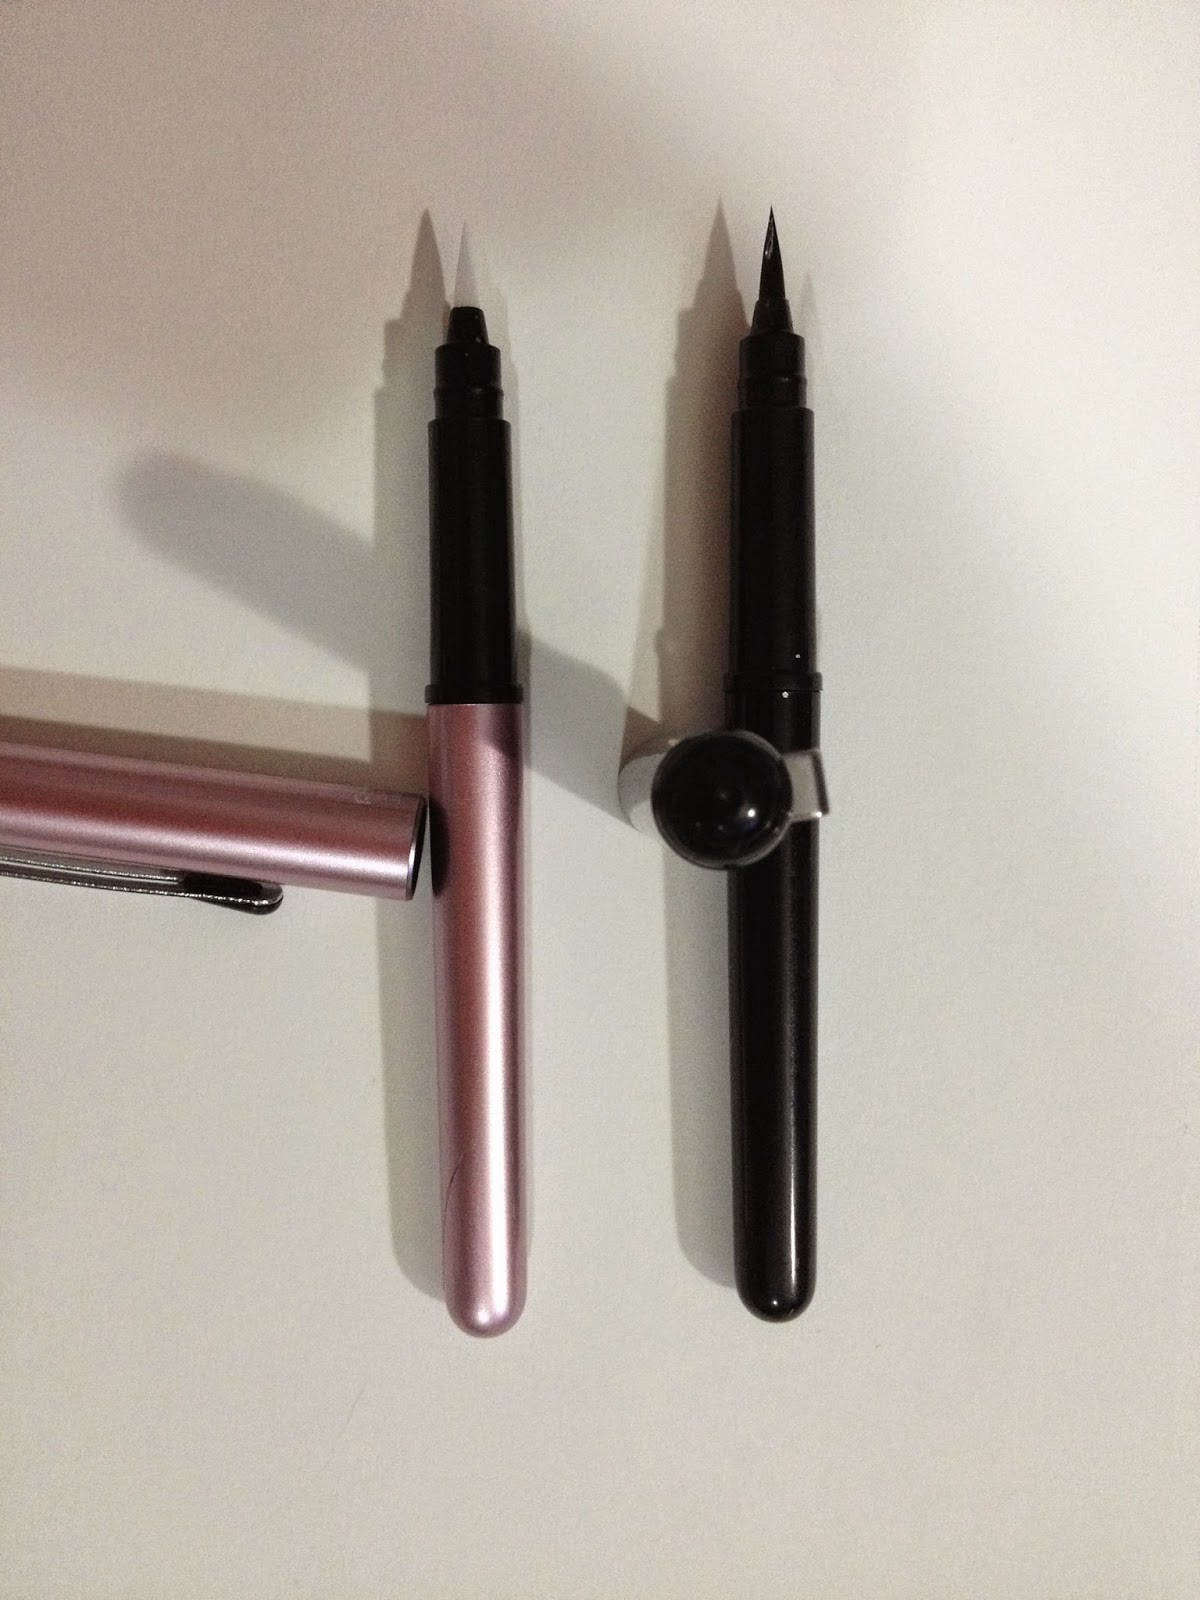

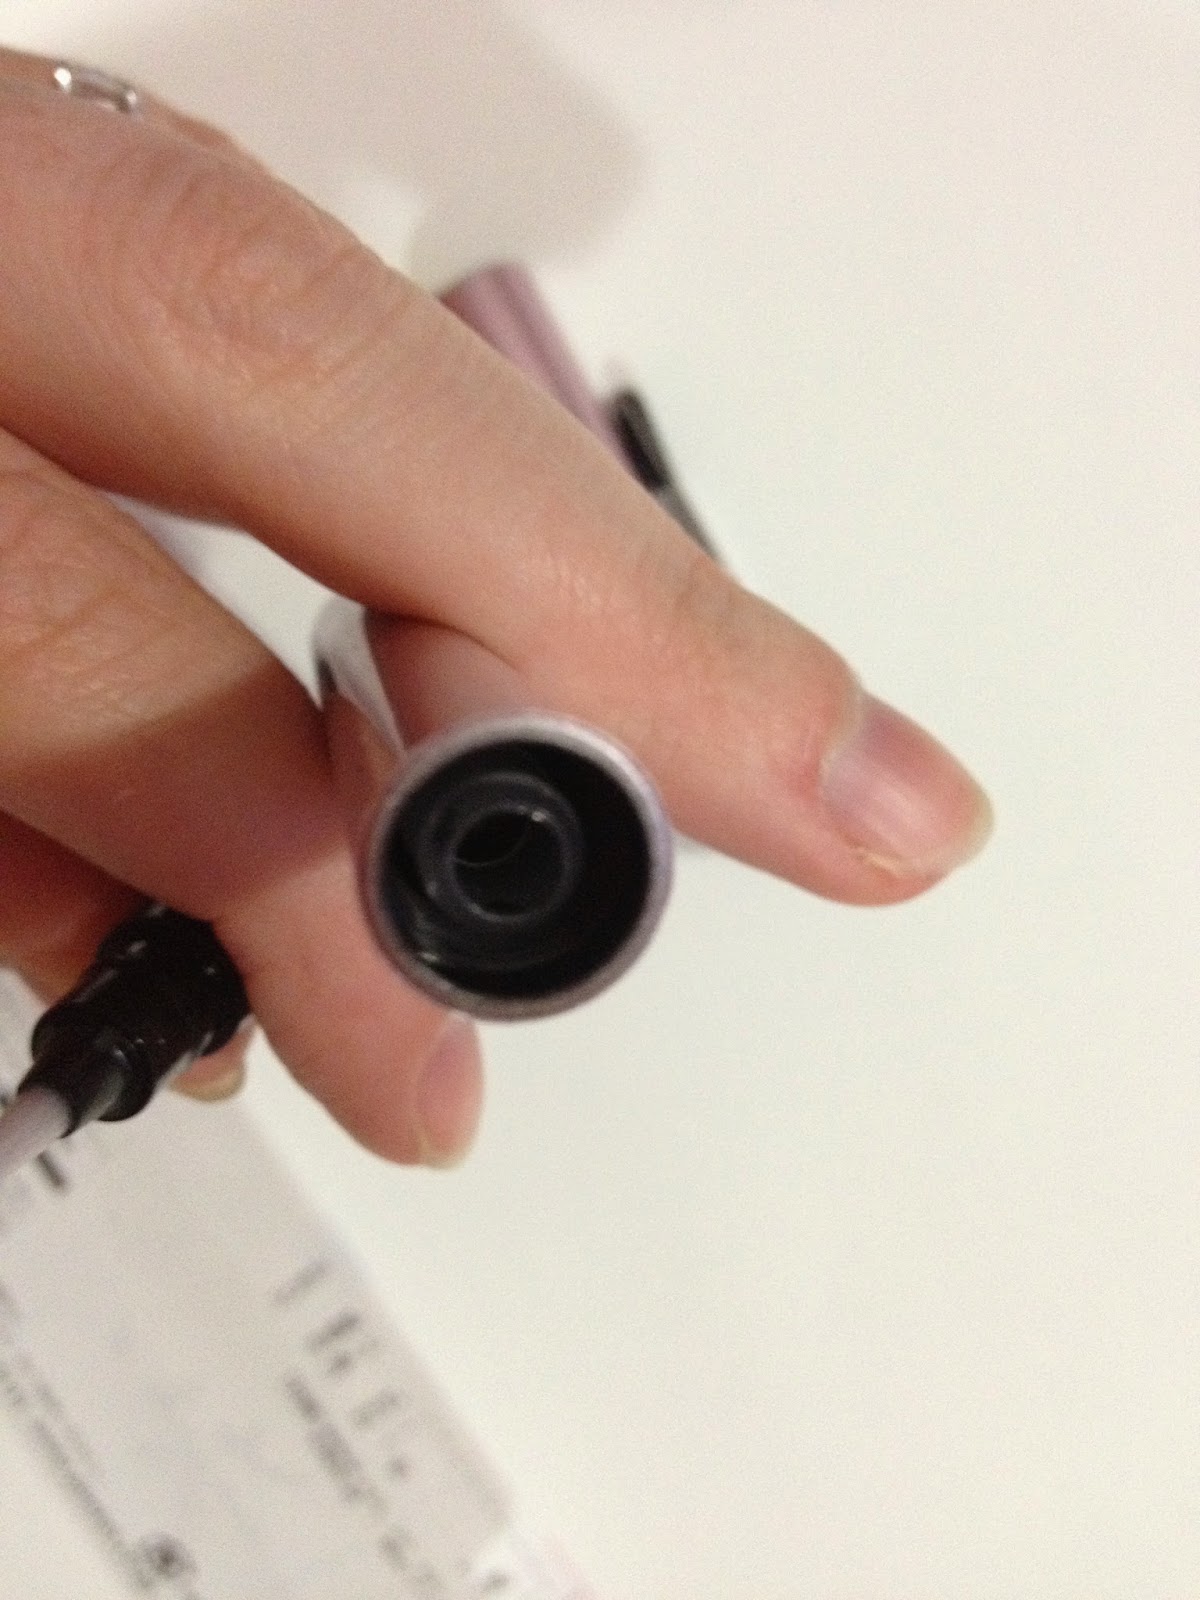
An issue common to both Pocketbrushes and Portable Brushes is that if the ink cartridge isn't jammed onto the tip, it'll get stuck in the barrel and leak everywhere. You can remove it with tweezers or needle nosed pliers.
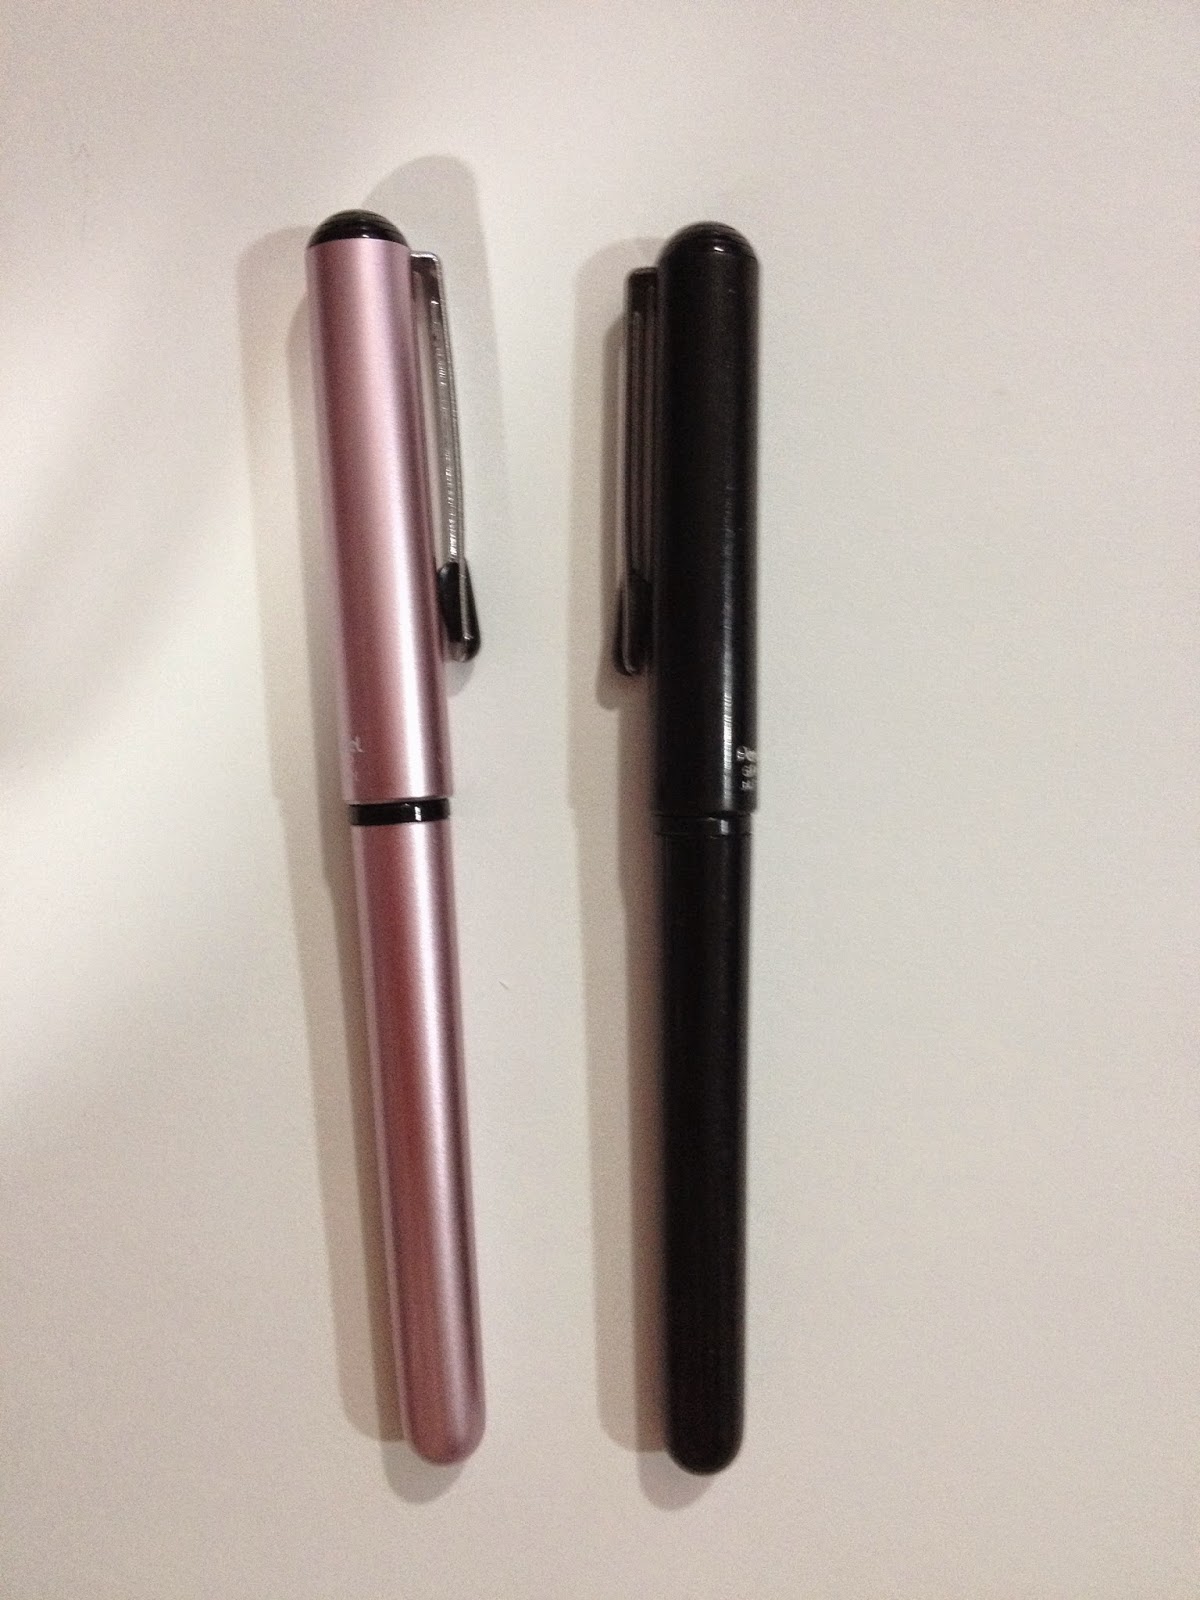
 Because the Pentel Kirari is so similar to the Pentel PocketBrush, I didn't bother to do a field test, as I've used a Pocketbrush for years. I don't personally care for the Pocketbrush, or the Kirari by extension, for inking, but I do use it for fills. The bristles have too much snap for what I usually want, and the Pentel Pocketbrush is prone to giving a drybrush effect. The Verdict The Kirari is basically a Pentel Pocketbrush, at a higher pricepoint- $16.50 vs $13.50. The additional three dollars doesn't net you a metal-bodied pen, as the Kirari is just a plastic pen with a metallic finish. In my opinion, you're better off just buying a regular Pocketbrush for your money, as the two pens are pretty much identical from a performance point of view.
Please consider donating to this blog or purchasing from Natto-shop (http://nattosoup.com/shop) if you want me to continue publishing quality content. All materials tested were purchased from my own pocket. Keep on Truckin' Nattosoup is not under any sponsorship.
May 23, 2015
Convention Prep: Comprehensive Artscow Review
In the past year, I've become very concerned with the scalability of Nattosoup Studio. While sales were on the rise, the majority of sales were commissions completed while at the convention, which was taking a toll on my health. These sort of sales have a very low final profit ceiling- I can only sell as much as I can produce, and travelling to conventions ate up most of the money I made. It didn't help that very few of these commissions ever resulted in any followup at all, as I saw no uptick in Tumblr, Twitter, or blog views following conventions. I was really discouraged for awhile and sincerely debated just cancelling the rest of my shows for that year until I could solve the problem.
I knew that the only key to making more money was to start offering products that could be produced at a lower cost. 8.5"x11" and 11"x17" prints never really sold for me, so while those have a HUGE profit margin, they weren't really an option. Months of browsing Artist Alley Network International introduced me to the company Artscow, and sparked my interest in their services. Artscow is a Hong Kong based company that basically acts as a fulfillments service- a step between ordering things at a huge markup from companies like Shutterfly and having your own China-based merchandise supplier. It's great for smaller fish like myself, who can't justify ordering large amounts of merchandise, but would like to add some variety to our tables for an affordable price.
At Anime Weekend Atlanta this year, I finally got my opportunity to check out some Artscow products in the wild. Kristen Bailey (@digitoonie on Twitter) had some fantastic large Sailor Moon pencil bags, and I was really impressed with the print quality. I decided to sign up for their newsletter, and wait for a sale to strike.
Sales are KEY to ordering from Artscow- you want a sale that takes off a significant portion of the asking price in addition to offering free shipping. If you don't wait for a sale, you'll end up paying far more then you need to for items. Sales happen on Artscow fairly regularly, although the items on sale are often random, so it helps to have a few designs handy that could work for a variety of items. I've shared some of my promo codes at the end of the post- they're a great way to get started using Artscow, and they help me out in return!
Artscow Basics
The Site Itself
Step 1: Make an Account
I often use guest accounts with sites I'm unfamiliar with but I HIGHLY recommend you go ahead and make an Artscow account. This is hugely useful in a few ways:
You can sign up for the newsletter that lets you know about deals and coupons, which is the key to using Artscow.You can accrue points for recommending peopleYou can save your finished designs, for easy reorderingYou can save uploaded images in albums, so you can work on the go to make new designs.
After you make an account I recommend you either wait until you get your first newsletter with a deal you want to take advantage of, or you have a deal from my list at the bottom of my post that you want to take advantage of. Artscow newsletters provide a link to items eligible for their deals, which takes the ambiguity out of utilizing their sales. Once you have something in mind, it's time to start designing!
The Silverlight Designer
For the purposes of this tutorial, I'm just going to go ahead and use an image that has been prepared to have a front and a back. Keep in mind that this image isn't the correct size for something as large as a tote bag, nor was it designed to be used for this tote bag. I just wanted to pick something I don't already have prepared, so I could go through the process step by step.
Once you have an item in mind, it's pretty easy to use Artscow's Silverlight application to customize it. You don't HAVE to use Silverlight, but it's the most flexible means of making sure your image fits your item. Silverlight does not work in Opera for me, so I have to use IE- you may find you have the same issue.


After selecting Silverlight Designer, it pulls up this applet:

Right now I have a completely blank canvas- Front, Back, and the Strap. I'm going to make a new folder for this design, and upload my images to that folder.

I have a design for the front, and a design for the back ready to go.

All you have to do is drag your design over!

And use the fairly decent resizing and rotating tools to align your image. This image was most definitely not designed for a tote back, so the alignment issues are on me, not on Artscow in this instance.


Once you've finished designing your item, you select Preview and Add to Cart (or save, ya know, whatever), and name your project.

And Artscow loads a fairly accurate preview! If you don't like what you see, go back in and tweak unil it works for you.
Below is the coinpurse that the witch was designed for. You can see it works a lot better than the tote bag.


First Order: Another Year of Watercolor Books
The first order I placed with Artscow wasn't for bags- it was for books! I'd wanted to do a sequel to A Year of Watercolor, my 2013-2014 collection of mini watercolors, but I found color garage printing to be pricy and had a somewhat difficult time moving books at the price I had to charge to cover costs. Artscow has a 2 year sale on their hardbound 24 page photo quality photo books, so I decided to give it a shot.
Setting up my book in Silverlight was incredibly easy and very similar to the process I covered above. Additional pages were 3 cents a page, and as I wasn't sure if that meant total or per book, I kept my pagecount low. I didn't have a code for free shipping, so I ended up paying a hefty $40 (which is standard for Artscow which is why I INSIST you wait on free shipping coupons) and waited a couple weeks for my books to arrive.
My books arrived in an Airmail cardboard box (which I had to sign for- you often have to sign for Artscow packages as they're coming from out of the country), and my books were very well wrapped and protected. Each book was also individually shrinkwrapped, so I unwrapped one to check out Artscow's printing quality.
I have several photos below of the books themselves and the unpacking process so you can get a feel for my first Artscow Order


Usagi Drawstring Bags
I ordered some Usagi drawstring mini bags and some cyclops zipper bags about the same time I ordered my Another Year of Watercolor books, but they arrived a couple weeks later (just in time for MTAC) and the Usagi bags were hilariously misprinted. I'm STILL trying to get Artscow to replace them, but the cyclops bags are fantastic.


I was SO careful lining up my images in the Silverlight designer. It seems like these bags were just misaligned when they were sewn. Too bad I can't sell them.

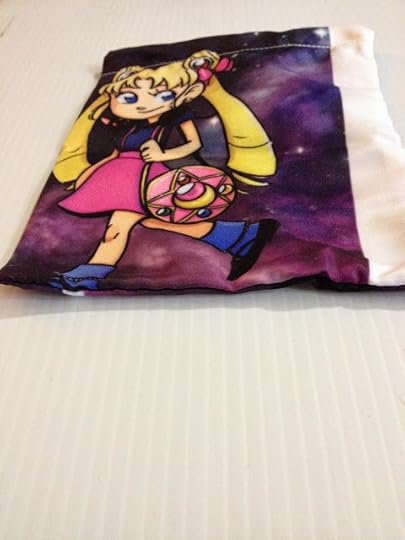


As poorly as the Usagi bags were aligned, the cyclops bags were fantastic. Their photo material is fantastic- silky smooth, almost like satin, and colors print vibrantly. When you order cosmetic bags, you get to select a zipper color, which is a really nice touch.

The bags even have a little zippered compartment on the inside! The interior fabric isn't nearly as nice, but overall, I was tickled pink with the Artscow cosmetic bags.
You can order Another Year of Watercolor and my Cyclops bags from my Nattoshop. Remember, your support helps make review posts like this possible and worthwhile for me.
Second Order: Usagi Coinpurses
Before I even got my first order, I'd placed my second (not very smart, I know). Artscow had a deal that ALSO included free shipping, so I figured why not, and ordered some coin purses. I've mentioned in the past that I'm honestly not comfortable with selling mass produced fanart merchandise at my table, so I kept my order number to 4, figuring it'd make a cute limited edition.
The coinpurses arrived shortly AFTER MTAC, which is a shame as I think they would've sold well.


Unlike the cosmeic bags, the coinpurses don't have an interior pocket, but they do have a reinforced seam and you can select your choice of color for the zipper.
My Usagi Coinpurses are available in the Nattoshop!
Third Order: 10 for $20 Coupon- Eyemasks, Notepads, and Witch Coinpurses
When I'd placed this order, I was pretty familiar with how Artscow worked and what to expect from them. I'd gotten a coupon for 10 items for $20 and eyemasks were part of the deal. I knew what I had to do.


Another 10 for $20 deal was memopads which I stupidly thought would be sticky pads (they're not!) I ordered these for an ALA giveaway- they're advertising my watercolor comic, 7" Kara, and include the ISBN.

The print quality is pretty good, and it's an allover print design. The only issue is that the ink so heavy on Kara's head that it's a bit of a resist for writing. These are also a little expensive for just giving away, but I'm really hoping to make tabling a ALA worth my money.
Bonus Goofy Eyemask Fun!


You can order my Kawaiimasks from my shop! They're available in Genki (the blue eyes) or Shoujo (the purple eyes).
General Advice for Using Artscow
Sign up for their newsletter.Wait for GOOD sales- a combination of discount AND free shipping, as their shipping is very expensive.Be prepared to wait a long time- order several months in advance to make sure you can catch a deal and to give the packages time to come from Hong Kong.The return process hasn't been an easy one for me, so if something arrives wrong, make sure you take COPIOUS photosCoupons!
Recently Artscow sent me some referral coupons that I'd like to share with you guys. As someone who uses Artscow, and is familiar with their prices and how the site works, I honestly think these are a good deal. If you're interested in trying Artscow out, using these coupons has two benefits- it saves you money and it earns me money, which is great if you're a fan of the blog or generally consume my work.
1. Any 10 selected items here for $20
http://www.artscow.com/photo-gifts/cr...
Coupon code: ZCRAYSALEMCCAN, Expires on 07-12-2015)
You can also use the code: ZCRAYSALERHR3M
This is similar to the coupon I used for many of my coinpurses, Kawaiimasks, and my notepads, and I recommend it!
2. $0.99 Custom Allover Print Tank Top with Free Shipping.
http://www.artscow.com/photo-gifts/al...
Coupon code: Z099TANKTOP5UNBQ, Expires on 07-12-2015
I'm really excited about trying this one out for myself, as I'd like some Nattosoup uniforms for conventions! 3. $0.99 Personalized Cosmetic Bag with Free Shipping.
http://www.artscow.com/photo-gifts/al...
Coupon code: ZSBY2SQ24, Expires on 07-12-2015
More Codes You Might Like:
These are only good for single items, but it's a great way to do prototypes on the cheap without a large commitment.
Mousepad for $0.99 (additional $3.99 afterwards):
http://www.artscow.com/photo-gifts/mo...
Coupon Code: Z099MOUSEPADTXF6Z
Watch for $3.99 (additional $6.99 afterwards):
http://www.artscow.com/photo-gifts/photo-watch
Coupon Code: Z399WATCHESNUU5Q
Leggings for $2.99 (additional $9.99 afterwards):
http://www.artscow.com/photo-gifts/1292
Coupon code: Z099LEGGINGSB8BV7
Please consider donating to this blog or purchasing from Natto-shop (http://nattosoup.com/shop) if you want me to continue publishing quality content. All materials tested were purchased from my own pocket. Keep on Truckin' Nattosoup is not under any sponsorship.
I knew that the only key to making more money was to start offering products that could be produced at a lower cost. 8.5"x11" and 11"x17" prints never really sold for me, so while those have a HUGE profit margin, they weren't really an option. Months of browsing Artist Alley Network International introduced me to the company Artscow, and sparked my interest in their services. Artscow is a Hong Kong based company that basically acts as a fulfillments service- a step between ordering things at a huge markup from companies like Shutterfly and having your own China-based merchandise supplier. It's great for smaller fish like myself, who can't justify ordering large amounts of merchandise, but would like to add some variety to our tables for an affordable price.
At Anime Weekend Atlanta this year, I finally got my opportunity to check out some Artscow products in the wild. Kristen Bailey (@digitoonie on Twitter) had some fantastic large Sailor Moon pencil bags, and I was really impressed with the print quality. I decided to sign up for their newsletter, and wait for a sale to strike.
Sales are KEY to ordering from Artscow- you want a sale that takes off a significant portion of the asking price in addition to offering free shipping. If you don't wait for a sale, you'll end up paying far more then you need to for items. Sales happen on Artscow fairly regularly, although the items on sale are often random, so it helps to have a few designs handy that could work for a variety of items. I've shared some of my promo codes at the end of the post- they're a great way to get started using Artscow, and they help me out in return!
Artscow Basics
The Site Itself
Step 1: Make an Account
I often use guest accounts with sites I'm unfamiliar with but I HIGHLY recommend you go ahead and make an Artscow account. This is hugely useful in a few ways:
You can sign up for the newsletter that lets you know about deals and coupons, which is the key to using Artscow.You can accrue points for recommending peopleYou can save your finished designs, for easy reorderingYou can save uploaded images in albums, so you can work on the go to make new designs.
After you make an account I recommend you either wait until you get your first newsletter with a deal you want to take advantage of, or you have a deal from my list at the bottom of my post that you want to take advantage of. Artscow newsletters provide a link to items eligible for their deals, which takes the ambiguity out of utilizing their sales. Once you have something in mind, it's time to start designing!
The Silverlight Designer
For the purposes of this tutorial, I'm just going to go ahead and use an image that has been prepared to have a front and a back. Keep in mind that this image isn't the correct size for something as large as a tote bag, nor was it designed to be used for this tote bag. I just wanted to pick something I don't already have prepared, so I could go through the process step by step.
Once you have an item in mind, it's pretty easy to use Artscow's Silverlight application to customize it. You don't HAVE to use Silverlight, but it's the most flexible means of making sure your image fits your item. Silverlight does not work in Opera for me, so I have to use IE- you may find you have the same issue.

After selecting Silverlight Designer, it pulls up this applet:

Right now I have a completely blank canvas- Front, Back, and the Strap. I'm going to make a new folder for this design, and upload my images to that folder.

I have a design for the front, and a design for the back ready to go.

All you have to do is drag your design over!

And use the fairly decent resizing and rotating tools to align your image. This image was most definitely not designed for a tote back, so the alignment issues are on me, not on Artscow in this instance.


Once you've finished designing your item, you select Preview and Add to Cart (or save, ya know, whatever), and name your project.
And Artscow loads a fairly accurate preview! If you don't like what you see, go back in and tweak unil it works for you.
Below is the coinpurse that the witch was designed for. You can see it works a lot better than the tote bag.


First Order: Another Year of Watercolor Books
The first order I placed with Artscow wasn't for bags- it was for books! I'd wanted to do a sequel to A Year of Watercolor, my 2013-2014 collection of mini watercolors, but I found color garage printing to be pricy and had a somewhat difficult time moving books at the price I had to charge to cover costs. Artscow has a 2 year sale on their hardbound 24 page photo quality photo books, so I decided to give it a shot.
Setting up my book in Silverlight was incredibly easy and very similar to the process I covered above. Additional pages were 3 cents a page, and as I wasn't sure if that meant total or per book, I kept my pagecount low. I didn't have a code for free shipping, so I ended up paying a hefty $40 (which is standard for Artscow which is why I INSIST you wait on free shipping coupons) and waited a couple weeks for my books to arrive.
My books arrived in an Airmail cardboard box (which I had to sign for- you often have to sign for Artscow packages as they're coming from out of the country), and my books were very well wrapped and protected. Each book was also individually shrinkwrapped, so I unwrapped one to check out Artscow's printing quality.
I have several photos below of the books themselves and the unpacking process so you can get a feel for my first Artscow Order
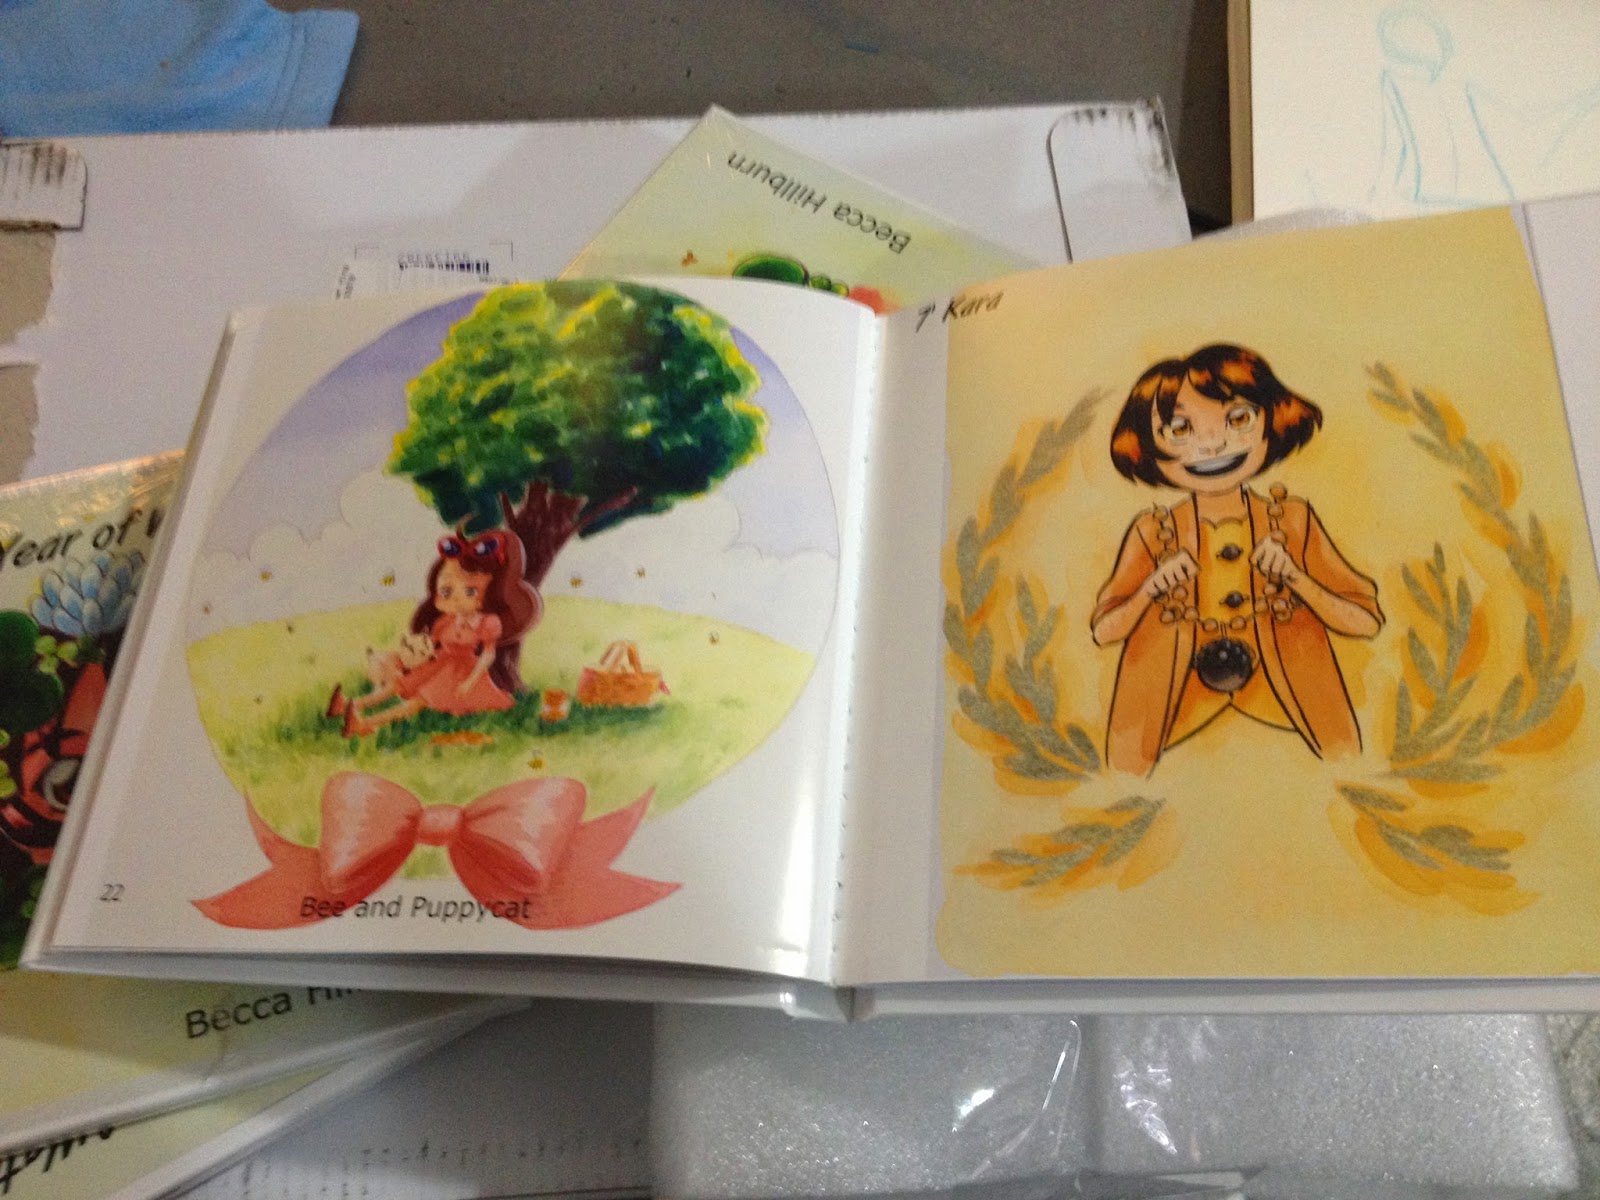
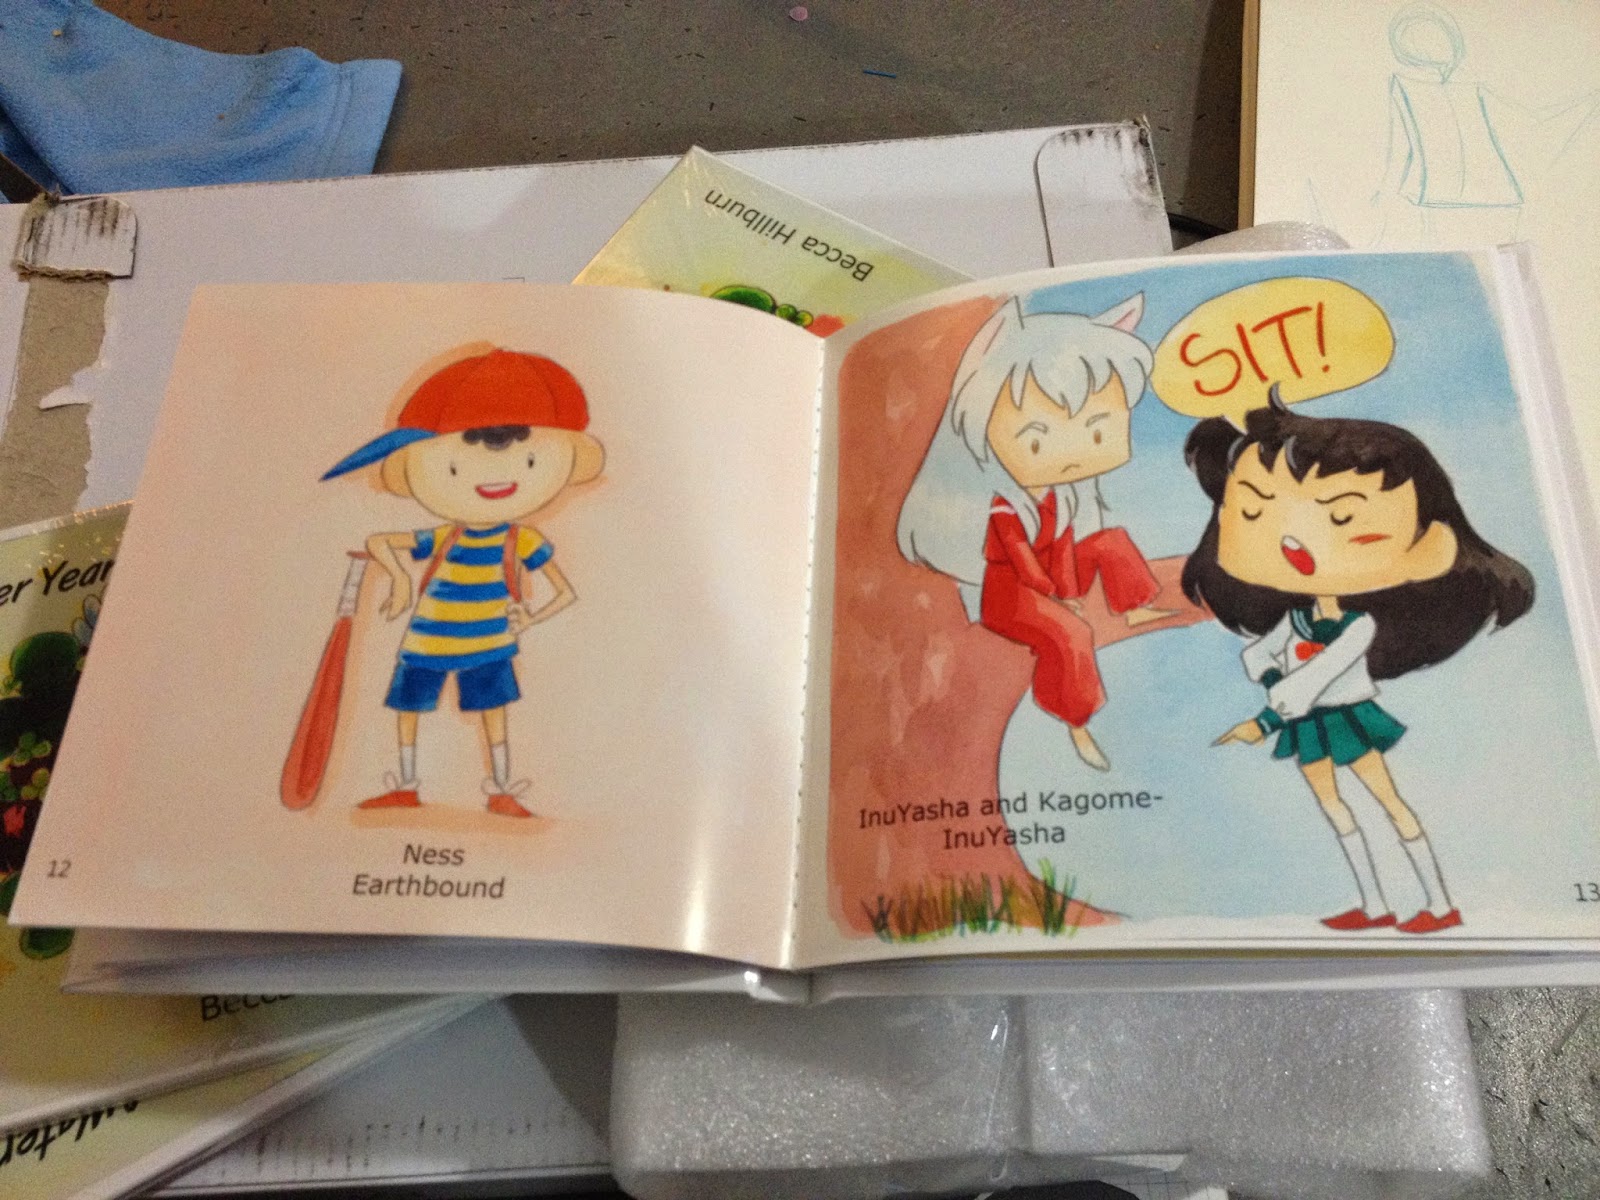


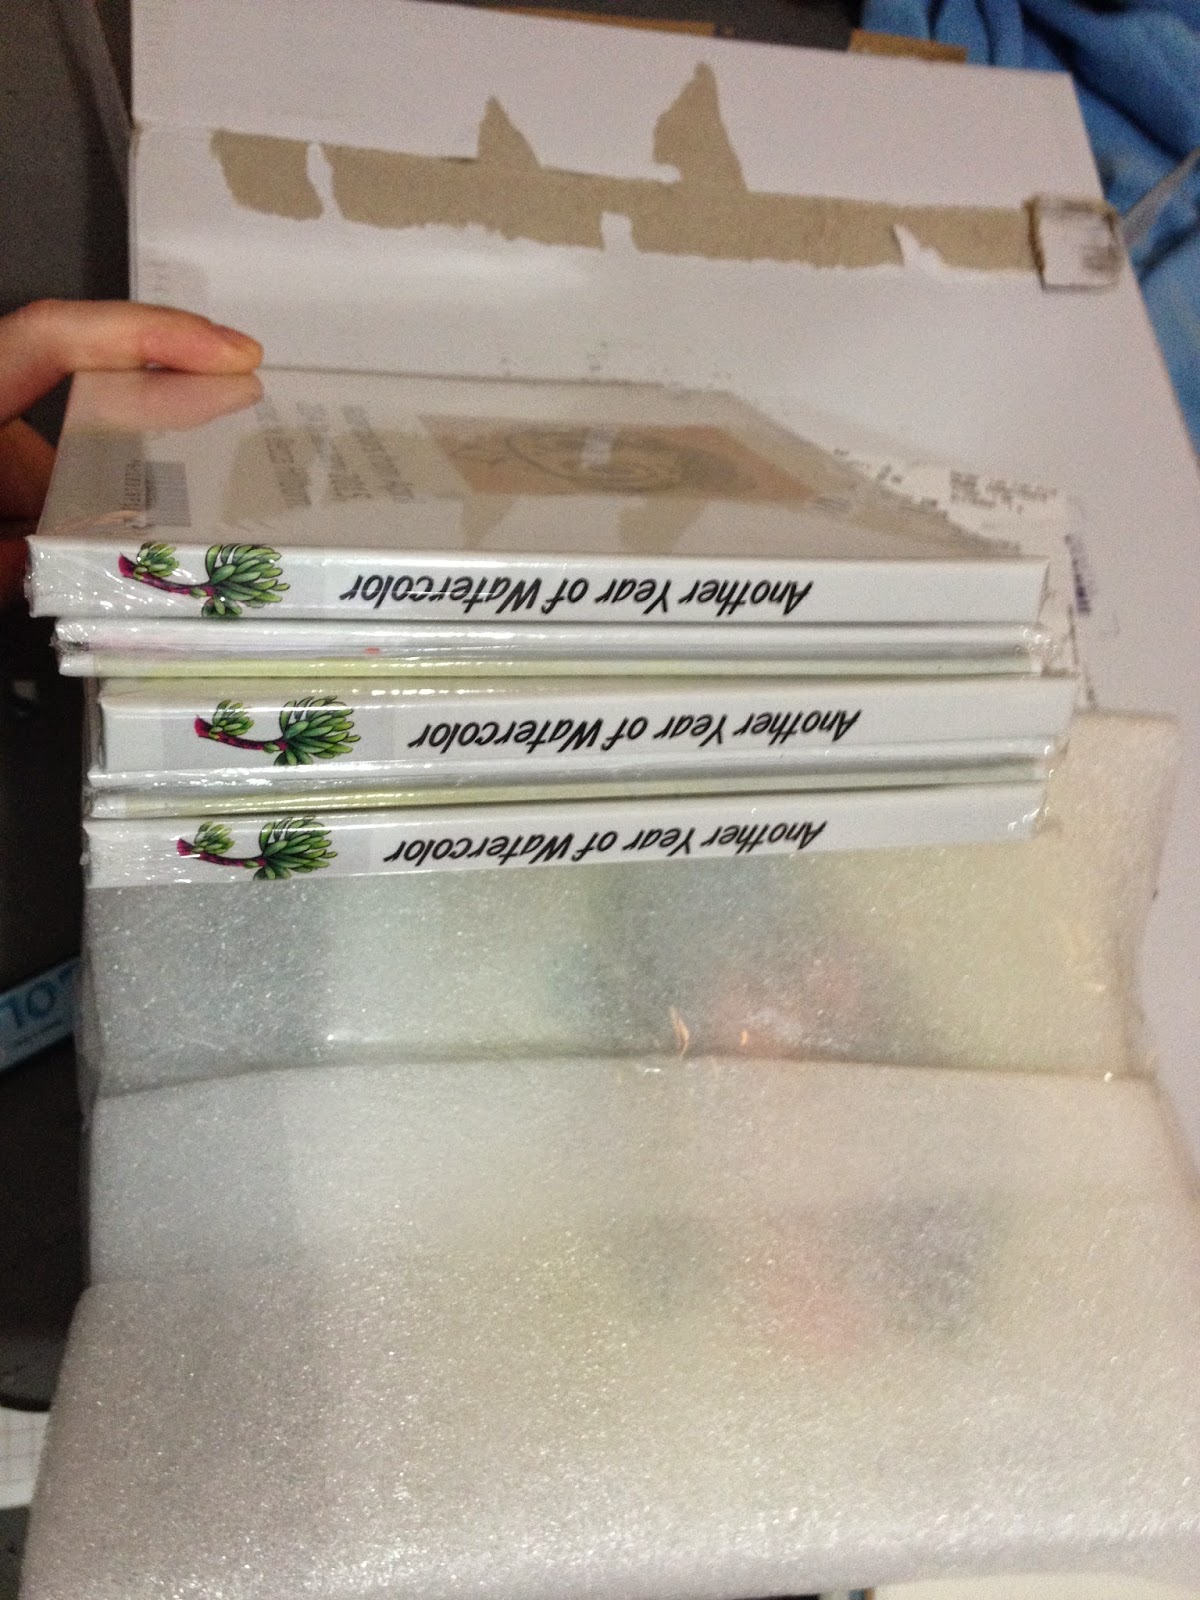
Usagi Drawstring Bags
I ordered some Usagi drawstring mini bags and some cyclops zipper bags about the same time I ordered my Another Year of Watercolor books, but they arrived a couple weeks later (just in time for MTAC) and the Usagi bags were hilariously misprinted. I'm STILL trying to get Artscow to replace them, but the cyclops bags are fantastic.
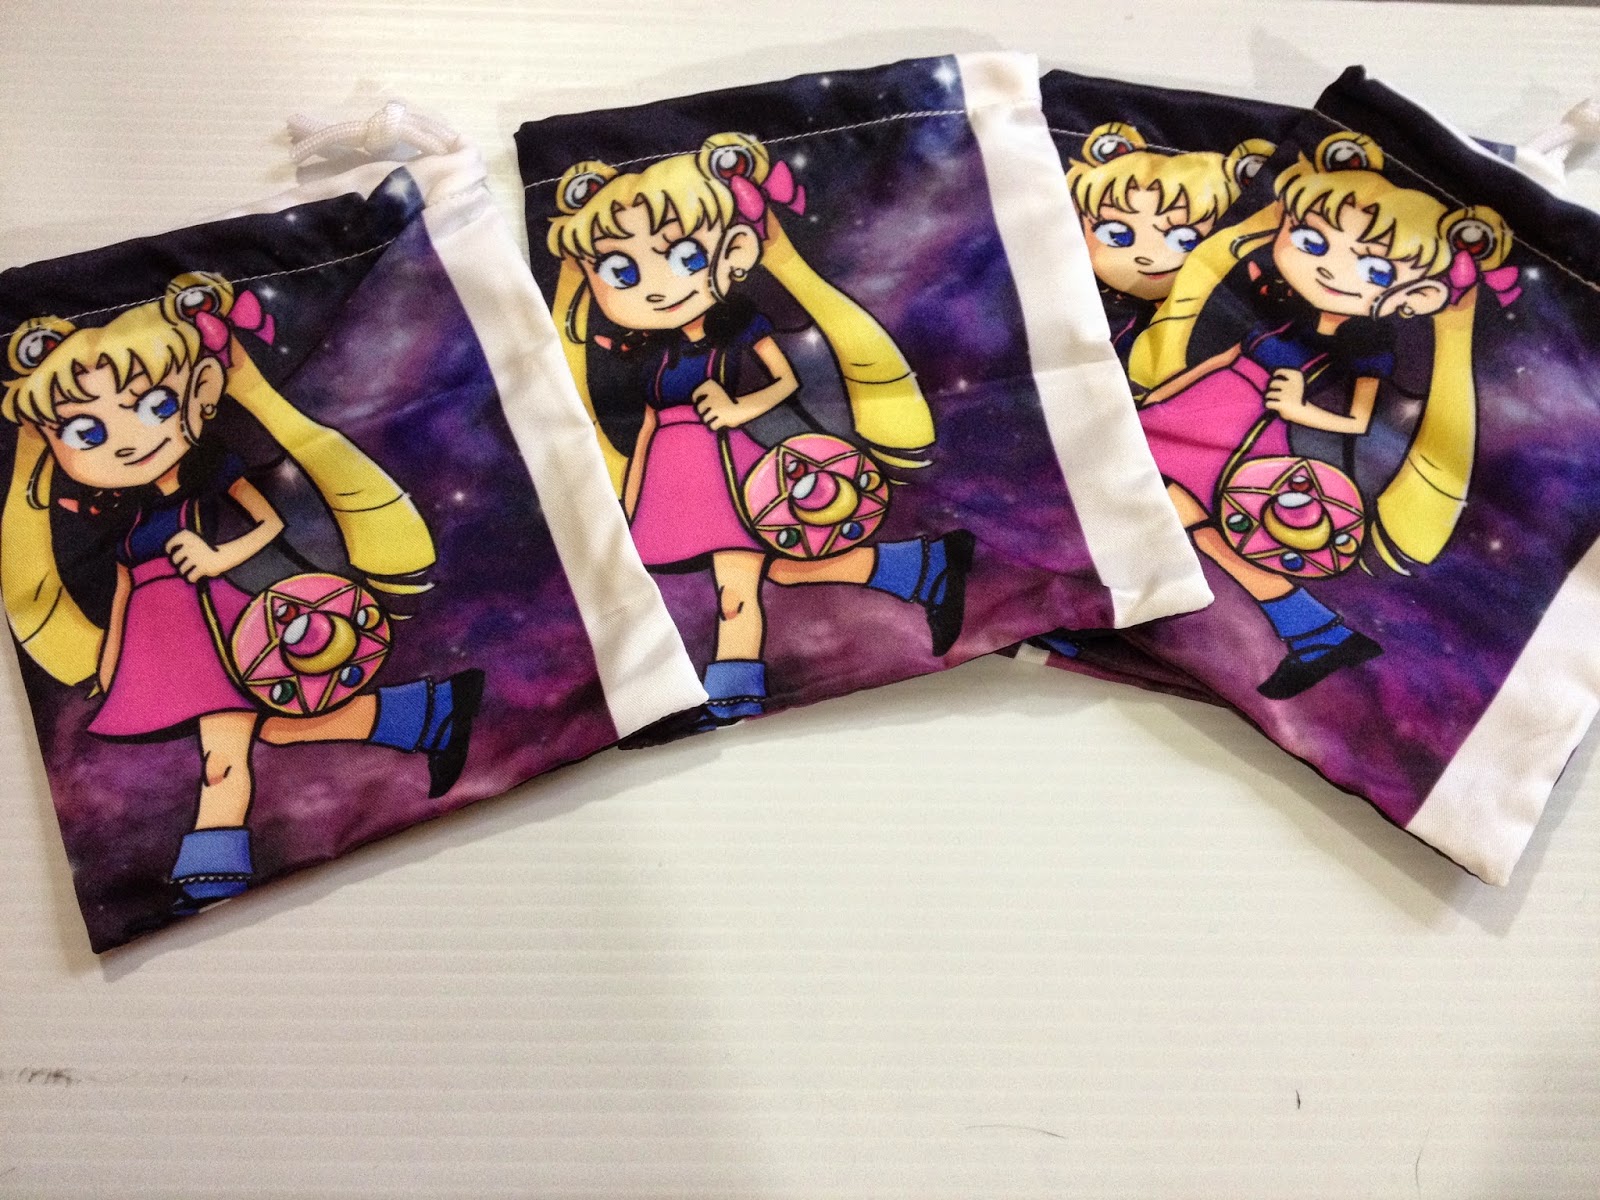

I was SO careful lining up my images in the Silverlight designer. It seems like these bags were just misaligned when they were sewn. Too bad I can't sell them.


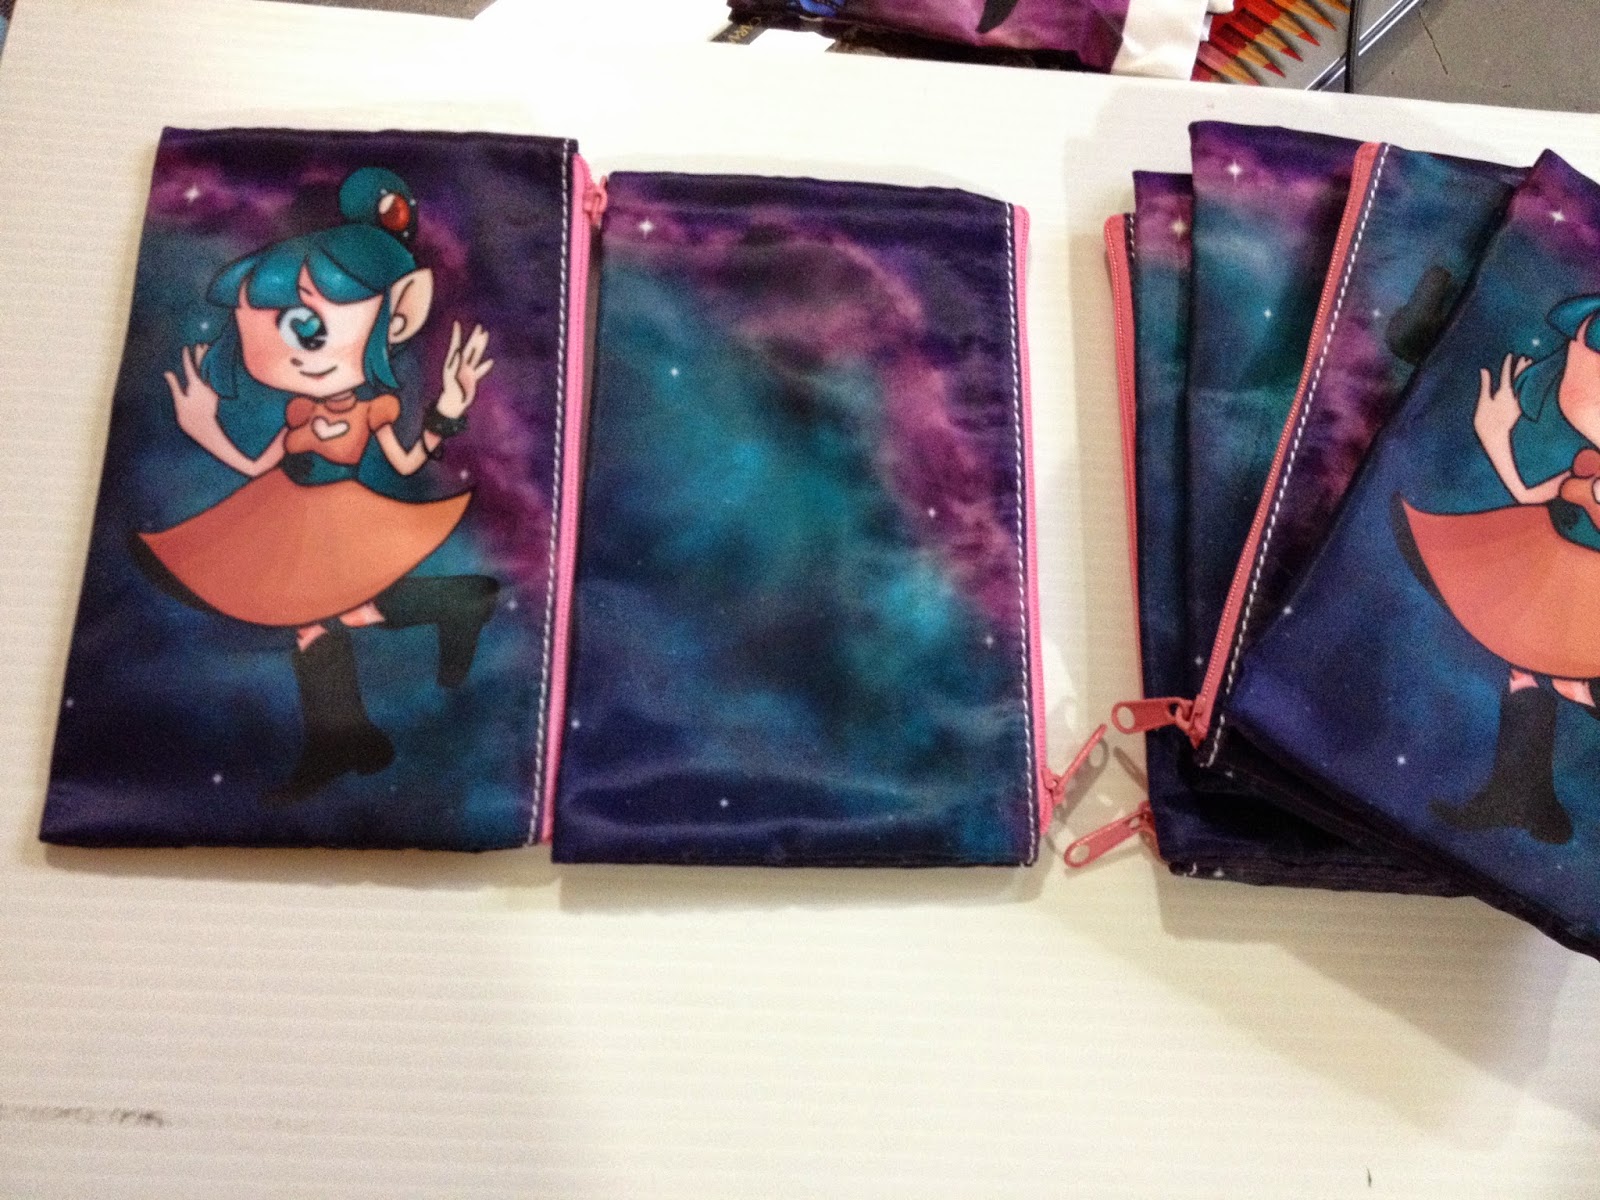
As poorly as the Usagi bags were aligned, the cyclops bags were fantastic. Their photo material is fantastic- silky smooth, almost like satin, and colors print vibrantly. When you order cosmetic bags, you get to select a zipper color, which is a really nice touch.
The bags even have a little zippered compartment on the inside! The interior fabric isn't nearly as nice, but overall, I was tickled pink with the Artscow cosmetic bags.
You can order Another Year of Watercolor and my Cyclops bags from my Nattoshop. Remember, your support helps make review posts like this possible and worthwhile for me.
Second Order: Usagi Coinpurses
Before I even got my first order, I'd placed my second (not very smart, I know). Artscow had a deal that ALSO included free shipping, so I figured why not, and ordered some coin purses. I've mentioned in the past that I'm honestly not comfortable with selling mass produced fanart merchandise at my table, so I kept my order number to 4, figuring it'd make a cute limited edition.
The coinpurses arrived shortly AFTER MTAC, which is a shame as I think they would've sold well.

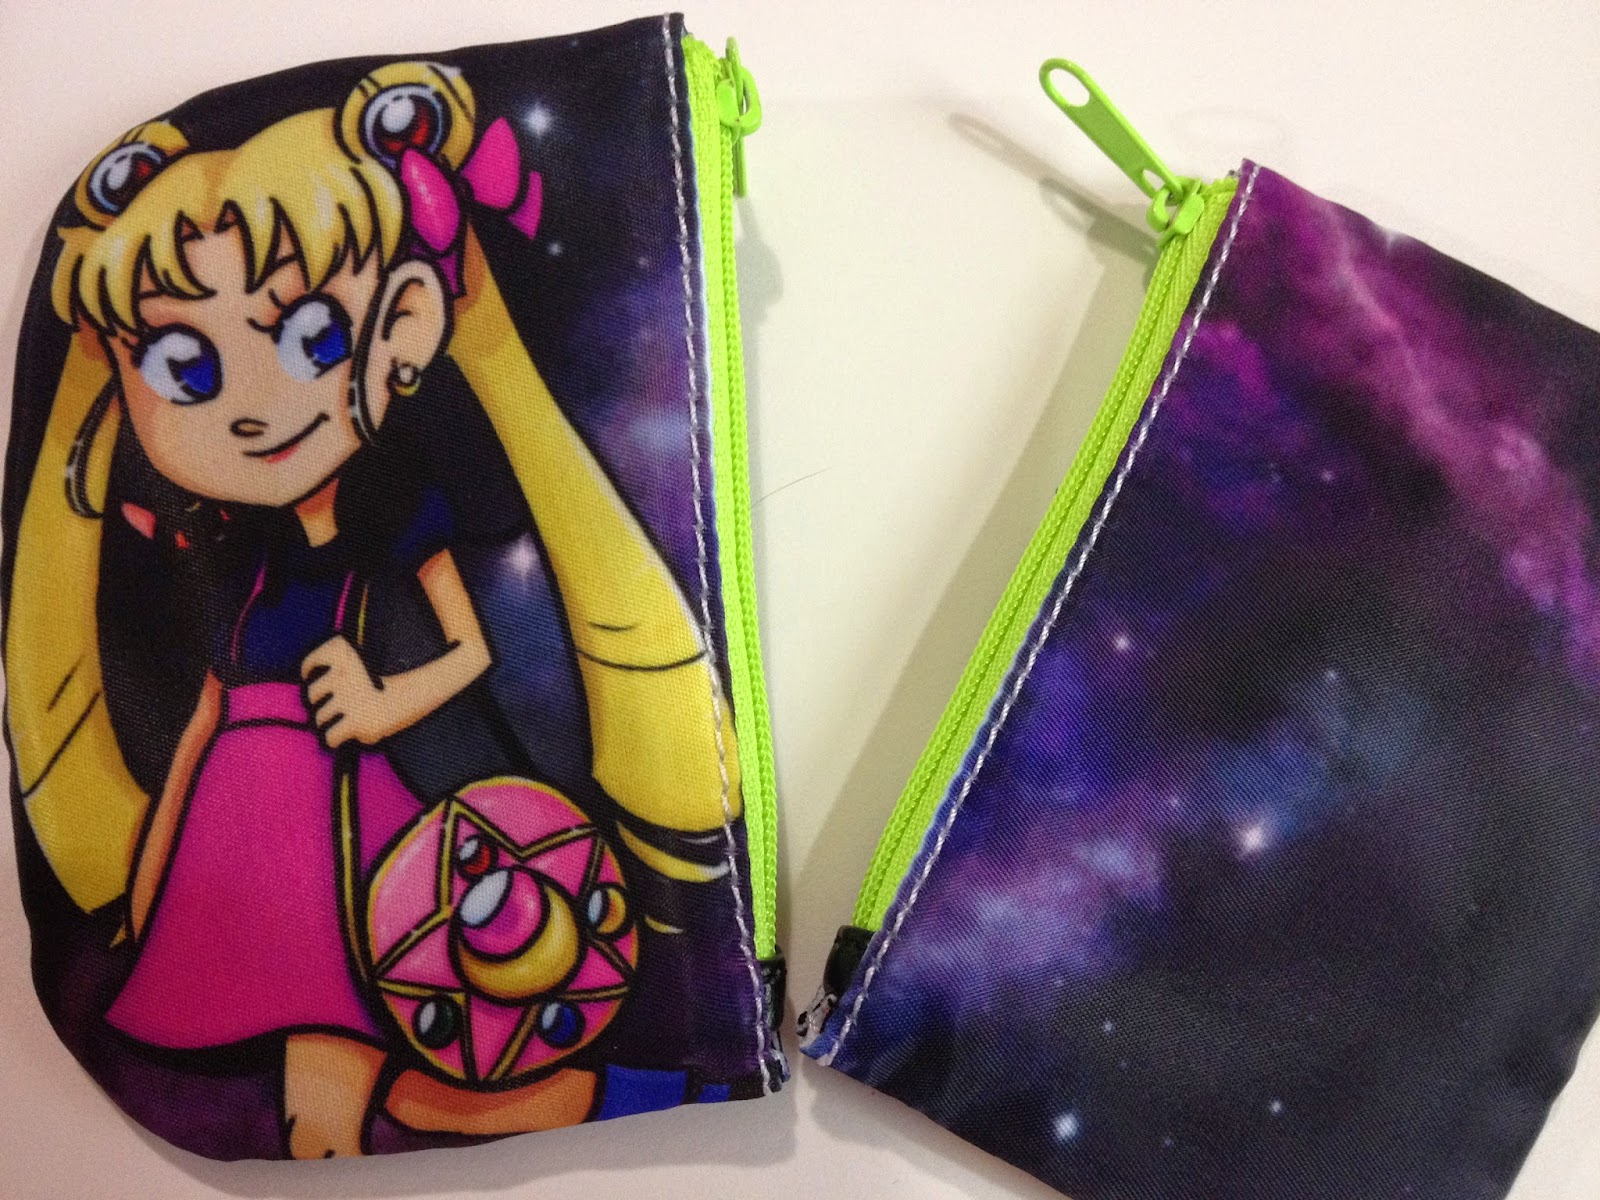
Unlike the cosmeic bags, the coinpurses don't have an interior pocket, but they do have a reinforced seam and you can select your choice of color for the zipper.
My Usagi Coinpurses are available in the Nattoshop!
Third Order: 10 for $20 Coupon- Eyemasks, Notepads, and Witch Coinpurses
When I'd placed this order, I was pretty familiar with how Artscow worked and what to expect from them. I'd gotten a coupon for 10 items for $20 and eyemasks were part of the deal. I knew what I had to do.
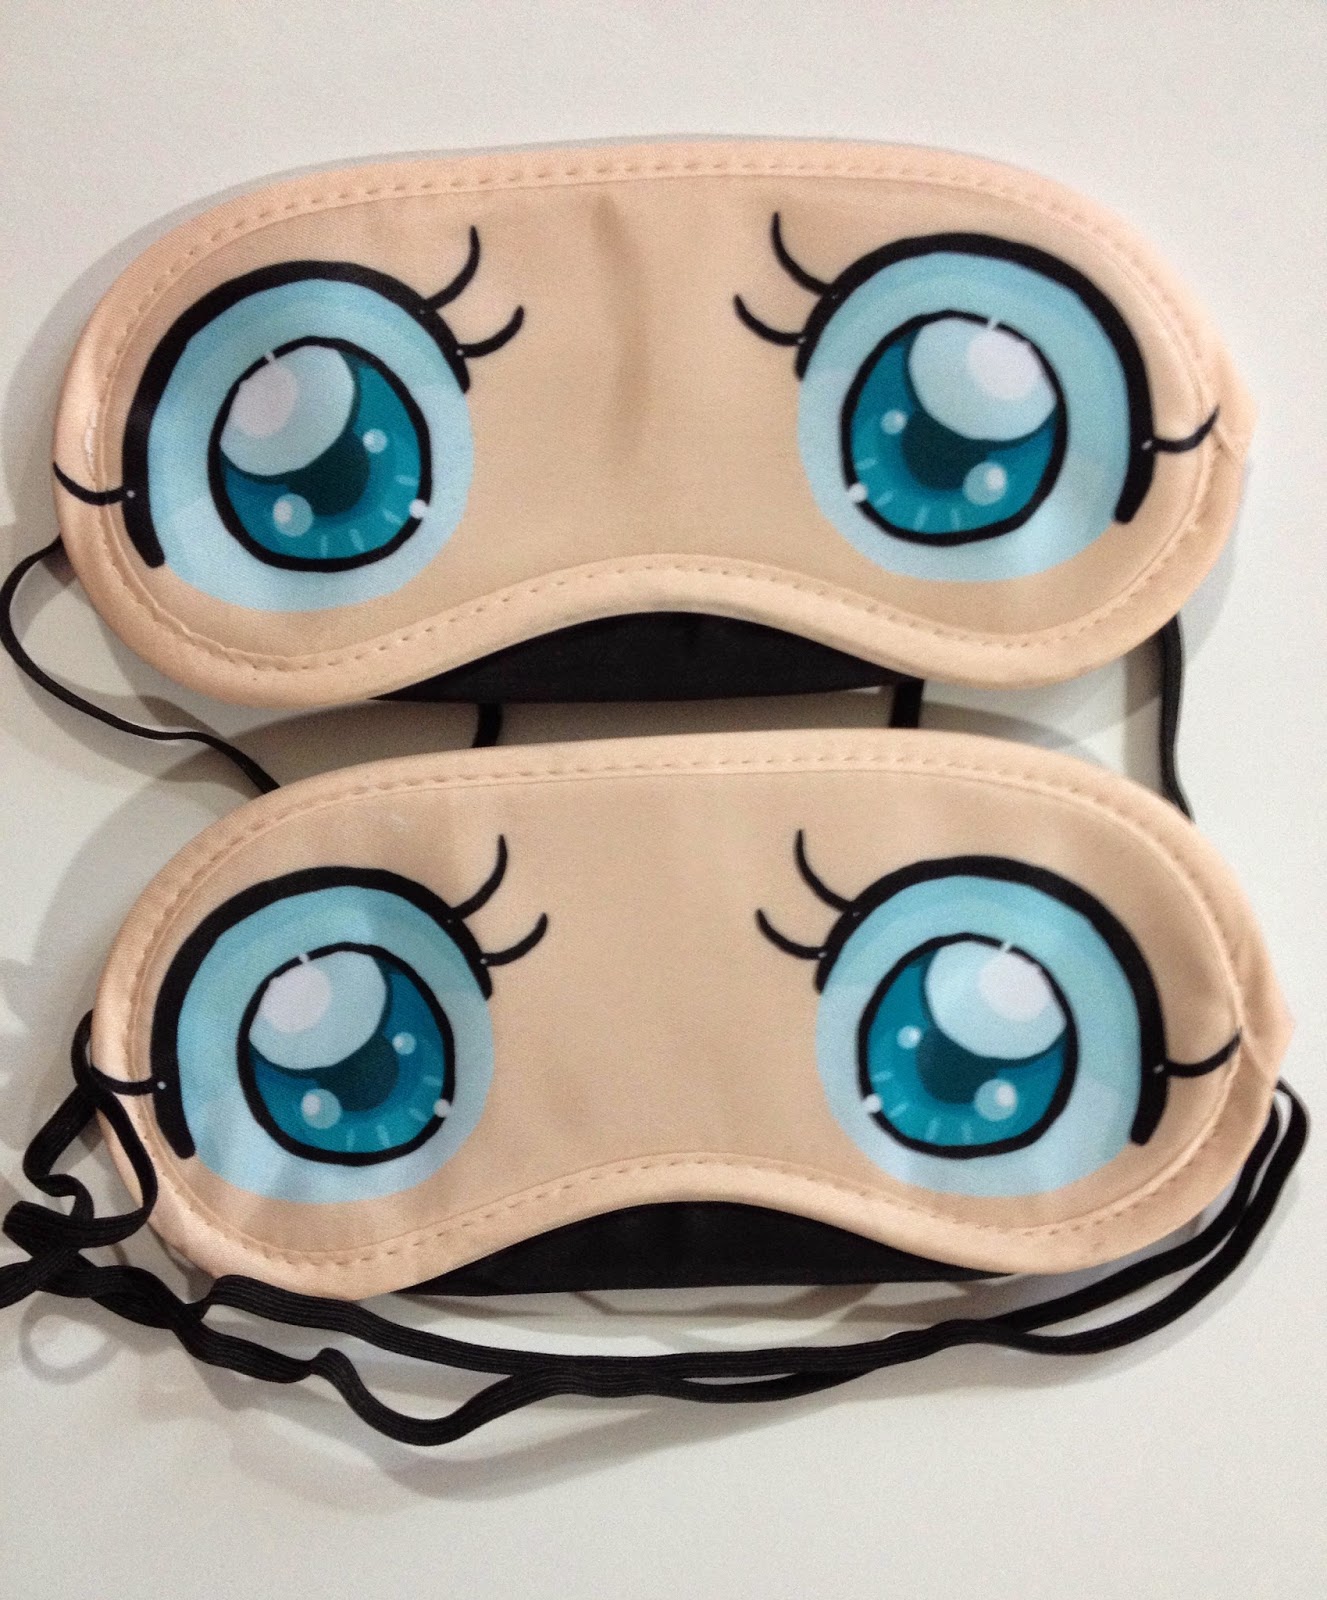
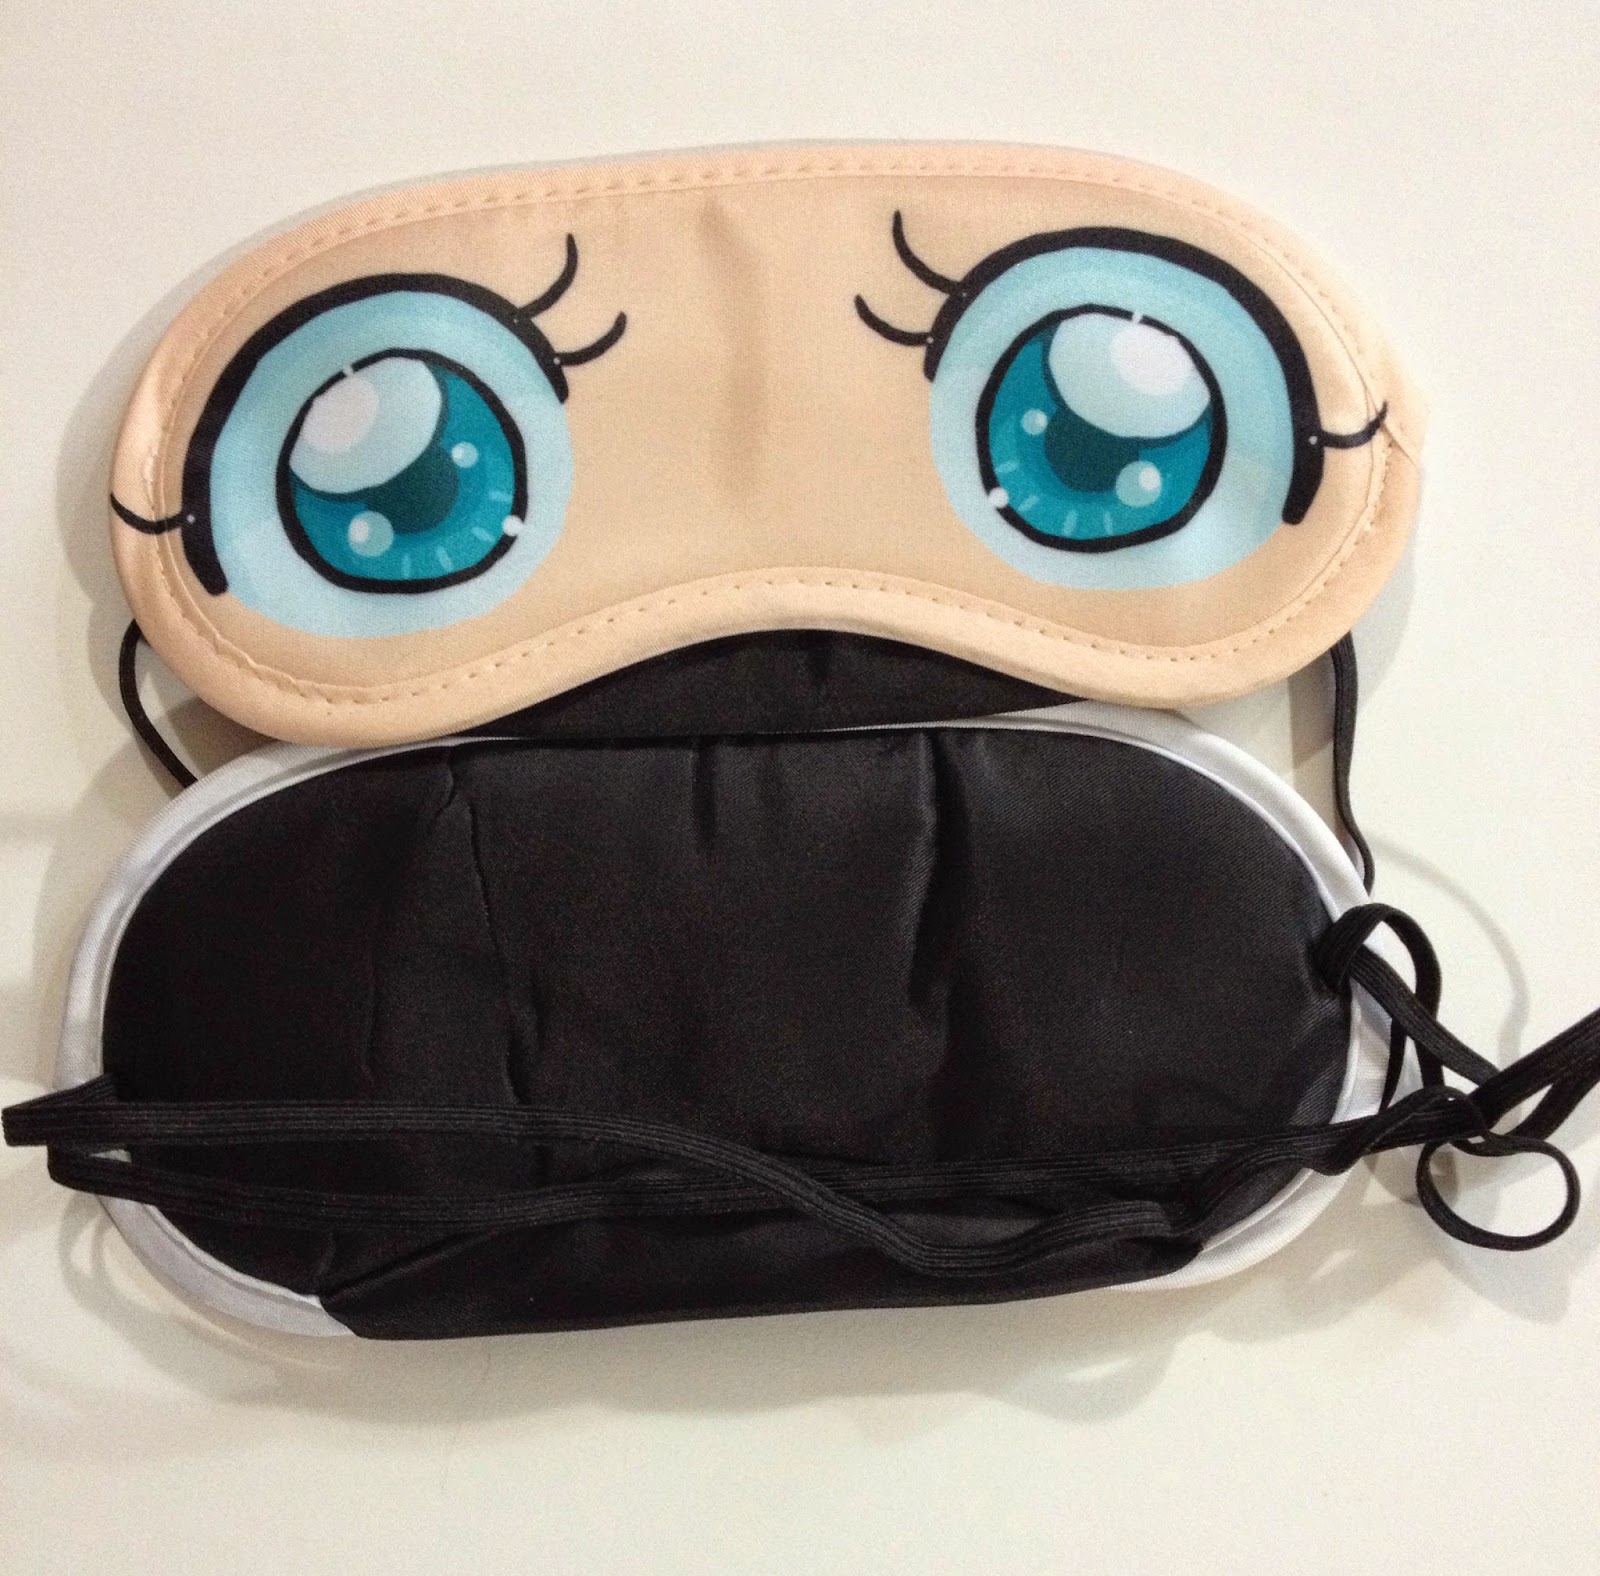
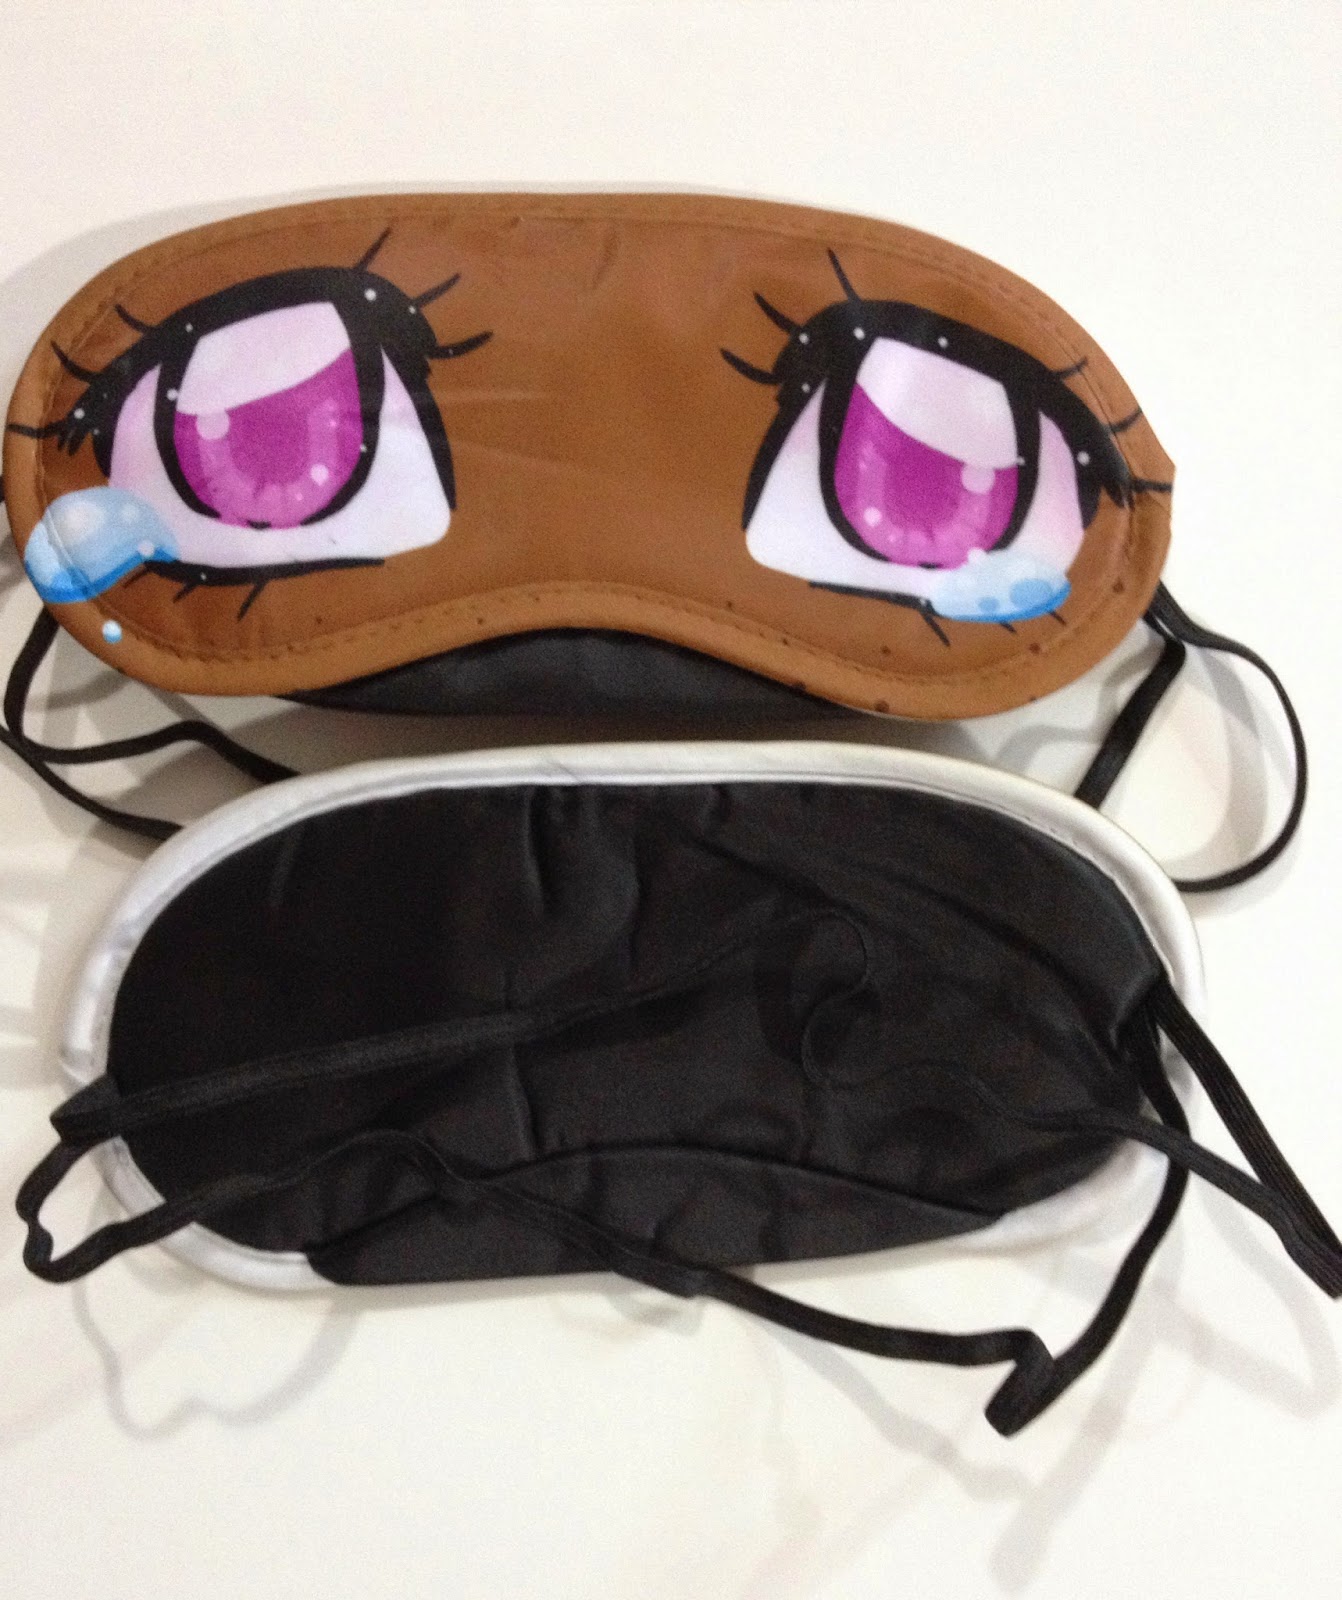
Another 10 for $20 deal was memopads which I stupidly thought would be sticky pads (they're not!) I ordered these for an ALA giveaway- they're advertising my watercolor comic, 7" Kara, and include the ISBN.
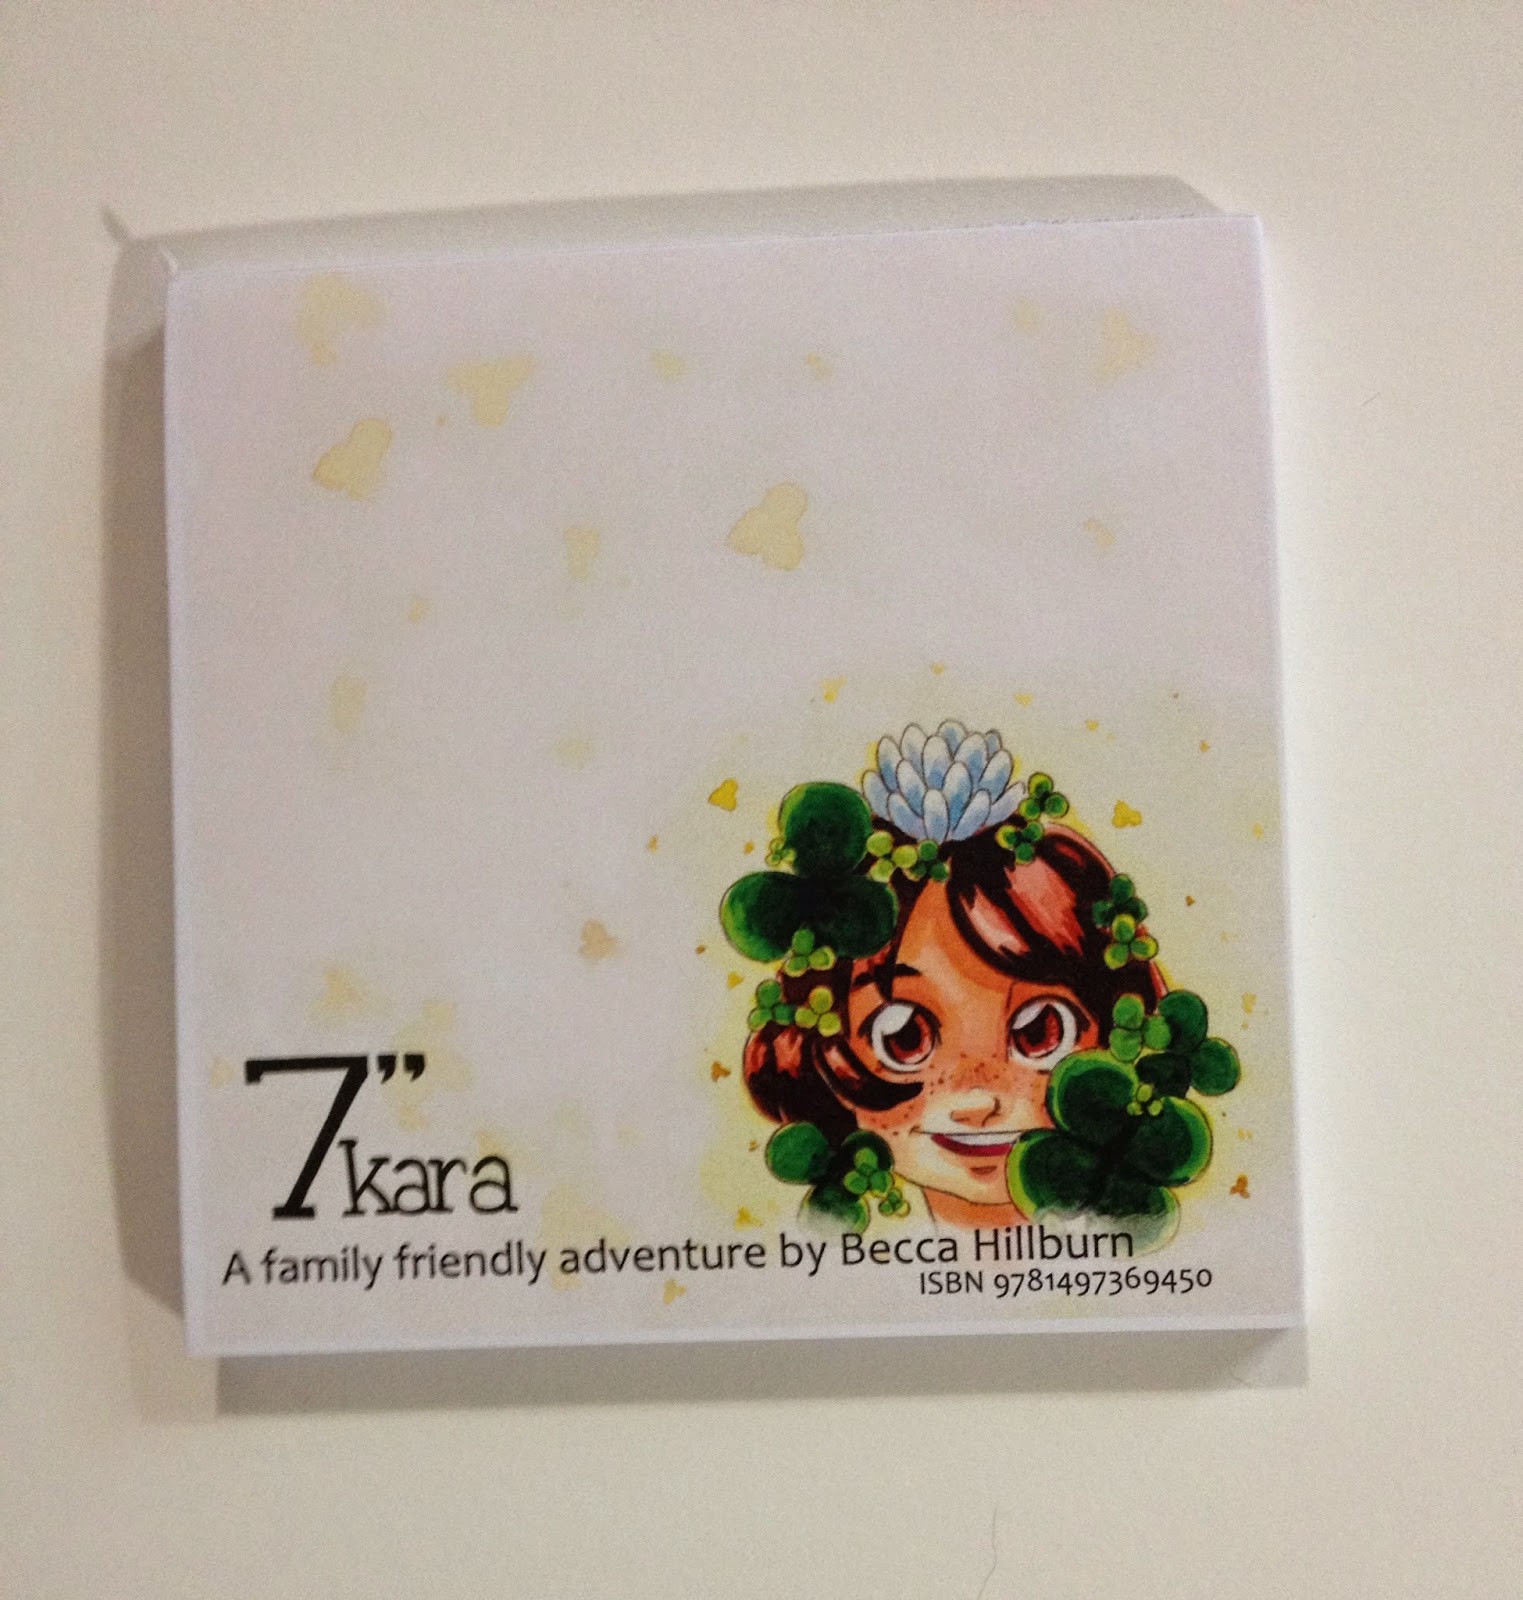
The print quality is pretty good, and it's an allover print design. The only issue is that the ink so heavy on Kara's head that it's a bit of a resist for writing. These are also a little expensive for just giving away, but I'm really hoping to make tabling a ALA worth my money.
Bonus Goofy Eyemask Fun!
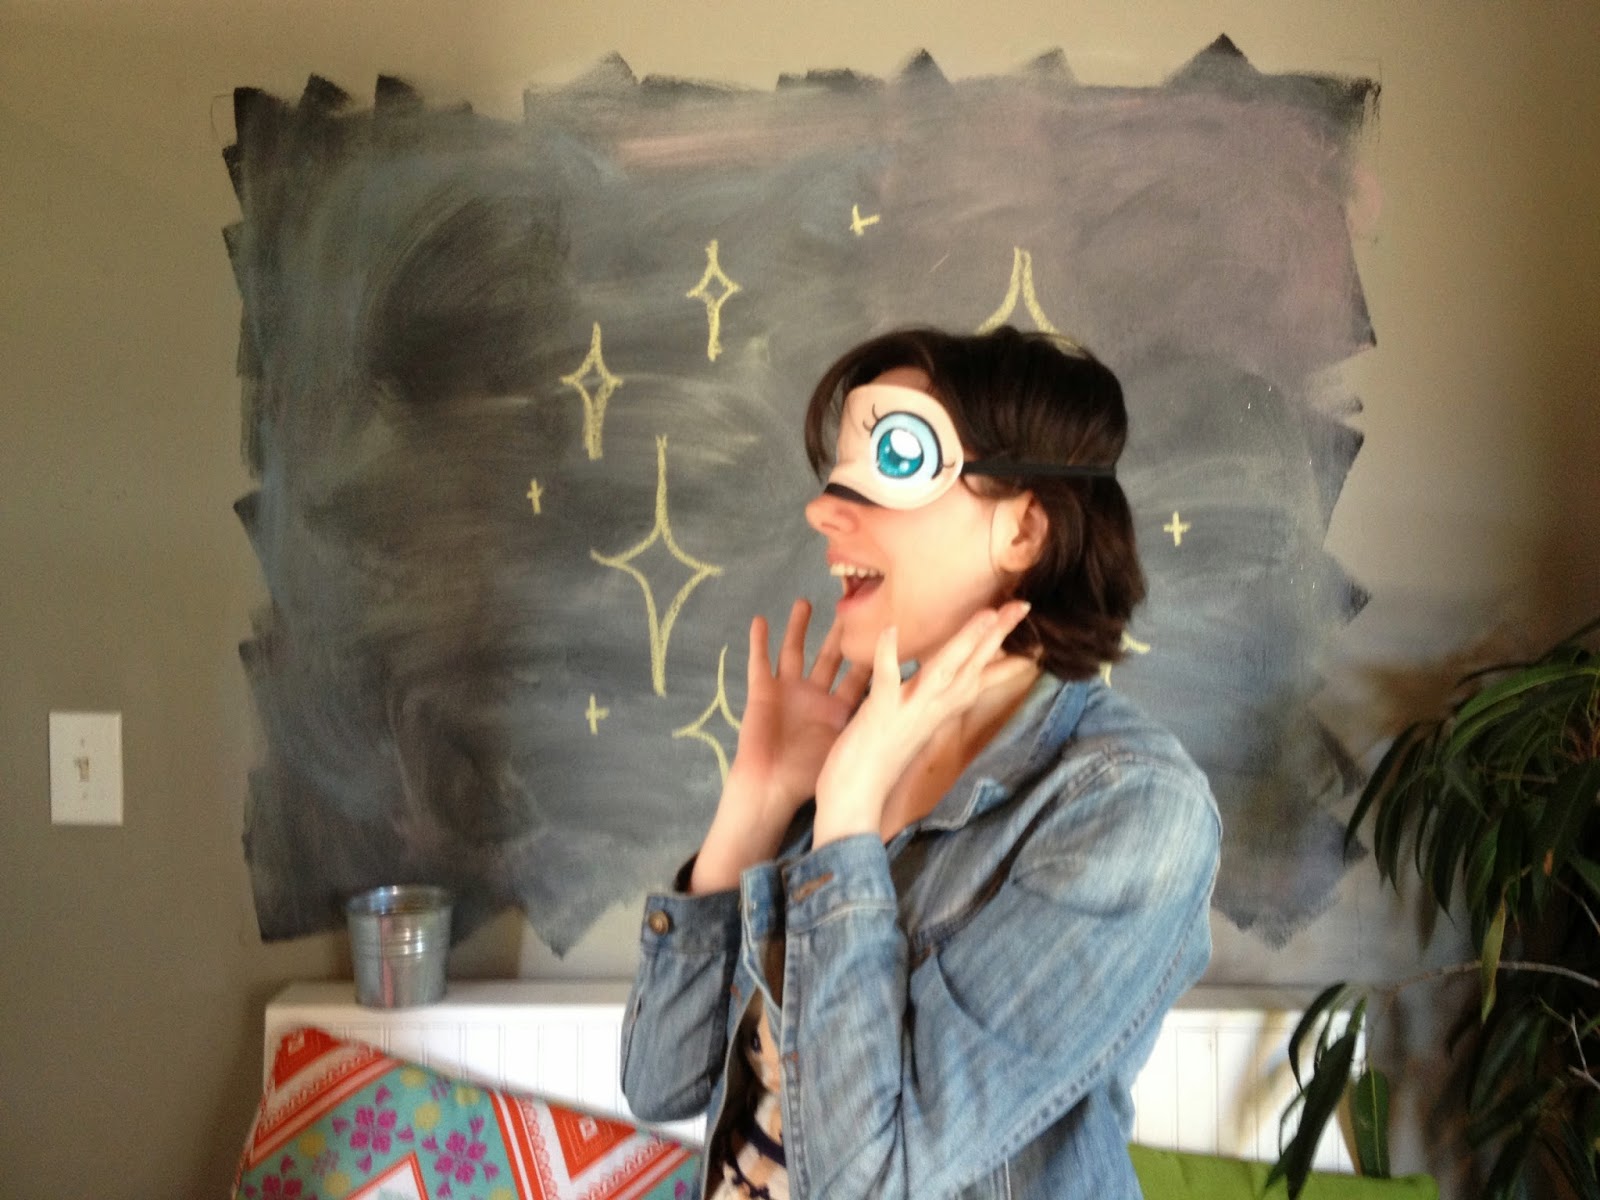

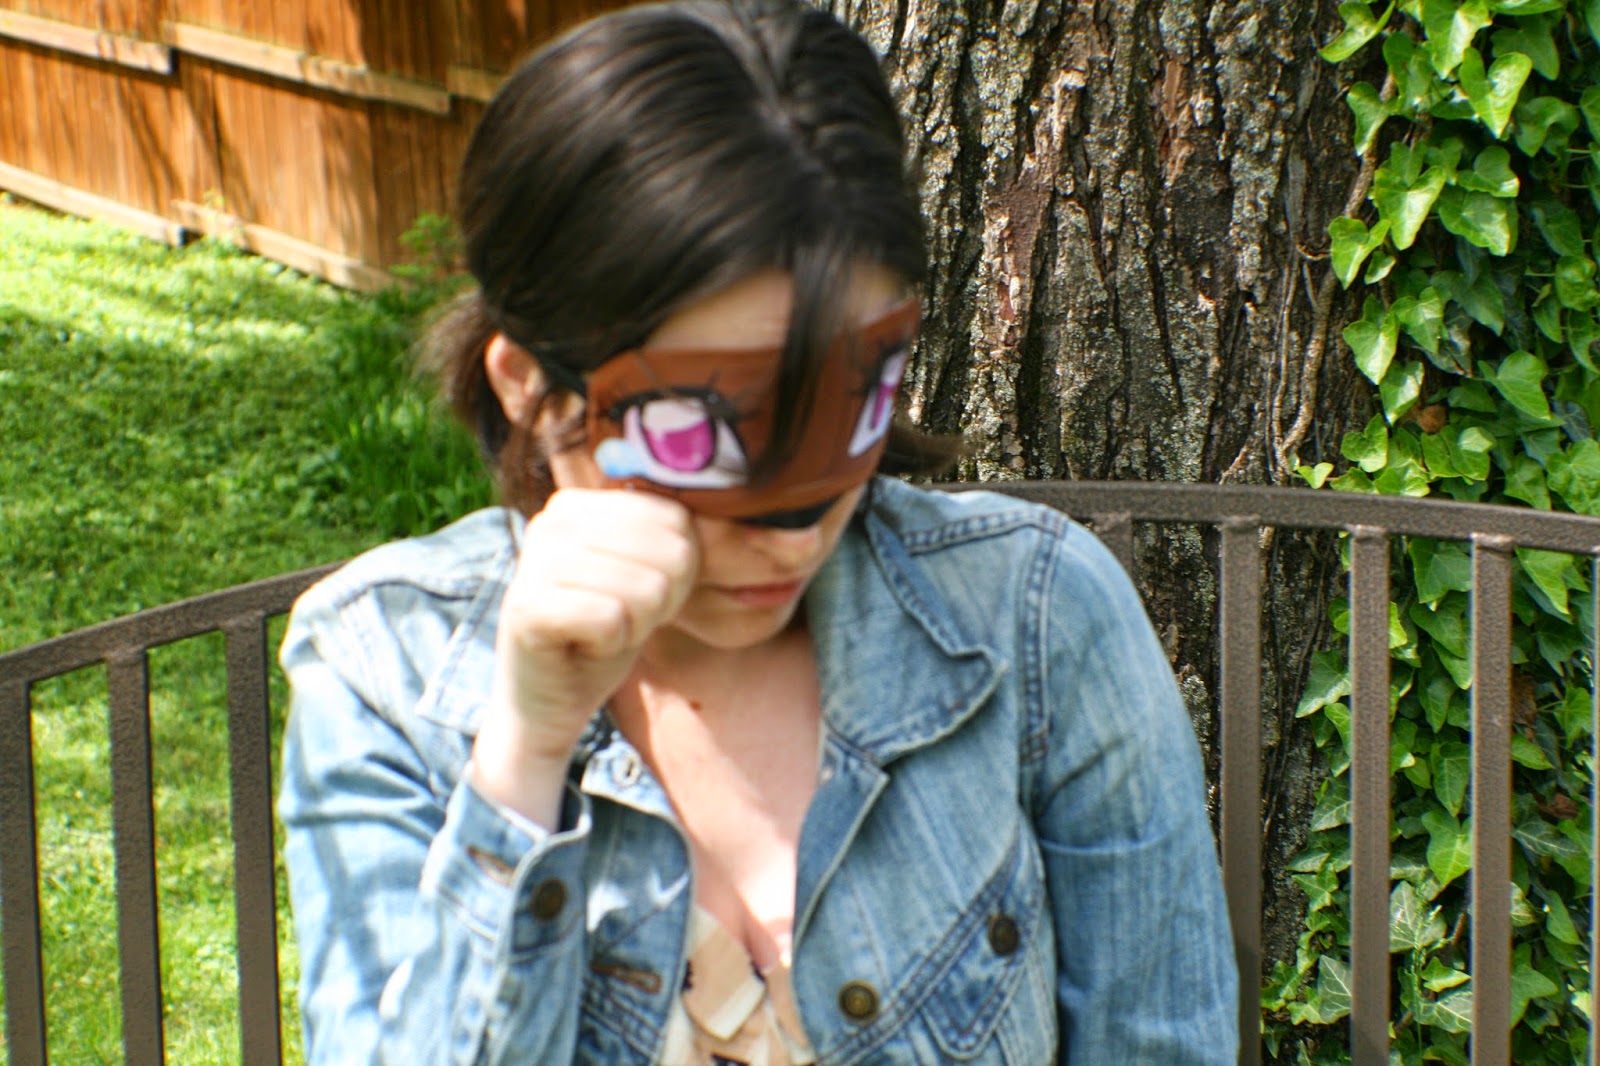
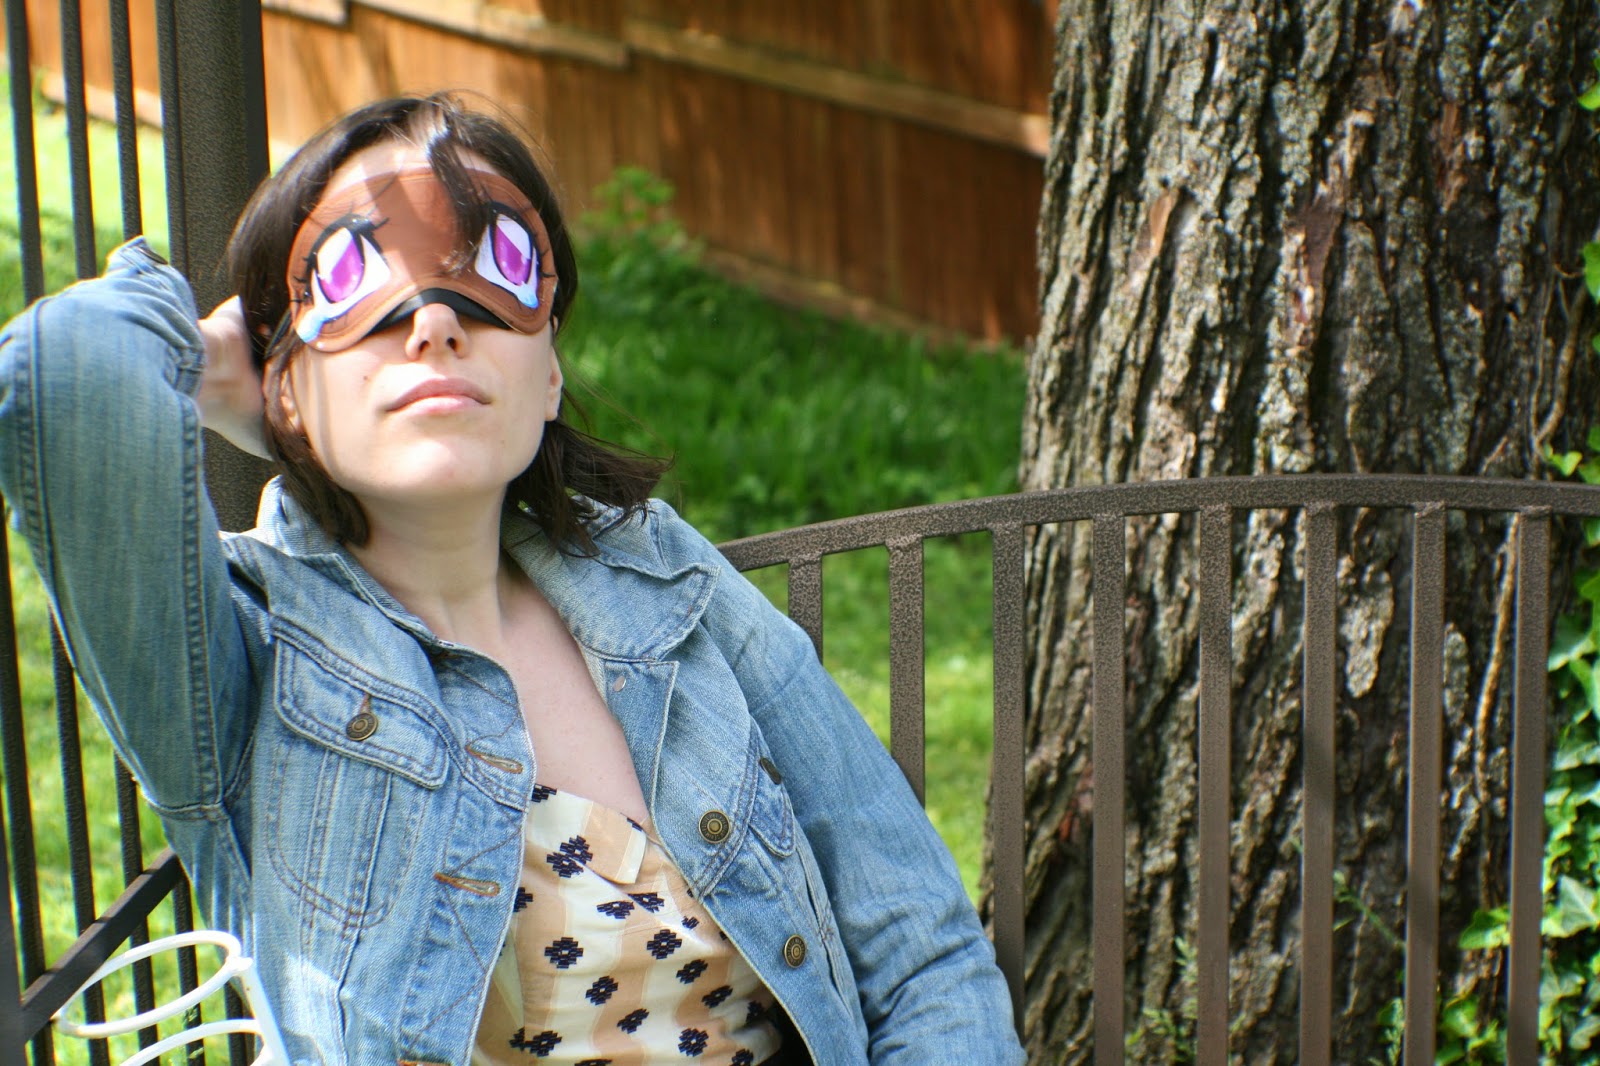
You can order my Kawaiimasks from my shop! They're available in Genki (the blue eyes) or Shoujo (the purple eyes).
General Advice for Using Artscow
Sign up for their newsletter.Wait for GOOD sales- a combination of discount AND free shipping, as their shipping is very expensive.Be prepared to wait a long time- order several months in advance to make sure you can catch a deal and to give the packages time to come from Hong Kong.The return process hasn't been an easy one for me, so if something arrives wrong, make sure you take COPIOUS photosCoupons!
Recently Artscow sent me some referral coupons that I'd like to share with you guys. As someone who uses Artscow, and is familiar with their prices and how the site works, I honestly think these are a good deal. If you're interested in trying Artscow out, using these coupons has two benefits- it saves you money and it earns me money, which is great if you're a fan of the blog or generally consume my work.
1. Any 10 selected items here for $20
http://www.artscow.com/photo-gifts/cr...
Coupon code: ZCRAYSALEMCCAN, Expires on 07-12-2015)
You can also use the code: ZCRAYSALERHR3M
This is similar to the coupon I used for many of my coinpurses, Kawaiimasks, and my notepads, and I recommend it!
2. $0.99 Custom Allover Print Tank Top with Free Shipping.
http://www.artscow.com/photo-gifts/al...
Coupon code: Z099TANKTOP5UNBQ, Expires on 07-12-2015
I'm really excited about trying this one out for myself, as I'd like some Nattosoup uniforms for conventions! 3. $0.99 Personalized Cosmetic Bag with Free Shipping.
http://www.artscow.com/photo-gifts/al...
Coupon code: ZSBY2SQ24, Expires on 07-12-2015
More Codes You Might Like:
These are only good for single items, but it's a great way to do prototypes on the cheap without a large commitment.
Mousepad for $0.99 (additional $3.99 afterwards):
http://www.artscow.com/photo-gifts/mo...
Coupon Code: Z099MOUSEPADTXF6Z
Watch for $3.99 (additional $6.99 afterwards):
http://www.artscow.com/photo-gifts/photo-watch
Coupon Code: Z399WATCHESNUU5Q
Leggings for $2.99 (additional $9.99 afterwards):
http://www.artscow.com/photo-gifts/1292
Coupon code: Z099LEGGINGSB8BV7
Please consider donating to this blog or purchasing from Natto-shop (http://nattosoup.com/shop) if you want me to continue publishing quality content. All materials tested were purchased from my own pocket. Keep on Truckin' Nattosoup is not under any sponsorship.
May 21, 2015
Colored Pen Review: Foray Stylemark
Recently I reviewed some Papermate Flair pens I purchased at an Office Depot. In that review, I mentioned that I'd also purchased some Foray Stylemark pens, which I'll be reviewing today.
Like the Papermate Flairs, the Foray Stylemarks are porous point pens, available online and in brick and mortar office supply stores such as Office Depot and Office Max. I picked these up because the Office Max I was at was having a going out of business sale, and Heidi said they weren't bad. These pens aren't marketed at an art application, but after uncapping, I thought they looked pretty similar to technical pens, so I decided to buy some and give them a try.
Foray Stylemark pens come with a couple variations on nib type- there's a porous point that looks similar to the Papermate Flair pens, ballpoint pens, and fineliner, which looks like a technical pen.
The Foray site apparently doesn't realize that their products are a common sight at American big box office supply stores, as the options are limited to the UK and a handful of European countries. The finerliners I purchased in store seem to be older versions of those available on the site. The Stylemark has non waterproof ink, which might make it compatible with Copics and other alcohol based markers (I'll have to test this soon).
The Pens

My Office Depot had three colors of Foray Stylemark Fineliners left, so I bought one of each.

The plastic bodied pens have the brand name written across the barrel, as well as the tip size (Fine or .5mm) and have an ink indicator on the barrel.

Uncapped, you can see that the softer plastic grip is the same color as the ink inside. The cap has a metal clip, a colored plastic top that coordinates with the grip and the ink color, and posts to the back of the pen when not in use.
 The Field Test


In use, the pen feels light- I'm not sure if this is just cheap construction or the fact that as this pen is openstock, I may have purchased a nearly dead pen. While the pen, in general, handles like a technical pen (since both are fineliners), the non photo blue lead I use constantly clogged up the nib, impacting ink flow.

 The Verdict While these pens aren't bad, I think your local big box office supply store probably has better options available. If you're in the market for fineliners for art purposes, Office Max covers Staedtler's Triplus Fineliners in a variety of package sizes. These pens aren't bad- I used them myself years ago for lineart, and come in a wide range of colors. Office Max also carry's Pentel's Color Pens.
Please consider donating to this blog or purchasing from Natto-shop (http://nattosoup.com/shop) if you want me to continue publishing quality content. All materials tested were purchased from my own pocket. Keep on Truckin' Nattosoup is not under any sponsorship.
Like the Papermate Flairs, the Foray Stylemarks are porous point pens, available online and in brick and mortar office supply stores such as Office Depot and Office Max. I picked these up because the Office Max I was at was having a going out of business sale, and Heidi said they weren't bad. These pens aren't marketed at an art application, but after uncapping, I thought they looked pretty similar to technical pens, so I decided to buy some and give them a try.
Foray Stylemark pens come with a couple variations on nib type- there's a porous point that looks similar to the Papermate Flair pens, ballpoint pens, and fineliner, which looks like a technical pen.
The Foray site apparently doesn't realize that their products are a common sight at American big box office supply stores, as the options are limited to the UK and a handful of European countries. The finerliners I purchased in store seem to be older versions of those available on the site. The Stylemark has non waterproof ink, which might make it compatible with Copics and other alcohol based markers (I'll have to test this soon).
The Pens

My Office Depot had three colors of Foray Stylemark Fineliners left, so I bought one of each.

The plastic bodied pens have the brand name written across the barrel, as well as the tip size (Fine or .5mm) and have an ink indicator on the barrel.

Uncapped, you can see that the softer plastic grip is the same color as the ink inside. The cap has a metal clip, a colored plastic top that coordinates with the grip and the ink color, and posts to the back of the pen when not in use.
 The Field Test
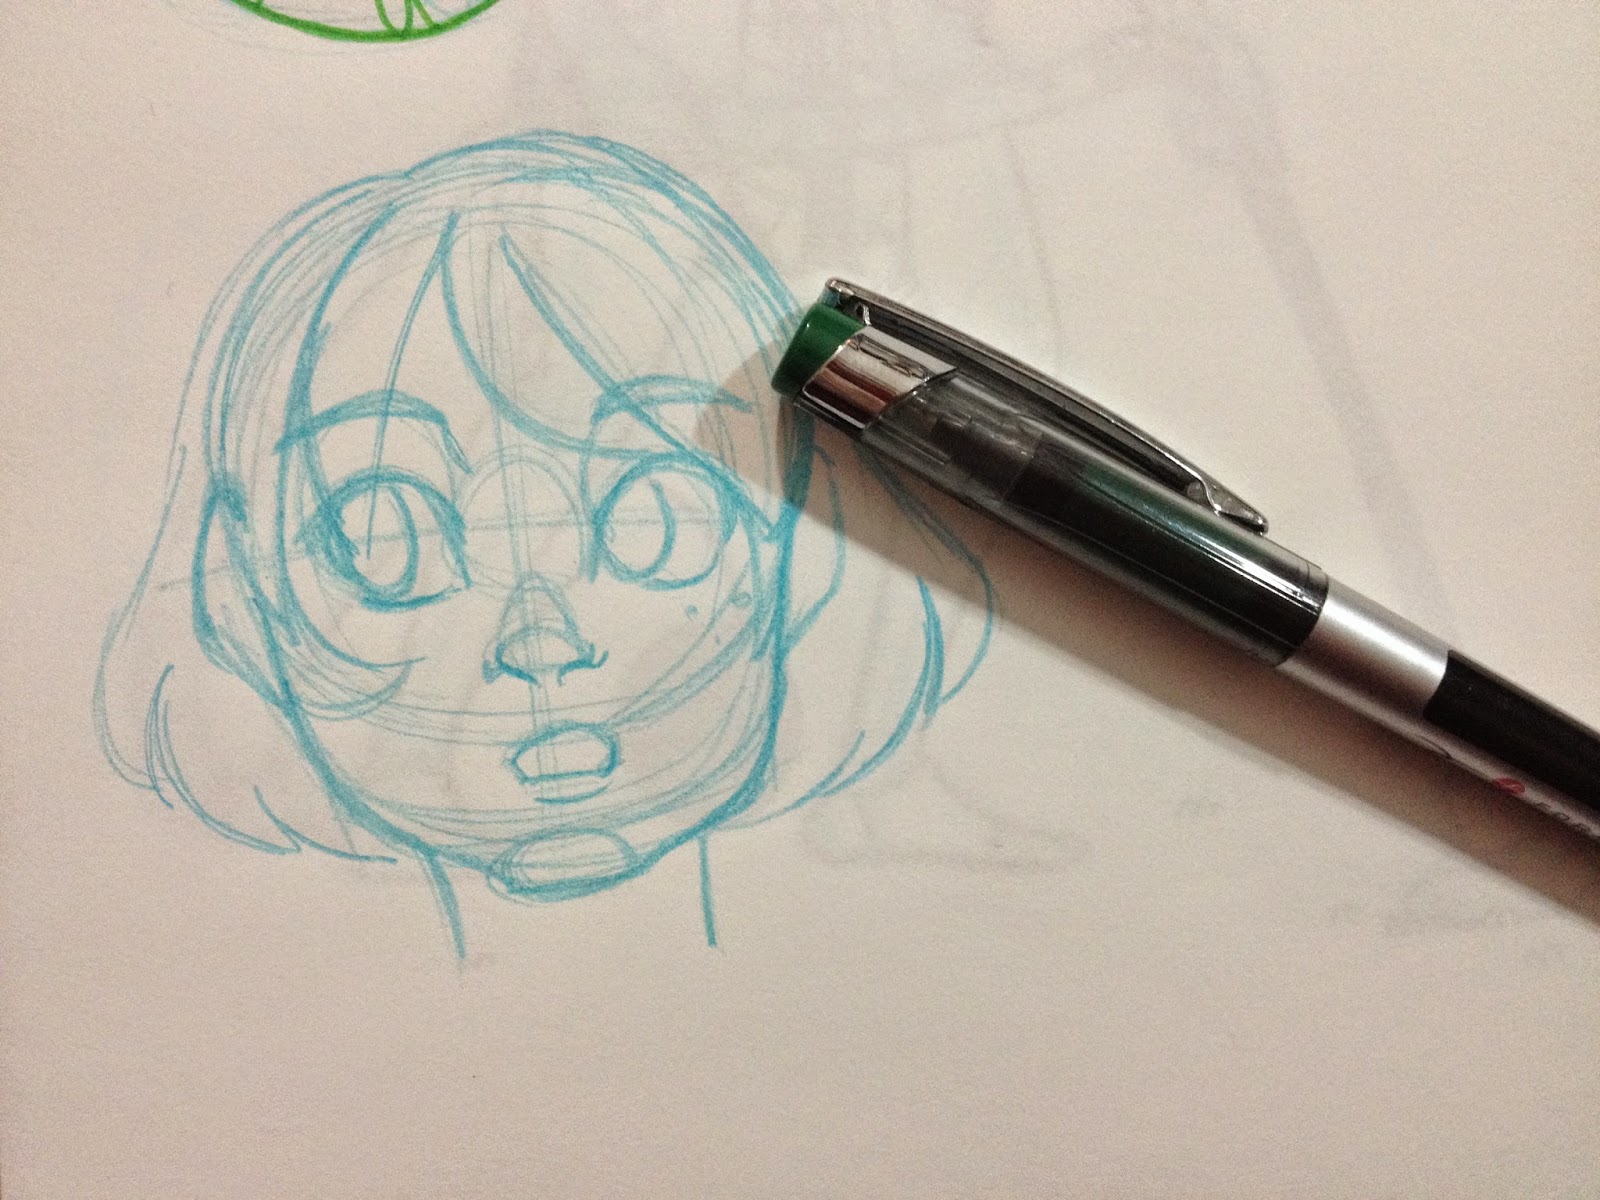
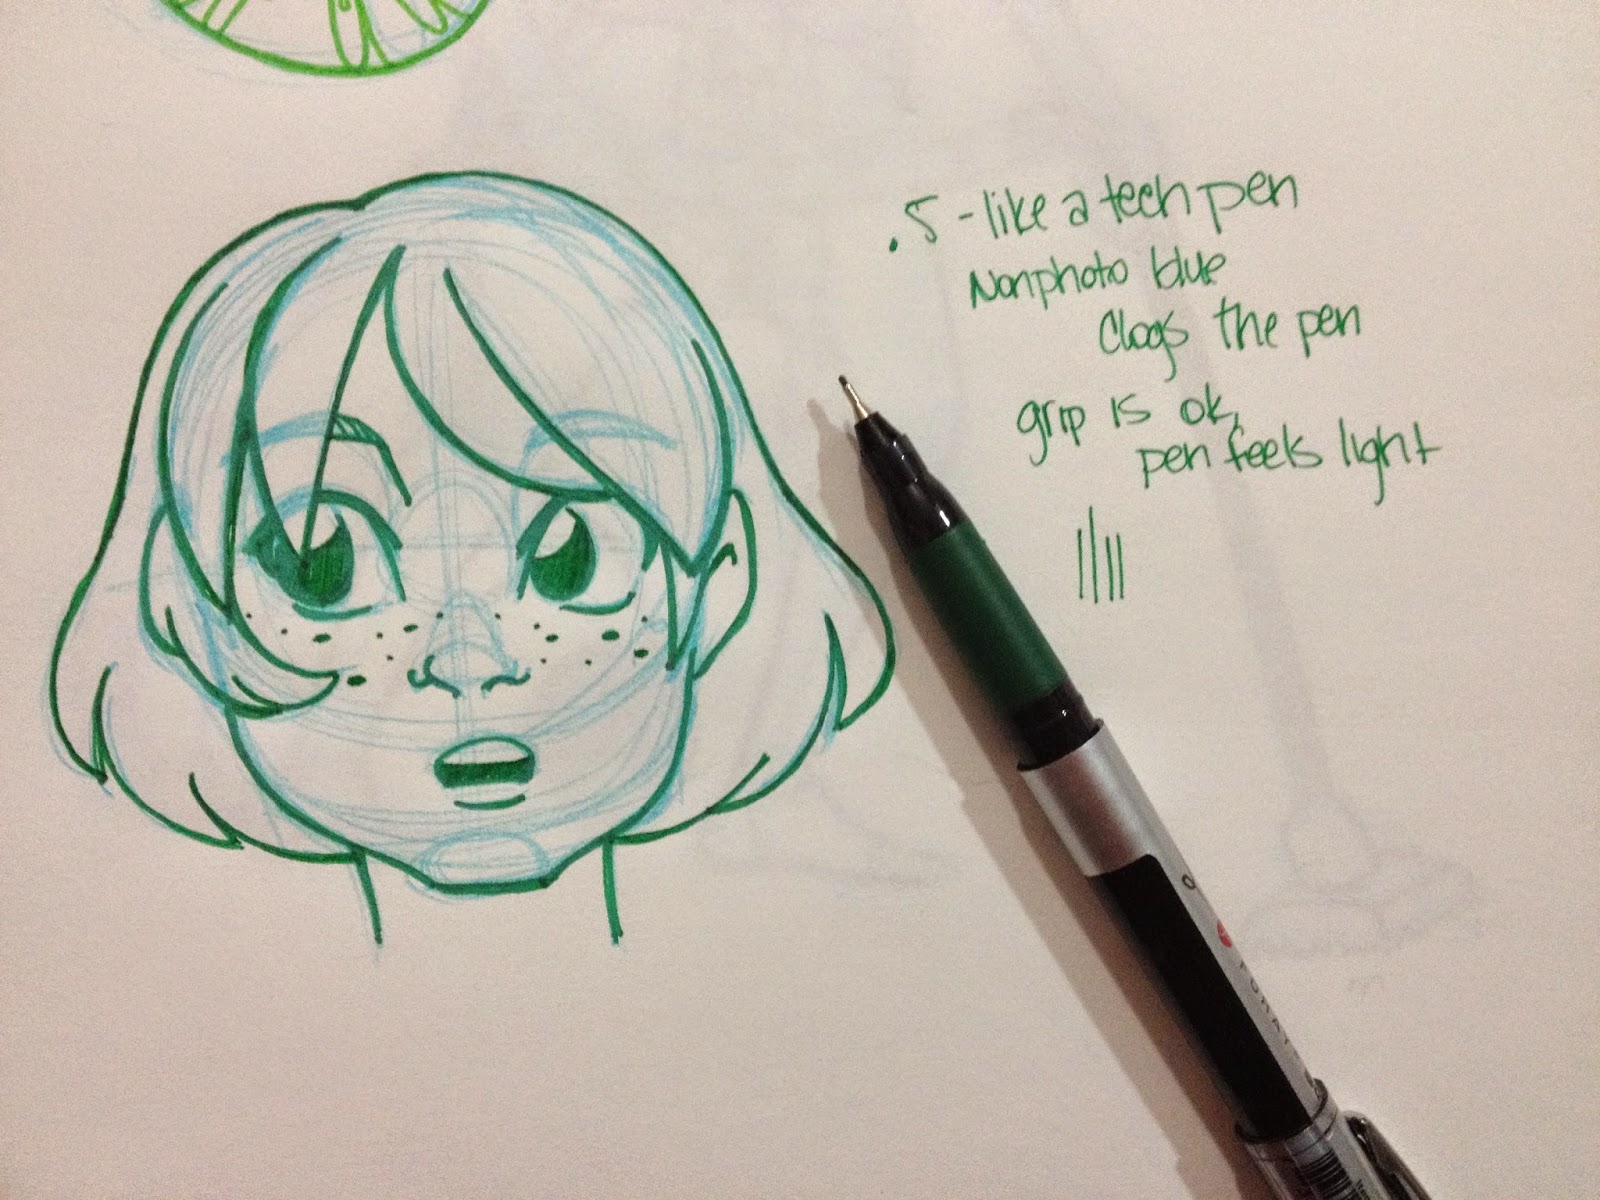
In use, the pen feels light- I'm not sure if this is just cheap construction or the fact that as this pen is openstock, I may have purchased a nearly dead pen. While the pen, in general, handles like a technical pen (since both are fineliners), the non photo blue lead I use constantly clogged up the nib, impacting ink flow.
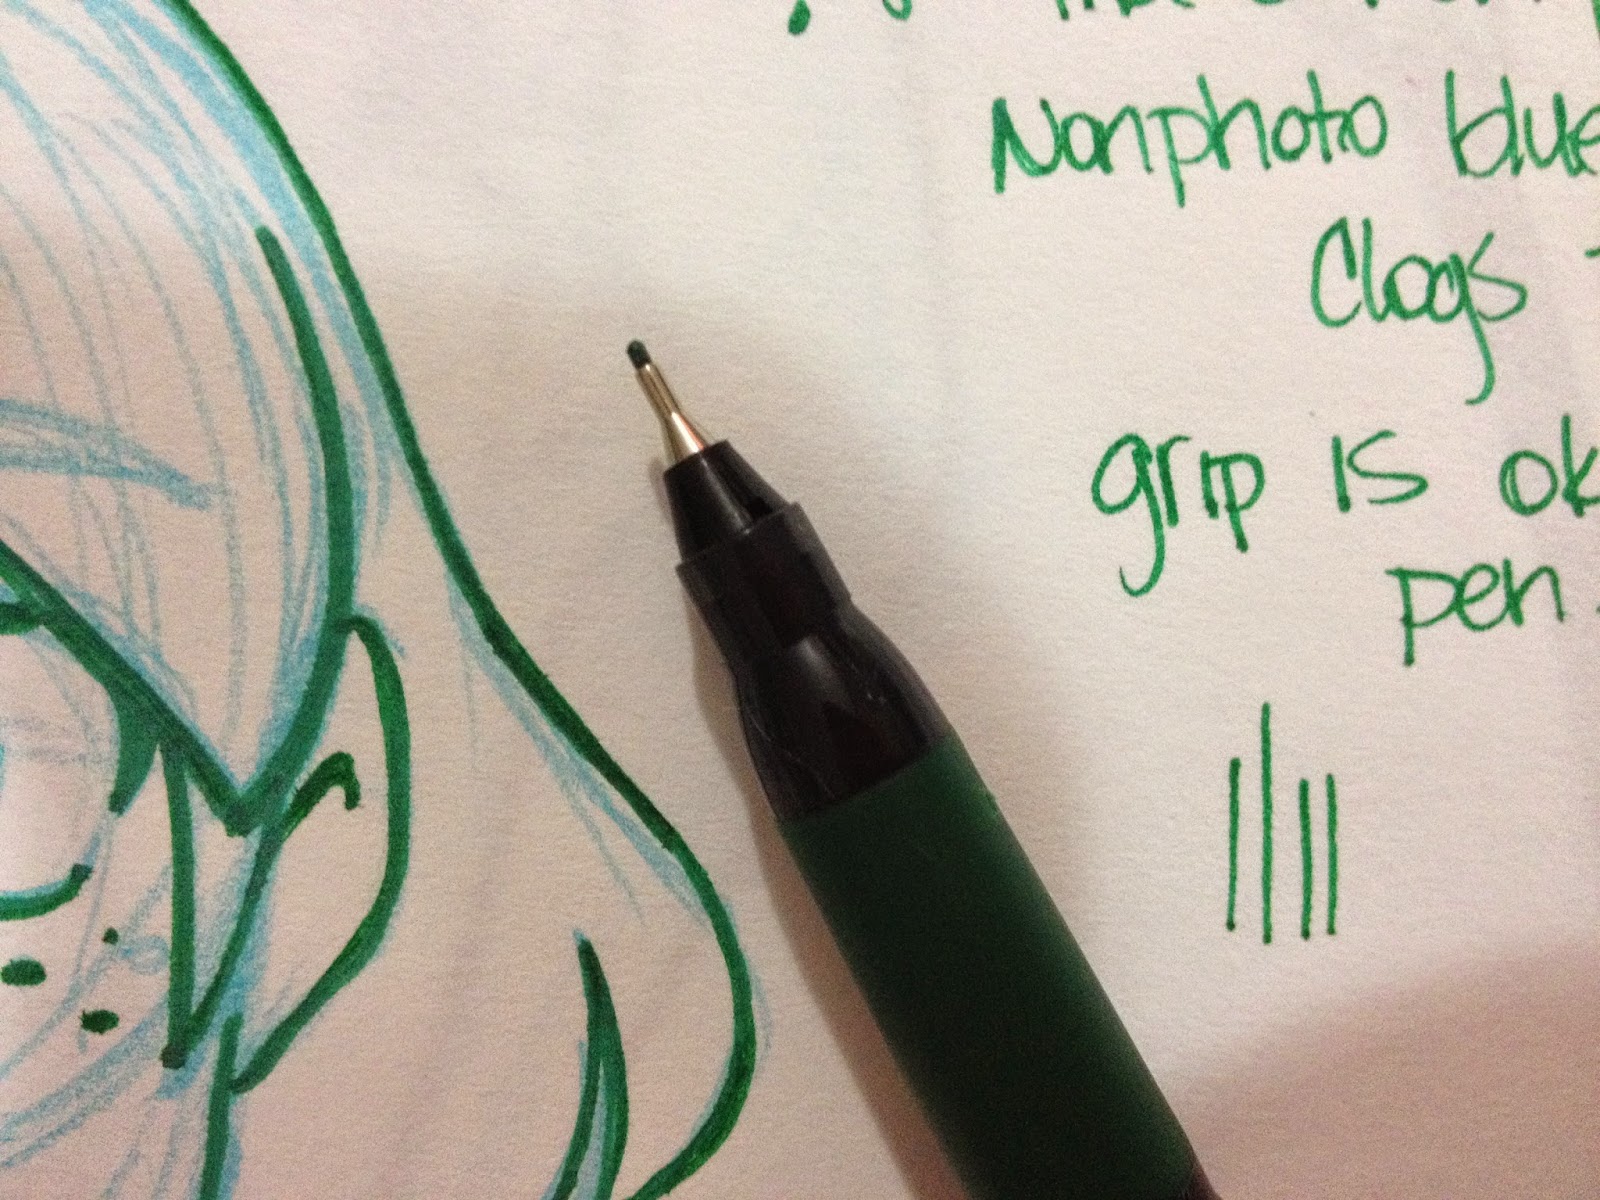
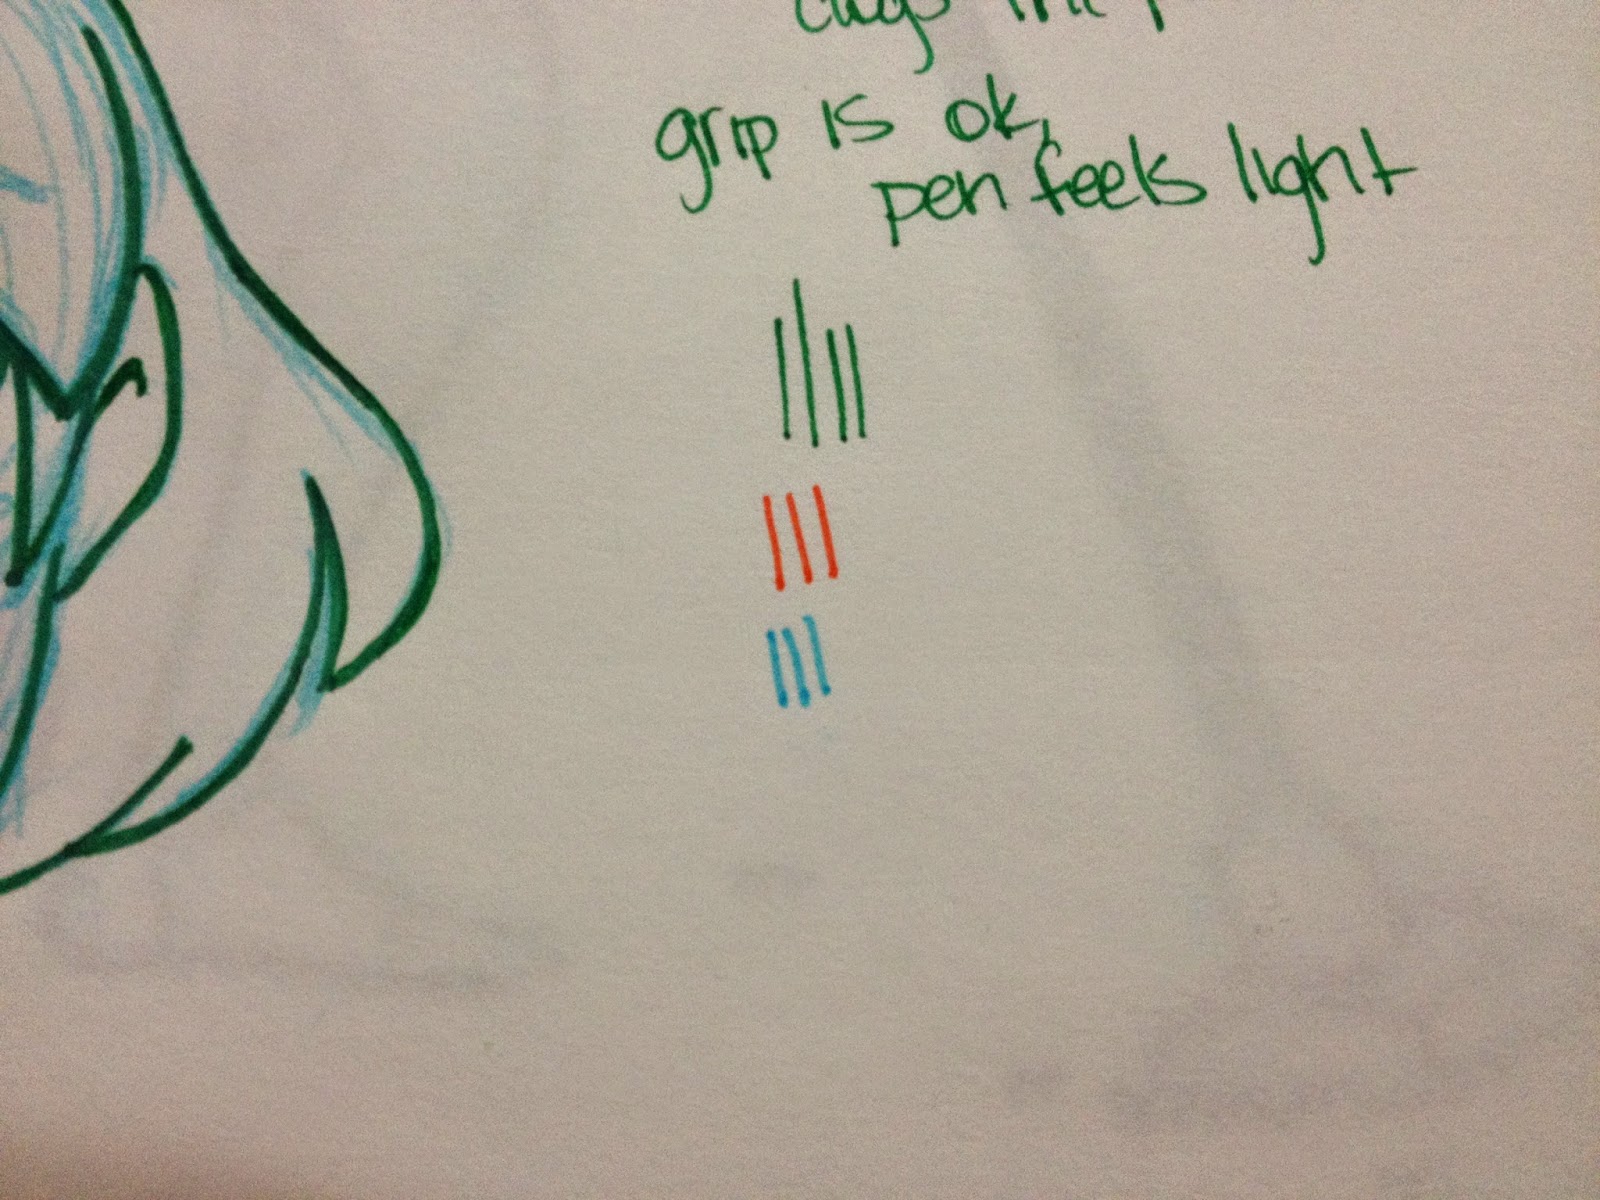 The Verdict While these pens aren't bad, I think your local big box office supply store probably has better options available. If you're in the market for fineliners for art purposes, Office Max covers Staedtler's Triplus Fineliners in a variety of package sizes. These pens aren't bad- I used them myself years ago for lineart, and come in a wide range of colors. Office Max also carry's Pentel's Color Pens.
 Please consider donating to this blog or purchasing from Natto-shop (http://nattosoup.com/shop) if you want me to continue publishing quality content. All materials tested were purchased from my own pocket. Keep on Truckin' Nattosoup is not under any sponsorship.


