Ree Drummond's Blog, page 14
November 4, 2015
Quinoa with Buttery Roasted Vegetables by Ree
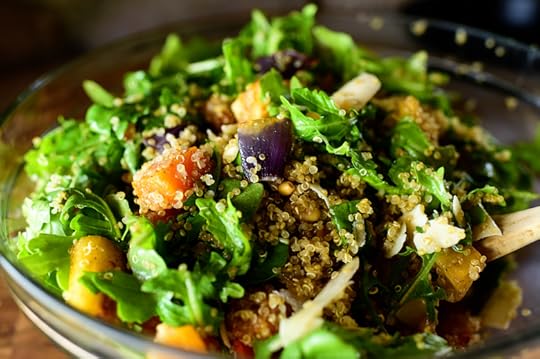 I know this is clichéd and predictable and obvious and all that, but I’m going to say it anyway: I love quinoa. It’s grainy (well, that’s kind of obvious!) and it just makes you feel good to eat it. But toss it with arugula, roasted root vegetables, and a light, buttery dressing? Well, it’s pretty much the most heavenly thing you’ll eat all month.
Note: This blog post is sponsored by Land O’ Lakes.
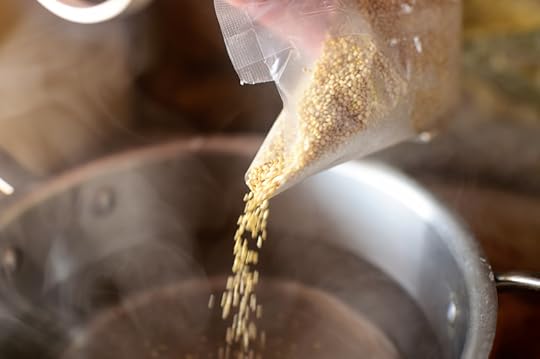
First, cook a package of quinoa according to the package directions. This is as simple as pouring it into boiling water and cooking for anywhere from 5 to 20 minutes! You can rinse the quinoa first if you like, but I rarely do.
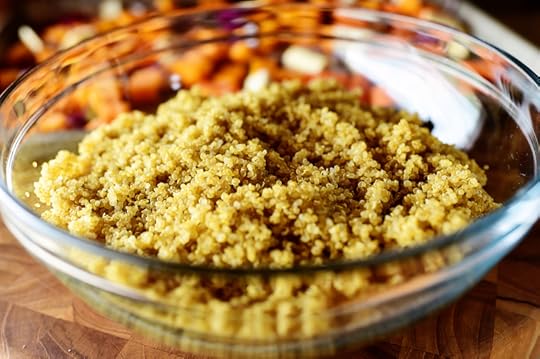 Pour it into a bowl and let it cool while you get everything else ready.
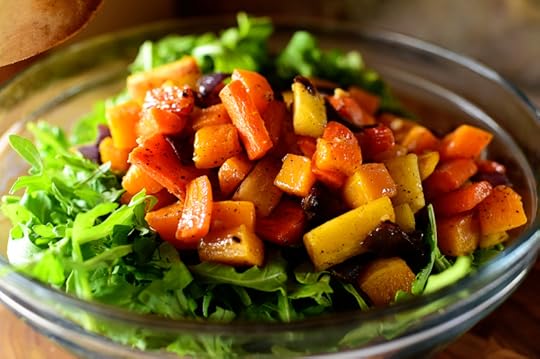
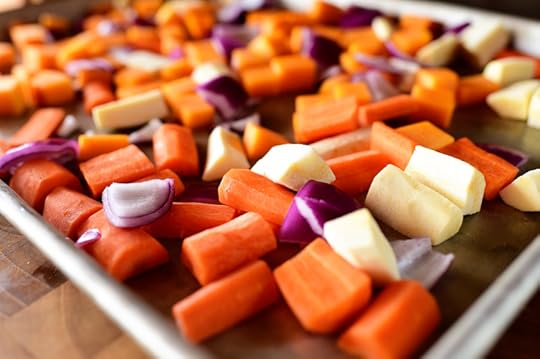 Next, you need to roast some vegetables, so get those ready! I used carrots, parsnips, and chunks of red onion. I love this combination, since it’s as scrumptious as it is pretty.
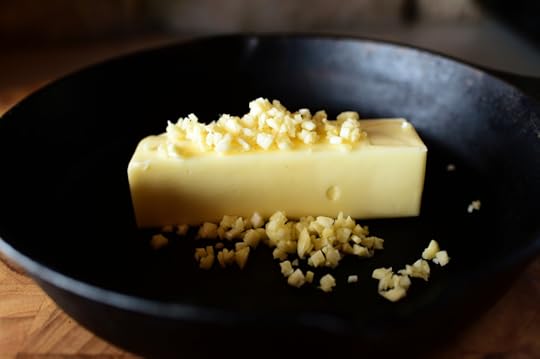 Now, grab a stick of Land O Lakes® Salted Butter, otherwise known as the most oft-used ingredient in my kitchen, otherwise known as my culinary soulmate, also known as my life. Not to be dramatic or anything.
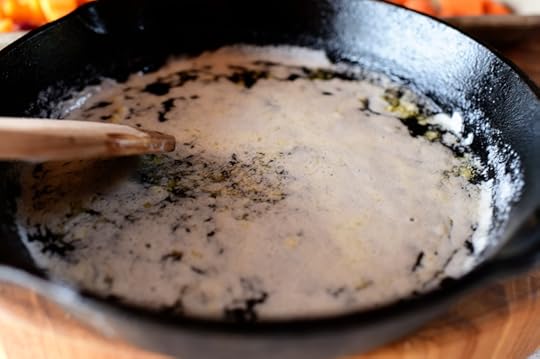 Melt it in a small skillet along with some garlic…
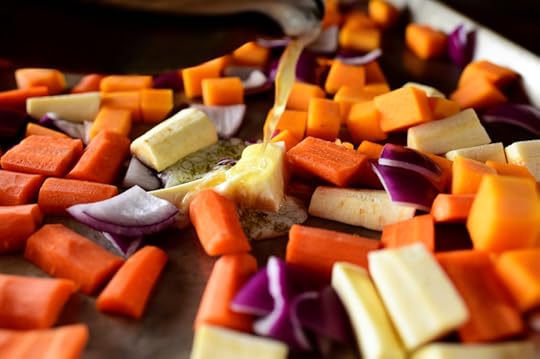 Then pour half of this delicious concoction over all the veggies.
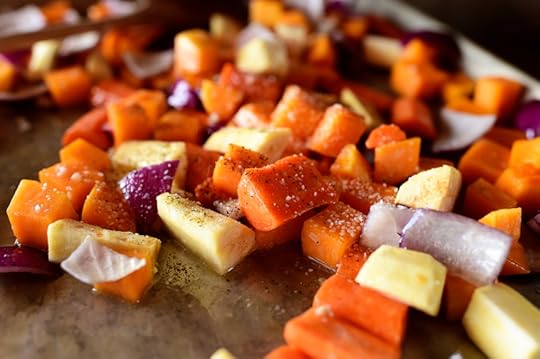 Sprinkle the veggies with salt and pepper, give them a toss, then pop them into a 400 degree oven…
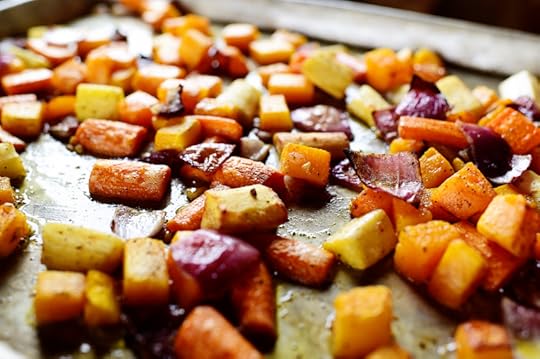 And roast them until they’re soft and brown around the edges, about 35-40 minutes or so. Yum! I love roasted veggies anyway, but the butter sends them way, way, way (times a million) over the top. I could pop these into my mouth like candy!
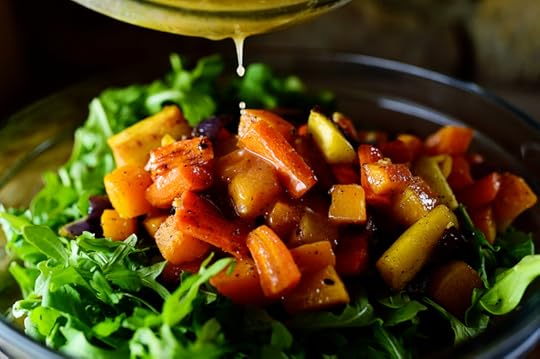
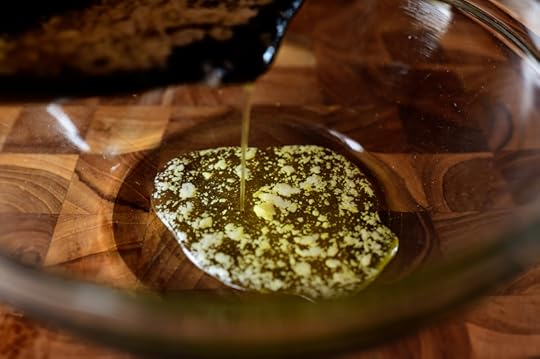 Now, remember the other half of that butter/garlic mixture? I’m going to turn it into a dressing for the finished dish. Pour it into a bowl…
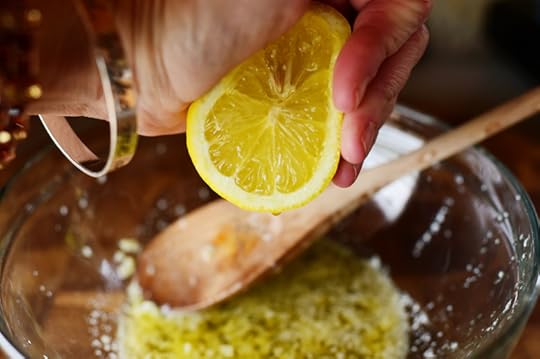 Then squeeze in a good amount of lemon juice…
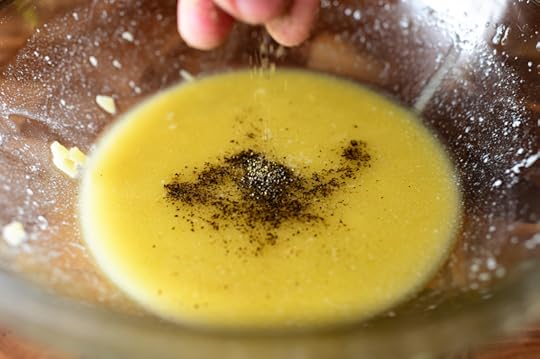 Sprinkle in some salt and pepper, and whisk/stir this together.
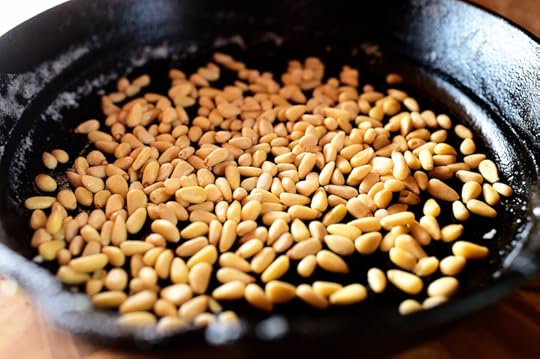 Pine nuts are the final piece of the puzzle: Throw some into a skillet and toast them over low heat for about 5 minutes, tossing them around.
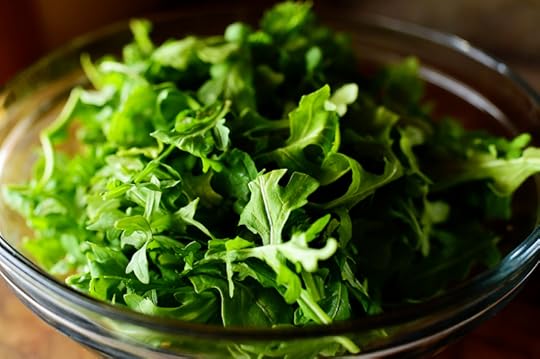 Now everything gets thrown into a bowl together! First some arugula (or kale…or any green!)…
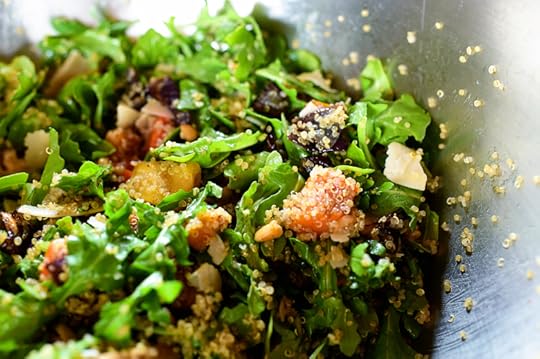
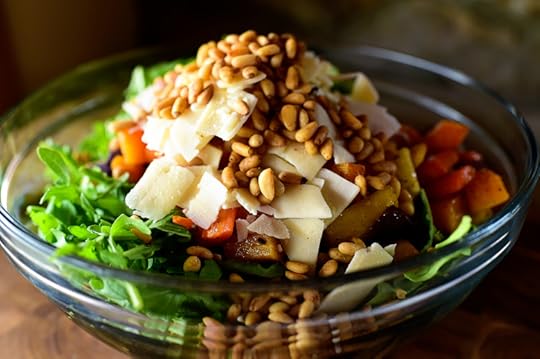 Then the quinoa, pine nuts, and Parmesan shavings!
 And behold the beauty you have just created.
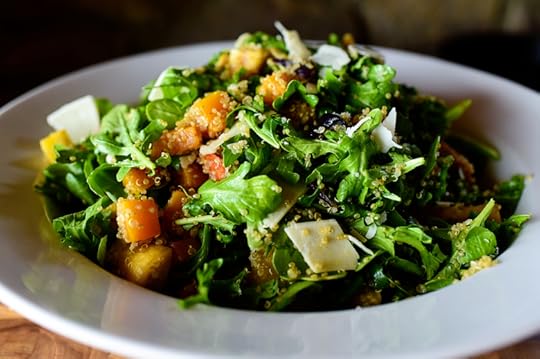 I can’t tell you what a gorgeous recipe this is! It’s hard to pigeonhole, too: It’s sort of a salad, sort of a veggie side dish, sort of a vegetarian main dish…and would be perfect as a weeknight dinner or as a Thanksgiving recipe. You can chill everything before tossing it together, or you can toss it while it’s still warm. Use spinach or kale to change it up even further. Lots of directions you can take this.
You will absolutely love it!
Here’s the full recipe, friends.
Note: I have partnered with my friends at Land O’Lakes for an exclusive endorsement of Land O Lakes® Butter. This blog post is sponsored by Land O’Lakes.


October 19, 2015
Veggie Stir-Fry by Ree
 This gorgeous, luscious stir-fry will knock your socks off! It’s so easy to make and is big on flavor, and here’s my favorite thing about it: You can prep all the veggies and make the sauce up to 24 hours in advance, and just keep them in separate containers in the fridge. Then, when you get home after a crazy-long day, all you have to do is heat the oil in a skillet and you’ll have dinner within about 12.112983474 minutes.
Serve it over rice. Serve it over noodles. Eat it straight out of the skillet, it doesn’t matter.
I could eat dishes like this every day for the rest of my life.
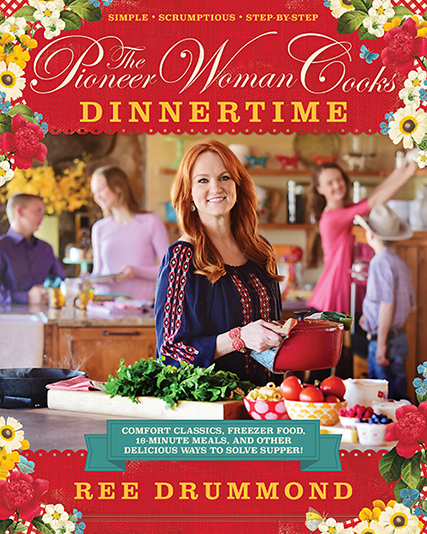 (Pssst. This recipe is in my new “Dinnertime” cookbook, which will be out tomorrow! I’ve been workin’ hard on this one and I’m excited it’s finally here. In other news, I need to get back on the treadmill fast.)
 In a small bowl, mix together some soy sauce, sherry, brown sugar, cornstarch, sriracha, and fresh ginger. Yum! Set this aside for a second.
 Heat some oil in a large, heavy skillet over medium-high heat. Add some chunks of onion and chunks of bell pepper. I used red and yellow, but you can use green or even purple if you have them! The veggies you use in this dish are up to you. Just add the firmer veggies first, to give them a chance to cook.
 Stir the veggies around the pan for a couple of minutes to let them start cooking. You want them to get some nice color on the outside, so if you need to crank up the heat a little more, feel free!
 Then add some minced garlic and cook it for about a minute more, stirring continuously to make sure the garlic doesn’t burn.
 Now you can start throwing in the other veggies! Add big chunks of zucchini…
 And stir it in, cooking for 2 minutes more.
 Stir and cook this for a couple of minutes, too.
 And finally: halved baby corn from a can or jar…and okay. I don’t know if this is technically a veggie. But it doesn’t really fit into any other category, so I’m going with it.
 While the veggies are still somewhat firm, pour in the sauce…
 Then stir it and cook it for 1 to 2 minutes more, or until the sauce is very thick. If you feel the veggies need a little more sauciness, stir in 1/4 to 1/2 cup hot water and splash in a little more soy. Easy!
 Serve it by itself, over rice, or over noodles! (These are chow mein noodles, and they have little carrots in them. Didn’t want that to confuse anyone.)
 Sprinkle the whole thing with sesame seeds if it makes your skirt fly up. Delicious!
Here’s the handy dandy printable.


October 15, 2015
You Can. And You Should! by Ree
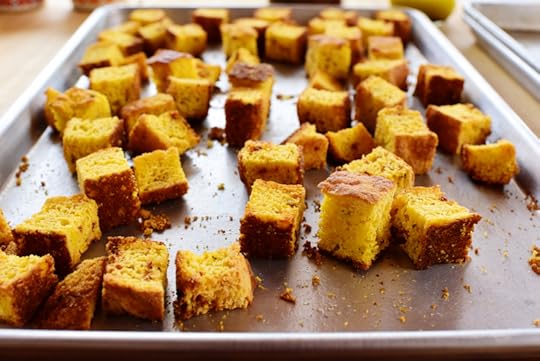 Did you know you can crisp up cornbread cubes in the oven…
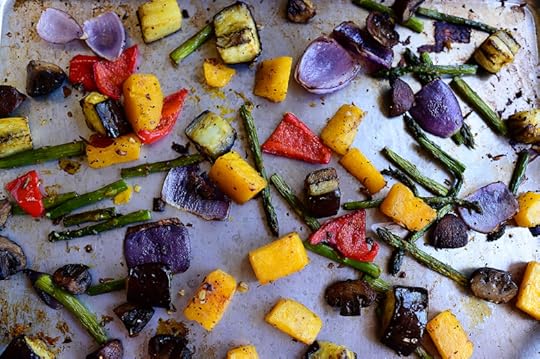 Roast up a batch of gorgeous vegetables…
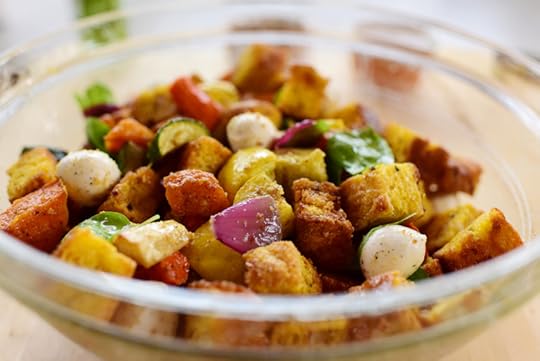 And throw them in a bowl together, add mozzarella balls, toss in a simple vinaigrette, let it sit for an hour, and call it Panzanella?
Well, you can. And you should!
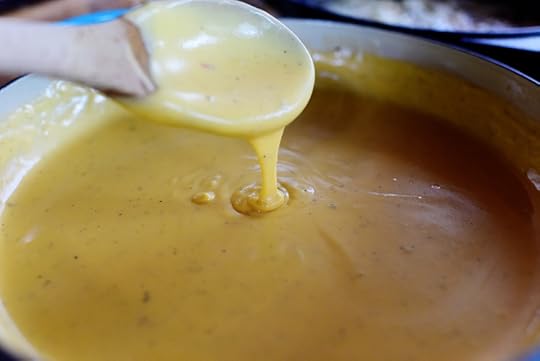 Did you know you can make a cheese sauce like this one…
 Then throw in some cooked broccoli florets, stir them together…
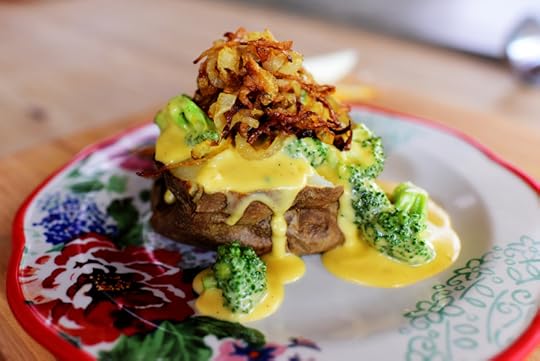 And spoon them over a steaming hot baked potato, then top the whole thing with thinly sliced onions that you’ve fried in oil over medium heat until dark golden brown and crisp?
Well, you can. And you should!
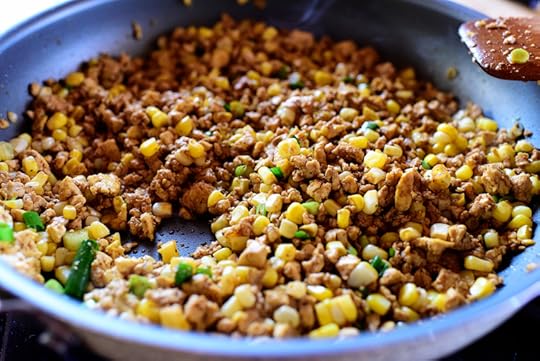 Did you know you can crumble up firm tofu in a little oil in a skillet over medium-high heat, add corn and green onions, season with soy sauce and sriracha, cook until golden, and use it as a filling for lettuce wraps?
Well, you can. And you should!
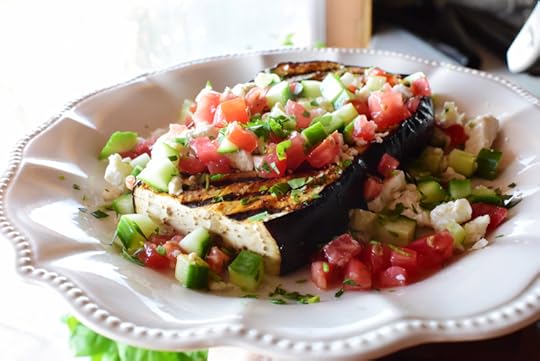 Did you know you can slice a big, thick slice of eggplant, brush it with olive oil, sprinkle it with salt, pepper, and chili powder, grill it like a steak on a grill pan, and top it with chopped veggies, cheese, and herbs?
Well, you can. And you should!
(I’ll provide specific recipes for these in the weeks to come. Just wanted to give you a few easy ideas!)
Love,
P-Dub


October 12, 2015
Butternut Mac and Cheese by Ree
 I fell in love with butternut squash years and years ago, and during this time of year, I have a tendency just to grab one or two of them whenever I have the chance. I never have any specific plan for them; I just know that somehow, someday, someway, I’m going to make something involving butternut squash. It might be butternut squash soup. It might be roasted butternut squash cubes. It might be butternut squash puree. It might be butternut squash cheesecake, for crying out loud!
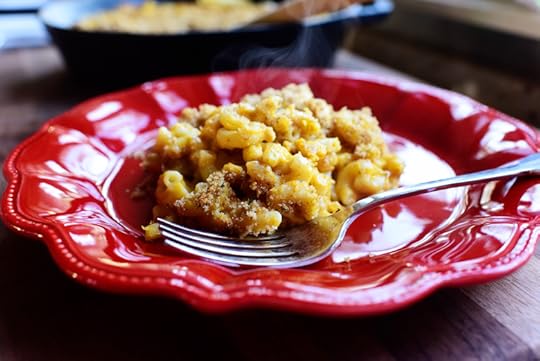
Yesterday? It was this crazy-good macaroni dish. Make it sometime soon!
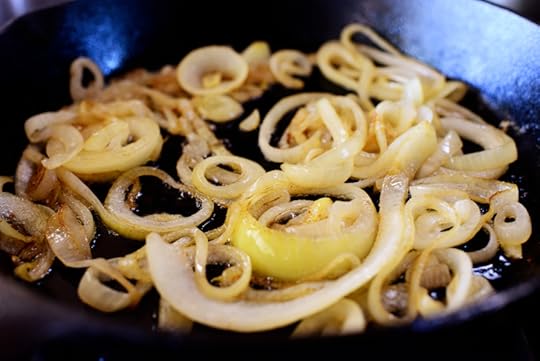
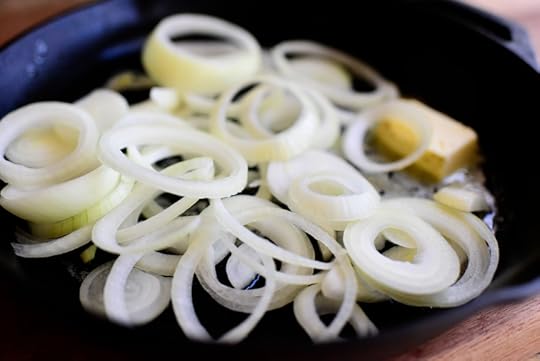 First, brown some onions: Slice a couple and add them to an ovenproof skillet with a little butter.
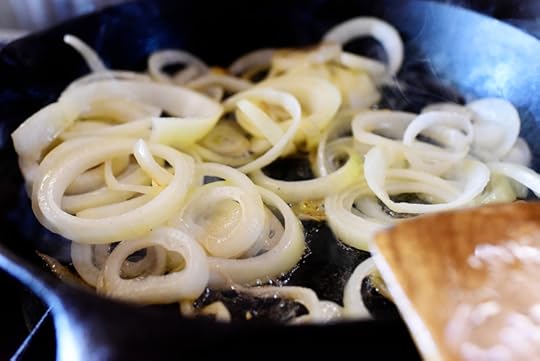 Stir them around, cooking them over low to medium-low heat…
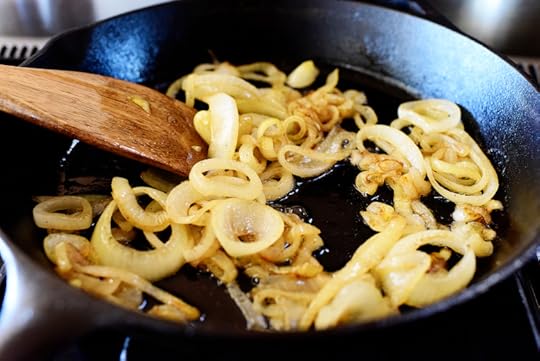 And nice golden brown. This will take a good 20 minutes and a lot of occasional stirring! But mmmm, do they add yumminess to the macaroni dish.
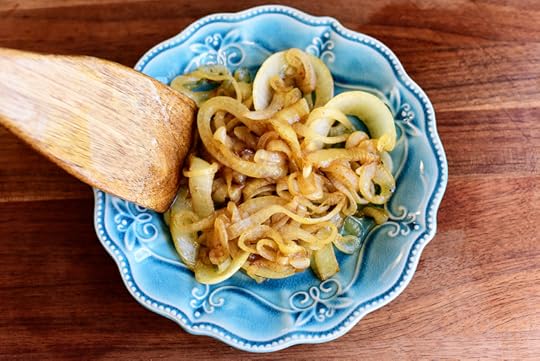 Take ’em out of the skillet and set ’em aside.
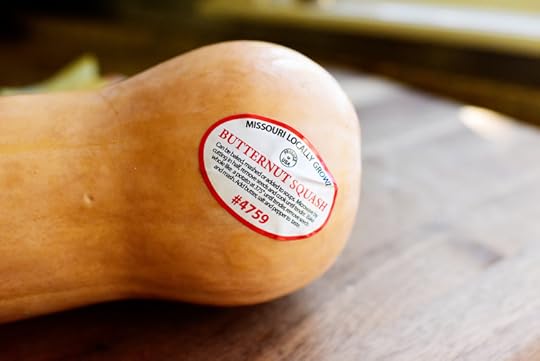 Now, at the same time you’re cooking the onions, you’ll want to roast the squash! Preheat the oven to 400 degrees…
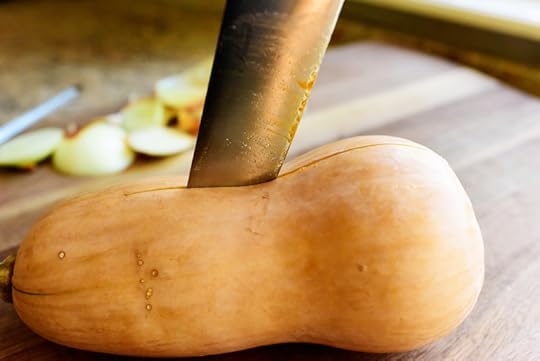 Then stick a knife in the squash…
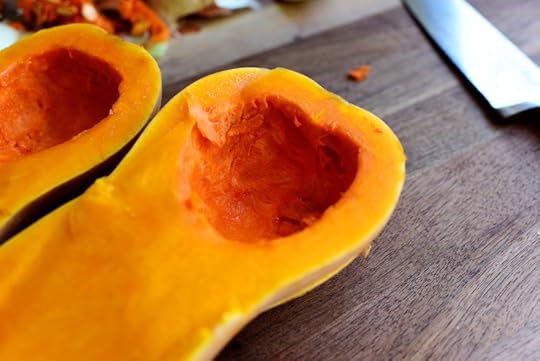
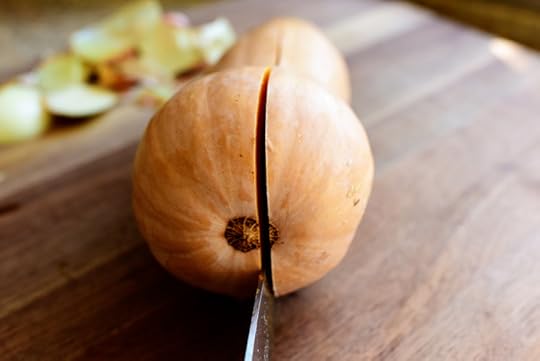 And carefully slice downward to cut it in half lengthwise. Be careful! That rind is awfully tough, man!
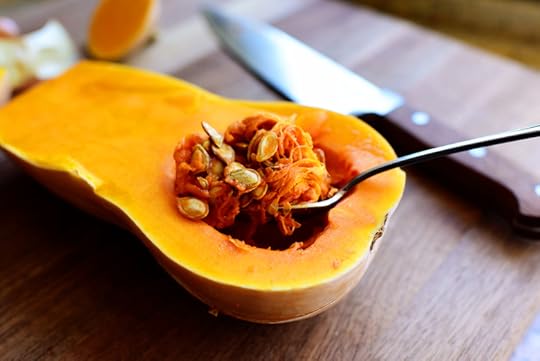 Use a spoon to scoop out all those weird seeds…
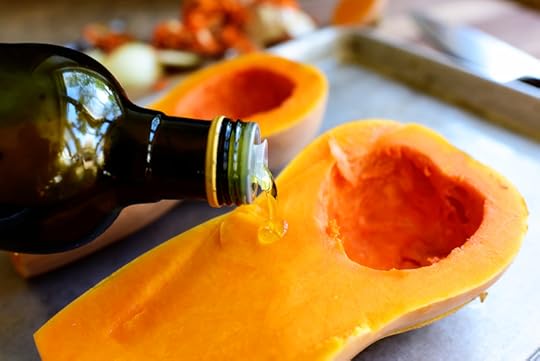
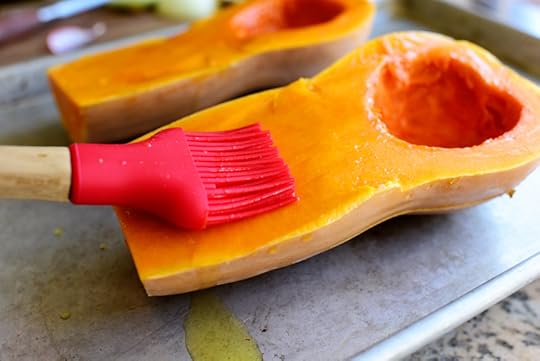
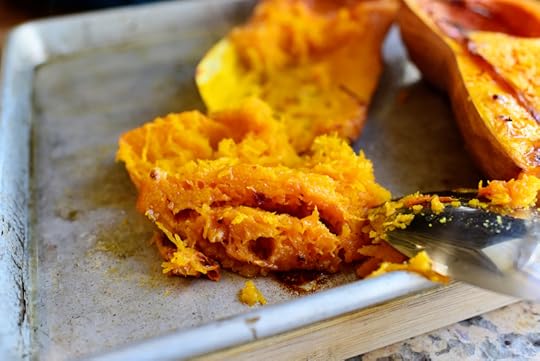
 And roast it for about 20 to 25 minutes, until it’s fork tender. (Note: you only need half of the squash for this recipe! I went ahead and roasted both halves so I can use the rest for a different recipe, or so I can reach into the fridge with a fork and snack on it.)
I love butternut squash!
Oh, and a side note: If you prefer, you can dice up the butternut squash as I do in this post from awhile back, and just saute them in the skillet after you remove the onions. I wanted to roast it to save time (you can roast it while the onions are cooking) and also because I love roasted vegetables more than life itself.
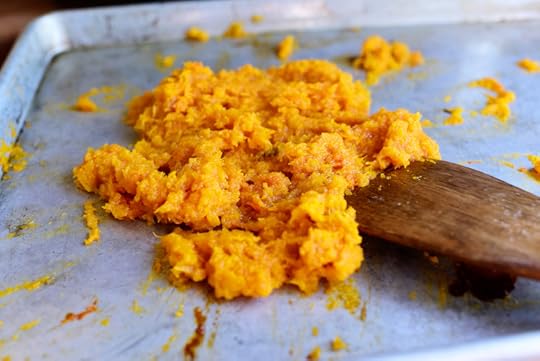 And set this aside till you need it.
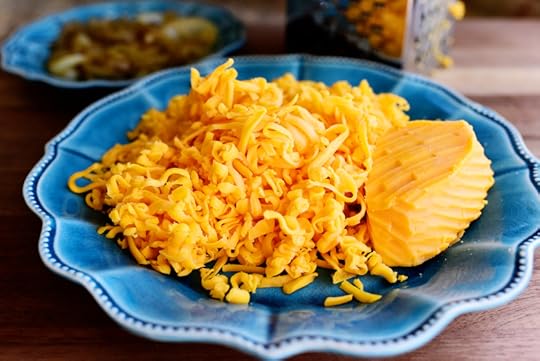 You’ll also want to get a couple of other things ready: A buncha grated sharp cheddar…
 And some macaroni. I cooked it until it was al dente, then drained and rinsed it in cold water to stop the cooking process. Now it’s all ready when I need it!
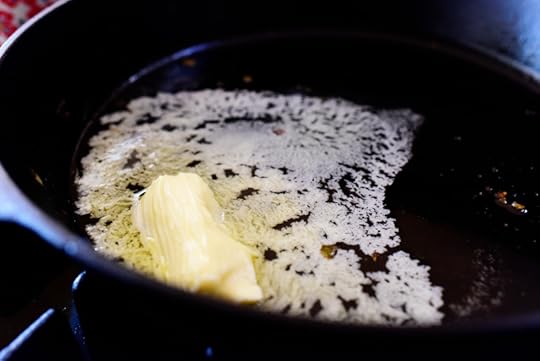 Back to the skillet you used to cook the onions: Melt a little butter…
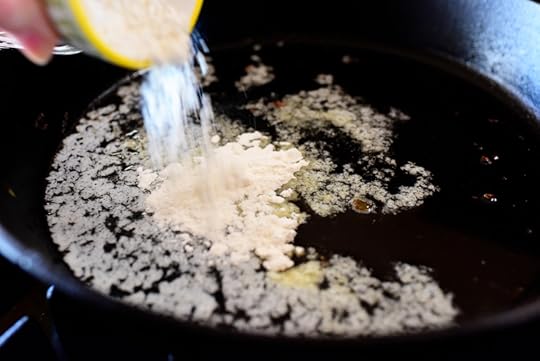
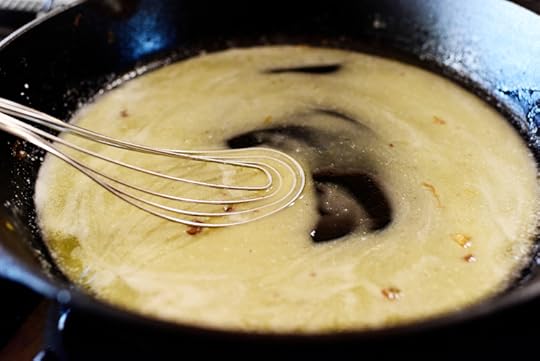 And whisk it into a somewhat thin paste. Cook this for a minute or two, whisking it gently…
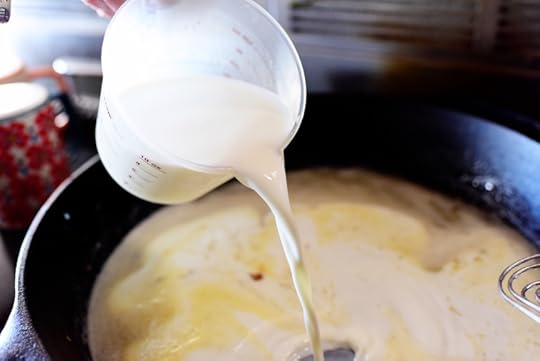
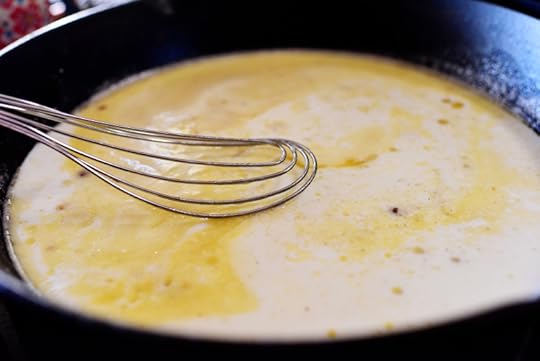 And whisk it in, cooking it for 2 to 3 minutes, until it starts to thicken.
 Season the white sauce with plenty of salt and pepper! A little seasoned salt would be just dandy, too.
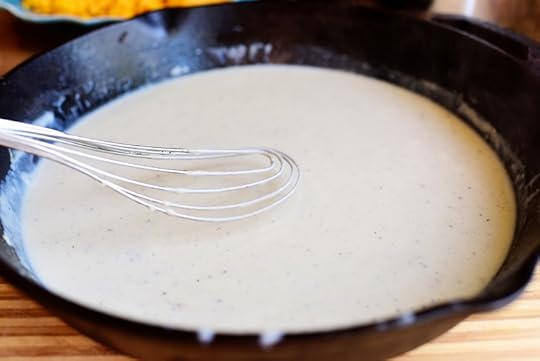 When the sauce is thicker but not overly so…
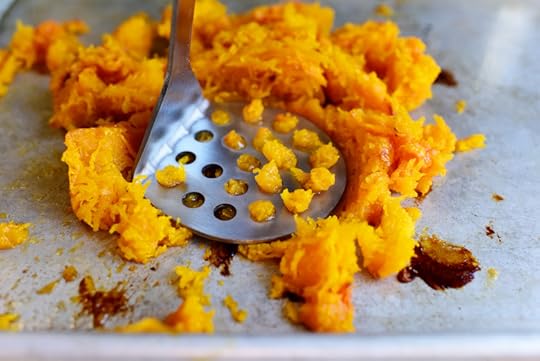
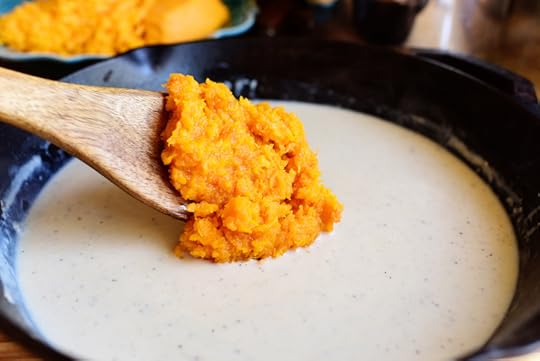 Add the mashed up butternut squash, baby!
Sorry I called you baby. It slips sometimes.
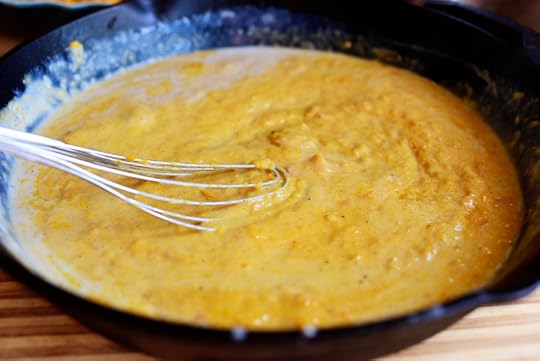 Slowly stir it all into the white sauce. Note that this will look a little weird at first.
 Then, you guessed it: Throw in the grated cheddar!
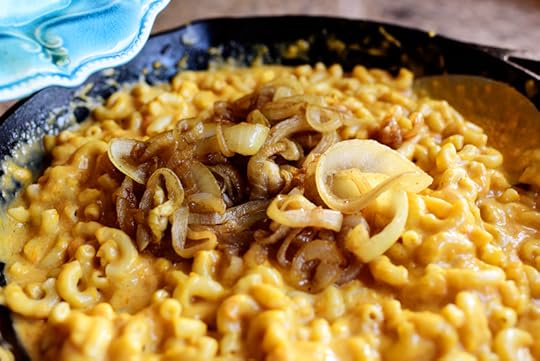 Ooops. It appears I was too swept away in the beauty of the whole ordeal to take a process photo of this, but once the cheese is all melted into the sauce, you’ll want to stir in the cooked macaroni. Once it’s all combined, add in the cooked onions.
 And stir it all together. At this point it’s really important to taste it and add more seasonings—specifically, salt. Butternut squash is not inherently salty, of course, and might require just a little more salt in this dish.
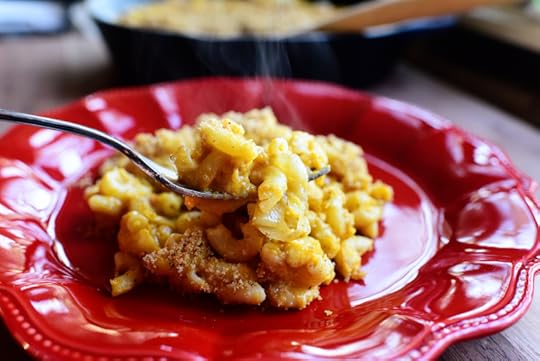
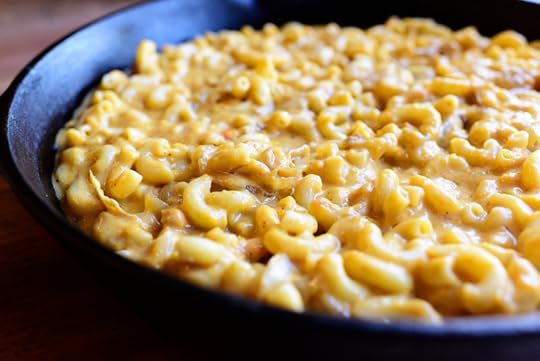 My GARSHK. Will you take a look at that? Now, you could surely just go ahead and serve it/chow down now, but I’m going to top it with some crumbs and bake it.
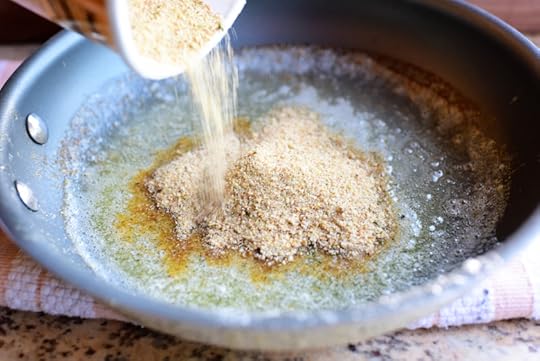 Melt the rest of the stick of butter (I think we have 2 tablespoons left) and throw in some breadcrumbs. These are regular seasoned breadcrumbs. I actually wanted to use panko, but was out!
* Note to self: Go on a supermarket run sometime in the next eleven days. Panko crisis in full effect.
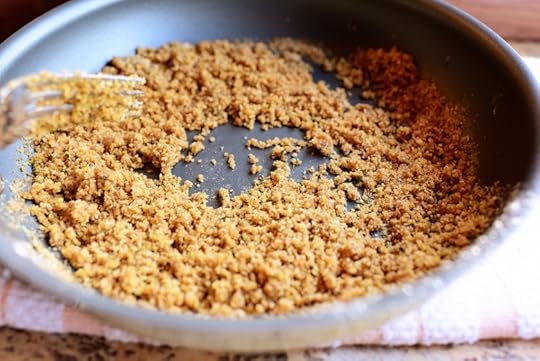 Stir the crumbs and butter together with a fork until they are totally mixed together…
 Then sprinkle them over the top…
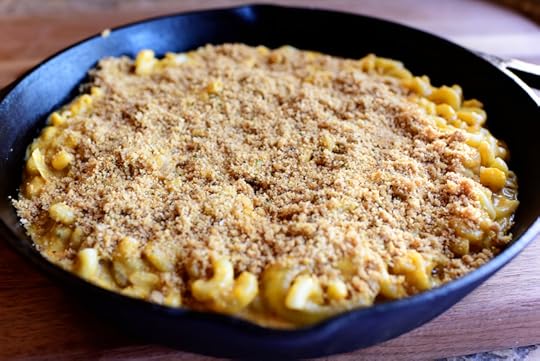 Until they’re a nice, thin, crispy layer. Stick this into the oven for 15 to 20 minutes…
 Until the topping is nice and golden and the edges are bubbly.
Sigh. I love food.
Here’s the handy dandy printable.


October 9, 2015
The Cutest Cookies by Ree
 I received these cookies in the mail as a gift, and they were too amazing not to share on my cooking website! Even though I didn’t cook them. Or bake them! Ha.
They’re from The Plum Peacock, and were sent as a sweet congrats for the launch of my product line.
I’m continually floored by the creativity of cookie artists. There’s Bridget, of course—her cookies are beyond lovely—and so many others.
I’m so glad to know about The Plum Peacock’s amazing work!
Check these out.
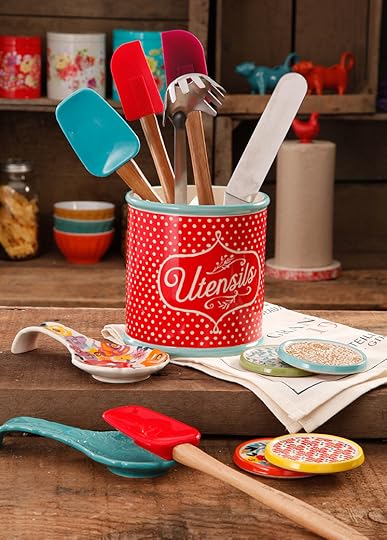 (It’s coming in a couple of weeks!)
(Yes, I’ve eaten two of them. Couldn’t help it.)
Thank you to The Plum Peacock for such a beautiful and very touching gift!
Now if you’ll excuse me, I’m going to go slap some chocolate chip cookie dough on a baking sheet and revel in the creativity of cookie artists.


October 7, 2015
Greek Yogurt Pancakes by Ree
 This is a deliciously direct (directly delicious?) descendant of Edna Mae’s Sour Cream pancakes, which are pretty dadgum hard to beat if you ask me. But since I’m often asked if Greek yogurt can be substituted, and since I often substitute it myself if I’m out of sour cream, I thought I’d post it as a separate recipe in case Greek yogurt is more your poison! I mean ball of wax. I mean preference.
I mean…let’s make pancakes!
 First, whisk together some flour, sugar, baking soda, and salt. Then dance a little jig around the kitchen. I promise it will make the pancakes taste better.
 Place some Greek yogurt in a large bowl and sprinkle in the dry ingredients. Stir it around until just combined. Dance another jig around the kitchen. You’re one step closer to pancakes.
 In a separate bowl, whisk together the eggs and vanilla, then pour them into the bowl with the yogurt mixture. Hold off on the jig for just a sec.
 Stir it all together until everything’s just barely combined. Now attempt The Running Man. Fail miserably if you want to be like me. Don’t care at all if you really want to be like me.
I’m 46 years old. And I still can’t do The Running Man.
 Heat a griddle or skillet over medium-low heat and smear a little butter over the surface. Drop the batter by ¼ cup portions onto the griddle and cook on the first side until bubbles form.
 Flip them to the other side and cook for another minute or so. Any unevenness will settle down and the pancakes will be perfect.
 Pile ’em on a plate and serve ’em with softened butter and warm syrup!
The handy dandy printable is below, but before that, here are a few variations on this recipe, which was a variation of another recipe! I love it when that happens.
Variations
Substitute the plain Greek yogurt for any kind of flavored Greek yogurt (strawberry, blueberry, etc) you’d like.
Add blueberries or chocolate chips to the pancake batter.
Add a dollop of whipped cream to the pancakes to make them extra decadent!
Suggested Sides
Fresh fruit
Fried bacon, sausage, or ham
Breakfast Potatoes
Here’s the handy dandy printable!


September 28, 2015
Rosemary Caprese Skewers by Ree
 A few years ago, my sister-in-law Missy made some adorable skewered appetizers for a baby shower we hosted together. Only she didn’t use regular wood or metal skewers for the skewered appetizers; she used gorgeous, woodsy rosemary sprigs. They completely transformed the appetizer she brought, turning what would otherwise have been described as “delicious” into “absolutely beautiful and delicious” in one simple step. There’s something about that spriggy, lovely rosemary that takes it to a whole other level. I’ve been using rosemary sprigs to spear little bites of meat, cheese, and veggies ever since.
Here’s one of my favorite variations. It combines Missy’s appetizers above…
 With the glory of Caprese Salad…
To make something pretty and tasty. And fun!
Here’s how to make them.
 First, make a plum balsamic glaze: Pour some balsamic into a blender…
 Then add a jar of plum preserves! Or apricot preserves. Or fig preserves. Or any preserves!
 Weird, I know. But I’m weird, too. And two weirds cancel each other out.
 As long as we’re being weird, throw in some brown sugar!
Actually, brown sugar isn’t weird at all. It’s actually quite lovely.
So here’s where we are: the plum preserves/balsamic combo weirdness and my weirdness canceled each other out.
So then we were at zero weirdness.
And since the brown sugar isn’t weird at all, and is actually quite lovely, we’re in the plus column!
I have no idea what I just said.
I blame the supermoon eclipse.
 Blend concoction until it’s totally smooth…
 Pour it into a small saucepan…
 Bring it to a *gentle* boil (much more gentle than this! I almost made a royal mess)…
 Then turn the heat to low and simmer it for about 20 minutes, until it’s thickened a bit. Remove it from the heat and let it cool.
 When the glaze is cool, put some mozzarella balls into a bowl. These are itty bitty ones, but you can get the regular sized balls if you prefer.
You could also just buy a ball of mozzarella and cut it into cubes! Whatever works for your life.
 Sometimes they come marinated, in which case you don’t need to do anything. But if they’re not marinated, you can drizzle them with olive oil…
 Add some red pepper flakes for a little heat…
 Then stir them and let them sit and marinate for a few.
 While they’re marinating, you can assemble the skewers! Grab a bunch of rosemary twigs, strip off the first few leaves down at the bottom of the stalk, then thread on the mozzarella balls and a grape tomato. So pretty!
China Check: “Cowgirl Lace” in Linen. Amen.
 Pour the cooled glaze into a squeeze bottle (or you can just use a little spoon) and drizzle it over the skewers.
 Such a lovely and simple appetizer!
Here’s the handy dandy printable!


September 24, 2015
Risotto with Brussels Sprouts and Browned Butter by Ree
As many of you know, Land O’ Lakes and I have been butter buds for the last several years, and it’s been an incredibly simpatico (considering butter is my life) and super-fun, and tremendously tasty partnership.
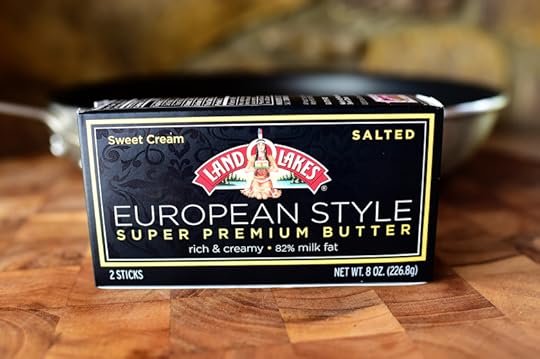 Part of this is that I occasionally get to try new products before they’re released!
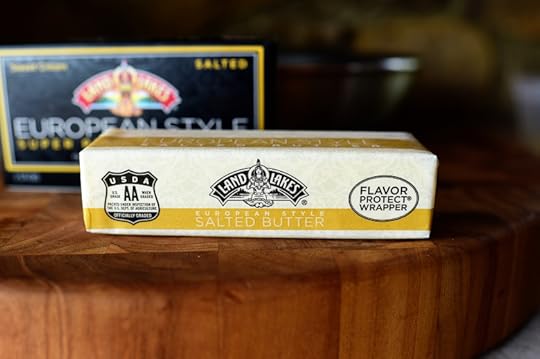 Aside from their regular butter, which I declare perfect, this has to be my favorite one yet. It’s European Style Super Premium Butter…and in a word, it is an absolute treat. It has higher milkfat than regular butter, which makes for a slightly different tasting experience—it’s extra-creamy and flavorful. The first time I tried it, I smeared it on a saltine cracker…and my, oh my, did I enjoy every single bite.
I mean bites.
(I went through several saltines that day!)
When it came to cooking with the new buttah for the first time, I knew I wanted to make something super special. I had just made a batch of chocolate chunk cookies with browned butter in the dough, and that’s when I had the idea for this recipe.
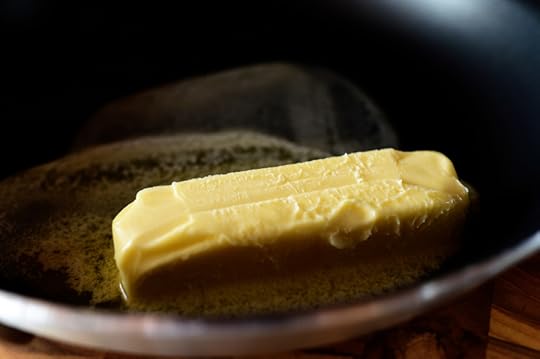 First, brown the butter: Put a stick of the European butter into a large skillet over medium heat. (I used nonstick because it works really well when it comes to browning butter.)
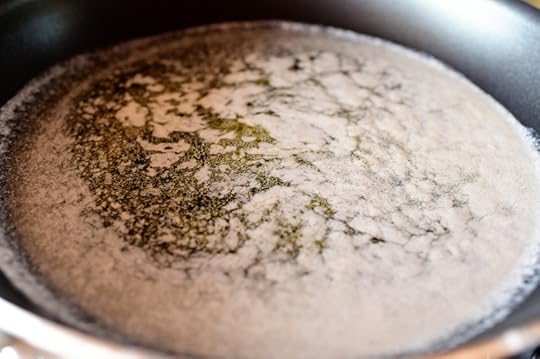 Let it melt completely, then gently swirl it around in the pan a bit and let it continue to heat.
 Slowly but surely (within a minute or so), a foam will form on top and you will start to see a hint of golden color developing. Keep swirling/moving the butter in the pan gently…
 Until you can see that the butter under the foam has turned a nice deep golden color. Don’t let it go too long, as it can burn quickly! But definitely give it a chance to brown, because that’s when the nice, nutty flavor happens.
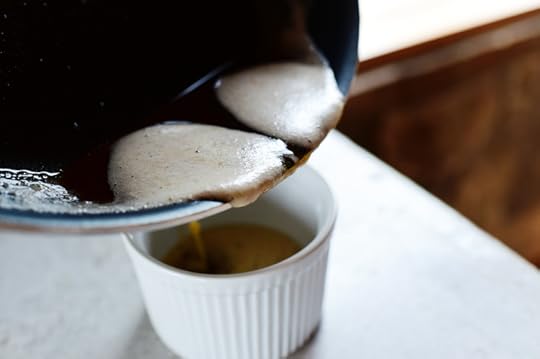 Pour half of the butter into a bowl or ramekin and set aside. Return the same skillet to the stove over medium heat. (Don’t clean the pan or you’ll regret it the rest of your life!)
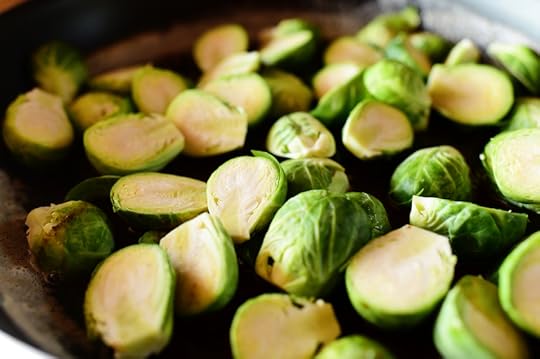 Throw in some Brussels sprouts. These are trimmed and halved; you can do this yourself, or you can find them already prepared in some supermarkets!

Immediately toss them around in the pan and start the cooking process. You’ll see the browned butter that was left in the pan, because it will stick to the sprouts.
Heaven.
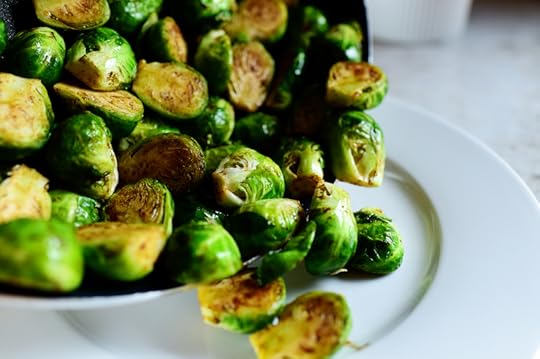
Cook the sprouts in the pan, stirring occasionally, until they’re slightly tender, about 8 minutes. Then pour them on a plate and set them aside.
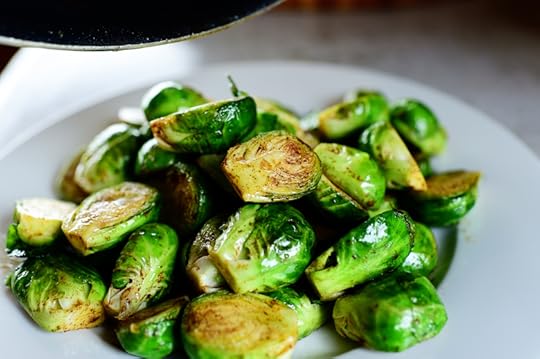 Note that you will probably be tempted to snack on about twelve of the sprouts during the rest of the recipe. This is normal.
Brussels sprouts cooked in browned butter. Is there anything better in the world?
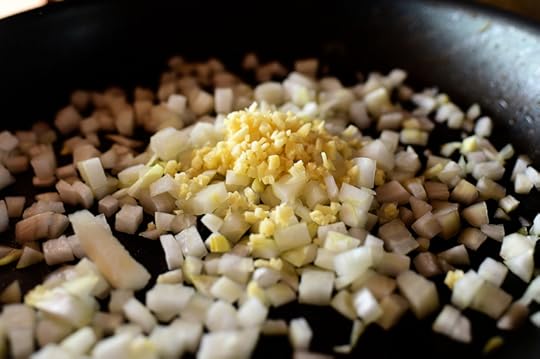 Return the same pan to the stove. Add some onions, garlic and 1 tablespoon of the browned butter. Stir them and cook them for a couple of minutes, until they start to soften.
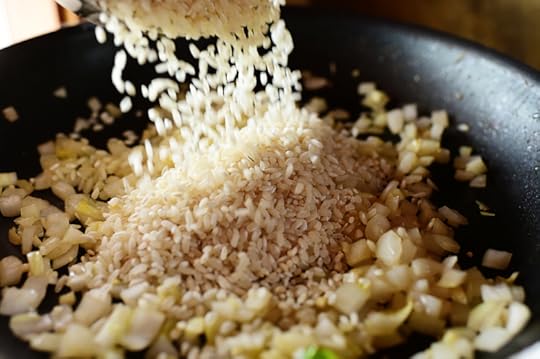 Then pour in the Arborio rice…
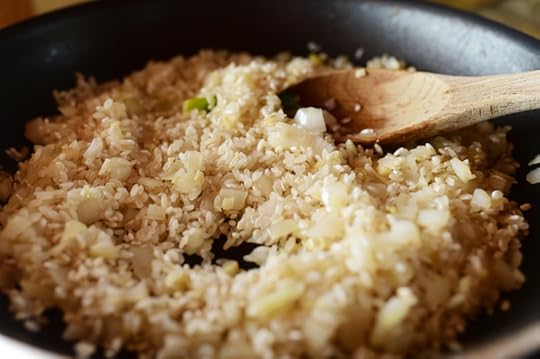 And stir it around to combine it with the onions and garlic.
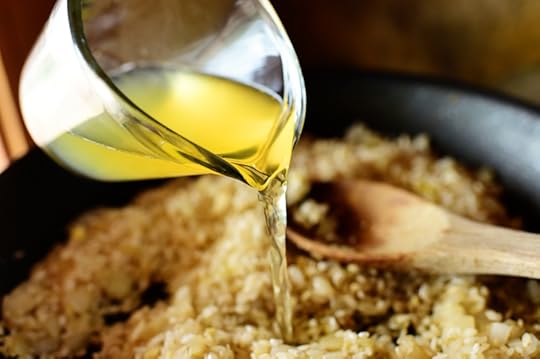
Now it’s time to start adding broth! If you’ve made risotto, you know full well that it is a gradual process that can’t be rushed. And if you’ve eaten risotto…you know that in the end, it’s totally worth it! Add a cup of warmed broth.
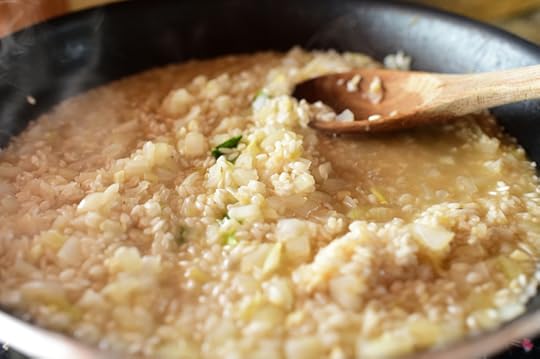
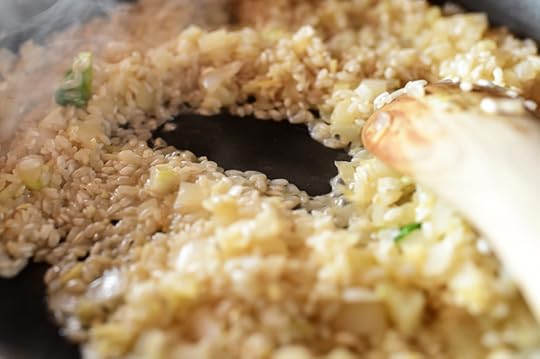 And stir it gently as the rice absorbs the broth, which takes around 2 to 3 minutes. Once you can’t see any more liquid in the pan…
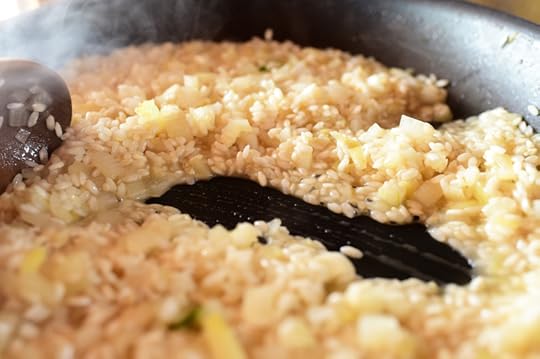 Stir it until it’s absorbed, then repeat the pattern of adding broth, stirring until it’s absorbed, and so on.
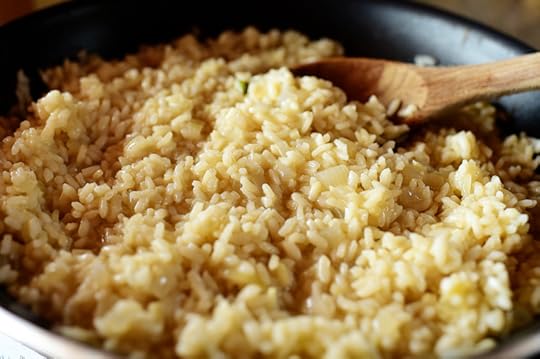 Within 20 to 25 minutes or so, most all of the broth will be absorbed into the rice and the pan will look like a miracle.
But just you wait ‘enry ‘iggins!
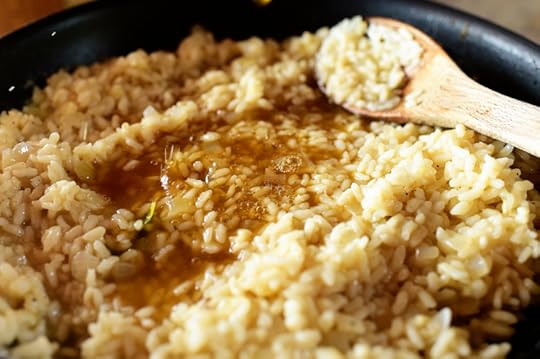 Stir in the final addition of broth…
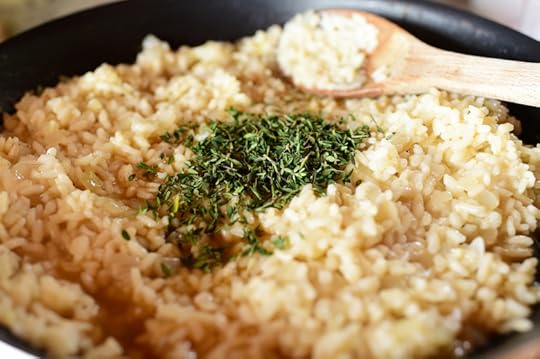 Then add whatever fresh herbs you like. I had fresh thyme, so I stripped off the leaves and threw them into the pan….
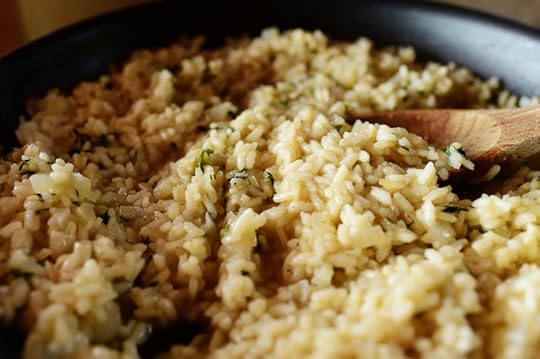
And stirred them in. Delicious, yes?
But wait! There’s still more!
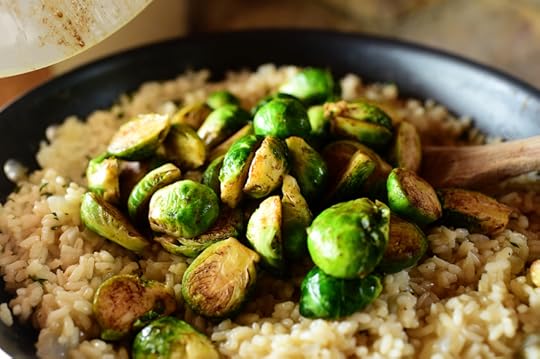 The Brussels sprouts go in now…
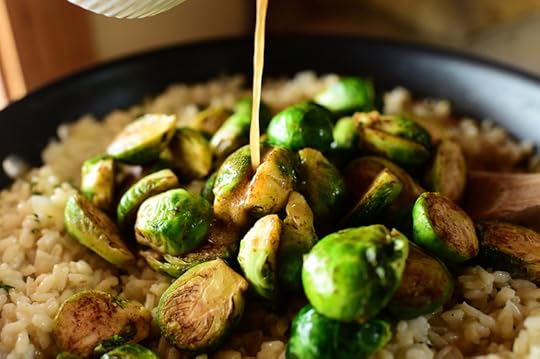 Along with the rest of the browned butter.
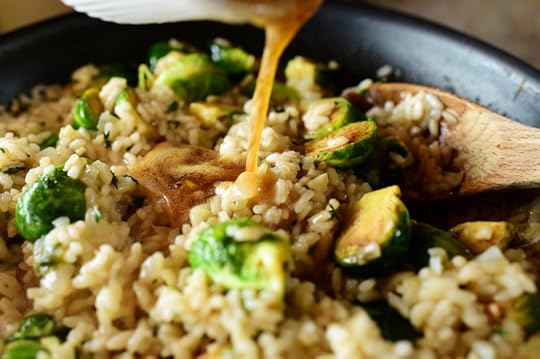 Yes. The rest of the browned butter! Adding it after the risotto’s all done really makes its flavor stand out.
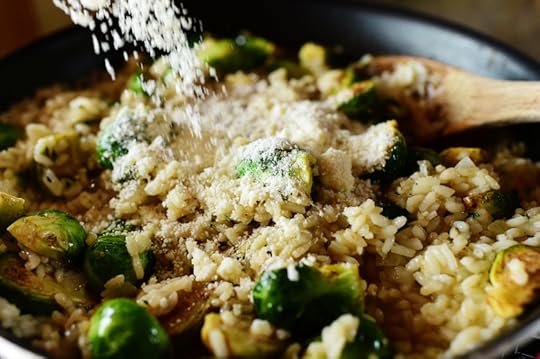
And why not? A little Parmesan wouldn’t hurt.
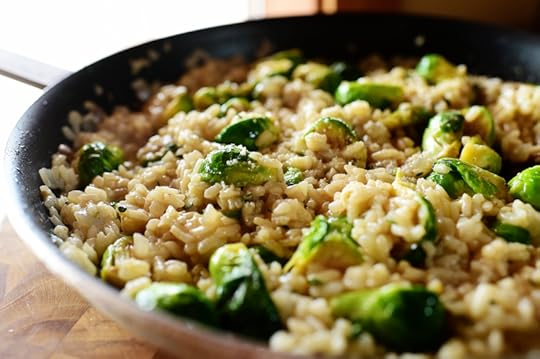 Stir it around…and dinner is served!
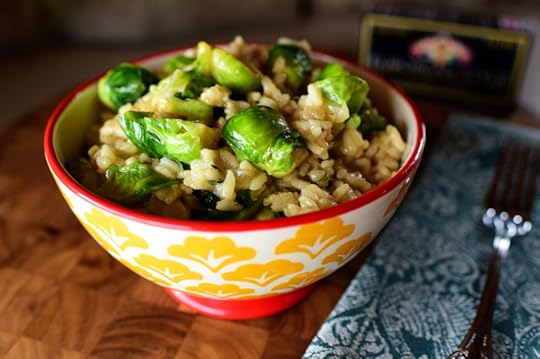 This was utterly, magnificently, unbelievably delicious. I gobbled down every bite and had it for lunch the next day. A true celebration of everything that’s marvelous about butter. And the perfect way to break in my new butter friend!
Note: I have partnered with Land O’Lakes for an exclusive endorsement of Land O Lakes® Butter. This blog post is sponsored by Land O’Lakes.
Here’s the handy dandy printable!


September 21, 2015
Kiwi Pie by Ree
I wanted to make a kiwi pie a few months ago, and on my first try, I pureed the kiwi and integrated it into the pie mixture itself. While I loved the idea and it looked pretty at all, it had a weird, tannic aftertaste that was a little too strong and persistent to be okay. So I tried it again, this time taking the safe route, and declared the new version good to go!
My “safe route” was simply to make my standard key lime pie (which isn’t really key lime pie at all, but that’s another story for another time) and completely cover it with a layer of sliced kiwi. Oh, and then completely cover it with a cloud of billowy whipped cream. Oh, and then sprinkle on plenty of chopped macadamia nuts.
Oh dear, is all I can say.
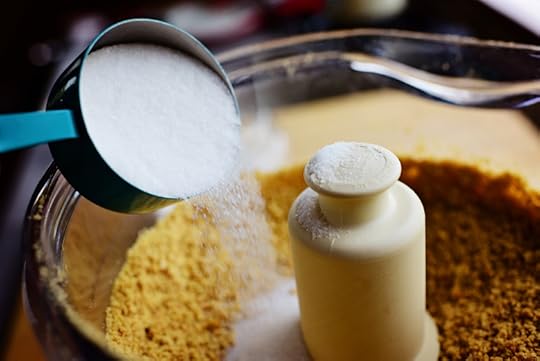
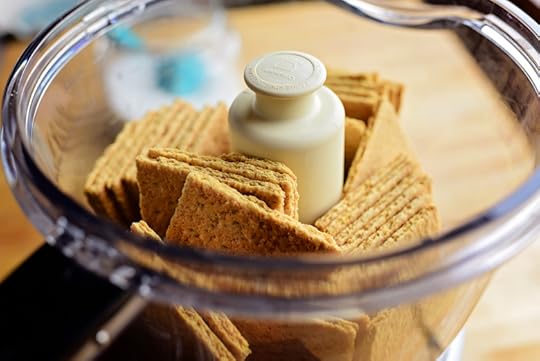 First, make a luscious graham cracker crust! Throw some graham crackers into the bowl of a food processor…
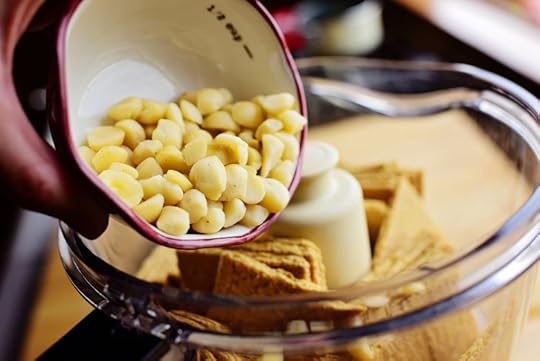 Along with—help me, Rhonda—some macadamia nuts.
I have a question. Are you like me around macadamia nuts in that you can not control yourself in their presence?
Good. I feel less alone.
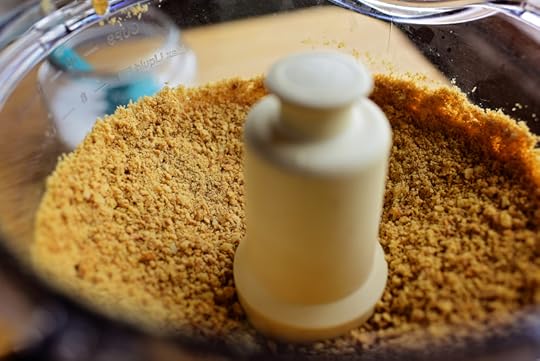 Pulse them until the crumbs are nice and fine…
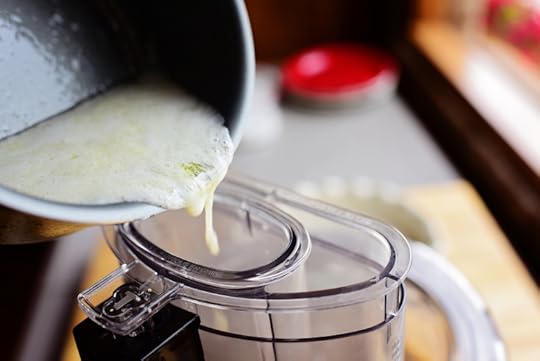 Then pulse everything together while slowly drizzling in melted butter.
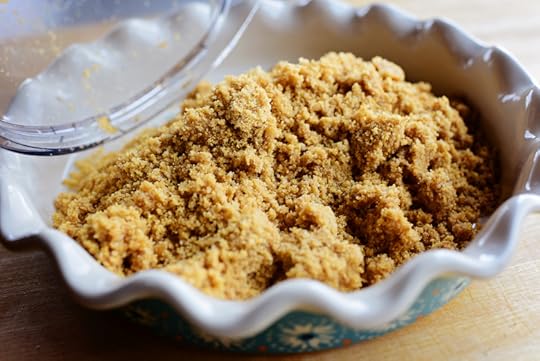 The crumbs should be nice and moist! So just pour them into a pie dish…
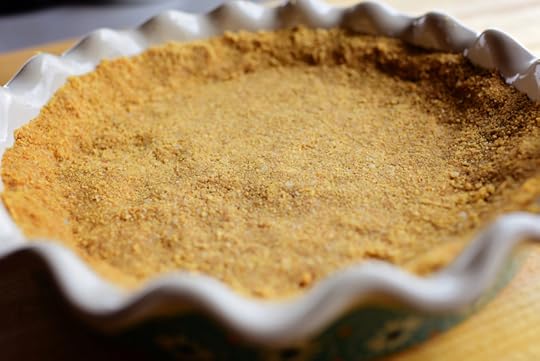 And use your hands/fingers to press it into the bottom and a little up the sides.
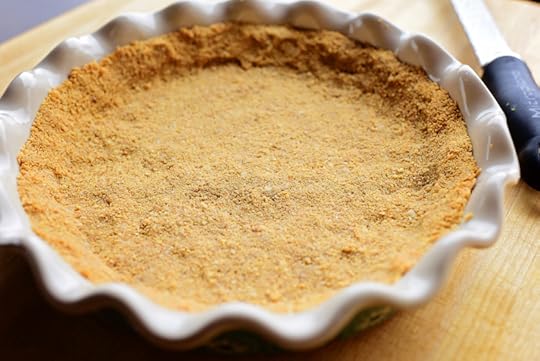 Bake it at 350 for about 5 minutes, until it’s just barely golden and set. Set it aside to cool while you whip up the pie filling.
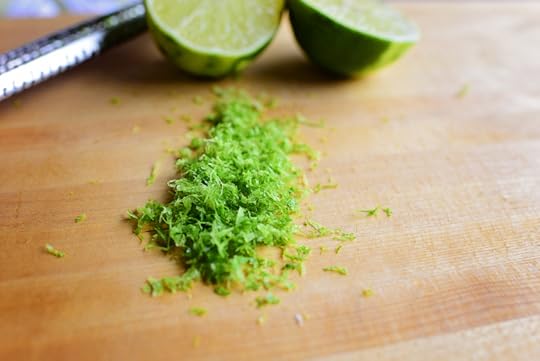
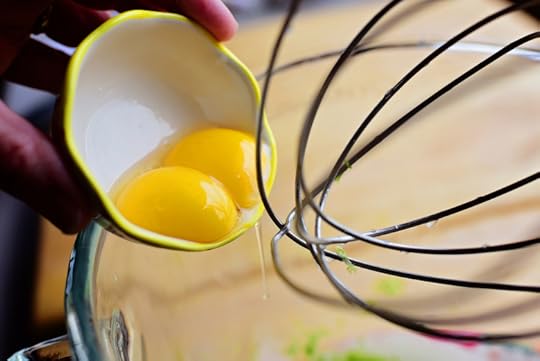
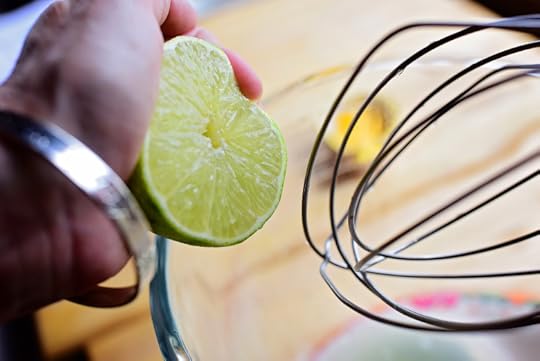 Then add it to the bowl of a mixer with some lime juice…
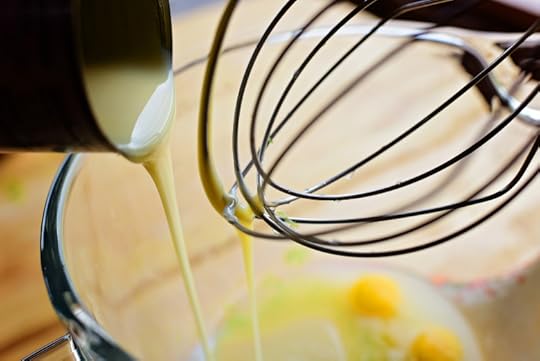 And some sweetened condensed milk.
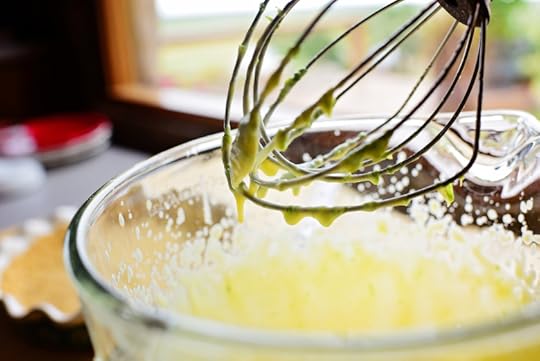 Then just beat it! (Beat it.) Beat it! (Beat it.) Otherwise you’ll never eat it!
(Sorry. I’m overtaken by song sometimes.)
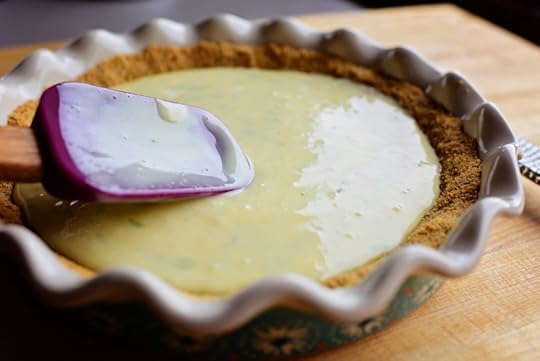
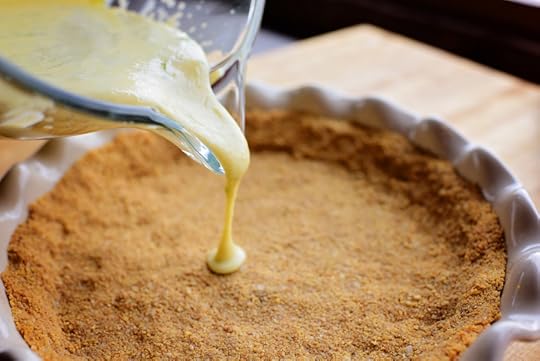 When the mixture is slightly thick…
 And bake it for 15 minutes until set. Then pop the pie into the fridge to let it cool and chill!
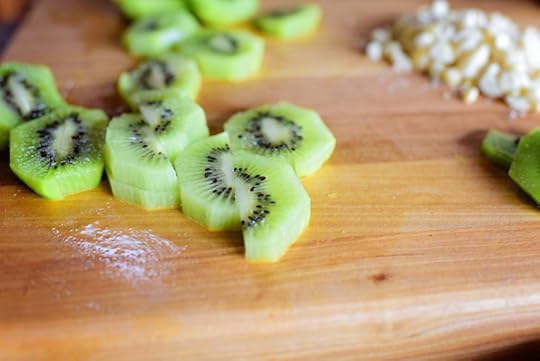
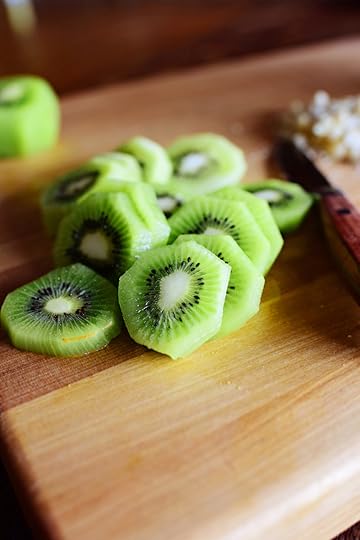 Peel and slice a bunch o’ kiwis…
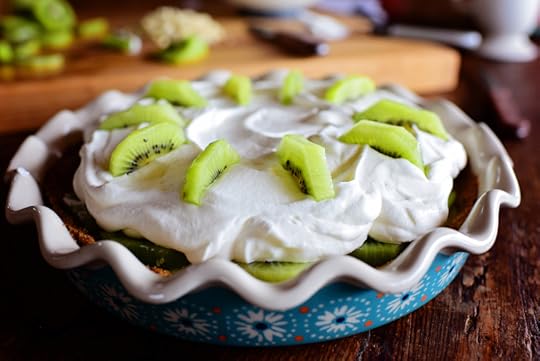
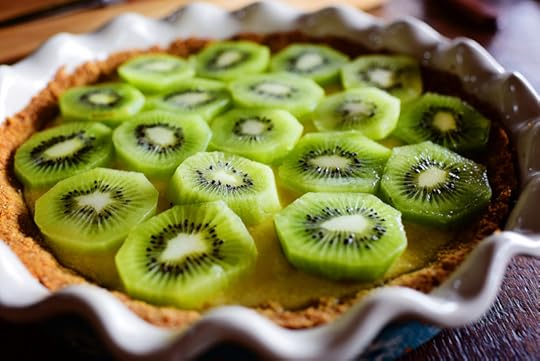 And lay them all over the surface of the pie. (If the kiwi are overly juice, just dab them a bit with paper towels first.) I was going to add a layer of kiwi on top of the crust before I poured on the filling and baked the pie…but I wasn’t sure about that one. So I decided to keep the kiwis fresh and cool.
And also: How beautiful are kiwis? My goodness. Dramatic and striking.
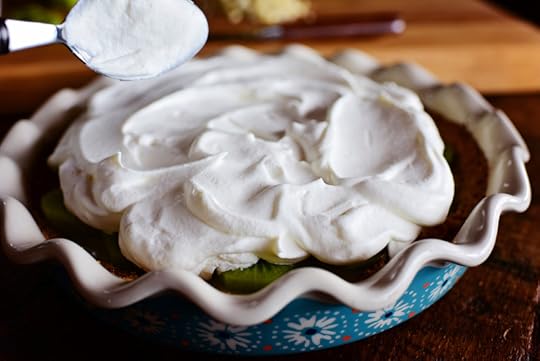 Whip some cream until soft peaks form (maybe a little farther) and plop it right on top of the pie.
 Slice some of the kiwi slices in half…
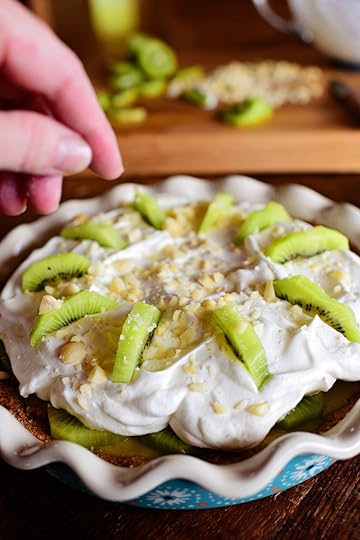 Then sprinkle on some extra macadamia nuts.
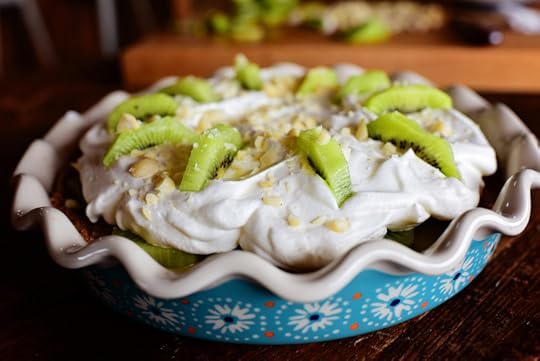 I don’t know what to say, other than this was utterly dreamy. I tasted the macadamia nuts with each bite of pie, and the cool, sliced kiwi really stood out on top of the sweet lime custard.
I loved every single bite!
(All 4,000 of them.)
Here’s the handy dandy printable.


September 16, 2015
Seasoned Buttery Crackers by Ree
Mmmmm. These crackers! These really are delicious and so simple to make. I really don’t know what happens in the oven to make these little numbers so otherworldly…but something definitely does happen. They’re perfect as a snack or with a yummy bowl of soup. Or crumbled on a salad!
Make ’em ASAP.
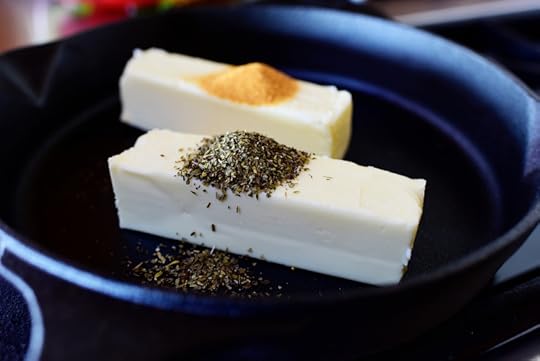 First, do something really crazy-fun: Throw 2 sticks of butter into a skillet and violently sprinkle on whatever seasonings you want! I used seasoned salt (Lawry’s is usually my poison) and good ol’ Italian seasoning, but you can violently sprinkle on anything from lemon pepper to oregano to Montreal seasoning to paprika.
I would definitely recommend that one of the seasonings is some kind of salt blend to the finished crackers are ultra-savory.
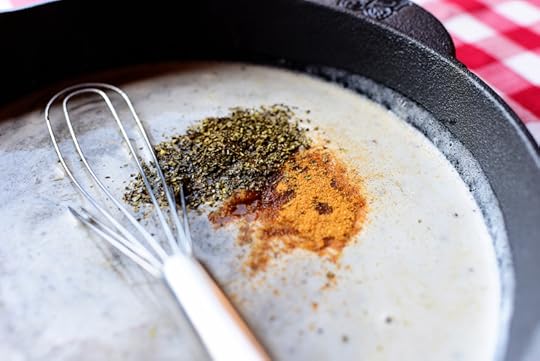 Melt the butter and whisk in the seasonings so they’re all mixed in.
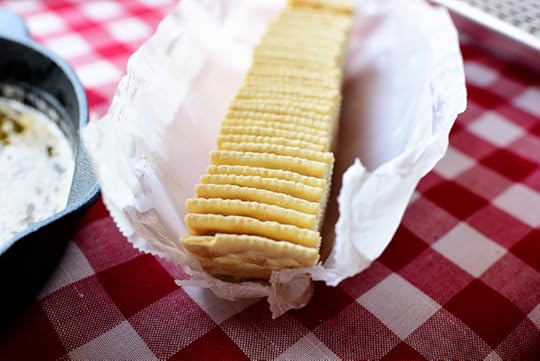 Next, rip open a sleeve o’ saltines…
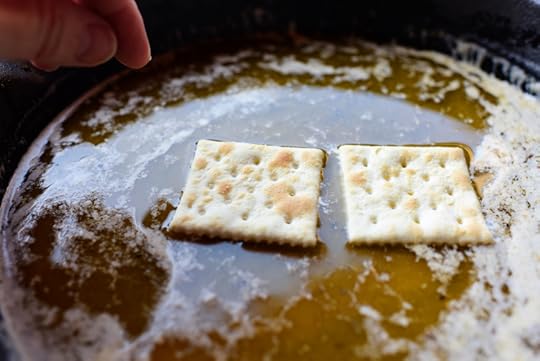 Then, two at a time (I say that because we humans only have two hands; if we had three hands, I would say three at a time. If we had four hands, I would get a lot more sleep at night because I’d get more work done earlier in the day), drop in crackers…
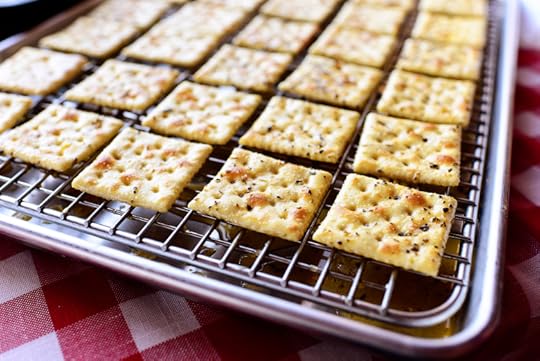 And place them on a rack on top of a baking sheet.
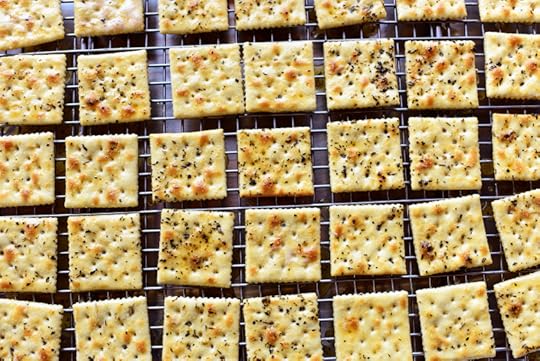 (If you want to cheat and sneak a couple now, I won’t hold it against you. But if you can muster up the patience…oh, man. You will be rewarded.)
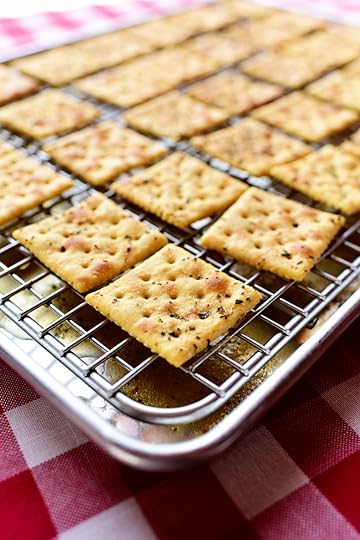 Bake them in a 275-degree oven for about 20 minutes or so, watching them in the last 5 minutes to make sure they don’t start to get too brown. They should be golden and toasty!
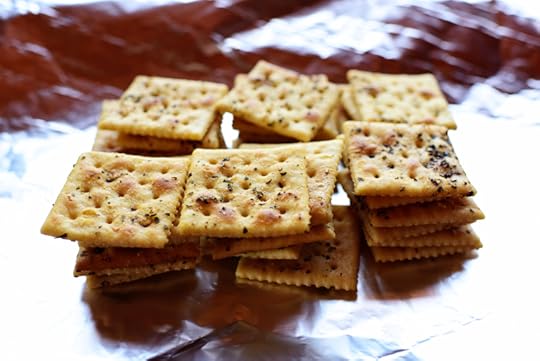 Let them cool completely, then package them in a parcel of foil…
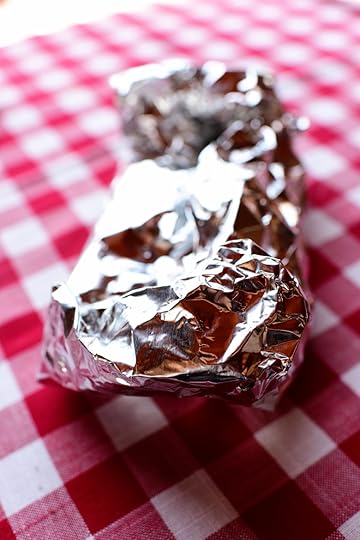 And delivery them to a friend along with a nice pot of soup.
You’ll love these crackers! Simplicity at its finest. And delicious-est.
(I love making up words in the middle of the week.)
Here’s the handy dandy printable!


Ree Drummond's Blog
- Ree Drummond's profile
- 2016 followers


