
Ruth Soukup's Blog, page 118
February 28, 2014
How to Afford Private School on a Budget


Several months ago I shared the news that my husband and I had decided to send our girls back to school rather than homeschool. It was an incredibly difficult decision to make, for so many reasons, but ultimately we decided that–at least for this year–a small private school just a few blocks from our home was the right fit for our family.
Although we were very nervous at first, we honestly couldn’t be happier with the school. The classroom sizes are small—there are only ten children in my oldest daughter’s combined 2nd/3rd grade class—and every child is treated like an individual. With longer school days, fewer kids to compete for the teacher’s attention, and no standardized testing, they have time for both music class and Spanish three times a week, as well as regular PE and even a private violin lesson each week. Although we were afraid she might again wilt like she did in Kindergarten,our daughter has instead blossomed under the guidance of a firm-but-loving teacher who expects nothing less than excellence. It is such an answer to prayers!
While private school may seem like an extravagance, it can actually be far more affordable than you might think. When we began looking into school options we were very surprised at not only the wide range of tuition costs between schools, but the number of scholarships, tax programs, and grants available.
If you are considering a change in your child’s education, these seven practical and field tested options for affording private school on a tight budget are a great place to start.

1. Choose Carefully
Not all private schools are created equal, and tuition rates can vary between schools as much as $5,000-20,000 a year. A more expensive school does not necessarily mean a better school, although it might mean a fancier building, more amenities, and (possibly) a snootier student body.
Take the time to shop around in your quest for the right school. Tour the grounds, talk to the principal, talk to the teachers—particularly the one that will teach your child—and observe them in the classroom, if possible. Pay close attention to where tuition money is being spent. Classrooms and hallways should be bright, cheery, and clean, but needn’t be overly fancy. Cherry paneled walls are not essential for a quality education. Remember that the funds for every bell and whistle have to come from somewhere, so make sure that what the school offers is really what your child needs.
Here are some good questions to ask during a school visit:
How much time is spent on each subject?
What type of fine arts & language courses does the school offer?
What is the school’s educational philosophy or mission?
How does the school handle discipline?
What kind of technology does the school offer?
What sort of library resources are available?
How much homework do children receive?
What sort of extracurricular activities does the school offer?
What sort of math & science programs does the school offer?
Are uniforms required? If so, how much do they cost?
What additional fees and costs should be expected?
What are the tuition costs?
Are there tuition discounts for multiple children?
Are volunteer hours required?
What are the schools greatest accomplishments?
What are the schools greatest challenges?
What is the turnover rate for teachers?
What time do classes start and end?
Is there transportation or busing available for students?
Are payment plans available?
Are scholarships available?
Do you offer any sort of tuition reimbursement programs

2. Apply for Private Scholarships
While scholarship options do vary significantly from state to state, there are a number of nationwide scholarship options available, including those from the Commonweal Foundation (offering scholarships to partner Christian schools), A Better Chance (offering scholarships to low-income children of color), the Jack Kent Cooke Foundation (offering scholarships to low-income high school students), and The Children’s Scholarship Fund (offering scholarships to low-income students in grades K-8).
In addition to these programs, most private schools also offer a large variety of in-house scholarships for students that can help greatly reduce tuition costs, and this is one of the most important questions to ask when considering the different schools in your area. There are even a handful of private schools across the country that offer free tuition!
Additionally, many churches offer tuition assistance to member families who wish to send their children to schools within the same religious affiliation. If you are a member of a local church, definitely inquire with your pastor or church administrator to find out if this is an option.

3. Apply for State Voucher Programs
There are currently no federally funded school voucher programs (though you can always write your Congressman to request this!) but a few states, including Florida, Utah, Arizona, Oklahoma, Louisiana, Mississippi, Wisconsin, Indiana, Ohio, Georgia, and Washington D.C. have established some type of voucher program that provides funds to either low-income or special needs families (or both) for attending the private school of their choice.
The Alliance for School Choice has assembled a comprehensive list with detailed information about the different state voucher currently available.
If your children are younger, many states also offer free preschool programs at the private school of your choice. Our youngest daughter, who is four, currently attends VPK (Voluntary Pre-Kindergarten) at the same school as her sister, but her tuition is paid for by the State of Florida. While Florida’s program is one of the best in the country, more than 40 states currently offer some sort of free or reduced-cost Pre-K program. Your local Pre-K school should be able to provide you with more information on your own state’s program.

4. Take Advantage of State Tax Credit Programs
Several of these same states, including Florida, Utah, Arizona, Oklahoma, Indiana, and Georgia, as well as Iowa, Pennsylvania, New Hampshire, Rhode Island, Virginia, and North Carolina also have set up Tax Credit programs to give parents paying for private school a break on their taxes.
Again, the Alliance for School Choice has also assembled a comprehensive list of all the different state tax programs currently available. If your state is not currently on this list, contact your local state representative to find out how to get a tax program initiated.

5. Negotiate Tuition Rates
It is a little known fact that private school tuition rates are rarely set in stone, especially for schools that may be eager to boost their enrollment rate. During your search for schools, be sure to inquire as to whether there is any wiggle room within the published tuition rates. Many schools have a “cushion,” with room to adjust rates as necessary, particularly if you are thinking of sending more than one child to the school. There may also be a credit available in exchange for a certain number of volunteer hours, so be sure to inquire about this possibility as well!
In addition to negotiating tuition rates themselves, consider negotiating your payment schedule. A lump sum payment of $4,800 is overwhelming for most families, but a 12-month schedule of $400 per month might be more manageable, especially when incorporated into a monthly budget.

6. Take Advantage of Rewards Programs
One way to help offset the tuition costs that may not be covered by grants or scholarships is to take advantage of rewards programs in your everyday spending. Many private schools participate in some sort of tuition reimbursement incentive program (also called TRIP or SCRIP) that gives tuition reimbursement when you purchase gift cards through the school.
Here is how it works: Parents (or even grandparents and other friends and family members) may purchase a gift card or gift cards for participating gas stations, restaurants, retail stores, or even grocery stores. The cards are usually purchased directly from the school. The participating retailers then give a certain percentage of the gift card amount back to the school, and the school passes those savings (usually between 5-10%) on to the family in the form of tuition reduction. Thus, say you normally spend $400 per month on groceries and another $200 in gas. If you purchase gift cards for your gas station and grocery store you could get up to $60 off your tuition for that month.
TRIP programs vary a lot from school to school, so be sure to ask what sort of reimbursement programs are offered when you do your school visit.
Credit card reward programs that offer cash back on purchases can also be a good way to earn money back on everyday purchases. But please remember that running a credit card balance and paying interest will negate any rewards earned, so ONLY use this if you are 100% diligent about paying off the balance in full each month!

7. Get Family Assistance
You may want to consider having a sit down with your parents, grandparents, or any other close-knit family members to see if they might be willing to assist with private school tuition. Many grandparents or even aunts and uncles are eager to shower their grandchildren or nieces and nephews with toys and clothes, but don’t always think about offering something more long lasting, such as contributing towards a private school education.
Obviously every family’s financial situation is different and this may not be a viable option for everyone, but even if family members are not able to contribute regularly, you can explain that you would be very grateful for tuition assistance in lieu of birthday or Christmas gifts. If they are not comfortable with paying for school itself, perhaps they would be willing to help with other expenses or needs, such as transportation (if the school doesn’t have a bus system) or uniform costs.
* * *
Private school may not be for everyone, and is certainly NOT the only option when it comes to providing a great education for your child! Depending on your school district, there may be charter schools, virtual schools, and or other great public school options available. Furthermore, homeschooling can also be a very cost-effective alternative to traditional school, and great sites like Free Homeschool Deals and How to Homeschool for Free help prove just how affordable it can be. That said, if you are looking to make a change in your child’s schooling, don’t automatically rule out private school because you think it is too expensive. It may take a little effort to come up with a plan, but it could also be more affordable than you know!

* * *
Is private school something you’ve considered? Why or why not? How do you save on school expenses?
Pin It
The post How to Afford Private School on a Budget appeared first on Living Well Spending Less™.


February 27, 2014
Thrifty Thursday {Week 49}


Happy Thursday everyone! It is hard to believe but next week will be a WHOLE YEAR since Thrifty Thursday began! (Yes, I know there are 52 weeks in a year, but we took a week off at Thanksgiving and then another one off at Christmas, which makes Week #50 the one year mark!) I don’t know about you, but I think such a big milestone deserves a celebration, so be sure to come back NEXT week to see what I have planned just for you!
Here are the most clicked links from last week:

1. Mums Make Lists {10 Ways to Slash Grocery Bills}
2. Aspired Living {A Truly Frugally Organized Pantry}
3. Purposely Frugal {5 Frugal Things }
4. Mission to Save {Repurpose Jars }
5. The Budget Mama {How to Stretch Your Clothing Budget}
6. An Inviting Home {A Space She Truly Loves}
7. Six Figures Under{Can I Really Make Money on Etsy?}
8. Taylor Made Ranch {Take a Bite Out of the Grocery Budget}
9. Creative Savings {Homemade Condensed Cream of Chicken Soup}
10. Frugality Gal {7 Ways to Recycle Used Coffee Grounds}
Never linked up to a party before? Here’s how:
Scroll down, find the little blue “Add your Link” Button and click on that.
Follow the instructions on the next page – add a great image of your project and an interesting title. Make sure you link to the direct page of your budget friendly post – not the main page of your blog!
Try to visit at least a few other blogs at the party. Be sure to leave a comment to let them know you stopped by!
Please link back to this post somehow. There are badges available here; a simple text link is just fine too.
 Feel free to tweet about Thrifty Thursday so others can join the fun, and don’t forget to check back here Sunday morning to see which posts have been featured this week!
Finally, if this is your first time here I also invite you to check out my eBook, How to Blog for Profit (Without Selling Your Soul). It has more than 100 five-star reviews on Amazon, and it is a fantastic resource if you are interested in building your blog, getting more traffic, or learning how to monetize.
An InLinkz Link-up
Pin It
The post Thrifty Thursday {Week 49} appeared first on Living Well Spending Less™.
February 26, 2014
Orange Almond Poppyseed Loaf


There are plenty of wonderful recipes out there that are downright delicious. And then there are those rare treats that rise above “delicious” to some exclusive higher category, officially known as “Food Crack.” Like a drug, you know it counts as food crack when no matter how much you eat, you just can’t get enough, (even when you know it might kill you in the end!)
This recipe, my friends, is Food Crack at its very best.
I got the recipe from my dear friend Debbie who makes dozens of loaves every Christmas to give away to her friends and family. She is well known and much beloved for this effort, so I was, quite frankly, amazed when she agreed to share her special recipe with me so that I could share it with you all.
All she said was, “Food this good needs to be shared.”
Debbie, you rock. And amen to that!

Here is what you need:
3 cups all-purpose flour
2 1/4 cups sugar
1 1/2 teaspoons baking powder
1 1/2 teaspoons salt
1 1/2 teaspoons poppyseeds
3 eggs
1 1/2 cups milk
1 1/8 C. veg. oil
1 1/2 teaspoons almond extract
1 1/2 teaspoons butter extract
1 1/2 teaspoons vanilla extract
Glaze
3/4 cups sugar
1/4 cups orange juice
1/2 teaspoons almond extract
1/2 teaspoons butter extract
1/2 teaspoons vanilla extract

Step 1: Mix together flour, sugar, baking powder, salt, and poppyseeds together in bowl; set aside.

Step 2: In separate mixing bowl, whisk eggs, milk, oil, and extracts until eggs are well blended.
Step 3: Add dry ingredients to the egg mixture and blend well, scraping sides and bottoms of bowl, but do not over mix.

Step 4: Pour into 2 greased loaf pans; bake at 350 degrees for 55-60 minutes.

Step 5: To make glaze, mix all glaze ingredients in small saucepan; heat until sugar is dissolved. Remove from heat and let thicken for a few minutes, then brush over cooled loaves, making sure to get plenty of glaze in the “crack” of the bread.

Print This!
Recipe: Orange Almond Poppyseed Bread
Summary: The combination of almonds and poppyseeds along with the orange glaze make this bread full of flavor and super moist!
Ingredients
3 cups all-purpose flour
2 1/4 cups sugar
1 1/2 teaspoons baking powder
1 1/2 teaspoons salt
1 1/2 teaspoons poppyseeds
3 eggs
1 1/2 cups milk
1 1/8 C. veg. oil
1 1/2 teaspoons almond extract
1 1/2 teaspoons butter extract
1 1/2 teaspoons vanilla extract
Glaze
3/4 cups sugar
1/4 cups orange juice
1/2 teaspoons almond extract
1/2 teaspoons butter extract
1/2 teaspoons vanilla extract
Instructions
Mix together flour, sugar, baking powder, salt, and poppyseeds together in bowl; set aside.
In separate mixing bowl, whisk eggs, milk, oil, and extracts until eggs are well blended.
Add dry ingredients to the egg mixture and blend well, scraping sides and bottoms of bowl, but do not over mix.
Pour into 2 greased loaf pans; bake at 350 degrees for 55-60 minutes.
To make glaze, mix all glaze ingredients in small saucepan; heat until sugar is dissolved. Remove from heat and let thicken for a few minutes, then brush over cooled loaves, making sure to get plenty of glaze in the “crack” of the bread.
Preparation time: 5-10 minutes
Cooking time: 55-60 minutes
Number of servings (yield): 24
* * *
What’s your favorite “Food Crack”?
Pin It
The post Orange Almond Poppyseed Loaf appeared first on Living Well Spending Less™.
February 25, 2014
How to Balance Motherhood and Ambition


A couple of weeks I wrote about the experience of accomplishing a lifelong dream, and more specifically, what it truly takes to make a dream come true. As I explained in that post, there is a whole lot of hard work and sacrifice involved in pursuing a dream. It means making difficult choices and a willingness to believe in yourself even when no one else does.
As excited as I am about reaching this milestone, as a mom of two young girls, the unspoken question that often remains in my own head is this: Does pursuing my own dream make me selfish?
I don’t think I’m alone. Honestly, I think many of us struggle with that very dilemma. How do we balance our ambition as people with our responsibilities as wives and mothers? When is it okay to push towards our own goals, and when should we hold back? When is it okay to be selfish, and when are we supposed to be selfless?
If only there were an easy answer.
The truth is that motherhood often comes with a strong dose of guilt. We feel guilty when we don’t spend enough time with our kids. We feel guilty when we spend too much time with them and not enough time on things like housework or meal-planning. We feel guilty for working. We feel guilty for staying home. We feel guilty for being too strict. We feel guilty for giving in. And sometimes we feel guilty for pursuing our own dreams and ambitions because it might mean we can’t also meet standard of the perfect mom we’ve set out to be.
But here’s a little secret we all need to know: None of us are Superwoman.
The reality is that nobody can do it all, and the ones who pretend they can are probably lying. There simply aren’t enough hours in the day. We all get the same 24 hours, which means that no matter what we do in life, we will be faced with choices.
So how do we make sure we have chosen the right path? How do we know our priorities are in order? Ultimately, I think we are all a work in progress, subject to continual re-assessment and self-reflection, but there are a few things that have really helped me along the way. They might just help you too:
{Continue reading at The Better Mom}

* * *
How do you find balance between caring for your family and pursuing your own dreams?
Pin It
The post How to Balance Motherhood and Ambition appeared first on Living Well Spending Less™.
February 24, 2014
7 Easy Tips for Freezer Cooking Like a Pro


If you have never tried freezer cooking before, let me just start by telling you that there is almost nothing in life quite as satisfying as knowing you have a whole freezer full of meals all ready to go. I’m almost a little embarrassed to admit it, but sometimes after I have finished a freezer cooking session I will open my freezer and just stare lovingly at all my pretty bags full of food all ready to go.
And every time I do a freezer cooking session, I also think, wow, this is SO easy! I should really do it more often!
The truth is that freezer cooking is actually much easier and can take far less time than you might think, and just one productive Saturday morning could save you a whole month’s worth of dinner hassle. And I don’t know about you, but between the homework and the meetings and extracurricular activities that we have all week long, it sure is nice to not have to think too hard about dinner every single night.
While there are whole websites devoted solely to the art of freezer cooking, I think sometimes so much information all at once can be overwhelming if you’ve never tried freezer cooking before! Instead, I thought today I’d share the seven most important tips I’ve learned along the way that will have you freezer cooking like a pro in no time.

1. Plan ahead
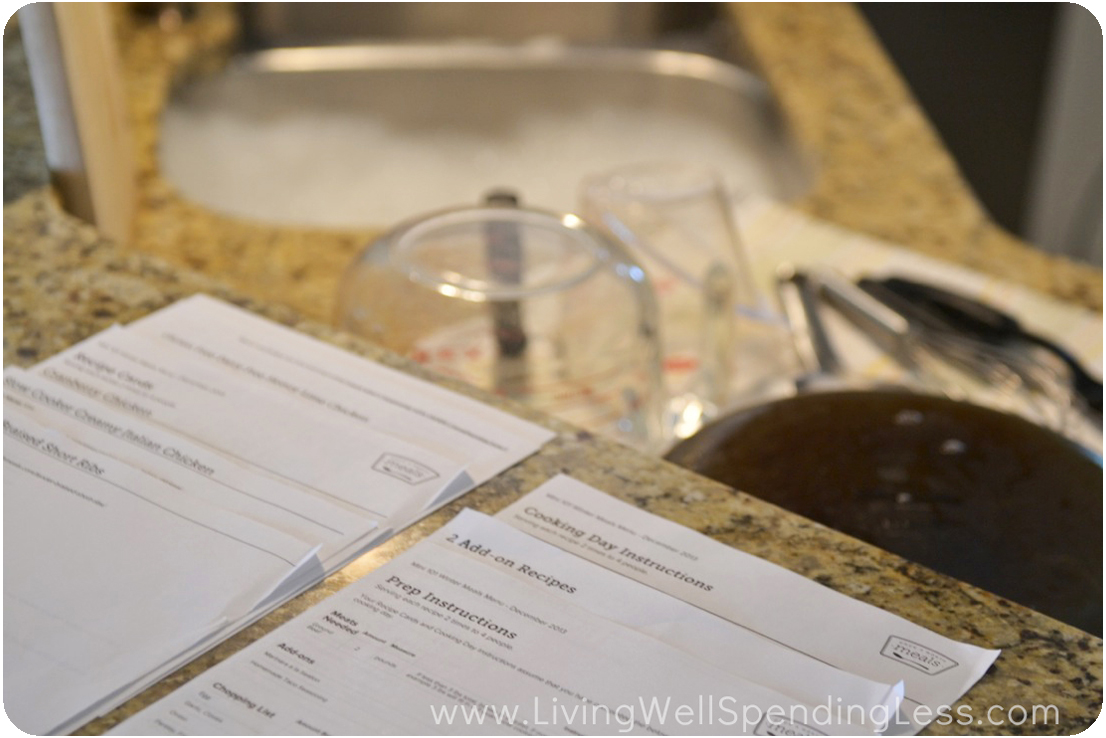
There are many times in the kitchen where just winging it works just fine. I have learned the hard way that freezer cooking is NOT one of those times! A well thought out plan will make (or break) your freezer cooking day. Your plan should include:
A list of the recipes you plan to make
A grocery list of all the food & supplies you will need
A prep sheet of all the tasks you will need to complete before you begin your cooking day
A step-by-step action plan for assembling your recipes on cooking day
Cooking instructions for all your recipes
If creating a plan like this on your own seems too overwhelming you can try using a freezer cooking website such as Once a Month Meals, which provides a huge variety of freezer cooking recipe menus as well as corresponding grocery lists, prep sheets, action plans, and cooking instructions. I have personally used this paid service multiple times and I really like it.
Another important part of planning ahead is making sure your kitchen is ready to go! Make sure your counters are clear, your dishwasher is empty, and all your pots, pans, mixing bowls, and measuring spoons are clean.

2. Don’t grocery shop and cook on the same day
I don’t know about you, but by the time I have gone to the grocery store, loaded my bags into the car, hauled them into the house and put everything away, the LAST thing I feel like doing is cooking for four hours! Do yourself a favor and split up your shopping day and cooking day. For my freezer cooking sessions, I will usually do my grocery run on Friday afternoon after I’m done working and then wake up bright and early Saturday morning ready to get started. With so much renewed energy, I find that I am almost always done before noon!
3. Don’t overdo it
While it might be tempting to go BIG for your first freezer cooking session and knock out 30 meals in one marathon day, you might also be setting yourself up for failure. Cooking multiple meals at one time can very easily become chaotic and overwhelming, especially if you have never done it before. Furthermore, the last thing you want to do is buy 30 meals worth of food, only to discover that your husband or kids HATE freezer meals.
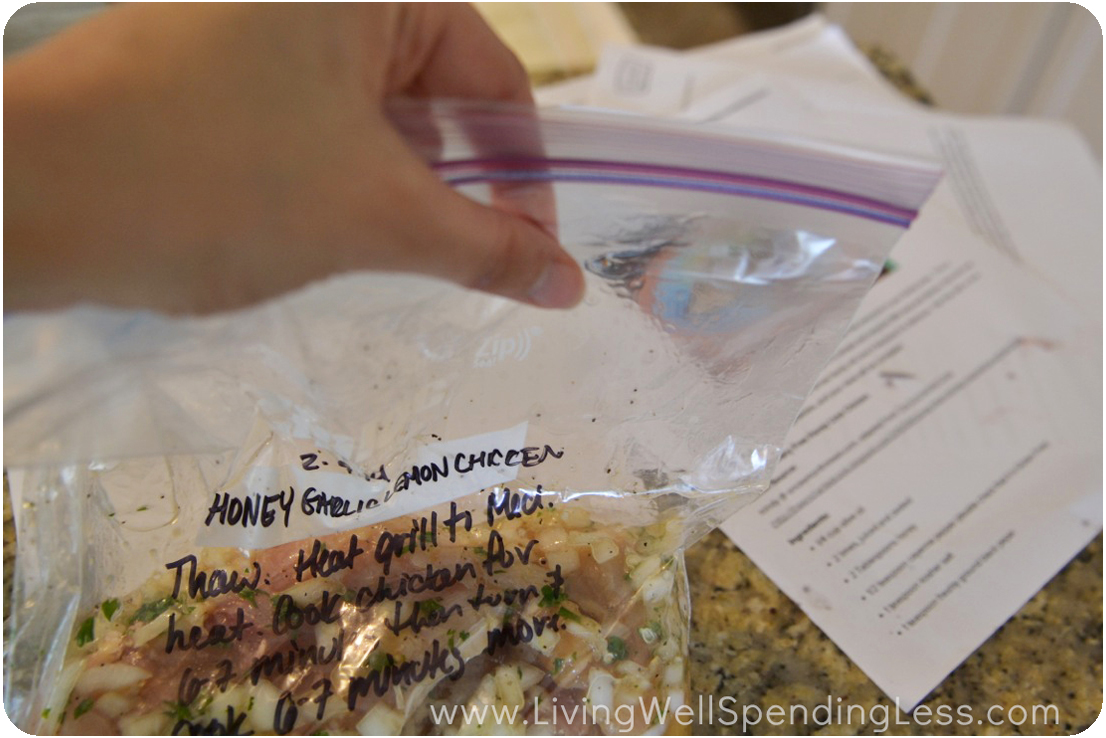
A better solution is to test the waters by trying a mini session of 3-5 different recipes that will make you 6-10 meals and help you get used to the process of planning, shopping, prepping, and cooking, as well as let your family try out the food. (For the session pictured, I used most of the Mini 101 Winter Recipes Plan, but substituted a honey garlic lemon chicken recipe for the meatballs.)
4. Pick “cheater” recipes
My own personal freezer cooking strategy is to pick as many “no cook” meals as possible. These recipes basically involve dumping all your ingredients into a Ziploc bag, slapping on a label and instructions, and sticking them in the freezer until you are ready to use them, at which point you dump the contents into your crockpot and let it cook on low all day. Friends, it doesn’t get much better than that! As little work as possible on cooking day, then just as little effort on the day it is served!

5. Work in phases
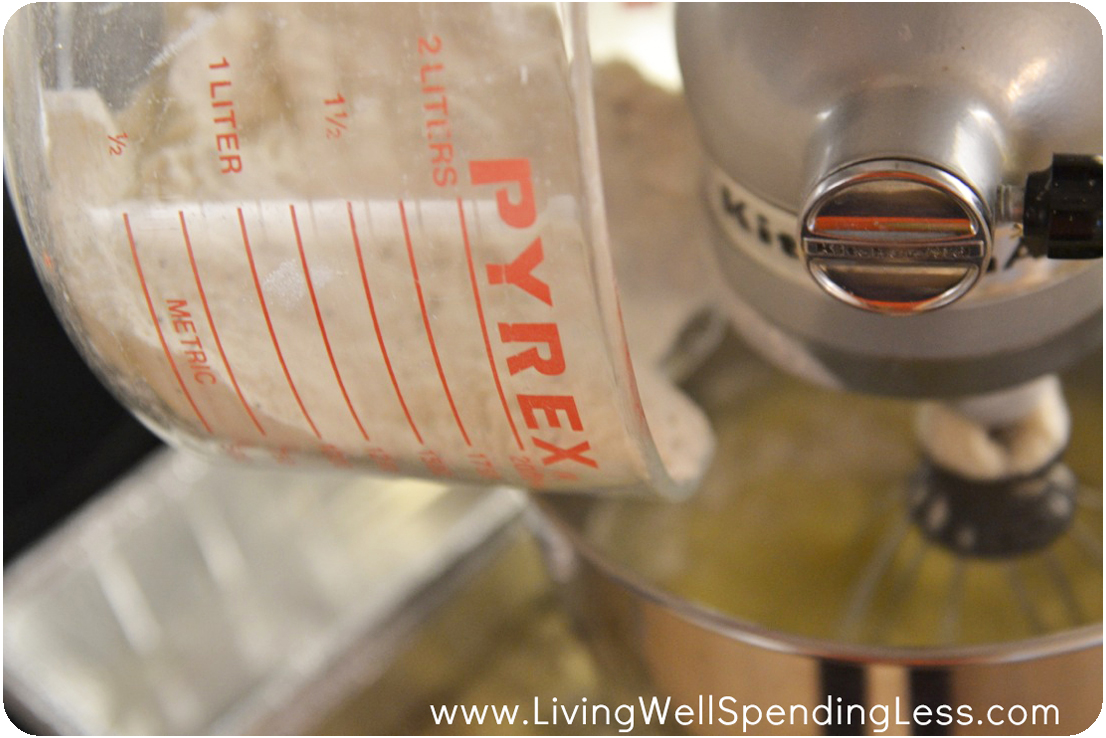
The whole point of freezer cooking, well aside from having a freezer full of meals, is to do as much of your work in bulk as possible in order to get the maximum gain for the minimum amount of effort. This means that instead of making one recipe at a time, you work on multiple recipes at once, first chopping all your vegetables and prepping your meats. Once all the prep work is done, assembling the actual recipes is a piece of cake!
For people who are very methodical and like to complete one project before starting another (i.e. my husband!) cooking in phases–and often creating a giant mess in the process–can be a little daunting. If this sounds like you, try to tell yourself that this type of cooking is a process and method all its own. Just follow the plan and it will all be okay in the end.
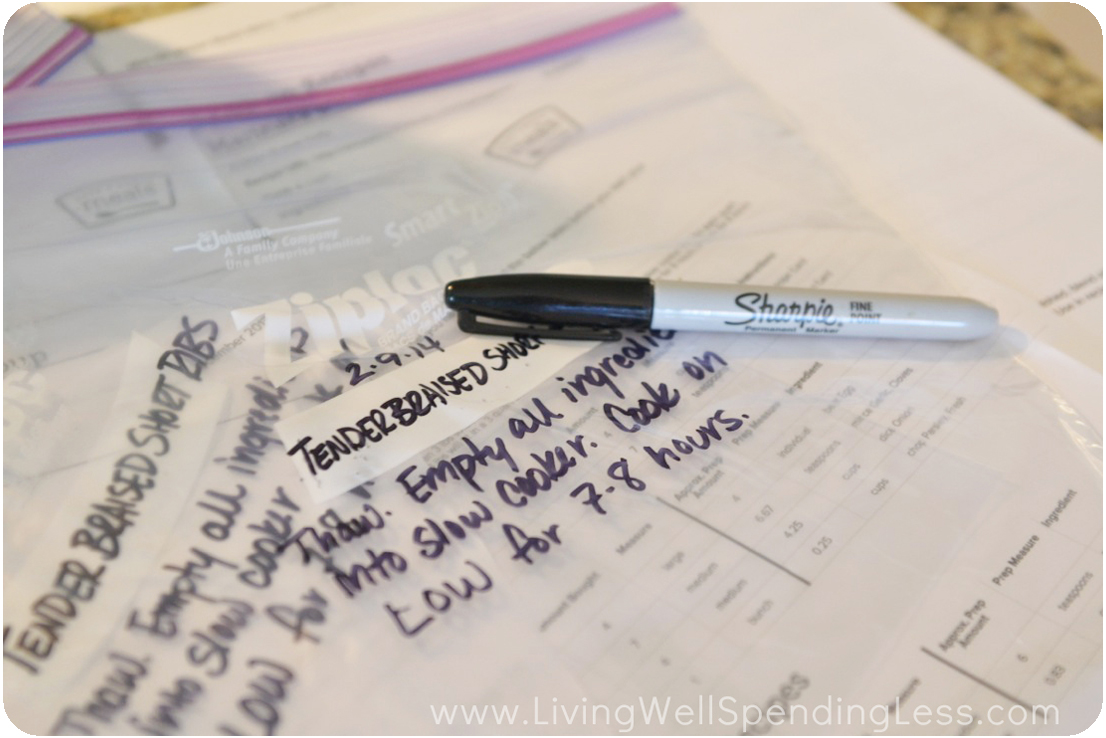
6. Label everything
Trust me on this one! Take the time to label every single bag with the name of the dish, the date made, and the thawing/cooking instructions! While it might seem like a pain, it will save you a whole lot of effort later on. Even if you think you will remember, you won’t. Because here’s a little secret you might not know: it all looks exactly the same when it’s frozen!
And even if you are some sort of freezer cooking version of Rain Man and can remember not only what everything is but how to cook it, aving labels and instructions on everything also means that people besides you–like the babysitter or your husband–will also be able to cook it just in case you aren’t there.
Some people like to use printed label stickers but I have found that those don’t always hold up well in the freezer, so I always just use a black permanent marker.
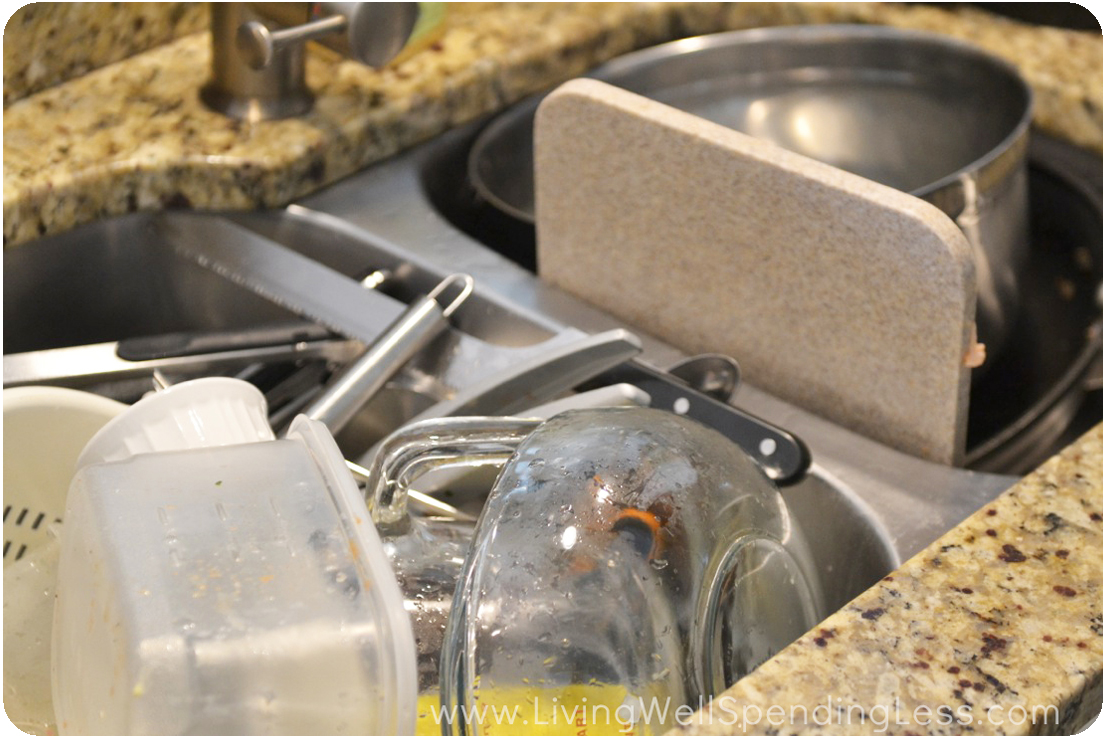
7. Clean up last
Don’t bother trying to wash your dishes in between every recipe! Use two sets of measuring spoons (one for wet and one for dry) and two sets of measuring cups. When necessary you can rinse bowls between recipes, but washing and drying the same dishes multiple times is little more than a giant waste of time and effort. Save your dishes for the end.
Or better yet, make your kids do them when you’re done!
And friends, that is pretty much all there is to it! Easy right? If you haven’t yet dared to venture into the world of freezer cooking, I strongly encourage you to give it a try. Your busy schedule–and your hungry family–will thank you!

* * *
What are your tips & tricks for successful freezer cooking?
This post was underwritten by Once a Month Meals. All opinions are mine. Once A Month Meals is your go to freezer meal planning site. Several main menu types catered to your dietary needs, Traditional Whole Foods Diet, Paleo Gluten Free and Dairy Free Vegetarian Baby/Toddler Meals as well as themed mini menus throughout the month. Members have access to all menus and with our new Swappable feature you can create your own menu to be perfect just for you!
And then we provide you with complete and custom resources for your menu, grocery list, recipe cards, cooking day instructions, and labels. Save yourself time and money and join today! Want to hear what our members are saying visit us on our Facebook page, we look forward to having you as a part of our community.
Pin It
The post 7 Easy Tips for Freezer Cooking Like a Pro appeared first on Living Well Spending Less™.
February 23, 2014
Weekend Wandering


Happy Sunday everyone! I want to first take a moment to thank all of you for your kind and encouraging comments on my last post. You guys really are the best, and I hope you are all having a wonderful weekend! As usual, the highlight of my week was seeing all the great ideas you had to share at Thrifty Thursday, and once again it was SO hard to choose just a few to feature. In any case, these are the posts I really loved this week:
* * *
First of all, this Homemade Condensed Cream of Chicken Soup from Creative Savings looks pretty incredible–SO much better than the canned stuff!

Next, I have always wanted to try making my own Ricotta Cheese! I’m excited to test out this recipe Katie from Life With the Crew.

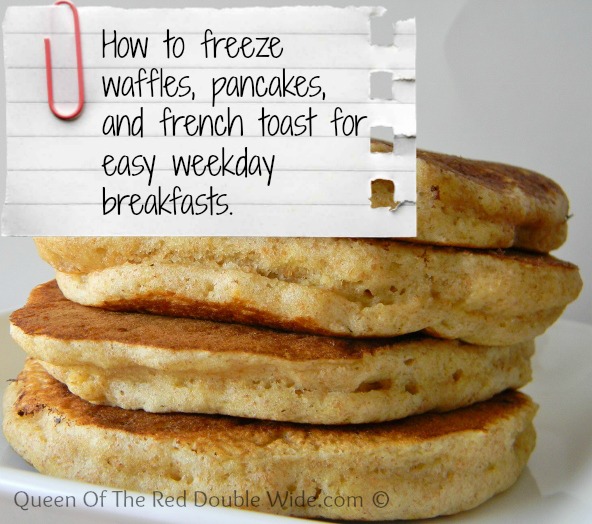
This post on How to Freeze Waffles, Pancakes and French Toast for Easy Weekday Meals from Queen of the Red Double Wide has some great time saving tips!
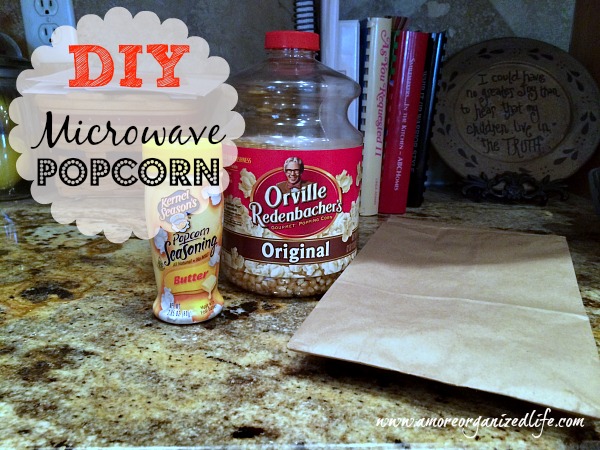
Did you know you can make your own microwave popcorn? I can’t wait to try this DIY Microwave Popcorn A More Organized Life!
These Parmesan Potato Bites from This Silly Girl’s Life look like they would be great for St. Patrick’s Day!

And speaking of St. Patrick’s Day, I love these super cute St. Patrick’s Day Shamrock Brownies from The Frugal Navy Wife! Pretty sure my girls would love them too!

Frugal Mom Eh created these St. Patrick’s Day Muddy Buddies. This would make such a fun snack!

But why stop at the food? This cute Pot O’ Gold Treasure Hunt from Live Like You are Rich looks like a super fun after school activity!

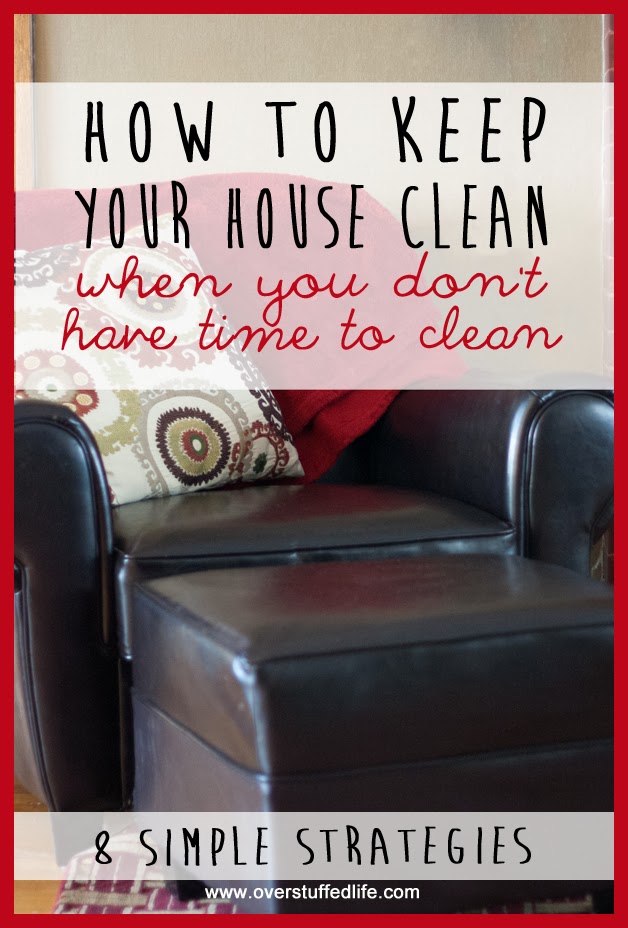
On the spring cleaning front, I loved these 8 Simple Strategies on How to Keep Your House Clean from Over Stuffed Life.
But of course sometimes it is our digital life that needs to be tidied! The Pin Junkie has a great post on 6 Easy Steps to Keep Your Pinterest Boards Organized.

* * *
What did you love this week?
Pin It
The post Weekend Wandering appeared first on Living Well Spending Less™.
February 21, 2014
Words Matter


This wasn’t the post I had intended to publish today, but amid a rash of hurtful comments around the blogosphere, both on this blog and others, and even in our normally positive & encouraging private LWSL Facebook group, there is something that has been weighing on my heart this week.
It’s about words.
I think sometimes we forget that what we say matters a whole lot.
The Internet is an amazing place, full of inspiration and ideas and useful information. It is also a scary place, full of people who will cut you down, just because they can, hidden safely behind the cover of their computer screen, people who will throw out criticism and judgment without giving a second thought to the people that are on the receiving end.
But words matter.
My oldest daughter is seven and in second grade, which is apparently the age at which girl drama appears. Last week she came home crying because her best friend at school had told her that they weren’t friends anymore. Did you have a fight? I asked, trying to understand. No mommy, she sniffed, she just said she didn’t like me anymore.
My overprotective mama heart broke as she sobbed in my arms, not understanding why her best friend would be so mean.
Words matter.
The next day at school the drama escalated. Harsh words were spoken, a favorite eraser was broken in half, tears were shed, and all five girls in the 2nd/3rd grade class spent their recess in detention, talking it out with the teacher. By the end of the day, all was forgotten and the girls were all friends once again.
But a part of me wonders if my little girl’s heart will ever be quite the same.
 Because I know to well how it feels to be hurt by someone else’s callousness.
I’ve felt the sting of cruel words and I know how it can change you. How it makes you second guess you own self-worth and want to hold back in order to do whatever it takes to guard your fragile heart.
I am a blogger, which means I have chosen to put myself out there, for better or for worse. I share bits and pieces of my own life or ideas I’ve collected along the way in the hope that it will bring encouragement, insight, or assistance to others. But let me tell you friends, it is a scary job sometimes, this blogging business! Every time I push that “publish” button, I worry and wonder how that next post will be received.
Because the truth is that although I spend countless hours crafting each post, testing recipes, trying out new projects, creating printables, researching topics, and coming up with just the right words to say, it will never be good enough to please everyone. I know there will always be something wrong with every single post I write.
My recipes are too complicated. Or not complicated enough. Or too vegetarian. Or use processed ingredients. My cleaning tips are too unrealistic. Or too obvious. Or clean things the wrong way. My DIY projects are ugly. Or too expensive. Or too cheap. Or use the wrong materials. My money saving tips don’t save enough. Or save on the wrong things. Or save too much. My thoughts on life are too personal. Or too God-centered. Or not God-centered enough. And my parenting ideas are just downright crazy!
It’s not hard to find the flaws or mistakes or weaknesses in the things that I post here.
They are everywhere.
And you don’t have to tell me how inadequate I am.
I already know.
It is so very easy to criticize, especially from behind the safety of a computer screen. It is very easy to pass judgment and write people off or throw out a snarky remark without fully considering the lasting impact a few careless, critical, unkind words can have.
But words matter.
And I’d like to think that I am a big girl, that I can handle it, that sticks and stones may break my bones but words will never hurt me, and for the most part, I can handle it. I’ve learned to hold my head high and go about my business and continue doing the work I was called to do while trying not to pay too much attention to the naysayers and the critics, the ones who have nothing nice to say. I put up my imaginary Superwoman wrist cuffs and try to let it bounce right off. Because I know I can’t please everyone, and I am so very far from perfect, and in the end, I am only playing for an audience of One.
 But here’s the thing…..I’d also like to think that none of us are intentionally cruel or mean-spirited. Perhaps I’m being naïve, but I don’t think most of us wake up in the morning thinking, “whose spirit can I crush today?” I think life gets busy and hectic and things go wrong or we have a bad day and so we snarkily comment on a link our friend shared on Facebook or someone’s pin on Pinterest, not realizing that the comment we meant to be seen as funny by just a few can actually be seen by everyone, including the person who created that post. We say things we wouldn’t dare to say in person because we forget that behind every link is a real person.
It only seems anonymous.
Like many of you, I find inspiration online from a blogs and websites every single day, and I am incredibly grateful for this technology that not only allows me to have a job, but to benefit from the seemingly endless creativity and ideas of others as well. And despite the fact that there are also things I don’t really like or necessarily agree with, I still want all that creativity to keep flowing. I can’t say for sure, but I think the rest of us do too!
So let’s be gentle with our words, even the ones that are tossed into cyberspace–especially the ones that are tossed into cyberspace–because we never know just where they will land.
And if you are one of those people putting yourself out there, here is my advice to you: Keep going. Don’t give in to the critics’ math that makes you only see the one negative comment out of 100 positive ones. Hold your head up high and tell yourself again and again—as many times as it takes—that what you have to offer the world is valuable, no matter what anyone else says. Take comfort in the fact that YOU are one of the brave ones, and listen to the people who build you up, not the ones who tear you down. Life is too short for anything else.
* * *
Have you ever been hurt by someone else’s words online? How did you respond?
Pin It
The post Words Matter appeared first on Living Well Spending Less™.
February 20, 2014
Thrifty Thursday {Week 48}
Happy Thursday! I love seeing all the great ideas you have to share each week and I always look forward to seeing your creative recipes, DIY projects, household tips, and money saving ideas. I have learned so much from you all! This week I would especially love to see your spring and St. Patricks Day-inspired ideas, but as usual, the sky’s the limit as long as it is budget friendly. (But please, no deals, shopping results, or giveaways!)
Here are the most clicked links from last week:
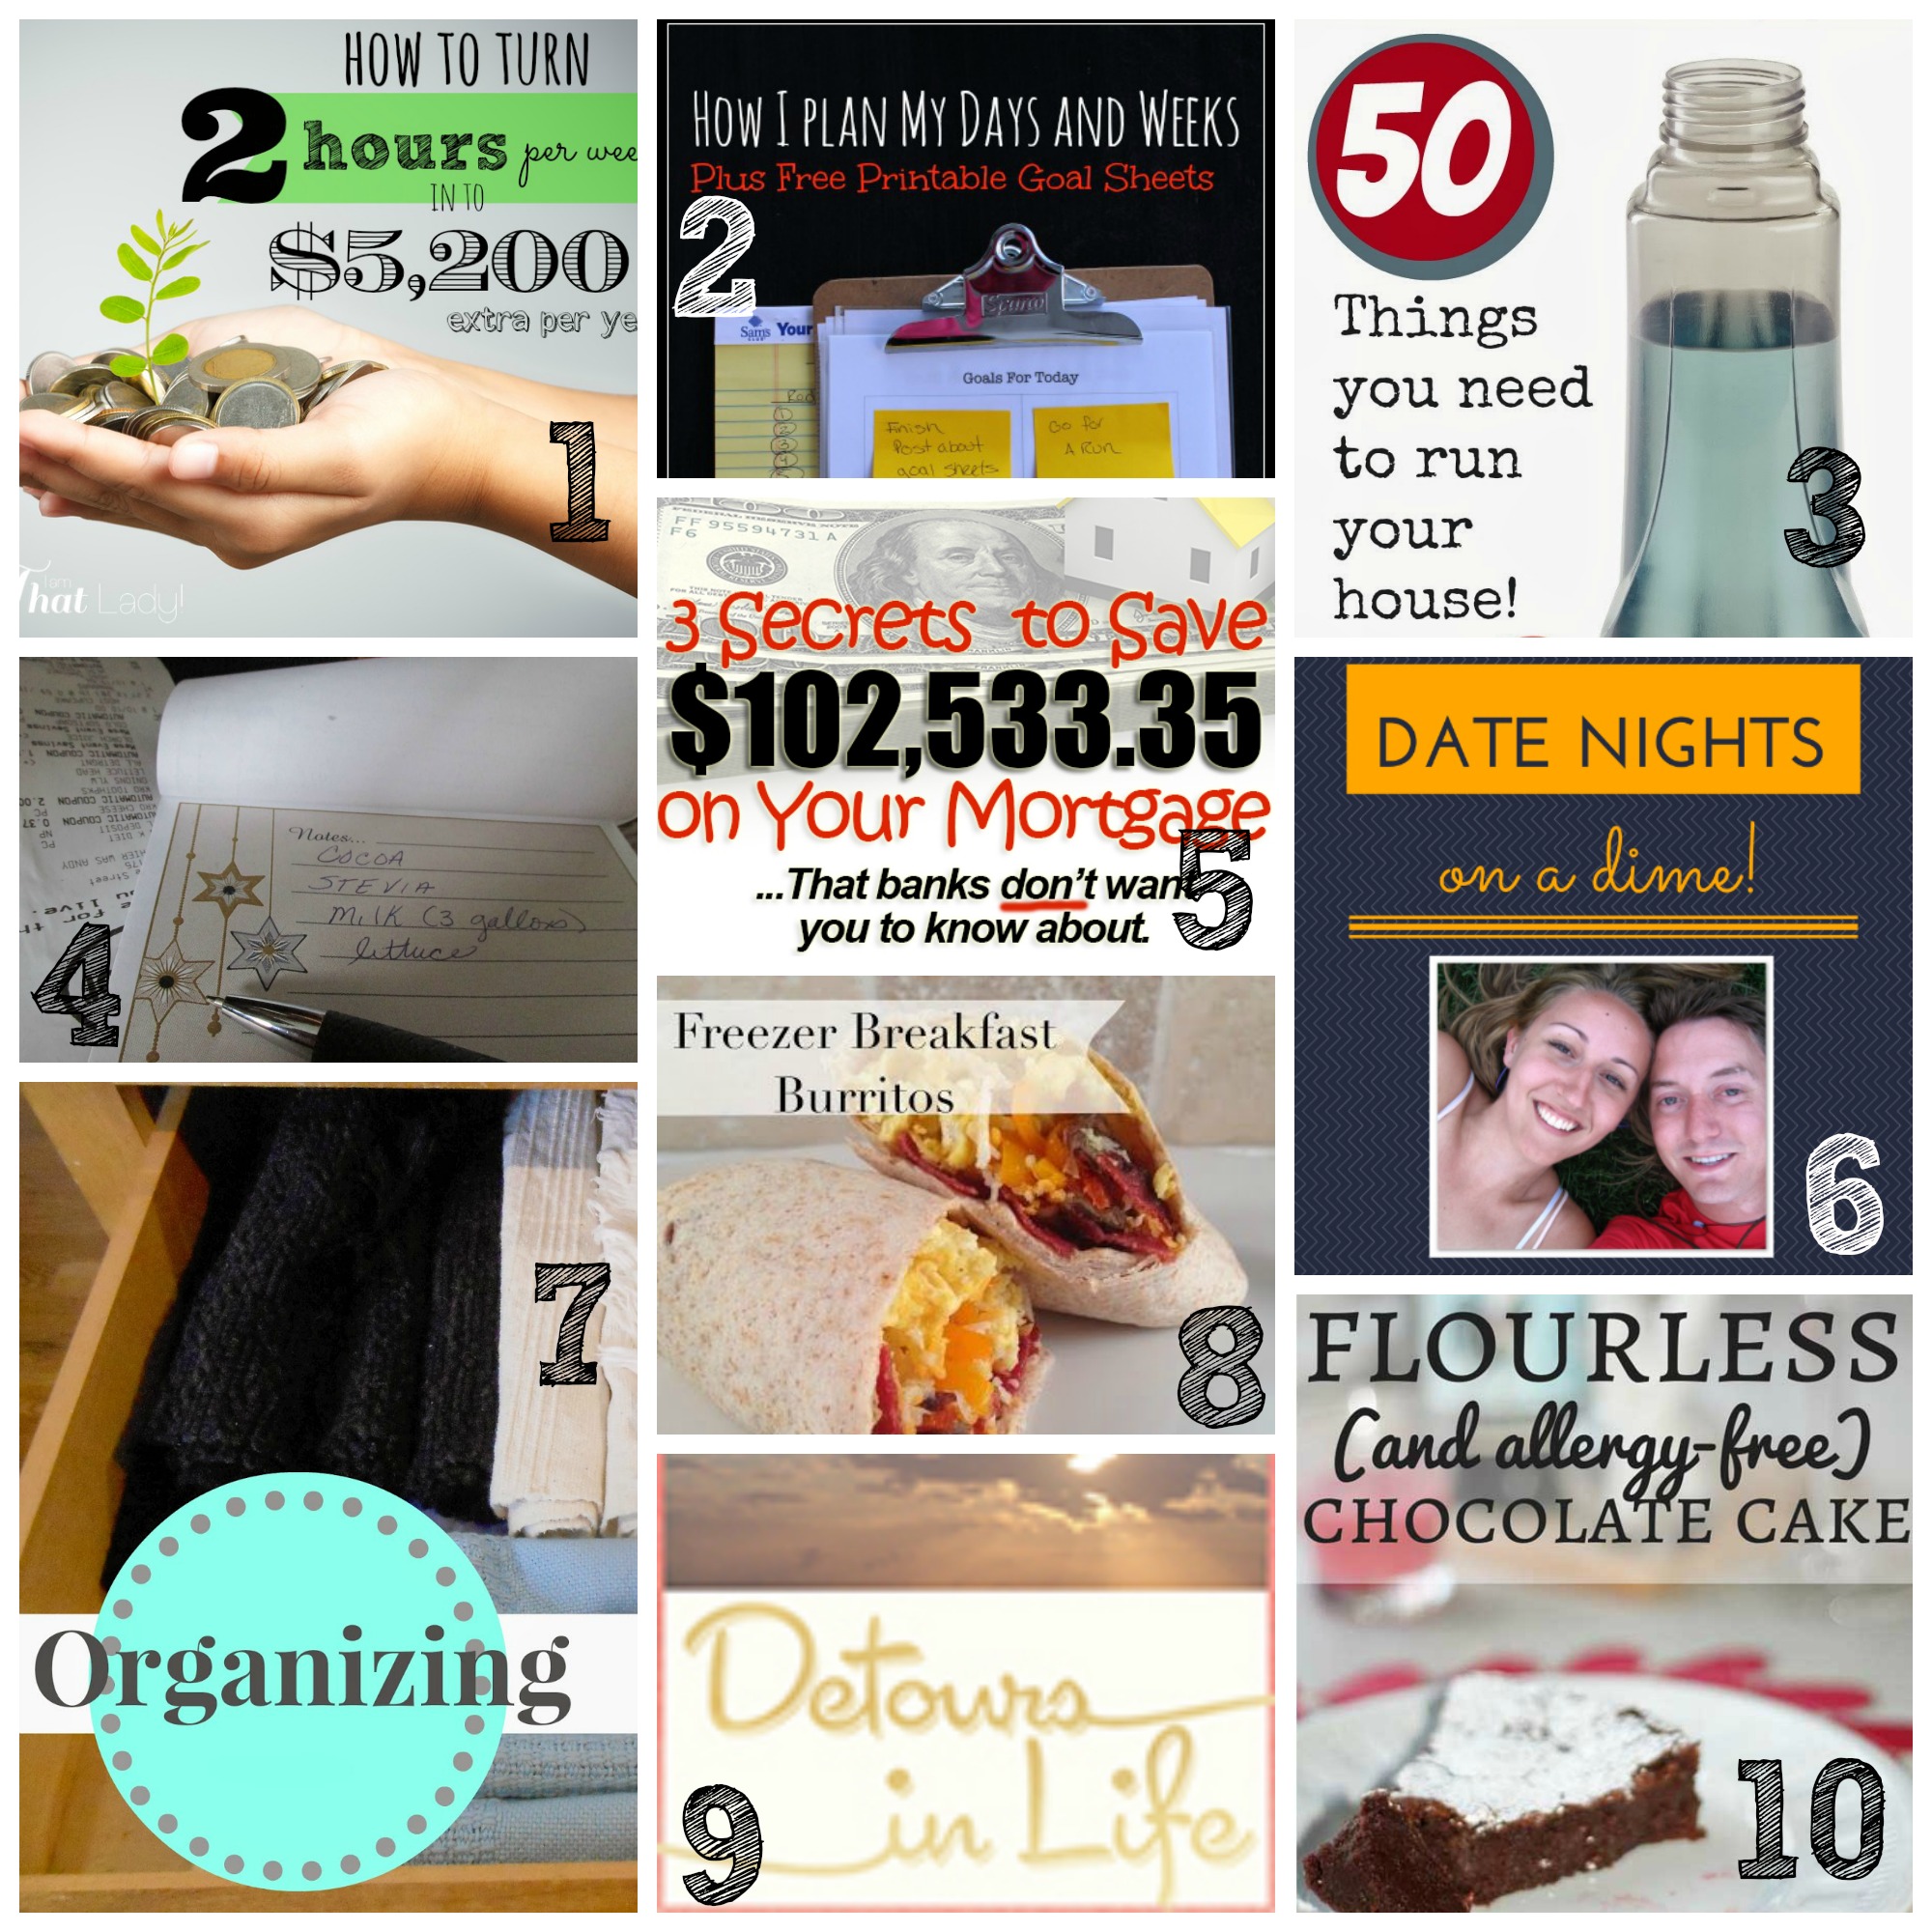
1. I am That Lady {How to Turn 2 Hours Per Week into $5,200 per Year}
2. Snail Pace Transformations {How I Plan My Days and Weeks}
3. Mums Make Lists {50 Things You Need to Run Your House }
4. Whole Food Mom on a Budget {Top 6 Simple Ways to Save at the Grocery Store }
5. Live Like You are Rich {3 Secrets to Save $102,533.35 on Your Mortgage}
6. The Thinking Closet {101 Creative Date Nights on a Dime}
7. Feet Grounded on the Earth{Organizing:Little Things Can Make a Big Difference}
8. Coupon Crazy Girl {Freezer Breakfast Burritos}
9. Detours in Life {Bathroom Vanity Makeover}
10. Modern Mrs. Darcy {Flour-less Chocolate Cake}
Never linked up to a party before? Here’s how:
Scroll down, find the little blue “Add your Link” Button and click on that.
Follow the instructions on the next page – add a great image of your project and an interesting title. Make sure you link to the direct page of your budget friendly post – not the main page of your blog!
Try to visit at least a few other blogs at the party. Be sure to leave a comment to let them know you stopped by!
Please link back to this post somehow. There are badges available here; a simple text link is just fine too.
Feel free to tweet about Thrifty Thursday so others can join the fun, and don’t forget to check back here Sunday morning to see which posts have been featured this week!
Finally, if this is your first time here I also invite you to check out my eBook, How to Blog for Profit (Without Selling Your Soul). It has more than 100 five-star reviews on Amazon, and it is a fantastic resource if you are interested in building your blog, getting more traffic, or learning how to monetize.
An InLinkz Link-up
Pin It
The post Thrifty Thursday {Week 48} appeared first on Living Well Spending Less™.
February 19, 2014
Easy Breakfast Casserole


When I was growing up my family didn’t have a whole lot of traditions, but on birthdays we always had breakfast casserole. Always. And it rocked!
My sister has since continued the breakfast casserole tradition and over the years she has honed our mom’s basic recipe to the point of perfection. Seriously friends, this simple but delicious recipe is so good you might cry. My husband was in heaven the first time I made it, and my girls gobbled it up like they had never seen food before!
The best thing about this recipe is that you can whip it up the night before, then just pop it in the oven in the morning for a hot, delicious, and hearty meal. It is great for a Sunday brunch or even for busy weekday mornings. Try it soon. You will not regret it!
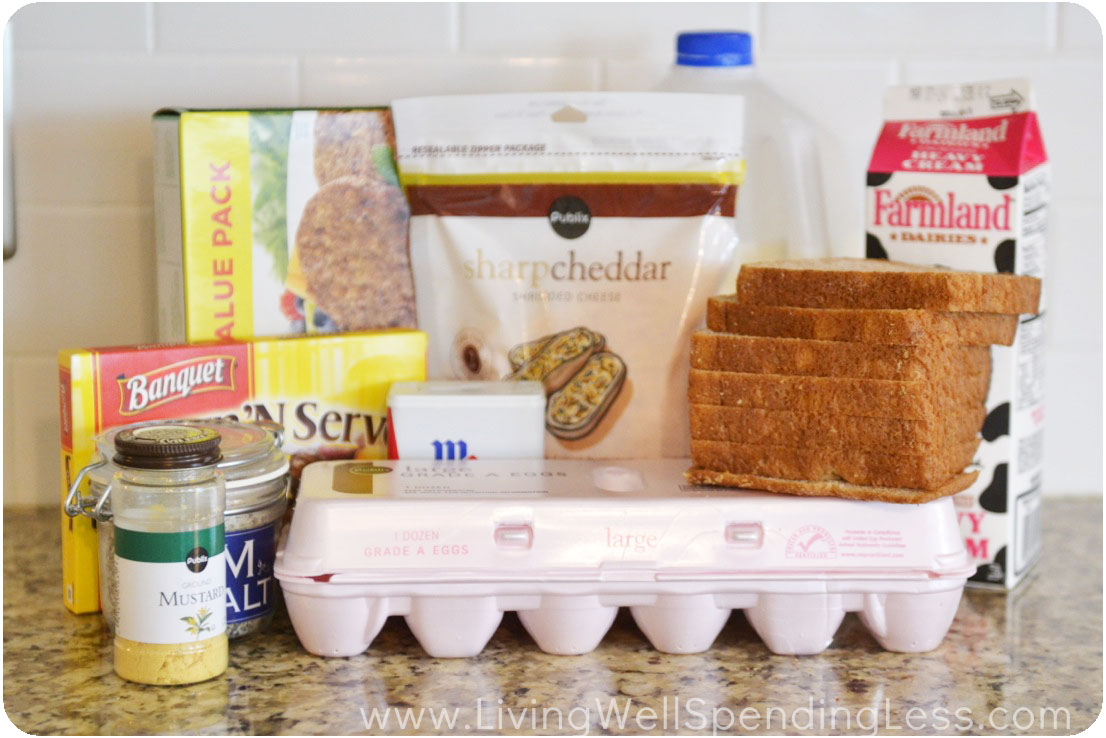
Here is what you need:
6-8 slices bread (the drier and staler, the better!)
1 lb. breakfast meat
(sausage links, pork sausage, bacon, or even vegetarian sausage patties will work)
3 cups shredded cheddar cheese
6 eggs
1 teaspoon seasoned salt
3/4 teaspoon dry mustard
1 1/2 cups milk
1/2 cup heavy cream
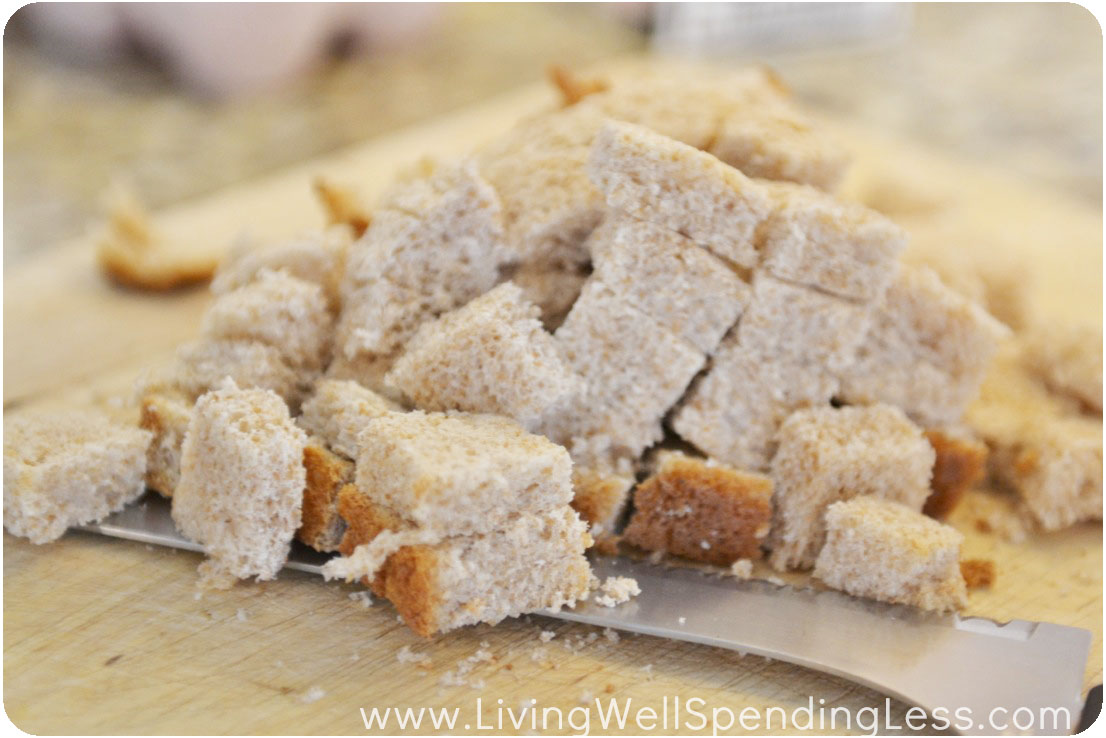
Step 1: Dice bread; cut off crusts if desired.
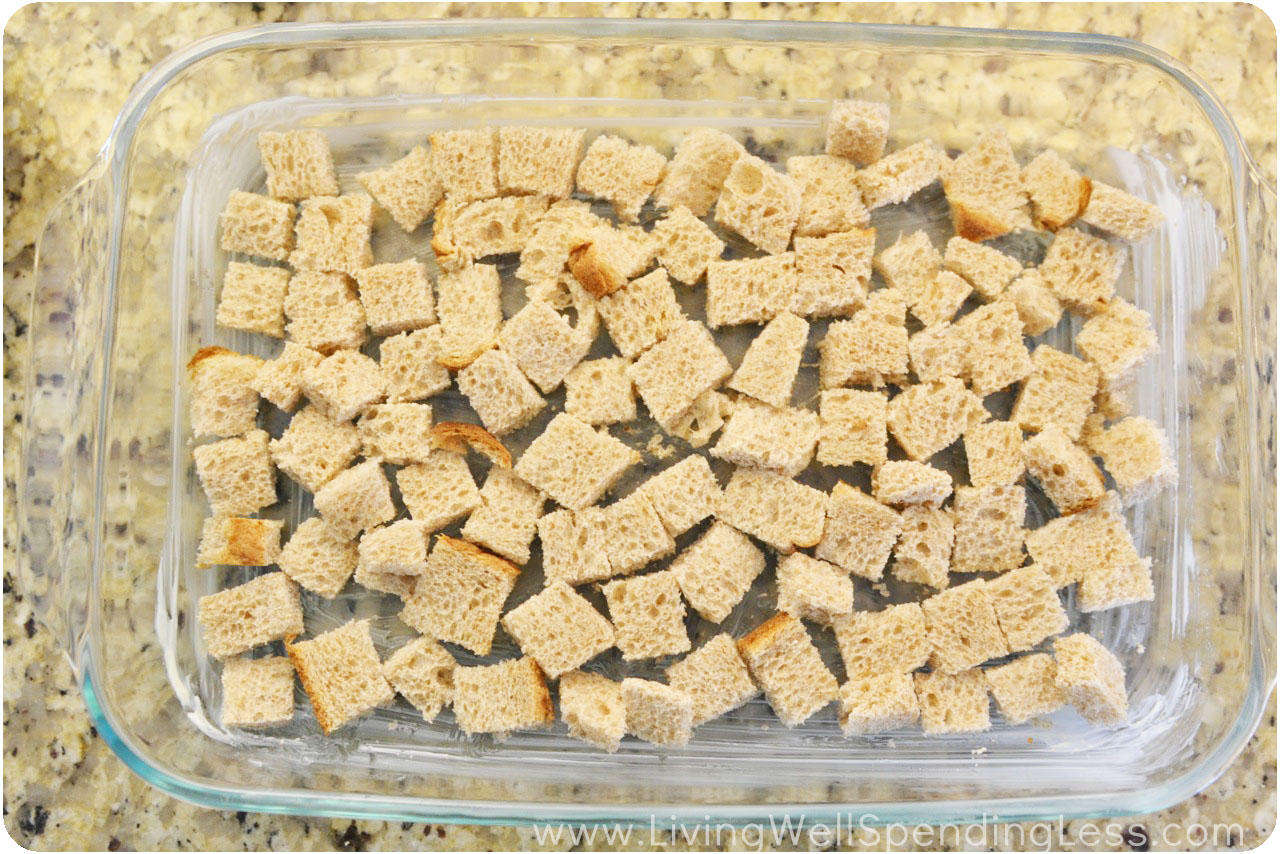
Step 2: Grease 9×11″ baking dish; add layer of diced bread to dish.

Step 3: Cook sausage or bacon; add meat layer over top of bread then add layer of cheese over meat.

Step 4: Whisk eggs until well blended; mix in salt, pepper, mustard, & milk.

Step 5: Pour egg mixture over cheese.

Step 6: Cover with plastic wrap; press on plastic so that egg mixture covers all of cheese. Refrigerate overnight.

Step 7: Bake at 350 degrees for 45 minutes until cheese is golden brown and bubbly.

Print This!
Recipe: Breakfast Casserole
Summary: This hearty make ahead casserole is a wonderful breakfast option any day of the week!
Ingredients
5 slices of diced bread
1 lb. pork sausage, browned & drained (or 1 1lb. bacon, cooked & chopped)
2 cups shredded cheddar cheese
6 eggs
1 teaspoon seasoned salt
3/4 teaspoon dry mustard
2 cups milk
Instructions
Dice bread; cut off crusts if desired.
Grease 9×11″ baking dish. Add layer of diced bread.
Cook sausage or bacon; add meat layer over top of bread then add layer of cheese over meat.
Whisk eggs until well blended; mix in salt, pepper, mustard, & milk.
Pour egg mixture over cheese.
Cover with plastic wrap; press on plastic so that egg mixture covers all of cheese. Refrigerate overnight.
Bake at 350 degrees for 45 minutes until cheese is golden brown and bubbly.
Preparation time: 5-10 minutes
Cooking time: 45 minutes
Number of servings (yield): 12
* * *
Have you ever tried breakfast casserole? How do you make yours?
Pin It
The post Easy Breakfast Casserole appeared first on Living Well Spending Less™.
February 18, 2014
How to Create a Cleaning Schedule That Works For You


Over the years I have received more than a few reader questions about cleaning, organizing, and decluttering. It seems that we all want to have a neat and orderly home, but not all of us know exactly how to get there. And let’s face it, life can get chaotic and busy with too much to do and not enough time to get it done.
Since these are areas that I constantly need to work on in my own home, I thought that this year it would be awesome to dedicate some more in-depth posts–and even a few series–to the true art of keeping house. I’m starting today with this post on how to create a cleaning schedule that works for you, which will be followed next month by an 8-week Beginner’s Guide to Cleaning series and then a second 8-week Beginner’s Guide to Organizing series. And then, in October, I am going to tackle a brand new 31 Days series—31 Days to a Clutter-Free Life, which will focus on ridding our lives of all that excess STUFF that holds us back!
Are you excited? I know I am!
So let’s get started!
First, for those of you who don’t even understand what a cleaning schedule is, let me break it down for you. A cleaning schedule is basically just a daily, weekly, or monthly plan for how you will clean your house. It can be as simple as one main task per day or as complex as a spreadsheet that accounts for every single housekeeping task that needs to be done over the course of a year. It really is up to you.
If the idea of creating any sort of cleaning schedule sounds overwhelming, try not to worry—I promise it is not as bad as it sounds. In fact, as you will see below, you can do it in three easy steps! The point of a schedule is not to make you feel guilty or to make you have more to do, but to actually relieve guilt and to create a routine that gives you more freedom and less stress. Knowing that you have a workable, manageable plan to tackle those sticky sinks and dusty dressers makes the idea of cleaning house seem a lot less overwhelming in the long run.
So bear with me. We can do this. I promise.
Step 1: Create a Master Task List
Before you can decide when to clean you must first know what to clean, and how often. Thus before you can create a cleaning schedule that works for your life and your schedule, you need to assess your own home and cleaning needs. A cleaning schedule for a childless couple living in a 1-bedroom apartment will look very different from a cleaning schedule for a homeschooling mom of five living in a 4-bedroom house!
You can start with the following master list and then customize it to fit your own home’s needs:
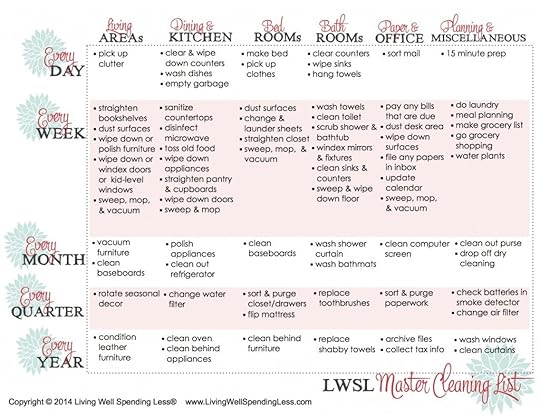
{Get your LWSL Master Cleaning List here}
Step 2: Pick the Best Plan for YOU (Choose ONE)
The next thing you need to do is figure out what sort of cleaning plan will work best for your life and your schedule. Are you the kind of person who wants to do a little every day, or would you rather tackle it all at once so that you don’t have to think about it for the rest of the week. Do you work full time or are you home during the day? Do you have young children at home or are your kids old enough to help shoulder some of the responsibility?
There is no one “right way” to keep house, and there is no universal cleaning schedule that will fit every household’s needs. Ultimately you have to take the time to determine what sort of schedule will be both realistic and doable for your own needs. While you should take the time to consider all of the following plans, please don’t think that you need to DO all of them. Instead, pick the ONE plan that seems like it will be the best fit and try it out for a while. If you hate it, you can always try something else!
Here is a rundown of the most common options:
Option A: Daily Speed Cleaning
If you are like me and have a hard time functioning when your house is messy, this may be the best option for you. I have personally found that running through my speed cleaning routine every day keeps things relatively neat and tidy all the time so that there isn’t usually a need to “deep” clean quite as often. When I am following this schedule I will spend about 60-75 minutes cleaning each day, between the daily tasks and doing 1 or 2 weekly tasks each day. I use the following printable daily and weekly checklists to help me stay on track.

{Get your printable Daily To-Do List here}
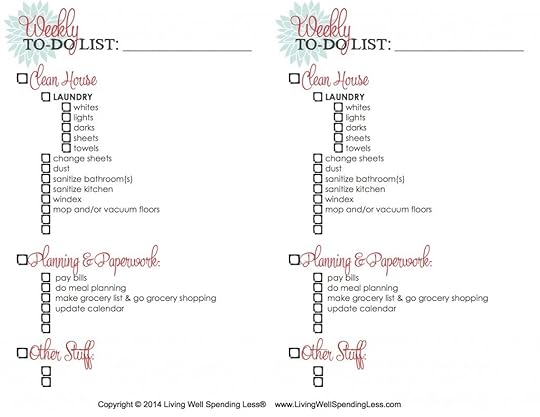
{Get your printable Weekly To-Do List here}
Option B: Timed Sessions
This type of cleaning plan follows a master list of weekly tasks. You set aside a certain amount of time each day—ideally 45-90 minutes—to work your way down the list. When the timer is done, you stop, then pick up where you left off the previous day. The following worksheet can help you create your master list:
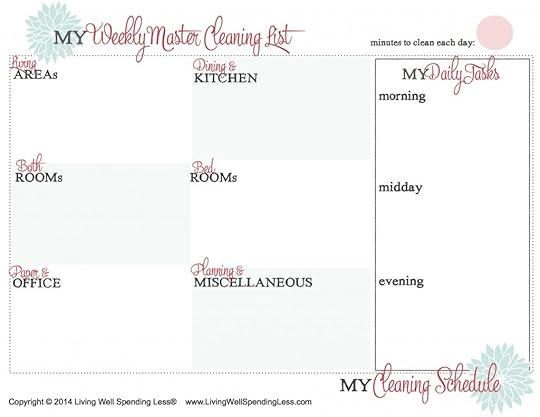
{Get your printable Weekly Master Cleaning List here}
Option C: One Room or Major Task Each Day
This type of cleaning plan sets aside certain tasks to do on each day. For instance, cleaning the bathrooms on Monday, doing laundry on Tuesday, Vacuuming on Wednesday, etc. The time spent cleaning each day will vary based on the task set aside for that day. You can use the following worksheet to set up this plan:
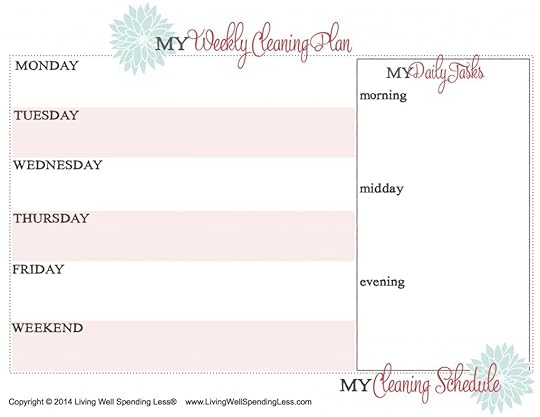
{Get your printable Weekly Cleaning Plan here}
Option D: Everything in One Day
This type of plan saves everything for one big long cleaning day each week. This can be a good option if you work during the week and would rather clean on the weekends, or if your kids are older and everyone will pitch in to get all the chores done fast. For this type of plan you can just pick two or three monthly, quarterly, and annual tasks to tackle each cleaning day.
One fun idea for families with older kids is to take a deck of cards and write down one task on each card. You can also use the printable set of cards below! On cleaning day the cards are shuffled and dealt, and each family member is responsible for completing the tasks on their cards, or for trading to get different tasks they’d rather do.

{Get your printable Family Cleaning Cards (4 pages) here}
Step 3: Fill in Your Schedule
This is the easy step! Once you’ve determined what sort of cleaning plan will work best for your household, just use the handy printables in this post to fill in your cleaning schedule. Choose the corresponding printable to your plan above, then use the calendars below to schedule your cleaning days, as well as keep to keep track of the monthly, quarterly, and annual tasks that you need to remember. Or, if you prefer digital schedules, you can use other options such as Google Calendar, iCalendar for Mac, or even on online cleaning scheduler such as chorebuster.net.
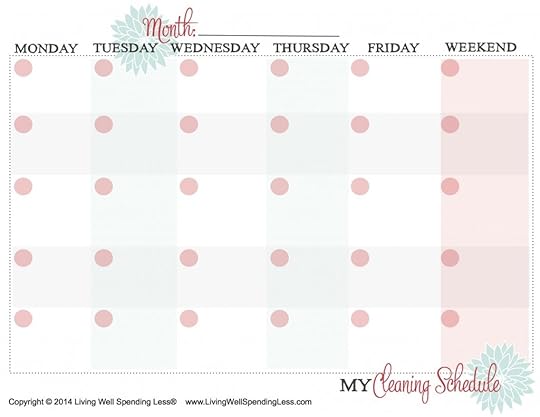
{Get your printable Monthly Cleaning Schedule here}

{Get your printable Monthly-Quarterly-Annual Cleaning List here}
Although it might seem overwhelming at first, creating a cleaning schedule that works for your own home and family life can be incredibly liberating. Suddenly instead of a big daunting mess in front of you, there is a workable plan to take care of it. What are you waiting for?
* * *
What is your current cleaning schedule? What changes do you plan to make?
Pin It
The post How to Create a Cleaning Schedule That Works For You appeared first on Living Well Spending Less™.


