
Ruth Soukup's Blog, page 120
February 3, 2014
DIY Valentine Photo Coasters


This is a guest post from Eden of Sugar and Charm
When it comes to gifting DIY crafts, I’m a huge proponent of making things personalized. Whether it’s something monogrammed or a charming photo, I love the thought of a personalized gift. Since my husband and I usually keep it simple for Valentine’s Day (the days of expensive dinners are over!), I thought it would be cute to make some DIY photo coasters with our wedding and engagement pics.
While we do have a few pictures hanging, most of them are placed in a folder on our computer and never looked at much… sad but true! I like the idea of having them placed on the table for a quick reminder of our special day. They’re super easy to create and make adorable gifts, even for friends… just make sure you use their photos instead of yours!
Here is what you need:
small wooden plaques
multi-surface craft paint (any color you want)
Mod Podge glue
paint brush
sponge brush
scissors and photos printed on standard paper

Step 1: Paint the edges of the wooden plaques and wait for the paint to dry.

Step 2: Print out your favorite pictures on standard white printing paper. You’ll want to adjust the size, depending on the wooden plaques you buy.

Step 3: Before cutting the photo, place it over the circle and position it where you like. Then press around the edge to create a crease in the paper. This allows you to know where to cut the photo.

Step 4: Paint a light layer of Mod Podge on the back of the photo and place it on the wooden plaque. Let it dry for about 10 minutes and then paint another thin layer of glue over the top of the photo. Once that layer is dry, add one more layer of Mod Podge to the top.

Eden Passante started Sugar and Charm in 2010 as a way to share sweet recipes,
entertaining inspiration and easy ways for adding a little charm to the everyday life. She’s a host of A&E’s Lifetime Moms- branded videos on entertaining, crafting and baking and also part of Martha’s Circle, a network of blogs chosen by Martha Stewart Editors. She lives in Los Angeles with her husband and darling baby boy, Romeo!

* * *
What are you giving your valentine?
Pin It
The post DIY Valentine Photo Coasters appeared first on Living Well Spending Less™.


February 2, 2014
Weekend Wandering


Welcome to the Superbowl Edition of Weekend Wandering, dedicated mostly to football, but with a few non-football goodies thrown in there for those of you who could care less about the big game! I’m actually really excited to watch my hometown team play this year, but there have been plenty of years where I have skipped it altogether. How about you? Will you be watching the Superbowl this year? In the meantime, here are this week’s picks:
* * *
First off, if you’re throwing a big Super Bowl party today, you do not want to miss the recipe for this yummy Bacon Jalapeno Cheese Ball by Daily Leisure. It looks amazing!

How CUTE are these Football Helmet PB Oreo Truffle Pops by Hoopla Palooza? My kids would be all over these!

This bright Touchdown Punch by This Silly Girls Life adds a festive touch to any party.

You gotta have some half-time entertainment! Try this Super Bowl Party Game Even Non-fans Will Enjoy by Frugal Family Times. It looks like a lot of fun!

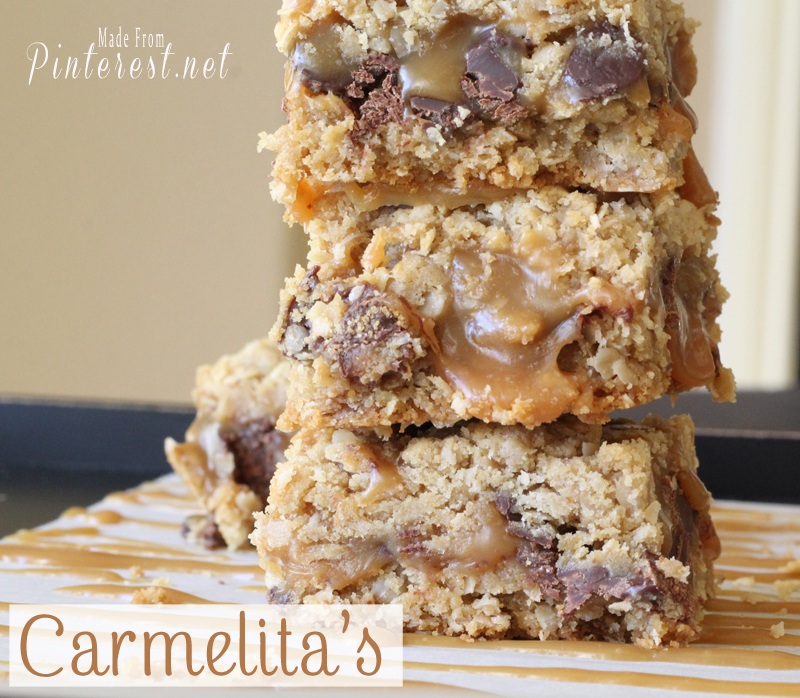
Every good party needs a few sweet treats! These Carmelita’s by Made From Pinterest look like they would just melt in your mouth! Yum!
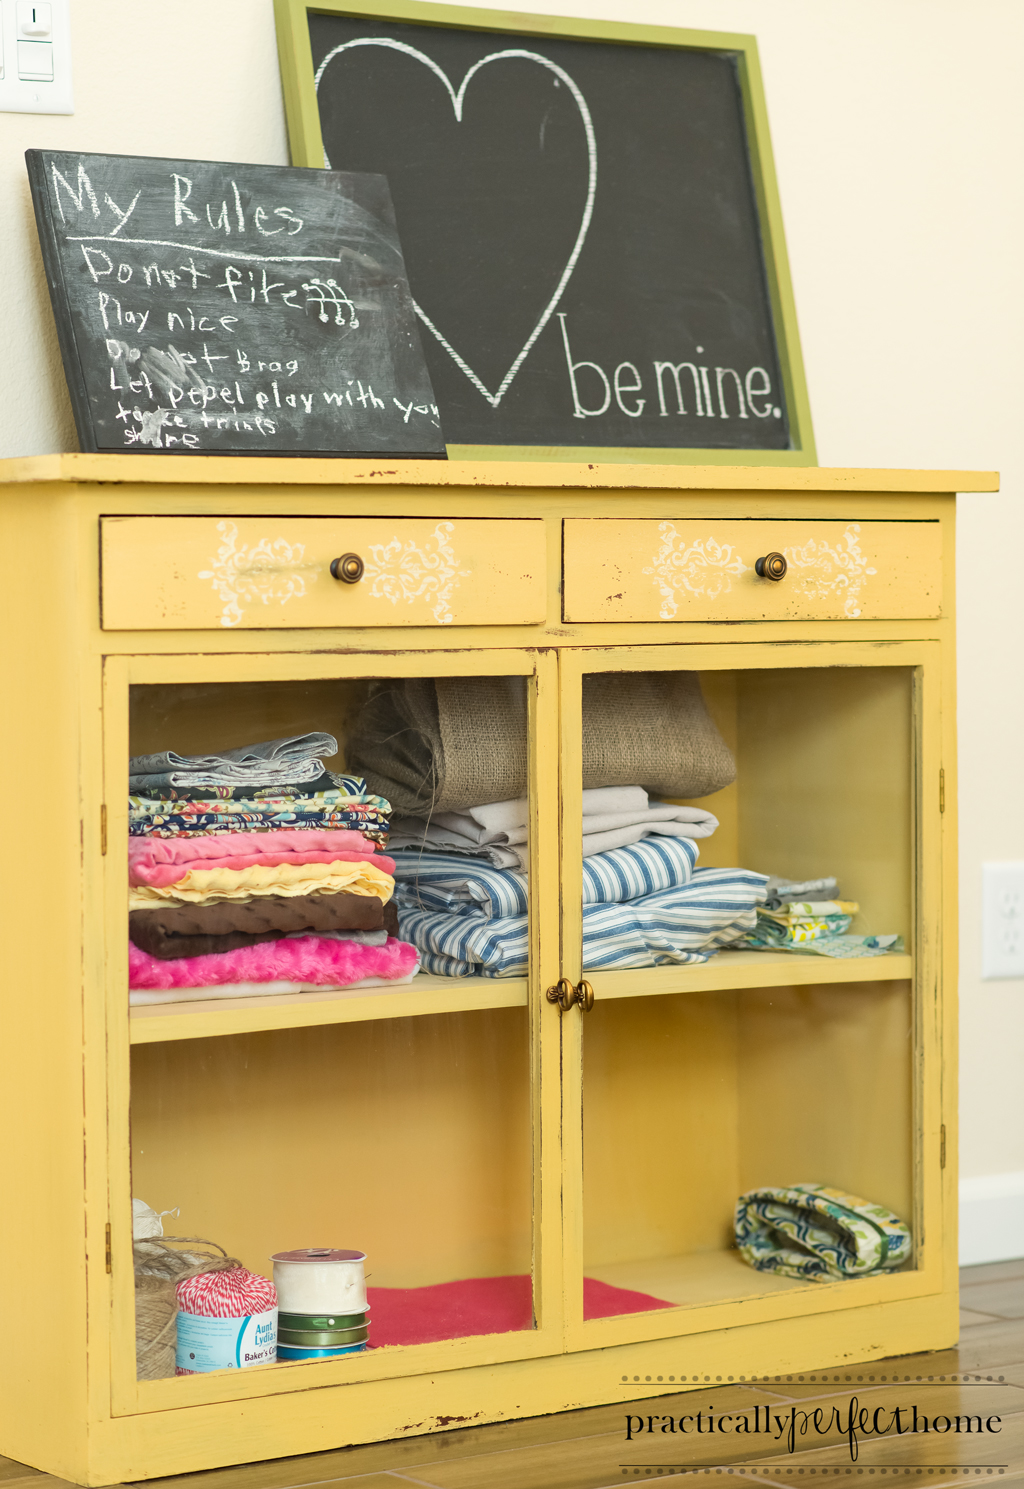
Moving on to some non-sports related fun, this bright Yellow Cabinet by Practically Perfect Home is so gorgeous!
Both my girls would love making this Easy Felt Hearts Headband Tutorial by Kiddie Foodies. It’s perfect for Valentine’s Day!

“A Treat a Day” Valentine Printables by Cha Ching on a Shoestring are such a unique twist on the traditional Valentine. A must if you want to shower your loved ones with treats!

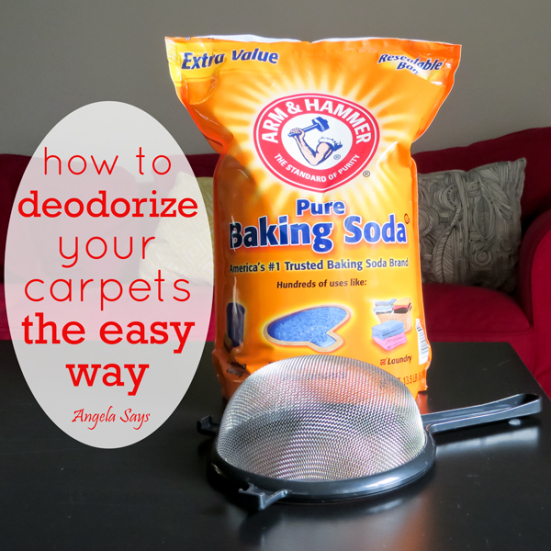
With 2 kids, a dog, and a husband, our carpets could use some freshening! I love these tips on How to Deodorize Your Carpets The Easy Way by Angela Says.
Have you ever wondered Why You Need a Budget? This must-read post by Creative Savings helps you understand why budgeting is necessity.

Finally, anyone with kids knows that eating out with children can sometimes be a challenge. Why do We Bother Eating Out With Kids by An Inviting Home is a great reminder to enjoy every moment. I loved her creative solution to what could’ve been a dinner disaster!

* * *
What did you love this week?
Pin It
The post Weekend Wandering appeared first on Living Well Spending Less™.
January 31, 2014
12 Smart Ways to Save on Utilities


The basic rule of budgeting are pretty straightforward: Don’t spend more than you take in, and cut out the nonessential spending first. None of us really need to be swinging by Starbucks every morning, or eating out twice a week, or filling our carts at Target with cute stuff we could easily live without. And down most of us know that, even if we don’t always abide by it. In fact, this general principle is even the basis for the 31 Days of Living Well & Spending Zero challenge here at LWSL.
Thus while tempering that non-essential spending is super important for a healthy financial life, it is also a very smart idea to regularly take a good hard look at those things we DO need to spend our hard-earned money on, things like electricity and water and utilities. After all, none of us want to to pay more than we have to!
Here are 12 super smart (and fairly painless) ways to save on utilities:
1. Turn it down
Turning down the heat in the winter and the air conditioner in the summer is one of the fastest ways to see a significant savings on your electricity bill. Here in Florida we try to keep our A/C set to no less than 79 degrees, which still feels comfortable and cool compared to the outside temperature. In cooler climates, try keeping the thermostat set at 68 during the day and then turning it down to 65 at night. For additional savings, be sure to also set the temperature lower while you are away.
Likewise, turning down the temperature on your hot water heater can make a significant difference as well. According to the U.S. Department of Energy, reducing your temperature from 140 degrees to 120 degrees will save at least $2 a month.

2. Turn it off
Keeping lights and ceiling fans turned off when not in use is one of the best habits you can develop. According to Florida Power & Light, just one ceiling fan running constantly will add an extra $7 a month to your electric bill! Develop a “turn it off” rule for all overhead lights, lamps, and appliances. Be sure too to fully turn off electronics that go into “standby” mode such as computers and printers, as they are still drawing electricity in standby mode. Unplugging appliances when not in use can help a lot too.
“Electricity is a big one for us – not just for the money, but for overall conservation as well. The kids were always leaving lights and electronics on – so we started keeping a tally – every time the kids leave their light or TV on in their room, they owe us a quarter – that is deducted from their “allowance” – they have learned to turn lights out pretty quick!“~LWSL reader Gerri Lawall
3. Stop pre-rinsing
This little nugget of research just killed my husband who is as engineer-obsessive about pre-rinsing as he is about well, everything! Gotta love him. The truth is that most newer model dishwashers are designed specifically to remove and break down food particles from dishes, leaving them sparkling clean with no pre-rinse required, and skipping this step can save up to $70 dollars a year! (Source: FPL.com)

4. Air dry
While it might take just a little longer, air-drying your clothes, dishes, and even your hair as often as possible can cut a big chunk out of your power bill each month. Start by changing your dishwasher settings to air dry rather than heat dry, then, whenever possible, line or flat dry your clothes. When you do need to use the dryer, use the auto sensor function to avoid drying longer than possible. (And don’t just keep tumbling the clothes because you don’t have time to fold them! Not that I’ve ever done that…)
“I line dry inside as much as I can during the winter months. I place the rack under the ceiling fan; helps with humidity issues as well. I also bought complete blackout drapes for all the rooms and on days when it is uber cold, I keep em closed to keep the heat in; or heat out in the summer. I do the majority of my laundry at night, never run a half load in the dishwasher, and cook/bake as many things as I can at one time to lessen how often my oven is on.” ~LWSL reader Katherine Schaefer Meredith
5. Keep it clean
Be sure to clean your dryer lint screen before each use to help it run more efficiently. Likewise, keep your air filters clean and changed regularly in order to save energy on heating and cooling the house.

6. Be stingy
Look for ways to use less water in your every day activities, including adjusting your washer to use the lowest water setting necessary when doing a load of laundry, and not letting the water run while brushing your teeth or washing dishes by hand. Consider replacing shower heads with low-flow heads, or place a bottle filled with sand in your toilet tanks so that they use less water each flush.
“We saved about $10 (20%) on our water/sewer bill by putting a 50% water reduction aerator on our kitchen faucet, putting an 87% water reduction aerator on our bathroom faucet, and putting a large peanut butter jar filled with rocks in our toilet tank to reduce the amount of water used with each flush.”~LWSL reader Hollie Payne
7. Check for leaks
Hidden water leaks can result in abnormally high water bills, and none of us want to pay for something we’re not even using! If you’re not sure why your bill is so high, do a leak test by checking your water meter right before bedtime and then as soon as you wake up. If the numbers have changed, you may have a leak somewhere. Try these six tips for finding it yourself, or else call a plumber.
8. Eliminate drafts
Drafty windows can be a huge source of heat loss during cold winter months, so be sure to cover them up as much as possible. Use a ready-to-go winterization kit, or create your own with tape and plastic, sheets, or blankets. If the drafts are really bad, consider installing heavy insulating curtains as well in order to improve energy efficiency. Be sure to also keep the damper closed on your fireplace when not in use to eliminate drafts through the chimney.
9. Add insulation
Poor quality (or no) insulation will make your home cold in the wintertime and unbearably hot in the summertime, and can add hundreds of dollars to your utility bills over the course of a year. It is worth the investment to add additional insulation to your attic and walls. Be sure to first eliminate any drafts, as insulation will not stop air flow.
”A few years ago we had more insulation blown into our attic. We lost our attic storage, but we went from getting oil 3 or 4 times a winter to once a winter. Totally worth it!” ~LWSL Reader Carol Schwanger
10. Pay smart
If possible, consider setting up your utility bills to be paid with a credit card that offers rewards or cash back, such as Discover. Please note that this is only a good option if you able to be 100% diligent about paying off your balance on time each month. The rewards will be completely neutralized if you have to pay interest or late fees! However, if you are very disciplined when it comes to bill-paying and credit cards, this is a great way to earn a little extra on something you have to pay anyway.

11. Get efficient
When purchasing new appliances or fixtures, be sure to opt for the most energy efficient styles available. This goes for large appliances such as refrigerators, ovens, dishwashers, and washers & dryers, but also for things like toilets, shower heads, and faucets.
“We bought energy efficient appliances. Our bill was almost $50 less the first month! We also installed a programmable thermostat and hang dry almost all the clothes, which helps add moisture to the air in the winter too!” ~LWSL reader Cheri Olson
12. Cut it out
Consider eliminating land line phone or cable service altogether. My husband and I have not had a traditional land line telephone in years; instead we rely only on our cell phone service. This saves us about $50 each month, or about $600 a year. We also use a ROKU box to stream movies and television shows from Netflix and Amazon Prime which has probably saved us at least $1,000 on cable over the past 3 years.
There are no shortage of ways to save once you start looking; sometimes it is just a matter of thinking outside the box! There have been some great discussions about this topic on both the main LWSL Facebook page, and in the private LWSL Community Facebook Group, and I would love to have that discussion continue here on this post as well!
How do YOU save on utilities? Please share your ideas and tips in the comments below!

* * *
This post was written as part of the Discover Preferred Blogger Program and sponsored by Discover. All opinions are mine. Discover has no higher priority than to reward its customers with the best service in the business. The company is committed to helping its customers spend smarter, manage debt better and save more so they can achieve a brighter financial future.

Pin It
The post 12 Smart Ways to Save on Utilities appeared first on Living Well Spending Less™.
January 30, 2014
Thrifty Thursday {Week 45}


Happy Thursday my thrifty friends! I hope you are all having a great week. I don’t know about you but I am super excited for the Superbowl this weekend, and I can’t wait to see all your football-themed ideas this week! As always, the sky’s the limit for what can be linked up here at Thrifty Thursday as long as it is budget-friendly in some way. Recipes, DIY projects, money-saving tips, and other home ideas are always welcome, but please no deal posts or giveaways!
Here are the most clicked links from last week:
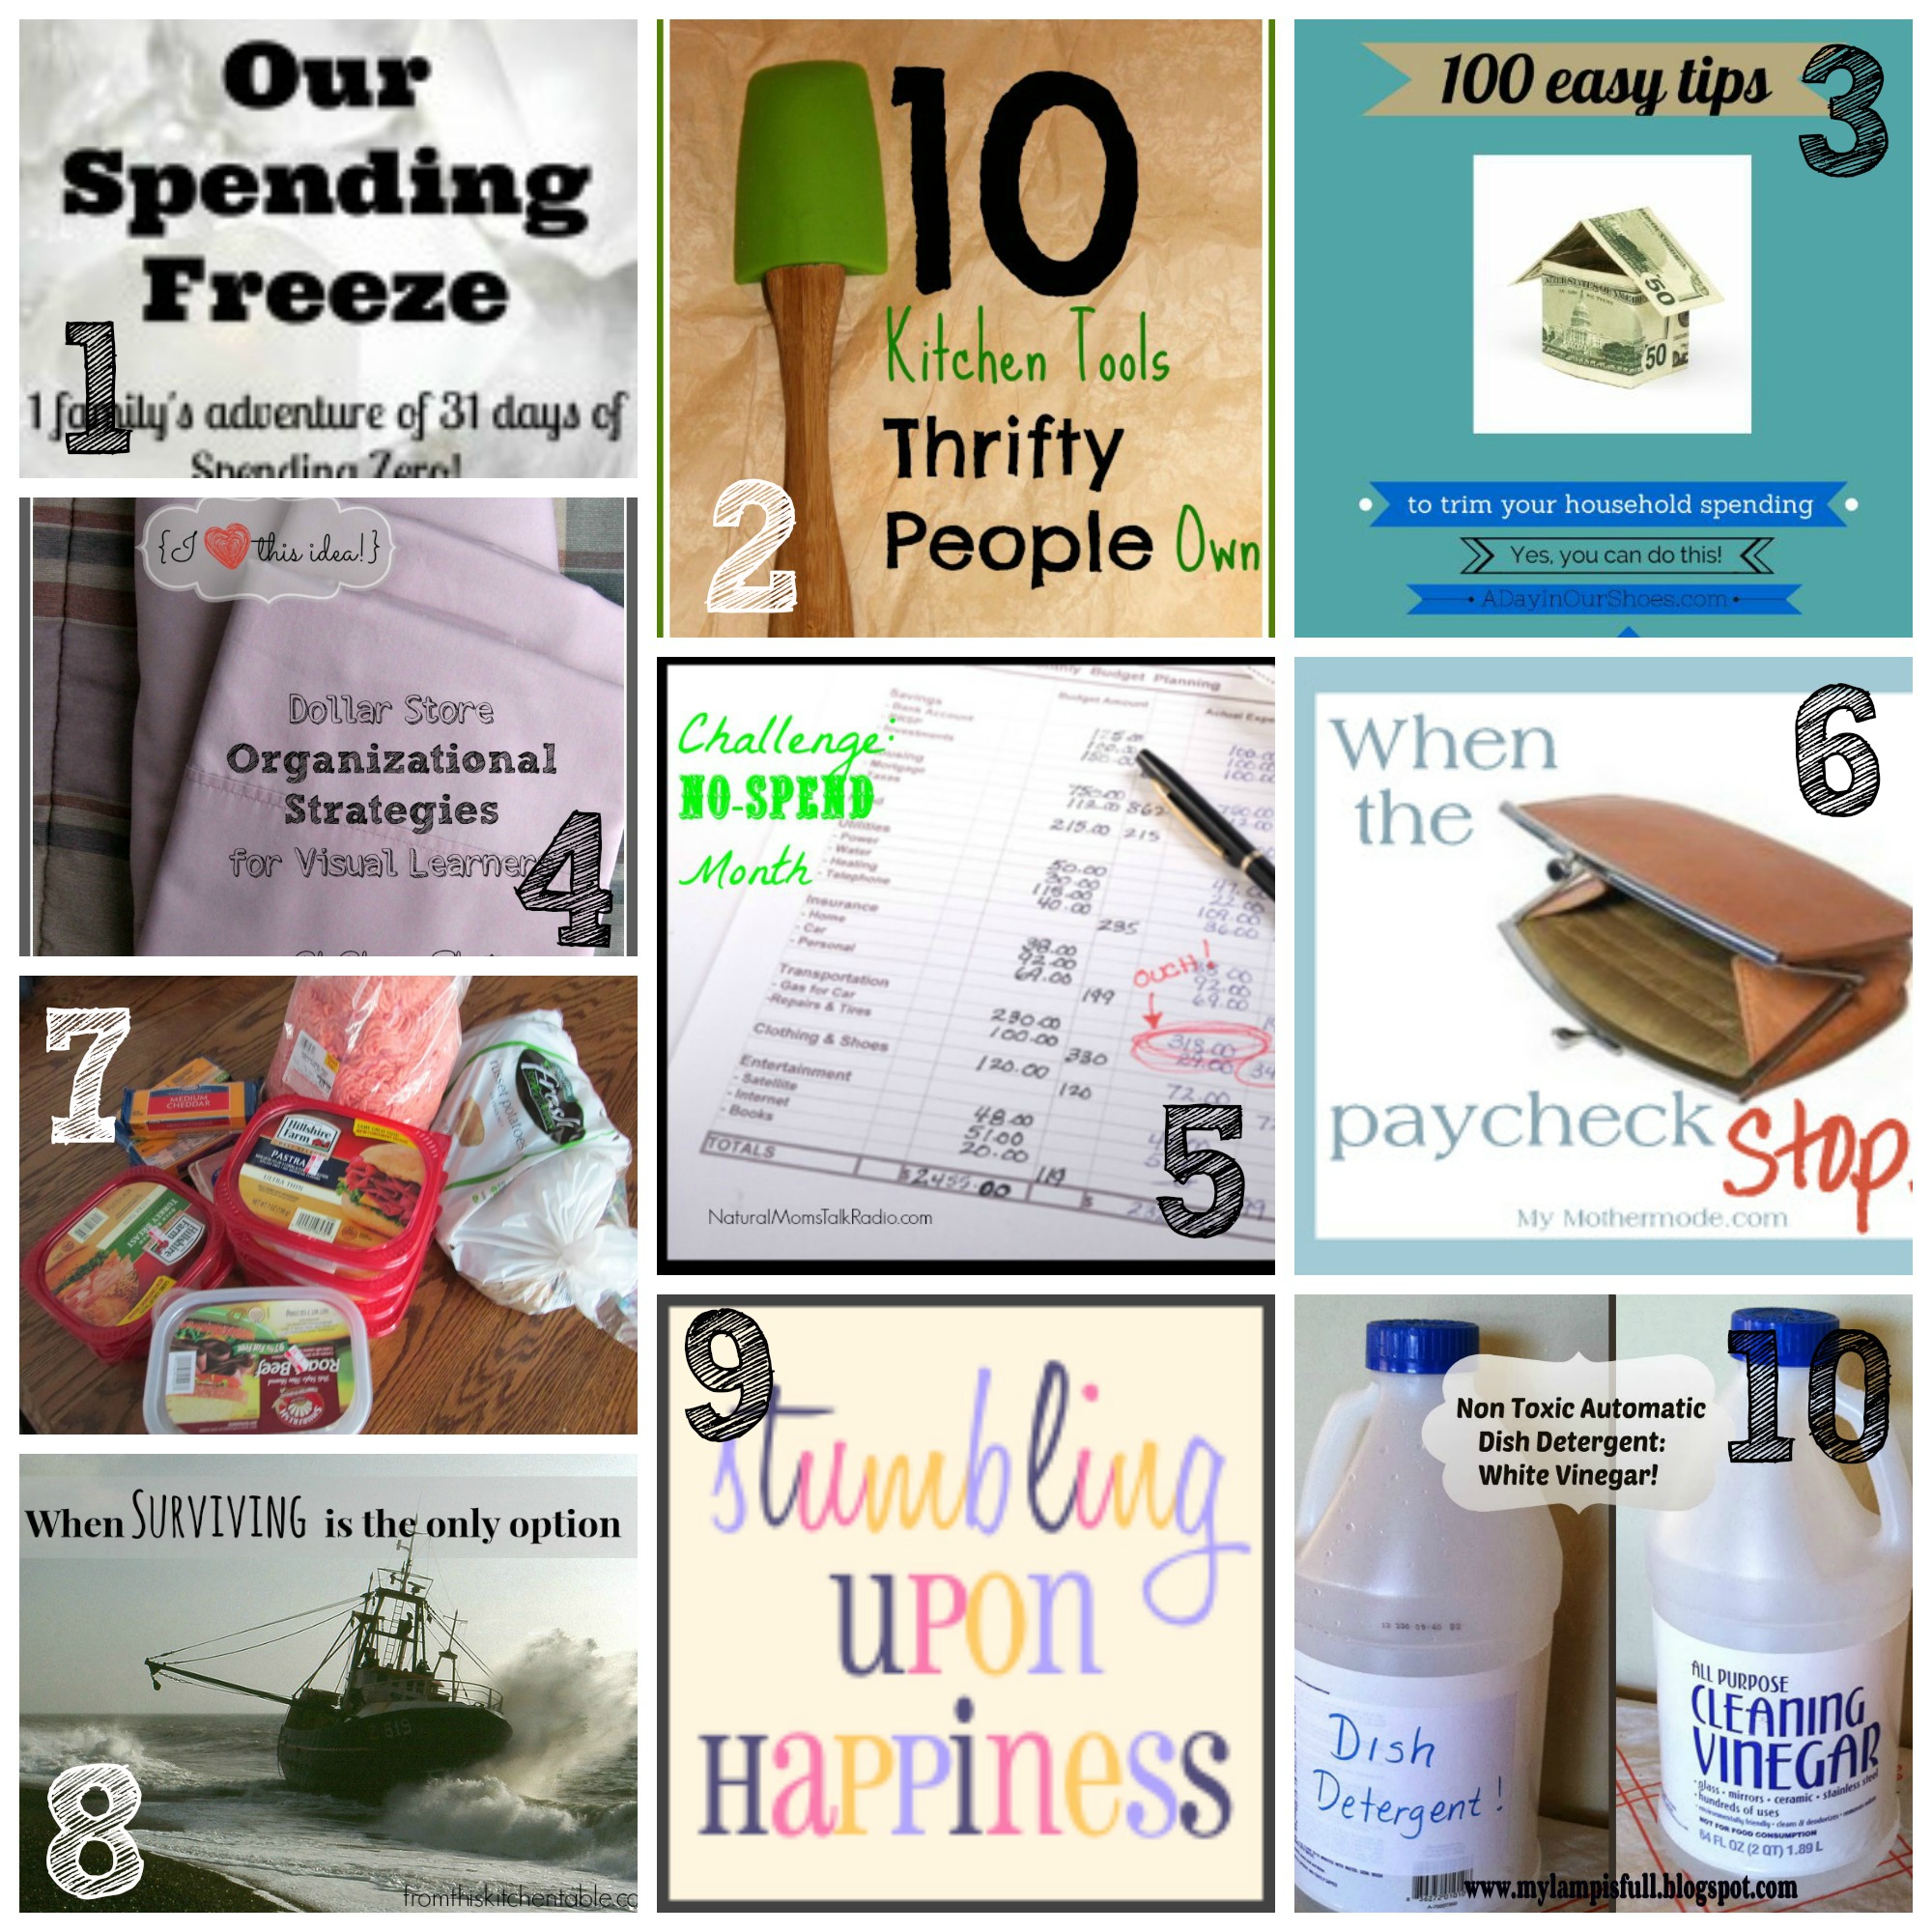
1. Aspired Living {Our Month Long Spending Freeze}
2. Snail Pace Transformations {10 Kitchen Tools Thrifty People Use}
3. A Day in Our Shoes {100 Easy Ways to Cut Spending in Your Household }
4. ChaChing on a Shoestring {Dollar Store Organizational Strategies}
5. Natural Moms Talk Radio {Challenge- No Spend Month}
6. My Mother Mode {When the Paycheck Stops}
7. Whole Food Mom on a Budget {No Spend January- Week 3}
8. From This Kitchen Table {When Surviving is The Only Option}
9. Stumbling Upon Happiness {The Truth About Coconut Oil}
10. My Lamp is Full {Can You Wash Dishes With Plain Vinegar?}
Never linked up to a party before? Here’s how:
Scroll down, find the little blue “Add your Link” Button and click on that.
Follow the instructions on the next page – add a great image of your project and an interesting title. Make sure you link to the direct page of your budget friendly post – not the main page of your blog!
Try to visit at least a few other blogs at the party. Be sure to leave a comment to let them know you stopped by!
Please link back to this post somehow. There are badges available here; a simple text link is just fine too.
 Feel free to tweet about Thrifty Thursday so others can join the fun, and don’t forget to check back here Sunday morning to see which posts have been featured this week!
Finally, if this is your first time here I also invite you to check out my eBook, How to Blog for Profit (Without Selling Your Soul). It has more than 100 five-star reviews on Amazon, and it is a fantastic resource if you are interested in building your blog, getting more traffic, or learning how to monetize.
');
// ]]>
The post Thrifty Thursday {Week 45} appeared first on Living Well Spending Less™.
January 29, 2014
Fresh Lemon Bars


There’s nothing quite as welcome in the dreary winter months as a sweet & tart lemon dessert! One of my family’s very favorite things about January here in Florida is picking the fresh lemons off our little lemon tree. We usually are able to squeeze and freeze enough juice to keep our family drinking homemade lemonade all year round, and while it is hard to beat fresh squeezed lemonade, these fresh lemon bars come pretty darn close. This oh-easy-recipe comes together in about an hour and tastes just like delicious fresh sunshine!
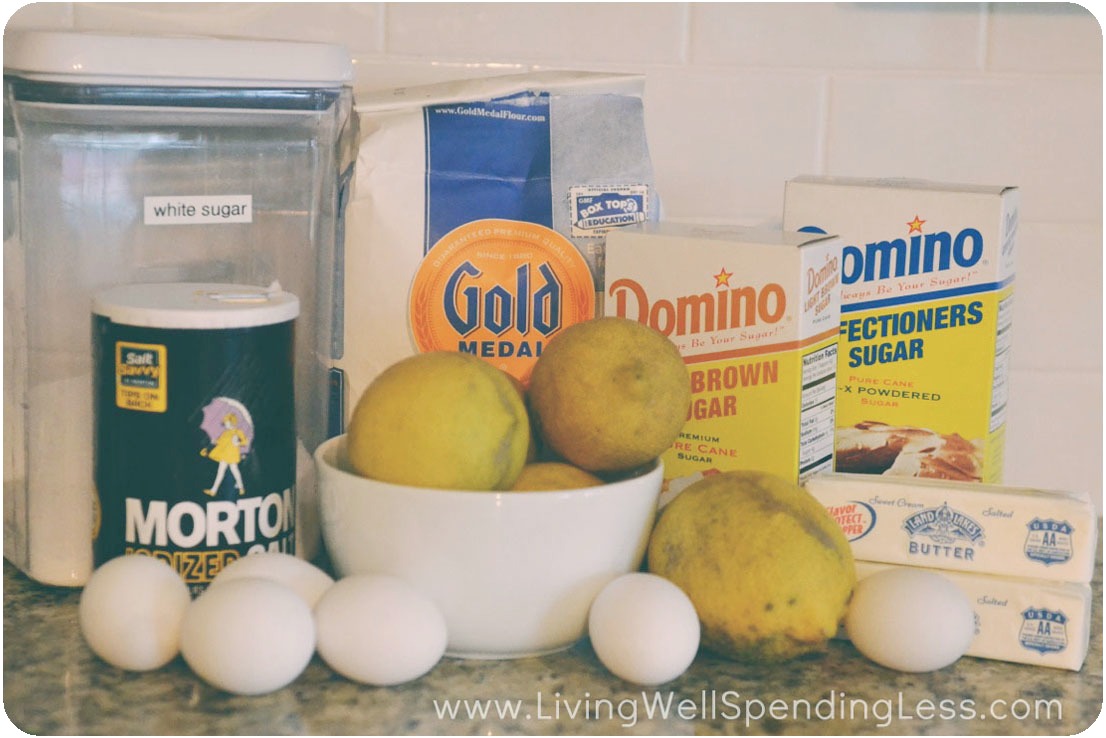
Here is what you need:
Crust:
1 1/2 cups cold butter, cut into cubes
2 cups flour, chilled
1/4 cup brown sugar
1/2 cup powdered sugar
1/2 teaspoon salt
Filling:
6 large eggs
2 1/2 cups sugar
1 teaspoon lemon zest
1 cup fresh lemon juice (from 6-8 lemons)
1/2 cup flour
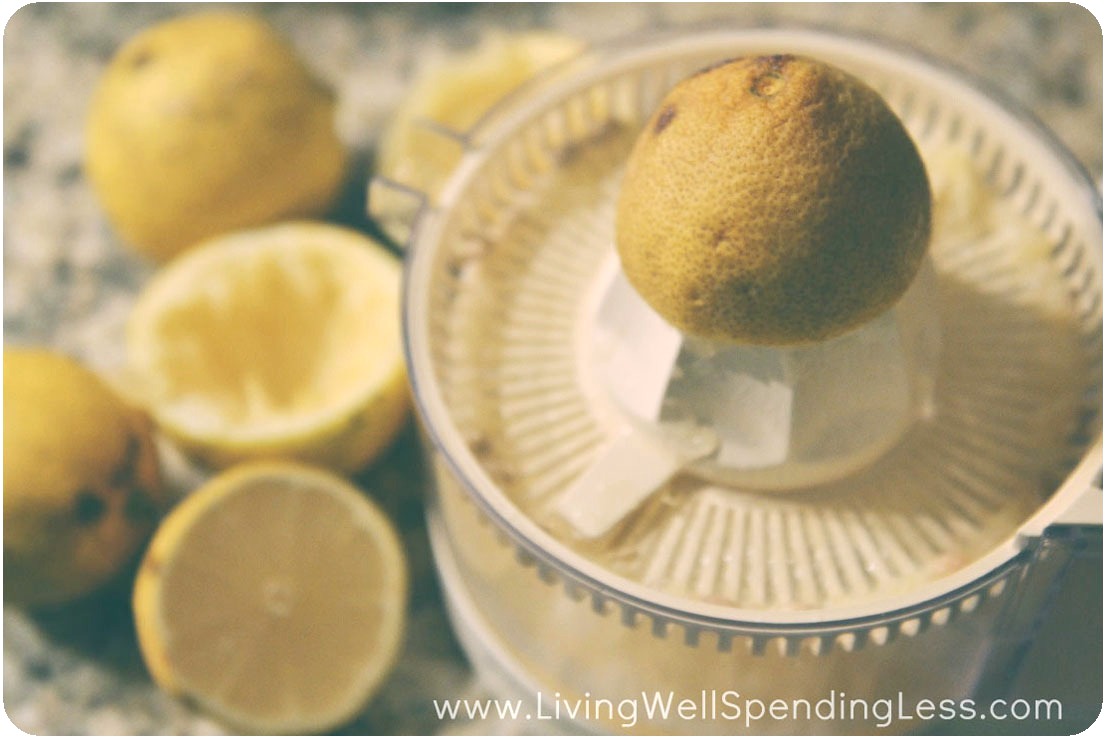
Step 1: Juice lemons; set juice aside. Preheat oven to 350 degrees.
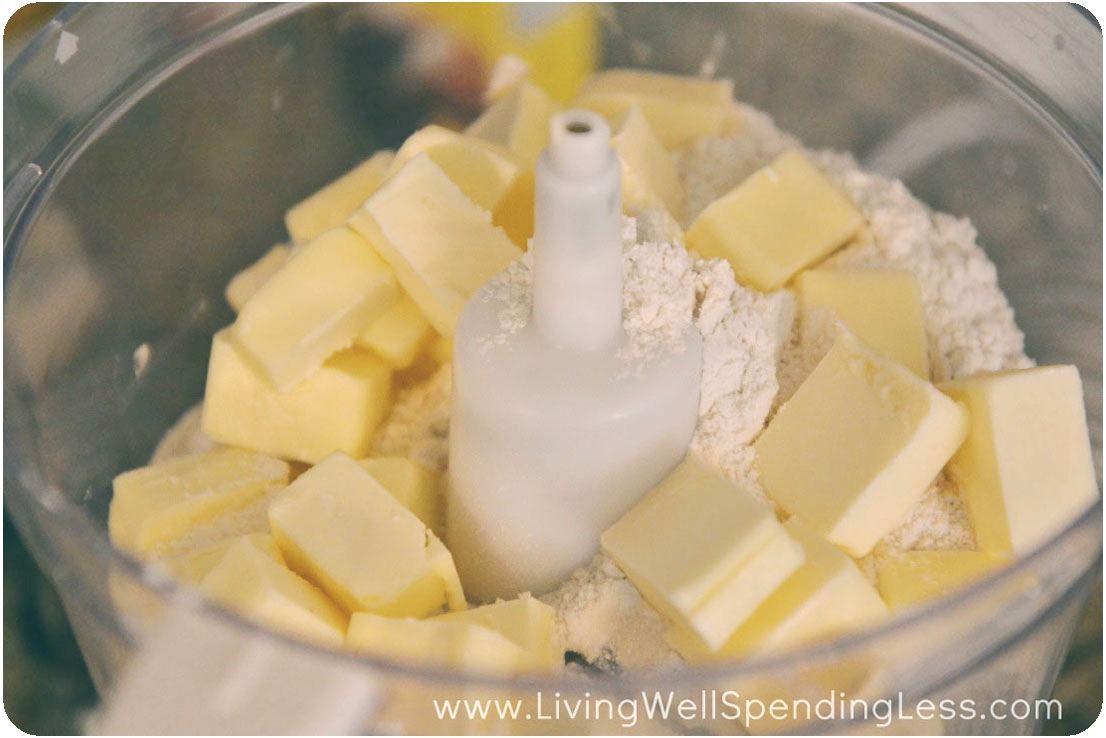
Step 2: Grease 9×13″ baking dish; set aside. Place cubed butter, 2 cups flour, brown sugar, powdered sugar and salt in food processor and pulse until dough forms.
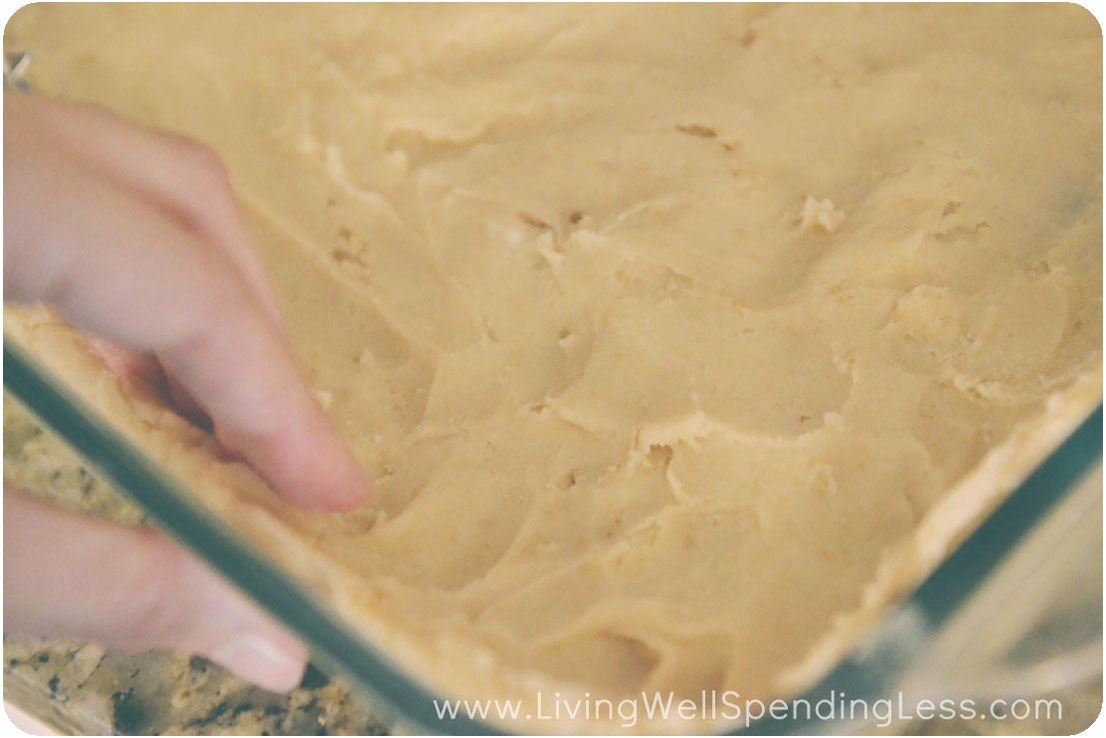
Step 3: Press dough into baking dish so that it comes up about 1/2 inch on the sides. Bake at 350 degrees for approximately 20 minutes.
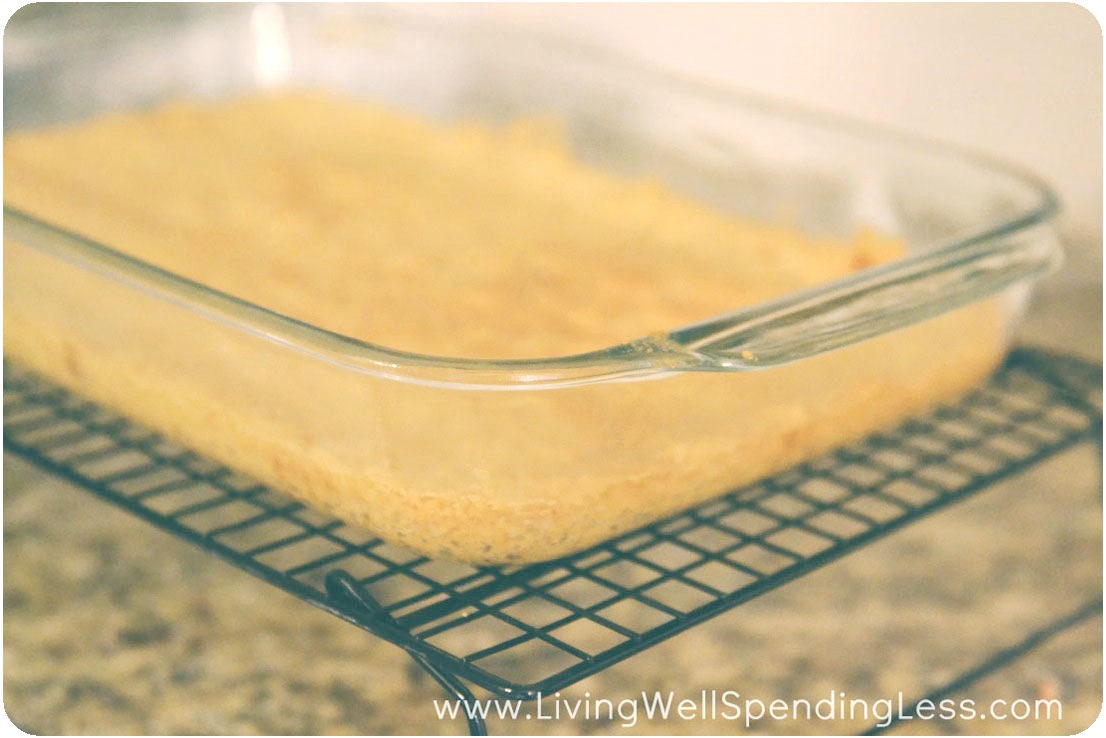
Step 4: Remove crust from oven; let cool on wire rack.
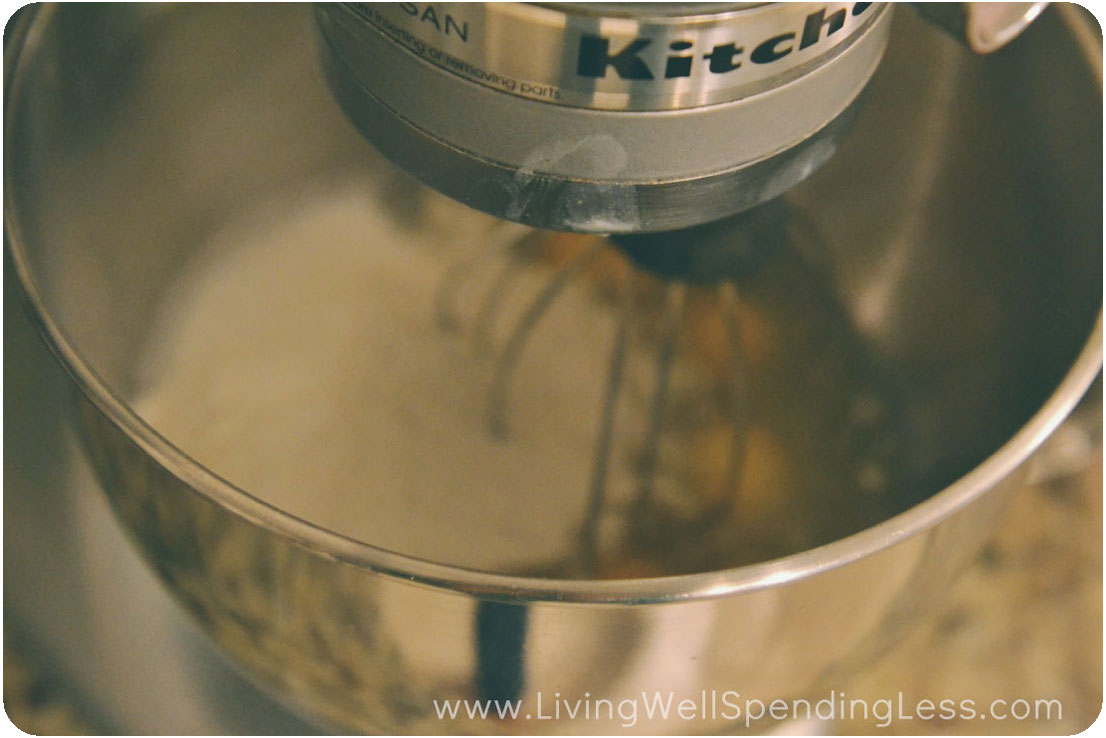
Step 5: While crust is cooling, make filling. Whisk together eggs, sugar, lemon zest, lemon juice and flour.
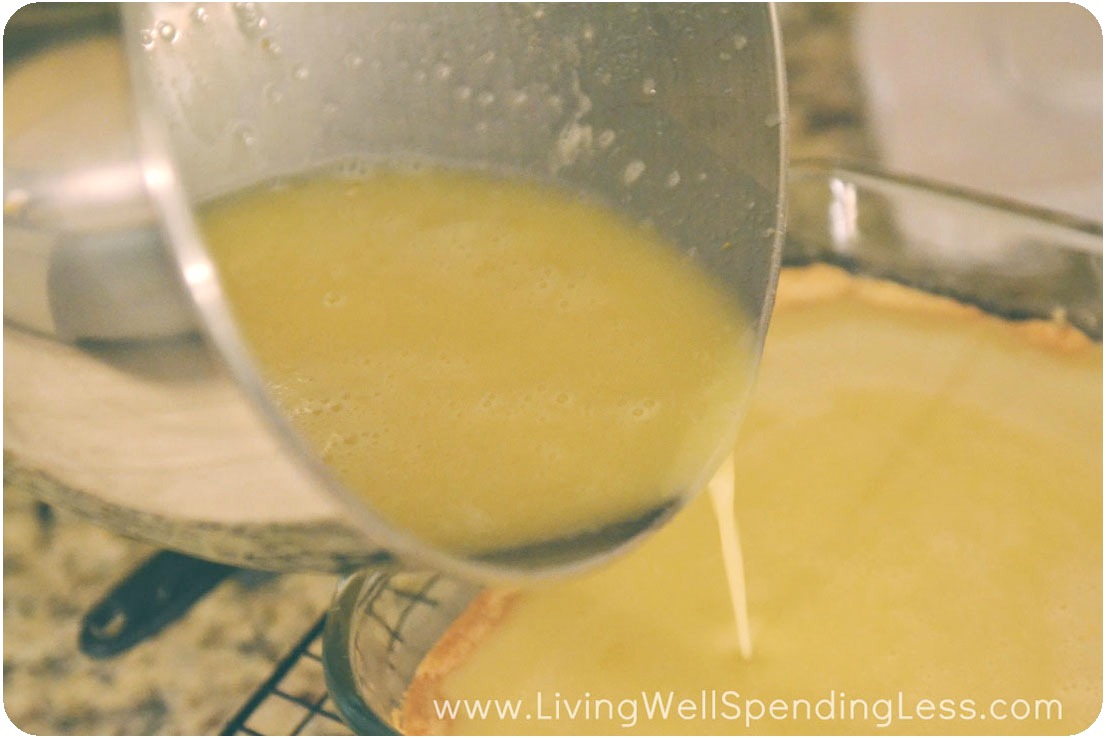
Step 6: Pour filling mixture overtop of crust. Bake 30-35 minutes longer.
Step 7: Remove from heat; let bars cool completely. Sprinkle generously with powdered sugar, then slice and serve.

Print This!
Recipe: Fresh Lemon Bars
Summary: Refreshing lemon bars for any special event.
Ingredients
Crust:
1 1/2 cups cold butter, cut into cubes
2 cups flour, chilled
1/4 cup brown sugar
1/2 cup powdered sugar
1/2 teaspoon salt
Filling:
6 large eggs
2 1/2 cups sugar
1 teaspoon lemon zest
1 cup fresh lemon juice (from 6-8 lemons)
1/2 cup flour
Instructions
Juice lemons; set juice aside. Preheat oven to 350 degrees.
Grease 9×13″ baking dish; set aside. Place cubed butter, 2 cups flour, brown sugar, powdered sugar and salt in food processor and pulse until dough forms.
Press dough into baking dish so that it comes up about 1/2 inch on the sides. Bake at 350 degrees for approximately 20 minutes.
Remove crust from oven; let cool on wire rack.
While crust is cooling, make filling. Whisk together eggs, sugar, lemon zest, lemon juice and flour.
Pour filling mixture overtop of crust. Bake 30-35 minutes longer.
Remove from heat; let bars cool completely. Sprinkle generously with powdered sugar, then slice and serve.
Preparation time: 10 minutes
Cooking time: 50 minutes
Number of servings (yield): 36
* * *
What’s your favorite lemon treat?
Pin It
The post Fresh Lemon Bars appeared first on Living Well Spending Less™.
January 27, 2014
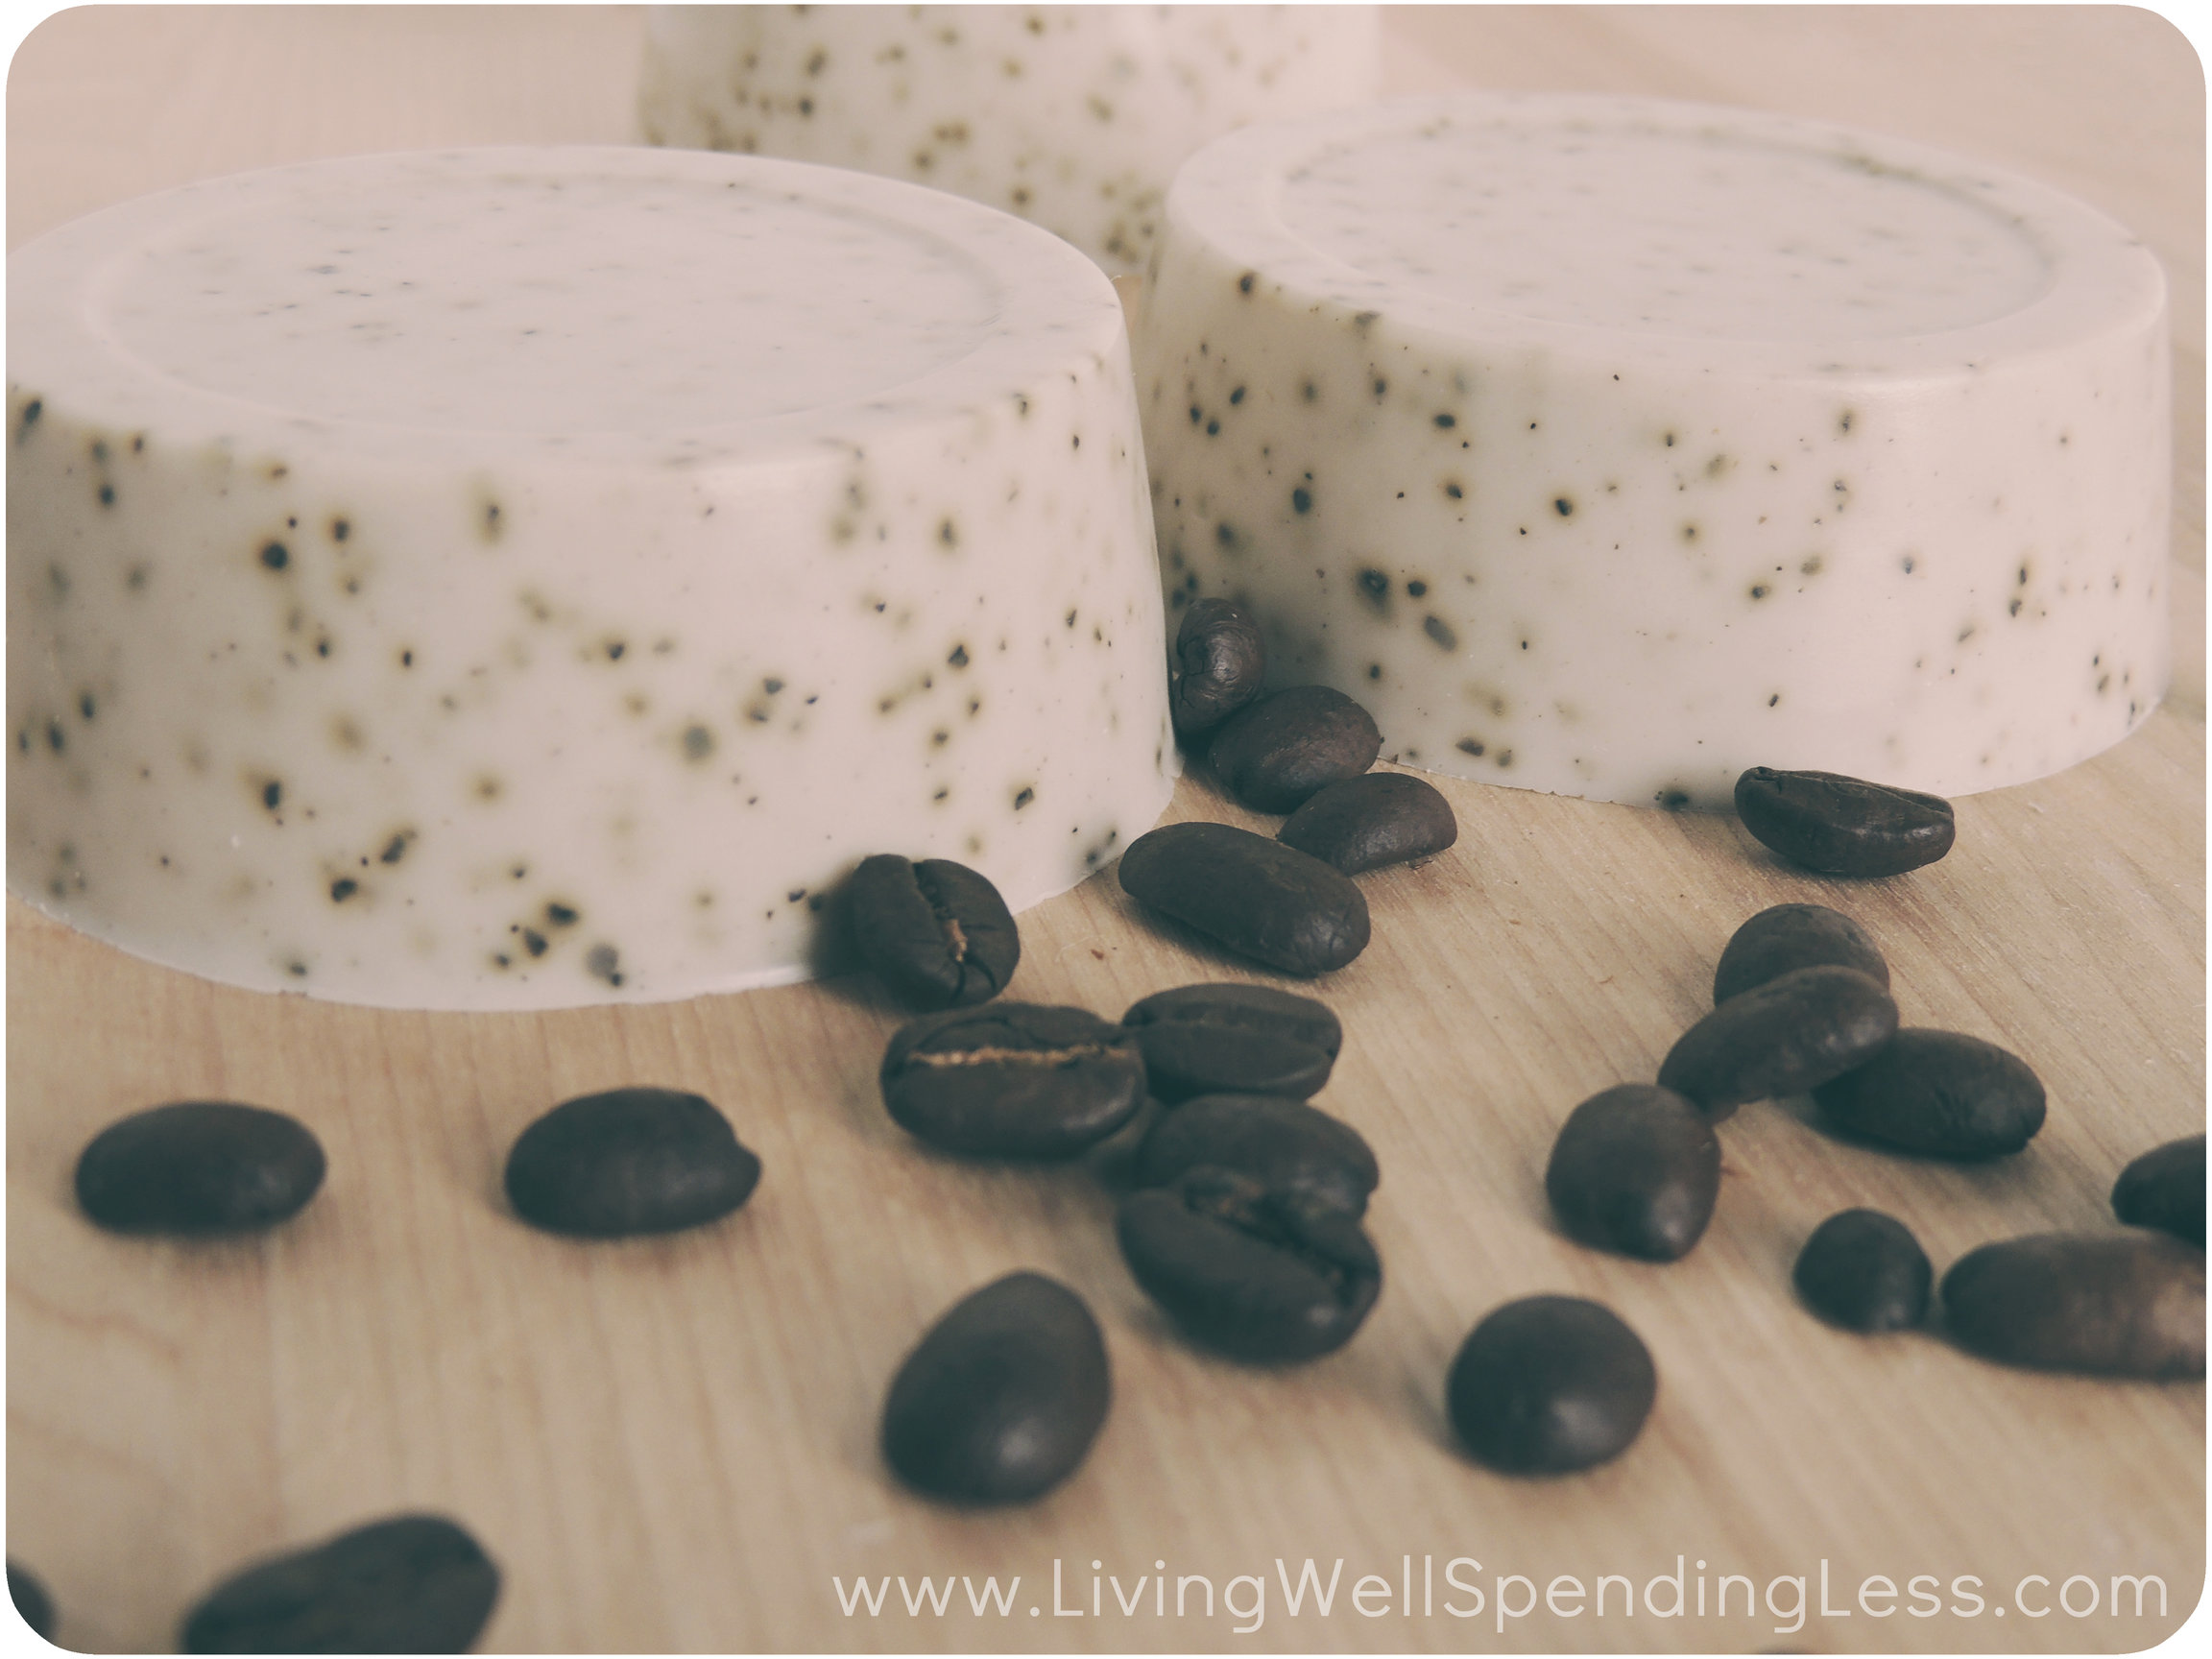
DIY Coffee Bean Soap


This is a guest post from Gabby of Essentially Eclectic
About 7 months ago I found myself wandering the aisles of my local Michael’s craft supply store looking for what I would need to make one of my most favorite DIY projects to date: homemade soap.
Now I’m all for adventure, but for a long time I was really afraid of trying to make my own soap. It’s a fairly complicated process, and a potentially dangerous one too. Soap made from scratch requires working with lye, an extremely caustic chemical that can burn your skin on contact. Traditional soap making requires a well-ventilated area, rubber gloves, protective eye-wear—practically a hazmat suit! After reading several long lists of recommended safety precautions and procedures online, I just about gave up my dreams of ever trying to make soap then and there. So when I learned there was a method to make my own soapy creations that didn’t require working with lye, I was all over it!
If you’ve ever wanted to try your hand at soap making but found yourself a little put off by the thought of possibly losing an eye to lye, then this is the guest post for you! Today I am going to share with you how to make a simple, three-ingredient coffee soap.
Here’s what you need:
1 lb package of melt-and-pour soap base
Ground coffee beans
Fragrance oil
A soap mold
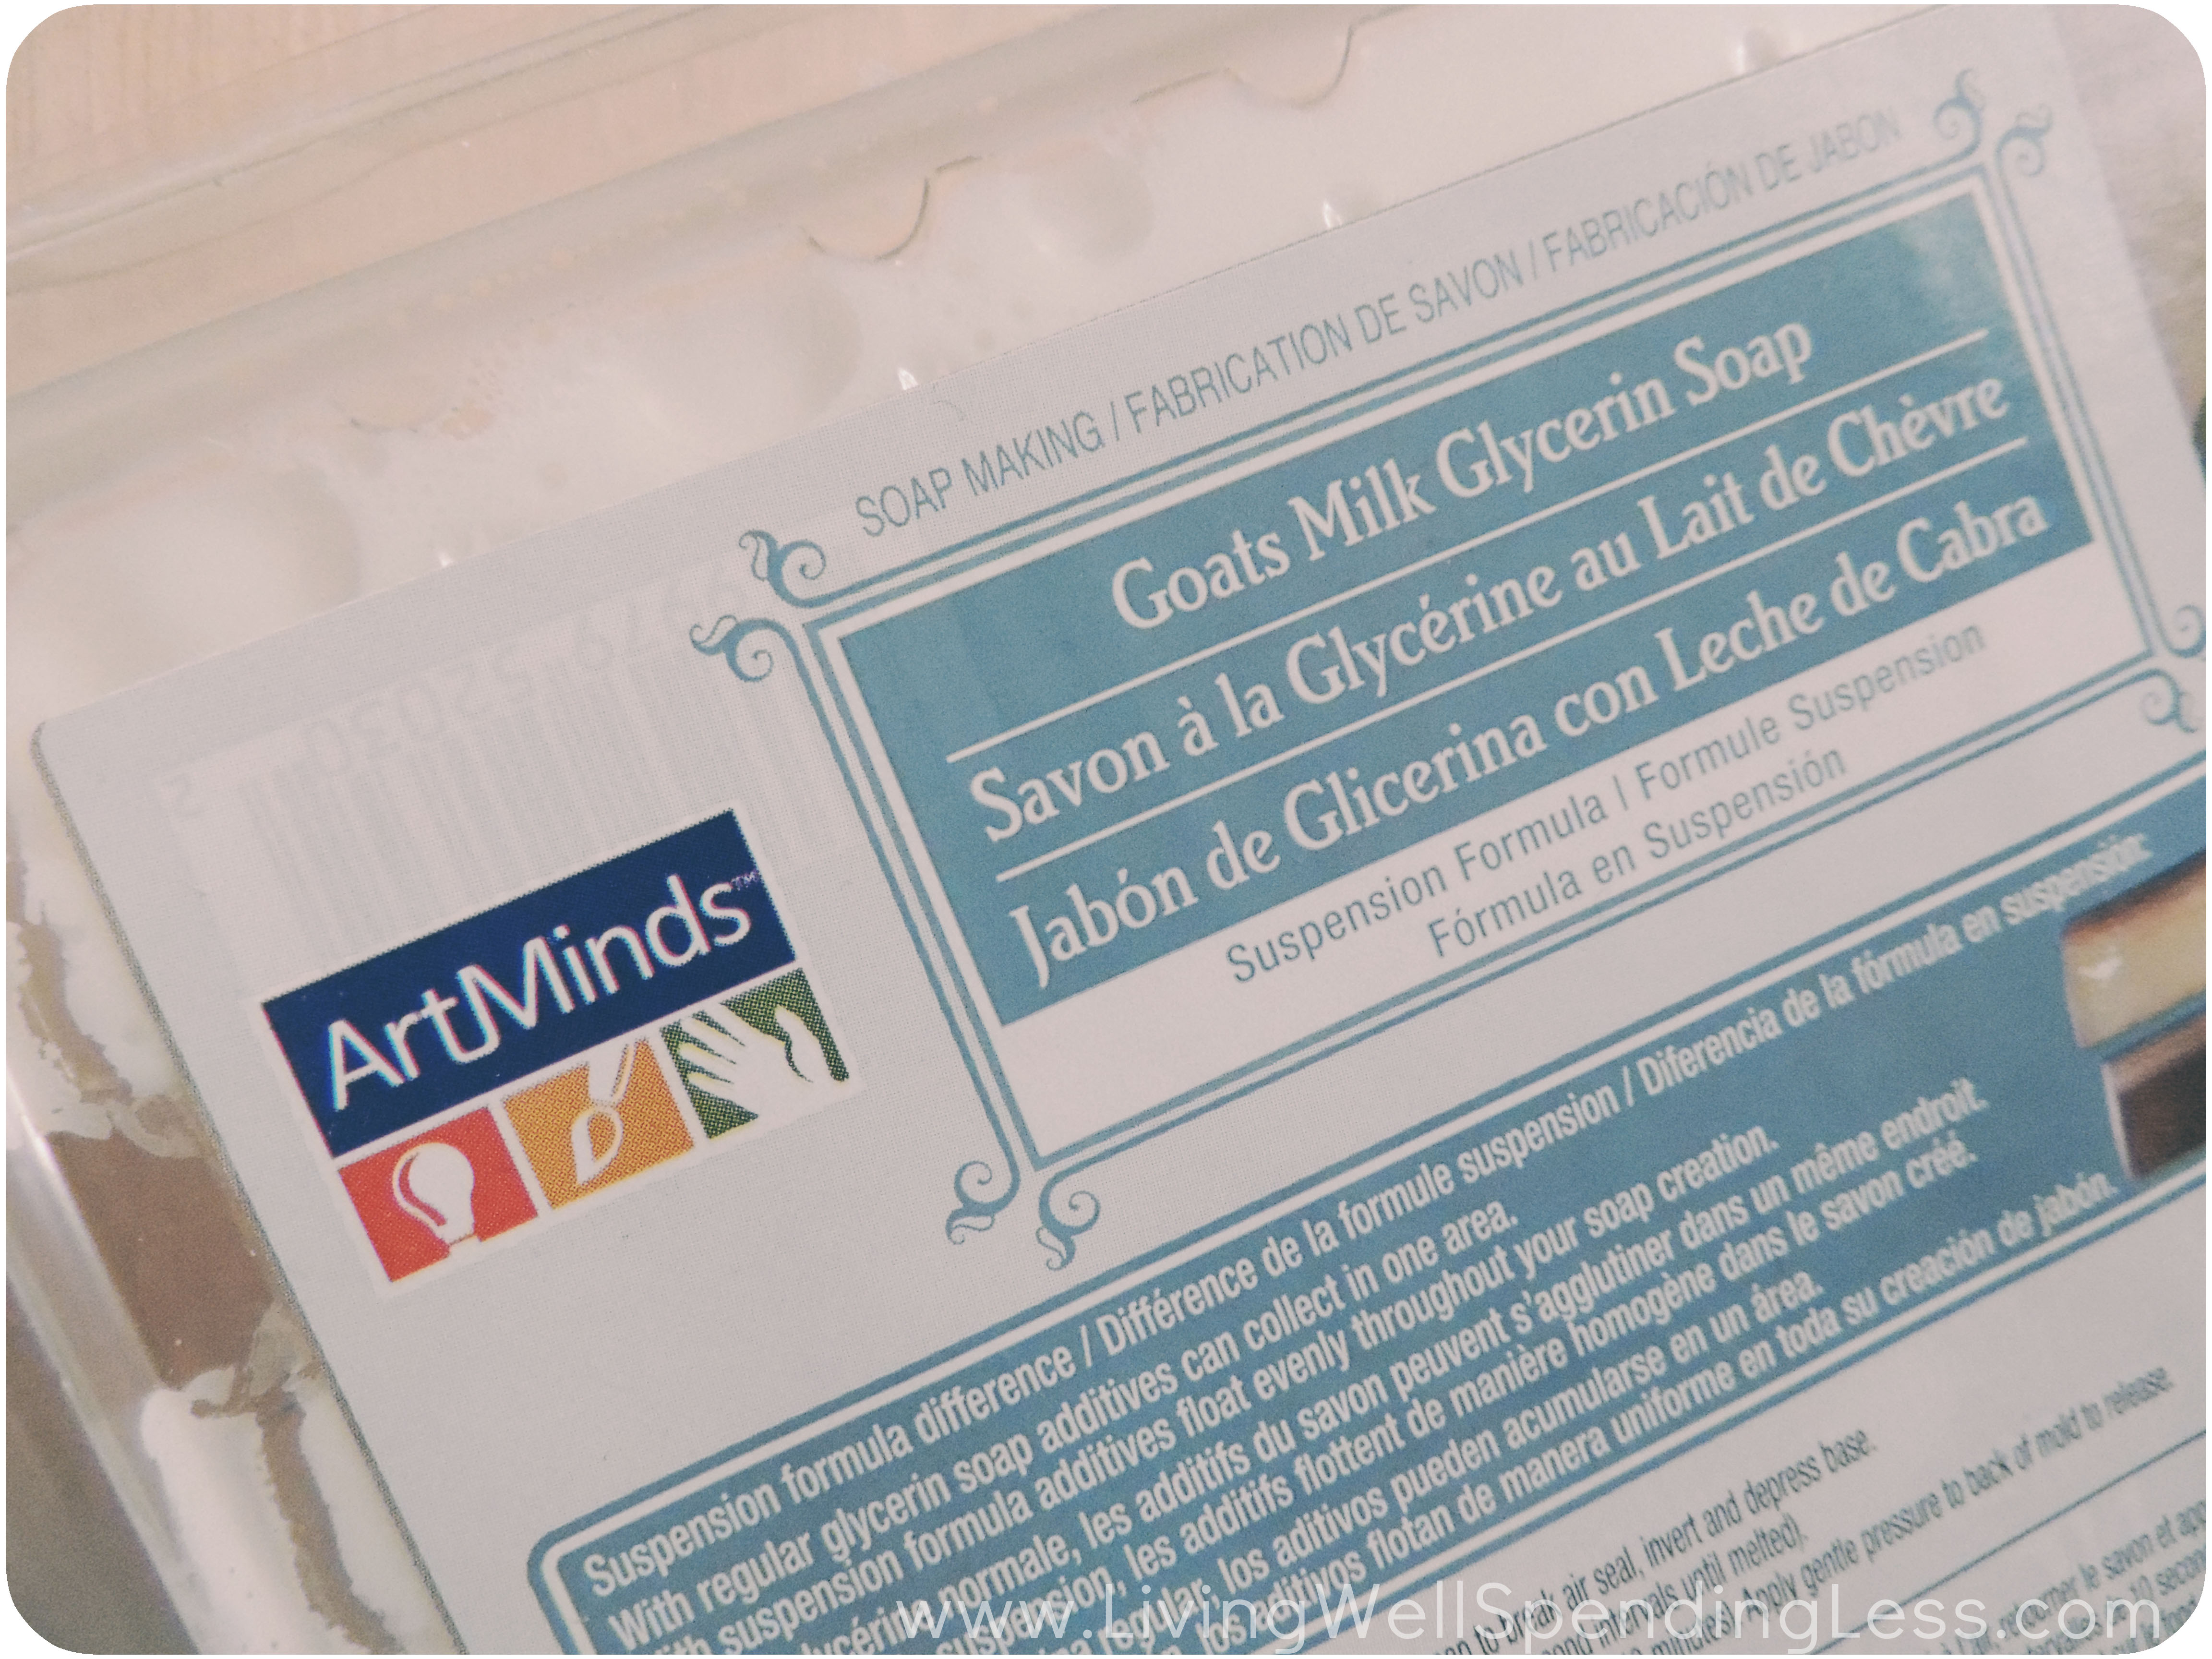
I decided to use a goat’s milk soap base, although there are a variety of base types to choose from. I also decided to use a soap base with a “suspension formula” so that my additives—in this case, ground coffee beans—would stay evenly suspended in the soap. It’s not critical your soap base do this too; I simply liked the look of it!
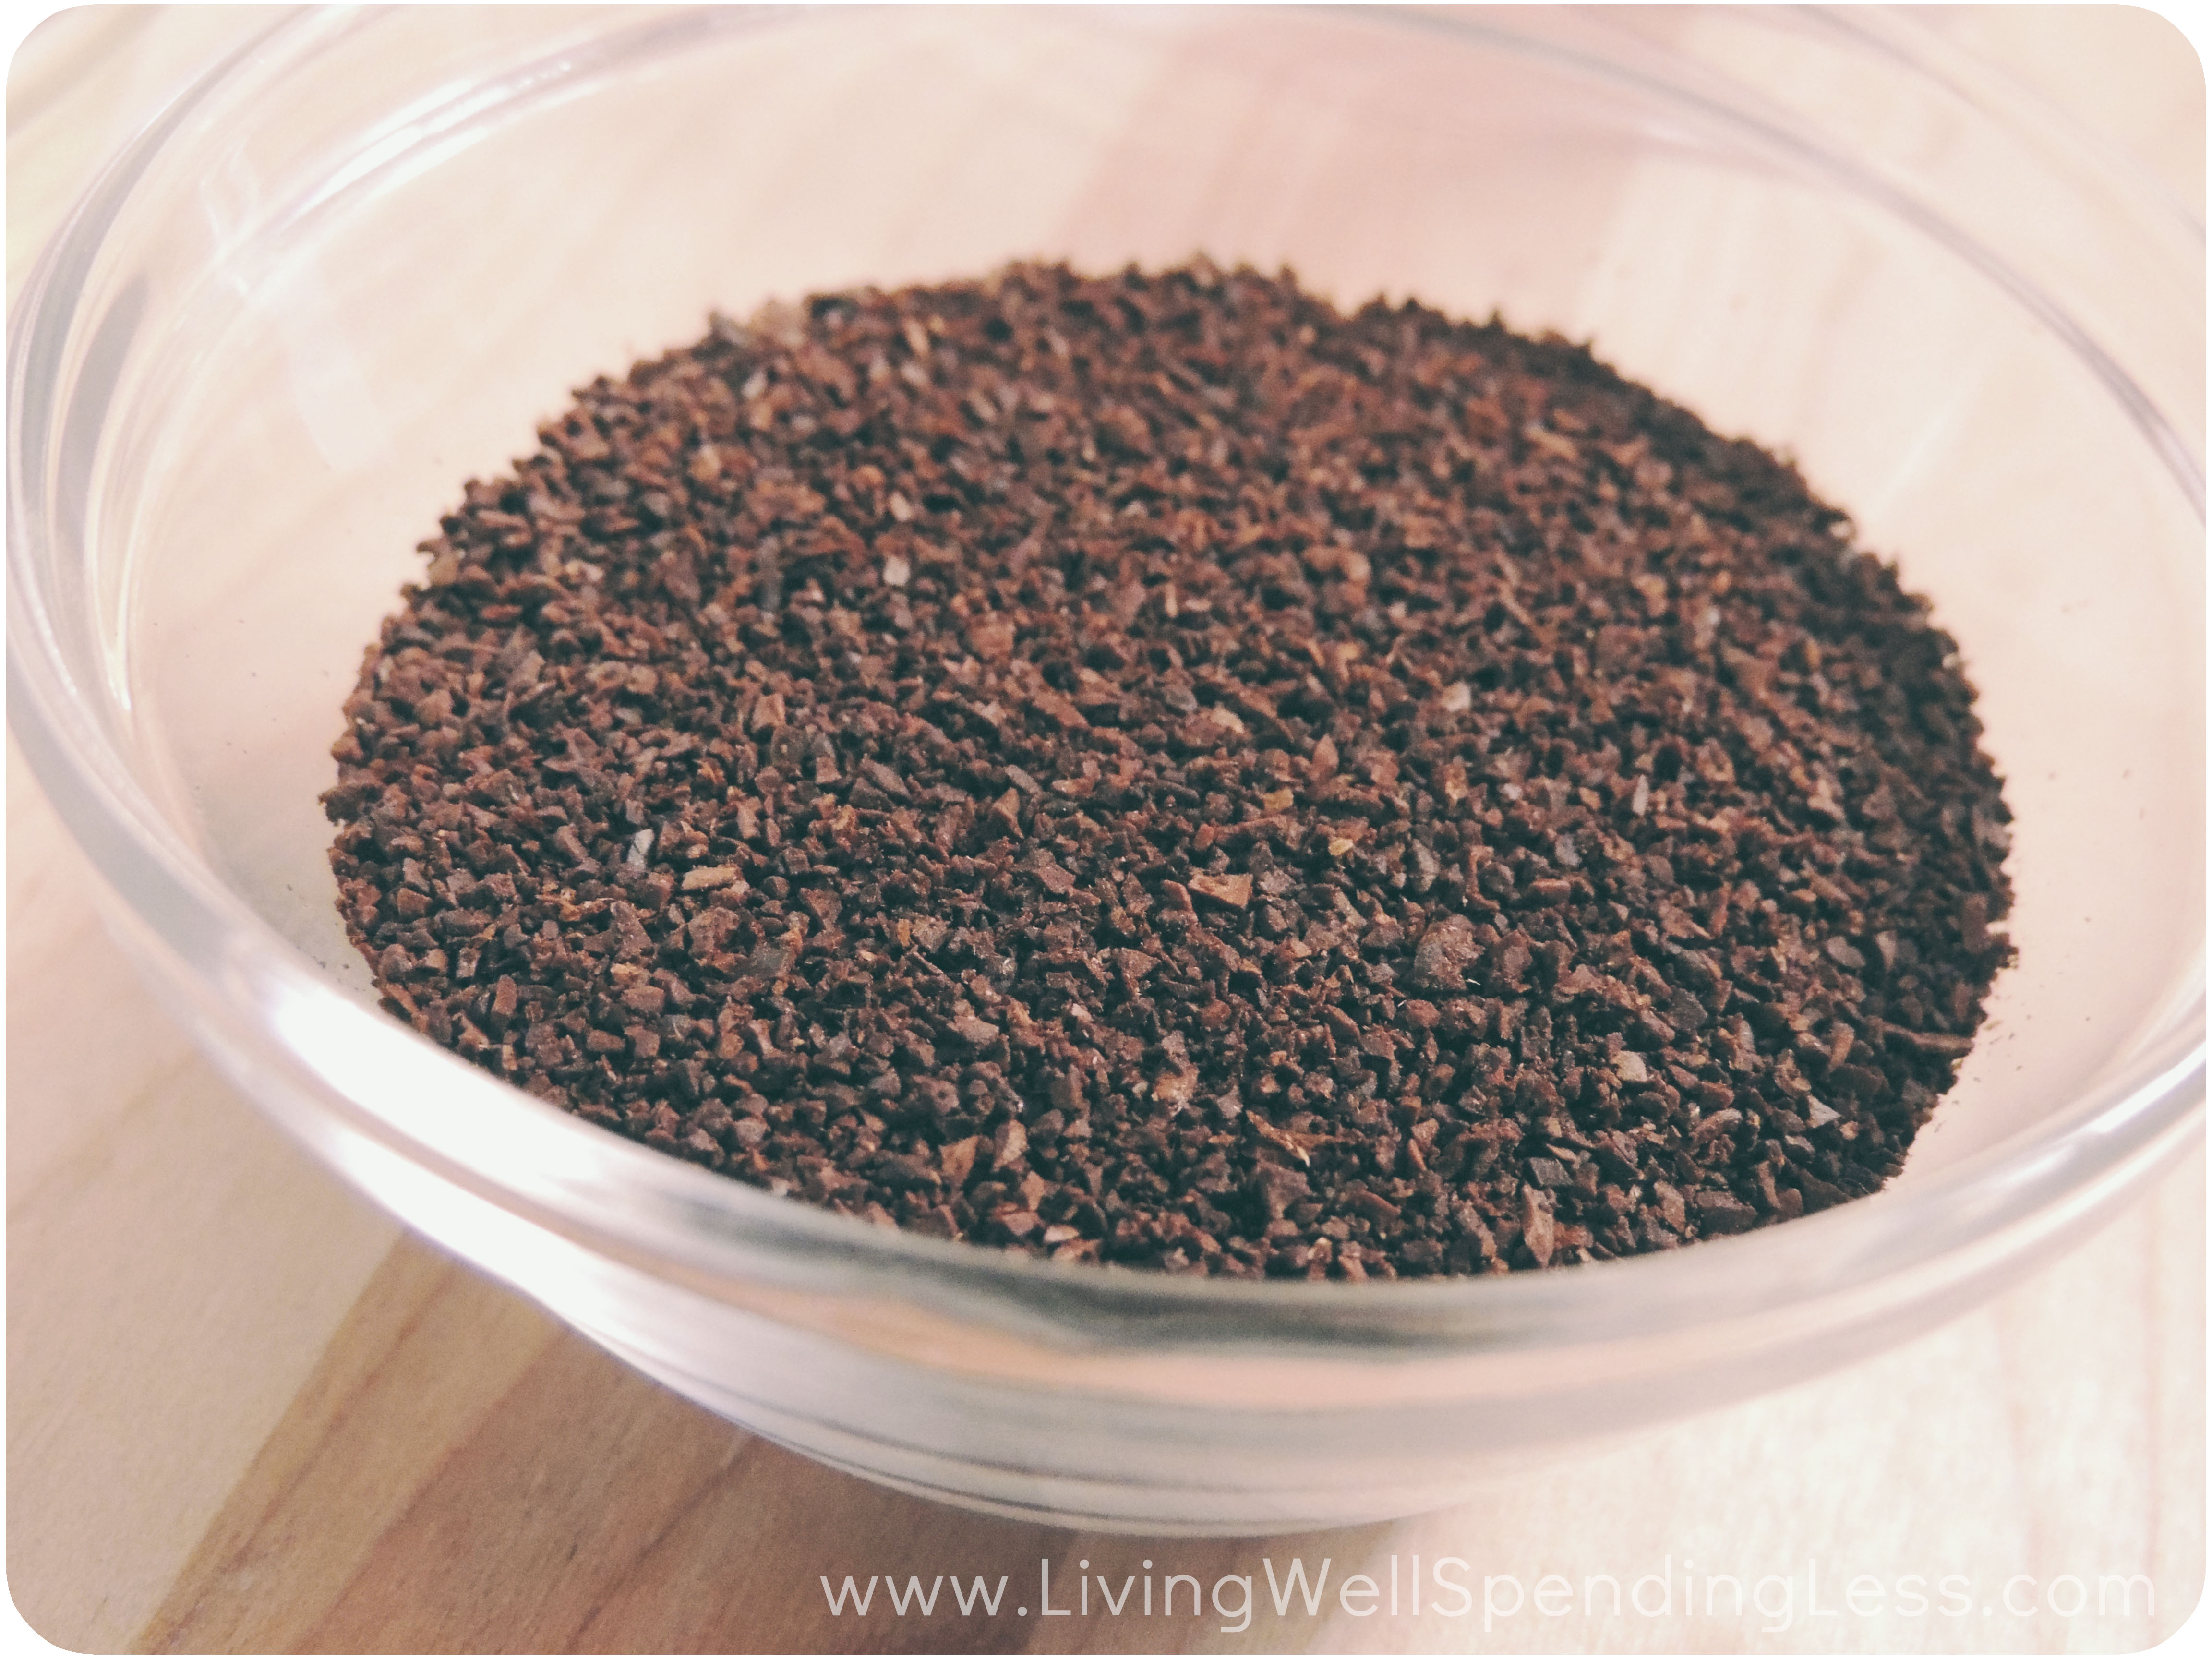
I don’t particularly enjoy drinking coffee, but I absolutely love the way coffee smells, so I decided to use ground coffee beans as my additive for this soap. Coffee is also great for the skin, and ground beans can also work as an exfoliant!
When the coffee beans are combined with the soap, however, it becomes difficult to make out their smell even though the soap base is unscented. So I also added a “milk and honey” fragrance oil designed for soap making that I purchased online. Craft stores will typically sell fragrance oils for soaps, so choose a fragrance you love!
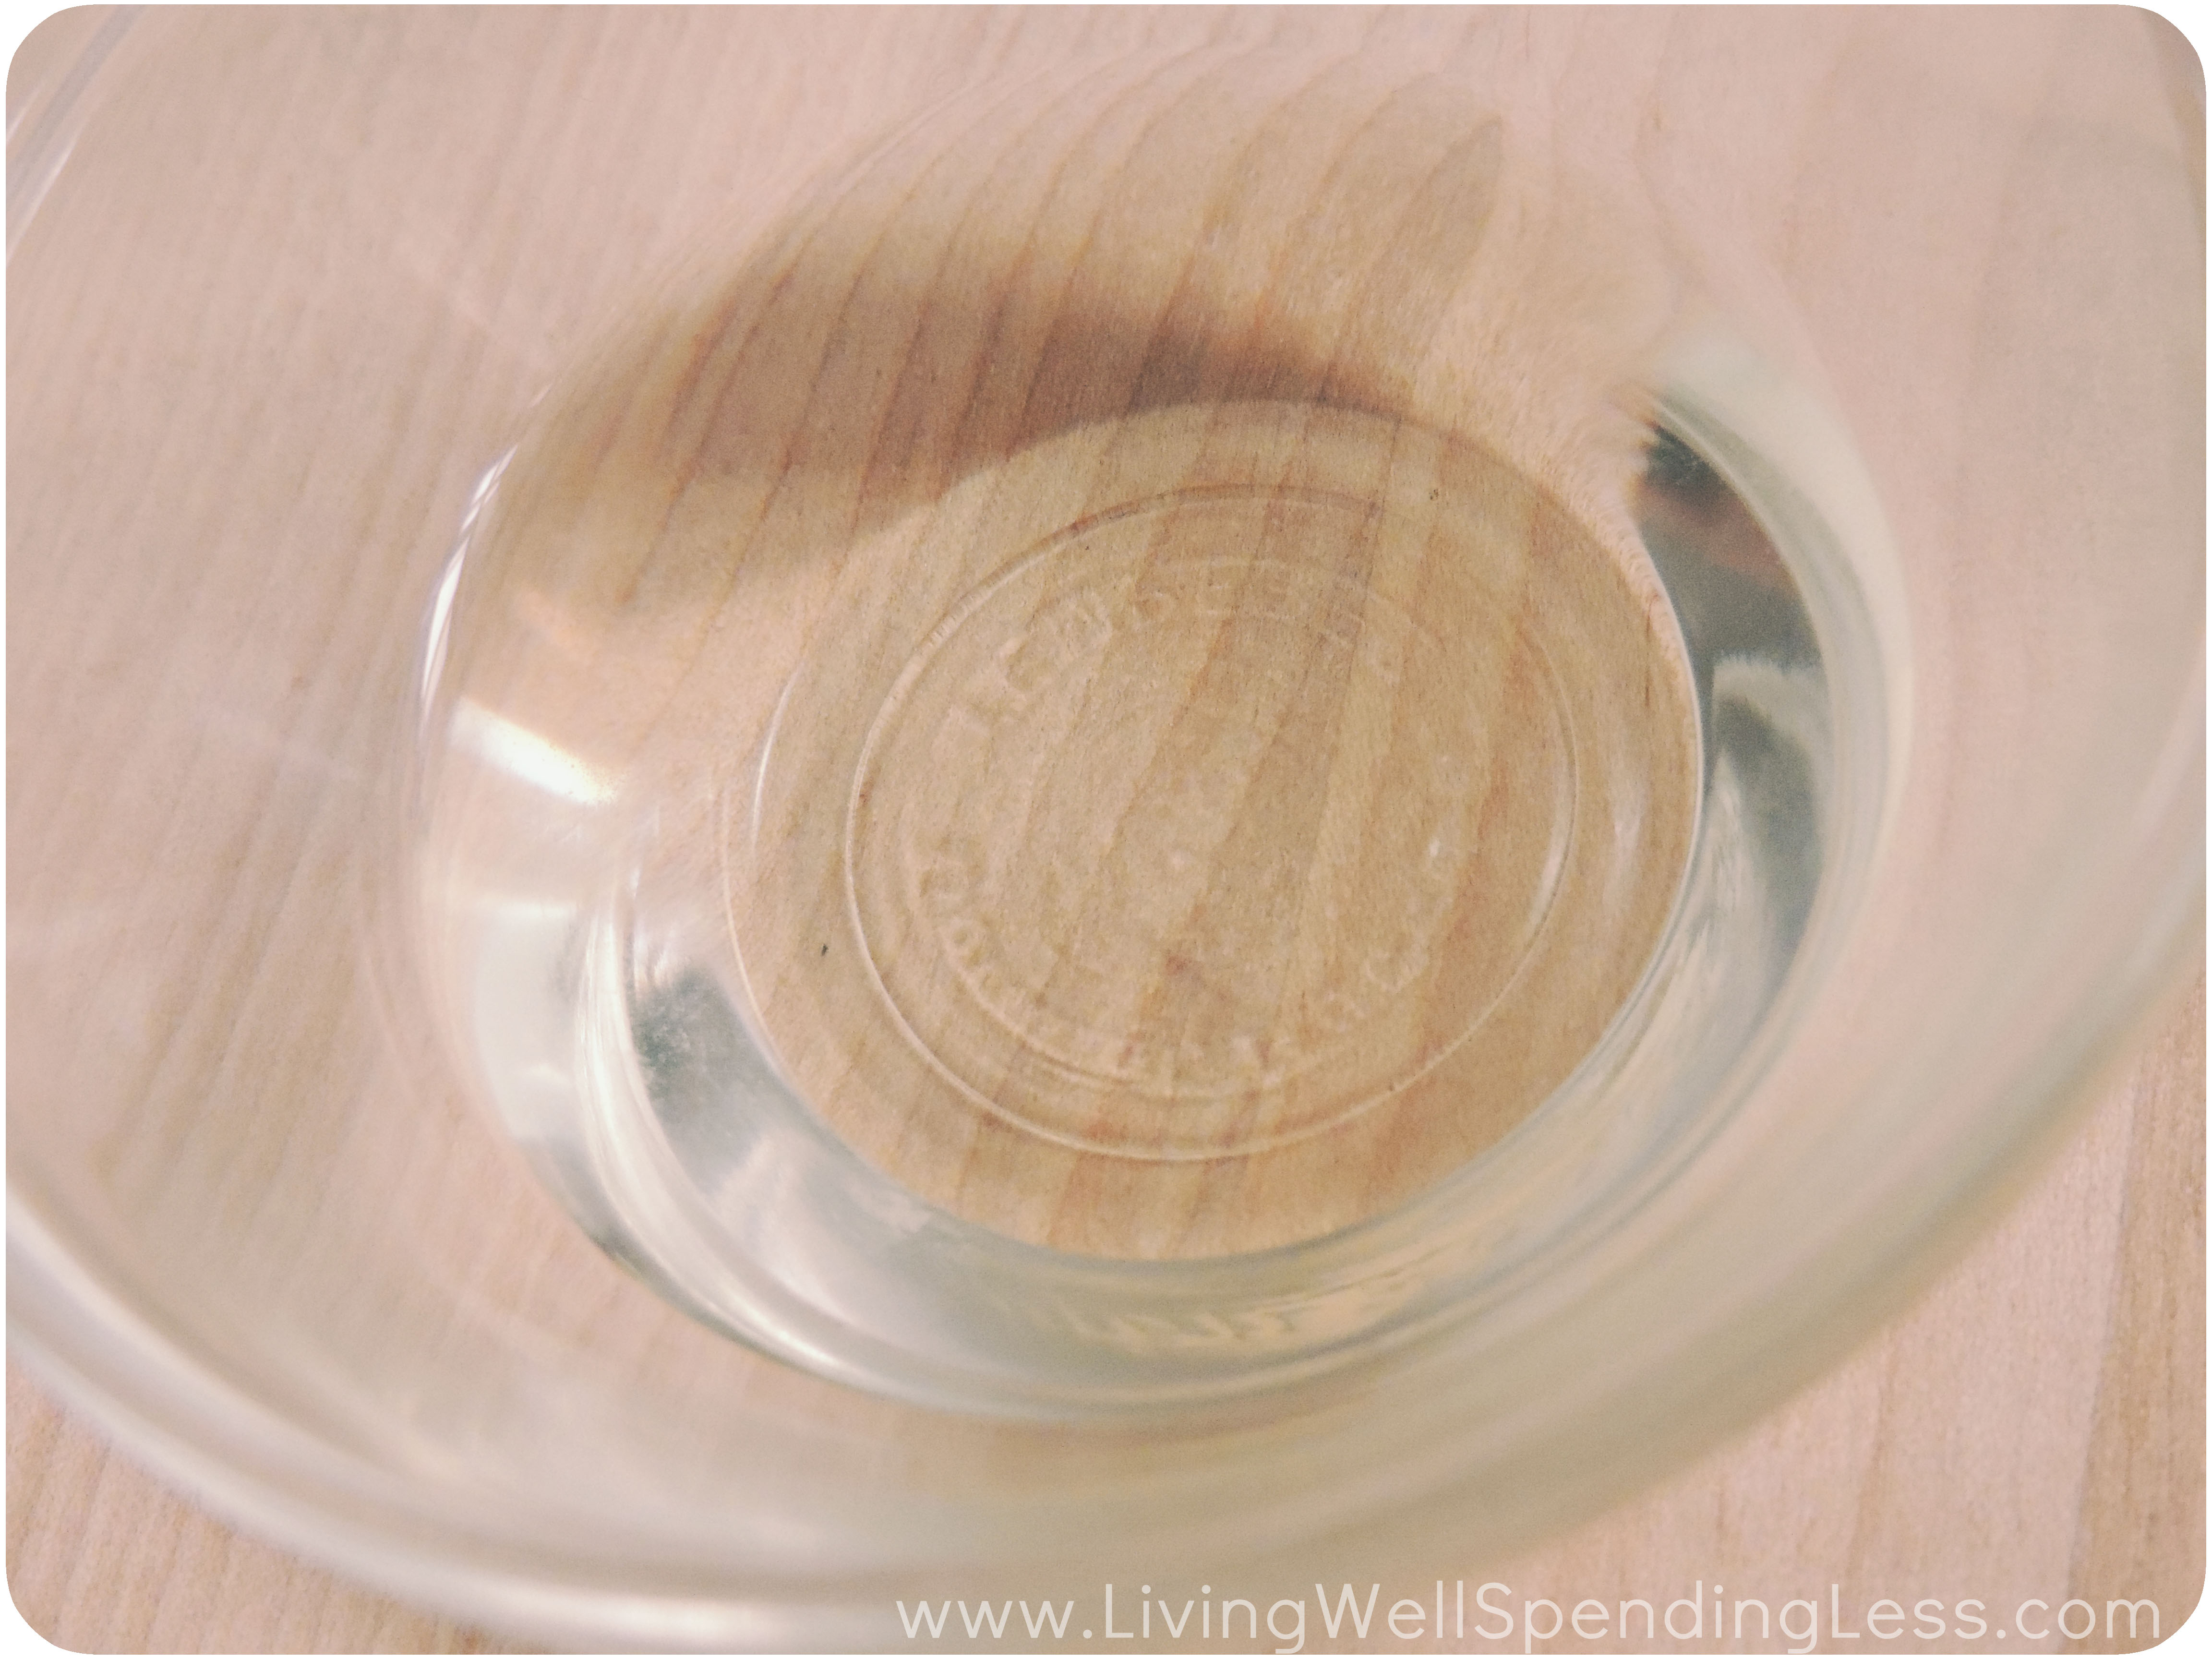
Step 1: Figure out how much soap base you will need. Some soap molds explicitly note how many ounces of soap they hold, while others don’t. If yours don’t, try this trick: fill up your soap mold with water and then carefully pour the water in your mold into a large measuring glass or cup. This should tell you roughly how many ounces of soap base you will need to fill your mold. For my molds, I needed at least 10 ounces of soap base

Step 2: Cut up your soap base into cubes. This will help the soap melt faster and more evenly.
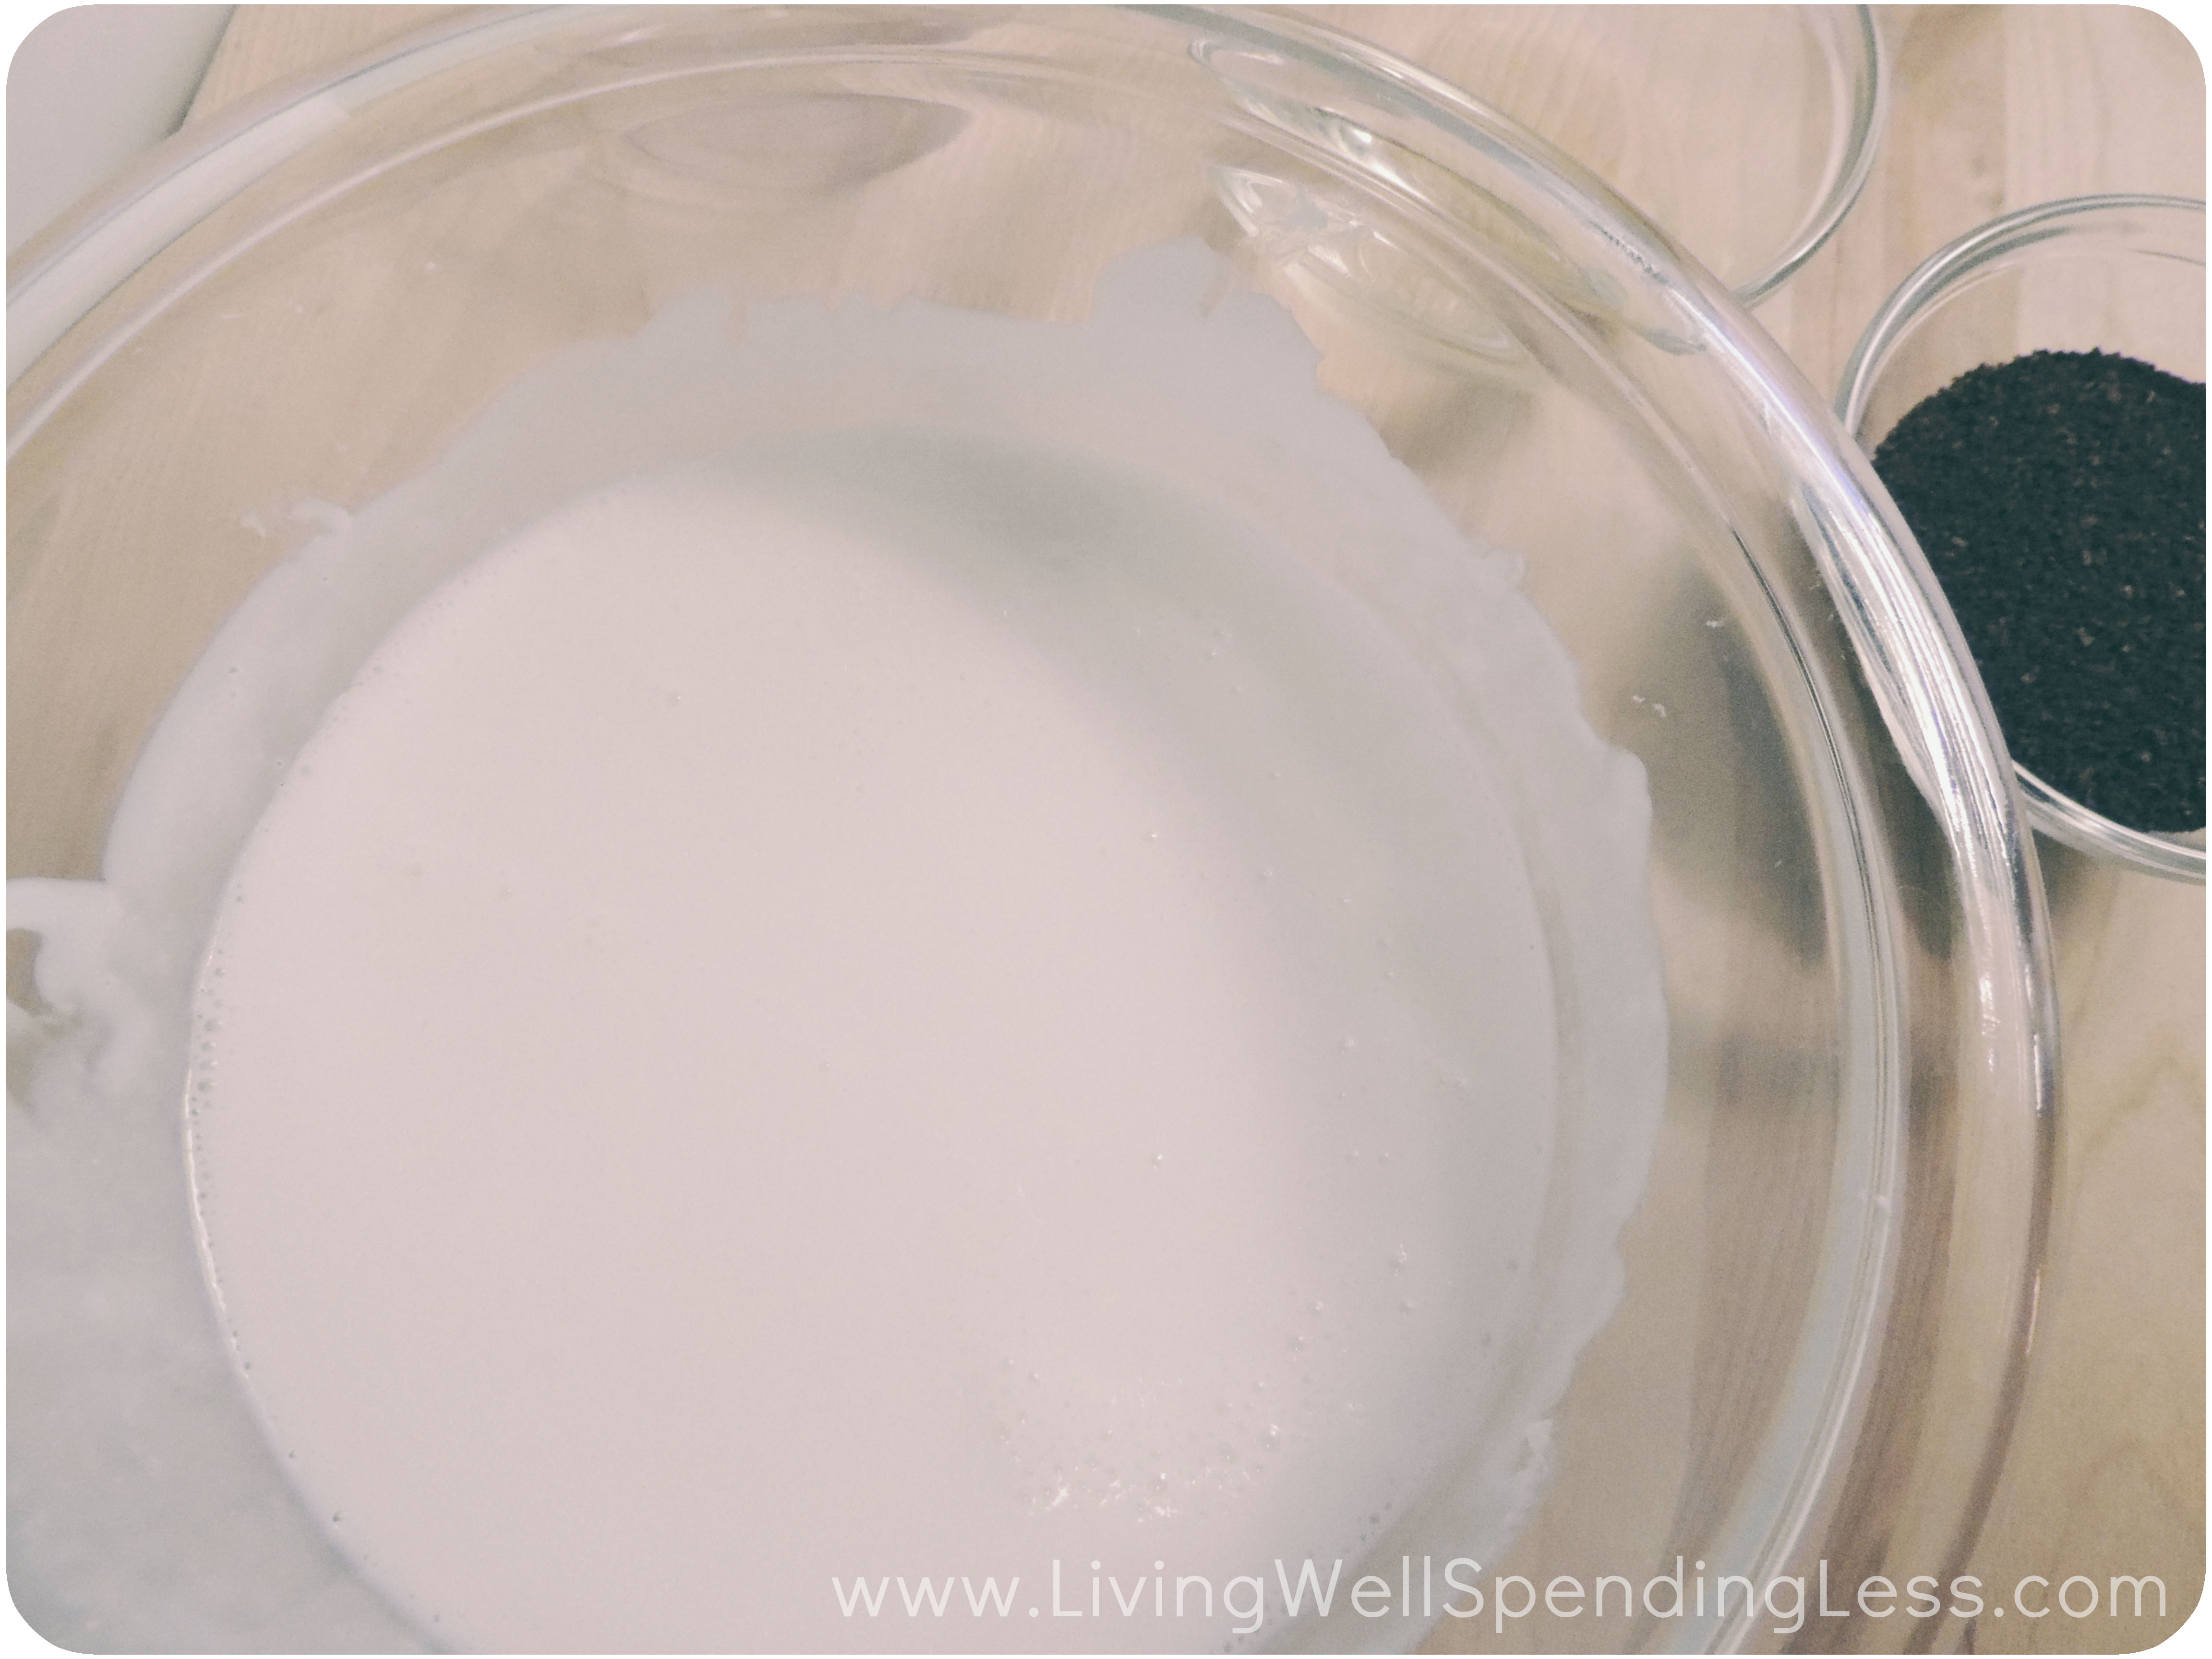
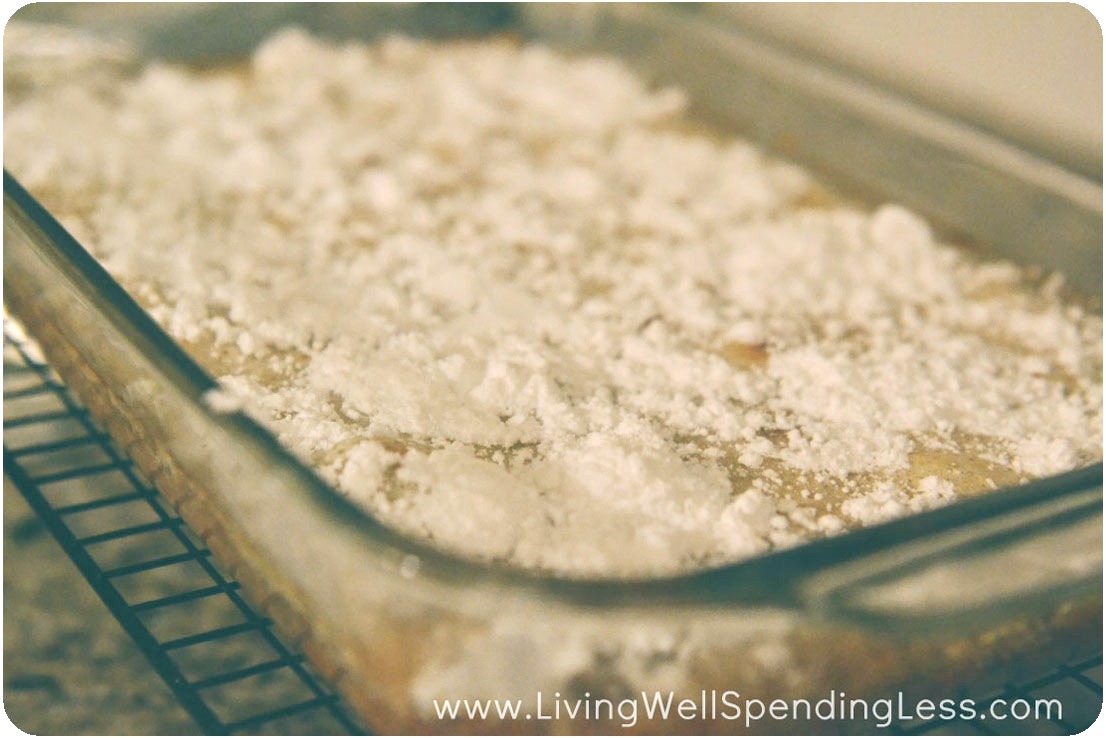
Step 3: Place your soap in a microwave safe container (I used a Pyrex bowl) and microwave it in 15 second intervals, stirring after each interval until your soap has melted all the way. Keep an eye on your soap as it is melting in the microwave as it can really foam over. Soap heated for too long can lose its moisture, and you don’t want that. Your soap may have a few bubbles in it when all is said and done, but that’s okay. Once this is done, you will want to work relatively quickly to complete the next 2 steps.
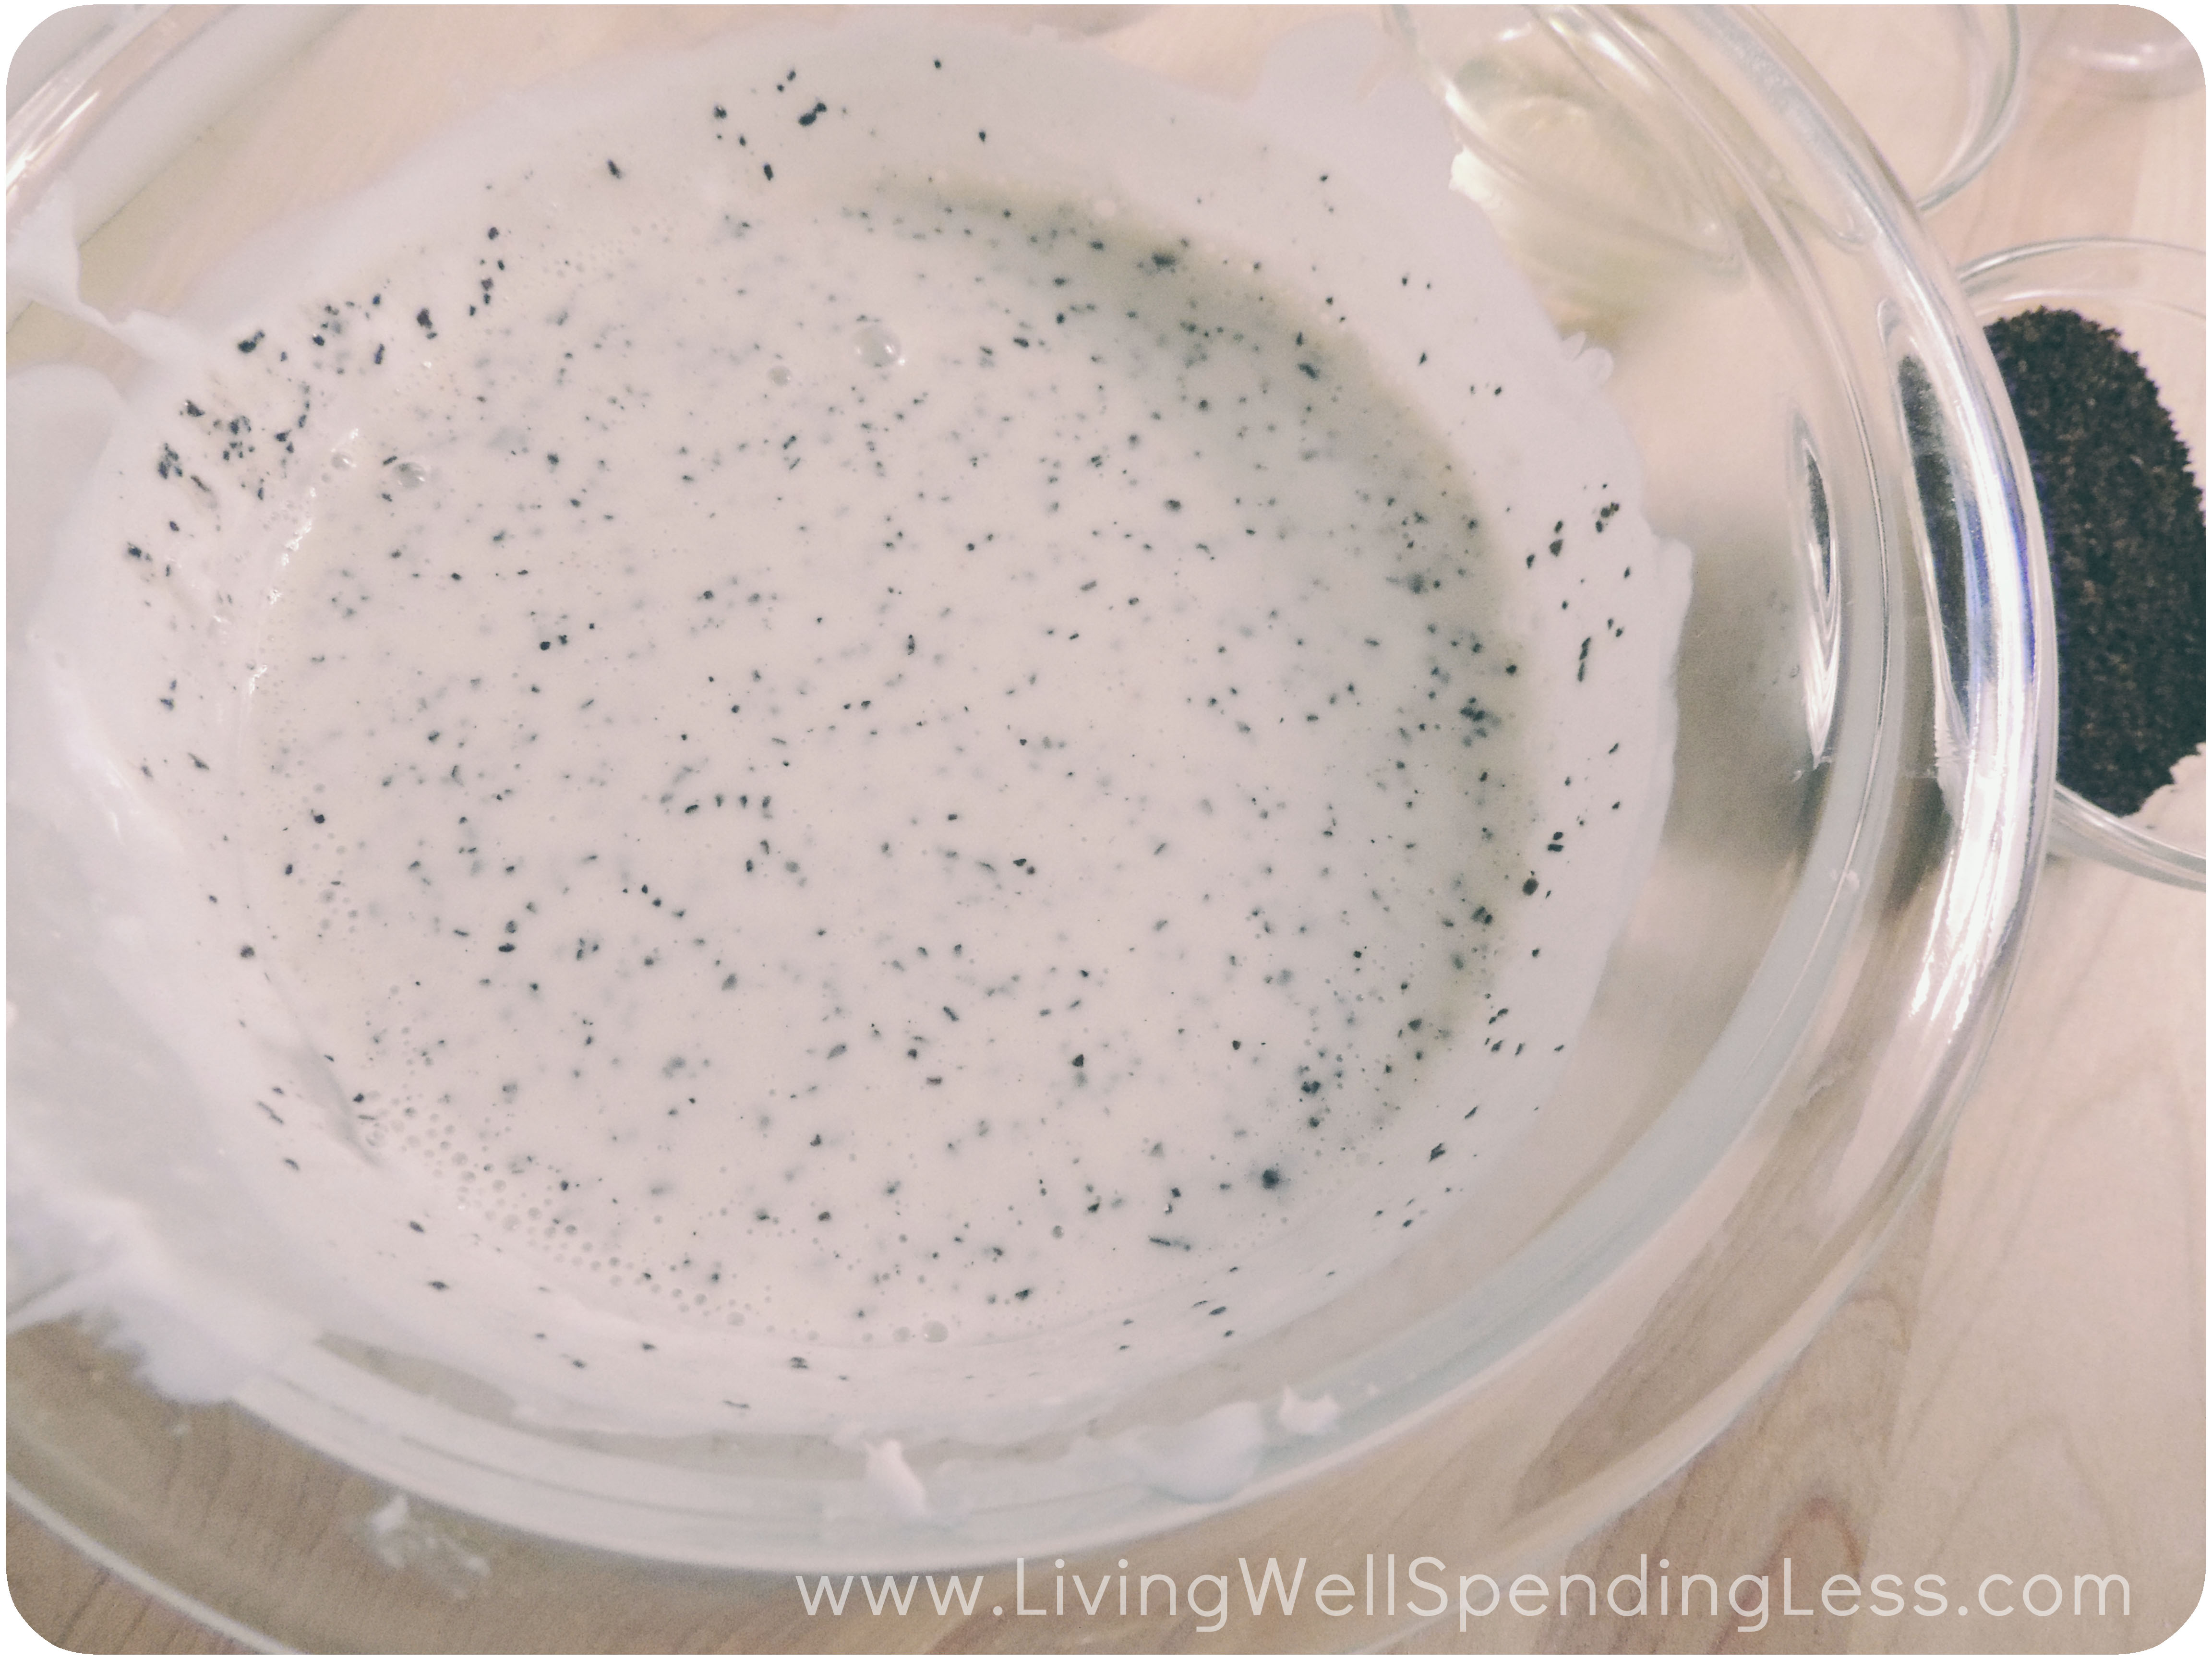
Step 4: Add in your coffee grounds and stir. I sprinkled them in until I felt my soap was sufficiently coffee-filled. It’s okay to eyeball it!
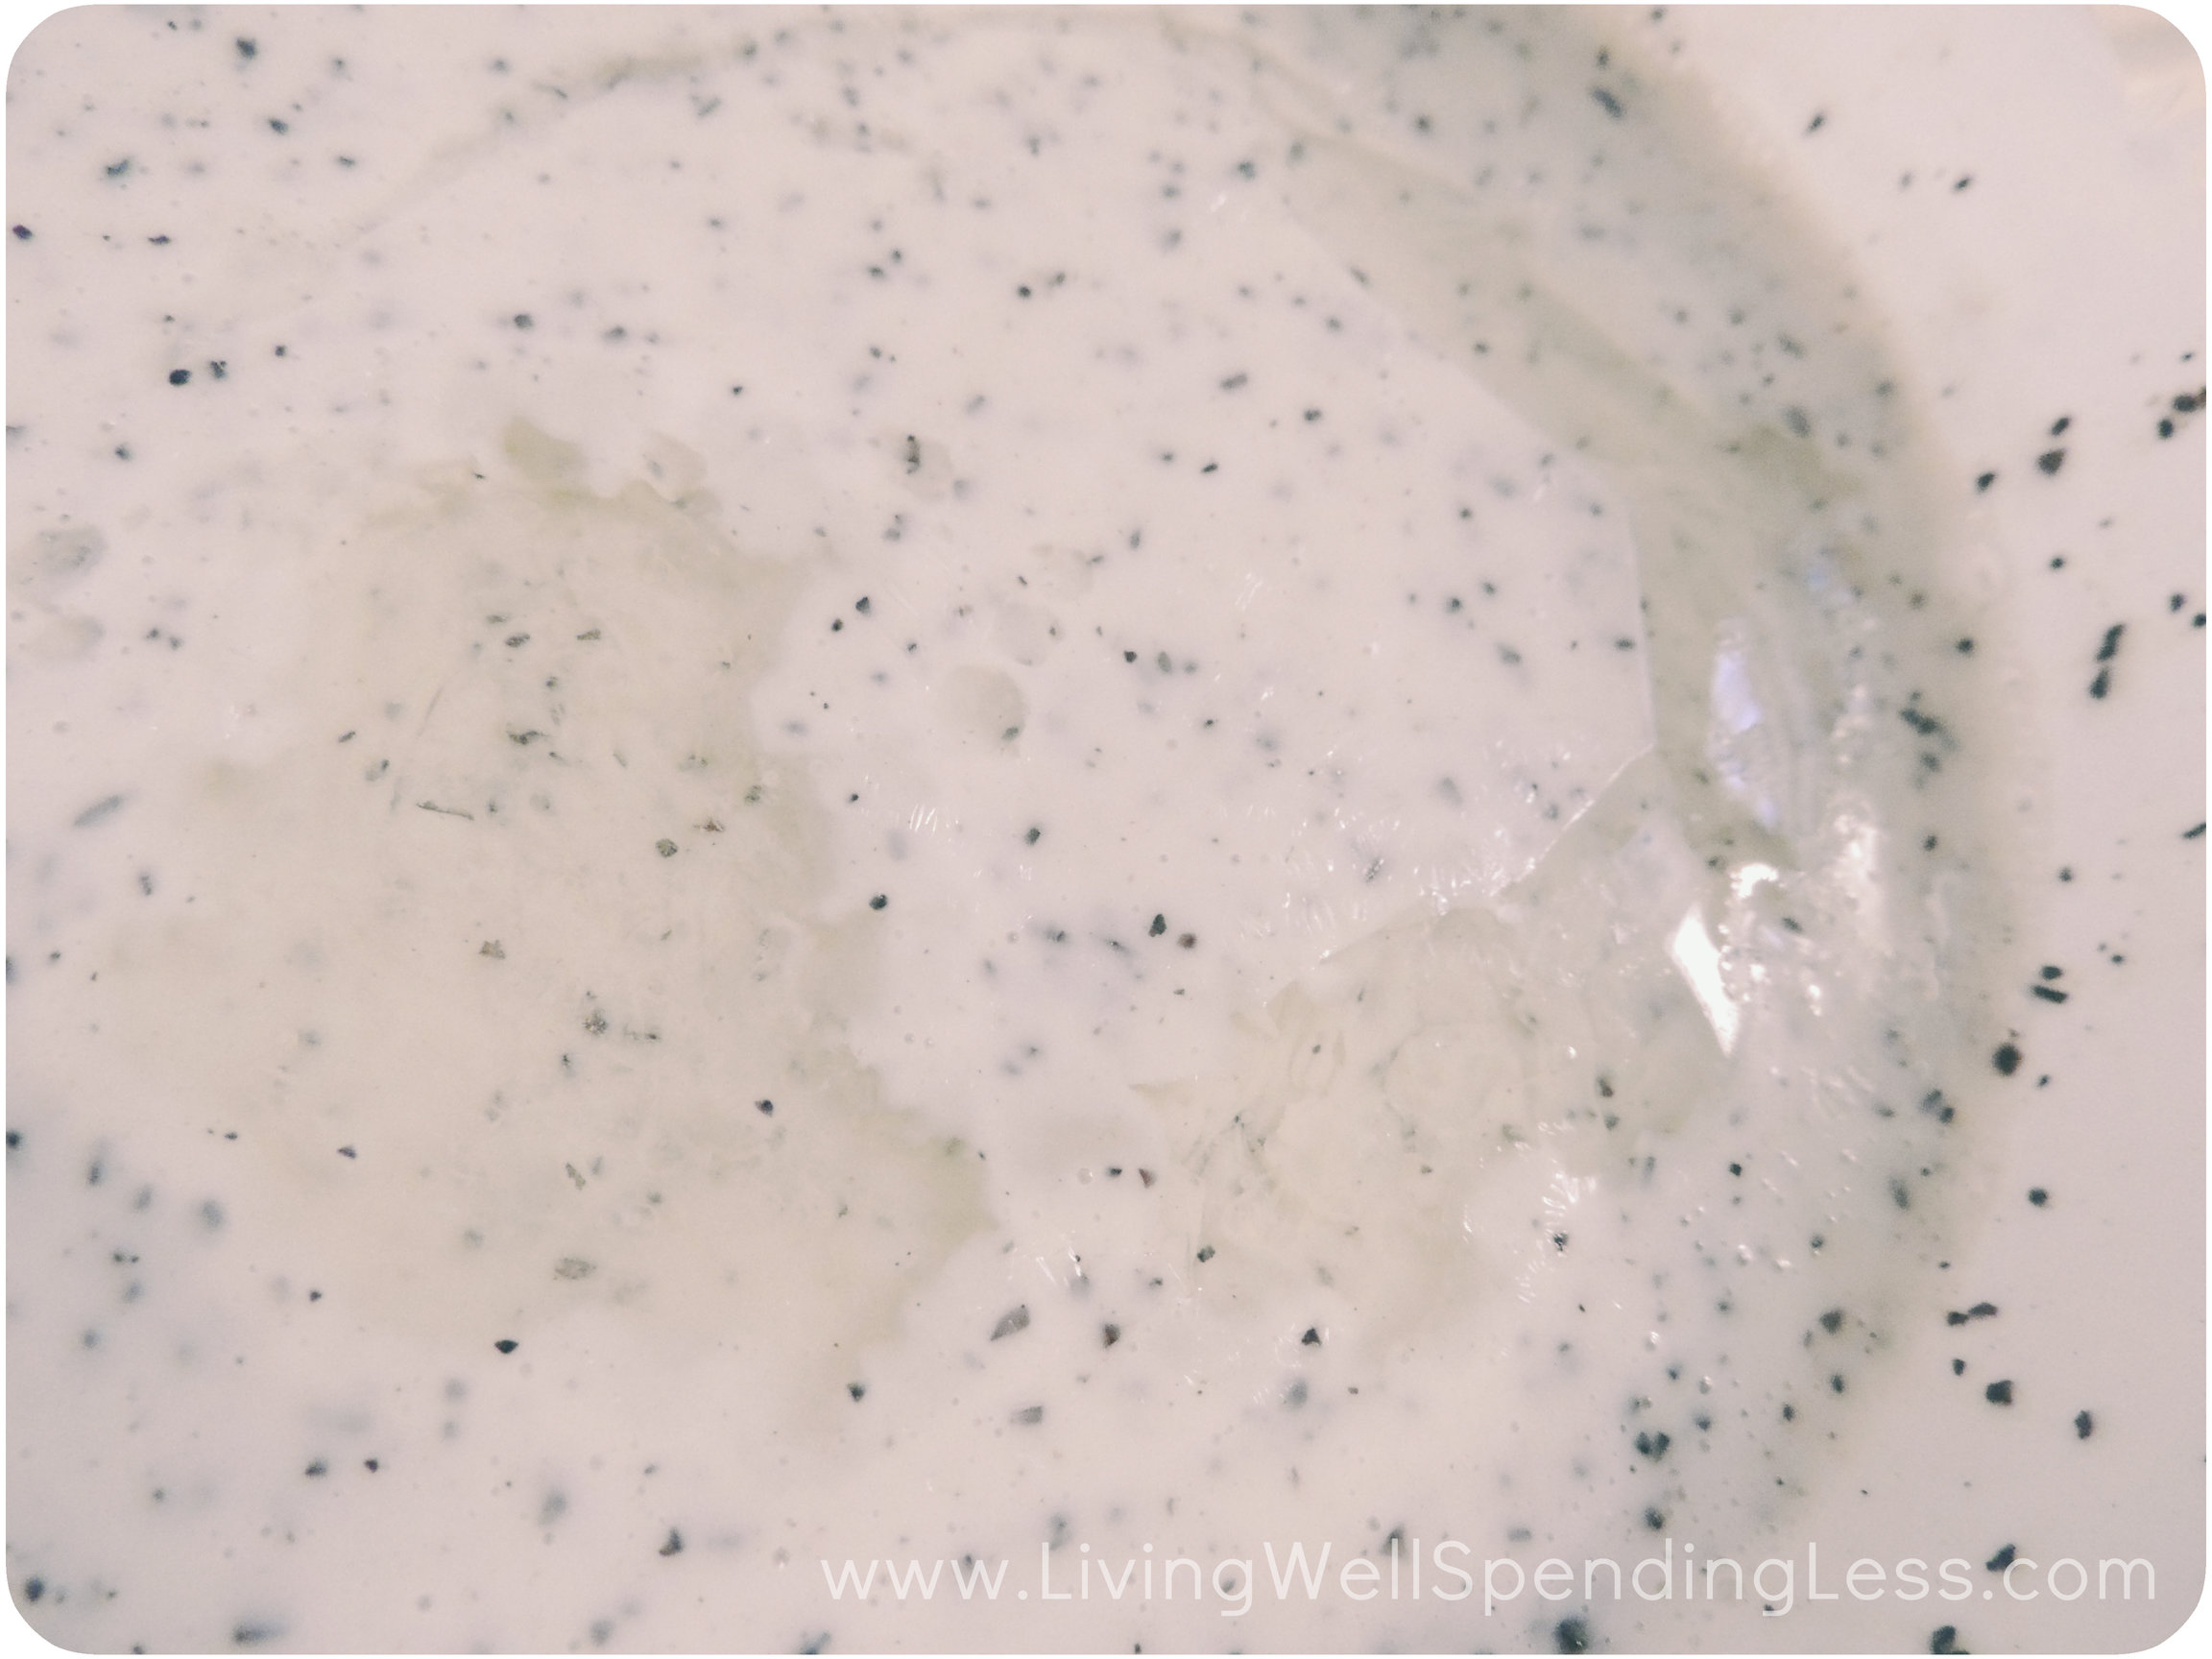
Step 5: Add in your fragrance oil and stir. Different brands of fragrance oil will have different recommendations on the packaging as to how much fragrance oil you should use per ounce of soap. Follow the directions on the packaging to determine how much oil is best for your volume of soap.
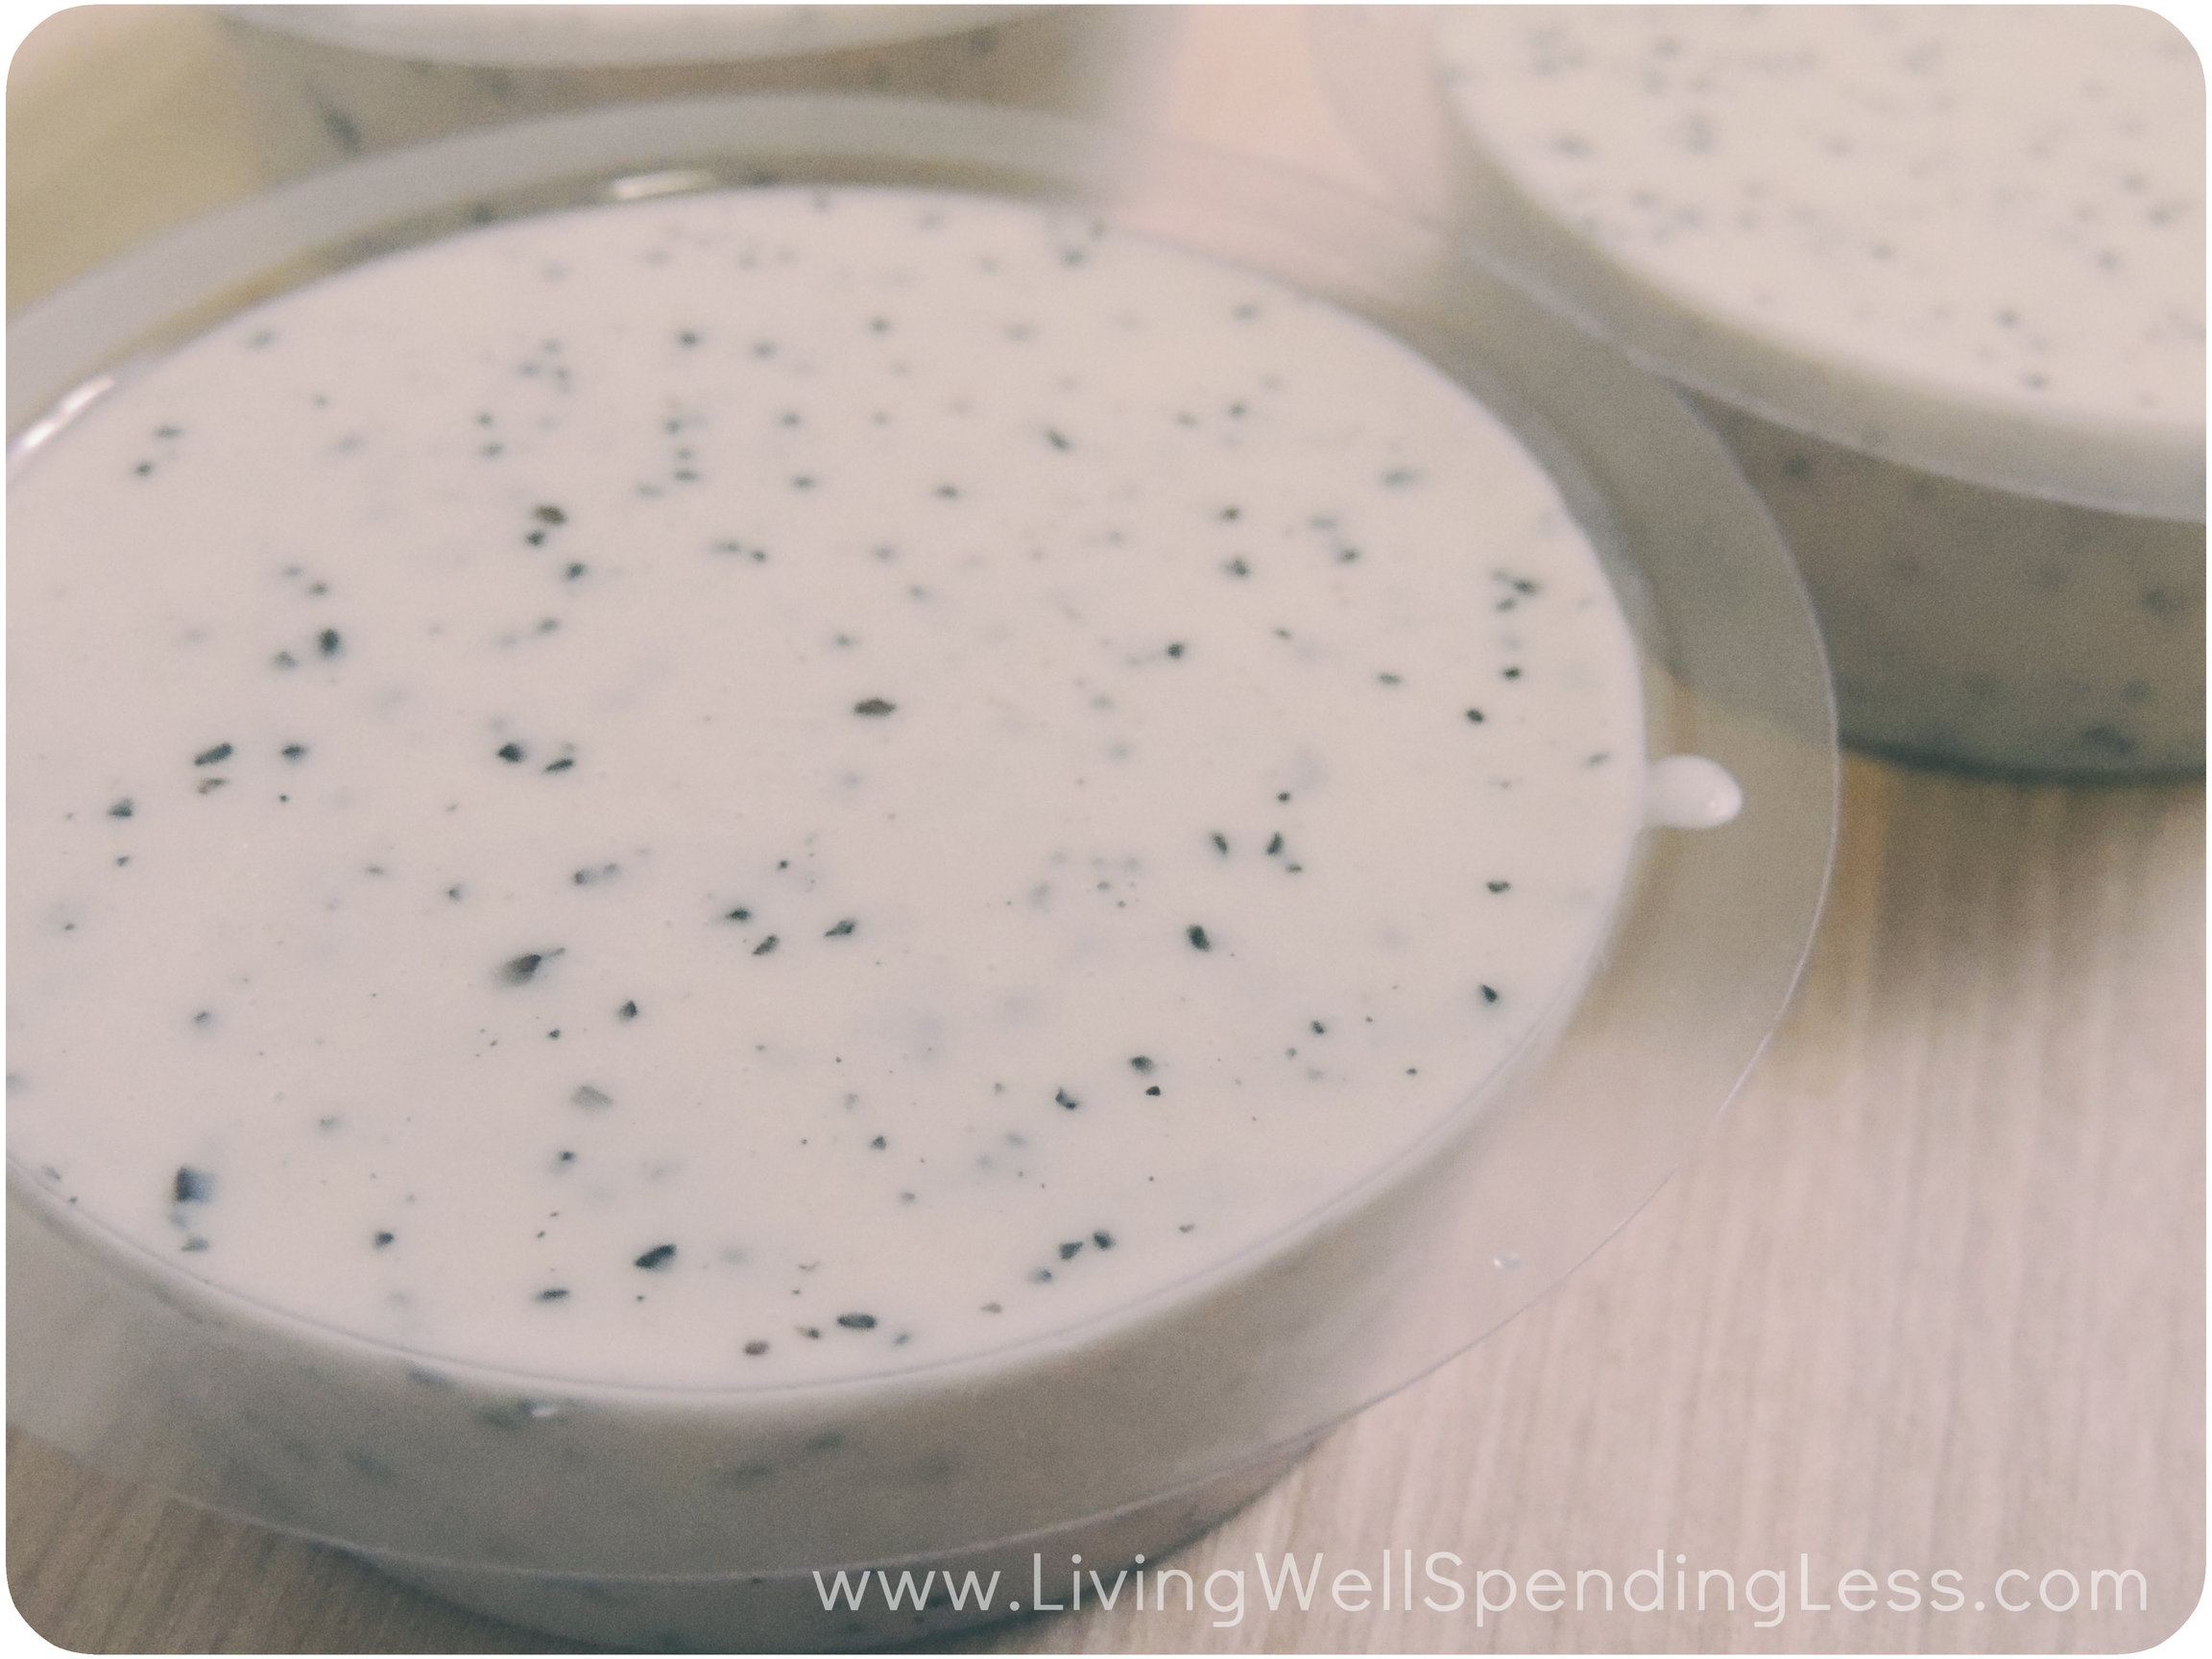
Step 6: Pour your soap into your molds. If the top of your soap is left with bubbles once you’ve poured it, you can remove these bubbles by spraying a spritz or two of rubbing alcohol about 5-10 inches away from your soap. I took an old Bath and Body Works spray bottle that was near empty and cleaned it out, filled it with alcohol, and applied 1-2 spritzes until my bubbles were pretty much gone.
Step 7: Wait. Resist the temptation to touch your soap until it has hardened, which could take one to three hours or more depending on the size of your mold. When it’s ready, pop your soap out of your molds and enjoy! If you find your soap doesn’t want to slide out of your mold, try sticking the mold into the freezer for several minutes. The soap will shrink a bit and should pop right out!
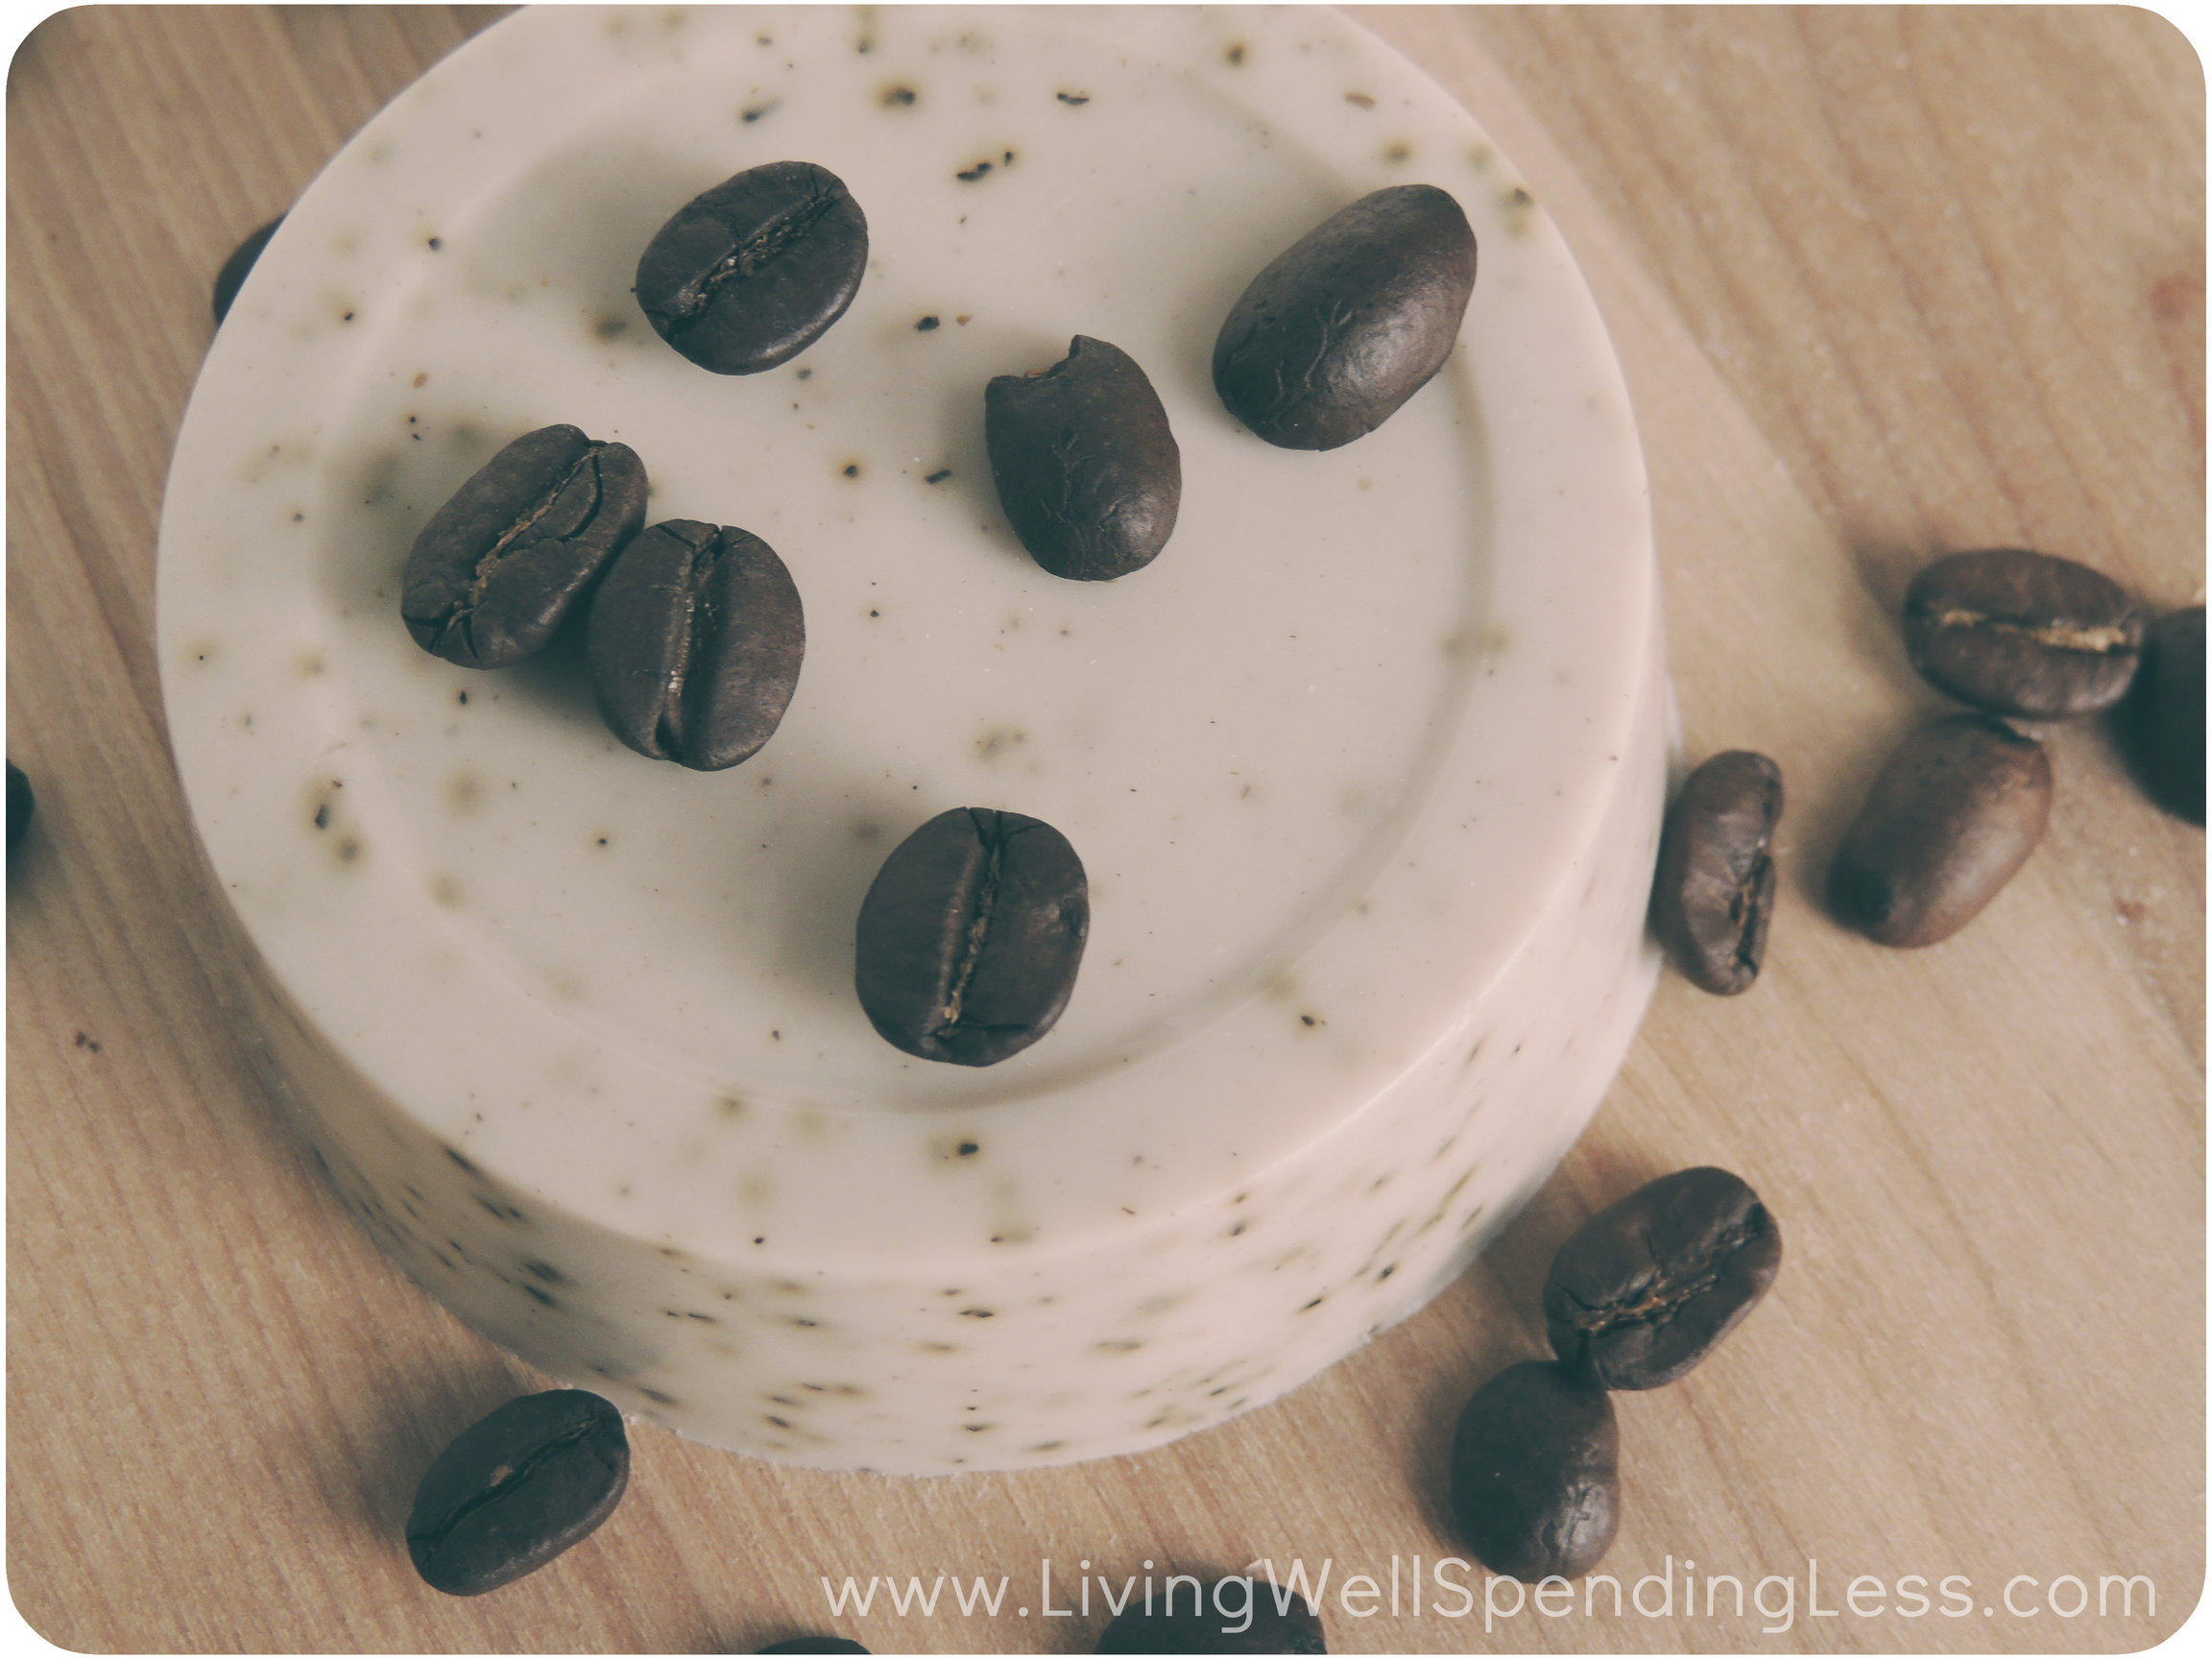
I hope you enjoyed this coffee soap tutorial! When sold at craft fairs or in naturals stores, soap similar to this can sometimes run you upwards of $6 or $7 a bar! Why pay that when you can purchase an entire case of melt-and-pour soap base for the same price and have fun making your own soap while you’re at it? These little soaps feel luxurious, make great handmade gifts, and are super affordable–especially when you make them in bulk.
If you’re looking for some more soapy inspiration, you might enjoy these tutorials on how to make a Coconut Exfoliating Soap, a Jasmine Dead Sea Salt Soap, or my personal favorite: Sweet Almond Honey Oatmeal Goat’s Milk Soap!

Gabby Whitaker of Essentially Eclectic is a DIY/Craft/Lifestyle Blogger from Phoenix, Arizona.
After moving to Boston, Massachusetts in the Summer of 2012, she started blogging as a way to share her crafting creations, cooking escapades, and adventures in Boston with friends and family across the country. Some of Gabby’s favorite things include Chai lattes, Downton Abbey, cozy bookstores, Netflix marathons, and of course, blogging!

* * *
What’s your favorite soap scent?
Pin It
The post DIY Coffee Bean Soap appeared first on Living Well Spending Less™.
January 26, 2014
Weekend Wandering
Happy Sunday! I hope you are all having a great weekend and once again staying warm! Seriously, what is the deal with all this cold weather? Sheesh!
I spent the day yesterday reorganizing & de-cluttering a few cupboards and closets that I have been wanting to get to for months, and let me tell you, it felt good to let so much stuff go! One of my personal goals for 2014 is to de-clutter ever single closet, drawer, cupboard, & storage area in my house, and after yesterday’s purge I think I am well on my way! What are your home goals for 2014?
I did manage to take a break long enough to check out the great posts linked up at this week’s Thrifty Thursday. There was so much to see! It is always hard to choose, but here are my picks for this week:
* * *
First of all, bacon, cheddar, and beer all in one yummy loaf of bread? Yep, count me in for this Bacon Cheddar Beer Bread by Love Bakes Good Cakes!

This Crock Pot Lobster Bisque by Moms With Crockpots looks absolutely delicious as well! I think I’ll be adding lobster to our next shopping list…..as soon as this 31 days of spending zero is over, of course! 

And speaking of soup, I was totally intrigued by this Red Velvet Soup with Homemade Beet Chips by Kiddie Foodies. I love beets & my kids will pretty much eat anything in soup form, so this might just make the cut for our Valentine’s Day dinner.

I have tried and failed to make coconut milk whipped cream, but after checking out his Coconut Whipped Cream recipe by One Little Project I think I see where I went wrong. Can’t wait to try it again!

These Strawberry Cream Cheese Cookie Cups by Life with the Crusts Cut Off are just way too cute! They would be perfect for a party!

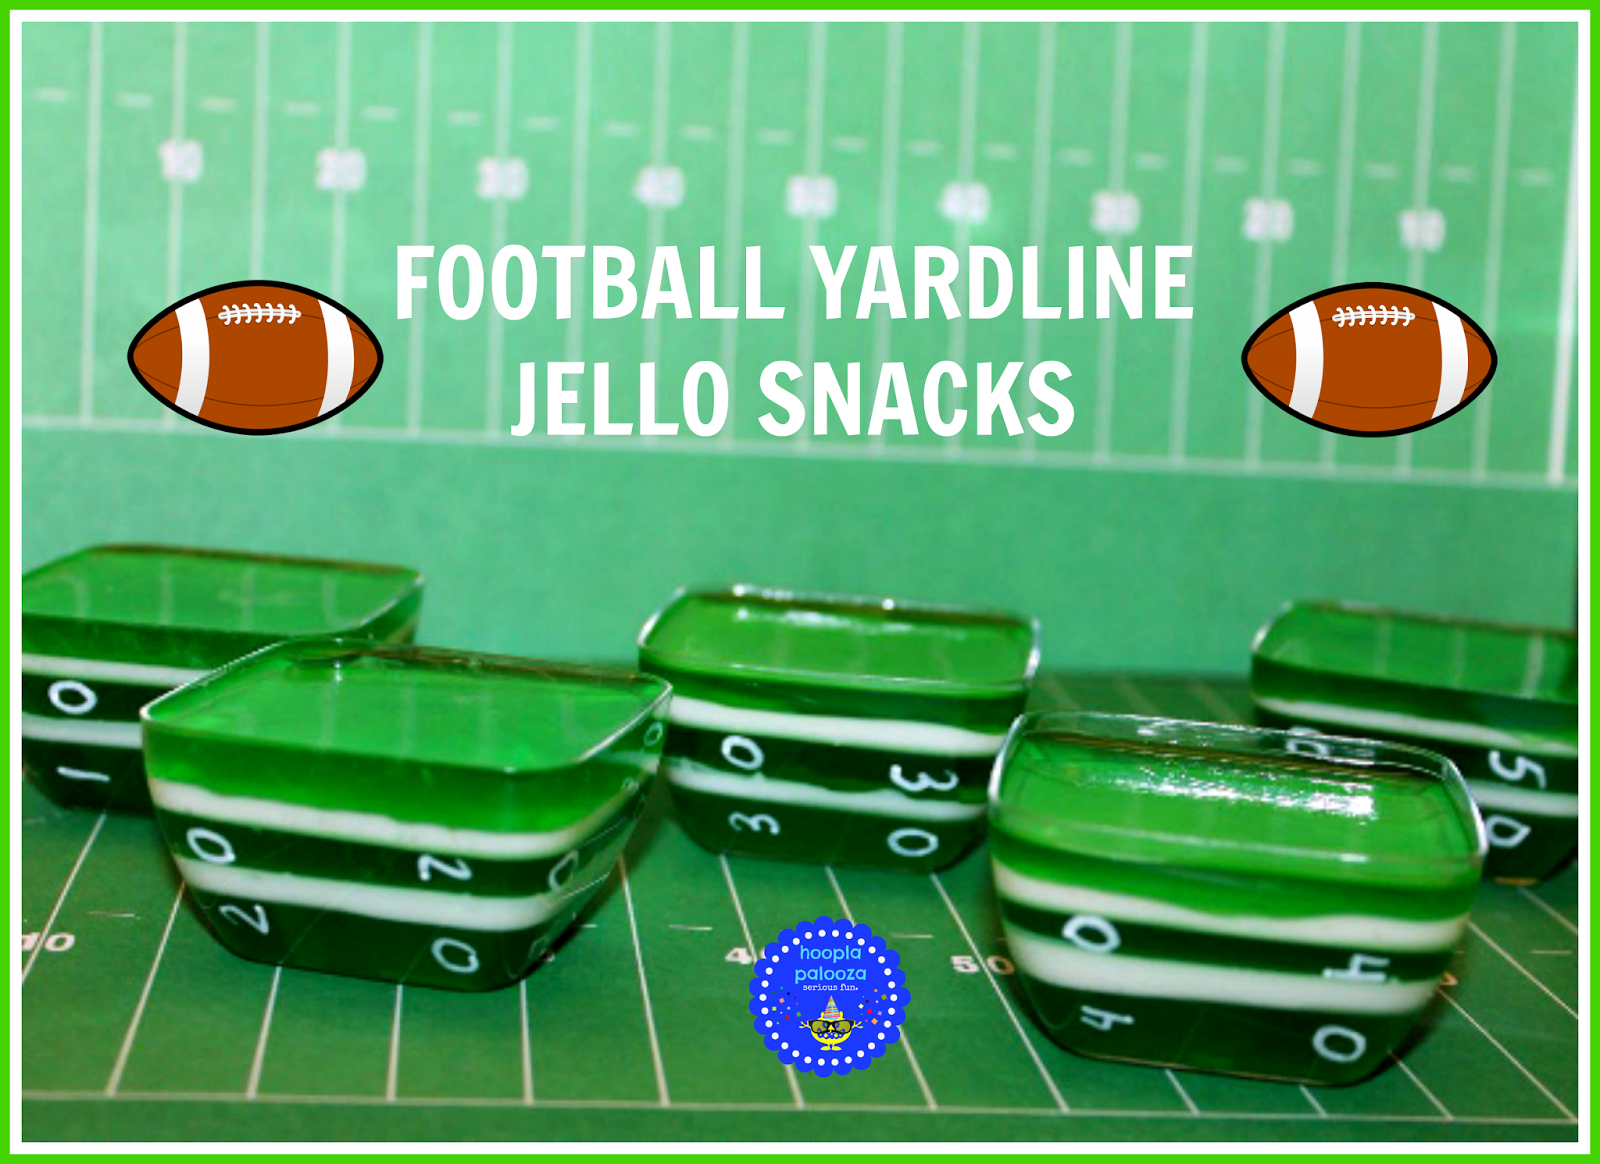
How fun are these Football Yard Line Jello Snacks by Hoopla Palooza? My girls would have a blast making and eating them!
How to Make Homemade Watercolor Paints by The Make Your Own Zone sounds super easy, and would be such a fun afternoon project.

Both my girls love their American Girl dolls, and would be absolutely thrilled with this American Girl Winter Olympics Sled by The Real Thing with the Coake Family! Be sure to check out all of KC’s other cute AG projects as well!

These darling Hanging Valentine Hearts by Dwell Delightfully are such a great way to add some inexpensive Valentine decor to your home!

These Drop Cloth Heart Pillows by Posed Perfection look like they would be so much fun to make, and are super cute! Too bad I lost a bet with my husband that required me to get rid of all the throw pillows in our entire house…..oh, the humanity….

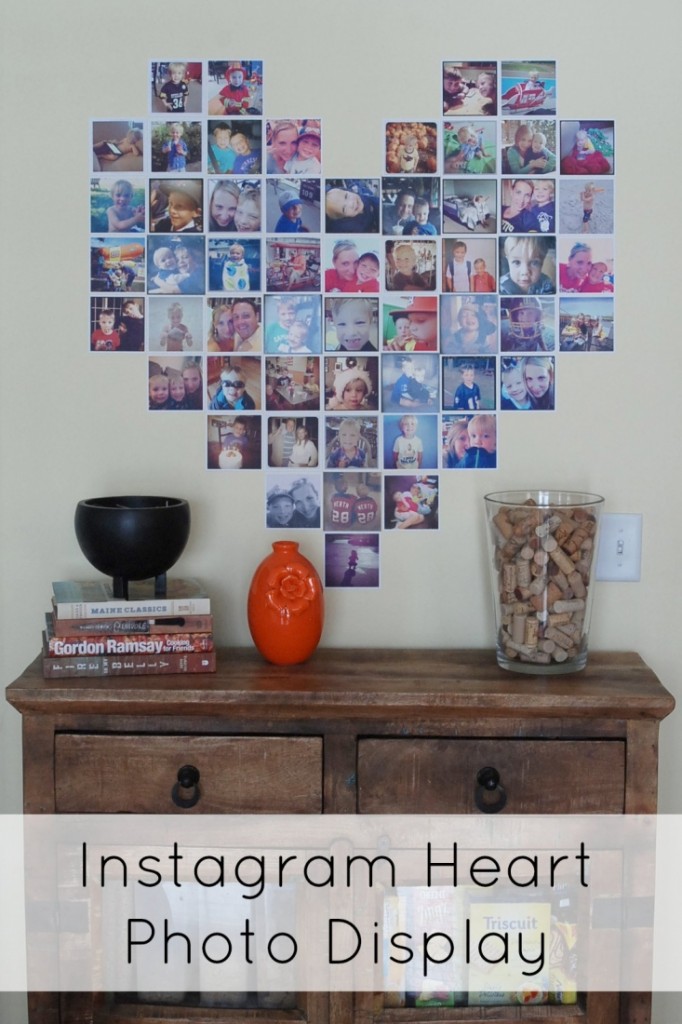
I’m always taking Instagram photos, but never know what to do with them! Endlessly Inspired has definitely inspired me with this fun Instagram Heart Photo Display.
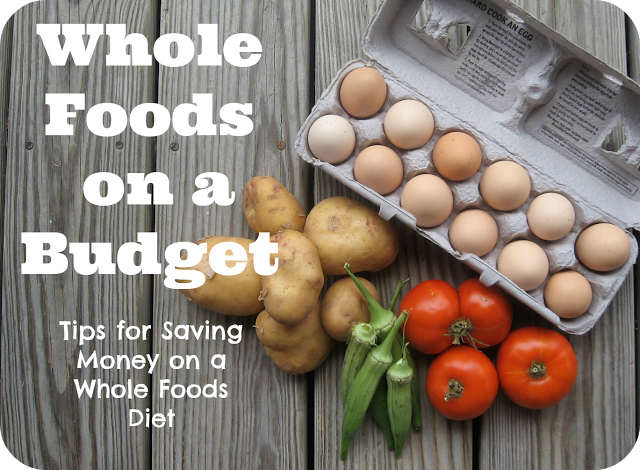
Finally, I love these tips from Graceful Little Honey Bee on how to do Whole Foods on a Budget. The costs of eating healthier can definitely add up quickly, but these great tips show that whole foods on a budget can be done!
* * *
What did you love this week?
Pin It
The post Weekend Wandering appeared first on Living Well Spending Less™.
January 24, 2014
15 Awesome Valentine’s Gifts Under $15


Valentine’s Day is just a few weeks away, which naturally means it is time for the 4th Annual LWSL 15 under $15 gift list! While I’m pretty sure that this year’s list is the BEST EVER, many of the gift ideas I’ve posted in previous years are still available as well, so be sure to check out the lists from 2013, 2012, and 2011 you need additional inspiration. I am always amazed at what fun things can be found for under $15 when you really start looking! Of course if you would rather make your V-Day gifts, be sure to check out all my handmade gift ideas here!
Gifts for Him:

1. His & Hers Puzzle Piece Necklaces-Okay, so this one is a tad bit cheesy, but since the necklaces are actually really cool looking, I’m going to go with it and just say it is super sweet! Plus at just $1.99 (+$5 shipping) for both necklaces, how can you really go wrong? And just think of how much fun you could have with the card! ”You complete me” ”We just fit” “I finally found my missing piece” “You’re a perfect fit.” ”I love you to pieces.” I seriously could go on all day. Oh my. I think I just sold one to myself! ($1.99, Amazon)

2. 10 Things I Love About You Photo Book-I love that this template is basically ready to go–just add your pictures and your own favorite things and watch your honey’s heart melt! This one is making the list for the third straight year because I still love it and also because I still haven’t quite gotten around to making one for my husband, even though every year as I am compiling this list I swear I am going to. But this is my year, friends. I mean it this time! ($12.99, Mixbook)

3 Globe Cuff Links-Cuff links are one of those things you never need until you do, and then you really need them! I love this classy globe set, and at 87% off the list price of $114.00, they are a steal! You could probably come up with some great card ideas to go with this one as well….”Being with you is my greatest adventure,” ”I’ll stop the world to be with you,” “Our love makes the world go round.” Okay, okay, I promise I’ll stop now! ($14.44, Amazon)
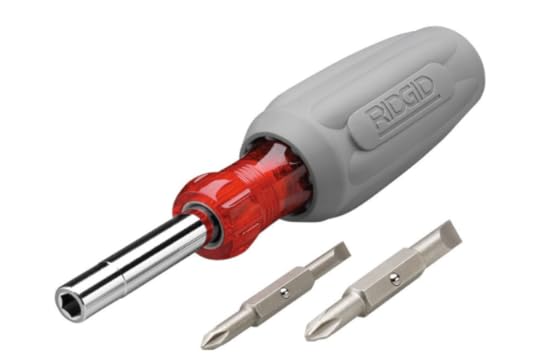
4. Ridged 6-in-1 Screwdriver-If your guy’s not the cuff-links type, why not make his V-day with a gift he’ll actually use? According to my husband, not all screwdrivers are created equal, but this one actually met his stringent engineer requirements, whatever that means. And this handy multi-tip version not only fits a variety of screws, it’s got almost all 5-star reviews! ($11.99, Amazon)
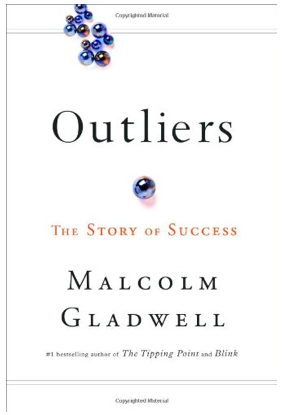
5. Outliers: The Story of Success-I loved this book so much that I read it three times last year, and it profoundly changed the way I looked at success and achievement. Whether your guy is a go-getter looking to move up the corporate ladder or an entrepreneur trying to build a business of his own (or anything in between) I guarantee he will LOVE this book. Malcom Gladwell has the ability to make what could be a very dry topic incredibly interesting! ($10.19, Amazon)
Gifts for Her:

6. Faith, Hope, & Love Colorful Bracelet-This gorgeous bracelet is brand new to the Dayspring collection and I am in L-O-V-E with it!! I love the bright colors and the awesome inspirational message that comes with it. It is only $14.99 but you can take an additional 20% off when you use the promo code 20OFFGIFTS, making it just $11.99! (Dayspring)
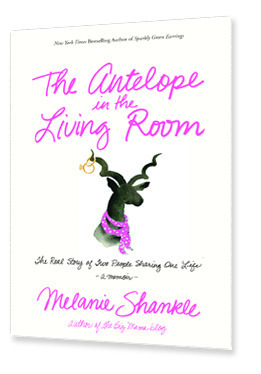
7. The Antelope in the Living Room-While at first glance a book about an antelope might not scream “Happy Valentine’s Day,” I implore you to take another look. I spent last weekend reading an advance copy of this little gem (which releases February 4th) and I seriously laughed until I cried at least a dozen times. Melanie (aka Big Mama) nails the side-by-side beauty and frustration of being married to someone who is both your best friend and your polar opposite, and provides the reminder that we all need now & then that while marriage might not always look like it does in the movies, being with the one we love is like coming home. ($9.48, Amazon)
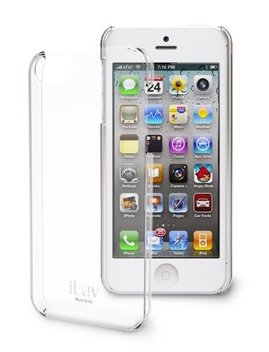
8. iLuv Clear iPhone Case-The iPhone 5 version of this case is just $5.99, and while it might seem a little plain by itself, the beauty of this clear case is that you could easily customize it with a photo or other memento (a movie ticket from your first date?), or even make it into a custom DIY project like this one covered in buttons. ($5.99, Amazon)

9. Love Necklace. This beautiful triple chain pendant is part of the same Faith, Hope, & Love collection as the bracelet above. The regular price is $16.99, but using promo code 20OFFGIFTS brings it down to a very reasonable $13.59. There is also a Faith and a Hope version that are really beautiful as well, but the Love style just seemslike the perfect fit for V-Day. ($13.59, Dayspring)

10. 50 First Dates-My husband and I are pretty much polar opposites when it comes to movies (and everything else), but this is one we can both agree on. In fact, we have probably watched this one together at least 50 times and it never gets old! If you haven’t seen it yet, or even if you have, this classic always makes for a perfect date night! If you want to make it a double feature, grab Hitch as well–that one is our 2nd favorite! ($8.91, Amazon)
Gifts for Kids:

11. Sterling Silver “I Love You to the Moon & Back” Pendant -Let your little valentine know just how much you love her with a keepsake she will enjoy for years to come. In fact, I think this one takes the prize for my favorite kid’s gift this year! The list price for this pendant is $55.95, but right now it is on sale for just $12.95. This price does not include the chain, but you could put it on an inexpensive cord or ribbon, or you can grab a silver chain for just $6.99 here. And if you don’t already have the corresponding book, Guess How Much I Love You, already in your library, check out this gorgeous sweetheart edition for just $9.95! ($12.95, Amazon)
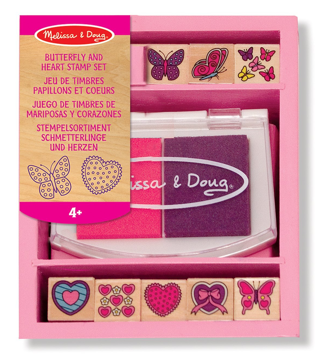
12. Melissa & Doug Hearts & Butterfly Stamp Set-We have gotten a few different Melissa & Dough stamp sets over the years and my girls always love them. You could even gift this one a little early and let your budding artist make her own Valentine’s this year! If you need a boy version, try this vehicle set. ($7.37, Amazon)

13. Snowy Valentine-This adorable children’s book is making the list for the second year in a row. I just love the message that highlights the idea that Valentine’s Day is about love and not about gifts. So sweet! ($9.48, Amazon)

14. Jesus Loves Me Plush Bunny- This adorable little bunny looks so soft and cuddly that I actually want to reach through the screen just to hug it! I love that it isn’t pink or red and that it plays Jesus Loves Me. So sweet! The regular price on this is $23, but it is on sale for $18 and then you can use promo code HOLLEY20 to save an additional 20% off, making it just $14.40! ($14.40, Dayspring)
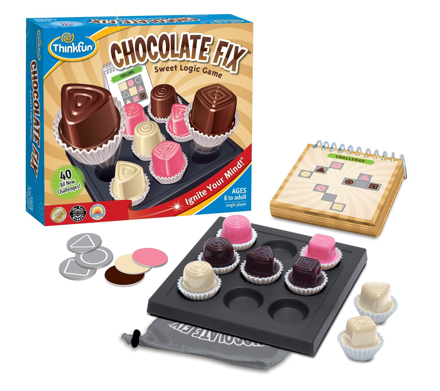
15. Think Fun Chocolate Fix Game-We have several of the Think Fun games and we just love them–they are always fun for the whole family, and great for building our kids’ logic and reasoning abilities! This Chocolate Fix game is not only perfect for Valentine’s Day, it has absolutely amazing reviews! ($14.12, Amazon)

* * *
How do you plan to make Valentine’s Day special this year?
Pin It
The post 15 Awesome Valentine’s Gifts Under $15 appeared first on Living Well Spending Less™.
January 23, 2014
Thrifty Thursday {Week 44}
Happy Thursday! I hope you are all having a great week! I had someone ask a few days ago how I decide which posts to feature on Sunday’s Weekend Wandering post, which I thought was a really great question. I do try to pick a nice variety of posts each week, and I want to feature as many different blogs as I can. That said,I definitely have a few general guidelines that I follow. If you haven’t been featured yet, you may want to make sure the post you are submitting has the following:
A great photo. The thumbnail photo that I see here on Thrifty Thursday is what I use to determine whether to click on the article or not. Thus, it has to be eye-catching!
A interesting description. There is only so much you can say in 50 letters, but the more compelling, the more likely I am to check it out.
Seasonally appropriate. I probably won’t feature a Christmas post in July, even if it is a great idea. Right now I am loving Valentine’s day posts, but come February 15th, I’ll be on to St. Patrick’s Day & Spring.
Original content. I won’t knowingly feature a post that is a copycat of another blog. I also don’t generally feature roundup posts.
Hopefully that helps just a little! The great news is that following those guidelines will probably make other readers more likely to click on your link, resulting in more traffic for you!
Here are the most clicked links from last week:

1. From This Kitchen Table {How to Go From Surviving to Thriving}
2. Snail Pace Transformations {Ten Ways thrifty People Save Money on Groceries}
3. Whole Food Mom on a Budget {Making it Through No Spend January}
4. Creative Savings {More Than Books: The Best Kept Secret in Your Town}
5. Prairie Girl to Southern Belle {A Cleaning Schedule That Works}
6. Mortiz Fine Designs {Simple Yearly Cleaning Check-Lists}
7. Cathey With an E {Saturday’s Seven-DIY Closet Organization and Storage}
8. Mission: to Save {Realistic Stockpiling Tips}
9. Frugality Gal {14 Frugal Kitchen Organizing Ideas}
10. Graceful Little Honey Bee {Filling The Freezer on a Budget}
Never linked up to a party before? Here’s how:
Scroll down, find the little blue “Add your Link” Button and click on that.
Follow the instructions on the next page – add a great image of your project and an interesting title. Make sure you link to the direct page of your budget friendly post – not the main page of your blog!
Try to visit at least a few other blogs at the party. Be sure to leave a comment to let them know you stopped by!
Please link back to this post somehow. There are badges available here; a simple text link is just fine too.
Feel free to tweet about Thrifty Thursday so others can join the fun, and don’t forget to check back here Sunday morning to see which posts have been featured this week!
Finally, if this is your first time here I also invite you to check out my eBook, How to Blog for Profit (Without Selling Your Soul). It has more than 100 five-star reviews on Amazon, and it is an awesome resource if you are interested in building your blog, getting more traffic, or learning how to monetize.
');
// ]]>
The post Thrifty Thursday {Week 44} appeared first on Living Well Spending Less™.
January 22, 2014
Loaded Cream of Potato Soup


When the weather is cold nothing quite hits the spot like a hearty bowl of hot soup! This creamy potato version comes together surprisingly fast, but the yummy toppings make it feel extra special. It is also a great dish to serve to a crowd!
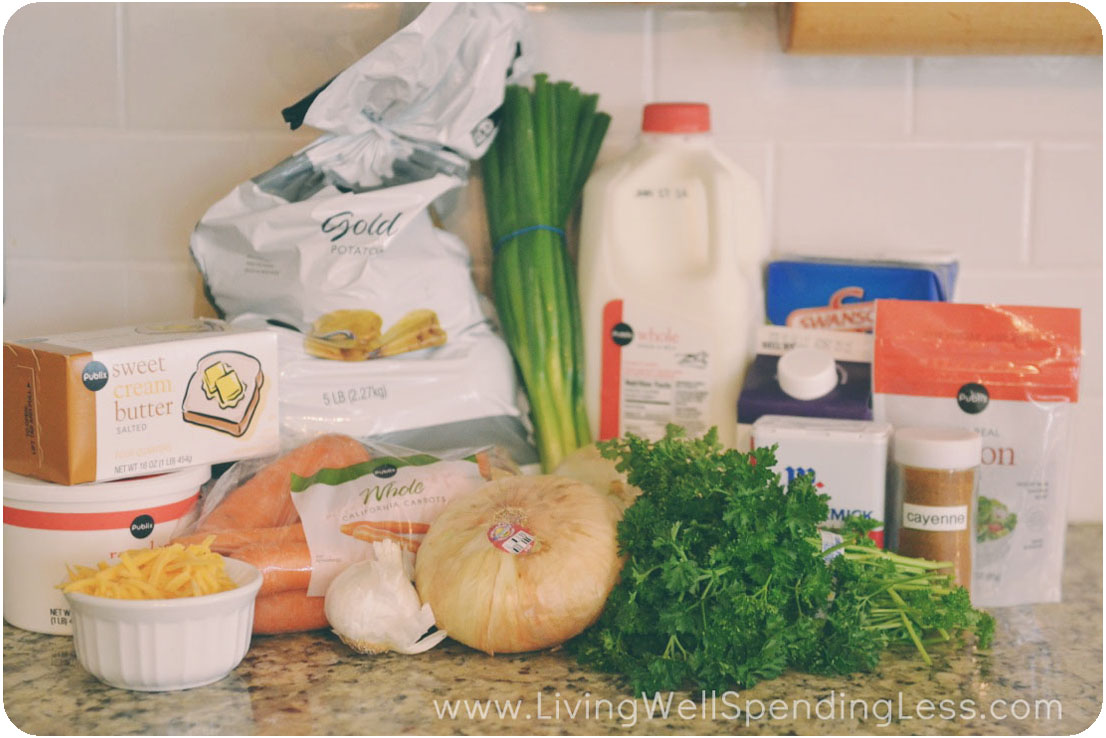
Here is what you need:
2 onions
6 large carrots
6 cloves garlic
1/4 cup parsley
1 stick + 2 tablespoons butter
1/2 cup all-purpose flour
3 cups vegetable broth
1 1/2 cups heavy cream
2 cups milk
10-15 Yukon Gold potatoes, cut into bite-size chunks
1 1/2 teaspoons salt
1/4 teaspoon cayenne pepper
1/4 teaspoon black pepper
sour cream
green onions or chives
cheddar cheese
bacon (optional)
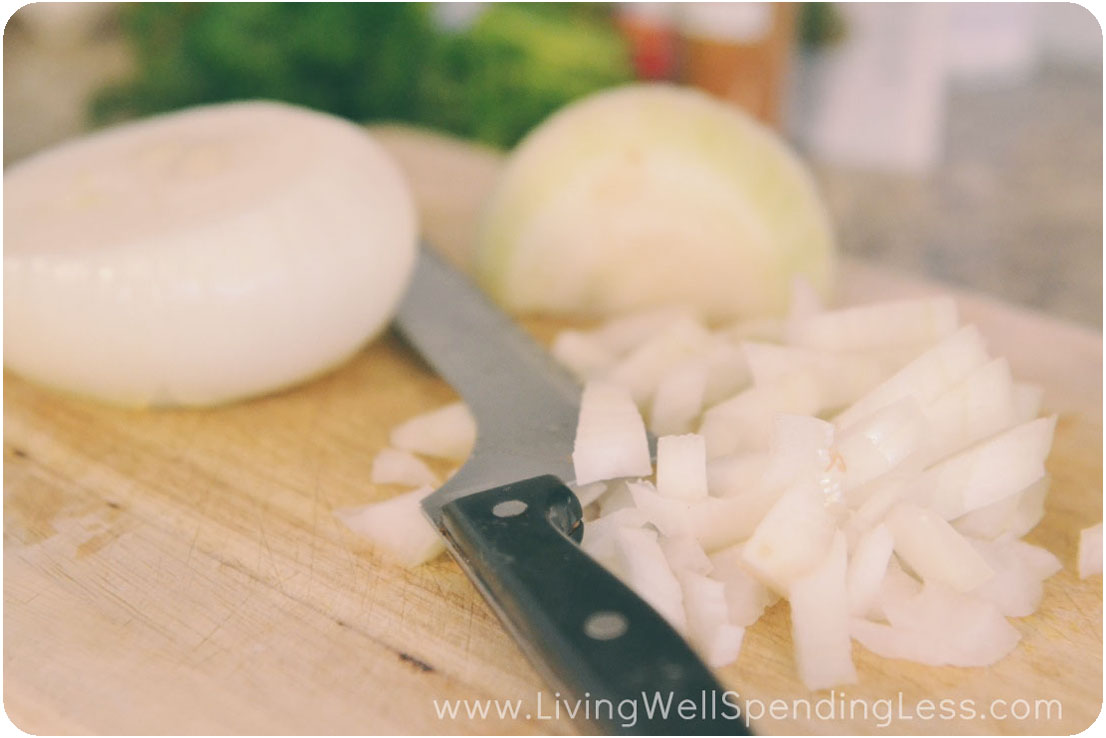
Step 1: Chop onions, carrots, garlic, and parsley.

Step 2: Melt butter in large soup pot over medium heat; add onions, carrots, garlic, & parsley and saute until soft, approximately 5-8 minutes.

Step 3: Sprinkle flour over vegetables and cook, stirring, for 2 minutes.

Step 4: Slowly pour in vegetable broth, stirring well.
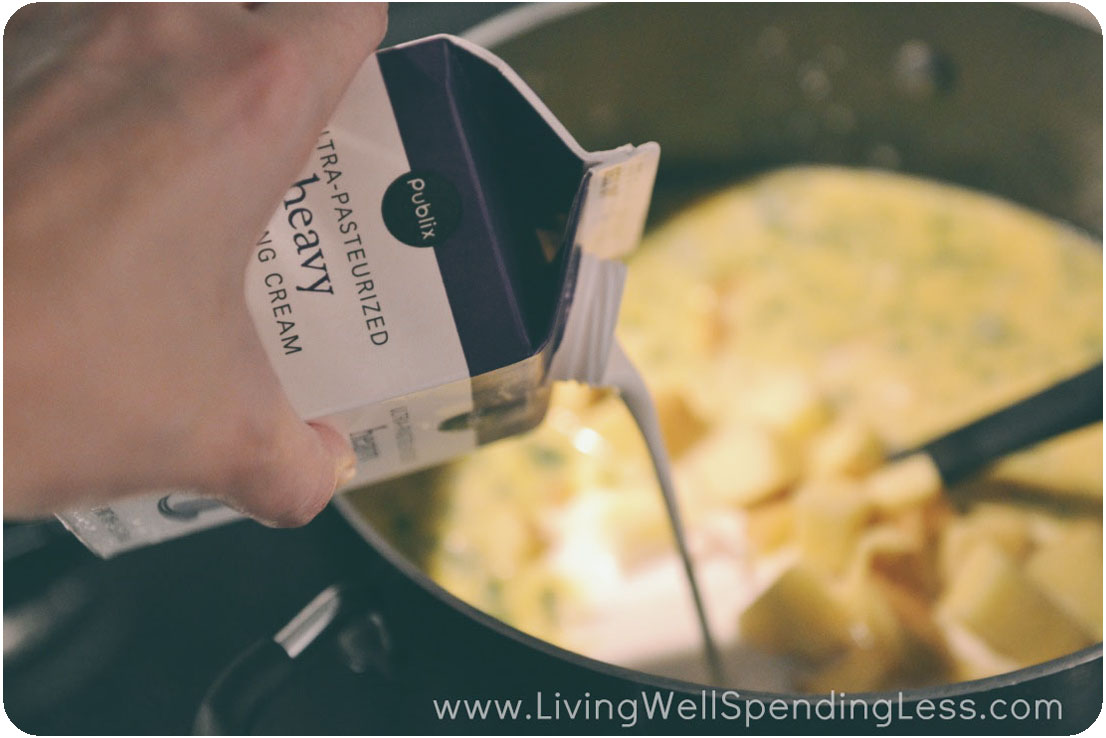
Step 5: Add heavy cream, milk, potatoes, salt, and peppers.

Step 6: Allow soup to simmer and thicken until potatoes are well-cooked, approximately 25-35 minutes.
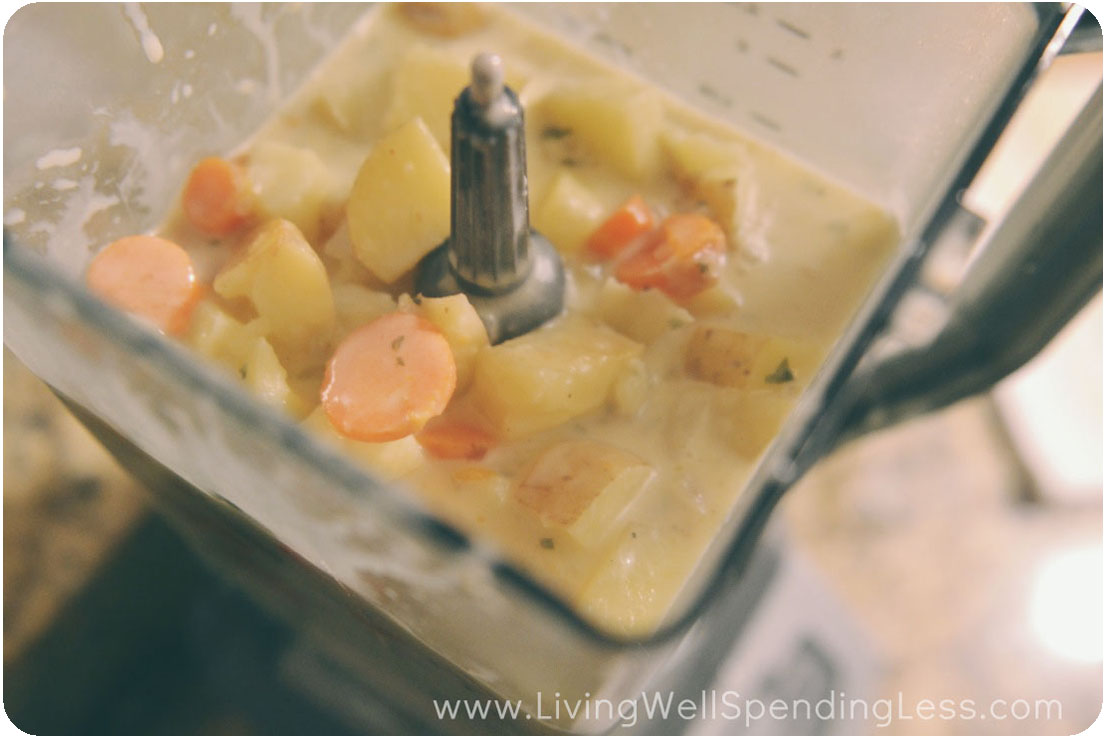
Step 7: Scoop out approximately 1/2 of the soup into blender, then pulse until smooth and mix back into soup. (An immersion blender also works well for this, but mine no longer works. If you are looking for a new blender, I highly recommend the Ninja!)

Step 8: To serve, ladle into serving bowls, then sprinkle with cheddar cheese, chives, sour cream, & bacon.

Print This!
Recipe: Loaded Cream Of Potato Soup
Summary: Creamy Potato Soup recipe with all your favorite toppings.
Ingredients
2 onions
6 large carrots
6 cloves garlic
1/4 cup parsley
1 stick + 2 tablespoons butter
1/2 cup all-purpose flour
3 cups vegetable broth
1 1/2 cups heavy cream
2 cups milk
10-15 Yukon Gold potatoes, cut into bite-size chunks
1 1/2 teaspoons salt
1/4 teaspoon cayenne pepper
1/4 teaspoon black pepper
sour cream
green onions or chives
cheddar cheese
bacon (optional)
Instructions
Chop onions, carrots, garlic, and parsley.
Melt butter in large soup pot over medium heat; add onions, carrots, garlic, & parsley and saute until soft, approximately 5-8 minutes.
Sprinkle flour over vegetables and cook, stirring, for 2 minutes.
Slowly pour in vegetable broth, stirring well.
Add heavy cream, milk, potatoes, salt, and peppers.
Allow soup to simmer and thicken until potatoes are well-cooked, approximately 25-35 minutes.
Scoop out approximately 1/2 of the soup into blender, then pulse until smooth and mix back into soup. (An immersion blender also works well for this, but mine no longer works. If you are looking for a new blender, I highly recommend the Ninja!)
To serve, ladle into serving bowls, then sprinkle with cheddar cheese, chives, sour cream, & bacon.
Preparation time: 15 minute(s)
Cooking time: 25-35 minute(s)
Number of servings (yield): 12
* * *
What’s your favorite winter soup?
Pin It
The post Loaded Cream of Potato Soup appeared first on Living Well Spending Less™.


