
Kristina Seleshanko's Blog, page 25
April 7, 2018
Weekend Links
 The plums are blooming!In which I share my favorite posts from this blog's Facebook page.
This post contains affiliate links. All opinions are my own. Please see FCC disclosure for full information. Thank you for supporting this site!
"Pray without ceasing."
1 Thessalonians 5:17 ______________________________________
* I don't talk about my health issues much, unless I feel I can help others by doing so. But I know the power of prayer, and I could really use some...so here goes. Not long ago, I was diagnosed with anemia. I'll probably be having surgery to correct the underlying problem, but this could take time...and in the meantime, I feel like a little old woman. The anemia causes a speeding heart, dizziness and seeing black (it's probably responsible for my super low blood pressure spell a few months ago), muscle pain and weakness, extreme fatigue, inability to think straight, and probably other things I'm forgetting due to my brain being so tired, too. Folks treat me like I should be able to handle homeschooling, writing to help support my family, doing all the housework, and honesteading...plus other stuff...when in reality, I just need to go to bed. The doc may insist on an iron infusion (he says it's risky) or blood transfusion (obviously not that desirable, either) before my surgery if I can't manage to up my iron supplements, which make me seriously nauseated all day and often make me vomit or have digestive issues. Would you pray for me? Thank you.
* On a lighter note, English shepherds are a superb dog breed for homesteaders. You can even teach them to help in the garden :D


* Lately, a lot of people are asking how long it takes to dehydrate such-and-such a food. While there are writers who give times, I DO NOT. And I have good reason!
 Too often, I've seen people dehydrate by time, and end up with an under-dehydrated food that gets moldy in storage. That's because there are way too many variables to give accurate times on dehydrating. For example, if you cut your food thicker than I do, it will take longer to dry, or if the room your dehydrator sits in is more humid than mine, a longer dehydrating time will be necessary. CONCLUSION: To truly know if you've dried food long enough, you must rip it and look and feel for moisture. If there is any sign of moisture, keep dehydrating! Otherwise, the food is ready to go and should be placed in an airtight jar in a cool, dark location. (Or, you may seal it with a Food Saver.) Desiccant packs may also be prudent if you live in a humid location. (Learn more about how to dehydrate food here.)
 I dehydrated rosemary last week.* I enjoyed picking wild Siberian Miner's Lettuce last week. I used it mostly for salads. I love the veggie keeper I use to extend its shelf life. (Here's more info on finding Miners Lettuce in your area.)
 Greens keep really fresh in this container.
* A really interesting read. Among other interesting tid-bits: " He gave his cows the choice to consume the conventionally grown corn or BT corn. His cows ate the conventionally grown, however they smelled the BT corn and walked away from it. 'That’s not normal,' says Vlieger. He has tried this with many other animals and found that if they have not been forced to consume GMOs in the past, they won’t eat them and will go for the conventional feed instead."
* Recall of diaper cream, due to microbial contaimination.
* 40 Years of Low Fat Diets are a Failed Experiment, says the latest research.
* Managing headaches and migrains, naturally.
 The seeds are started!
* Pine sap as medicine.
The seeds are started!
* Pine sap as medicine.
* Want to save vegetable seeds this year? Here are some important considerations before doing so. Make sure you don't containate your seed!
* Have a neighbor or relative with a plant you love? You may be able to easily propogate it, using just a small stem.
* 15 herbs to grow in the shade.
* Teaching your kids how to write a book report? This free printable makes it fun! I printed each page of the "sandwich" in an appropriate color. For example, the tomato page was read, the lettuce page was green, and so on.
* To the Mom Who Wants to Raise Godly Kids.
Oldies But Goodies:
 Hubby found another pink bath tub - I mean, garden planter - in the brairs!
* Early Spring Wild Edible Walk. (video)
* Is Your Birth Control Causing Abortions?
* Making Dandelion Jelly (such a fun project to do with the kids!)
* A Proverbs 31 Woman's Priorities
* Age Appropriate Chores for Kids


April 5, 2018
We Now Have GMO Rice
 Because rice is relatively high on the glycemic index (meaning it spikes blood sugar), I've never considered it a health food. However, I know many people who consume it regularly...and it's widely found in processed food. Now, though, there's a new reason to avoid rice: The FDA has approved the sale of GMO rice in the United States.
Although this rice cannot currently be planted in the U.S. (it needs approval from the U.S. Department of Agriculture for this to happen), it can be imported into the United States.
To avoid GMO rice, you will need to follow all the same steps you would to avoid any GMO plant:
1. Buy only certified organic rice. If it's organic, it automatically cannot be GMO.
2. Avoid processed foods with rice-based ingredients. This includes: rice germ, rice bran, rice protein, rice flour, rich starch, rice syrup, and rice blends.
Other GMO foods currently available in the U.S. are:
* Corn
* Soy
* Sugar beets
* Papaya
* Zucchini and yellow summer squash
* Canola (rapeseed)
* Cottonseed
* Salmon
* Apples
* Potatoes
The trickiest part about avoiding GMOs is tht they can hide in processed food, infant formula, and even vitamins.
To learn more about why I recommend avoiding GMOs, and further information on where to find them, click here.
* Cover image courtesy of Ozzy Delaney
March 29, 2018
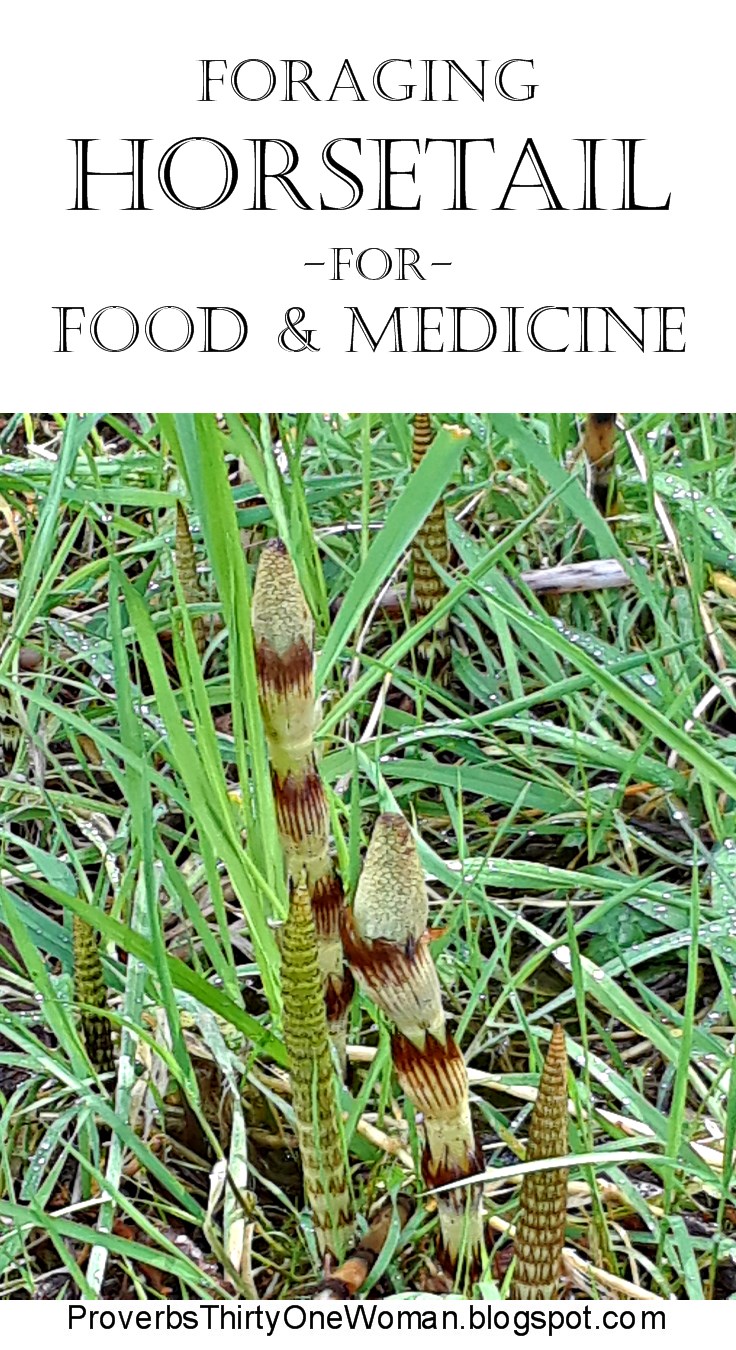
Foraging Horsetail for Food & Medicine
This post contains affiliate links. All opinions are my own. Please see FCC disclosure for full information. Thank you for supporting this site!
My first encounter with horsetail didn't impress me much. My mom-in-law pointed out the plant growing near a beach, explaining that native Indians used it to scrub with, much like we'd use a plastic bottlebrush today. The plant she pointed to was easy enough to recognize - a stalk with stiff "bristles" coming out on all sides. Certainly easy to recognize.
Years later, in one of my foraging books, I saw just how remarkable horsetail truly could be. First, I learned that what I'd seen growing near the beach was the non-fertile version of the plant (sometimes called "the female"). That's right, horsetail produces two distinctive-looking plants! What really impressed me was the fertile versions of the plant (sometimes called "the male"). It's not only prehistoric-looking, but phallic in shape. And, lo! Horsetail, I learned, is both edible and medicinal! Bonus: It's packed with good minerals and nurtients.
So when I found horsetail growing on our homestead last year, I was pretty excited. Because I didn't time things right, though, I didn't try eating it. This year, I made sure I was more on top of things, and last weekend, my family gave eating horsetail a try.
 Horsetail's bulb-like rhizomes are edible. Courtesy Wikimedia Commons.Identifying Horsetail
There are 20 species of horsetail that are native to North America and Europe. On our homestead, we have giant horsetail. (Other names for horsetail include field horsetail, scouring brush, bottlebrush, shave grass, corncob plant, scouring rush, field horsetail, pewterwort, paddock-pipes, Dutch rushes, and snake pipes. They are in the Equisetum family.)
All horsetail have jointed stems that break apart easily and burst with watery liquid. The plant generally prefers damp soil; I find it in boggy areas around the homestead.
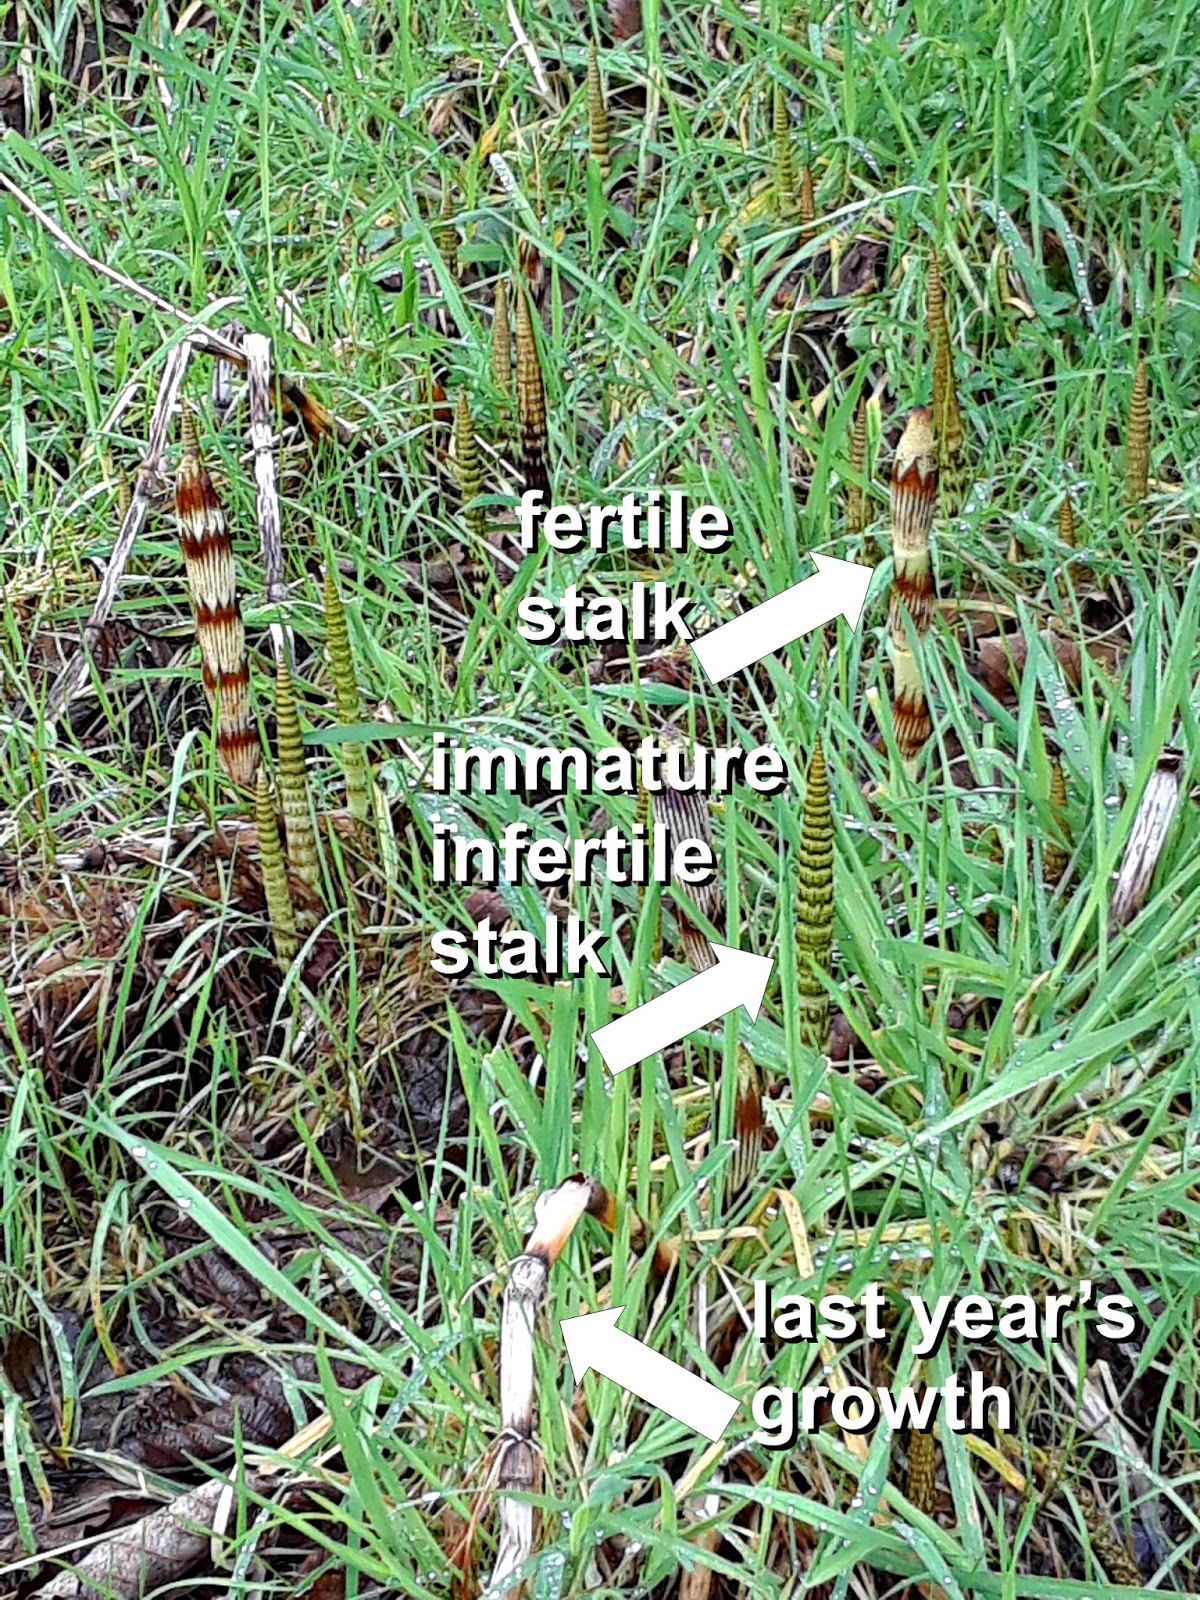 Examining a horsetail patch.
Eating Horsetail Rhizomes
The rhizomes (a type of root) are edible - though I've not tried them yet. Before you can dig them up and eat them, you need to spot a patch of horsetail in the spring, when it sends up its strange shoots. Note the location, and next year, before horsetail begins shooting up, dig around the spent shoots to find the rhizomes. Peel them and add them to the stew pot, or peel and slice and add them to salads.
Eating Horsetail's Fertile Shoots
 Fertile horsetail shoots.
In early spring, the nutrient-rich, fertile shoots appear, resembling asparagus. Color varies; with our giant horsetail, the fertile plant comes in tones of light and dark brown. These "males" are non-photosynthesizing and have a cone-like top with rows of spore-bearing dots. They grow up to 2 feet tall (some species grow taller), and should be harvested before their cone-tops turn dark.
To eat these shoots, simply cut them off at ground level, then peel off the dark brown stripes found along the joints of the plant. (These stripes are packed with silica, which is bad for your teeth and could cause irritation in the body.) Cut off the cone-like tops, too.
Traditionally, horsetail is usually eaten raw. I tried it this way and found it quite pleasant - very similar to celery in texture and mild taste. But because it tends to grow in boggy areas, my husband wondered if it was a risk due to e. coli. I've read a lot of foraging books and websites, and I've never seen this mentioned in regard to
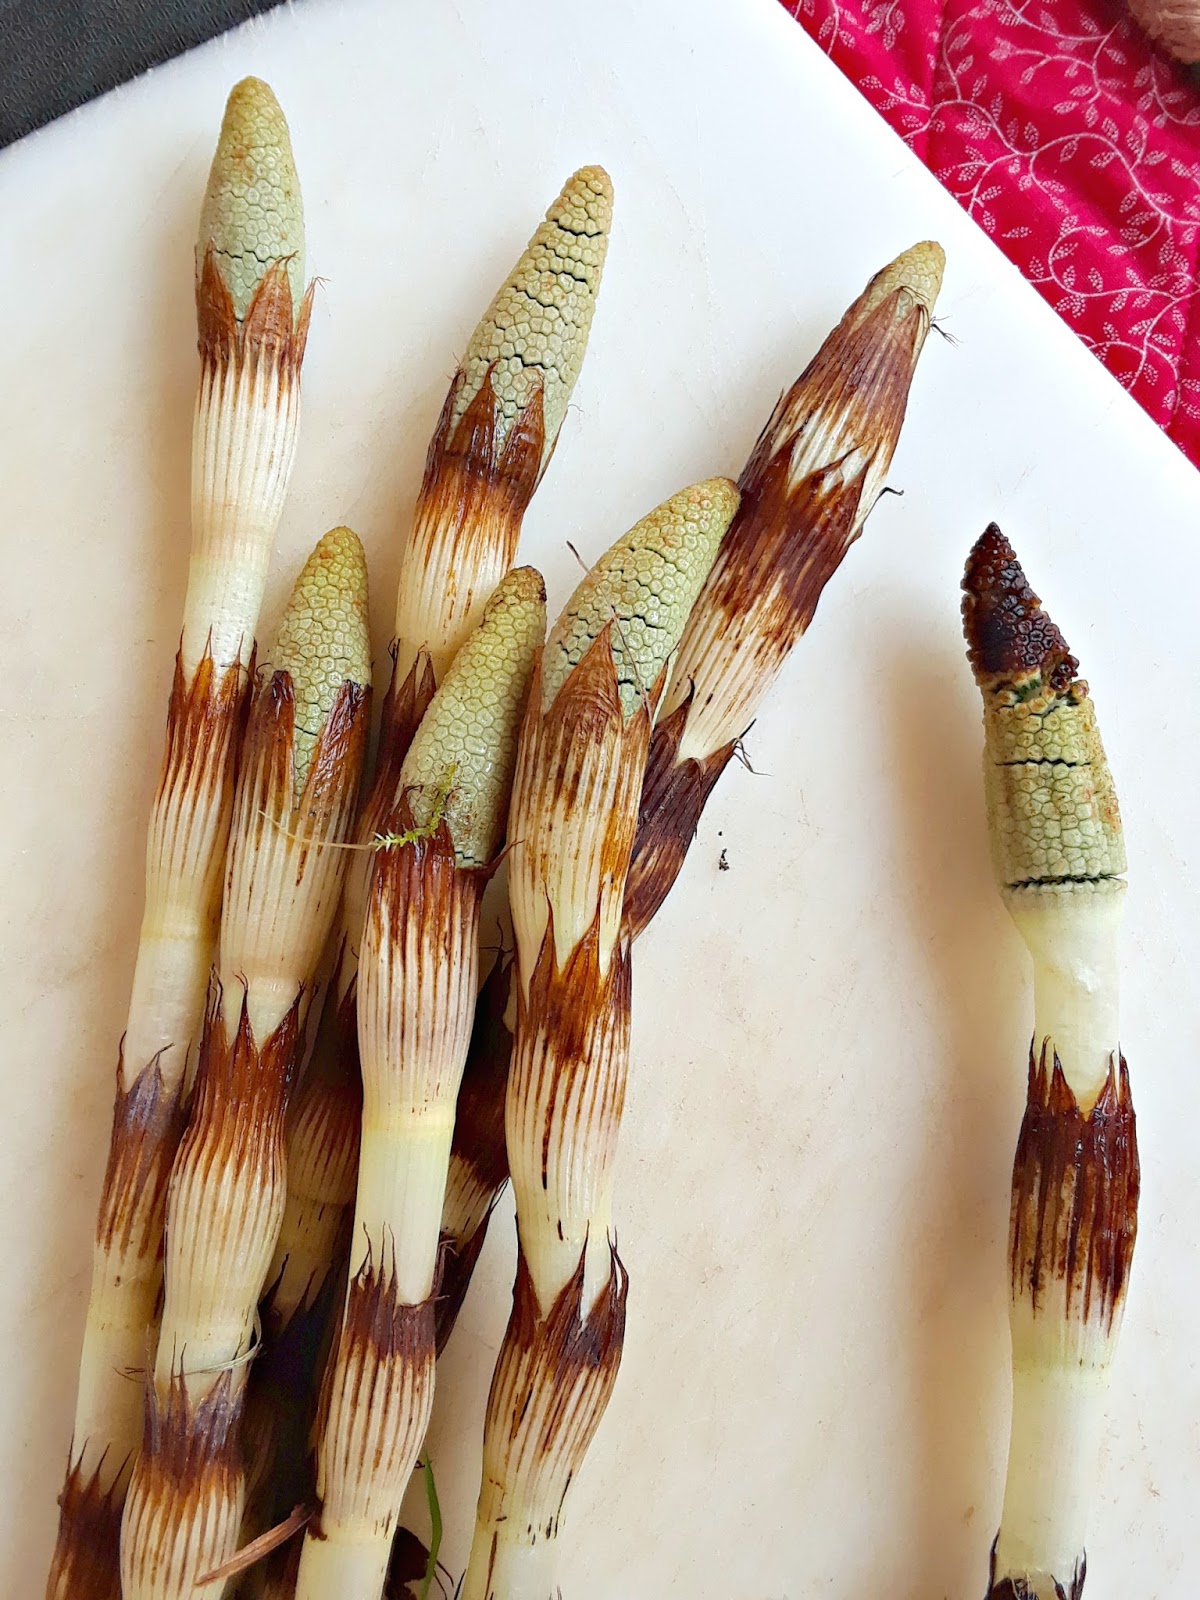 Fertile shoots that are dark on top (right) aren't very good eating.horsetail...but in order to play it extra safe, I went ahead and boiled the stalks for my family's consumption. This gave the plant a super-mild flavor (similar to cooked celery) and made it mushy, instead of crisp. You may also steam the shoots.
In the future, we will probably stick to eating the plant raw. (I eat a lot of raw wild foods, and I personally don't believe there is a greater risk of e. coli in horsetail than in the other wild foods I eat. However, I am not a physician, nor should I be considered an expert in this area.)
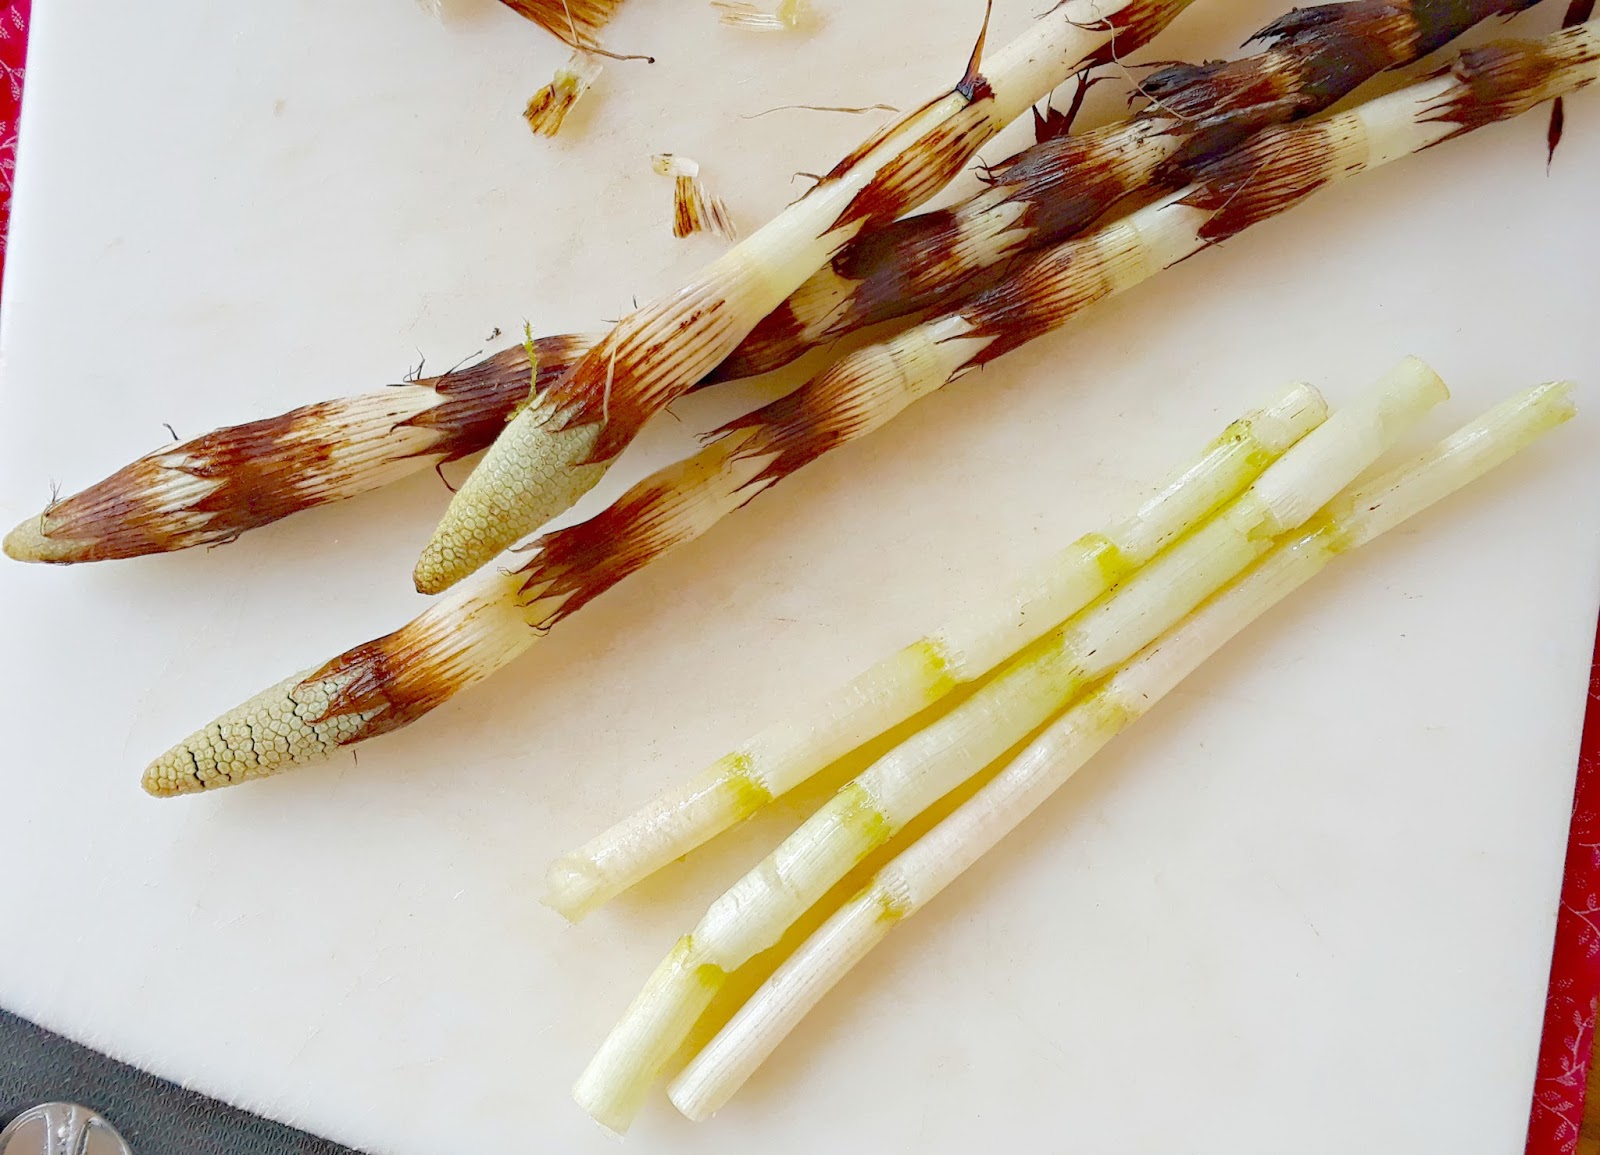 Dark stripes should be removed before eating.
Eating Horsetail's Non-Fertile Shoots
 Mature non-fertile horsetail. Courtesy of
born1945
After the fertile shoots pop up, the female plant (which looks like a green bottle brush) appears. At first, it's spike-like leaves are tight to the plant, but gradually they expand out, giving the plant its distinctive look.
Although some foraging books say you shouldn't eat the non-fertile shoots, natives did, and so do many modern foragers, consuming them the same way they do the fertile shoots. However, the non-fertile shoots are much more work because you must peel them completely before consumption. (the outer layer is too full of silica to be safe to eat.) In addition, some sources claim non-fertile shoots must be "thoroughly boiled" before eating. Douglas Deur, in his book Pacific Northwest Foraging , notes that boiling with repeated changes to the water reduces any toxicity that might be found in the plant, due to chemicals in the soil.
Horsetail Medicine
 Immature non-fertile shootsAnother way horsetail is unique is that it's one of the few plants with bio-available silica. Therefore, drinking horsetail tea can help repair damaged bones and connective tissue, while also encouraging strong hair and nails. The tea is also traditionally used to support the kidney, bladder, and prostrate.
In addition, horsetail is diuretic, and herbalists sometimes use it to treat urinary tract infections, or to dissolve urinary stones. It's also said horsetail can curb excessive menstrual flow and internal bleeding and treat bronchitis, tuberculosis, and asthma.
 An immature non-fertile shoot.In addition to its high silica content, horsetail is full of calcium, sulfur, manganese, potassium, silicic acid, flavonoids, saponins, sterols, aluminum salts, and tannins.
There is a big HOWEVER when using horsetail as medicine. This plant should never be consumed regularly or for a long period of time because it can lead to thiamine deficiency.
When making horsetail medicine, always harvest non-fertile shoots before their leaves begin to droop. This helps prevent digestive upset. To dry the plant, hang whole stalks in a cool, dark location. It's important to avoid breathing in silica crystals that may appear as dust once the plant is dried; it is very irritating to the respiratory tract. To be extra cautious, wear a mask when placing dried horsetail in jars or creating herbal powders from the dried plant material.
Horsetail Tea
Pour boiling water over about 2 or 3 grams of chopped non-fertile horsetail stalk. Cover with a saucer and allow the tea to steep for 10 or 15 minutes. Remove the saucer and strain the tea through two layers of cheesecloth. Drink 4 oz. three times daily between meals.
Horsetail Tincture
More experience herbalists can turn fresh horsetail into a tincture (1:5). Consume 1 - 4 ml. three times daily.
 Horsetail is made of segments, each containing mineral water.
Warnings:
Horsetail is made of segments, each containing mineral water.
Warnings:
Just as all prescription medicines have warnings, so do natural medicines.
Marsh horsetail (Equisetum palustre) is potentially toxic. (See also.)
Consuming horsetail for a long period of time may lead to a thiamine deficiency. Eating horsetail raw and in quantity may result in a depletion of B1. (Eating it cooked does not pose this risk.)
For some people, eating quantities of horsetail raw "may be mildly toxic" (Deur). Horsetail is toxic to livestock and perhaps to pets. When handling dried horsetail, it's wise to wear a mask to avoid the irritating dust it might produce.
As with all wild edibles, pay attention to where you harvest. Horsetail is especially good at absorbing heavy metals and chemicals in the soil. Also, it's possible to be allergic to any plant. Show wisdom by eating a small quantity to see if your body reacts negatively.
If horsetail is used with Benzodiazepines, Disulfiram, or Metronidazole, it may cause "a disulfiram-like reaction." (Source.) Taking horsetail along with medicines that deplete the body of potassium (like corticosteroids, diuretics, and laxative stimulants) increases the risk of developing dangerously low potassium. Do not use horsetail with licorice, since it may lead to low levels of potassium.
Do not take horsetail medicinally if you are pregnant or nursing, have heart problems, drink too much alcohol, or are prone to thiamine deficiencies.
Large quantities of the horsetail can be toxic because it contains thiaminase, which has the potential to deplete the body of B vitamins. In small quantities, this is not an issue. Cooking horsetail also eliminates this problem.
Disclaimer: I am not a doctor, nor should anything on this website (www.ProverbsThirtyOneWoman.blogspot.com) be considered medical advice. The FDA requires me to say that products mentioned, linked to, or displayed on this website are not intended to diagnose, treat, cure, or prevent any disease. The information on this web site is designed for general informational purposes only. It is not intended to be a substitute for qualified medical advice or care. There are no assurances of the information being fit or suited to your medical needs, and to the maximum extent allowed by law disclaim any and all warranties and liabilities related to your use of any of the information obtained from the website. Your use of this website does not constitute a doctor-patient relationship. No information on this website should be considered complete, nor should it be used as a substitute for a visit to, consultation with, or the advice of a physician or other qualified health care provider.
March 20, 2018
False Pregnancy in Homestead Animals
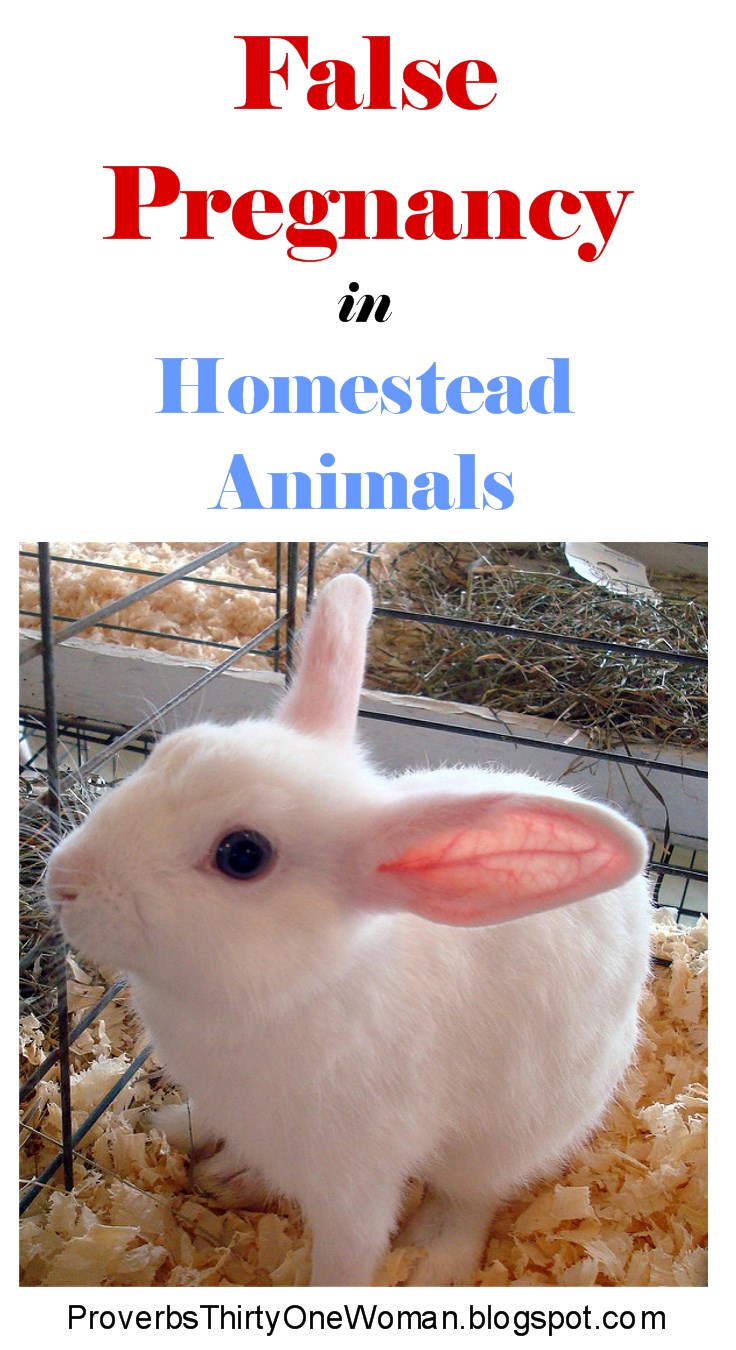 Remember when I told you we thought my daughter's pet rabbit (practice for meat rabbits here on the homestead) was pregnant? We mated the doe, and she immediately started showing signs of pregnancy, including moodiness (which is not like her), beating up the buck she usually adores, making a nest, and pulling fur to line her nest. All normal stuff for a rabbit about to give birth. Well...her proper gestation period is far and away over and we still don't have kits. Our rabbit had a false pregnancy.
What is a False Pregnancy?
A false pregnancy is when a mammal takes on traits of being pregnant, but has not actually conceived. (The most famous case of probable false pregnancy in a human was Mary I, Queen of England.)
Scientists really don't understand why false pregnancies (also called a phantom pregnancies, hysterical pregnancies, or - more correctly - pseudocyesis in humans and pseudopregnancy in other mammals) happen, but they speculate it might be all about the mind: The mammal thinks she is pregnant, and that belief changes her hormones, making her body show signs of pregnancy.
Common symptoms of pseudopregnancy may include:
* Enlarged abdomen
* Development of the mammary glands
* Milk production
* Moodiness
* Maternal behavior (like creating a place to give birth and care for babies)
False pregnancy can occur in any mammal pet or homestead/farm animal. Actual mating is not necessary for a false pregnancy to occur. (Dogs sometimes fall into false pregnancy
Identifying a False Pregnancy
It's difficult to identify false pregnancies, since you cannot judge by outward behavior or physical appearance. Because the animal's hormones are altered, blood tests may come back positive when experiencing a pseudopregnancy. Patience, or an ultrasound, are the only sure ways to determine if a pregnancy is real.
(Adding to the confusion is the fact that rabbits can reabsorb their kits if they are undernourished or diseased. Not likely in most homesteading situations...certainly not ours!)
How to End a False Pregnancy
If you have, say, a goat that appears pregnant but is not, you could waste months waiting for kids that never appear. While this may not be a big deal on a farm of larger scale, it can really hurt the small-scale homesteader. So is there a way to end a false pregnancy once it's begun?
Unfortunately, mammals are not like broody hens that you can help "snap out of motherhood" by enforcing a "cooling off period." (Learn how to do that here.) The Merrick Veterinary Manual says sometimes tranquilizers are effective in treating a false pregnancy, or perhaps a dose of progesterone. But in almost all cases, time is considered the best medicine. Put on your patience cap! In many cases, the animal cannot be effectively bred until she is over her pseudopregnancy.
The Merrick Manual on Pseudopregnancy:
* Overview of Pseudopregnancy in Goats
* False Pregnancy in Small Animals
* Reproductive Disorders of Female Dogs
* Reproductive Disorders of Female Cats
Click over to MediRabbit for more information about false pregnancies in rabbits.
Cover image courtesy of Sean.
March 12, 2018
Why You Shouldn't Worry About GMO Seeds in Your Garden
 It's that time of year when people are buying and starting seeds for their vegetable gardens, and it seems everywhere I go someone is asking "Where can I buy non-GMO seeds?" Trust me, friends; this is something you don't have to worry about.
It's not that I'm pro-GMO. I'm definitely not. (When humans play God it always ends badly. And where are the studies showing a lifetime of eating GMO food - or pesticide-ridden food, for that matter - is safe? Hint: No such studies exist.)
But here's the deal: GMO seeds are not available to home gardeners. That's right: You can't buy GMO seed unless you're a commercial farmer.
The reason for this is simple: Profit. The creators of GMO seed want to make a whole lot of money from them. Therefore, they don't want just anybody being about to grow GMO food. I know this because they regularly sue farmers who accidentally grow GMO food in their fields because the wind or a bird or some other natural thing makes GMO seed fall on their property. GMO seed costs more than traditional seed, and the makers of GMO seeds want to keep it that way.
No, little ol' backyard gardeners like you and me can't get our hands on GMO seed. So...no worries!
What is the Difference Between GMO Seeds and Non-GMO Seeds?
To help clarify further, let's talk about the differences between GMO, hybrid, heirloom, and open-pollinated seeds...because this is where a lot of the confusion about GMOs sits.
GMO seed: Seeds that are created in a lab. These seeds could never be created in nature...never. GMO plants may have DNA from non-compatible plants, as well as from animals and bacteria. (Learn more about creating GMO seeds here.)
Hybrid: Hybrid seeds and plants have been around for a very long time. Hybridization often happens in nature, because wind or animals cross-pollinate plants. Hybrids can also be created by humans, when the process is used to bring out special traits in a plant. (For example, a human might cross a tomato that is particularly disease-resistant with a tomato that is especially tasty and, if she is lucky, come up with a tomato that is tasty and disease-resistant.) No laboratory is needed to make a hybrid. Instead, gardeners simply remove the male portion of a flower to create a "mother plant" and push the male portion of a different flower into it. (Learn more about cross-pollinating plants here.)
Hybrid plants are not the best for seed saving because hybrid seeds aren't usually true to the parent plant. For example, if you collect seed from that hybrid tomato I mentioned above, the offspring plants probably won't have all the good qualities of the parent plant - and may have some of the bad qualities from the hybrid tomato's ancestor plants.
Heirloom: Seed from an older variety of plant, handed down for generations. All heirlooms are open-pollinated.
Open-pollinated: A hybrid seed that was created by insects, birds, wind, humans, or any other natural process. Open-pollinated seeds are excellent for seed-saving because they tend to be true to the parent plant. While all heirlooms are open-pollinated, not all open-pollinated seeds are heirloom.
One Last Thing
Because someone will bring it up. GMO seeds might be a real concern if you live near commercial farms growing GMO crops - because the wind or animals could potentially drop GMO seed into your garden. If you're in this situation and you see seedlings where you didn't plant them - especially if they are GMO crops (corn, soy, sugar beets, papaya, zucchini, yellow summer squash, canola, or cottonseed) - pull them immediately and burn them.
March 6, 2018
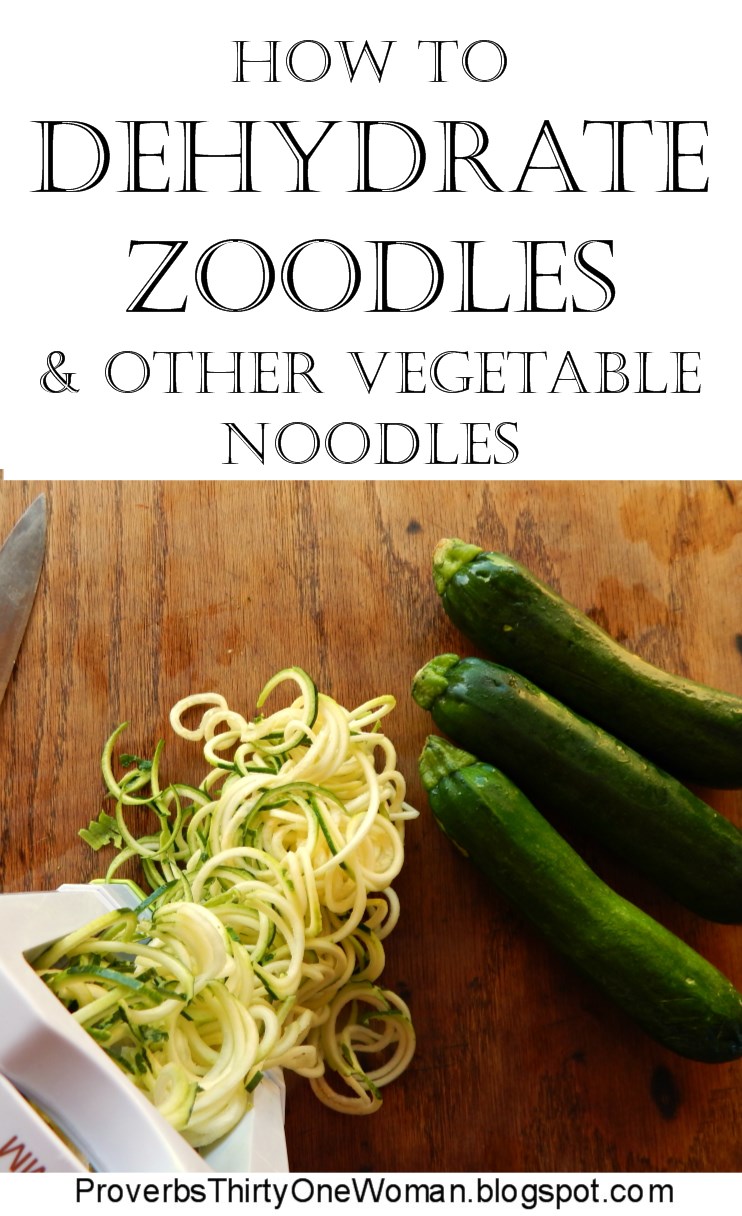
How to Dehydrate Zoodles & Other Vegetable Noodles
 This post contains affiliate links. All opinions are my own. Please see FCC disclosure for full information. Thank you for supporting this site!
In case you haven't noticed, zoodles (a.k.a. zucchini "noodles") and other vegetable "noodles" are all the rage right now. Vegetable noodle makers (called spiralizers) are huge sellers on Amazon and big box stores, and you can even buy pre-cut vegetable noodles in the frozen food section of grocery stores. There's no doubt veggie noodles are easy to make and a healthier option than traditional noodles. But did you know you can preserve them for your pantry? Oh yeah.
First: How to Make Zoodles and Other Vegetable Noodles
Years ago, before I'd even heard of a zoodle, I exchanged traditional lasagna noodles for thinly sliced zucchini. All you need to make these is a sharp knife and a steady hand. (Slice 'em thin!) But for spaghetti-like "noodles," which is what most people mean when they talk about zoodles or veggie noodles, it's really best to use a vegetable spiralizer. There are about a gazillion of them on the market, but here's the one I have, and it works very well.
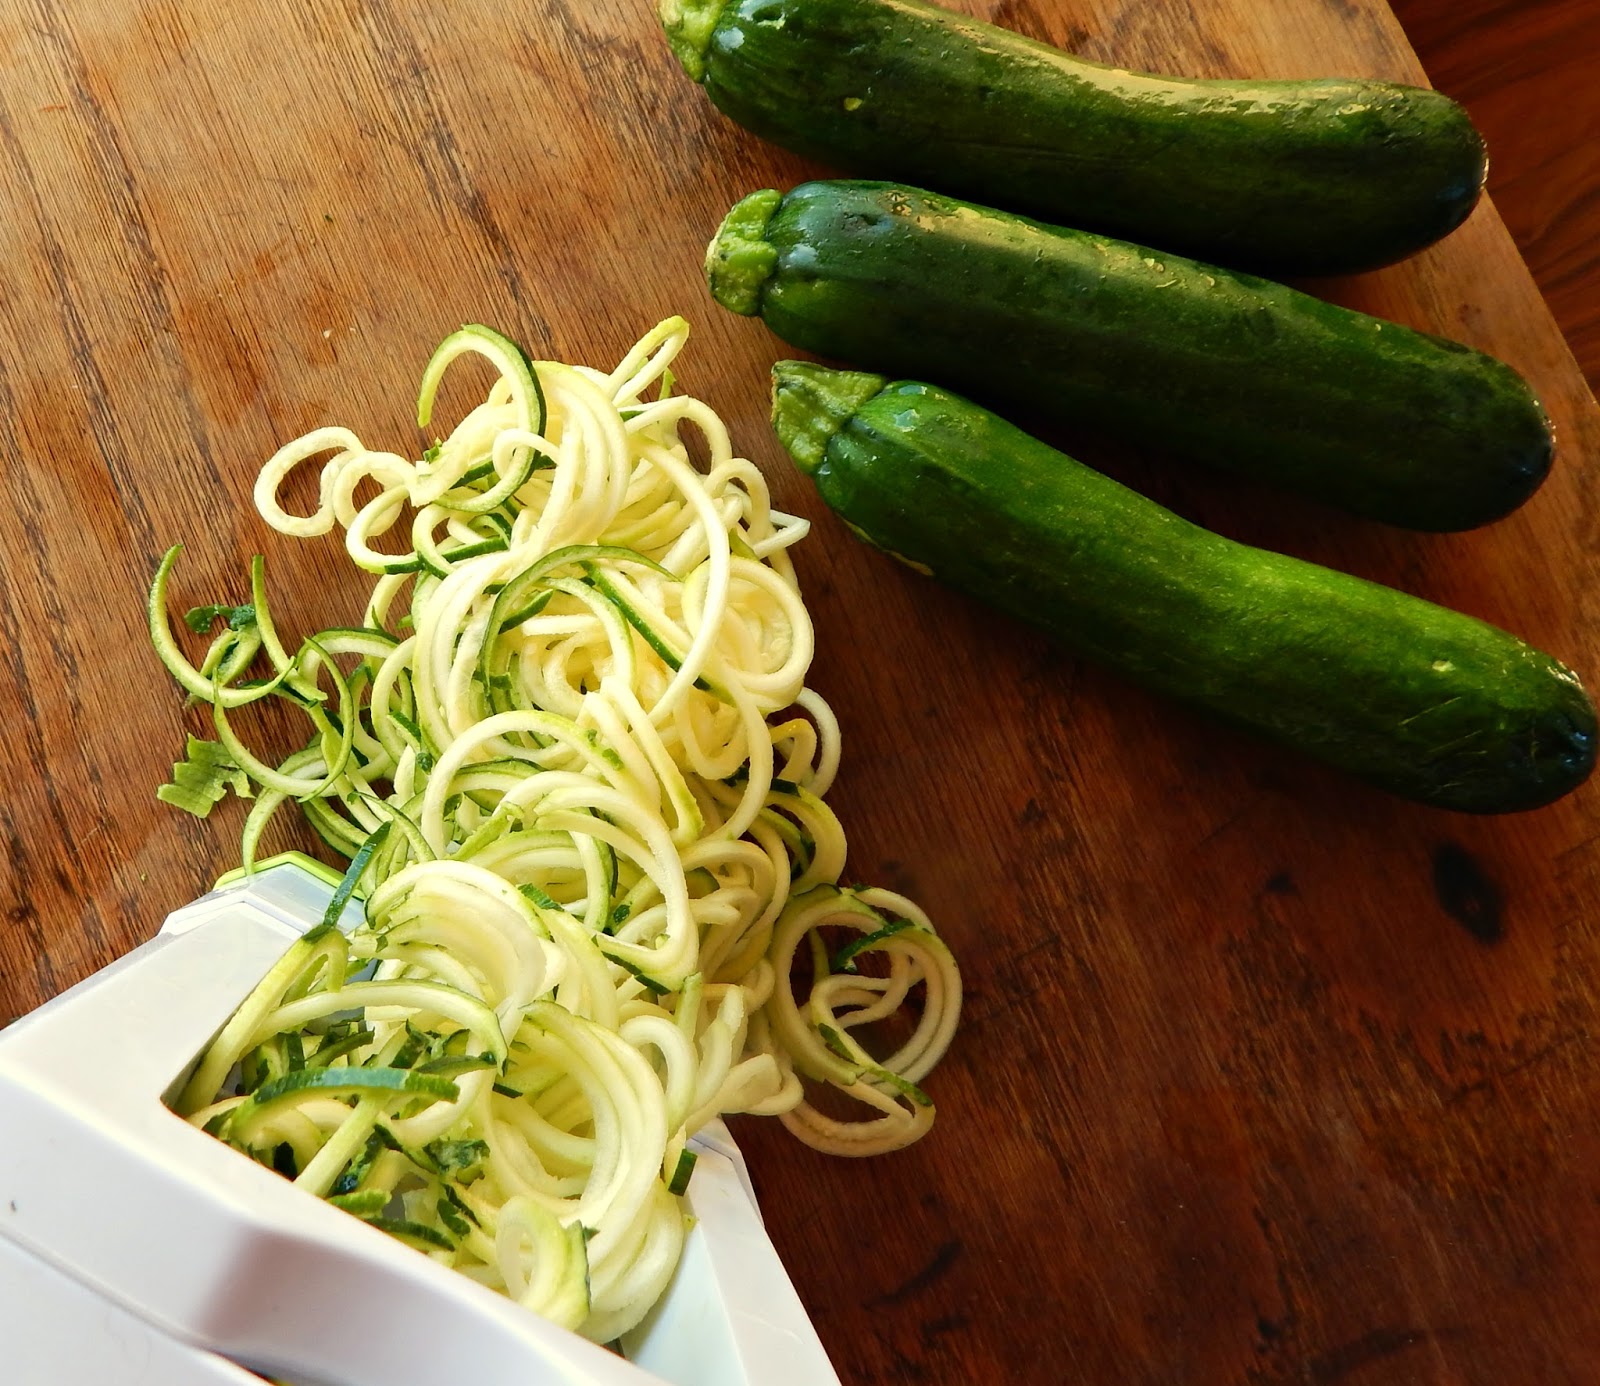 Making zoodles with a vegetable spiralizer.Basically, you just stick washed veggies in the spiralizer and crank the machine. Out come spaghetti-like "noodles," leaving just the core of the veggie as waste. (But as homesteaders, we know this won't go to waste! It will go in the compost bin, or we'll give it to the chickens or pigs or dogs.) And ta-da! You have zoodles.
One word of caution, though. Zucchini is, unfortunately, one vegetable that can be GMO. If you wish to avoid that, you have a few options. You can either buy organic zucchini from the grocery store (legally, organic veggies can't be GMO), or you can buy from a trusted local farmer, or you can grow zucchini yourself. I recommend the later, because zucchini is super-easy to grow, and there are varieties that are appropriate even for the smallest garden spots.
In addition to hand cutting or using a vegetable spiralizer, you could use a julienne peeler to create your zoodles. However, peelers often make zoodles that are quite thin - and thin zoodles dehydrate into almost nothing, which means you may end up with mush when you rehydrate them.
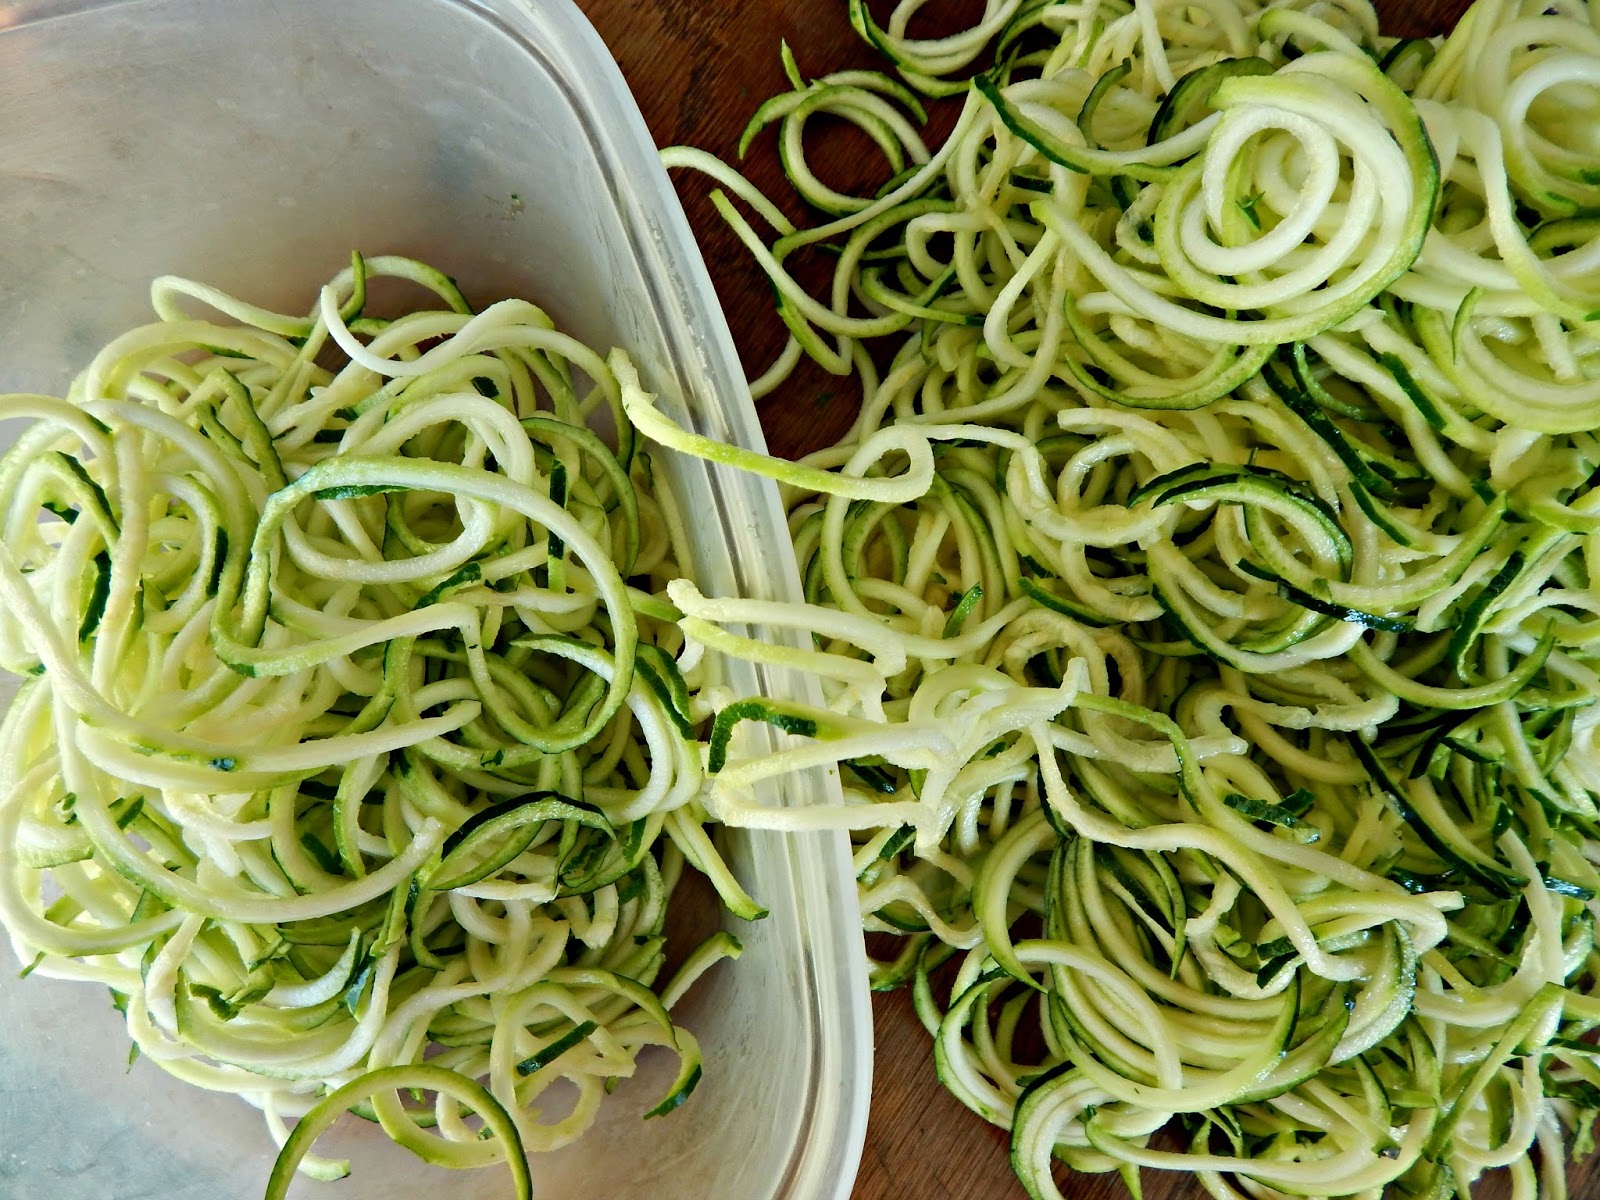 Zoodles store well in a food storage container in the fridge.
Once you've made your zoodles, the next step is to either eat them fresh (read tips for cooking zoodles here) or store them. They store surprisingly well in a covered food container in the fridge. I've had them last more than a week this way. But for longer term storage, dehydration is your friend.
Dehydrating Zoodles & Other Vegetable Noodles
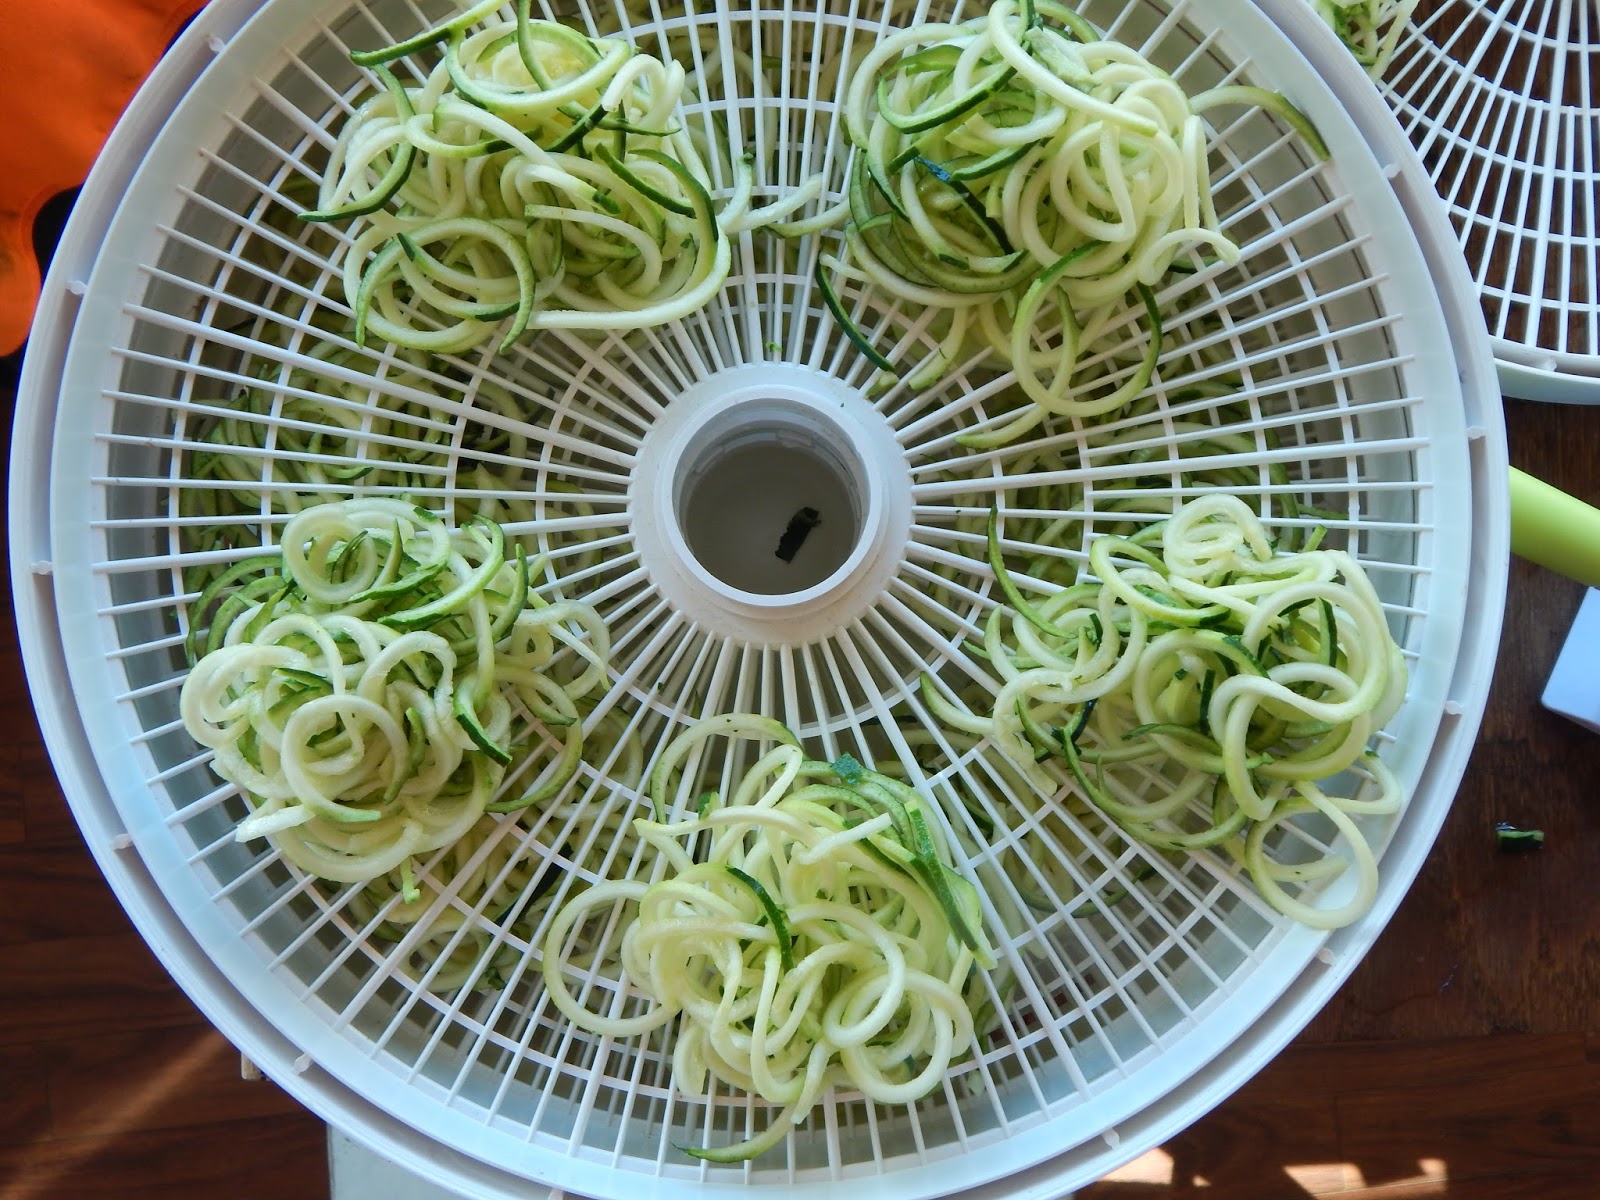
The trick to dehydrating zoodles effectively is to put them on your food dehydrator's trays in little "nests." This makes them easy to get on the trays, and easy to store, too. (If you've simply sliced zucchini into lasagna-noodle style strips, just lay them flat on your dehydrator's trays, making sure they don't touch.)
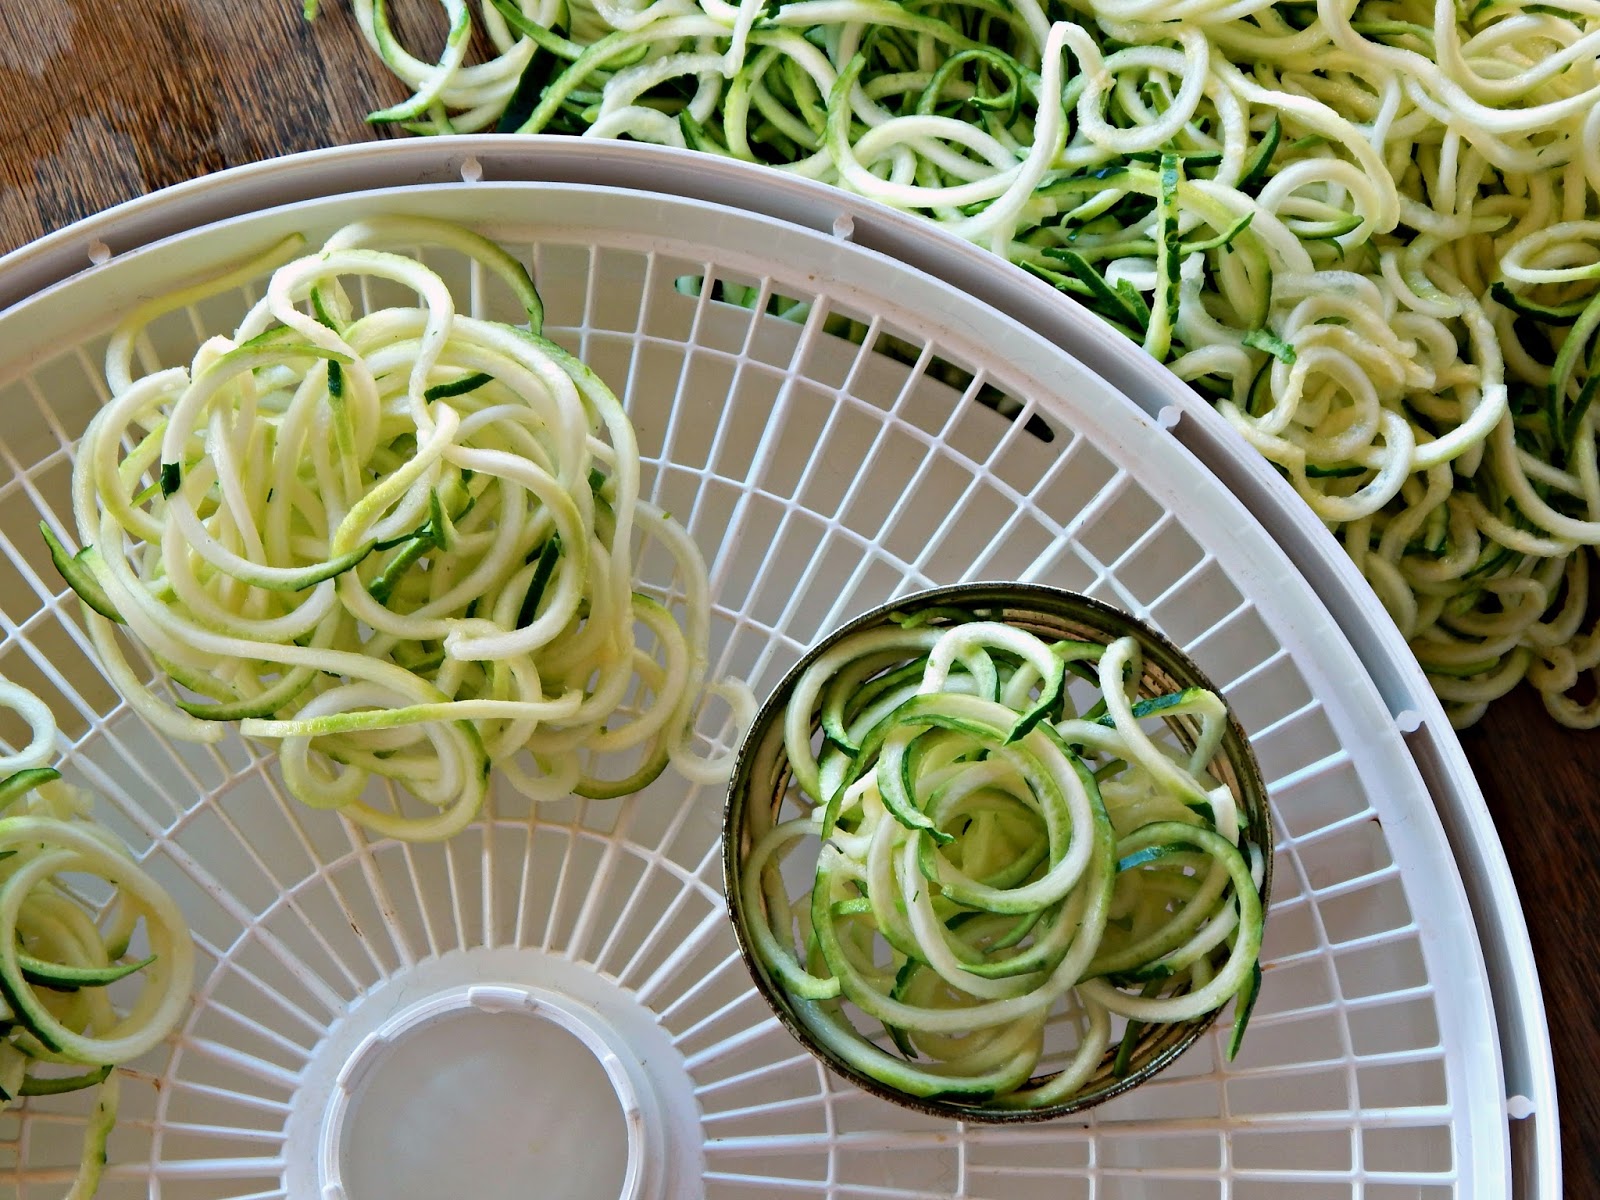 Zoodles dry best when formed into "nests."
 I use a wide mouth canning jar ring to make "nests."To help determine how big the nests should be, I use a wide mouth canning jar ring as a sort of template. This ensures the finished product stores easily in a jar - and keeps me from making the nests so big they take forever to dry. I place the ring on the dehydrator tray, add some zoodles, then remove the ring. If you make the nests too tall, they may impede putting additional trays on your dehydrator. Also, be sure the nests don't touch, or they'll end up sticking together.
Set the dehydrator at 135 degrees F. and dry until the zoodles are entirely crisp. To test for doneness, break a zoodle. No moisture should come from the break.
 Don't let the "nests" touch, or they will stick together.To store the dehydrated zoodles, place them in a wide mouth canning jar and secure the lid. Store in a dry, dark location. Dried zoodles last at least a year in storage. If you live in a moist or humid area, I suggest adding a desiccant pack to each jar, to help prevent the zoodles from rehydrating while in storage. (Zucchini are particularly prone to this problem.)
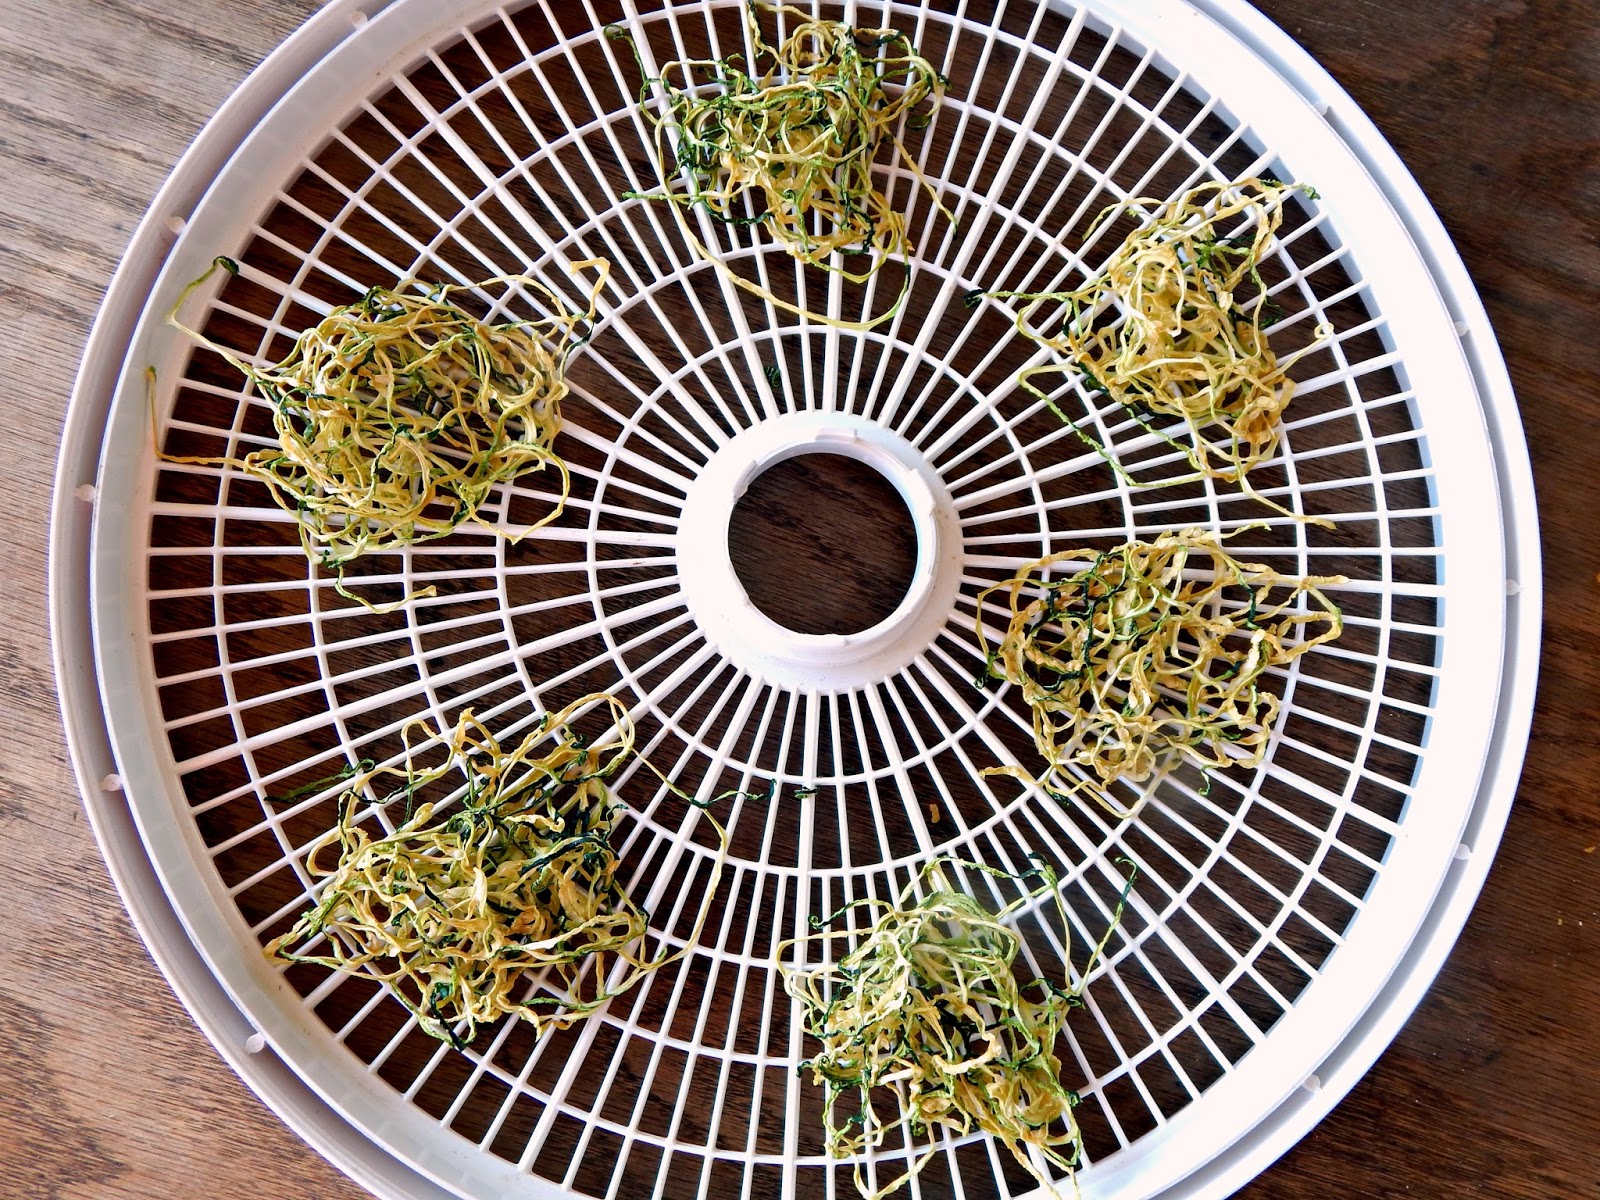 Zoodles shrink considerably when dehydrated.
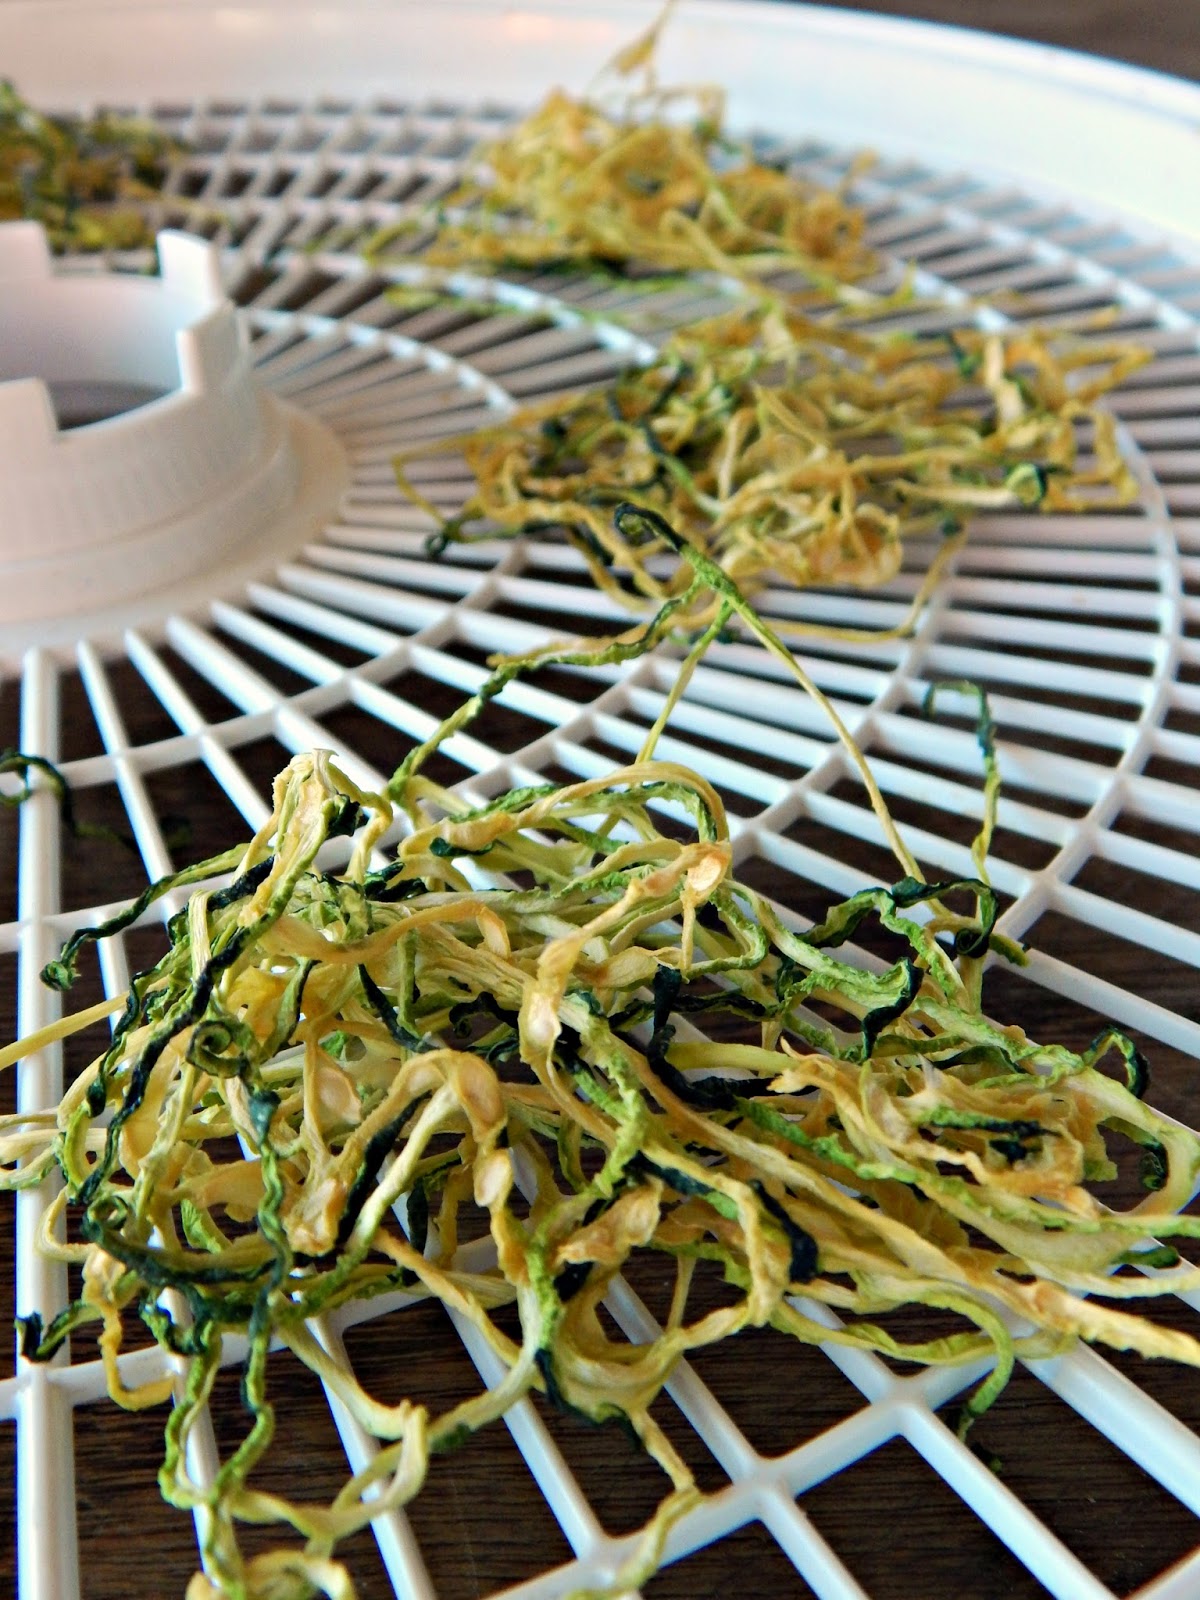 The zoodles are done when they are crisp.
 Store dehydrated zoodles in an airtight jar.To use the zoodles, you may toss them, dry, into soups, stews, or heated pasta sauce. There's no need to rehydrate with water, under these circumstances. If you want to add zoodles to, say, a stir-fry, you'll need to first soak them in a little water. Another option is to boil dried zoodles for about 3 minutes; some people feel this makes them more like traditional pasta. Or simply cover dried zoodles with boiling water, place a lid over the bowl, and let the zoodles sit for about 15 minutes, or until tender. In the three later cases, be sure to squeeze the rehydrated zoodles before adding them to the pan, or the end result will be quite watery.
February 28, 2018
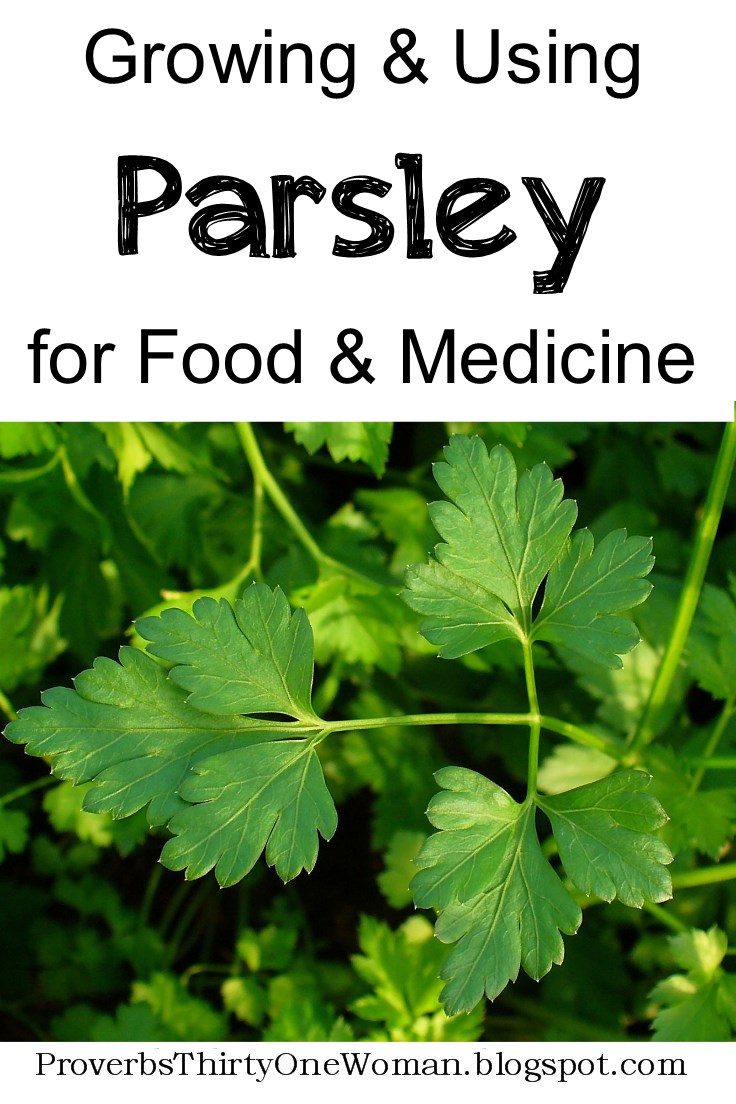
How to Grow and Use Parsley for Food and Medicine
 This post contains affiliate links. All opinions are my own. Please see FCC disclosure for full information. Thank you for supporting this site!
Flat leaf parsley (petroselinum crispum) is one of those herbs I used to omit from every recipe that called for it. I didn't figure it made much of a difference, flavor-wise - and most recipes only called for a small amount, yet I had to buy a large bunch at the store. I didn't want to waste food or money. But when we moved here, one of the herbs already growing on our homestead was a large clump of parsley...and I have to admit, it's one of the easiest-growing plants I've ever had. It comes back earlier than any other edible, is care-free, and produces abundantly. I'm not one to let such a blessing pass by, unused. So recently, I've been researching the best ways to use up a lot of parsley.
How to Use Fresh Parsley
First and foremost, I'm learning to use fresh parsley leaves. No longer do I omit parsley from recipes. In fact, I'm learning to add the herb to most of what I cook. Eggs for breakfast? I add a sprinkling of chopped parsley. Tuna or chicken salad for lunch? I stir in chopped parsley. Soup or stew or casserole or any type of meat for dinner? I add chopped parsley. Salad as a side? I include some parsley leaves.
And as I do this, I'm finding that parsley adds a freshness and brightness to each dish that was previously missing.
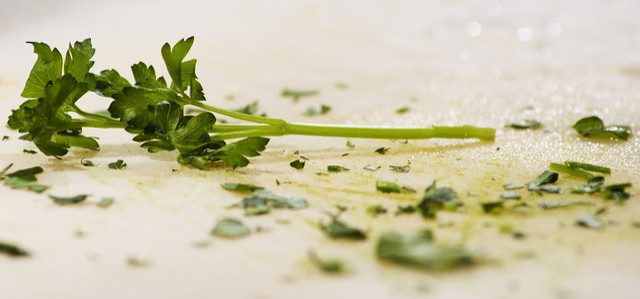 Remove the leaves from the stems when cooking with parsley. Courtesy of Kelley Boone.
 There are also some dishes that feature parsley prominently. These include:
Parsley (English) Pesto
Parsley Butter
Parsley Salt (made the same way I make celery salt)
Chimichurri sauce
Cream of Parsley Soup
Parsley Salad
Tabbouleh
"Green Goddess" Sauce
Fried Parsley
Gremolata
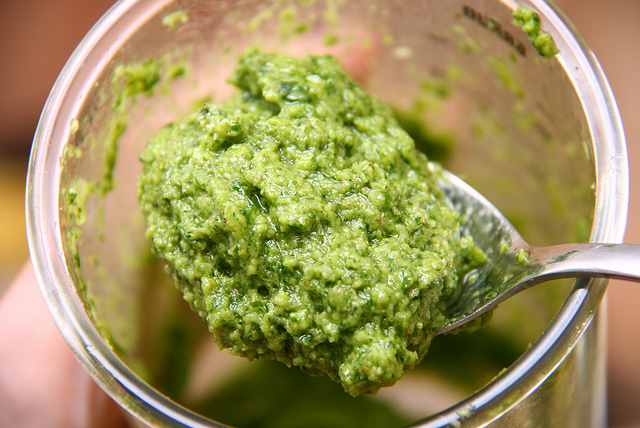 Parsley pesto. Courtesy of Katrin Gilger.
 Preserving Parsley
I find the easiest way to preserve parsley is to dehydrate it. I simply remove the leaves from their stems, lay them in a single layer on an electric dehydrator tray (this is the current model of what I use) and dehydrate at 95 degrees F. until crisp. I store the dehydrated leaves whole, in an air tight jar in a dark, cool location. To use, I simply crush the leaves in my hand and sprinkle into whatever I'm cooking. (Crushing herbs before storing them ensures the loss much of their flavor and medicinal properties.)
Some people prefer to freeze parsley. I've done this by simply throwing whole leaves in a freezer bag, and then breaking off however much of the herb I want when I'm cooking. But you can also chop up parsley leaves and place clumps in an ice cube tray to freeze. Once fully frozen, transfer to a freezer bag. You may also mix the leaves with a little olive oil before freezing them in an ice cube tray.
 Parsley roots are edible and medicinal.Eating Parsley Root
The root of the parsley plant looks very much like a parsnip (or a tan carrot). I have yet to try it, but some people say it tastes like a mixture of celery, carrots, and turnips. The root is typically harvested in winter or early spring and is eaten much like other root vegetables. Remember, of course, that if you take the plant's root, you are effectively removing parsley from your garden - so if you want to keep growing the plant for its leaves, be sure to only remove the root in order to thin out a clump of parsley.
Here are some recipes to try:
Parsley Root Soup
Parsley Root Fries
Mashed Potatoes and Parsley Root
Roasted Root Vegetables
Parsley Root Stew
Parsley Medicine
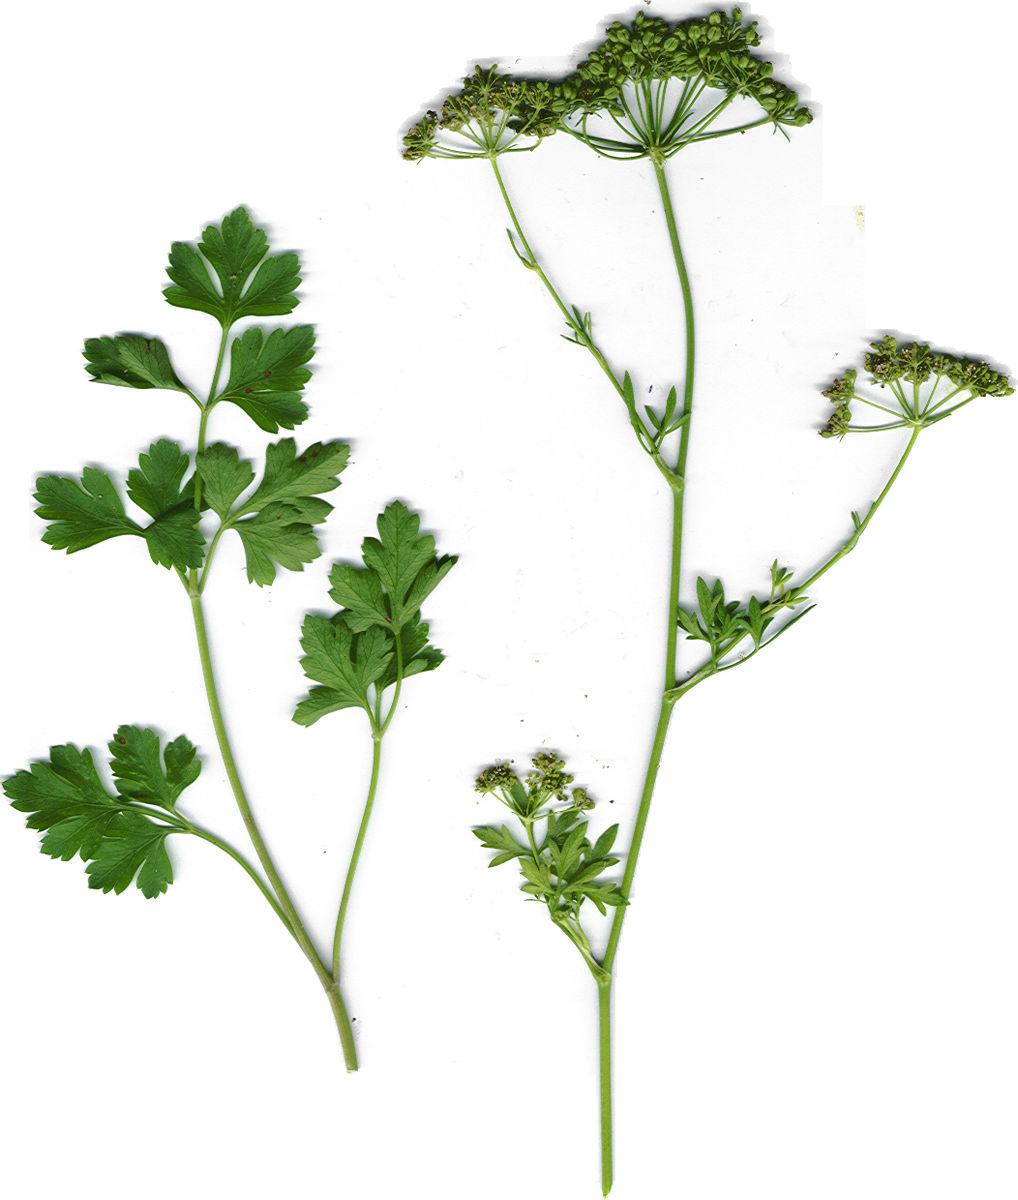 Parsley root, seed, and leaf are medicinal.
Parsley is a pretty powerful little herb. It's packed with antioxidant flavonoids, phenolic compounds, folate, iron, calcium, potassium, and magnesium, as well as vitamins K, C, and A. Traditionally, it's considered a "bitter" herb, good for aiding in digestive issues. Herbalists use it to reduce inflammation, improve or prevent anemia, boost immunity, and treat kidney stones, bladder infections, bloating, gas, gout, acid reflux, constipation, and PMS. Parsley also has antibacterial and antifungal properties.
When used as medicine, parsley leaves are often brewed into a tea, or used as an essential oil. Parsley seeds are also used in traditional medicine, especially for normalizing menstruation and treating menstrual pain. (Never use garden seeds for medicine, as they are usually sprayed with chemicals.) Parsley roots are medicinal, too, and herbalists use them mostly in the form of a tincture.
How to Grow Parsley
Like most herbs, parsley is extremely easy to grow. However, the seeds are a wee bit tricky to germinate: First, soak the seeds overnight in warm water. Direct sow outdoors in the spring or sow indoors 6 - 12 weeks before the last spring frost.
Plant seedlings in containers or directly into the soil. The plant isn't picky about soil, but prefers it rich in nitrogen. Grow in full sun or part shade. If your winters are harsh, mulch the plant well or it will die when temperatures drop.
Harvest stems before the plant flowers in the late summer or fall, or the herb will probably take on a bitter flavor. To keep parsley from growing "leggy" always cut off stems at the base of the plant.
CAUTION: It's possible to be allergic to any plant, and parsley is no exception. Some people experience contact dermitis from touching parsley, while others experience an allergic reaction to eating it. One side effect of having an allergic reaction may be the sensation that parsley is very spicey. Parsley oil should never be used during pregnancy and those experiencing inflammatory kidney ailments should never consume parsley in large doses.
Disclaimer: I am not a doctor, nor should anything on this website (www.ProverbsThirtyOneWoman.blogspot.com) be considered medical advice. The FDA requires me to say that products mentioned, linked to, or displayed on this website are not intended to diagnose, treat, cure, or prevent any disease. The information on this web site is designed for general informational purposes only. It is not intended to be a substitute for qualified medical advice or care. There are no assurances of the information being fit or suited to your medical needs, and to the maximum extent allow by law disclaim any and all warranties and liabilities related to your use of any of the information obtained from the website. Your use of this website does not constitute a doctor-patient relationship. No information on this website should be considered complete, nor should it be used as a substitute for a visit to, consultation with, or the advice of a physician or other qualified health care provider.
February 22, 2018
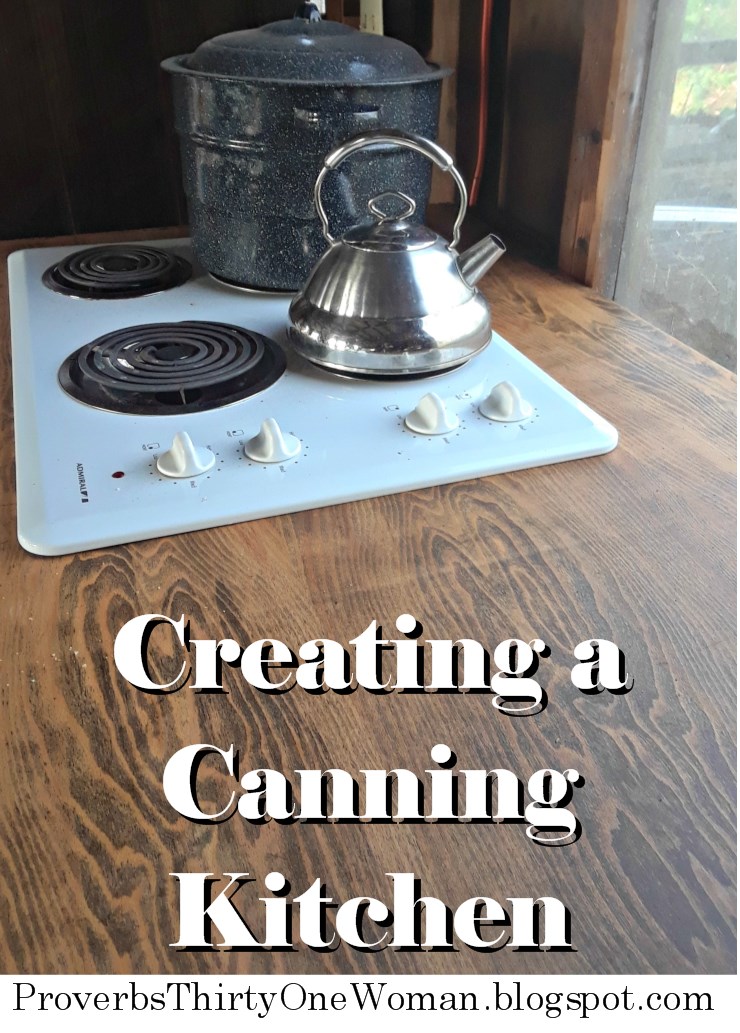
Creating a Canning Kitchen
 This post contains affiliate links. All opinions are my own. Please see FCC disclosure for full information. Thank you for supporting this site!
Since we moved to our mountaintop homestead in the summer of 2016, we've planned to create a canning kitchen - a place set aside just for preserving our homegrown food. The original structure on our homestead, which appears to date from the 1950s or 60s, seemed the logical choice. Until recent years, people had lived in it, so while it doesn't have a toilet (they used the woods instead), it does have electricity and plumbing. It already housed the washer and dryer, the dog-washing tub, and a wonderful old sink. All it really needed was a cook stove...plus, a lot of clean up.
Why I Want a Canning Kitchen
So why, you may ask, do I want a separate area just for canning and preserving? My reasons are many:
1. It prevents the house from getting uncomfortably hot during canning season. (Our house has great passive-solar properties, so we definitely don't need to warm things up in summer!)
2. It prevents my tiny kitchen from becoming more crowded. I simply don't have room to store all my canning tools and supplies inside the house - but there's plenty of room for all that in the canning kitchen.
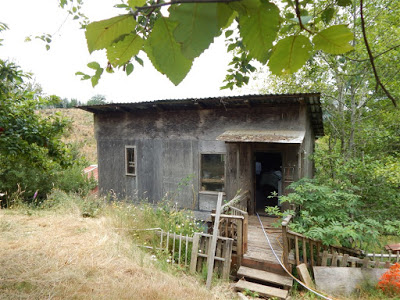 The original structure on our homestead...which is now a canning kitchen.3. Did I mention I have a tiny kitchen? I can can in it, but it's definitely tricky.
4. If I have a canning kitchen, my house kitchen need not be a constant mess during canning season.
My hubby worked hard to make this preserving kitchen happen, and I am grateful!
How We Did It
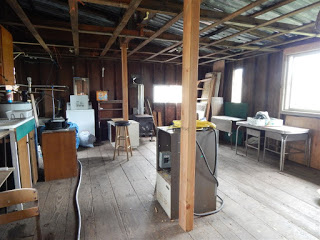 I wish I'd taken a proper "before" photo. This is a shot after the building was already largely cleaned up.
The first step to preparing the canning kitchen was to get a new roof on the building, since the old metal roof was leaking like crazy when we bought the place. Then we had to remove copious amounts of junk left byehind by the previous owners. Sadly, most of it went to the dump because it was just too far gone to do anyone good.
Next, there was the question of the stove. For canning, an electric coil stove is best. I'd tried canning on our house's gas stove (fueled by propane) and it took forever to get the water to a boil...plus it ate up a lot of propane, and our tank is small. Last summer, my husband set up a turkey fryer burner on the porch. That was nice in that it kept the house cool, but it was extremely difficult to get the burner low enough in temp that liquid didn't siphon out of the jars while canning. Plus, I still had to warm liquids and cook any foods inside, bring jars inside and fill them, and then walk them outside to put in the canner. A bit of a pain.
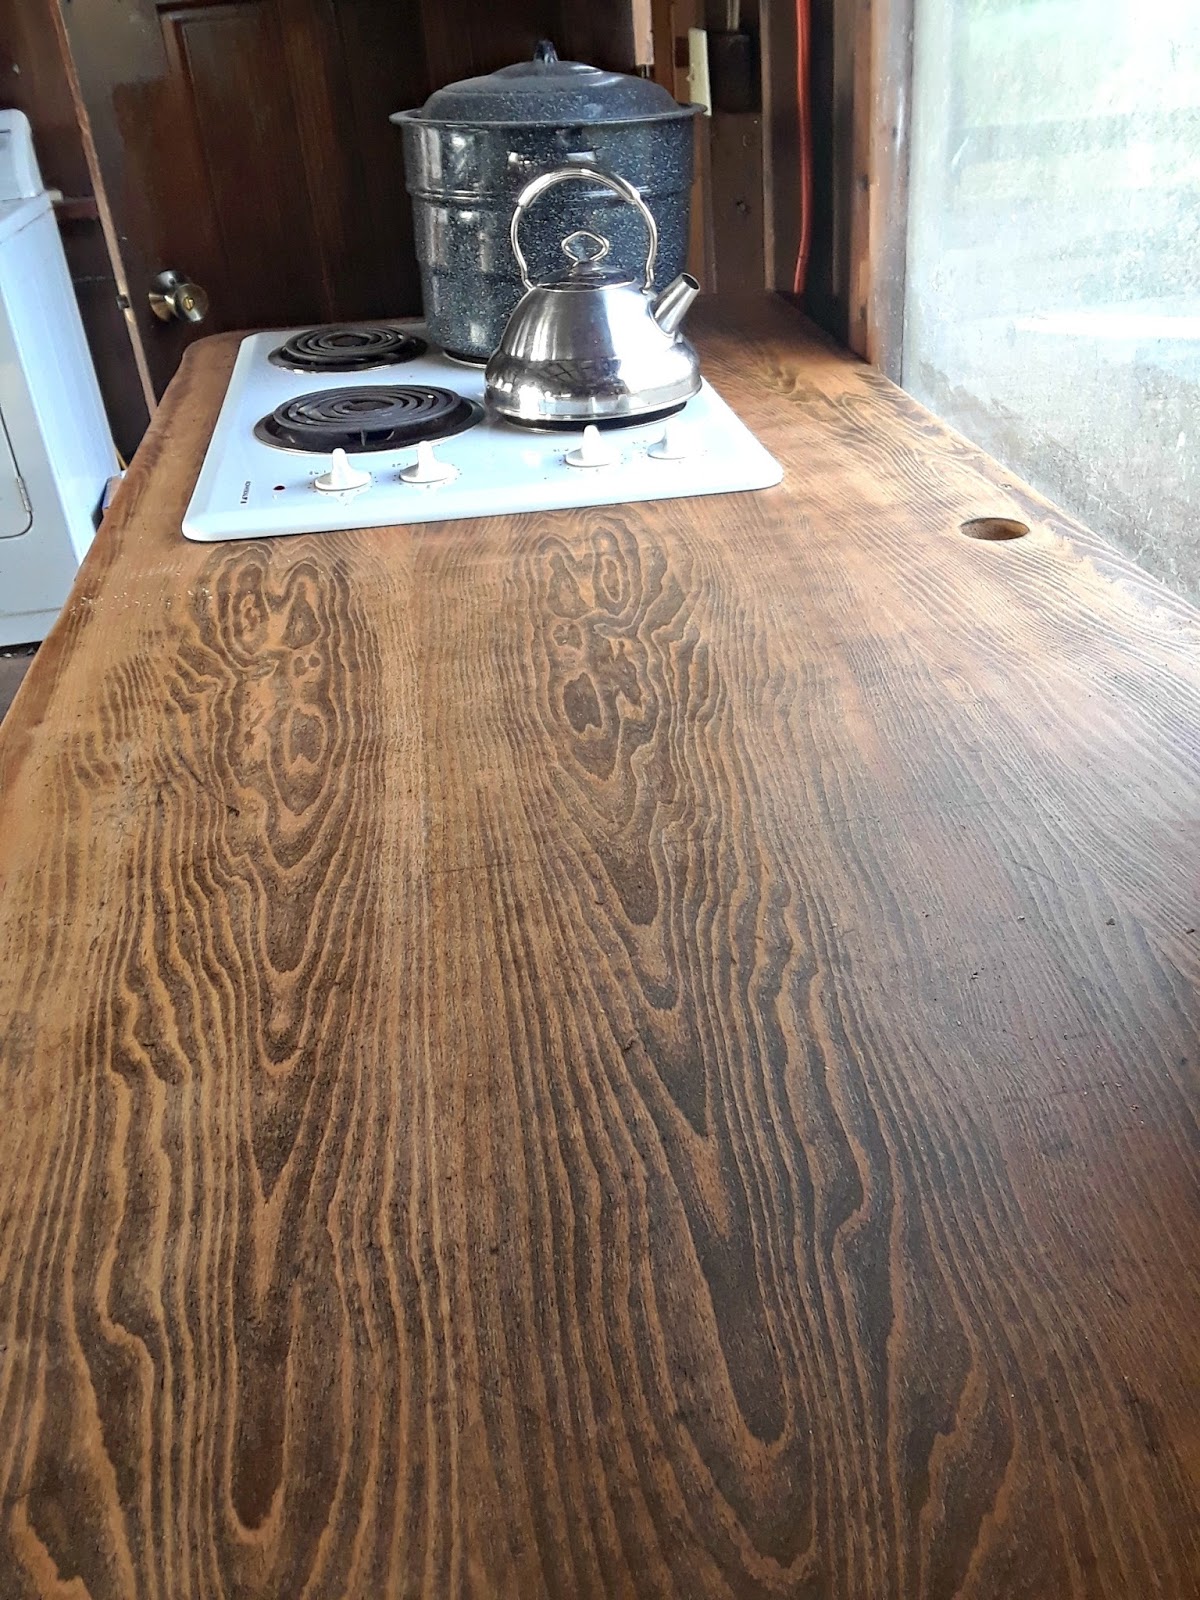
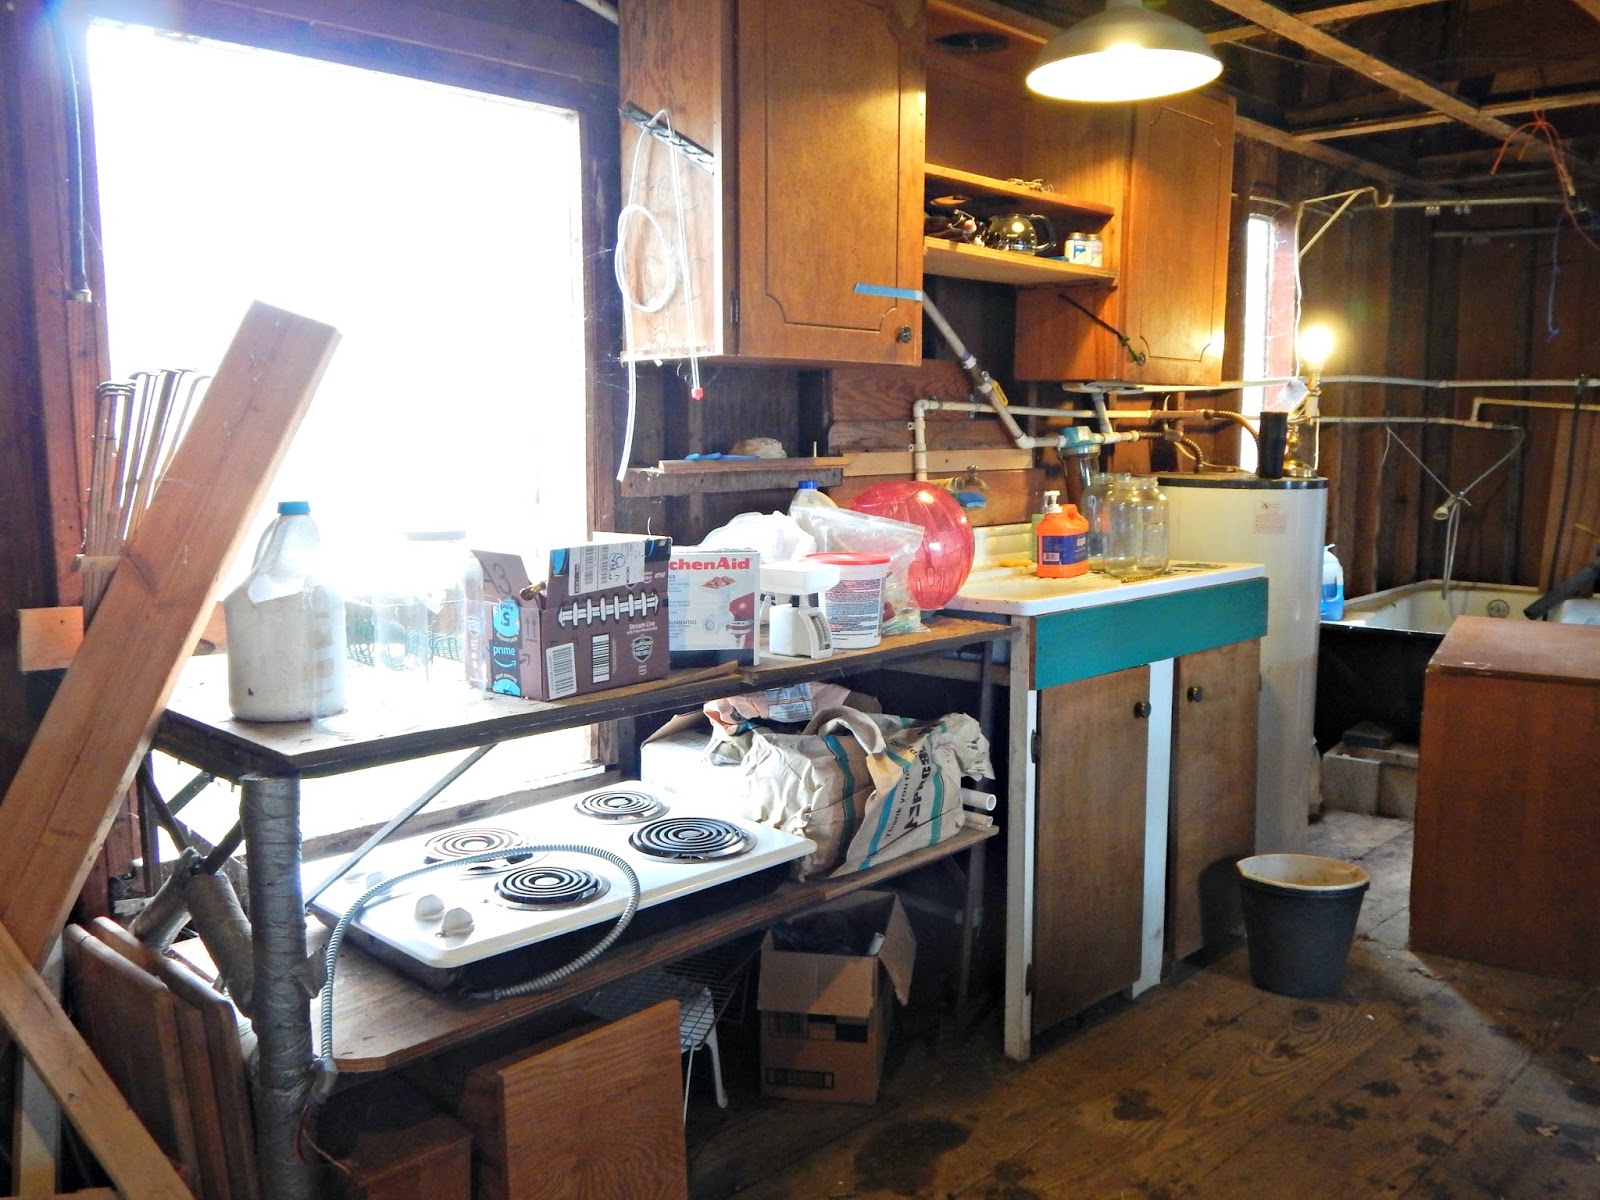 The area I chose for my canning stovetop.
 My hubby got pretty annoyed at me once or twice because I refused to buy used coil top stoves we saw in thrift stores. I just figured we weren't ready for them yet...and as it turned out, I think we ended up with something better: One of my husband's co-workers had a drop-in stovetop, which he gave us for free. Free is good!
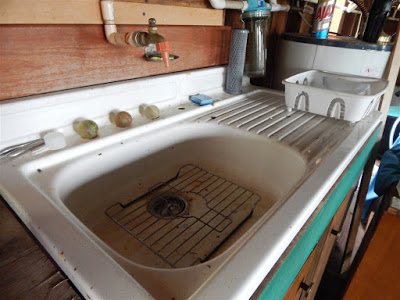 The neat vintage sink already in the building.Now we needed to figure out where I wanted the stove and how best to make a counter for it. I chose to have the stovetop near the already-existing sink, but with a little workspace in-between. (Eventually, my hubby will probably put a pot filler, like this one, directly over the stovetop, so I don't have to lug a canner full of water around.) And it just so happened there was a really solid old door sitting around among the junk in the building. My husband thought it would make a great counter, and he was right!
 Door turned counter.He built sturdy legs for the door-countertop (using materials we had on hand), and we thought initially we'd buy some laminate to finish the top. But ultimately my husband decided to sand the door down and give it coats of protective linseed oil. The result is totally gorgeous! It will require new applications of linseed every season, but we're okay with that. Cheap and beautiful is good!
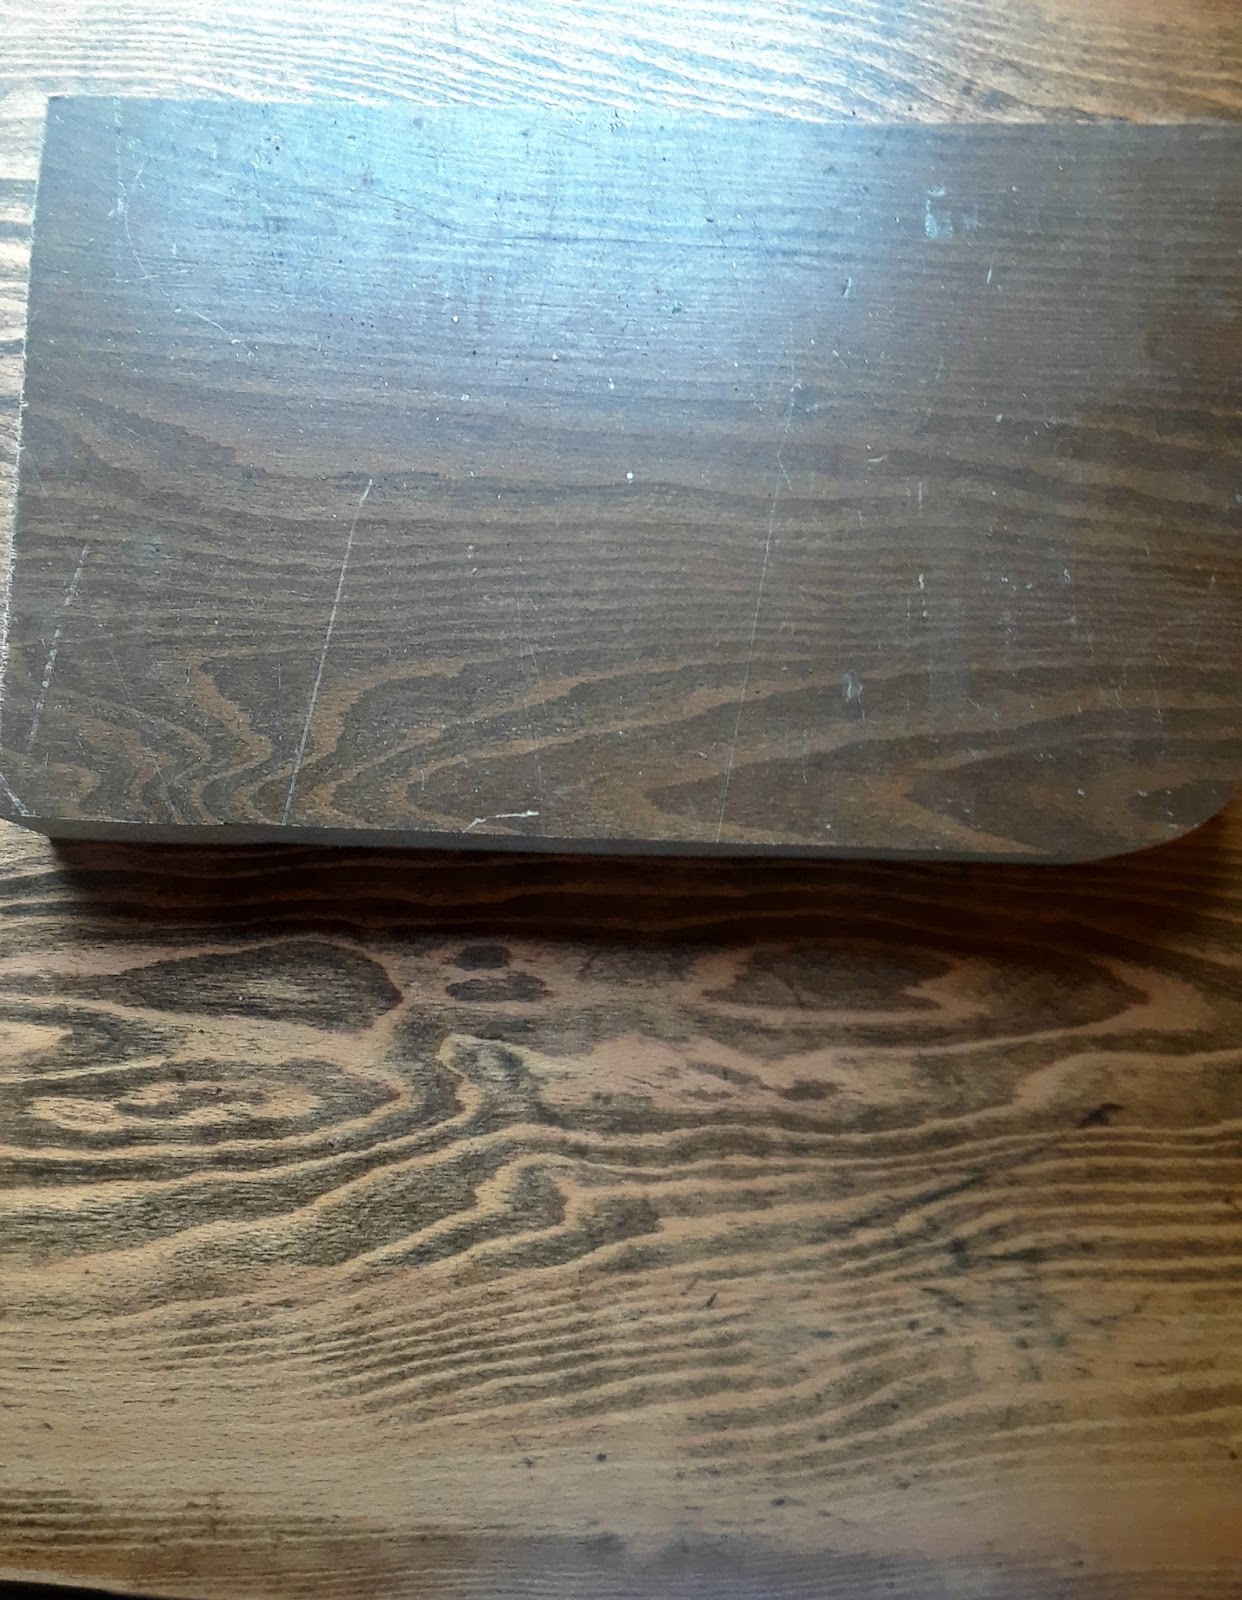 The door was originally an ugly 1970s dark brown. But once sanded...
it is lovely!
 Look at that gorgeous grain!
 I love the original hole for the knob. Upcycling is cool!
Eventually, I hope to have closed cupboards beneath the counter, for storing kitchen towels and such.
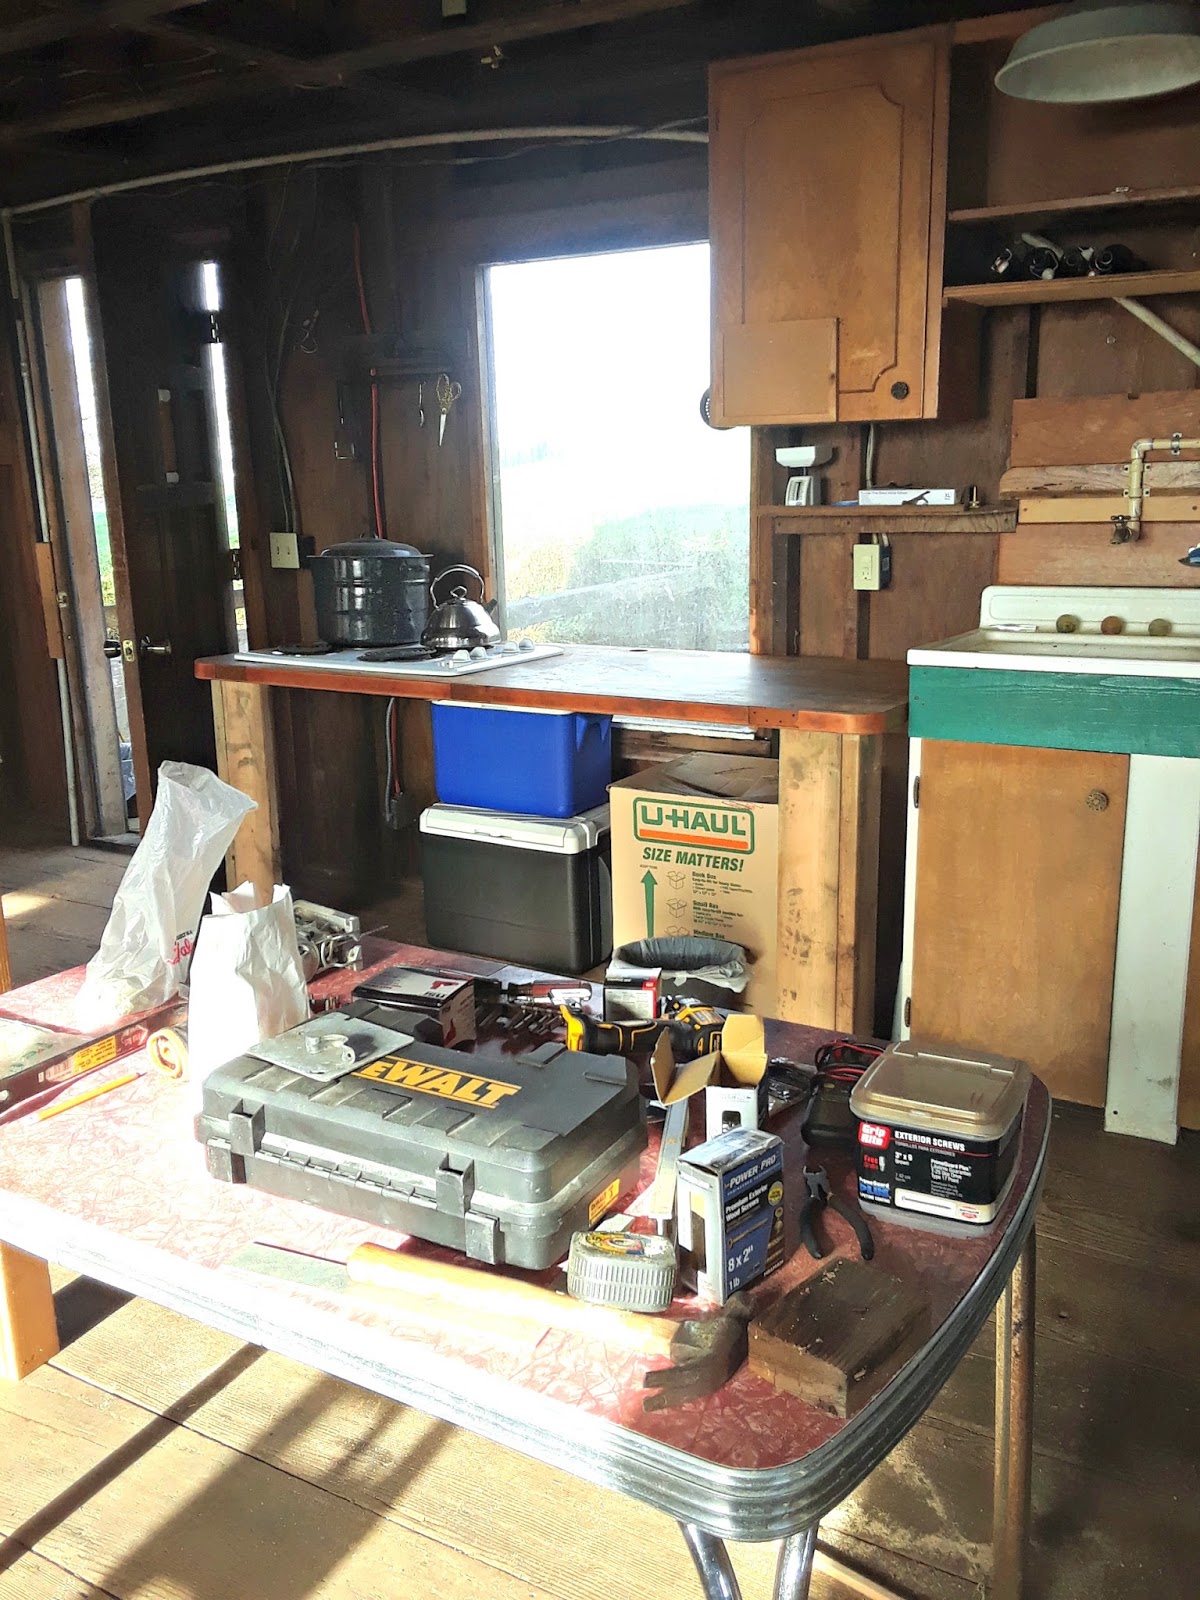 Where my hubby's tools sit in this photo is my vintage work table.But otherwise, it's a job completed! I have an old, broken rake (we found about a gazillion of them on the property) to hold utensils, an old school house chalkboard (nifty, though I'm not sure what I'll do with it), and a vintage 1950s laminate kitchen table to use as a workstation. I also have my dehydrators in the building, as well as my juicer, scales, and similar kitchen tools. And have I mentioned that the view is fantastic? I can't wait for preserving season to come!
 A rustic utensil holder.
 What a view!
February 17, 2018
Weekend Links & Updates
 Playing Miss Hannigan in Annie.In which I share my favorite posts from this blog's Facebook page.
This post contains affiliate links. All opinions are my own. Please see FCC disclosure for full information. Thank you for supporting this site!
On practising (i.e. "repeated exercise in or performance of an activity") sin:
"No one who abides in Him sins; no one who sins has seen Him or knows Him...the one who practices righteousness is righteous, just as He is righteous; the one who practices sin is of the devil...By this the children of God and the children of the devil are obvious: anyone who does not practice righteousness is not of God nor the one who does not love his brother."
1 John 3:4 - 10
_______________________________
* I've been rather absent, not only on the blog, but also on Facebook and Instagram. I'm sorry! I haven't forgotten you, I've just been a bit overwhelmed. As I mentioned a while ago, I've been rehearsing for a local production of Annie, plus doing all my usual homeschooling, working from home, and homesteading. As if that weren't bad enough, I've been SO sick! In fact, the whole cast of the show is quite ill; I've never seen anything like it. I blame it on having lots of little kids running around, plus tiny, crowded dressing rooms with no ventilation. All my usual herbal preventatives and cures haven't worked, and I ended up with a bad sinus infection (that's has me partially deaf...fully deaf in one ear for a couple of days) and had to get on a course of antibiotics. Oh, and when I saw the doc he freaked out because my iron levels were so low, and the iron supplements he has me taking make me vomit. Fun times! Well, actually, yes. Despite illness, I'm having a fantastic time pretending to be mean to little girls :) (P.S. People are very quick to blame my diet for any health issue I may encounter, but I've been anemic since before going keto. The root cause is excessive menstruation.)
 Our (pet) buns.* On Super Bowl Sunday, my daughter let her pet Polish rabbits mate. If you're never seen rabbits mating, get thee to YouTube right now. It's hilarious. The male often gets at the wrong end, and when he's done, he faints. We suspect the bunny mating "took" because our doe, Pickles, is acting aggressively toward our buck, Buddy. We're talking punching, growling, and attempted biting. This is normal pregnant doe behavior. (Some does will even castrate bucks that dare to come near.) Let's hope Pickles other maternal instincts are strong, too!
 An excellent novel!* At least being sick gave me a chance to sink into a new book (A Refuge Assured) by one of my favorite novelist, Joceyln Green. She writes so well - and not only did I learn about an aspect of history I was unfamiliar with (French refugees coming to the U.S. during the French Revolution), but Joceyln gives me a lot to ponder about liberty and whether it can be abused. I highly recommend her books!
* Have you ever tried baking with a wood stove?
* How to plant trees in spring.
* This looks like such a great, easy gift idea. How to make personalized candles.
* 5 Regrets You Don't Want to Have if Your Kids Walk Away from Faith. Some excellent reminders here.
Oldies But Goodies:
* Gardening hacks you should ignore.
* How to grow epic tomatoes!
January 31, 2018
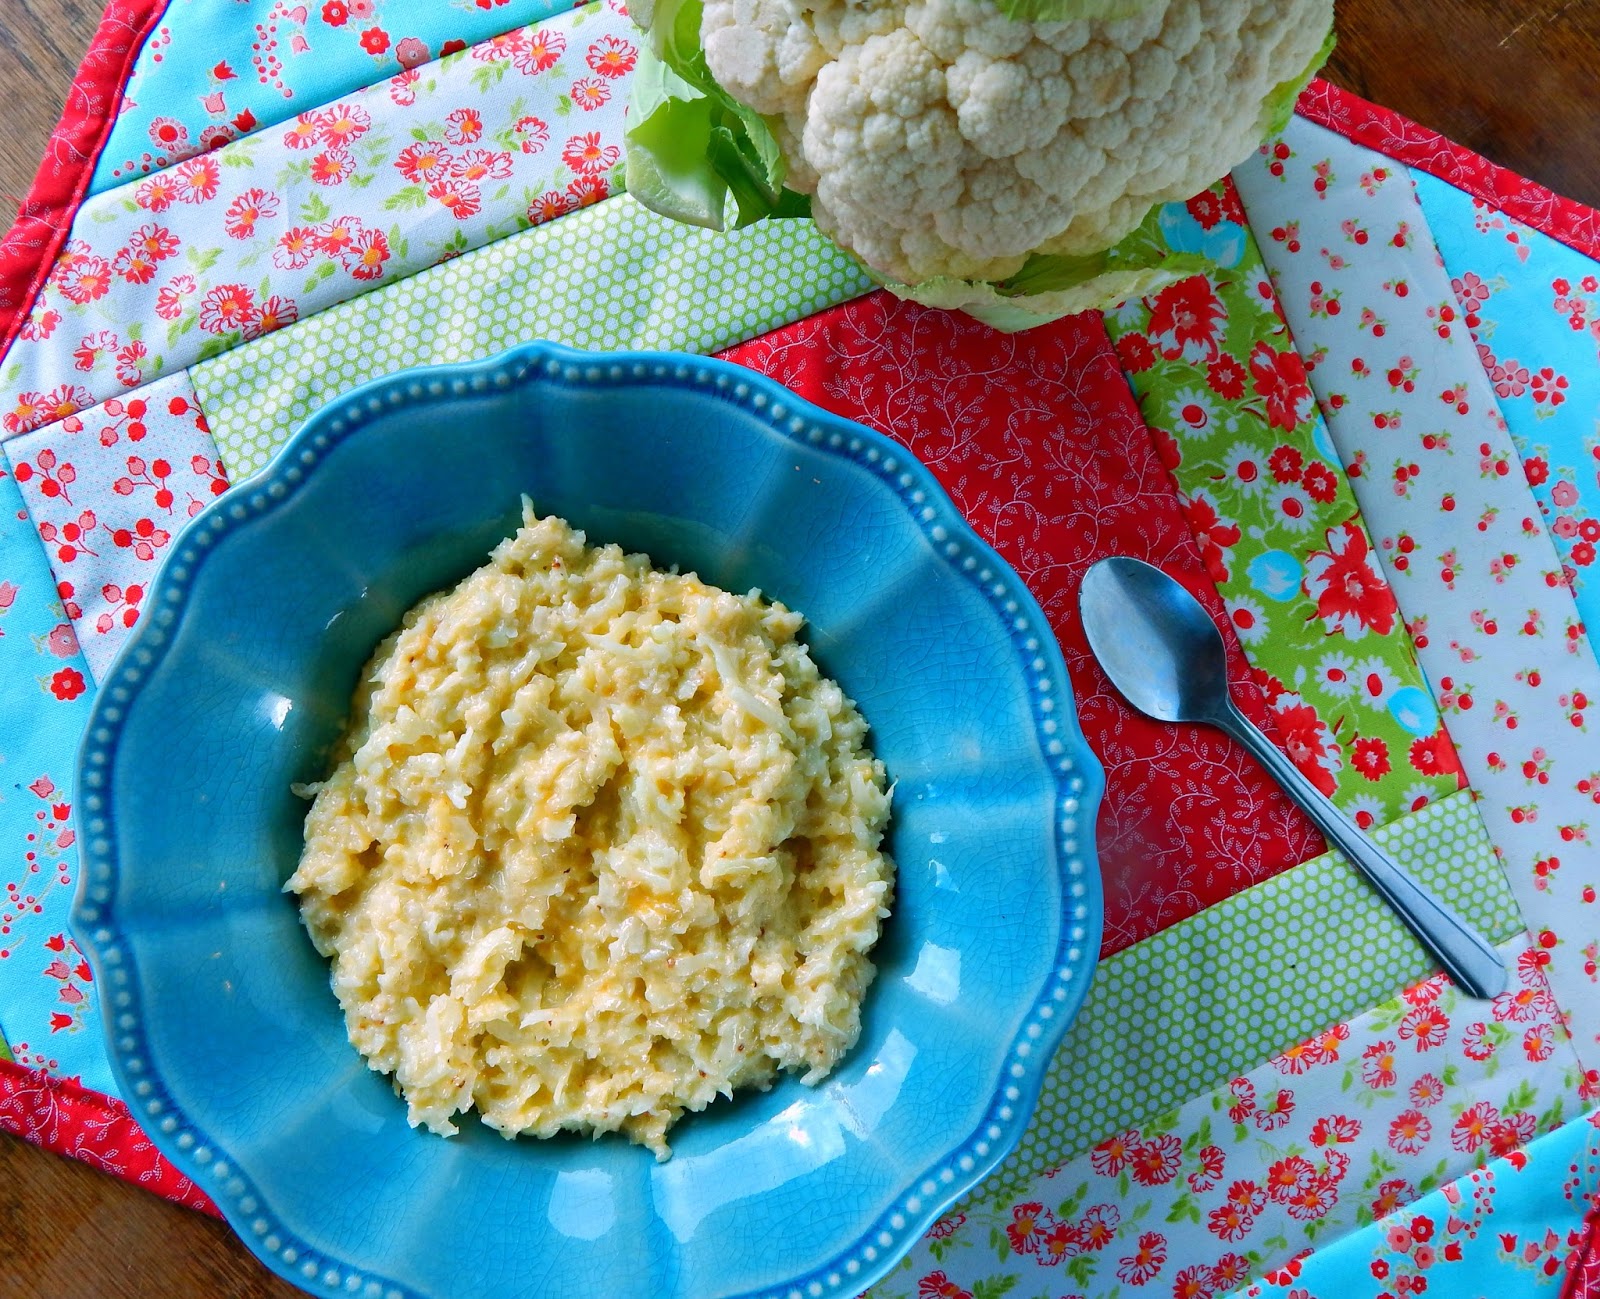
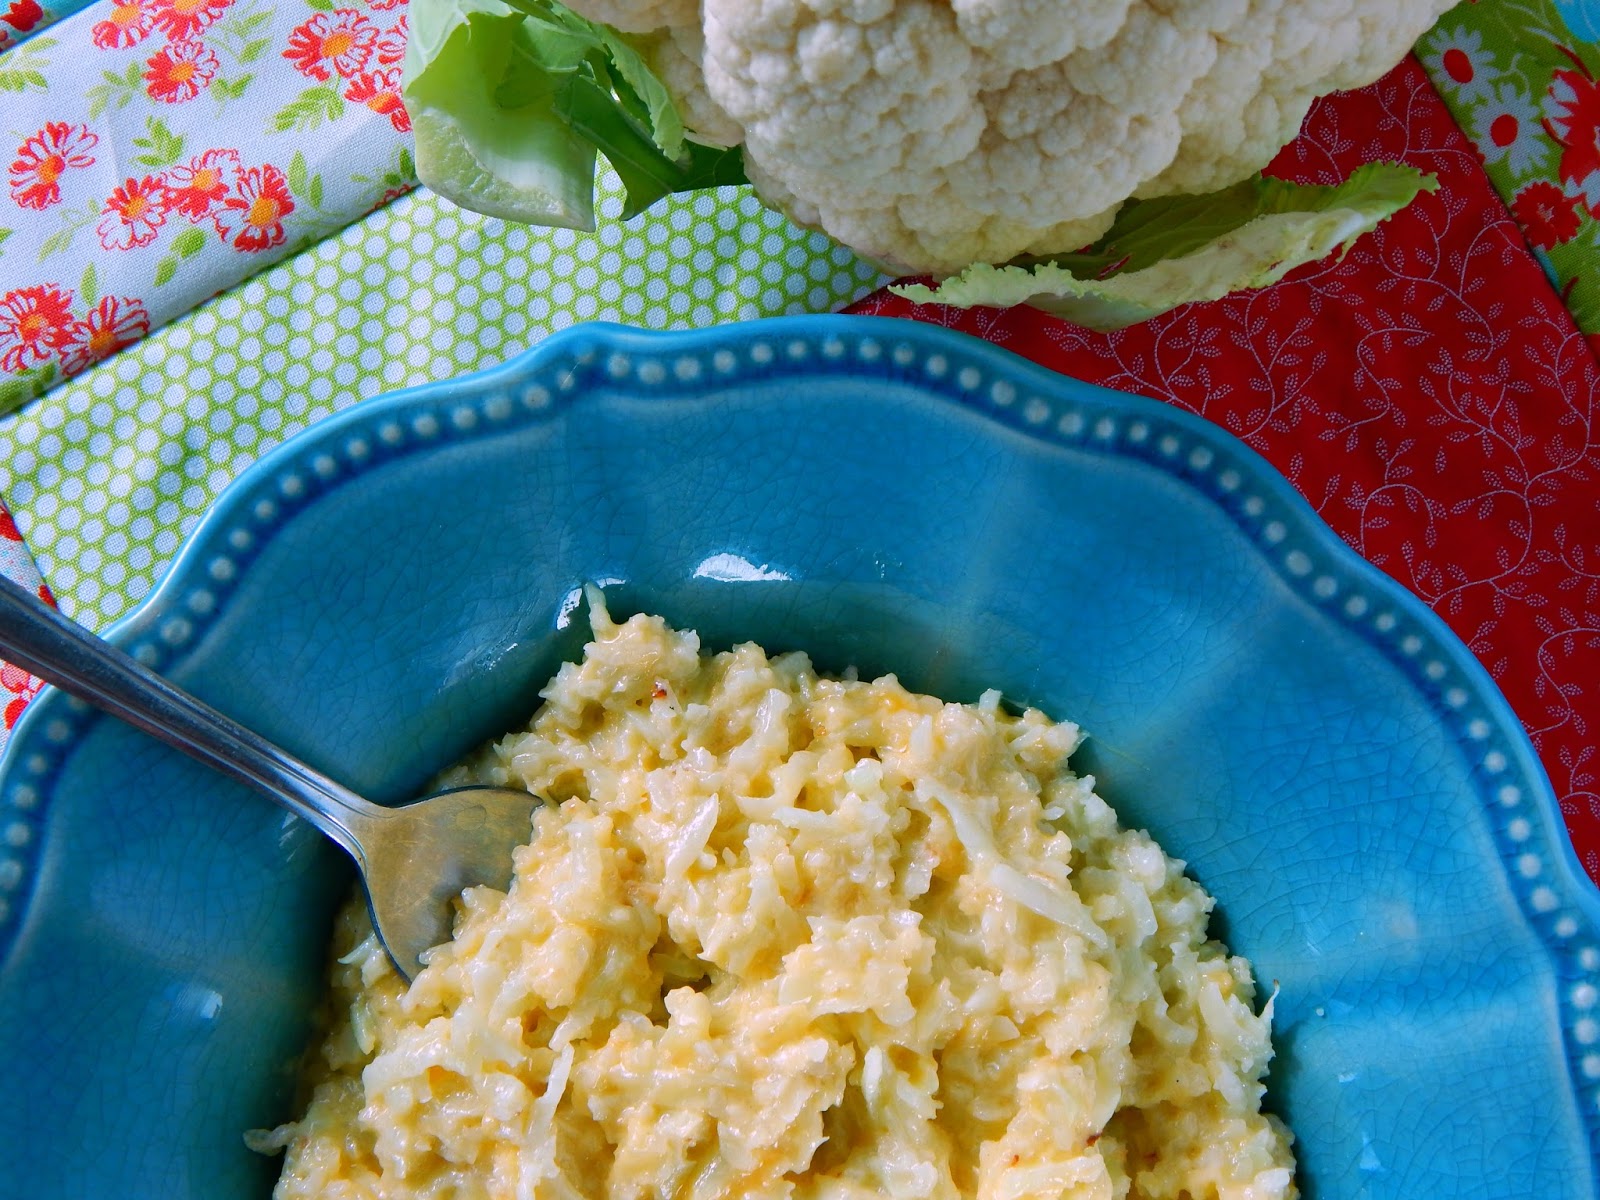
Cauliflower Rice "Mac & Cheese" - Keto, LCHF, Low Carb Recipe
 I've now gone down 5 clothing sizes - a wonderful side effect of reversing my diabetes by eating a keto (ketogenic) diet. Happy dance! An awful lot of people are interested in how I've taken control of my health through diet, but most of them, upon hearing how I eat, say, "Oh, I could never give up potatoes" or "I couldn't live without pasta." I find this sad, largely because the keto diet is pretty effortless. It's incredibly freeing to no longer crave carby foods, nor feel constantly hungry because of them. Keto is so satisfying, you honestly don't miss all those old comfort foods.
And you can create new comfort foods that are FANTASTIC, yet so much healthier! Enter my cauliflower rice "mac & cheese." Creamy, cheesy goodness, people! And all from a low carb veggie.
 Cauliflower Rice "Mac & Cheese" Recipe
Cauli-rice from 1 medium cauliflower head (learn to make your own here, or buy about 24 oz. in the frozen vegetable section. Just be sure prepared cauli-rice has no added ingredients)
1/4 cup heavy cream
1 1/2 cups grated Cheddar cheese (or any cheese of your choice)
Butter
Salt
Pepper
1. Melt about 2 tablespoons of butter in a large skillet placed over medium heat.
2. Add the cauli-rice and cook until soft and translucent, adding more butter if necessary to keep the "rice" from sticking to the pan.
3. When the "rice" is tender, add the cream and grated cheese. Cook, stirring occassionally, until the cheese melts and the mixture is bubbly. Salt and pepper to taste. Serve warm.
Makes about 5 servings. Estimated nutrition, according to SuperTracker: 248 calories; 11 g. protein; 7 g. carbs; 2 g. fiber; 21 g. fat.


