
Ruth Soukup's Blog, page 112
May 7, 2014
Creamy Italian Chicken
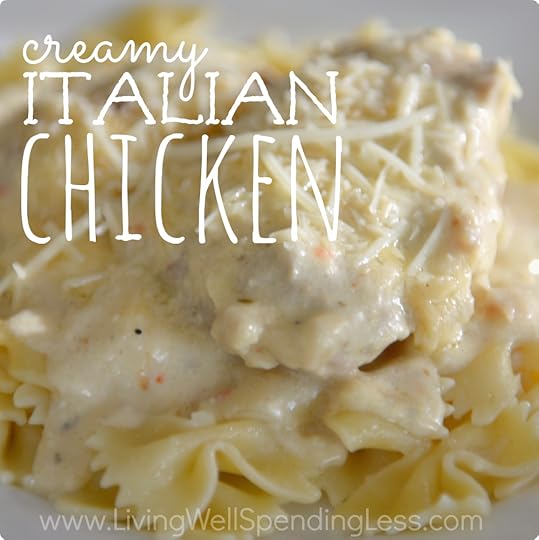
For the past few months I have been on a mission to create easy foolproof freezer meals that my family loves. Quite honestly, for me this is no small task–as a vegetarian I have never been all that confident about cooking meat. But since meat is apparently my entire family’s love language, I have pressed on. Not every dish is a hit–I don’t usually share the failures–but this super easy creamy Italian chicken was an absolute home run! In fact, my oldest daughter called it the yummiest thing I have ever made. Not bad for a dish with just six easy ingredients and 5 minutes of prep!
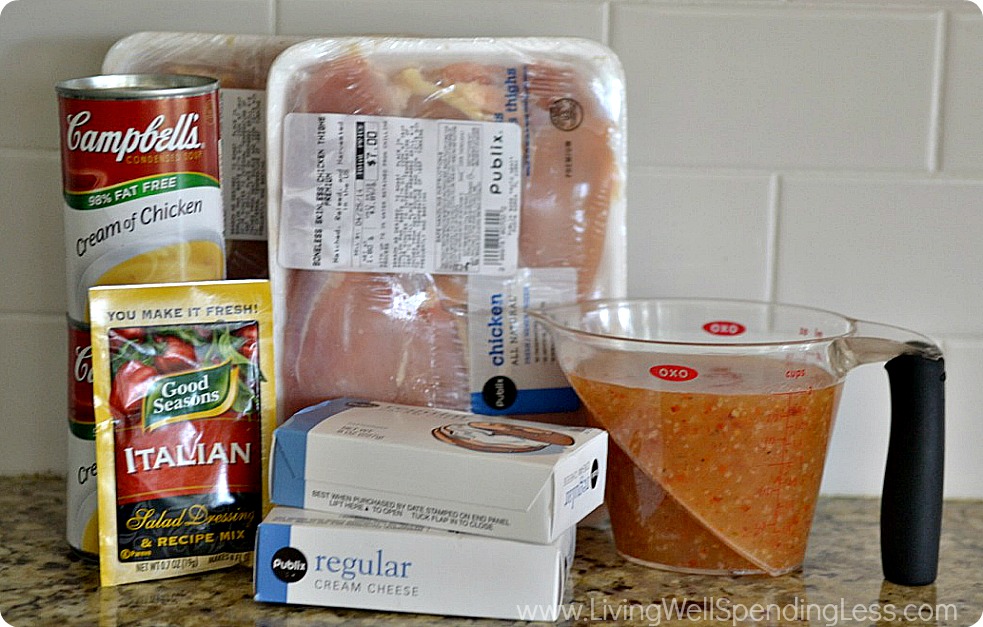
Here is what you need:
1 bottle Italian salad dressing
1 package Italian salad dressing mix
2 8oz packages cream cheese, softened
2 cans condensed cream of chicken soup
3-4 pounds skinless, boneless chicken
shredded parmesan cheese (optional)
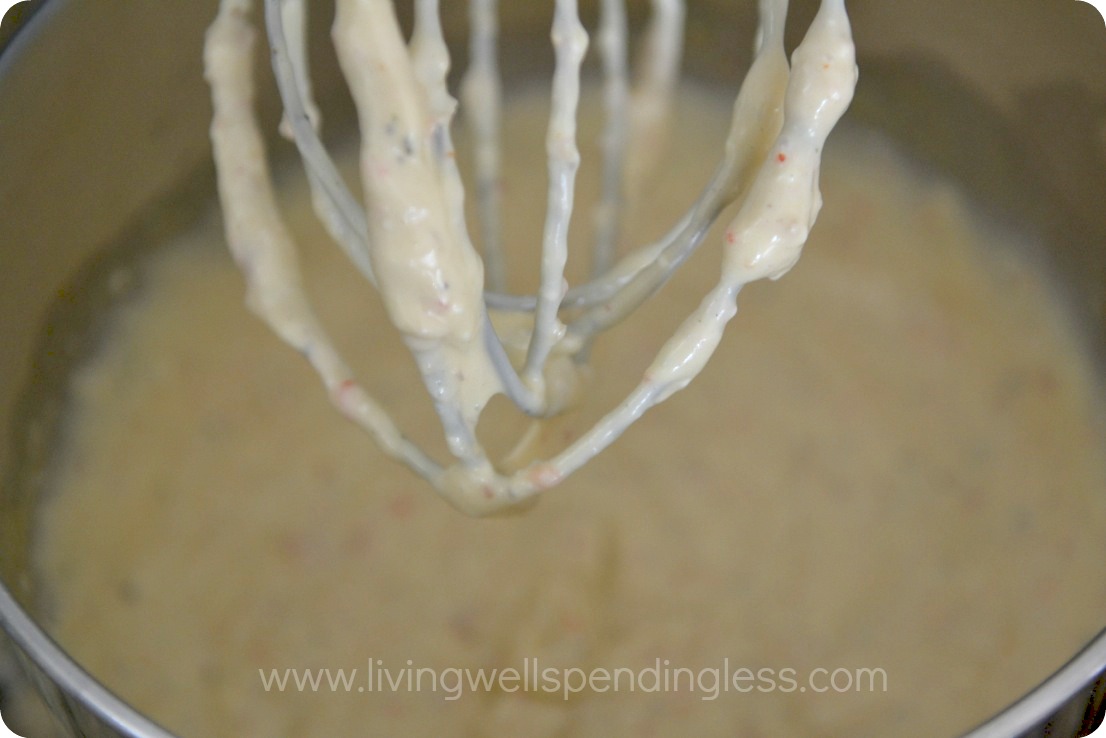
Step 1: In large bowl, whisk together Italian dressing, dressing mix, cream cheese, and cream of chicken soup until smooth.
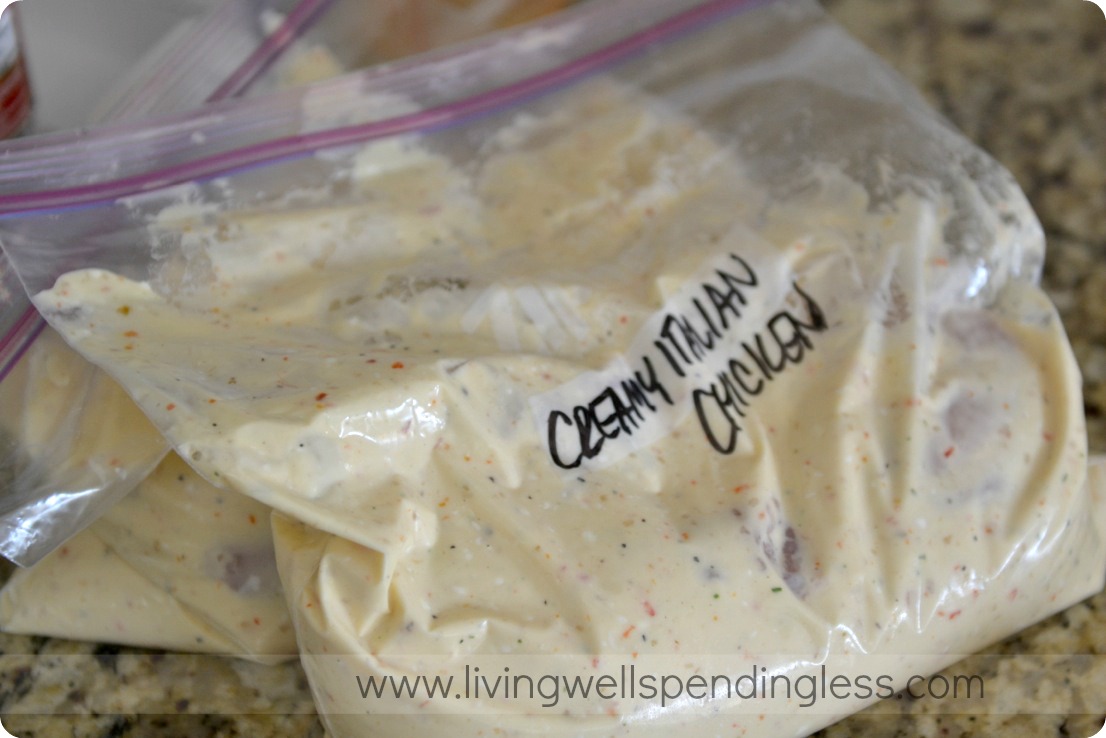
Step 2: Divide cream cheese mixture into 2 gallon-size freezer bags. (Be sure to label bags first!)
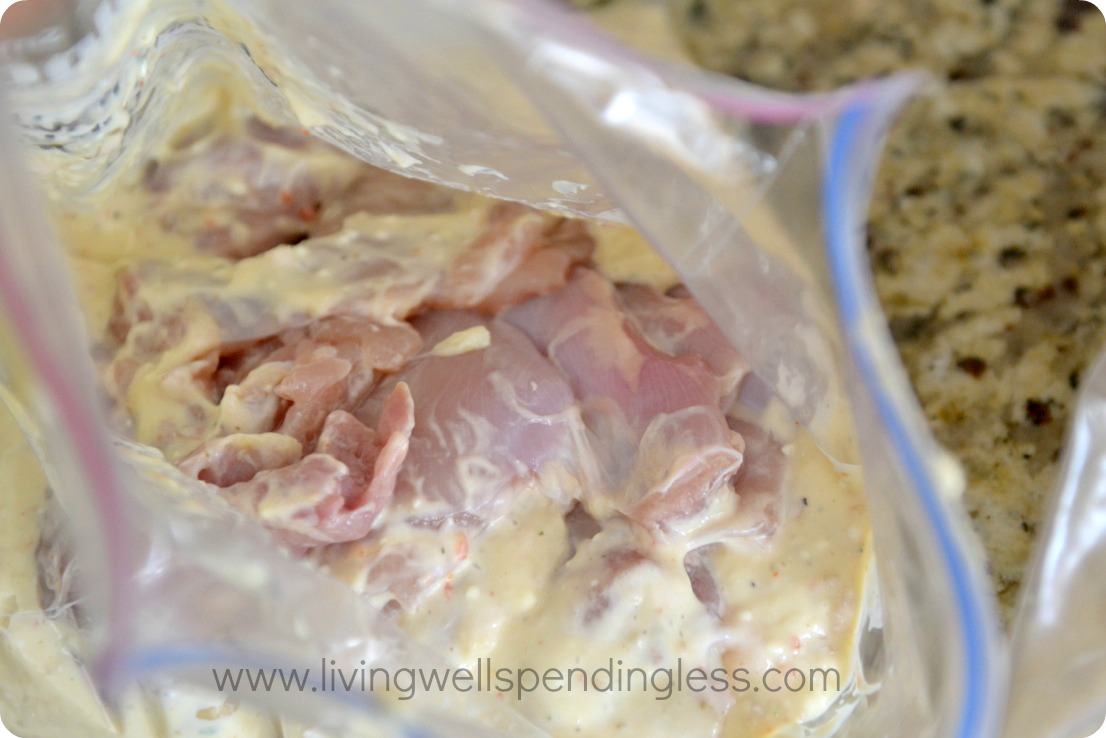
Step 3: Divide chicken into bags; press out air and freeze.
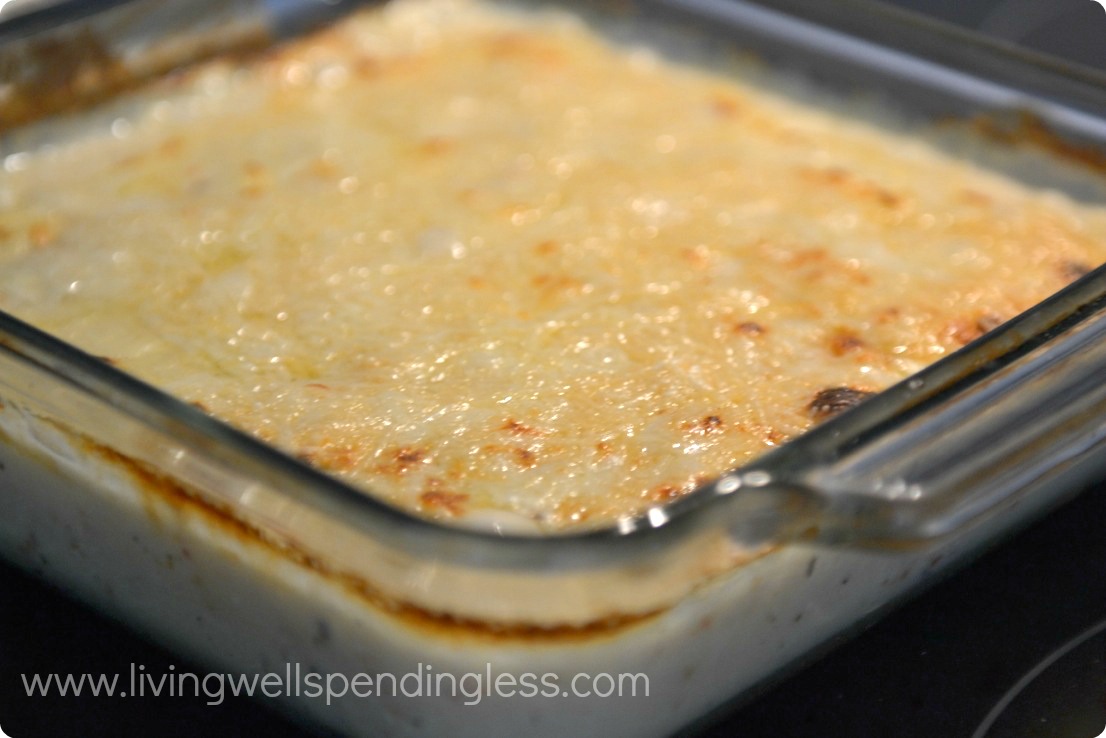
Step 4: Place contents into slow cooker; cook on low for 3-4 hours until chicken is cooked through. Or, if preferred, thaw and bake in shallow dish at 350 degrees for 30 minutes, then sprinkle with parmesan cheese and broil for several minutes until cheese is lightly browned and bubbly. Serve over pasta.

Print This!
Recipe: Creamy Italian Chicken
Summary: This slow cooker friendly recipe uses pantry staples to create an amazing chicken dinner!
Ingredients
1 bottle Italian salad dressing
1 package Italian salad dressing mix
2 8oz packages cream cheese, softened
2 cans condensed cream of chicken soup
3-4 pounds skinless, boneless chicken breasts or thighs
shredded parmesan cheese (optional)
Instructions
In large bowl, whisk together Italian dressing, dressing mix, cream cheese, and cream of chicken soup until smooth.
Divide cream cheese mixture into 2 gallon-size freezer bags. (Be sure to label bags first!)
Divide chicken into bags; press out air and freeze.
Place contents into slow cooker; cook on low for 3-4 hours until chicken is cooked through. Or, if preferred, thaw and bake in shallow dish at 350 degrees for 30 minutes, then sprinkle with parmesan cheese and broil for several minutes until cheese is lightly browned and bubbly. Serve over pasta.
Preparation time: 5-10 minutes
Cooking time: 3-4 hours in slow cooker or 25-30 minutes in oven.
Number of servings (yield): 8
* * *
What’s your go to chicken recipe?
Pin It
The post Creamy Italian Chicken appeared first on Living Well Spending Less™.


May 5, 2014
My Top 10 Favorite Kitchen Tools

Those of you who have tried any of my recipes probably already know this truth: I am not really a “foodie.”
Instead, I prefer easy recipes that use normal, everyday ingredients, that come together quickly and that taste great. I want to cook food my family loves, but I don’t want to spend hours in the kitchen. Likewise, when it comes to my must-have kitchen items, my philosophy is much the same. I want practical tools that will help me get the job done as quickly and easily as possible.
Just as importantly, I also want well-made items that will stand the test of time! I am a firm believer in quality over quantity, particularly when it comes to kitchen tools, and I also believe in taking the time to research and read reviews before buying. Almost all of the items on this list have been in my kitchen for five years or more, and some of them much longer. Considering how often they are used, that is no small feat!
Without further ado, here are my top 10 favorite kitchen tools:
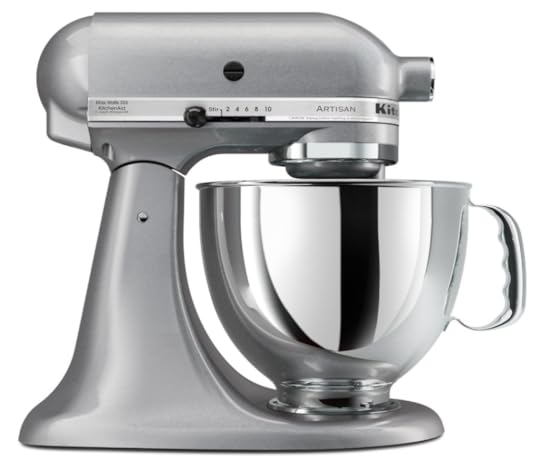
Kitchen Aid Stand Mixer. If I were to do a post about the ONE kitchen tool I could not live without, my Kitchen Aid would win the competition, hands down. Mine was a wedding gift, which means it is now almost nine years old, and despite 2 cross-country moves and almost daily use and abuse, it is still going strong. I honestly don’t know how I ever lived without it!
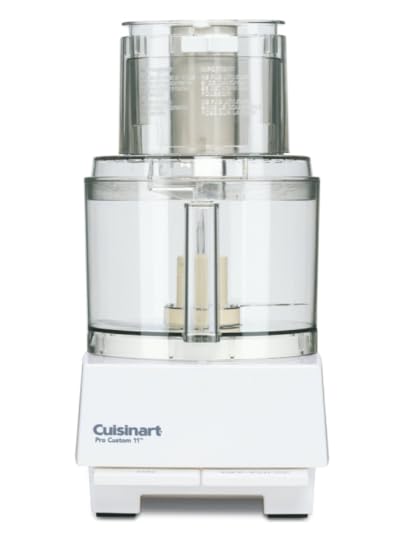 11-Cup Food Processor. I certainly don’t use a food processor on a daily or even a weekly basis, but when I need one, there is no substitute! My previous food processor was just a small 4-cup model which made it practically useless, but this large capacity model can handle anything I throw at it. I love it most for making the perfect pie crust, but it is also great for whipping up a batch of homemade hummus or even my favorite parmesan roasted Brussels Sprouts.
 Zyliss Garlic Press. It’s a fact that a little garlic makes almost any savory recipe better, and quite frankly fresh pressed garlic is the only way to go! It is about a million times faster than chopping it by hand, and about a million times more flavorful than using the pre-minced stuff that comes in a jar. Just be sure to invest in a heavy duty metal press rather than a flimsy plastic one. In the past I’ve used one from Pampered Chef that was pretty good, but now I use one from Zyliss that I absolutely love!
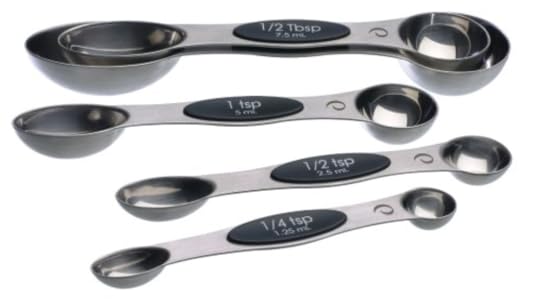 Dual-Sided Magnetic Measuring Spoons. Having a double set of measuring spoons—one for wet ingredients and one for dry—is all well and good, but who really wants to have to store two separate sets? These handy measuring spoons not only solve the wet/dry issue, but also nest perfectly and stay together with magnetic handles. They are seriously genius!
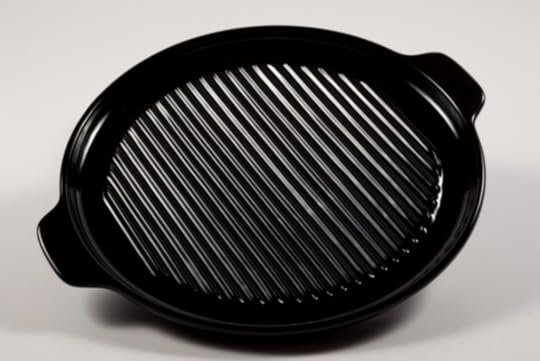 Ceramic Pizza/Grill Pan. This ceramic pizza stone is the newest must-have tool in my top 10 lineup and I can’t even tell you how much I love this thing! While it is awesome for making homemade pizza or even for making frozen pizza taste gourmet, my favorite use for it is as a broiler pan—once it is preheated it leaves actual grill marks on your meat, no grill required! This super versatile stone can also be used for stove top grilling. (To find it on the Ceramcor page, just search for “12″ Ovenex 100% Ceramic Pizza Grill Pan”)
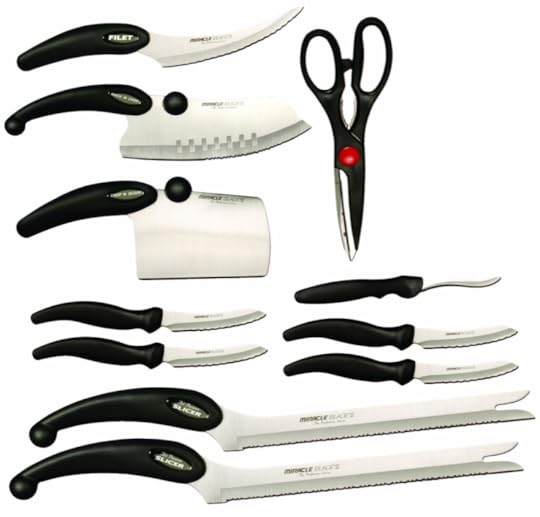 Miracle Blade Knife. Of all the items on my list, this is probably the only one I didn’t research extensively before buying. In fact, this set of Miracle Blade knives is the first and last item my husband and I have ever bought from an infomercial. It has been almost ten years, but I can still remember vividly sitting there one Sunday morning, completely riveted by the knife that could cut through an aluminum can and by each new “but wait, there’s more!” Finally we just couldn’t stop ourselves. While the quality of the “bonus” knives was definitely marginal at best, the actual Miracle Knife itself (the two matching knives at the bottom of this picture) is still my very favorite knife and the one I use every single day. I’ve never actually tried to cut a can in half, but I can say that it slices tomatoes and onions beautifully.
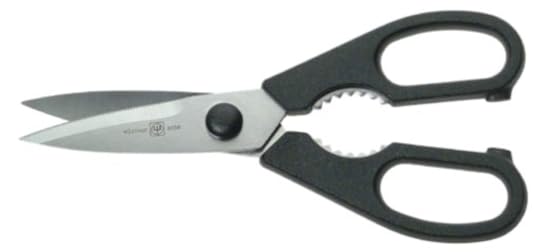 High Quality Kitchen Shears. I used the kitchen shears from my Miracle Blade set for years until it finally rusted straight through and fell apart, and then I invested in a great high-quality pair of shears. Oh my goodness, what a difference! I never realized how handy it is to have a super sharp, super strong scissors at my fingertips! These shears work for everything from snipping beans to trimming flowers to quickly cutting the fat off chicken & have not shown any signs of rust despite being used and washed daily. I’m taking that as a good sign!
 Heavy Duty Silicone Spatula-Have you ever had a spatula fall apart while mixing a heavy duty dough or batter? SO annoying! It used to happen to me all the time (and drive me absolutely crazy) until I found this large spatula from Williams Sonoma. It seemed a little pricey at the time, but 5 years later it is still going strong!
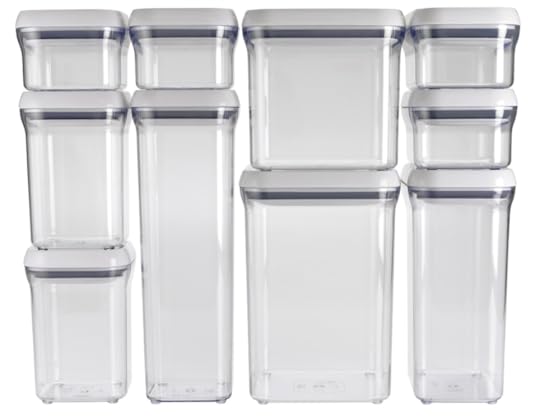 OXO Pop Top Storage Containers-I’ve had so many people ask about these OXO storage containers over the years that I actually included the info on my FAQ page! While they are definitely an investment, I honestly can’t say enough good things about these containers. Not only are they airtight and BPA-free, they come in a ton of different sizes that all stack together perfectly. I originally bought mine in 2007 and I have not had a single one break or crack so far.
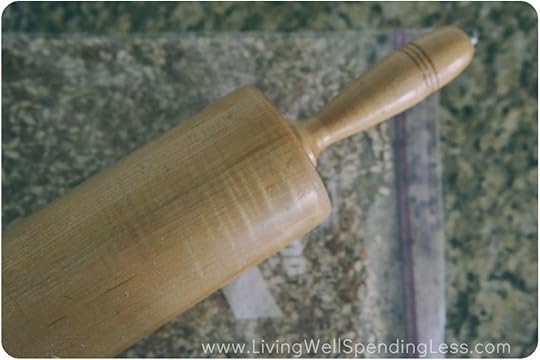
Antique Rolling Pin-This awesome heavy duty rolling pin was inherited from my husband’s grandmother and is over 100 years old. I love it so much! It rolls out cookie dough and piecrust like nobody’s business. When we redid our kitchen, one of my biggest requirements was that I would have special hooks installed under my baking cabinet to store my rolling pin. Four years later, it is still my favorite feature of my kitchen! While my own rolling pin is one-of-a-kind, I have seen a few similar models on Etsy.
Honorable Mentions:
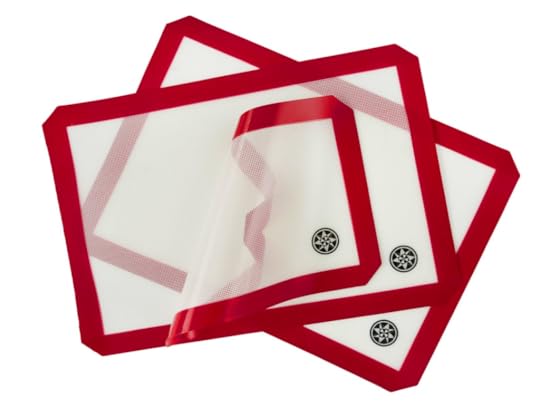 Silicone Baking Mats-These handy little mats are great for keeping cookies to sticking (in place of parchment paper) and for rolling out sticky dough.
 Ninja Blender-Quite honestly I don’t do enough blending for this to make the top ten list, but when I do need to blend, it sure comes in handy! This baby seriously crushes ice like it is nothing, and the dual blades are incredibly sharp! I also love the handy single serve blending containers that allow me to quickly chop nuts or other small items without making a huge mess.
* * *
What are your must-have kitchen tools?
Pin It
The post My Top 10 Favorite Kitchen Tools appeared first on Living Well Spending Less™.
May 4, 2014
Weekend Wandering


Happy Sunday! I hope you are all having a fabulous weekend! After a super busy week at the Orange Conference it has been so nice to come home and just chill with my family for a couple of days! Tomorrow I will be leaving for the SCORRE Conference, but then thankfully that will be my last conference trip for a while! The past month has been a little crazy with travel and I am so, SO thankful to have an amazing husband who keeps things running smoothly when I am gone!
This past week we actually celebrated one year since Chuck left his job to be a stay-at-home dad so that I could focus on this blog full time. It was definitely a BIG leap of faith at the time, but we honestly have not regretted that decision even a little.
But now onto Weekend Wandering! Here are the things I loved this week:
* * *
While I was out of town this past week my husband started building an outdoor kitchen in our backyard, a project he has dreamed of starting for years. Once it is all done I’m sure he would absolutely love these Honey BBQ Grilled Chicken Wings from This Silly Girl’s Life!

Of course these Grilled Chicken Kabobs with Mango Coconut Glaze and Fresh Pineapple from Modern Hen Home sound like another great grilling recipe!

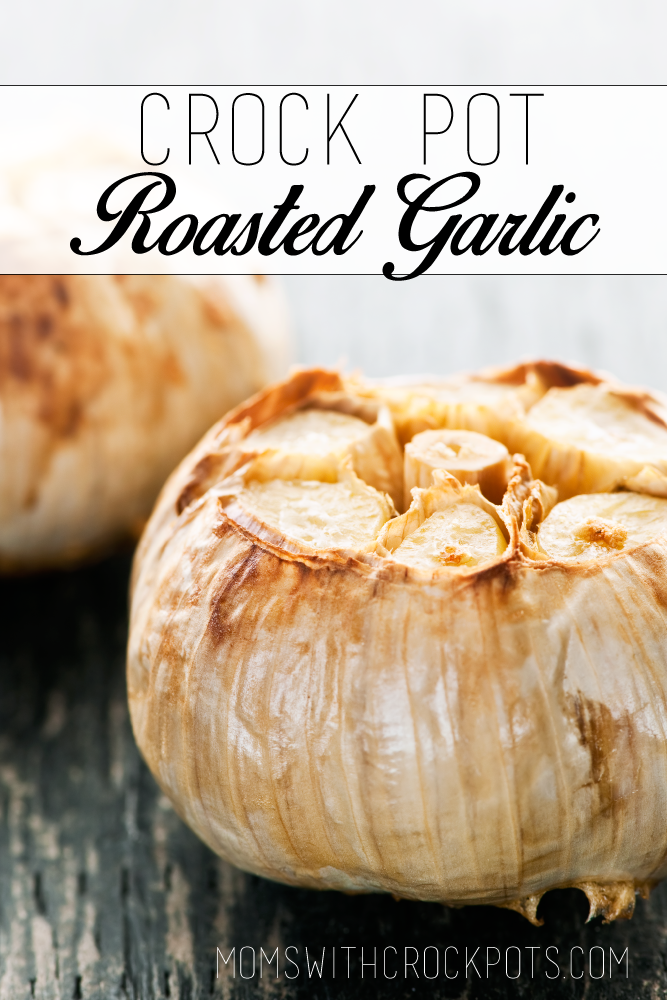
While my husband might be king of the grill, I prefer the convenience of my slow cooker! I can’t wait to try this super simple recipe for Crock Pot Roasted Garlic from Moms with Crock Pots.
Need some easy Mother’s Day or Teacher Appreciation gift ideas this week? Pounds 4 Pennies has an easy step-by-step custom Sharpie mugs tutorial. Be sure to use these oil based Sharpie markers to make sure they work! I love the vibrant colors!

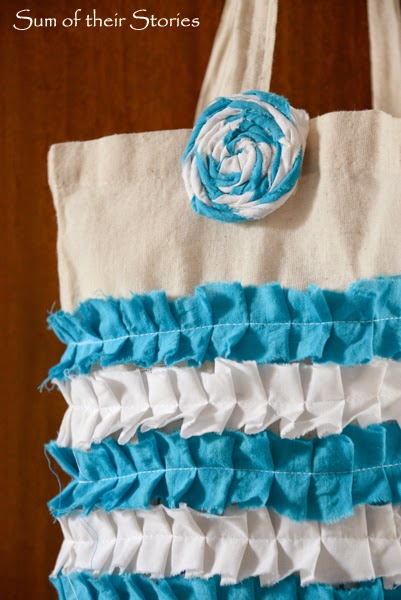
This Ruffled Shopping Bag from Sum of Their Stories is so adorable! Check out this great tutorial on re-purposing those boring fabric bags into a cute fashion statement.
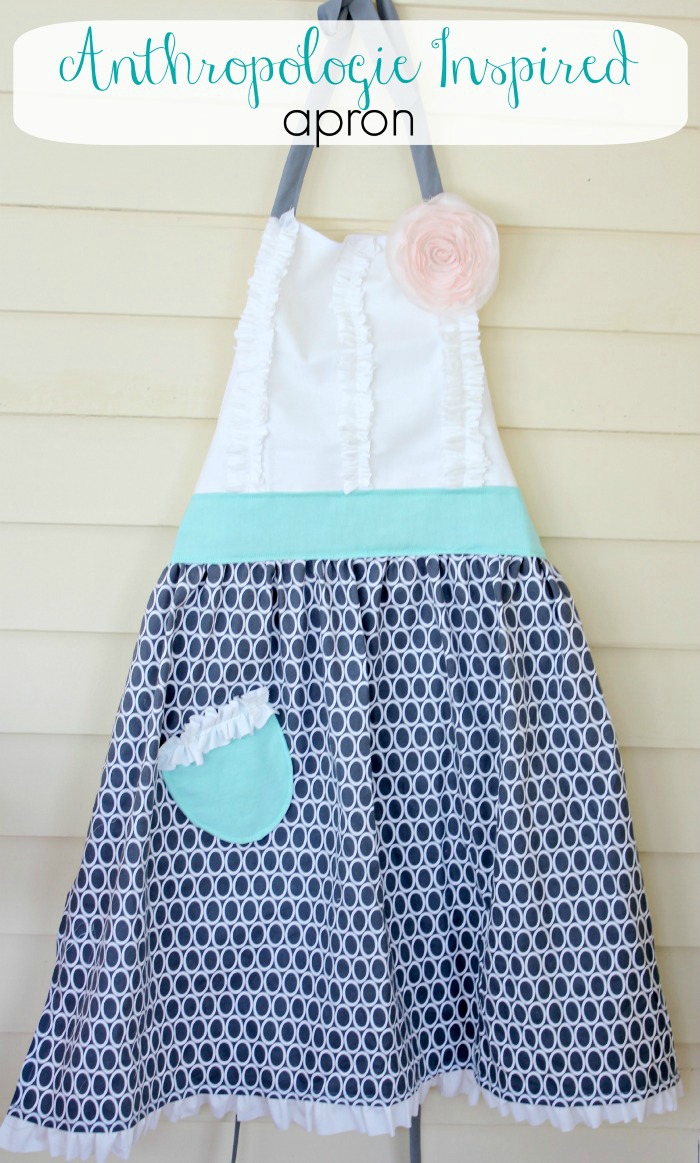
View From the Fridge has another great sewing project with easy to understand steps and detailed pictures to help you make this Anthropologie-inspired Tea & Crumpets Apron. So adorable!
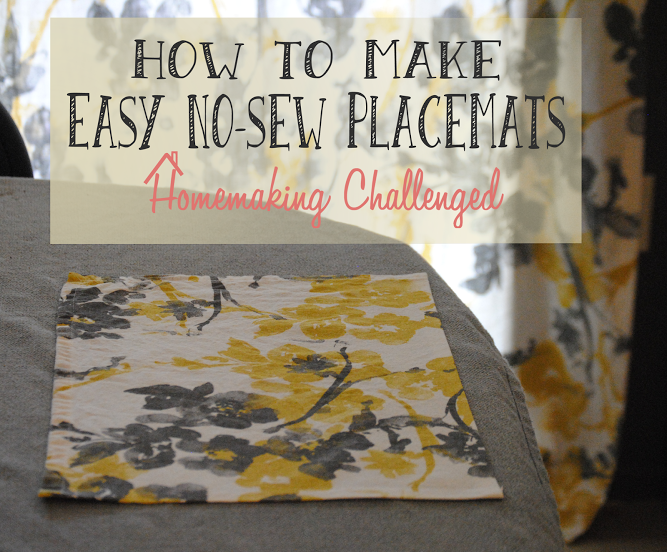
Of course if sewing is not your thing, Crafty Allie has an Easy No-Sew Placemats tutorial that is super simple and stylish!
Practical Stewardship has Teacher Appreciation Gift Ideas with Free Printables. Again, love the chalkboard look!

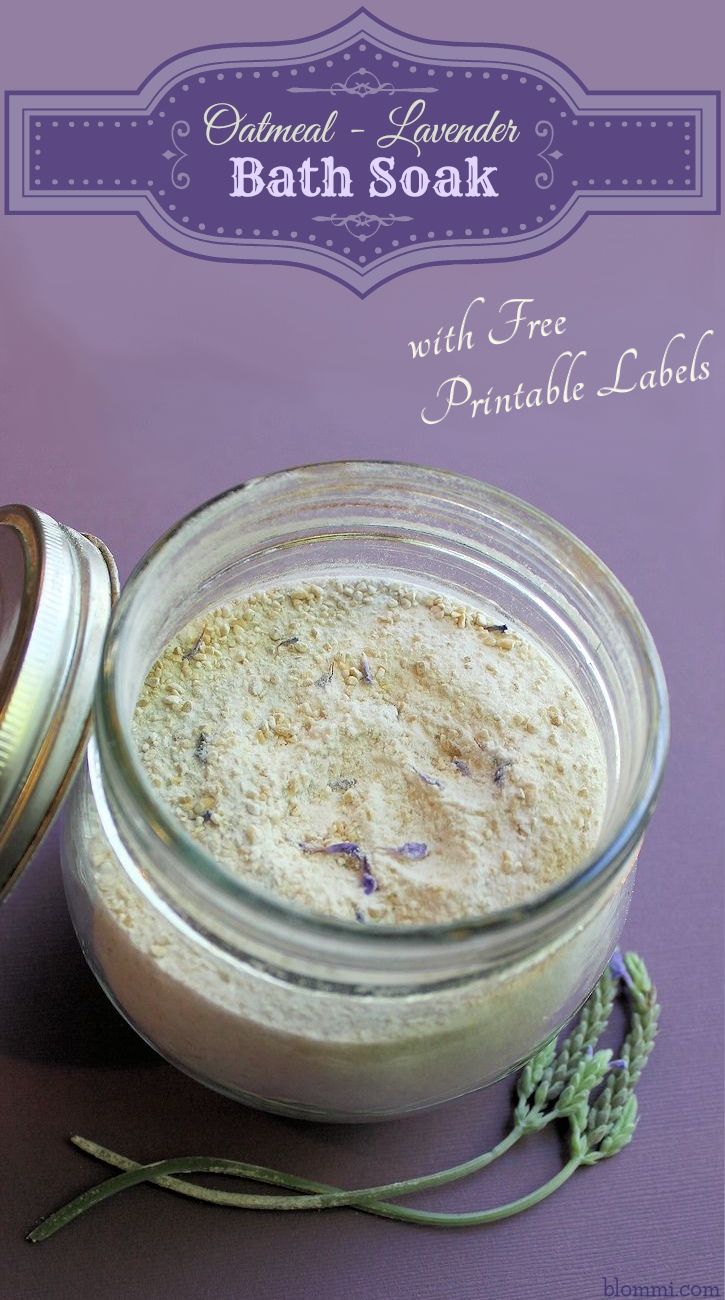
Gifts that pamper are always appreciated! Mom Foodies has a recipe for Oatmeal and Lavender Bath Soak with Free Printable Labels. I also love that all the ingredients have specific health benefits!
My Uncommon Slice of Surbibia has a Simple DIY Recipe for a Brown Sugar & Coconut Body Scrub. It sounds so good!

On the blogging front, finding the right picture to go with your post can sometimes be a challenge. Why not Take Your Own Stock Photos? A Life in Balance provides the how and why to taking stock photos like a professional.

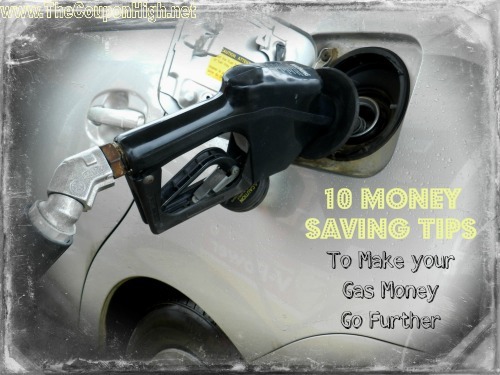
Finally, have you noticed that gas prices can jump 20 cents almost overnight? That extra cost might not seem like a lot but it adds up quickly. The Coupon High has 10 Money Saving Fuel Tips to help you save as much as possible.
* * *
What did you love this week?
Pin It
The post Weekend Wandering appeared first on Living Well Spending Less™.
May 2, 2014
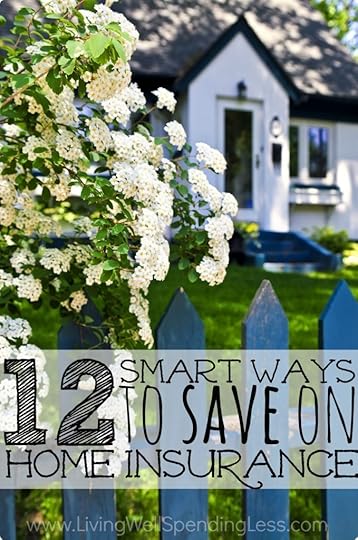
12 Smart Ways to Save on Home Insurance

Few of us would consider the possibility of not having homeowner’s insurance. Like paying for health insurance or utilities, it is just one of those annoying-but-necessary expenses we simply have to put up with, whether we want to or not, or whether we ever actually use it or not.
But have you ever stopped to consider whether you might be paying too much to insure your home?
The problem with expenses like insurance is that because we accept them as a fact of life, we don’t always think about making sure we are getting the best possible rate. The truth is that homeowner insurance policies can vary a lot, and even if you shopped around when you first purchased your policy, new options or reductions may have become available in the meantime. The most important thing to remember is that it is not your insurance provider’s job to make sure you are getting the best rate. YOU must be your own best advocate when it comes to paying less for insurance. As such, it is best to be vigilant about re-checking your policy once a year to make sure you are always paying as little as possible.

Still not sure where to start? Here are 12 very smart ways to save on homeowner’s insurance that you may not have considered:
Shop Around
While it is easy to get attached to a particular agent or agency, particularly one who has served your family for years, it always pays to shop around. Even if you decide to stick with your current provider, comparing prices and getting multiple quotes will give you a much clearer idea of what you could or should be paying, and will also give you more leverage for negotiating rates.
Take Advantage of Special Discounts
Many insurance companies provide special discounts for a variety of factors, including age, driving record, student report cards, and more. They will not automatically apply these savings—you have to ask for them! Be sure to review an updated discount list each year to see if your family has qualified for any new discounts.

Raise Your Deductible
One of the quickest ways to lower your insurance payment is to raise your deductible—the amount you would have to cover before your insurance kicks in. This works because the more you have to pay out of pocket in case of emergency, the less risk the insurance company has to assume. Of course the flip side is that in the event of an emergency, you would need to cover a much larger deductible, which means that this is only a good option if you are willing and able to keep an emergency fund in place. I(n a sense, your emergency fund is like your own mini insurance policy.)
Only Insure the Cost to Rebuild
Most home insurance policies will automatically cover the total value of the home, rather than the cost to rebuild. If you live in an area where the property values are higher, this means that you may be paying a premium to insure your land, when all you really should be insuring is the cost to rebuild in the event of emergency or disaster. It is important to note that changing the amount you have insured may or may not be an option depending on your mortgage company.
When my husband and I paid off our home, the first thing we did was lower the amount we insured. Our cement-block home has already come through the eye of a Category 4 hurricane and we now know from experience that even the worst disaster will almost certainly not result in more than $175,000 in damage. This is the amount we insure even though the value of our property is higher.
Combine Policies
While shopping around is important, it can also payoff big time to carry all your various insurance policies with the same carrier to take advantage of a multiple-policy discount. Furthermore, bundling policies can not only cost you less money, it can also make life easier by giving you one reliable contact (your agent) for your insurance needs and questions.

Make Your Home More Disaster Resistant
While prepping for a disaster won’t necessarily lower your insurance rates (though it might), it could save you from having to make an expensive claim. After Hurricane Charley we learned all about the benefits of having hurricane shutters and hurricane-resistant glass, as well as a roof and garage door that are rated to withstand 110 MPH winds. We also now have a door that opens out instead of in, which makes it far less likely to fail in the event of a storm. In other areas, smart ways to prepare might include cutting down tall trees close to the house
The best way to prepare for a disaster is before it happens. In addition to taking precautions for protecting your house, it is a smart idea to create a disaster preparedness kit and household emergency plan just in case. Check out this 20 Days to Ready series for 20 simple steps you can do to prepare for an emergency.
Improve Home Security
Installing a home security system is not as difficult or expensive as it might sound, and many insurance companies will offer a significant discount for homes with a home security system. Adding additional locks, motion sensor lights, and other home security features can help as well. Check with your provider for specific details.
Maintain A Good Credit Score
While this is not always the case, your credit score can have a big impact on your insurance rates. Some insurance companies will consider anyone with poor credit “high risk,” which will ultimately result in a higher rate. While not all insurance companies use credit as a gauge, it is definitely a smart practice to use credit wisely in any case in order to avoid potential red flags. Of course my personal preference is to avoid credit altogether!
Ask for a Long Term Discount
While it is not necessarily a good idea to stick with the same old insurance carrier you’ve always had, there might be a way to make that loyalty work in your favor. If you have been with the same insurance company for more than five years, be sure to ask about long-term discounts, which are rate reductions based on the number of years you have been insured through a particular company. Again, these discounts won’t happen automatically, so you do still have to be vigilant, but it never hurts to ask!
Switch to Private Insurance
If you live in a high-risk areas that has been susceptible to flooding, hurricanes, or other natural disasters, you may have been told that your government insurance is your only option. However, this may not be the case! Be sure to check with a local insurance provider to see if there is a private insurance option available at a less expensive rate. You may be surprised at what you find.
Buy a Cheaper House
While it might not be practical to move just to save on home insurance, the house you live in does have a huge impact on your insurance rates. It goes without saying that the more expensive your home, the more expensive your insurance will be. If you are in the market for a new house, consider downsizing to a smaller house or cheaper location. Also look for features to your new house that will help keep rates down, such as added security or features that make it more disaster-resistant.

Compare Insurance Rates by Neighborhood
All neighborhoods were not created equal when it comes to homeowner’s insurance. Proximity to the ocean, elevation, flood risk, and any other claims common to your neighborhood all play a factor, and, according to the Allstate policy expert that we spoke with, things like how close you are to a fire hydrant and fire station, environmental issues, theft and more are also considered.
This means that even just a few blocks can make a huge difference in what you will pay for your policy. If you are shopping for a new home, be sure to consider location in your decision, and to find out what your insurance rate would likely be before you make an offer. (Allstate has a tool you can use called Common & Costly Claims that helps identify the most common and costly claims in your zip code.) The “perfect” house might not be as good a deal as you think!
The common theme running through all these ideas is that YOU as a homeowner must be vigilant about making sure you are always getting the best insurance rates. Your insurance agent will not do this for you! Set a date on your calendar to review your policy using the ideas on this list, then make sure to repeat the process annually. You just be pleasantly surprised at how much you are able to save!
* * *
How do you save on home insurance?
This post was written as part of the Allstate Influencer Program and sponsored by Allstate. All opinions are mine. As the nation’s largest publicly held insurance company, Allstate is dedicated not only to protecting what matters most—but to guiding people to live the Good Life, every day.

Pin It
The post 12 Smart Ways to Save on Home Insurance appeared first on Living Well Spending Less™.
May 1, 2014
Thrifty Thursday {Week 58}

Happy Thursday everyone, and happy May! I am actually taking off my “blogger” hat for a few days while I attend the Orange Conference in Atlanta this week with my church’s Children’s Ministry Team. It has been pretty amazing and inspiring so far! Working with kids is definitely something I am super passionate about and I am SO excited to implement some of the ideas we are learning!
This week I would love to see some of your Mother’s Day & Teacher Appreciation gift ideas! Of course as usual, the sky’s the limit so long as your posts are budget-friendly. (But please, no repeats and no giveaways or deals!)
I can’t wait to see what you all have to share. In the meantime, here are the 10 most-clicked links from last week’s link party:

Here are the most clicked links from last week:
1. Adventures in Coupons {Why I Stopped Extreme Couponing…And You Should Too}
2. The Latina Homemaker {How to Deal with Rising Food Prices}
3. Army Wife to Suburban Life { Secrets on How to Get Rich}
4. A life in Balance {Tips for Setting and Sticking to a Realistic Grocery Budget}
5. Cha Ching on a Shoestring {How to Get Free Stuff on Amazon}
6. Le Chaim…On the Right {Frugality How-to From the Greatest Generation}
7. The Real Thing With the Coake Family {Keeping it Real ~ I Lied…Sort of}
8.Creative Home Keeper {15 of the Best Cleaning Tools}
9. Frugal Family Home {Ways to Save Money on Organizing}
10. Pulling Curls {Mid-April Menu Plan}
Never linked up before? Here’s how:
Scroll down, find the little blue “Add your Link” Button and click on that.
Follow the instructions on the next page – add a great image of your project and an interesting title. Make sure you link to the direct page of your budget friendly post – not the main page of your blog!
Try to visit at least a few other blogs at the party. Be sure to leave a comment to let them know you stopped by!
Please link back to this post somehow. There are badges available here; a simple text link is just fine too.
 Feel free to tweet about Thrifty Thursday so others can join the fun, and don’t forget to check back here Sunday morning to see which posts have been featured this week at Weekend Wandering!
If this is your first time here I also invite you to check out my eBook, How to Blog for Profit (Without Selling Your Soul). It is a fantastic resource if you are interested in building your blog, getting more traffic, or learning how to monetize. Or, if you have read the book and are still looking to take your blog to the next level, I encourage you to check out my options for one-on-one blog consulting.
An InLinkz Link-up
Pin It
The post Thrifty Thursday {Week 58} appeared first on Living Well Spending Less™.
April 30, 2014
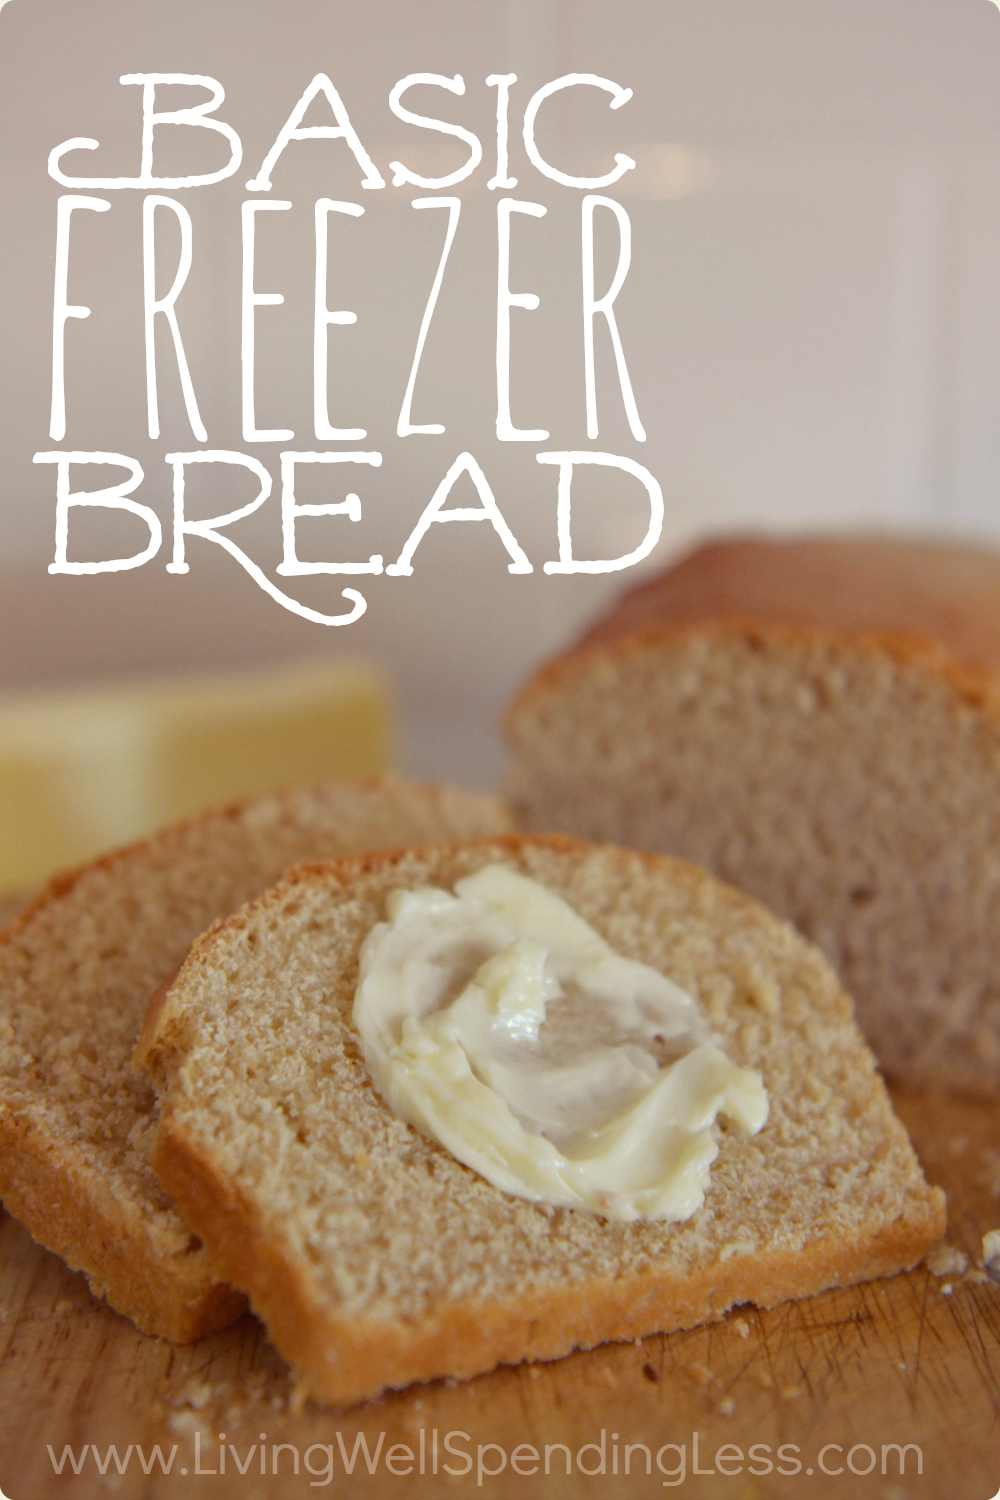
Basic Freezer Bread
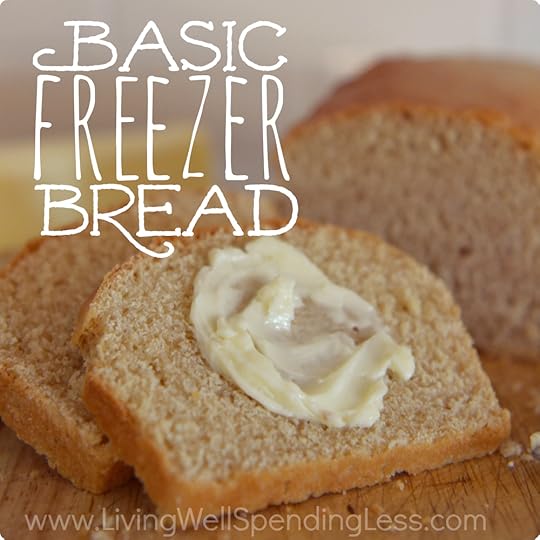
Is there anything better than the smell of fresh baked bread wafting from the oven? I swear my family loves me just a little more on those days! Even so, if I am going to go through all the effort of mixing and kneading and rising that yeast bread requires, I am going to make it count. That is why I love this recipe! It makes enough dough for four full-sized loaves that can be frozen until you need it.
If you have been reluctant to try your own yeast bread, I promise it is not difficult! There are just a couple of things to keep in mind. First, try to use the best bread flour you can find. I normally like to use King Arthur Bread Flour, but a whole wheat pastry flour (like I used for this recipe) will work too. Second, be sure to knead your dough for long enough. I like to knead it for 10 minutes using the dough hook on my stand mixer, and then for another 7-10 minutes by hand. It will be sticky when you take it out of the mixer, so be sure to have additional flour on hand (and on the counter) to work into the dough. Third, when you let it rise the first time, be sure to let it rise just until doubled and no longer. If you let it rise too much during the first rise, it won’t rise as much as a loaf.
Rest assured that your bread will still taste delicious no matter what, even if you “mess up” and let it rise too long (or not enough). Bread is one of those things that you sometimes have to tweak to get it just right for your specific conditions (altitude, humidity, etc.) but even the “mistakes” will be perfectly edible. Your family might not even know the difference!
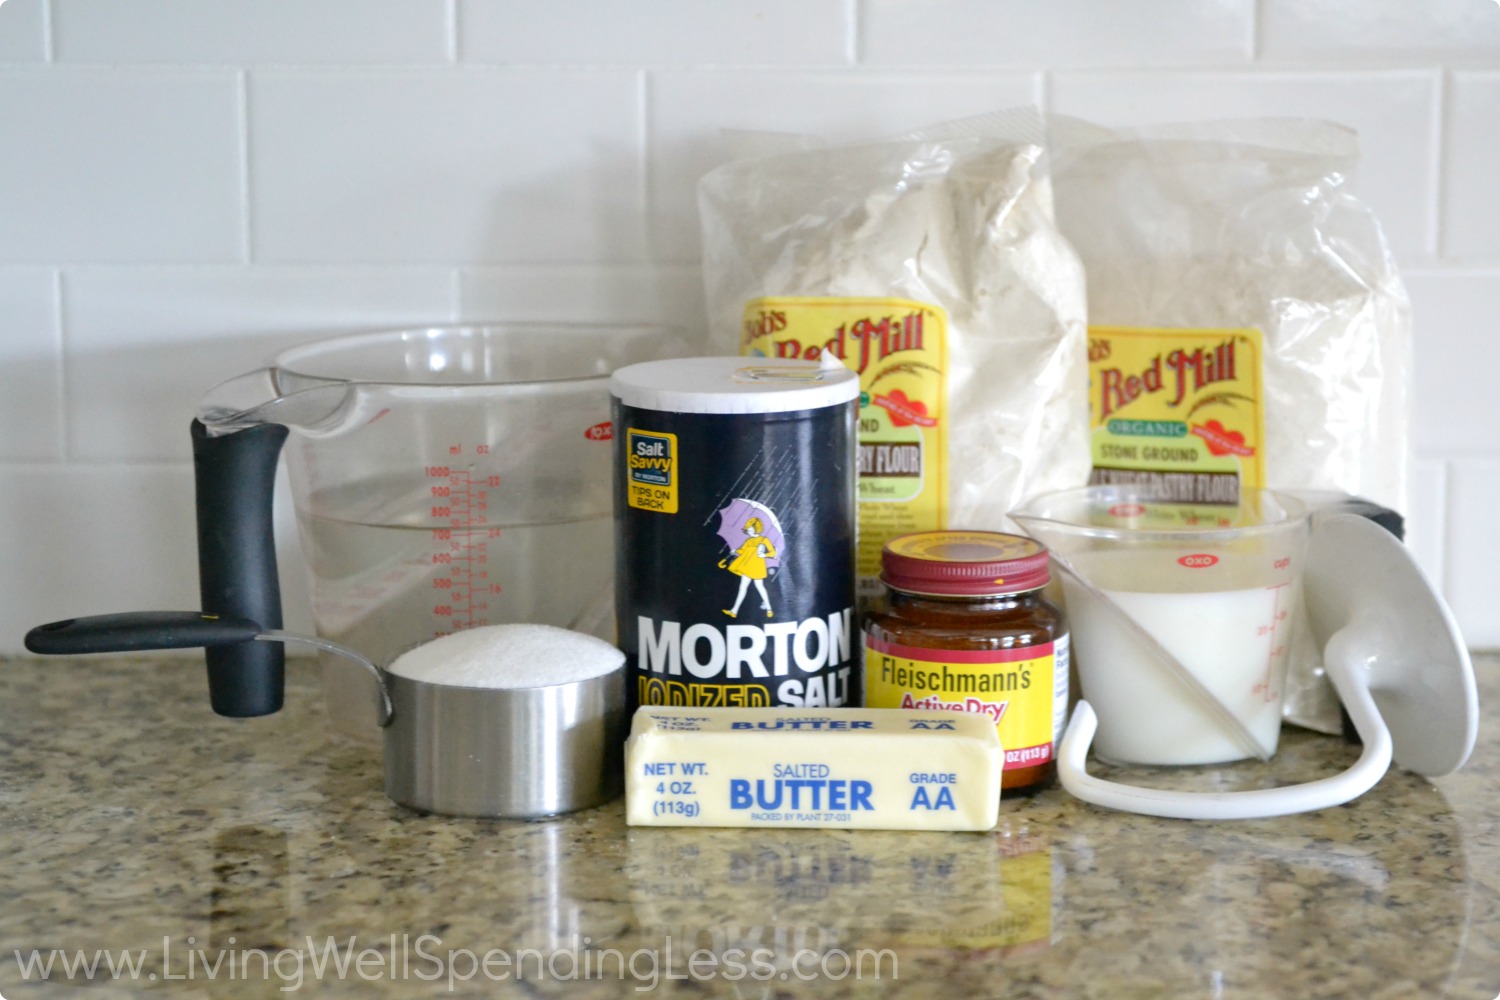
Here is what you need:
3 cups warm water (110 degrees)
1 cup sugar
3 tablespoons active dry yeast
1 cup warm milk (110 degrees)
1 tablespoon salt
1/2 cup (1 stick) butter, melted
12 cups bread flour (King Arthur is the best, but others will work too.)
butter for greasing bowl
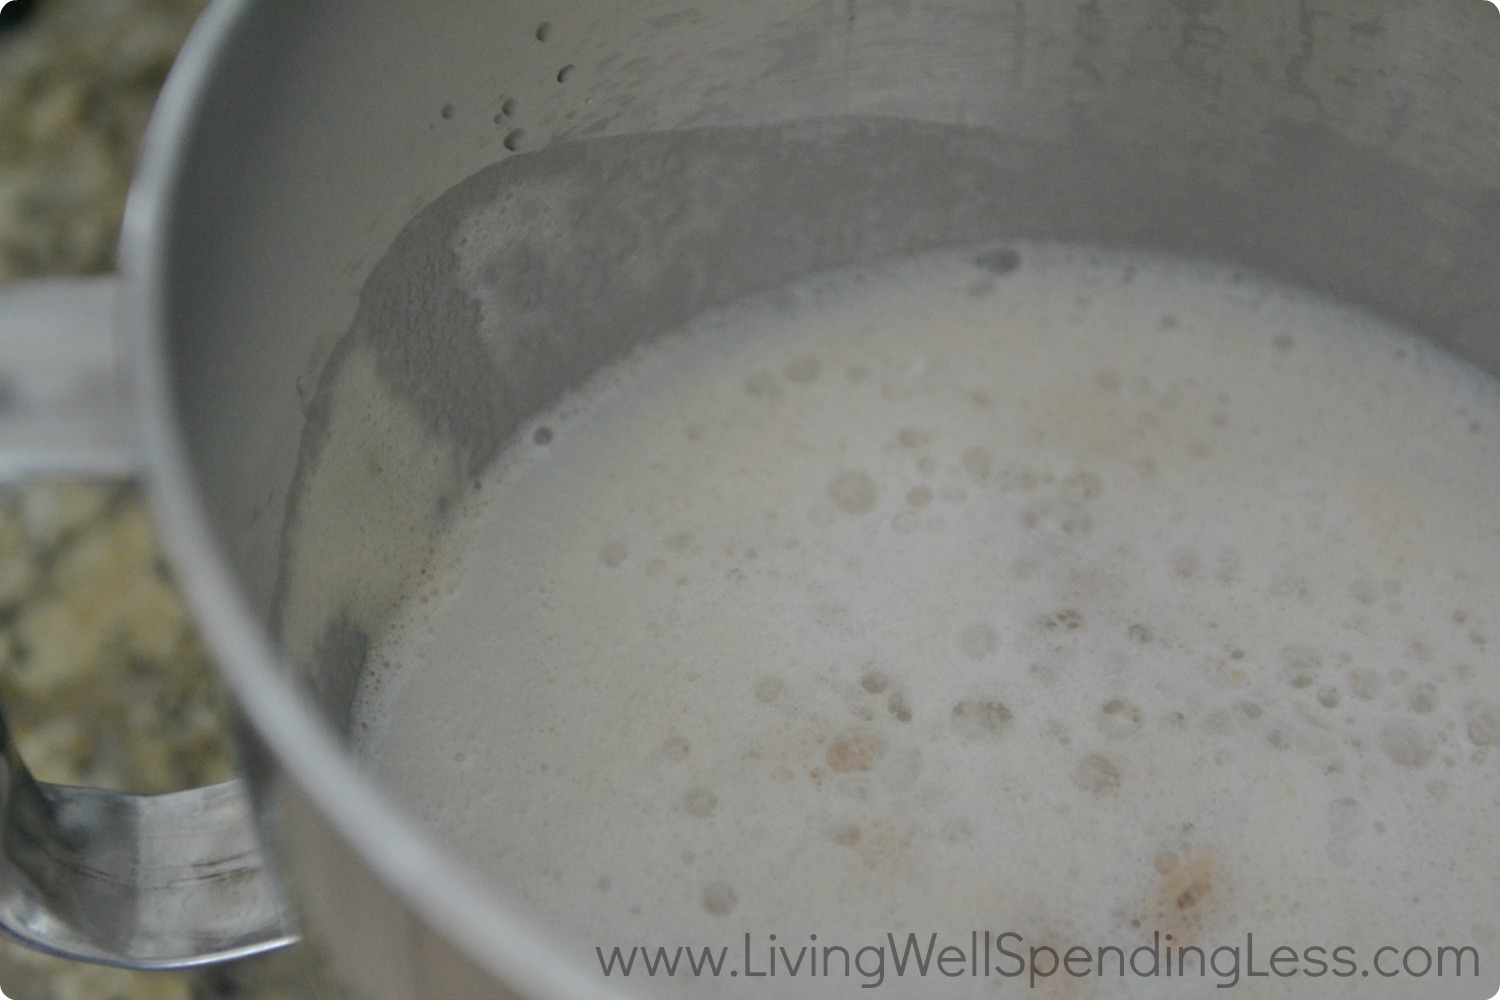
Step 1: Pour warm 100-110 degree water into a large bowl of stand mixer. Stir sugar into warm water and add yeast; let proof for five minutes or so, until the mixture bubbles and foams.
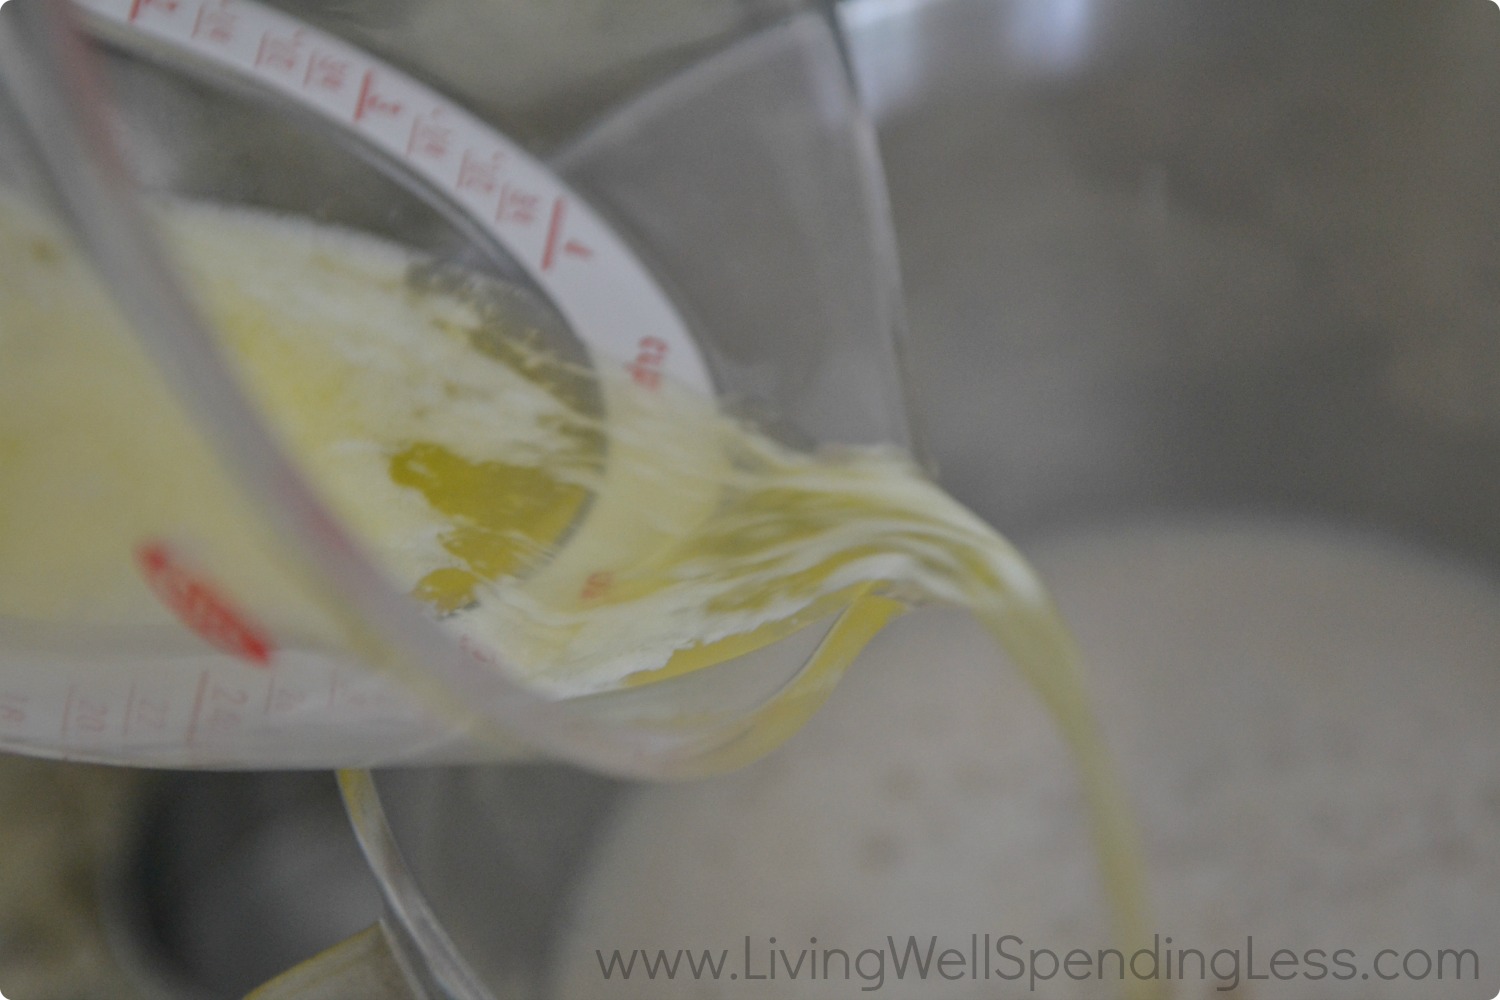
Step 2: Add salt and melted butter to yeast mixture; mix well.
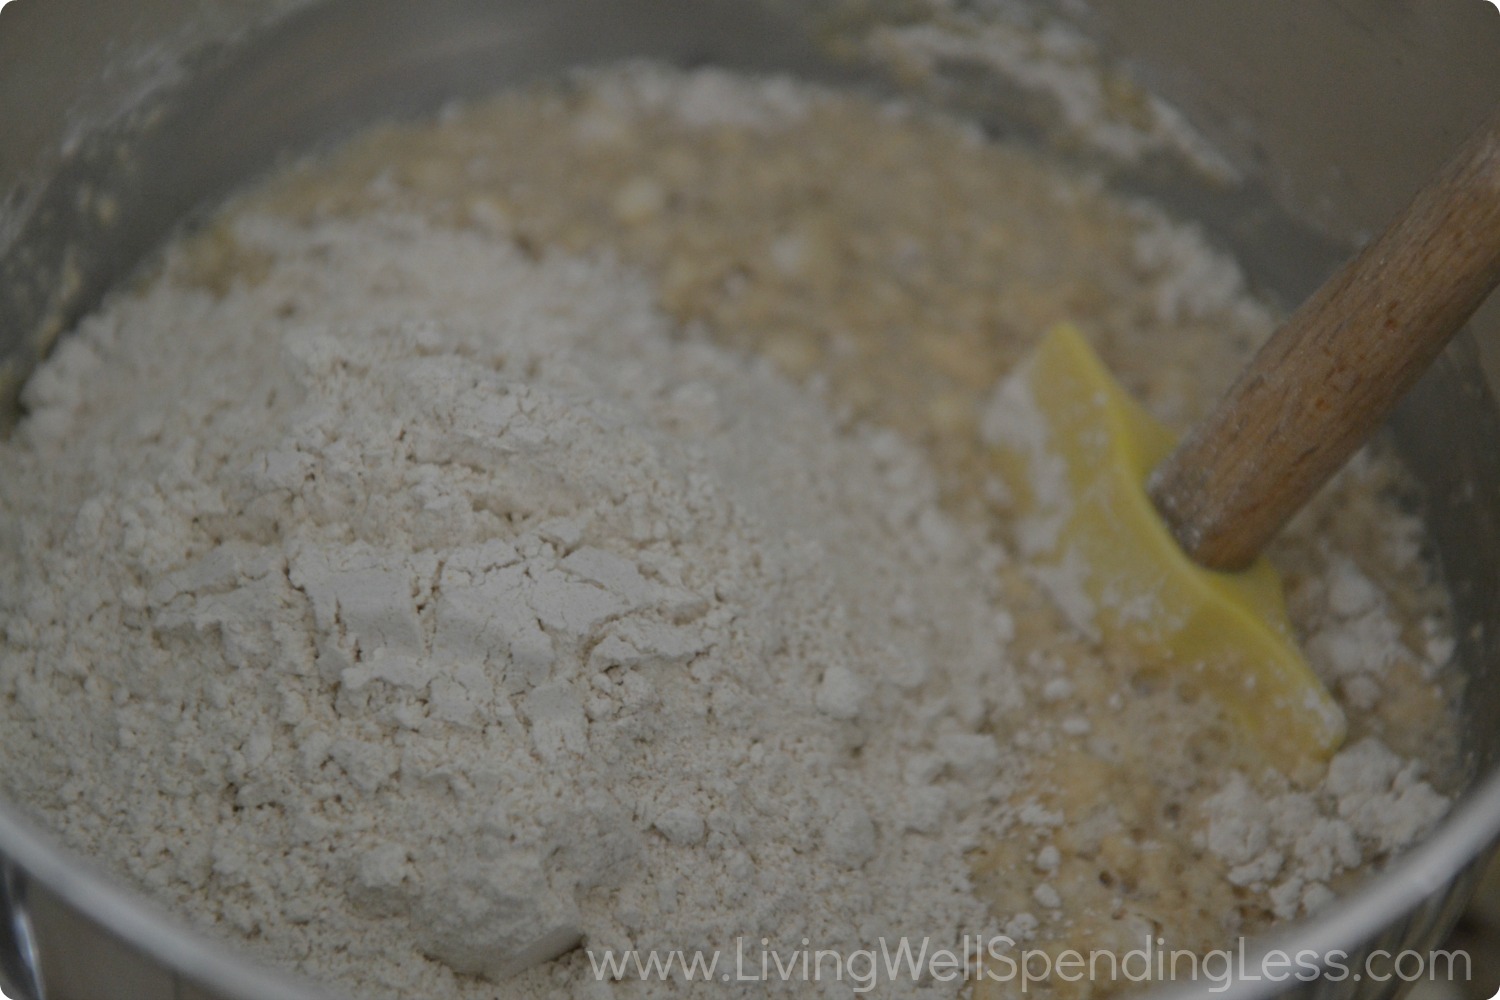
Step 3: Mix in flour, 1-2 cups at a time.
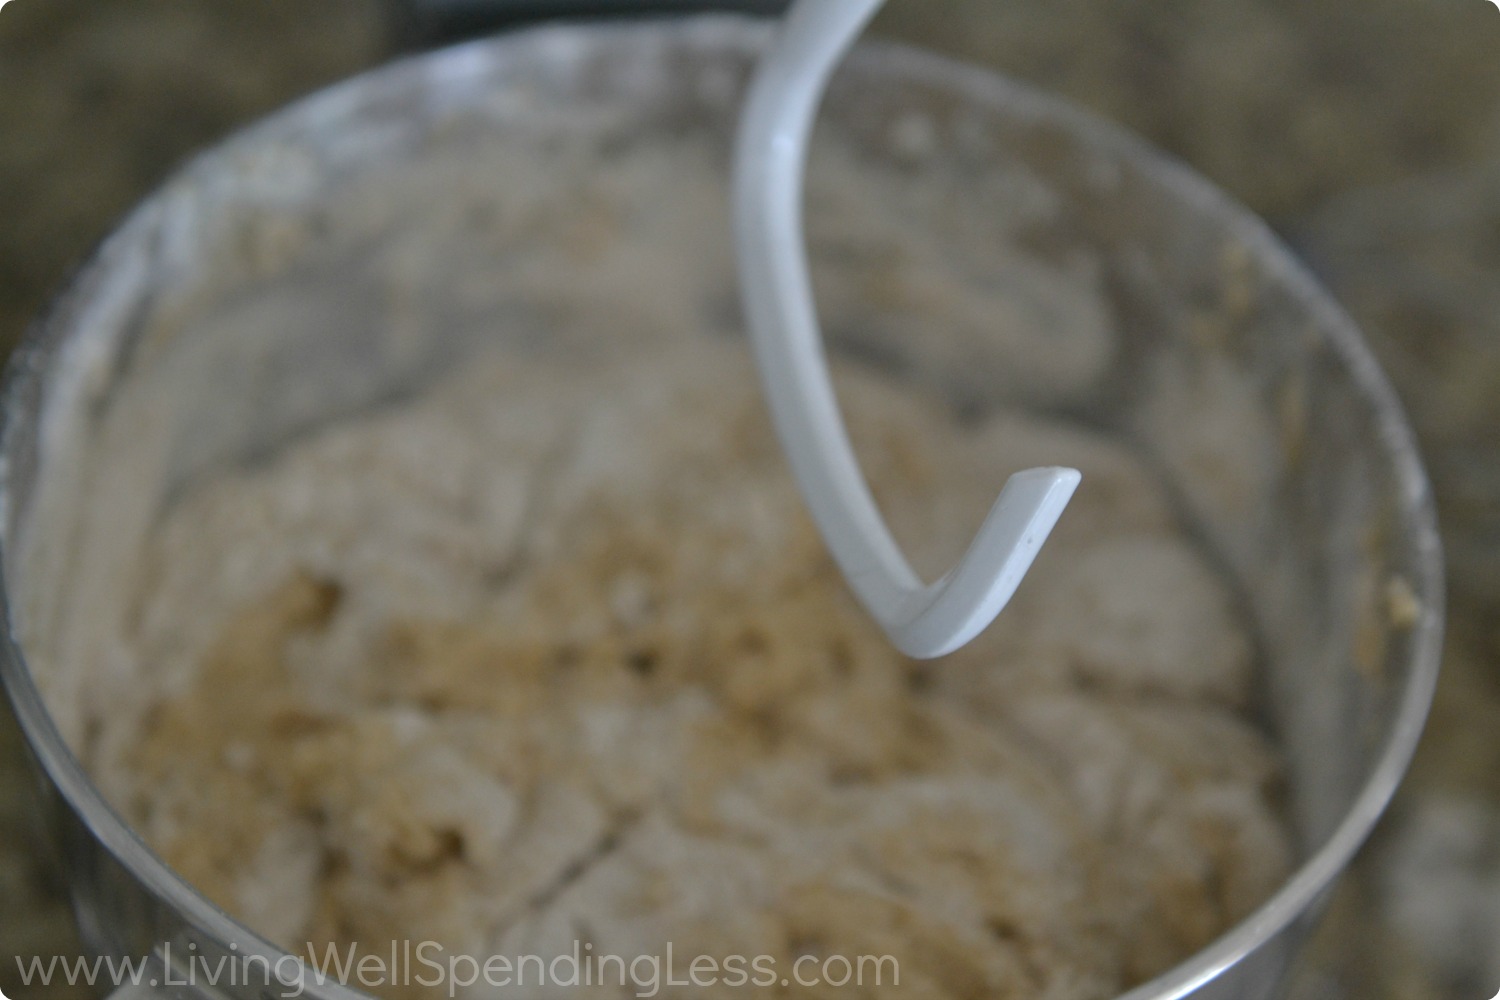
Step 4: Using dough hook attachment, knead dough for 10 minutes.

Step 5: Place dough on well-floured surface and knead by hand for 7-10 minutes more, adding flour as necessary, until dough is smooth. (If kneading entirely by hand, skip step four and simply knead on floured surface until dough is smooth–approximately 15-20 minutes.)
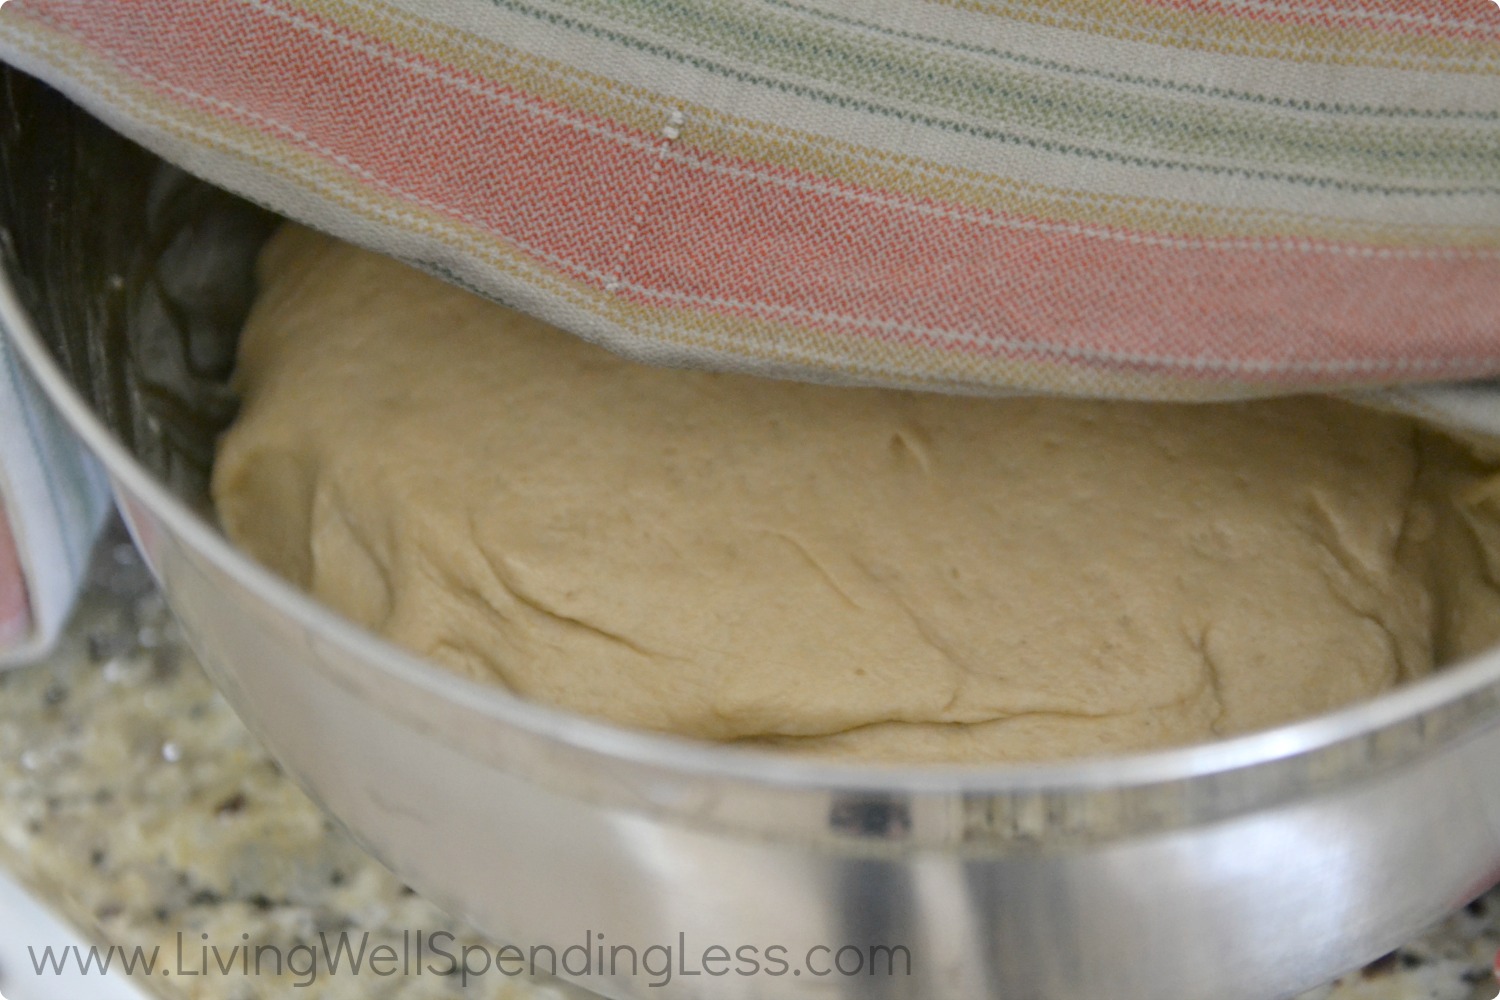
Step 6: Place dough in bowl greased well with butter, and turn dough once to coat with butter. Cover with a damp towel and place in a warm spot to rise. Let rise until doubled–about 45 minutes to an hour.
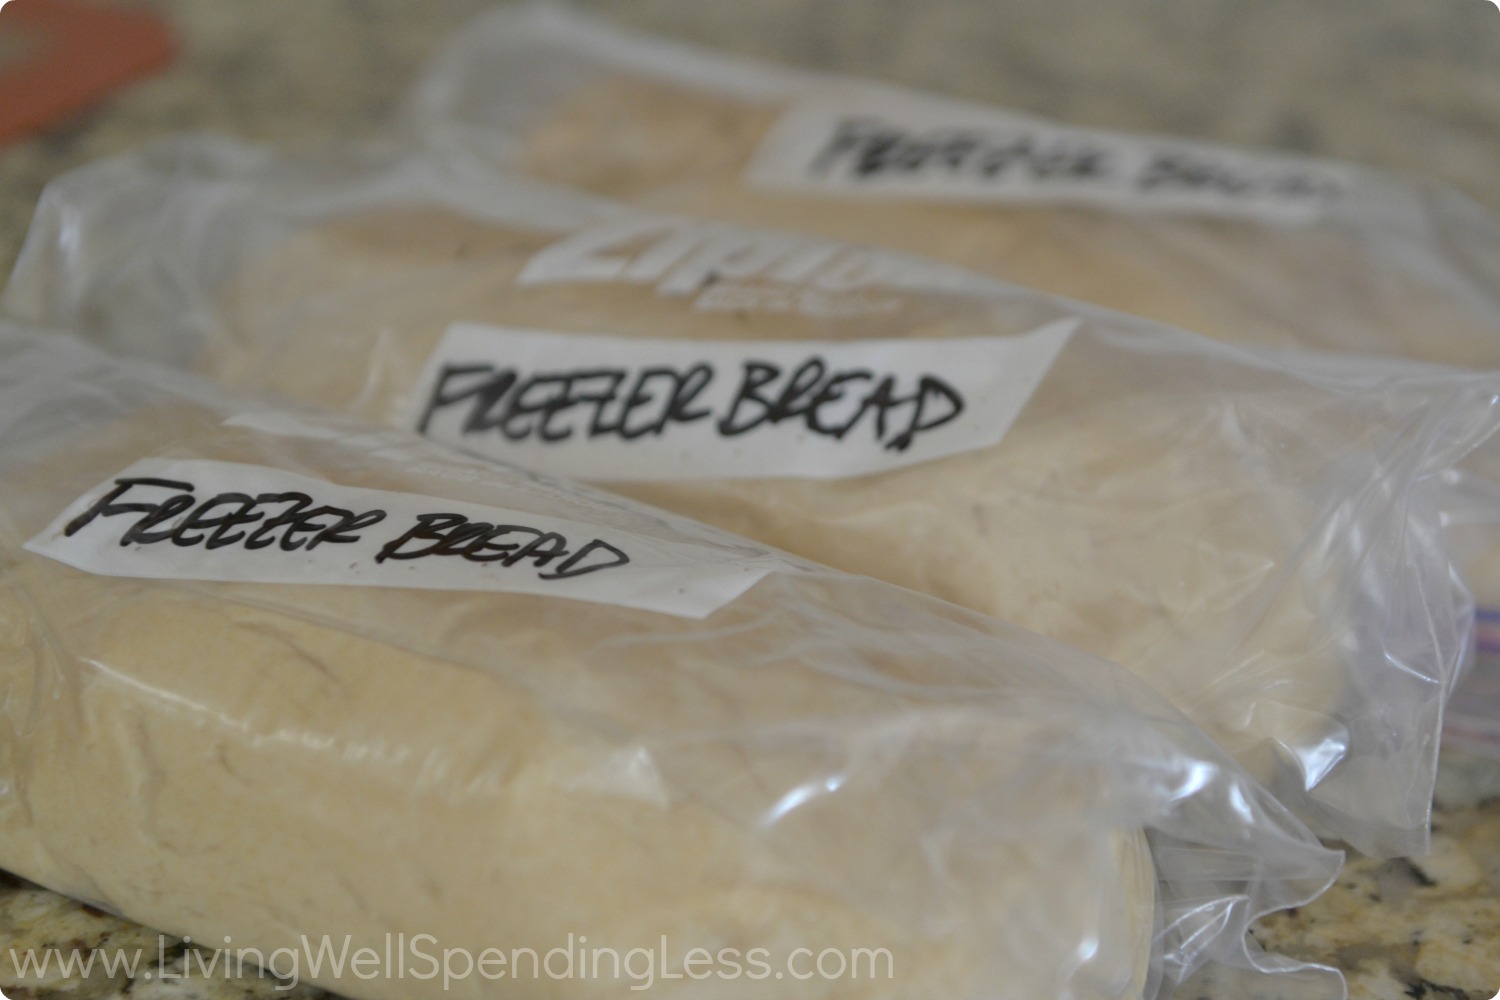
Step 7: Punch down dough and divide into four equal portions. Wrap each portion in plastic wrap or freezer bag and freeze until needed.
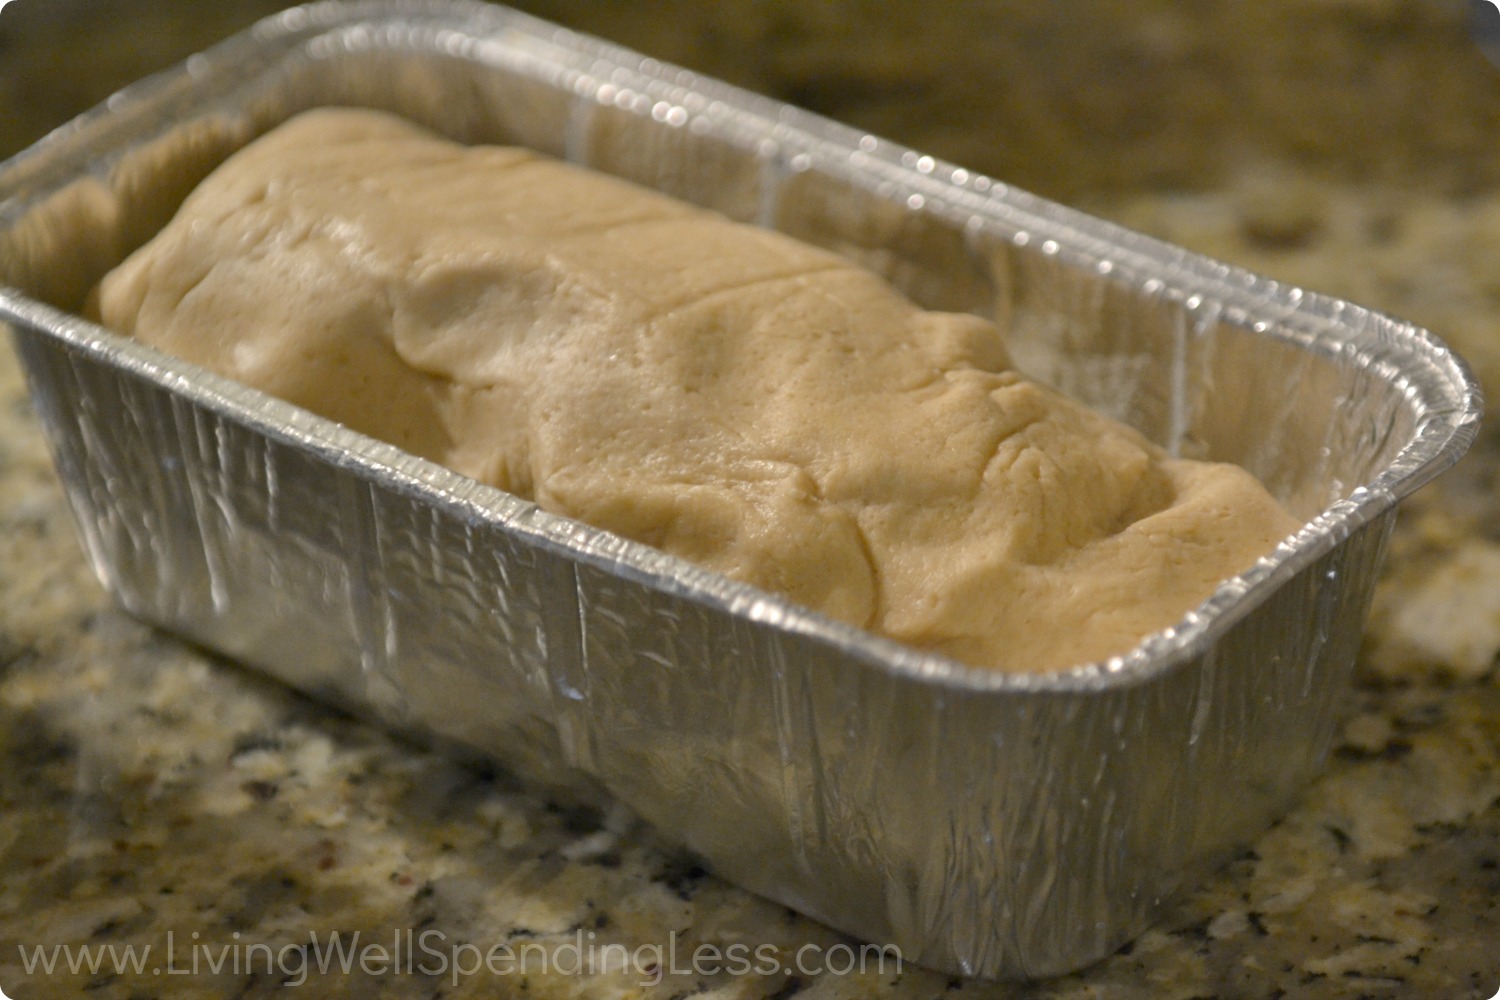
Step 8: To use, thaw dough. For bread, place in greased bread pan and let rise to 1″ above pan before baking. Dough can also be used to form dinner rolls–just shape into balls and let rise for 30 minutes–or as homemade pizza dough. Bake in a pre-heated oven at 350 for 30 minutes or until golden brown. If desired, brush top of hot loaf with melted butter before it cools.
Print This!
Recipe: Easy Homemade Freezer Bread
Summary: This super easy bread recipe is so versatile. It can be made and stored in the freezer until needed to make dinner rolls, pizza dough or a loaf of bread!
Ingredients
3 cups warm water (110 degrees)
1 cup sugar
3 tablespoons active dry yeast
1 cup warm milk (110 degrees)
1 tablespoon salt
1/2 cup (1 stick) butter, melted
12 cups bread flour, plus more for kneading
butter for greasing bowl
Instructions
Pour warm 100-110 degree water into a large bowl of stand mixer. Stir sugar into warm water and add yeast; let proof for five minutes or so, until the mixture bubbles and foams.
Add salt and melted butter to yeast mixture; mix well.
Mix in flour, 1-2 cups at a time.
Using dough hook attachment, knead dough for 10 minutes.
Place dough on floured surface and knead by hand for 7-10 minutes more, adding additional flour as necessary, until dough is smooth. (If kneading entirely by hand, skip step four and simply knead on floured surface until dough is smooth–approximately 15-20 minutes.)
Place dough in bowl greased well with butter, and turn dough once to coat with butter. Cover with a damp towel and place in a warm spot to rise. Let rise until doubled–about 45 minutes to an hour.
Punch down dough and divide into four equal portions. Wrap each portion in plastic wrap or freezer bag and freeze until needed.
To use, thaw dough. For bread, place in greased bread pan and let rise to 1″ above pan before baking. Dough can also be used to form dinner rolls–just shape into balls and let rise for 30 minutes–or as homemade pizza dough. Bake in a pre-heated oven at 350 for 30 minutes or until golden brown. If desired, brush top of hot loaf with melted butter before it cools.
Preparation time: 1 hour 10 minutes
Cooking time: 30 minutes
Number of servings (yield): 48
* * *
Do you ever make homemade bread? What are your favorite variations?
Pin It
The post Basic Freezer Bread appeared first on Living Well Spending Less™.
April 28, 2014
Container Gardening 101

This is a guest post from Melissa of MelissaKNorris.com
Have you ever driven by a house with charming pots of plants leading up to its front door? Have you ever thought about creating the same look for your own house, but then felt completely overwhelmed while visiting your local nursery? With literally hundreds of plants to choose from, it can feel more than a little bit intimidating!
Even so, container gardening is a wonderful way to bring a garden to your home, no matter if you live in an apartment, condo, mobile home, or two-story house on acreage. It’s also much easier than you might think! Another great benefit of container gardening is the ability to make it a one time expense and have the rewards for years to come. I’m going on year seven with two of my containers.
To make container planting a success for your home, just follow these five easy steps:

1. Choose your container
The most important part of a container is that it has a drain hole, or is a material that can be drilled to provide a few drain holes. You can choose a more permanent container like a whiskey barrel or go for smaller containers you can move around your yard or porch. I’ve seen containers made from old boots or rusted out wheel barrows, bird cages, even old dresser drawers. My husband even hollowed out a round of wood for a Mother’s Day gift a few years ago. Be as creative as you like.

Be sure the container is large enough for the plants you want. If it’s especially deep, I advise putting rocks in the bottom to help with drainage, plus you won’t require as much soil. Speaking of soil…
2. Pick your soil wisely
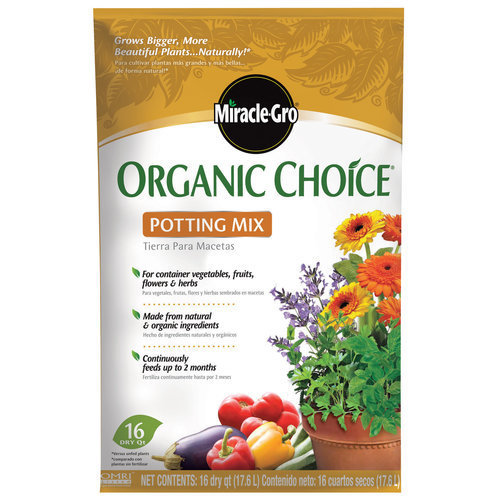
If you’re only growing non-edible plants in your container, than almost any soil mix you pick is fine. I recommend going with a potting soil mix that will release plant food over time such as Miracle grow. But, if you’re going to grow edibles (free food anyone?) then I highly suggest using only organic compost or organic potting soil. Miracle Grow also has an organic option.
You can find soil mixes at any big box store in the garden section like K-Mart, Walmart, Fred Meyers, Home Depot, etc. Or head to a local plant nursery. The beauty of plant nurseries is you get plants grown in your region so they usually perform better. Nurseries will also have potting soil mixes and usually bags of compost available, too. Plus, the staff at nurseries will answer questions, give helpful advice, and specialize in plants.
You can purchase a good sized bag of organic potting soil for less than $10. Or, if you have a gardening friend who composts, they might be happy to give you a few shovel fulls to get you started.
Because plants in containers can’t absorb nutrients from the soil, it’s important to give them some type of food by the dirt you put inside the container. You can even add your own soil additives from some of your common kitchen scraps, check out re-using coffee grounds in your garden here.

3. Choose your plants
This is where the fun really begins. If you want the most bang for you buck, then invest in perennials. Perennials come back every year, meaning you won’t have to purchase new plants every spring. Annuals die at the end of their growing season. However, some annuals are gorgeous and can be a fun way to punch up the color factor. You can mix and match perennials with annuals as well.
When first starting out with gardening, it’s best to buy starts and avoid growing from seeds. I recommend going with perennials to save yourself money and time over the long run.
This list includes perennials that are very hardy and virtually impossible to kill:
Primroses
Daffodils (bulbs do great in containers)
Pulmonaria (lungwort)
Aster
Bleeding Heart
Heuchera
Snapdragon (if you have cold temperatures this will act as an annual)
Flowering cale and cabbage
Perennial carnations (border varieties work best for containers)
Need a free option? Ask on Facebook or check Craigslist for folks dividing their perennials in the spring. Many times, you can get free starts of many herbs and flowers this way. It’s how I got my oregano, thyme, mint, and lemon balm.
4. Add edible plants
While I like my container plants to look pretty, I especially like them to double as my mini-grocery store. Many edible plants are wonderful choices for your container gardeners, both as lowering your food bill and as pretty additions.
Many herbs are actually best grown in containers. For instance, all of the mint family performs best in containers as they’re invasive when planted in the ground.
Here is a list of more great edibles to plant:
Oregano
Chamomile
Chives
Sage
Spearmint
Pansies (edible flower)
Nasturtiums are another colorful edible flower. I enjoy nasturtiums in salads as they have a bit of a peppery spice to them. Nasturtiums are very easy to grow from seed, which means tons of flowers for just the price of one small packet of seeds.

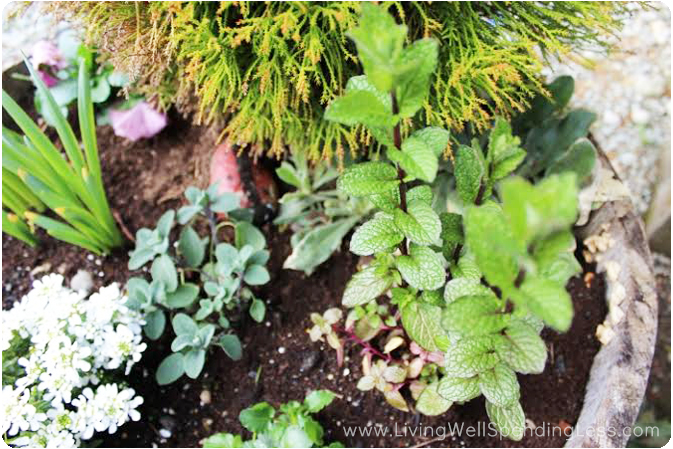
5. Place your plants
Before you plop your plants in the dirt, take some time to decide where you want them in your container. Generally speaking, taller plants are best in the back and center. That way they don’t shade shorter plants and act as a focal point. Next, put your mid-level plants in, with trailing plants on the outer edge.
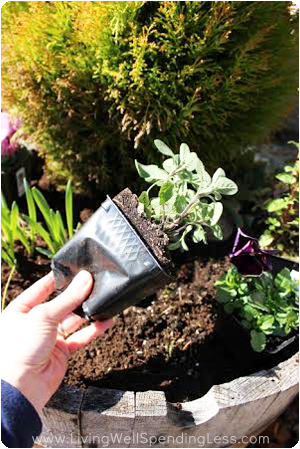
When planting your plants, lightly pinch the bottom of the container they come from, try not to pull too hard on the stems.
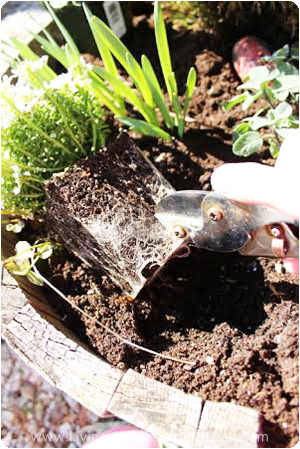
Once free of the plastic container, gently break up the roots before putting them in their hole. You can use your hands, a dull knife, or the edge of your gardening shears. Place the plant in the whole you’ve dug once you’ve loosened the roots. Your goal is to have the crown of the plant (where the stem meets the soil) to be the same level when it’s planted as it was when you purchased it. Tamp down on the dirt around the plant to hold them in place. Give them a good drink of water after planting.

Finally, be sure to enjoy your plants! But be warned, this growing your own food stuff can become addicting–every year we enlarge our garden plot and containers! In my book Pioneering Today-Faith and Home the Old Fashioned Way, I explain practical and easy methods to cook from scratch, garden, preserve your own food, and see God’s fingerprint in your everyday busy life. You’ll learn how to decrease your grocery and energy bill, improve your family’s health by cooking from scratch and over 40 delicious real food recipes, grow and preserve your own food, reduce your time in the kitchen without sacrificing taste and nutrition, and expand your view of God in your daily activities. Best part, it’s 25% OFF for Living Well Spending Less readers with coupon code LWSL2014. You can read the first chapter for free here
Melissa K. Norris lives in the Pacific Northwest in her own little house in the big woods with her husband, two children, seven cows, and five chickens. She inspires people’s faith and pioneer roots
through her blog, books, and podcast with topics on heirloom gardening, preserving the harvest, cooking from scratch meals, and raising livestock. Start living the simple life and pioneering today at www.melissaknorris.com
* * *
Have you ever tried container gardening? What are you planning to grow this year?
Pin It
The post Container Gardening 101 appeared first on Living Well Spending Less™.
April 27, 2014
Weekend Wandering
Happy Sunday! I hope you are all having a fun and relaxing weekend! After a busy week of hustling to get some work done it has been nice to enjoy some down time with my family. We went blueberry picking yesterday, which is always a lot of fun. We ended up with 7 pounds of berries! It looks like today I will be doing some major baking–any ideas for what I should make?
Do you love Pinterest? If so be sure to mark your calendars for April 29th to participate a fun Spring Fling on Pinterest! One lucky winner will win their choice of amazing $500 prize, and a runner up will receive $300! Everyone else will get some great digital party favors, plus there will be a ton of inspiration to discover. It is free to join but you do have to RSVP–check out this post for more details!
As always, there were a ton of awesome posts shared this week at Thrifty Thursday. It is always so hard to choose, but here is what I loved this week:
* * *
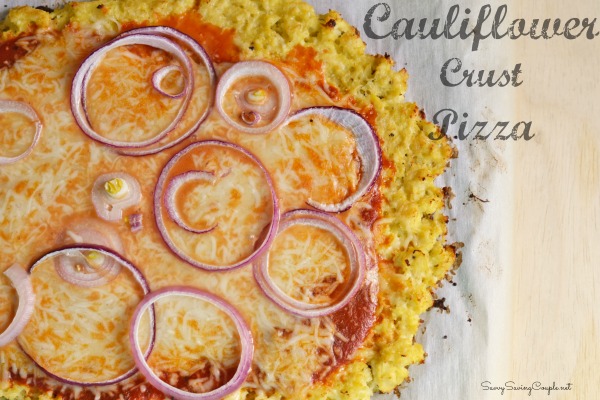
First off, I am totally intrigued by this Cauliflower Pizza Crust Recipe from the Savvy Saving Couple–doesn’t it sound amazing?
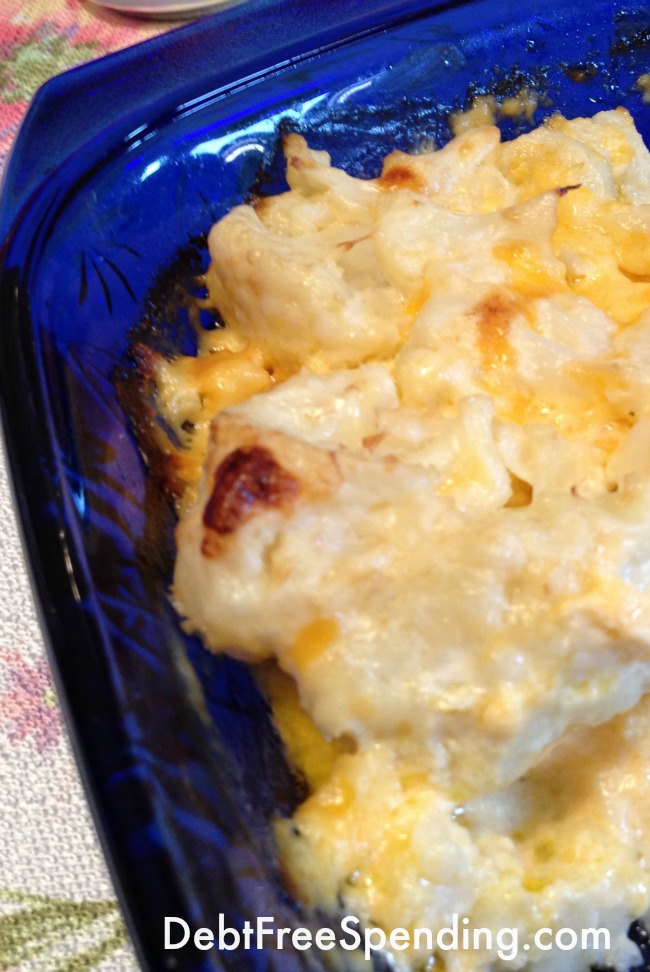
And speaking of cauliflower, this Loaded Cauliflower recipe from Debt Free Through Spending has all the flavor of loaded potatoes but with less carbs! Yum!
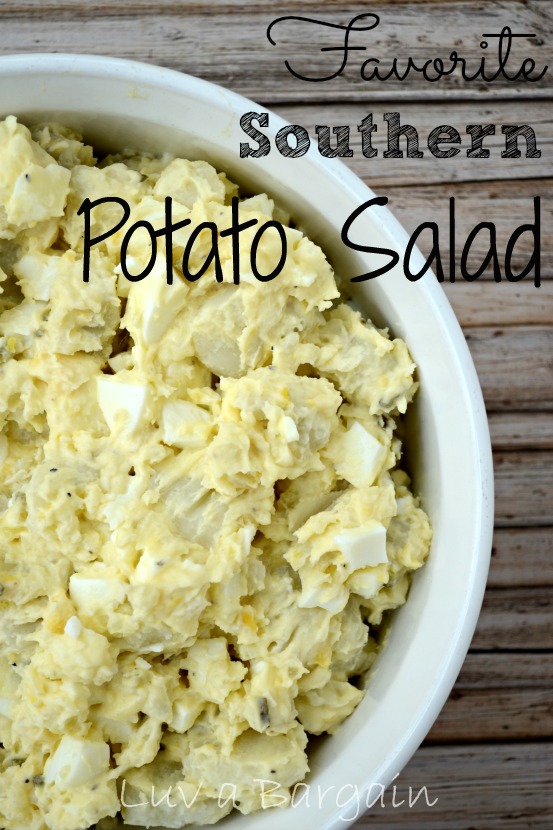
Of course if you like your carbs then you might want try My Favorite Southern Potato Salad Recipe from Luv a Bargain.
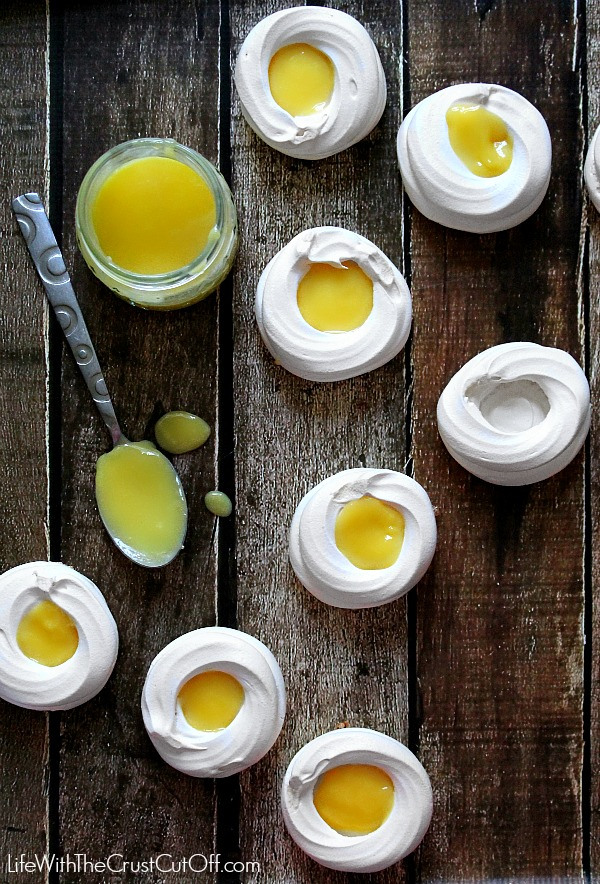
Now moving on to the sweet stuff! I absolutely love lemon inspired desserts. So these Lemon Curd Meringues from Life with the Crust Cut Off definitely caught my eye. They almost look too pretty to eat!
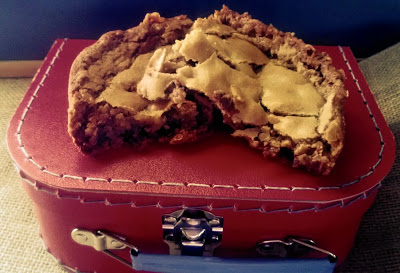
If chocolate is more your thing, these Congo Bars from the Lou Lou Girls sound pretty yummy too!
I always enjoy a good homemade icing and this Old Fashioned Caramel Icing Recipe from Little House Living looks and sounds so decedent!

I don’t know about you but keeping the paper clutter under control is always a huge battle in our house! Thrifty Homemaking has some great tips for De-cluttering Paper in her series Organizing Important Documents.
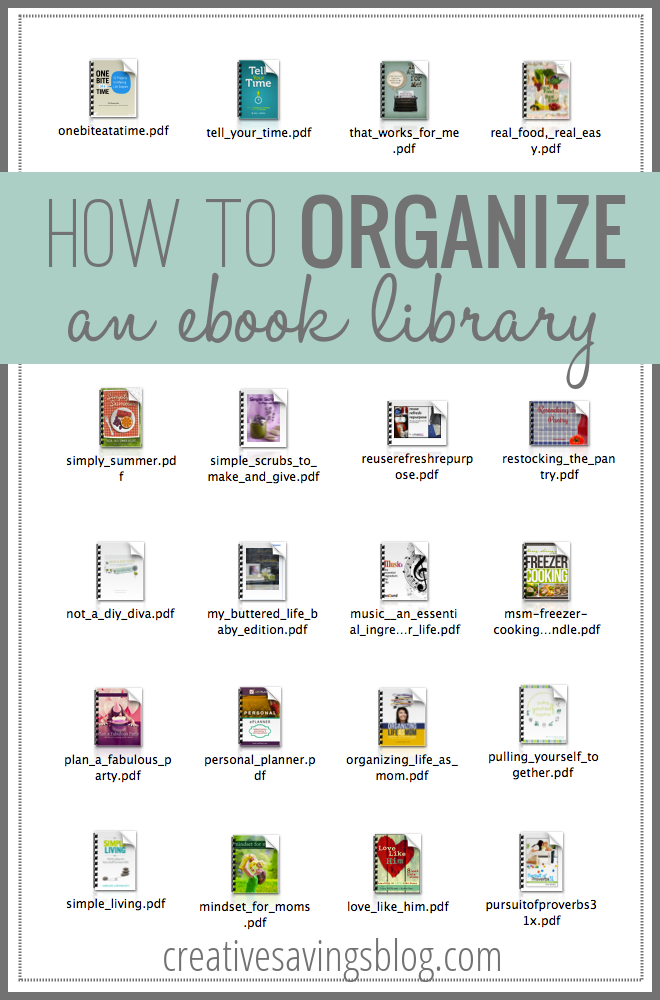
Did anyone else order the Ultimate Homemaking eBook bundle this week? If so you will not want to miss this post from Creative Savings on How to Organize an eBook Library. What great timing!
Want to expand your social media reach? Ann’s Entitled Life has a helpful step-by-step tutorial on How to Use GooglePlus.

Have you always wanted to learn how to quilt? The Seasoned Homemaker provides great pictures and easy to understand instructions on Quilting the Easy Way.

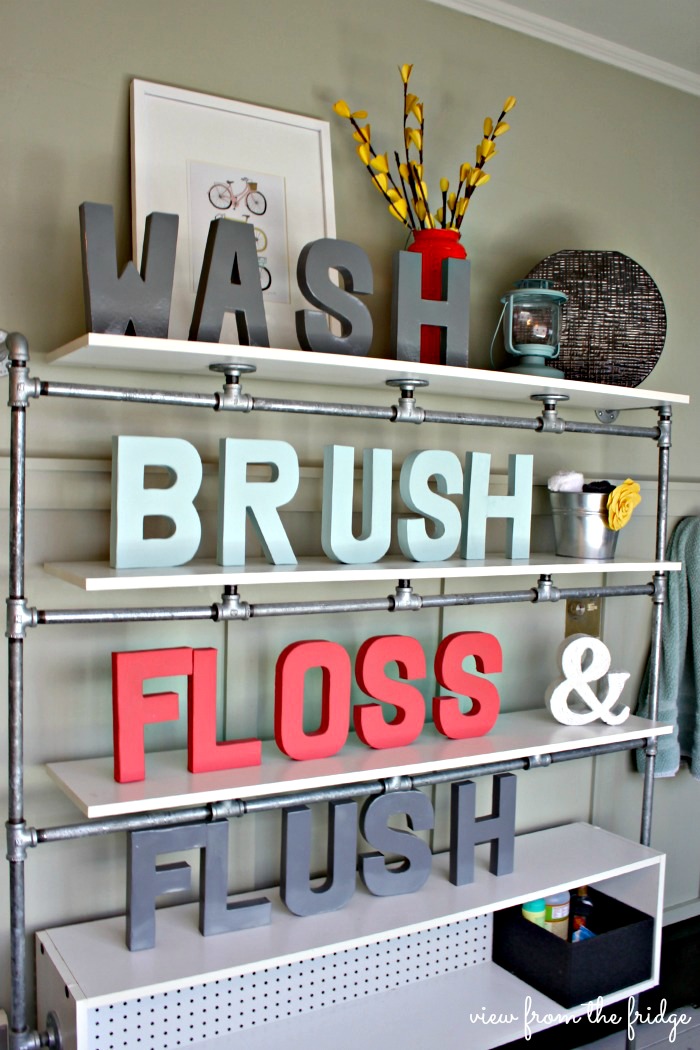
I was so inspired by this cool bathroom make-over from View From the Fridge! I absolutely LOVE the words used to add a splash of color to the industrial built in pipe shelving.
Sitting in the Pew has great post on Why I Stopped Using Shampoo. This method sounds so cool!

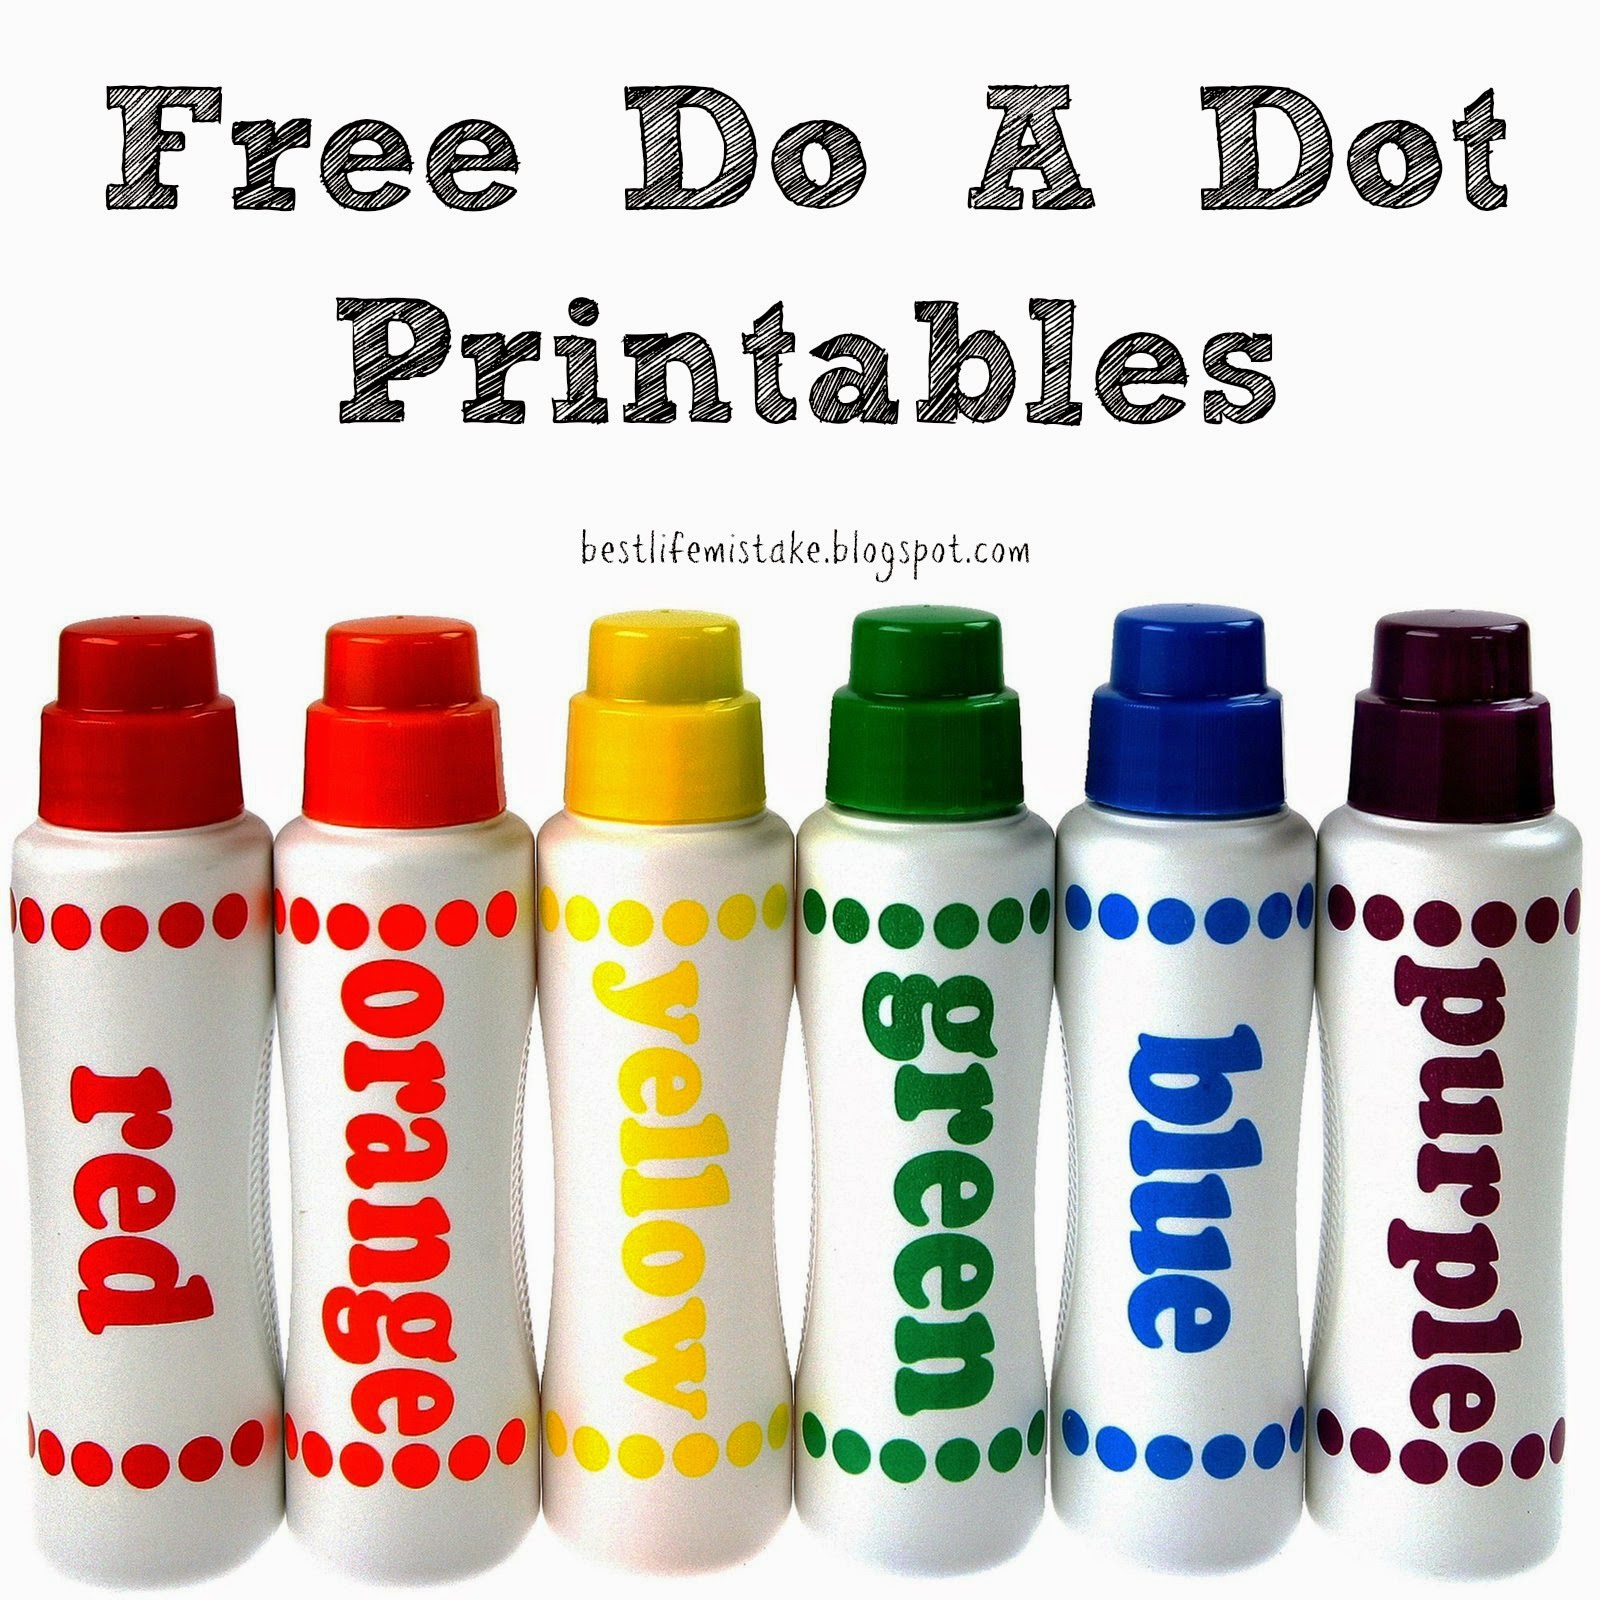
Looking for educational and fun crafts for the kids to do over Summer vacation? Some of the Best Things in Life are Mistakes has Free Do a Dot Printables. My kids LOVE Do-a-Dots–they will be SO all over this!
* * *
What did you love this week?
Pin It
The post Weekend Wandering appeared first on Living Well Spending Less™.
April 26, 2014
Join Me for a Spring Fling on Pinterest!

Do you love Pinterest as much as I do? If so, be sure to….
Mark your calendars for APRIL 29th!
Trust me when I say you will NOT want to miss this awesome Spring Fling Party on Pinterest! Not only will you find a ton of fun new ideas for spring and discover some great new blogs to follow, there is also a HUGE grand prize giveaway with TWO winners!
{Keep scrolling down to enter!}

So, mark your calendars for APRIL 29th!
…and check out all of bloggers involved in the meantime:
The Dating Divas / The 36th Avenue / Somewhat Simple / Lil Luna / I Heart Naptime / One Good Thing / Maskcara / HowDoesShe / Twist Me Pretty / Living Locutro / The Crafting Chicks / Living Well Spending Less / Kids Activities Blog
**IMPORTANT: Fill out the form at the bottom of this post to get your OWN invite to the Spring Fling Party on Pinterest and information on how it all works! You’ll also receive a few reminders to make sure you don’t forget! Registering will automatically hook you up with the AMAZING free digital party favors that you’ll receive at the close of the party!**
Here is what to do:
#1) ENTER THE GIVEAWAY
**Winners will be announced at the close of the party.**

It’s SUPER easy to enter!A. Follow ALL of the bloggers in the widget below (you get entries for each blogger you follow)
B. Be present at the party to claim your prize!
#2) RSVP FOR THE PARTY
IMPORTANT: Fill out the below form to get your official party invite to the Spring Fling Party on Pinterest plus additional information on how it all works! You will also receive a few reminders to make sure you don’t forget! Registering will automatically hook you up with the AWESOME free digital party favors that you’ll receive at the close of the party
First Name *
Last Name *
Email *
What Website Are You On Now? *
The Dating Divas
36th Avenue
Somewhat Simple
Lil’ Luna
I Heart Nap Time
Maskcara
One Good Thing
HowDoesShe
Twist Me Pretty
The Crafting Chicks
Living Locurto
Living Well Spending Less
Kids Activities Blog
Pin It
The post Join Me for a Spring Fling on Pinterest! appeared first on Living Well Spending Less™.
April 25, 2014
5 Awesome Activities to Do With Kids at a National Park
It is pretty hard to sum up in just one blog post even just a handful of the incredible things that our country’s National Parks have to offer. Between snow-capped mountains, bone-dry valleys, ancient forests, active volcanoes, gushing geysers, stunning rock formations, underground caverns, and everything in between, we live in one of the most beautiful and diverse countries on the planet.
Even so, when it comes to vacation, many parents opt to skip the National Parks in favor of something more “kid-friendly,” assuming that their children won’t really be able to appreciate the beauty and grandeur of these natural wonders.
While I love a trip to theme park at least much as my kids, I can still honestly say that if given the choice, I’d pick a trip to a National Park every single time. And while my husband and I greatly enjoyed visiting different parks before we had kids, we have found that visiting with our kids is even better. There is something magical that happens when you view the world through the eyes of your child!

(Crater Lake, Oregon)
Over the years we’ve taken several cross-country road trips with our kids and visited dozens of National Parks and Monuments along the way, including Mount Rainier, Crater Lake, Yosemite, Death Valley, the Grand Canyon, Arches, Great Smokey Mountain, and Mammoth Cave, just to name a few. While every park is totally unique and amazing in it’s own way, there are five super cool things that we have found to do with our kids at almost every major National Park:

1. Get a Stamp in Your Passport
One of the neatest things about international travel is filling your passport with stamps from different countries—it is so much better than any trinket or souvenir you can buy! But did you know that you don’t have to leave the country to fill a passport with unique stamps? The National Park service offers its own passport that you can buy in any park gift shop or online for less than $10. Each National Park or Monument has at least once cancellation station where you can stamp your passport. Larger parks such as Yosemite or Yellowstone feature multiple cancellation stations for various attractions. You can download a complete list of all the cancellation stations by state here.
In addition to the cancellation stamps, which are free, each year you can also purchase a set of limited addition commemorative stamps which feature color photographs of a park or monument from each geographic region in the country to place in the designated pages in your passport. These sticker sets, (which sell for $3.95), change each year, but you can often find previous years’ sets in the gift shop or online.
 2. Earn a Junior Ranger Badge
The Junior Ranger Badge program is truly one of the neatest kids programs I’ve ever seen, and at most parks it is completely free. (I have read that there can be a $3 charge at some locations, but every park we have done it has been free so far.) The program, which is intended for kids ages 4-12, can vary a lot from park to park, but at most parks it involves picking up a free Junior Ranger activity booklet from the Ranger Station, then completing a number of activities in the book to earn points. The activities can vary from observing animals to going for a hike to picking up litter to learning something about the park, and the number of points required for a badge varies based on the age of the child.
We have found that completing the activities in the Junior Ranger guide gives our family something to focus on, keeps our kids interested, and helps us learn a whole lot more about the park than we otherwise would have. And it is a lot of fun!

Once the kids have completed their required activities, they return to the ranger station to get it approved. The rangers will generally ask the kids a few questions about what they learned, and then “swear them in” as Junior Rangers, presenting them with a badge and certificate, (which are also free.)

(Grand Canyon, Arizona)
3. Go on a Ranger Walk
I’m not normally one for tours or group activities. In fact, the only reason we participated the first time was because it was required for the Junior Ranger program, so I was absolutely shocked to discover just how much I learned. It was absolutely fascinating!
The rangers are vast wealth of information about the parks they work in. Not only are they incredibly passionate about their jobs, many of them have been working at the same park for years and know every square mile like it was their own backyard. Their excitement is infectious, especially for kids!
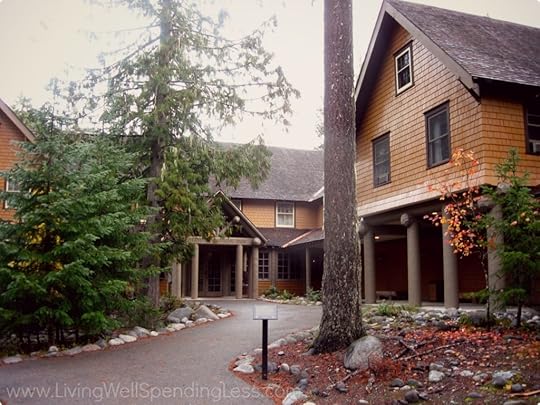
(National Park Inn–Mt. Rainier National Park, Washington State)
4. Stay Overnight
If your family is into camping, this is a no-brainer! The National Park service offers some of the most beautiful and scenic campsites you’ll find anywhere, and the prices are usually cheaper than private campgrounds. During the summer many popular park campgrounds fill up quickly, so if you are planning a trip, be sure to book ahead. Be sure to also check what amenities are available, as well as check policies regarding food and fire. Many campsites within the National Parks don’t offer hook-ups, and many also have strict rules about food (because of bears and other wildlife) and fire.
Even if roughing it is not your family’s style, there are some great opportunities for overnight lodging in the parks. Many older parks feature beautiful (and famous) lodges, many of which were work projects during the Great Depression. Some parks also offer simple cabins that are a step up from camping, but a little more rustic than a hotel. We stayed in a simple woodland cabin (for around $70 a night) at Mammoth Cave National Park during last summer’s mega road trip and it was one of our favorite memories of our whole trip!

(Arches National Park, Utah)
5. Take a Scenic Drive
While older kids might be okay with walking or hiking most of the day, younger ones might get tired after a few hours. We have found that taking a nice long scenic drive in the afternoon is a great way to balance out an active morning of exploring the trails.
Most National Parks feature at least a few scenic drives, many of which include scenic lookout points or short trails along the side of the road. Directions are found in the park map, but be sure to ask at the ranger station for recommendations—most rangers will be full of advice on which trails to take, as well as what wildlife and other attractions to look out for along the way!

(Redwood Forest, California)
A few more tips for making the most of your visit….
Take your time. Many of these parks are absolutely enormous, and you could literally spend the whole summer exploring and still not see it all. Don’t try to see it all in a day, and even if you are staying for a few days, take the time to linger and simply enjoy a few key sites rather than rush around trying to soak it all in as quickly as possible.
Avoid the crowds. Consider visiting in the off season, when the crowds have dwindled. (Especially for the most popular parks such as Yosemite, Yellowstone, and the Grand Canyon.) Visiting at a slower time means the rangers will have a lot more time and energy for answering questions, and your family will be able to more fully enjoy the grandeur and natural beauty of the parks. There is nothing that kills the feeling of getting back to nature like getting stuck in a traffic jam!
Don’t sweat the small stuff. Accept the fact that no vacation with kids will ever be perfect. Over the years, when it comes to traveling with our kids, we have found that no matter where we go or what we do, there will be something that inevitably goes wrong. It rains continuously for three days straight in the Redwood Forest, your four-month-old baby won’t stop crying as you go over Tioga Pass, or your three-year-old throws the mother of all temper tantrums at the Hoover Dam. It is in those moments that my husband and I try to remind ourselves that these are the times we will look back on and laugh. And you know what? We do!

* * *
What is your favorite National Park? What are your family’s favorite activities while you are there?
Pin It
The post 5 Awesome Activities to Do With Kids at a National Park appeared first on Living Well Spending Less™.


