Seth Apter's Blog, page 96
June 10, 2013
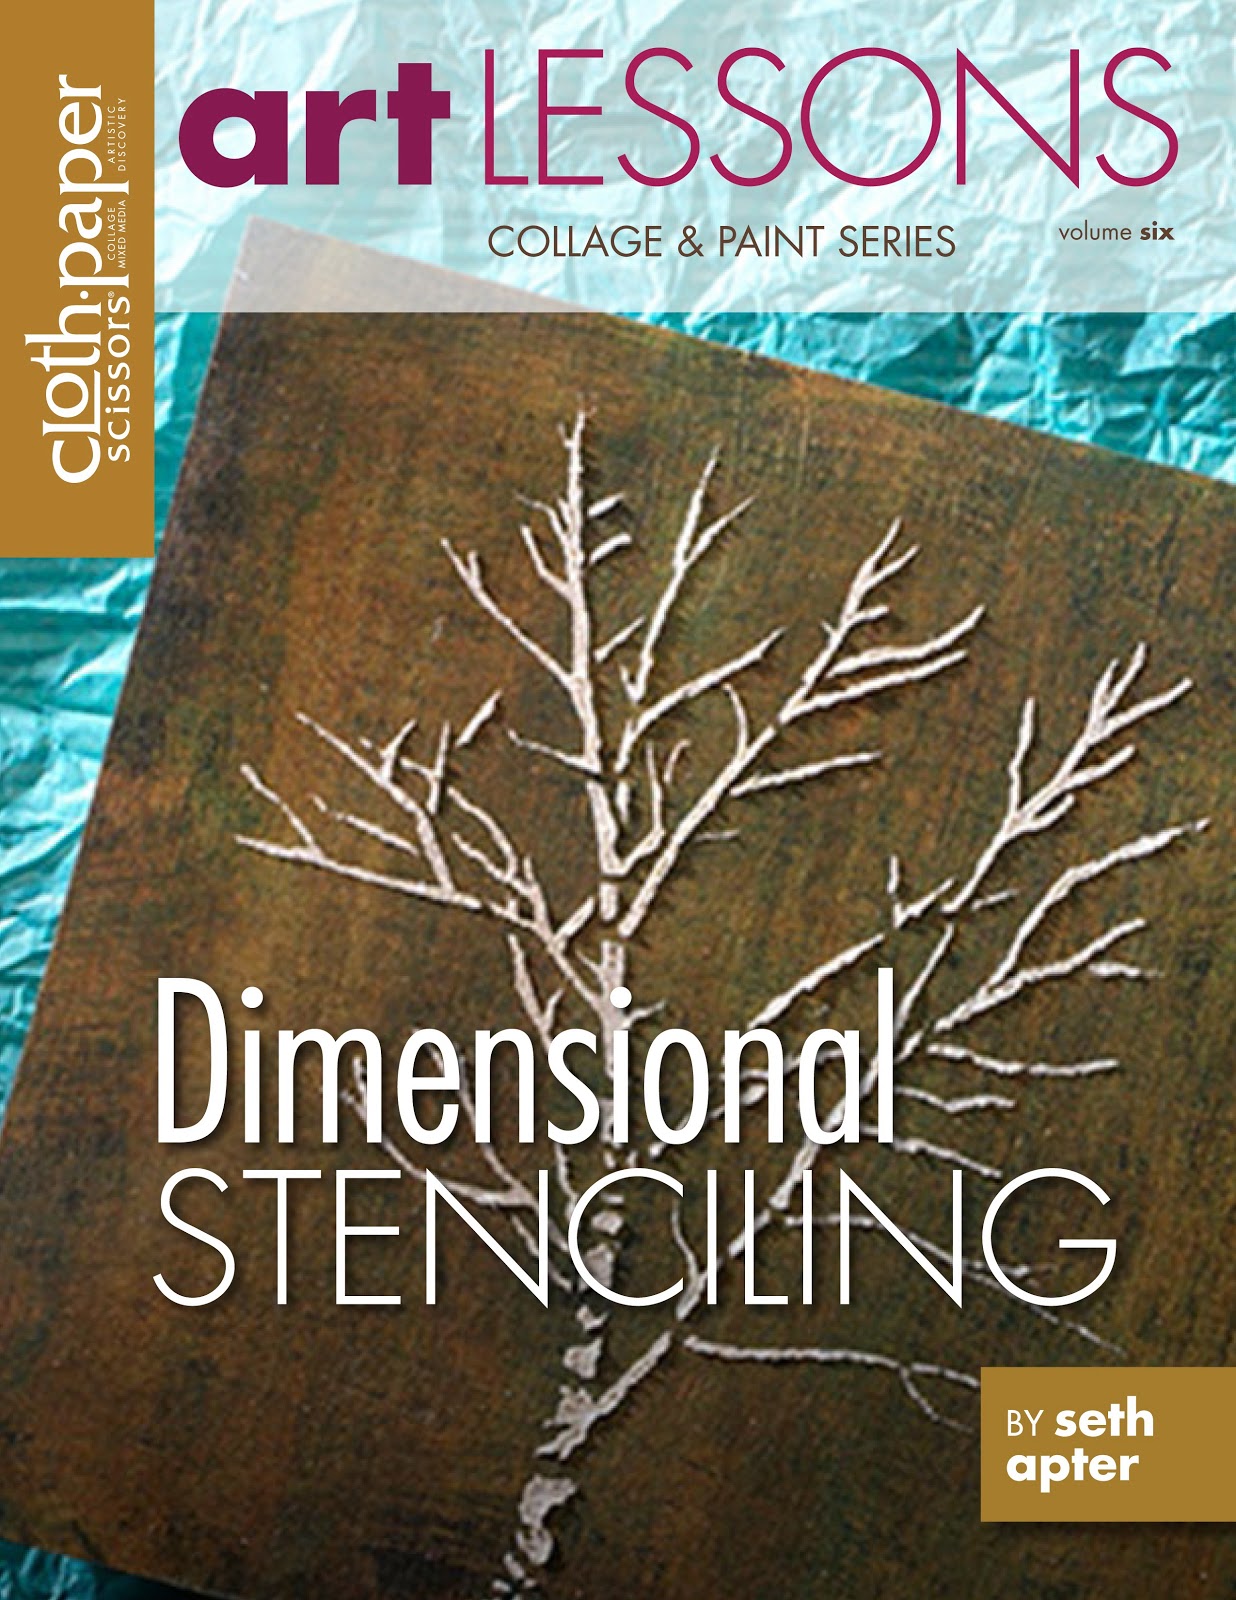
Dimensional Stenciling eMAG
This year, Cloth Paper Scissors and Interweave have started to produce Art Lessons, monthly mini-eMagazines that are immediately downloadable for just $1.99. Each issue focuses on one artist and one artistic technique. So far, Julie Fei-Fan Balzer, Jane LaFazio, Kristen Robinson, Donna Downey, and Rachelle Panagarry has been featured.
I am thrilled to be the artist behind the newly released June issue entitled Dimensional Stenciling.

Join me as I introduce my "secret sauce" - fiber paste - to create texture and dimension when stenciling, share a how-to video so you can see the process step-by-step, highlight my favorite stenciling tool, reveal how I create my layered backgrounds to stencil on, share my own stenciling tips and tricks, and show several new artworks where stenciling is the centerpiece. There is a lot packed into these pages!
I am thrilled to be the artist behind the newly released June issue entitled Dimensional Stenciling.
Join me as I introduce my "secret sauce" - fiber paste - to create texture and dimension when stenciling, share a how-to video so you can see the process step-by-step, highlight my favorite stenciling tool, reveal how I create my layered backgrounds to stencil on, share my own stenciling tips and tricks, and show several new artworks where stenciling is the centerpiece. There is a lot packed into these pages!


June 8, 2013
Unraveling
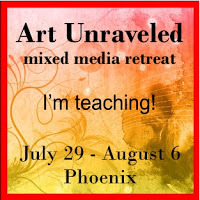
I am so excited to be a part of my first Art Unraveled, coming up in Phoenix, Arizona from July 29 to August 6. I am looking forward to seeing some old art friends and meeting some online friends for the first time. I am going for broke at this retreat and will be involved in the following activities:
For the opening night kick-off on July 29, I will be hosting an artist panel. This is your chance to get up close and personal with artists Pam Carriker, Leighanna Light, Thomas Ashman, Jen Cushman, Dina Wakley, Crystal Neubauer, Joanna Pierotti, and Don Madden. I will be leading a conversation and fielding questions from the audience. Following the panel, you will have a chance to mingle one-to-one with the entire set of retreat instructors and see their class sample face-to-face.
I will be teaching the following three workshops...
For Your Eyes Only - Tuesday July 30, 9:00-4:30 A new workshop being held for the first time anywhere
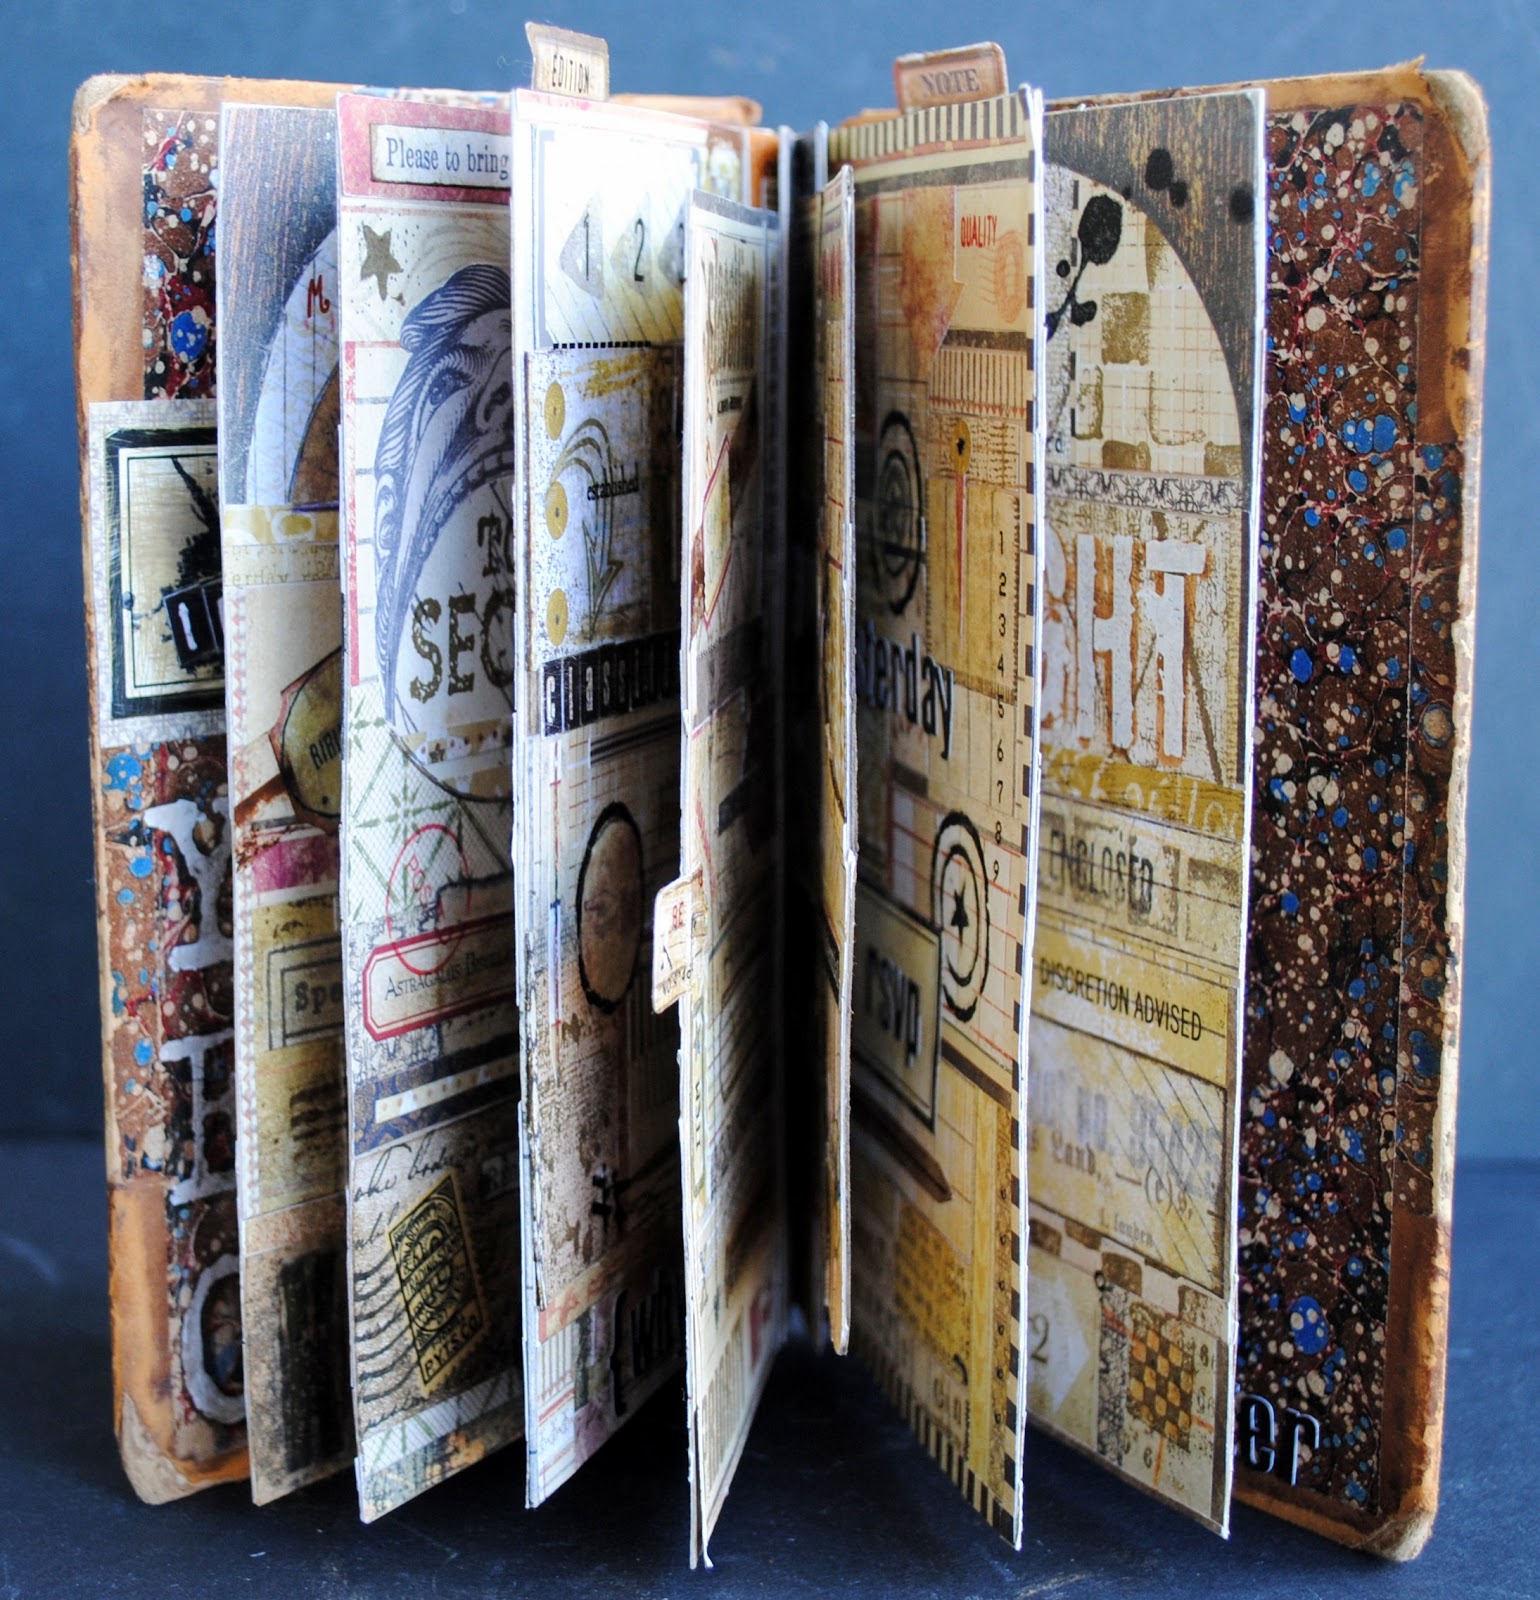
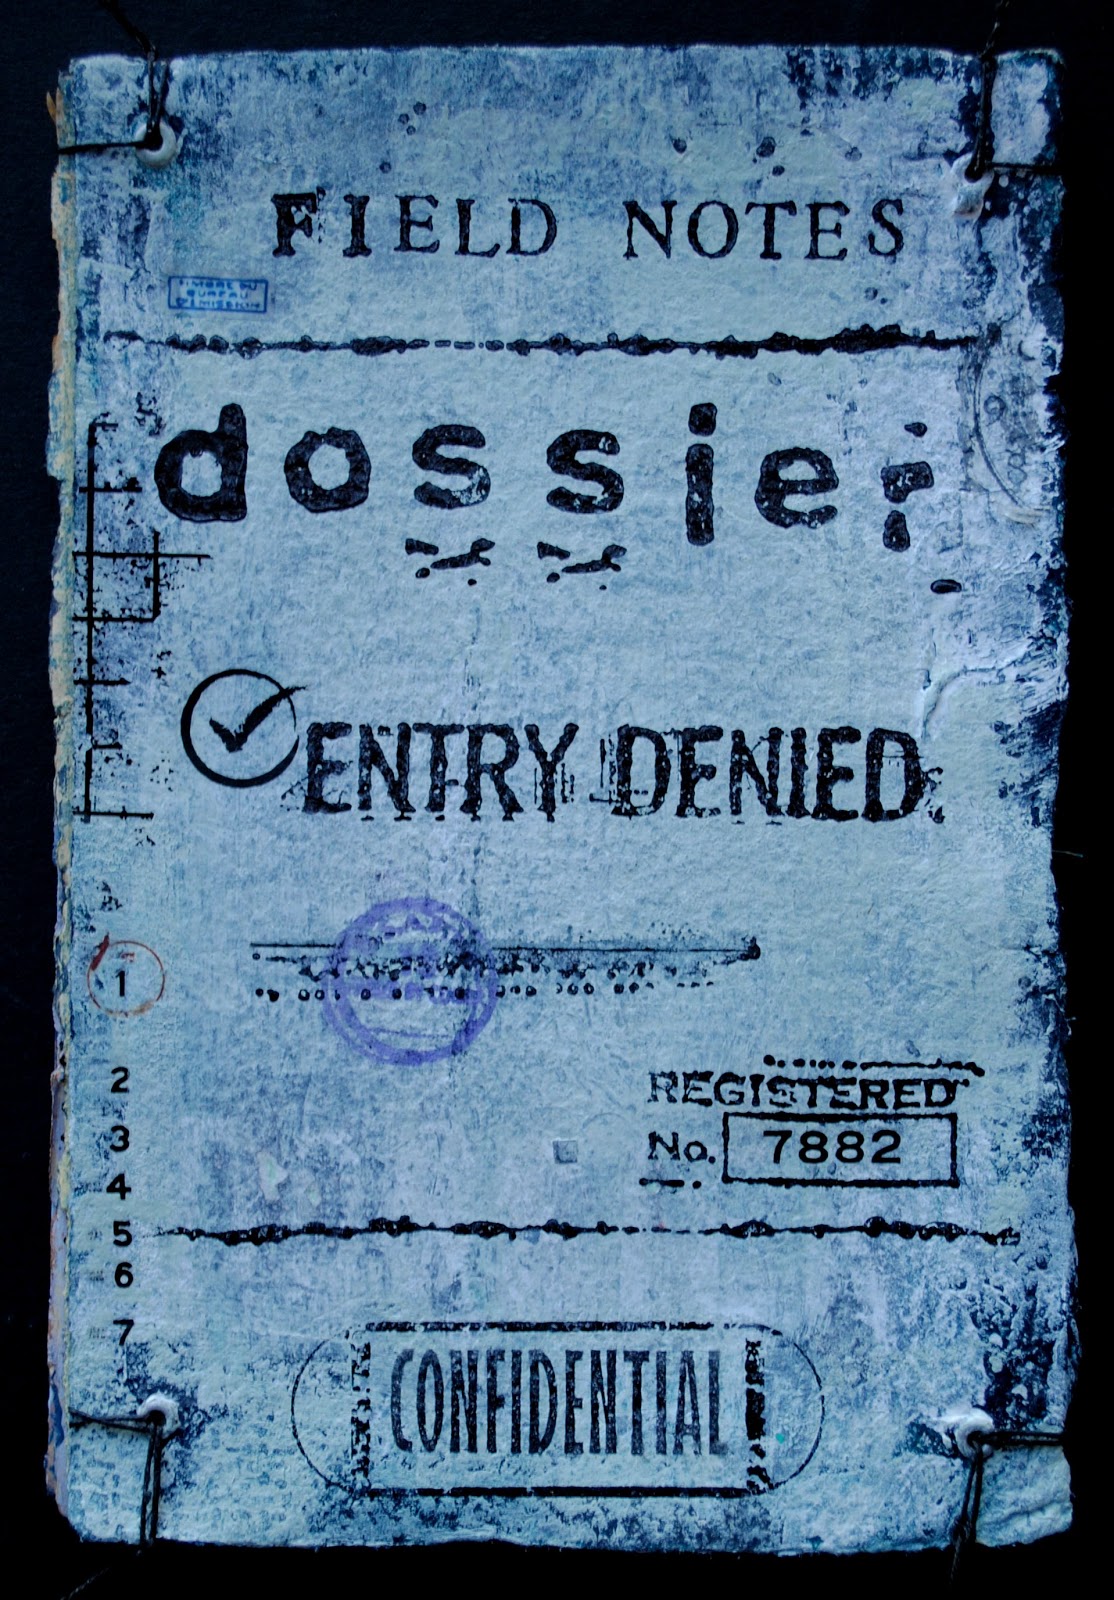
Mixed Media Dossier - Wednesday July 31, 9:00-4:30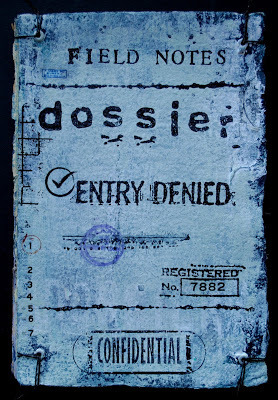 Make a one-of-a-kind personal dossier
Text Tiles - Thursday August 1, 6:00-9:00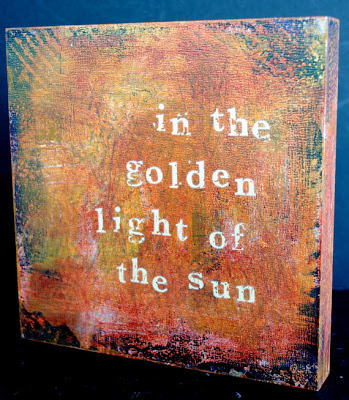 Textured backgrounds and text-filled foregrounds
Finally, I will be a part of the Shopping Extravaganza, along with over 55 other vendors.
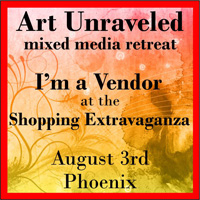
This is gonna be big! And you do not have to be part of the retreat to attend. It is being held on Saturday August 3 from 10:00-4:00 at the host hotel, the Embassy Suites in Phoenix.
I hope I get to see you. This is likely to be my one and only teaching stop in Phoenix for some time to come.
For the opening night kick-off on July 29, I will be hosting an artist panel. This is your chance to get up close and personal with artists Pam Carriker, Leighanna Light, Thomas Ashman, Jen Cushman, Dina Wakley, Crystal Neubauer, Joanna Pierotti, and Don Madden. I will be leading a conversation and fielding questions from the audience. Following the panel, you will have a chance to mingle one-to-one with the entire set of retreat instructors and see their class sample face-to-face.

I will be teaching the following three workshops...
For Your Eyes Only - Tuesday July 30, 9:00-4:30
 A new workshop being held for the first time anywhere
Mixed Media Dossier - Wednesday July 31, 9:00-4:30
 Make a one-of-a-kind personal dossier
Text Tiles - Thursday August 1, 6:00-9:00
 Textured backgrounds and text-filled foregrounds
Finally, I will be a part of the Shopping Extravaganza, along with over 55 other vendors.

This is gonna be big! And you do not have to be part of the retreat to attend. It is being held on Saturday August 3 from 10:00-4:00 at the host hotel, the Embassy Suites in Phoenix.
I hope I get to see you. This is likely to be my one and only teaching stop in Phoenix for some time to come.
June 7, 2013
Wabi-Sabi Book Review

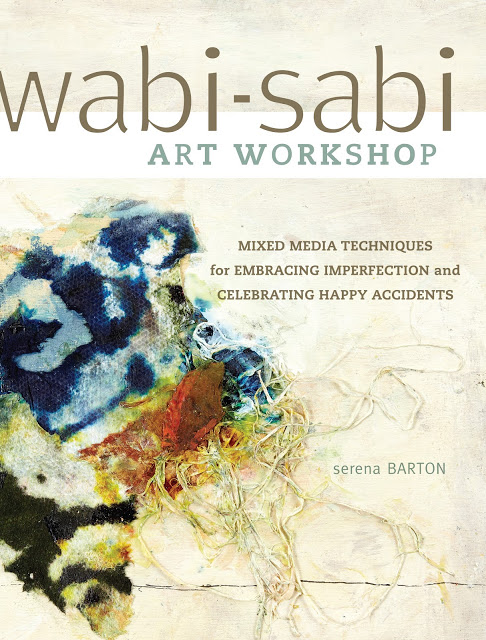
I had a chance to meet artist and author Serena Barton on my recent trip to the Pacific Northwest. She was kind enough to provide me with a review copy of her newly released book Wabi-Sabi Art Workshop: Mixed Media Techniques for Embracing Imperfection and Celebrating Happy Accidents.
I have thoroughly enjoyed reading through these pages and learning more about her approach to creating gorgeous, abstract art. Over 70 gallery images of her own work are spread throughout the book to illustrate different techniques. Perfectly bending simplicity and complexity, her artwork is quite stunning and has really motivated me to want to use some of her techniques to bring the same wabi-sabi quality to my art. I also loved the fact that each of art pieces was accompanied by a brief description of her process, inspiration, and/or interpretation.
Serena starts the book by explaining the concept of Wabi-sabi, in words, photographs, and poetry. A challenging concept to define, she states "Wabi-sabi is an aesthetic that values the passing of time, the seasoning of time and elements, the handmade and the simple." The book is divided into an introduction and 7 chapters that guide the reader through a series of illustrated step-out projects that themselves reflect the wabi-sabi concept. But the information is presented in such a way as to also provide many stand-alone techniques that can be incorporated into any approach to art.
With words like spattering, sponging, dropping, wiping, scraping, and incising used in section headings, I knew that this book would resonate with me. While I found the step-outs clear and easy to follow, I generally do not re-create the projects in art books. Rather, I look for approaches and techniques that provide inspiration and ideas that I can then incorporate in my own style into my own work. And there were plenty of inspiration and ideas to be found on these pages.
I use acrylic glazes all the time in my work but Serena's "recipe" for this will open up completely new possibilities for me in the future (click here to be taken to an excerpt on this process at Create Mixed Media). She also shares her process with plaster, encaustic, cold wax, acrylics, oil, tissue, tin foil, cheesecloth, 3D embellishments and many other traditional and non-traditional mixed media materials. I like the fact that she incorporates many common household items into her repertoire. Serena also included a section that guides the reader in the process of re-working a "less than successful"(which we all have) finished artwork into something new by utilizing part of the original surface rather than just simply completely covering over with gesso.
The thread that runs throughout the book is the wabi-sabi concept in abstract art. She does not focus in on any one single technique, but rather shows how many approaches (acrylics, encaustic, mixed media, etc) can add a wabi-sabi aesthetic to your work. For me, this was the perfect approach. In all, this book is a welcome addition to my collection and one that has me itching to make art!
---------------------------------
To celebrate the release of her book, Serena is having a giveaway of an original piece of art.

To be eligible to win, go to this post on her new book-related blog and leave a comment telling her what you are creating now. You can also learn more about Serena at her art blog.
---------------------------------You can see what many other artists have to say at this book by visiting the following blogs, all of which are part of the Wabi-Sabi blog hop.
6/1: Sara Neumann6/3: Jill Berry (giveaway)6/4: Carol Sloan6/5: Liz Kettle6/6: Joanne Sharpe6/8: Seth Apter (you are here)6/9: Alicia Caudle6/10: Pam Carriker
---------------------------------
Wabi-Sabi Art Workshop
 is available on Amazon. Or you can purchase the book directly from Serena here. She will sign the copy and include a bonus packet of collage materials for your own wabi-sabi work.
June 5, 2013
Mixed Media Morse Code
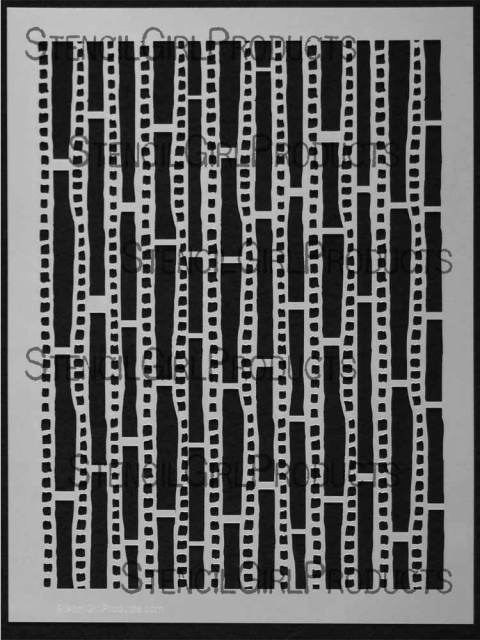
Stencil Girl Products, the brainchild of Mary Beth Shaw, continues to produce stencils from an amazing group of artists -- Pam Carriker, Michelle Ward, and Judy Wise to name a few. Included in that group is artist Jessica Sporn, who has invited a group of artists to take her stencils on a "test drive."
Jessica started this back in December 2012 and since that time, posts have popped up all over the Internet showcasing what can be done with her stencil line. Today, I get to play with Dots and Dashes - or as I like to call it: mixed media morse code!

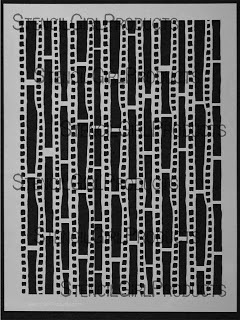
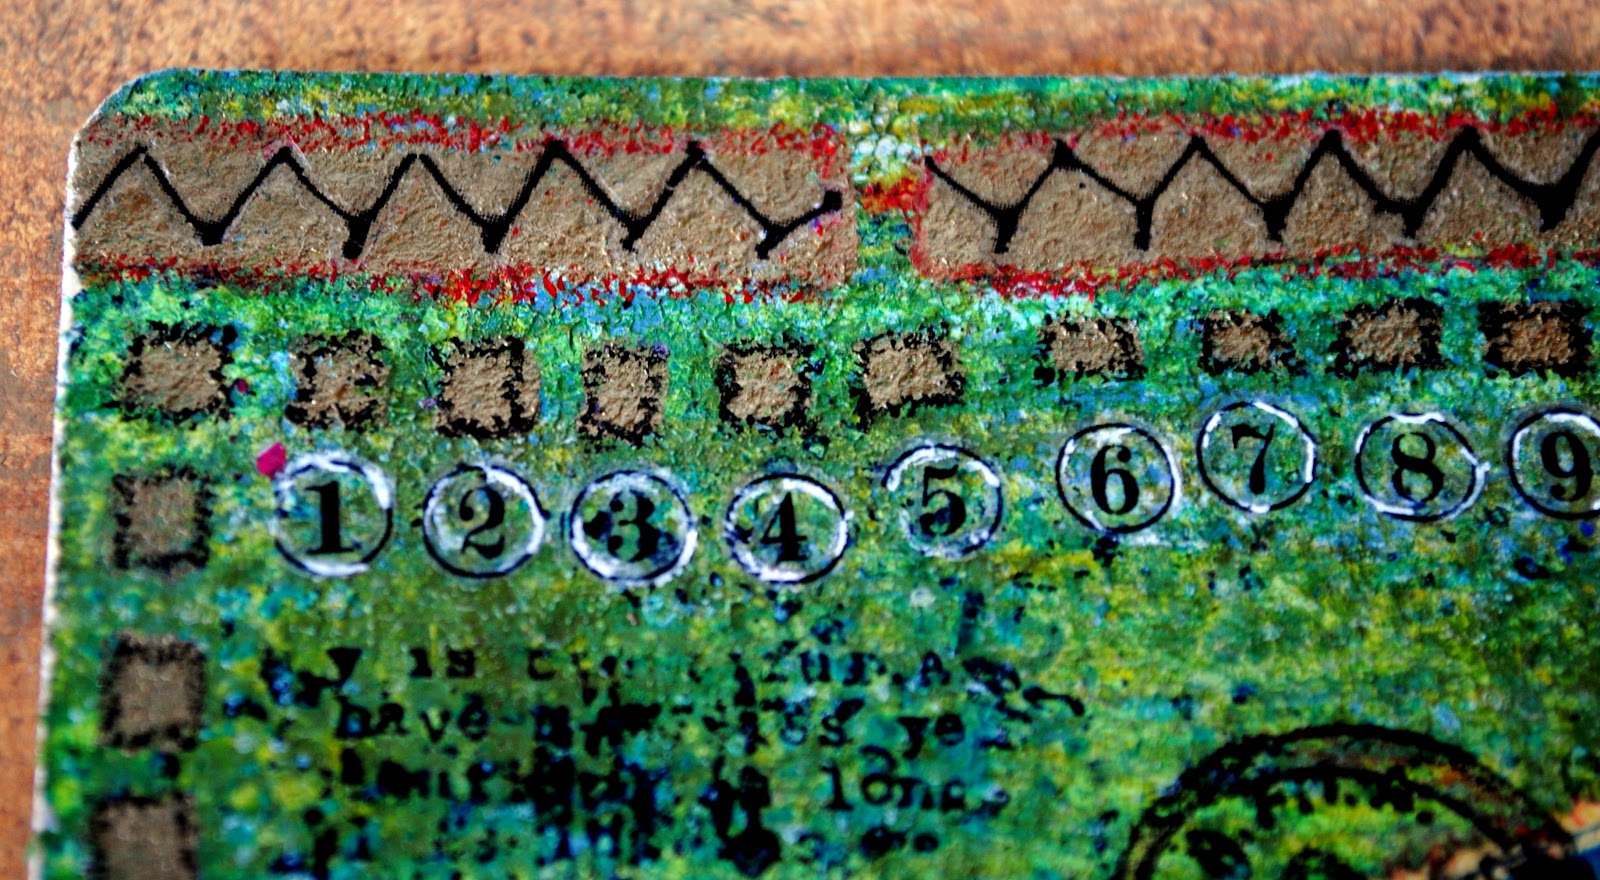
This cool stencil can be used in so many different ways. For this piece Found, I chose to use both the dots and the dashes to frame out the artwork. My supplies for the stenciling included acrylic paint, pouncing brush, Stabilo All pencil, and Derwent Coloursoft pencil.
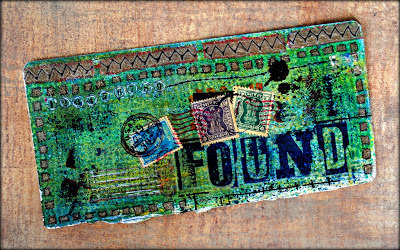
 Your can find Found for sale in my Etsy shop-----------------------
Make a pit stop today at Jessica's blog, where you can read more about the project and today's postings, as well as be part of a stencil giveaway. You can also stop by and see Carolyn Dube, Jane Davies, and Maria McGuire to see what each of them made with the same stencil.
Jessica started this back in December 2012 and since that time, posts have popped up all over the Internet showcasing what can be done with her stencil line. Today, I get to play with Dots and Dashes - or as I like to call it: mixed media morse code!
This cool stencil can be used in so many different ways. For this piece Found, I chose to use both the dots and the dashes to frame out the artwork. My supplies for the stenciling included acrylic paint, pouncing brush, Stabilo All pencil, and Derwent Coloursoft pencil.

 Your can find Found for sale in my Etsy shop-----------------------
Make a pit stop today at Jessica's blog, where you can read more about the project and today's postings, as well as be part of a stencil giveaway. You can also stop by and see Carolyn Dube, Jane Davies, and Maria McGuire to see what each of them made with the same stencil.
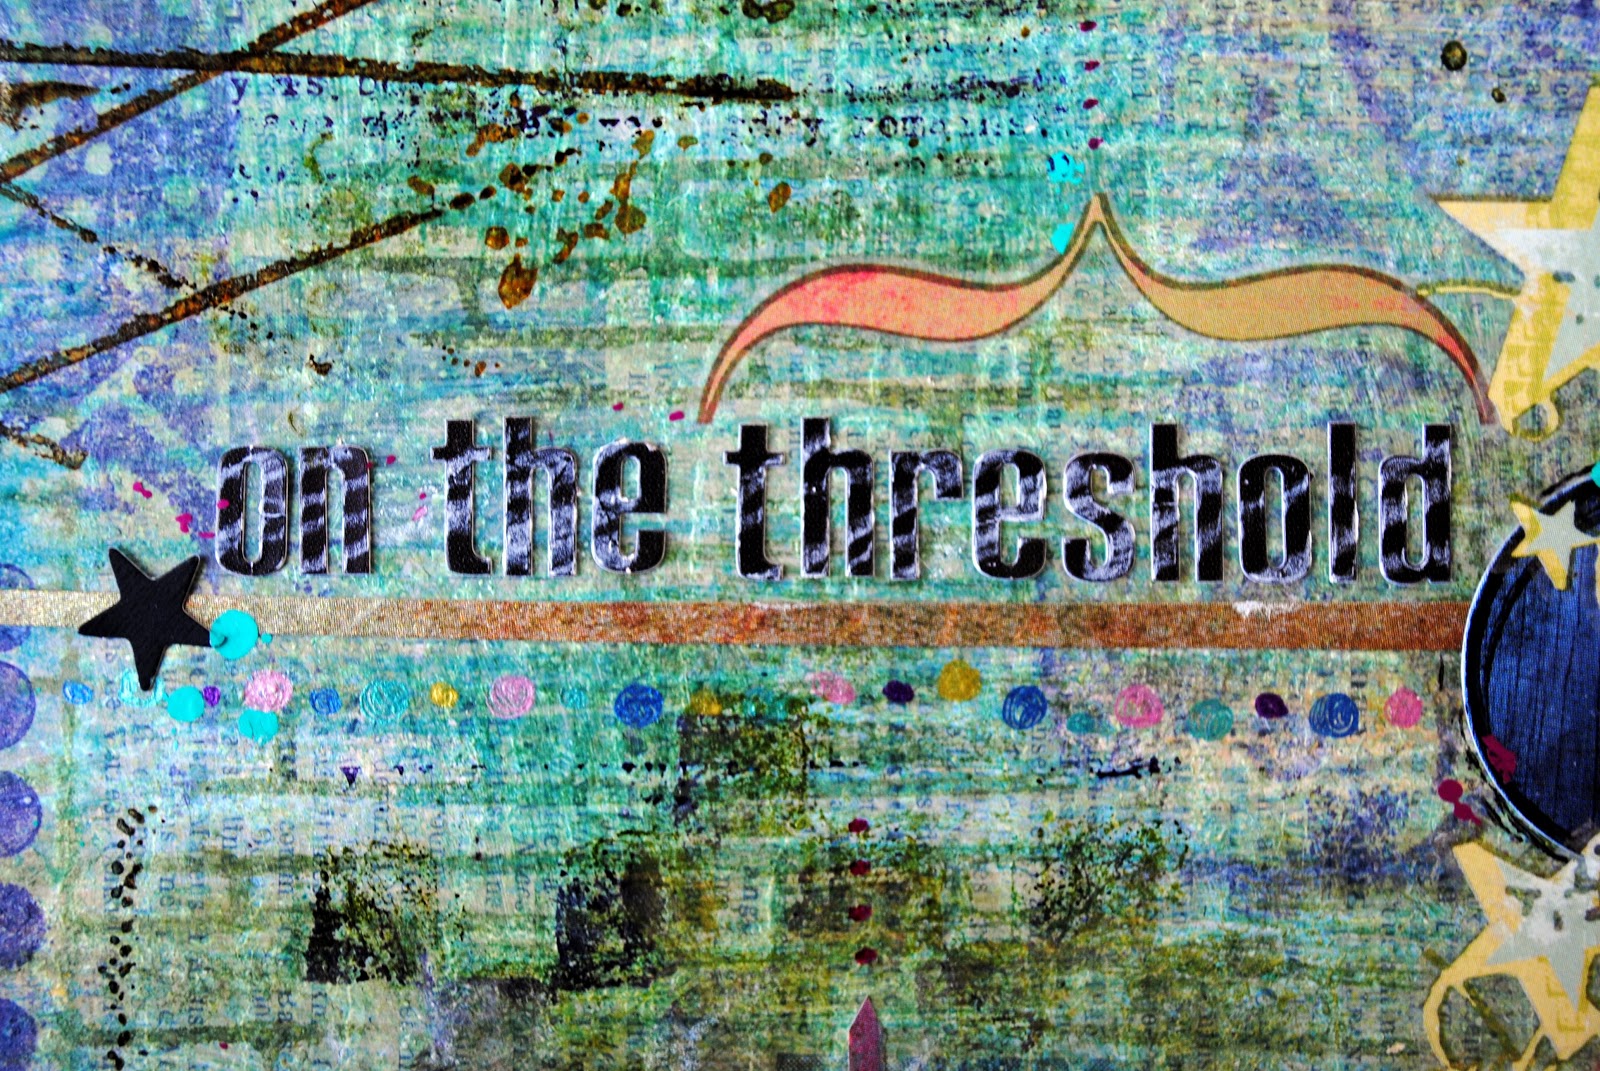
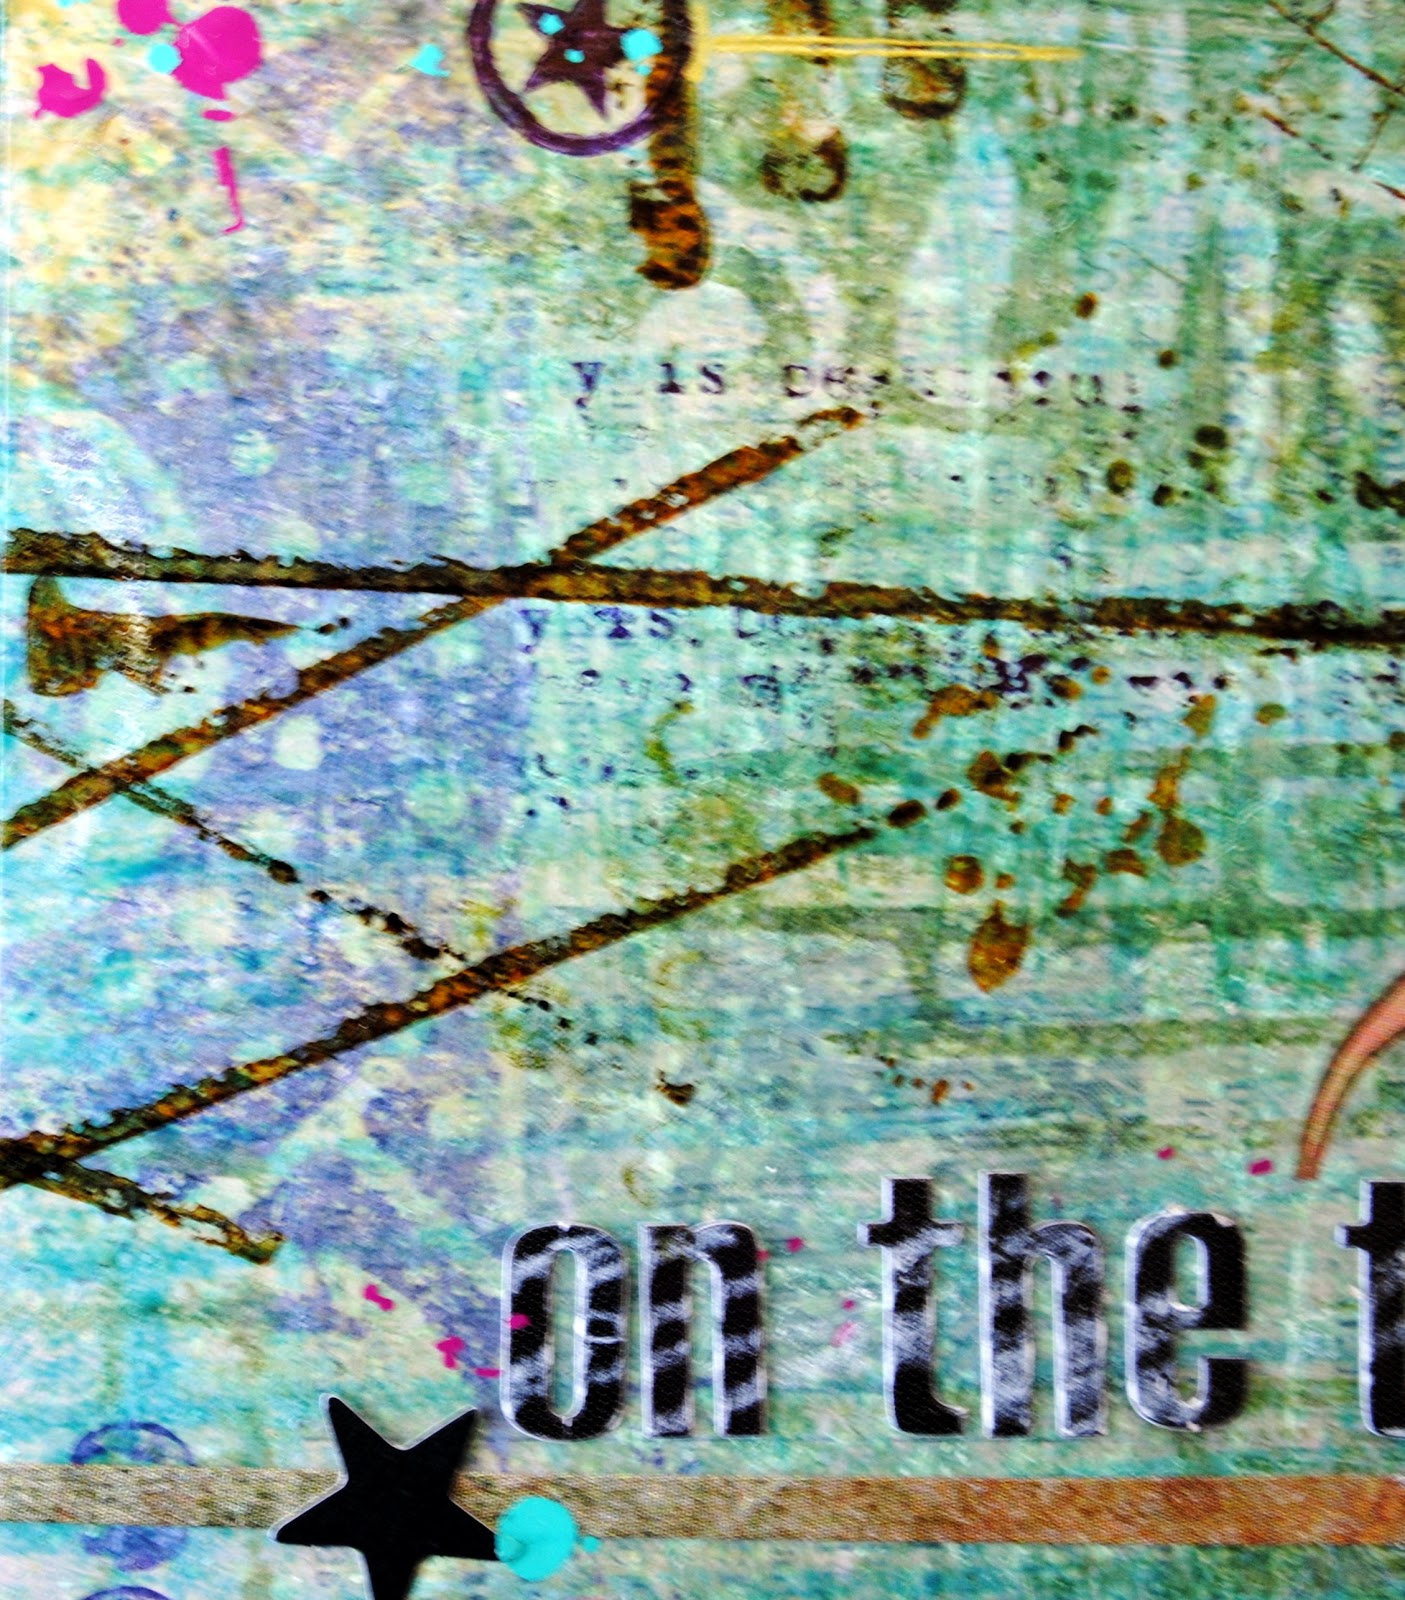
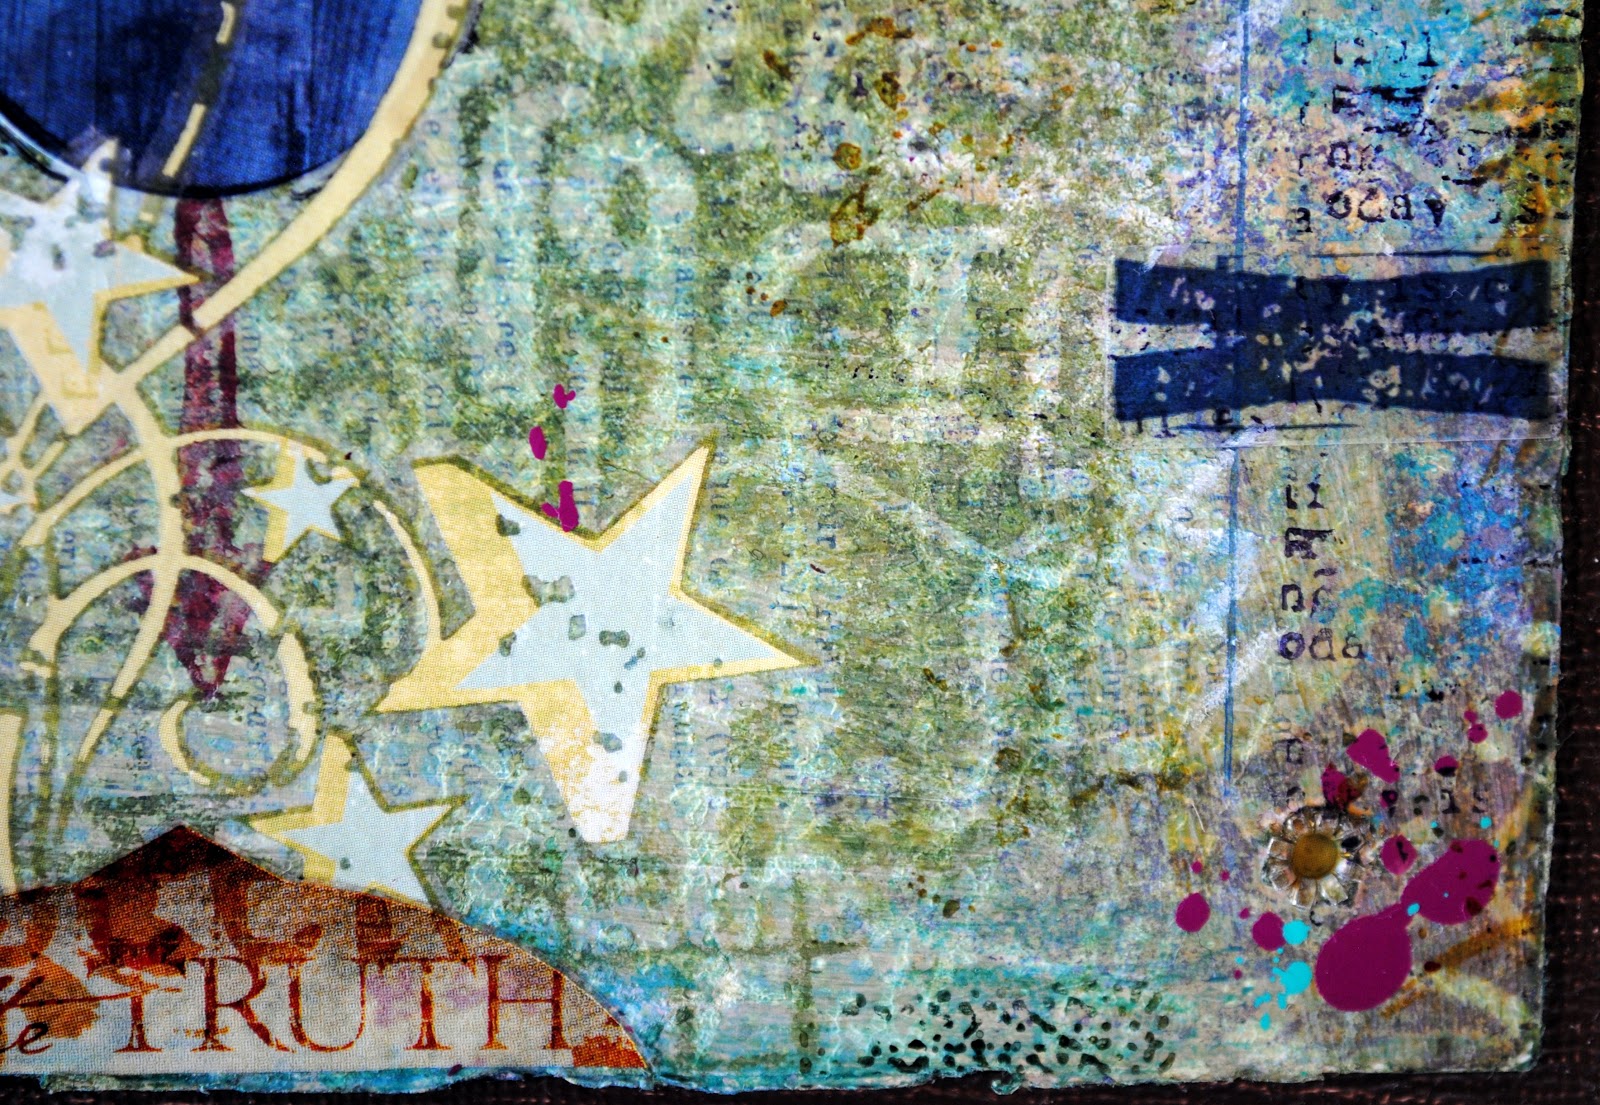
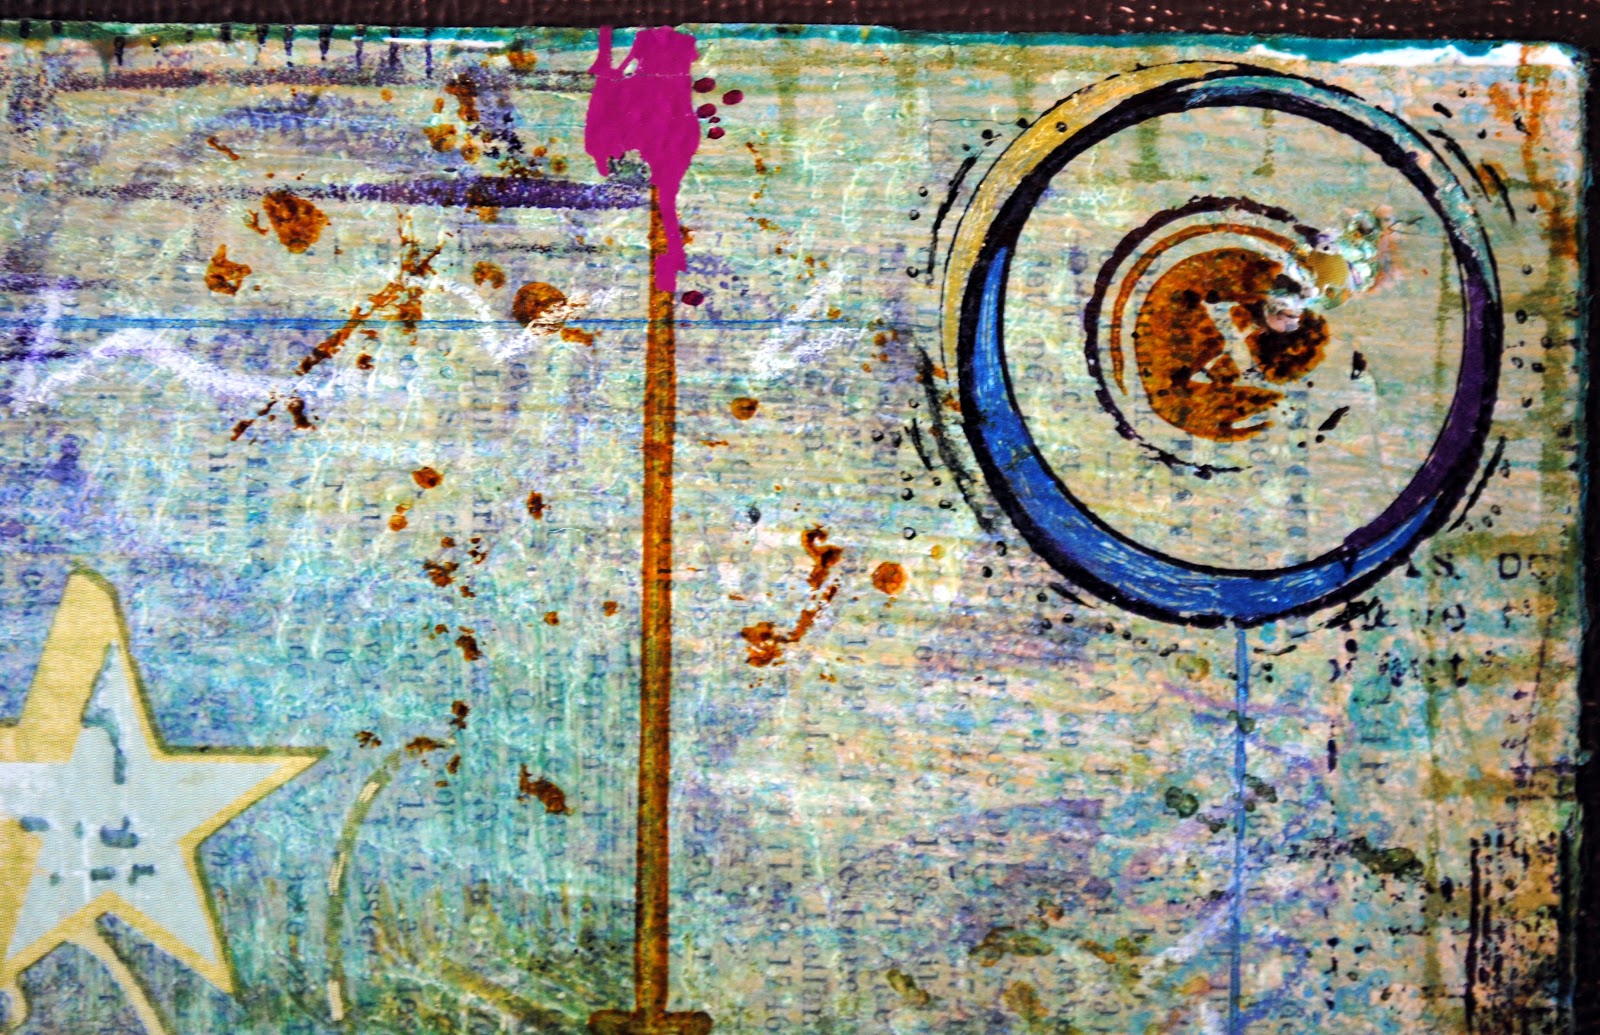
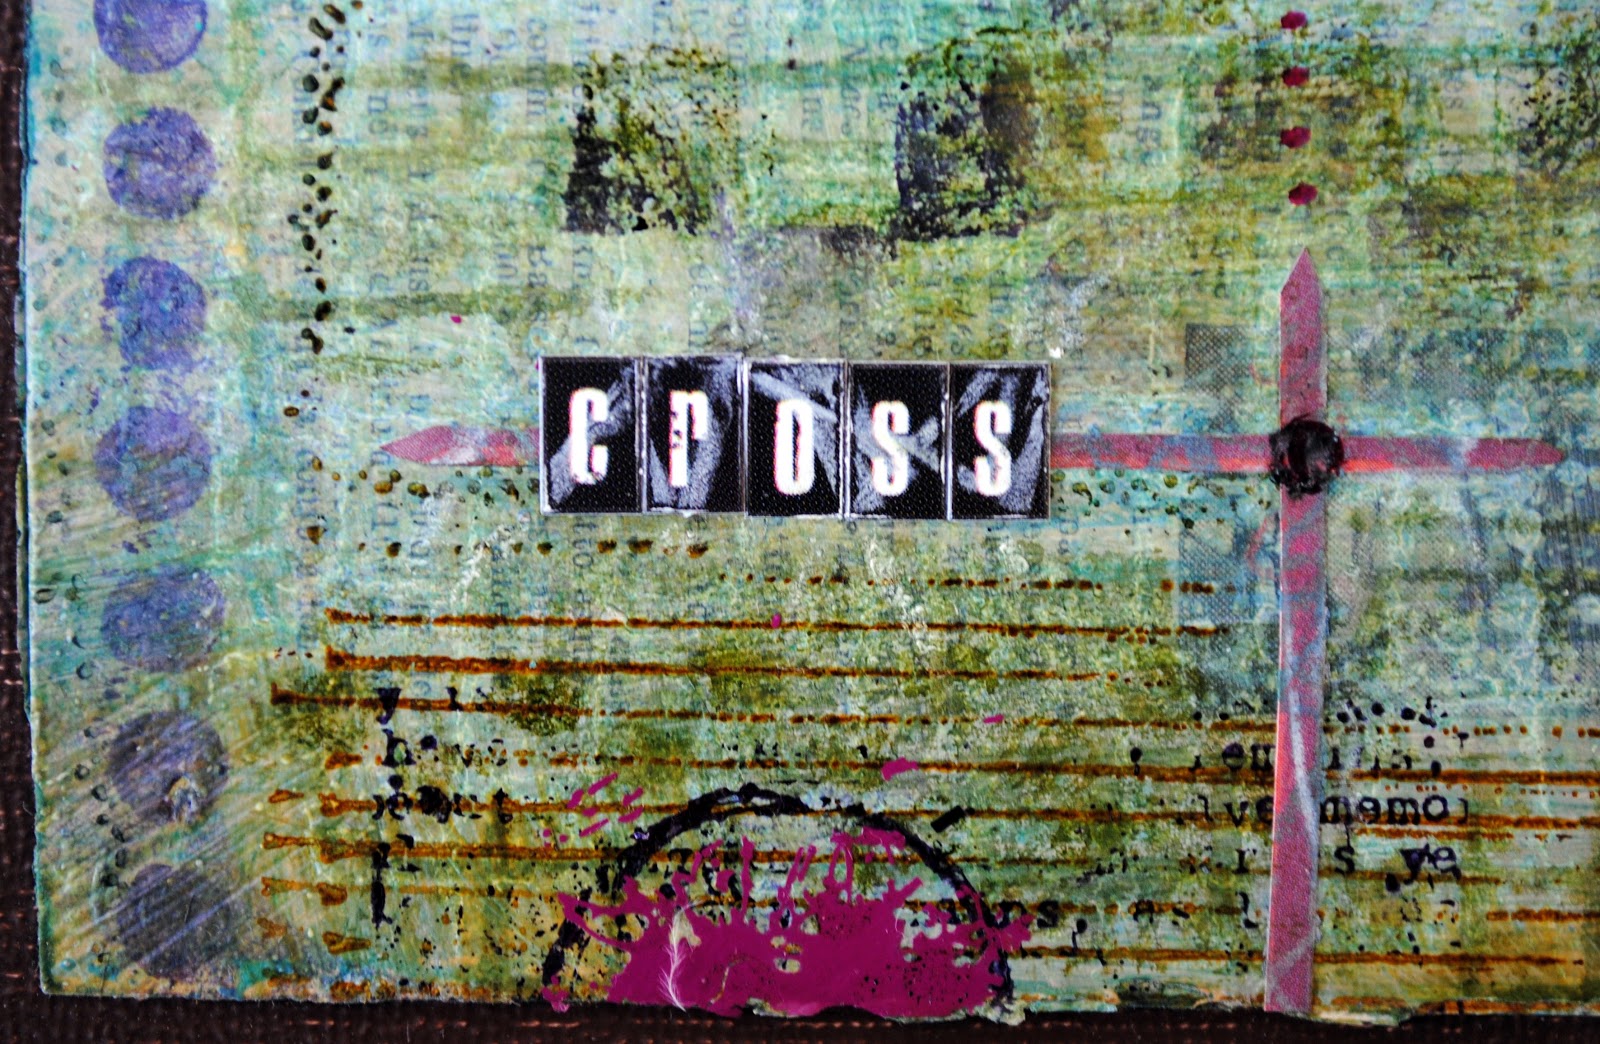
On The Threshold
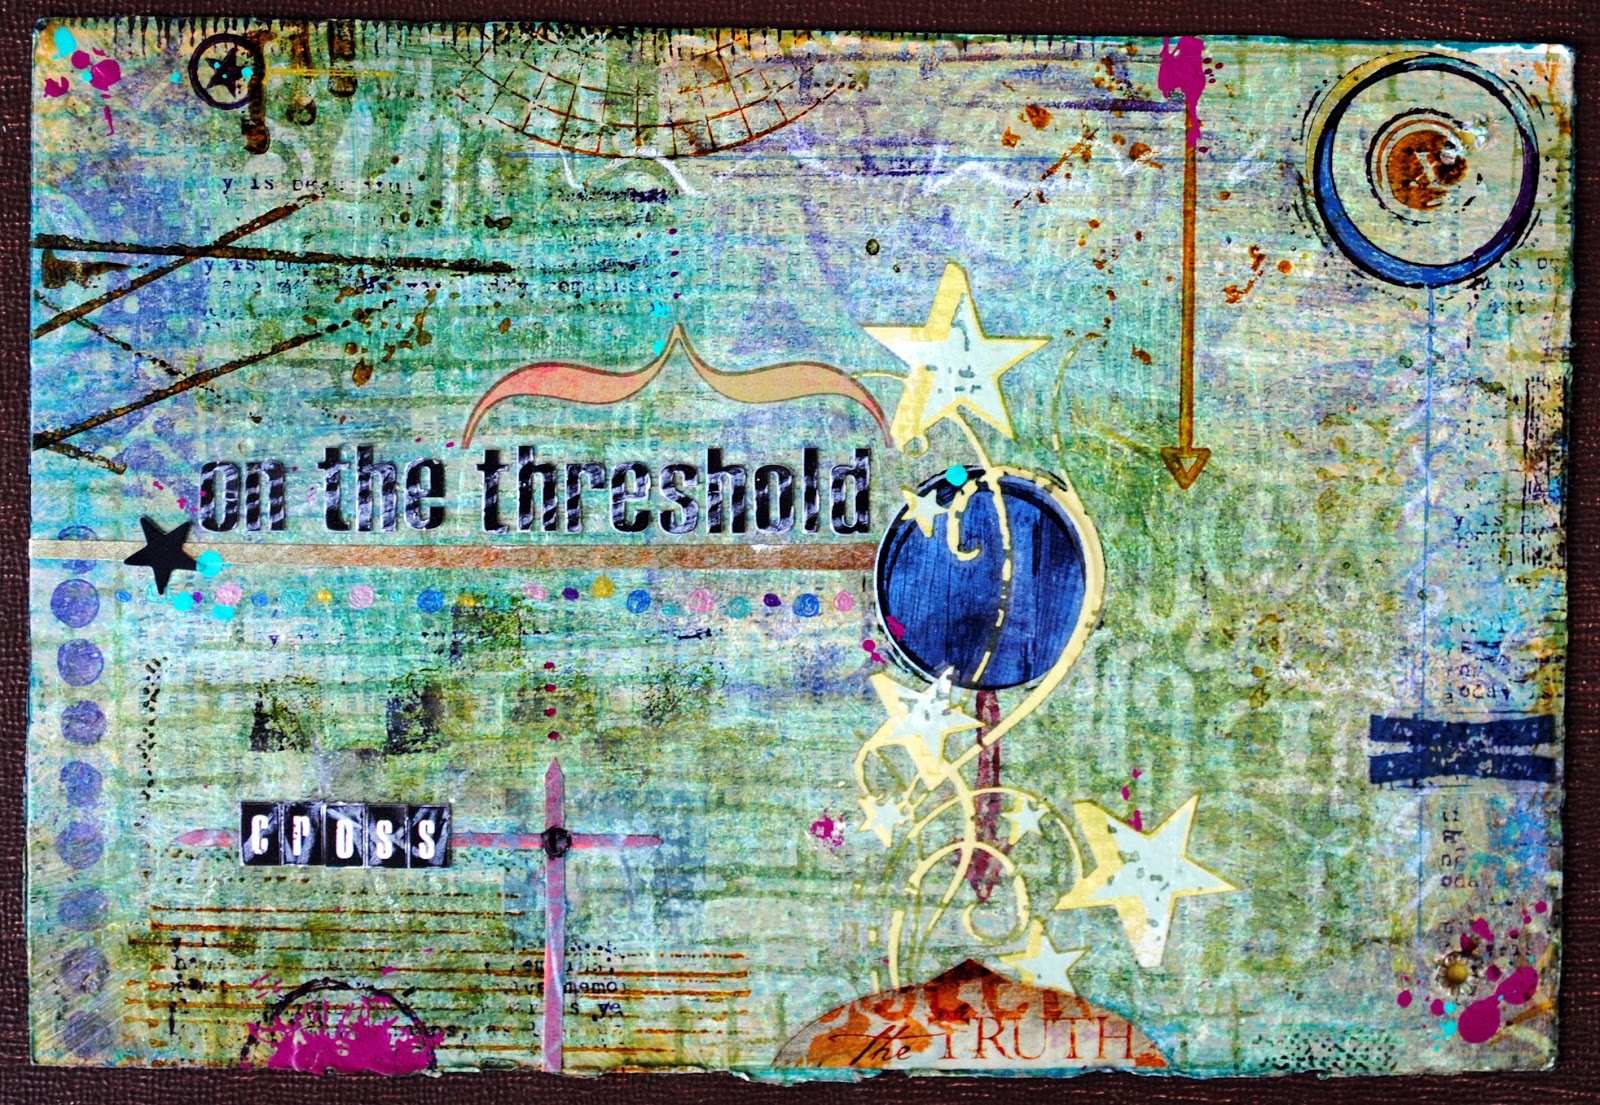
One of my favorite "art exercises" is to think of non-traditional ways to use art supplies and products. To me, that is part of what being a mixed media artist is all about. So in this piece, On The Threshold, I decided to use Spellbinders M-Bossibilities folders in a new way.
I dug into my stash to get my package of Magic Stamp, which is a moldable foam material that when heated up, allows you to embed any textured object into the surface thereby creating a foam stamp.

I cut one foam sheet into smaller squares. I heated the surface of the foam square with a heat gun for about 30 seconds. As per the instructions, I kept the heat gun about one inch from the surface and moved the heat gun back and forth to avoid overheating. I then immediately pressed the heated foam into the textured M-Bossibilities folder for about 20 seconds. In doing so, I created a foam stamp.

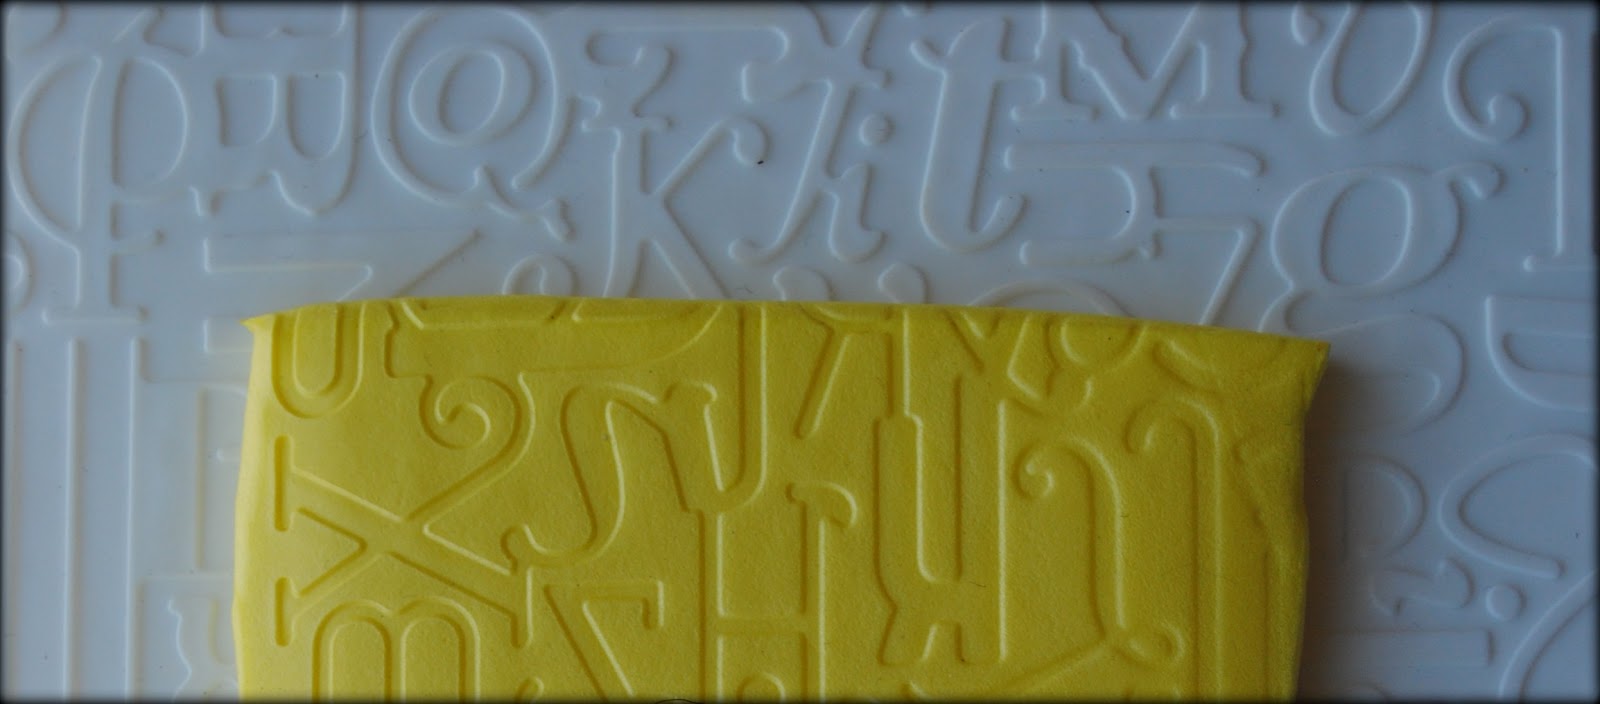

One of the great things about this product is that after I use the stamp, I can always reheat the surface of the foam with my heat gun and the impression disappears. This allows me to use the foam over and over again.
If you like to also use your dies to create your own custom stamps, head over here to a video tutorial, where Linda Peterson leads you though the process step-by-step.
My mixed media piece began with a piece of watercolor paper upon which I glued a vintage dictionary page. I painted the surface with gesso, acrylic paint and acrylic medium. As you can see, I added two eyelets, initially thinking that I might want to thread through some wire. But as the piece progressed I decided against this and the eyelets because just one more design element.

To this basic background I stamped using my newly created foam stamps, creating some additional, subtle background design. I then added many mixed media elements, including paper, alphabet letters, stickers, ink, rub-ons, marker, wax pastels, pen, pencil, and more.
You can see part of the "brick" stamp that I used in this detail...

On the left side is evidence of the "Flower Fun" stamp I used...
Right in the center, you can see the background created with my "Letters" stamp...

 Available for purchase in my Etsy Shop
Supply List
Spellbinders Paper Art Supplies:
EL-027 SpellbindersTM M-Bossibilities® Numbers and Letters Embossing FolderEL-015 SpellbindersTM M-Bossibilities® Bricks and Bark Embossing FolderEL-008 SpellbindersTM M-Bossibilities® Flower Fun Embossing Folder
Preferred Promotional Partners: Tsukineko StazOn ink pad
Cross Promotional Partners: 7 Gypsies Postale alphabet stickers
Other: watercolor paper, vintage dictionary page, gesso, acrylic paint, acrylic medium, ink, pencil, pen, marker, wax pastel crayon, rubber and acrylic stamps, magic stamp, heat gun, card stock, adhesive, paper towel, paint brush, rub-ons, stickers, eyelets, eyelet setter
June 1, 2013
Treasure Time
Buried Treasure - A Call for Collaborative Participants!
 So many blogs...so little time. With so many wonderful art blogs to follow, it is difficult to always find the time to keep up with every new post -- let alone have the time to visit the posts that were put up before you discovered each blog.
So...four years ago I started an annual treasure hunt. Buried Treasure is about digging deep to uncover some hidden gems. The premise is simple. On Wednesday, June 12th all participating bloggers will re-post one (or more) of their favorite posts that ever appeared on their blog. As you might already know, I don't like too many rules when it comes to art. So anything goes.
Please leave a comment on this post if you would like to participate. On Wednesday, June 12th, I will post a list of all participating artists on my blog so that you can be sure to find all the Buried Treasure. Feel free to let your own readers know about this project by spotlighting it on a post on or prior to reveal day. Please (and this is important) email me your link when your post goes up. It will be the only way I will know to add you to the posted list on my blog.
And if you cannot wait until next week, you can click here and here to be taken to the links from 2009, here for the posts from 2010, here for the links to the posts from 2011, and here for those from 2012. These are also always available on my sidebar.
Happy hunting!
May 31, 2013
Share the Link Love
Tammy from Daisy Yellow has been hosting an ongoing project called Share the Link Love. The brief: post a list of 5 links on any (or every) Friday to your favorite blogs or blog posts. I love this idea, especially because lately the trend has been less and less focus on blogs with more and more focus on other social media sites. And if your curious about this issue, please read my post from March 2013 about this shift -- along with the conversation it inspired in the 40-plus comments that resulted.
1. Mixed Media May: For the second year in a row, Cindy Jones Lantier has herself "shared the love" through her project called Mixed Media May. She interviews and spotlights a different mixed media artist nearly everyday throughout the month. Head on over and read all about it here.
2. Four Corners Design: I have had a chance to meet Amy Duncan twice, most recently in one of my workshops on Whidbey Island in Washington. She is as nice as she is creative. She has an incredible eye for design and her blog is filled to the brim with creative vignettes of her art, her home, and other visual gems.
3. Lost Coast Post: When I think of Michelle (Reuss) Remy's blog, I think of color, wit, whimsy, humor, and creativity. Not only does she share her clever journal pages and other artwork, she shares her process via tips, tutorials, and ideas.
4. Bicocacolors: This is the blog I go to anytime I need a visual fix of inspiration. Elena Nuez continues to post picture after picture of pure bliss. I say who needs Flickr, Tumblr, or Pinterest when you have Biocacolors? Check out her sidebar for a listing of many of her themed visual posts. Just a few of my many favorites include cachivaches, color, and papel.
5. Art Propelled: I imagine that Robyn Gordon's blog is already familiar to every one of my readers but I am including it here because after all these years, her posts still blow me away. She is not only a spectacular artist but she is an incredible curator, presenting post after post based on an unending stream of creative themes showcasing the art of others. She is all about sharing the link love!
May 30, 2013
At My Pad...
For any of you who happen to be in the New York City area in June:
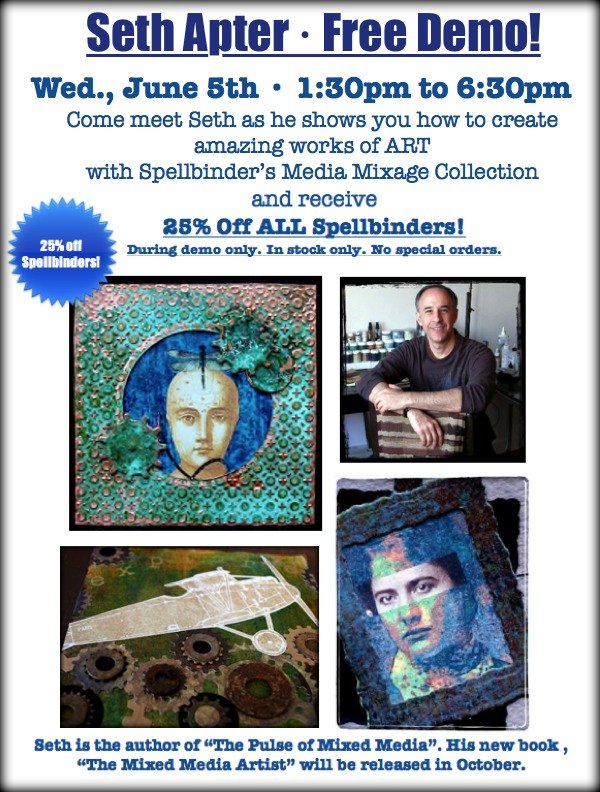
Join me at The Ink Pad on Wednesday June 5 when I will be holding a free demo of Spellbinders new Media Mixage line from 1:30 - 6:30. No need to register -- just show up!
Then later in June I will be back at The Ink Pad for a two-day workshop on June 29 & June 30 when I will be teaching Mixed Media Memoire. Call the shop at 212-463-9876 to register.

May 28, 2013
key to my heART

Many times my artwork is inspired by a single object or a specific supply. Today's piece was inspired by both. I happened upon a stash of my vintage keys and thought today was the day to use one.

As it often happens, when I placed my choice of key down on my studio table it found itself right next to some rectangles that were "fall-offs" from my most recent Spellbinder's project: The Golden Owl (see the tutorial here). The rectangles were born when I die cut windows out of my hand painted paper to frame the six tintypes.
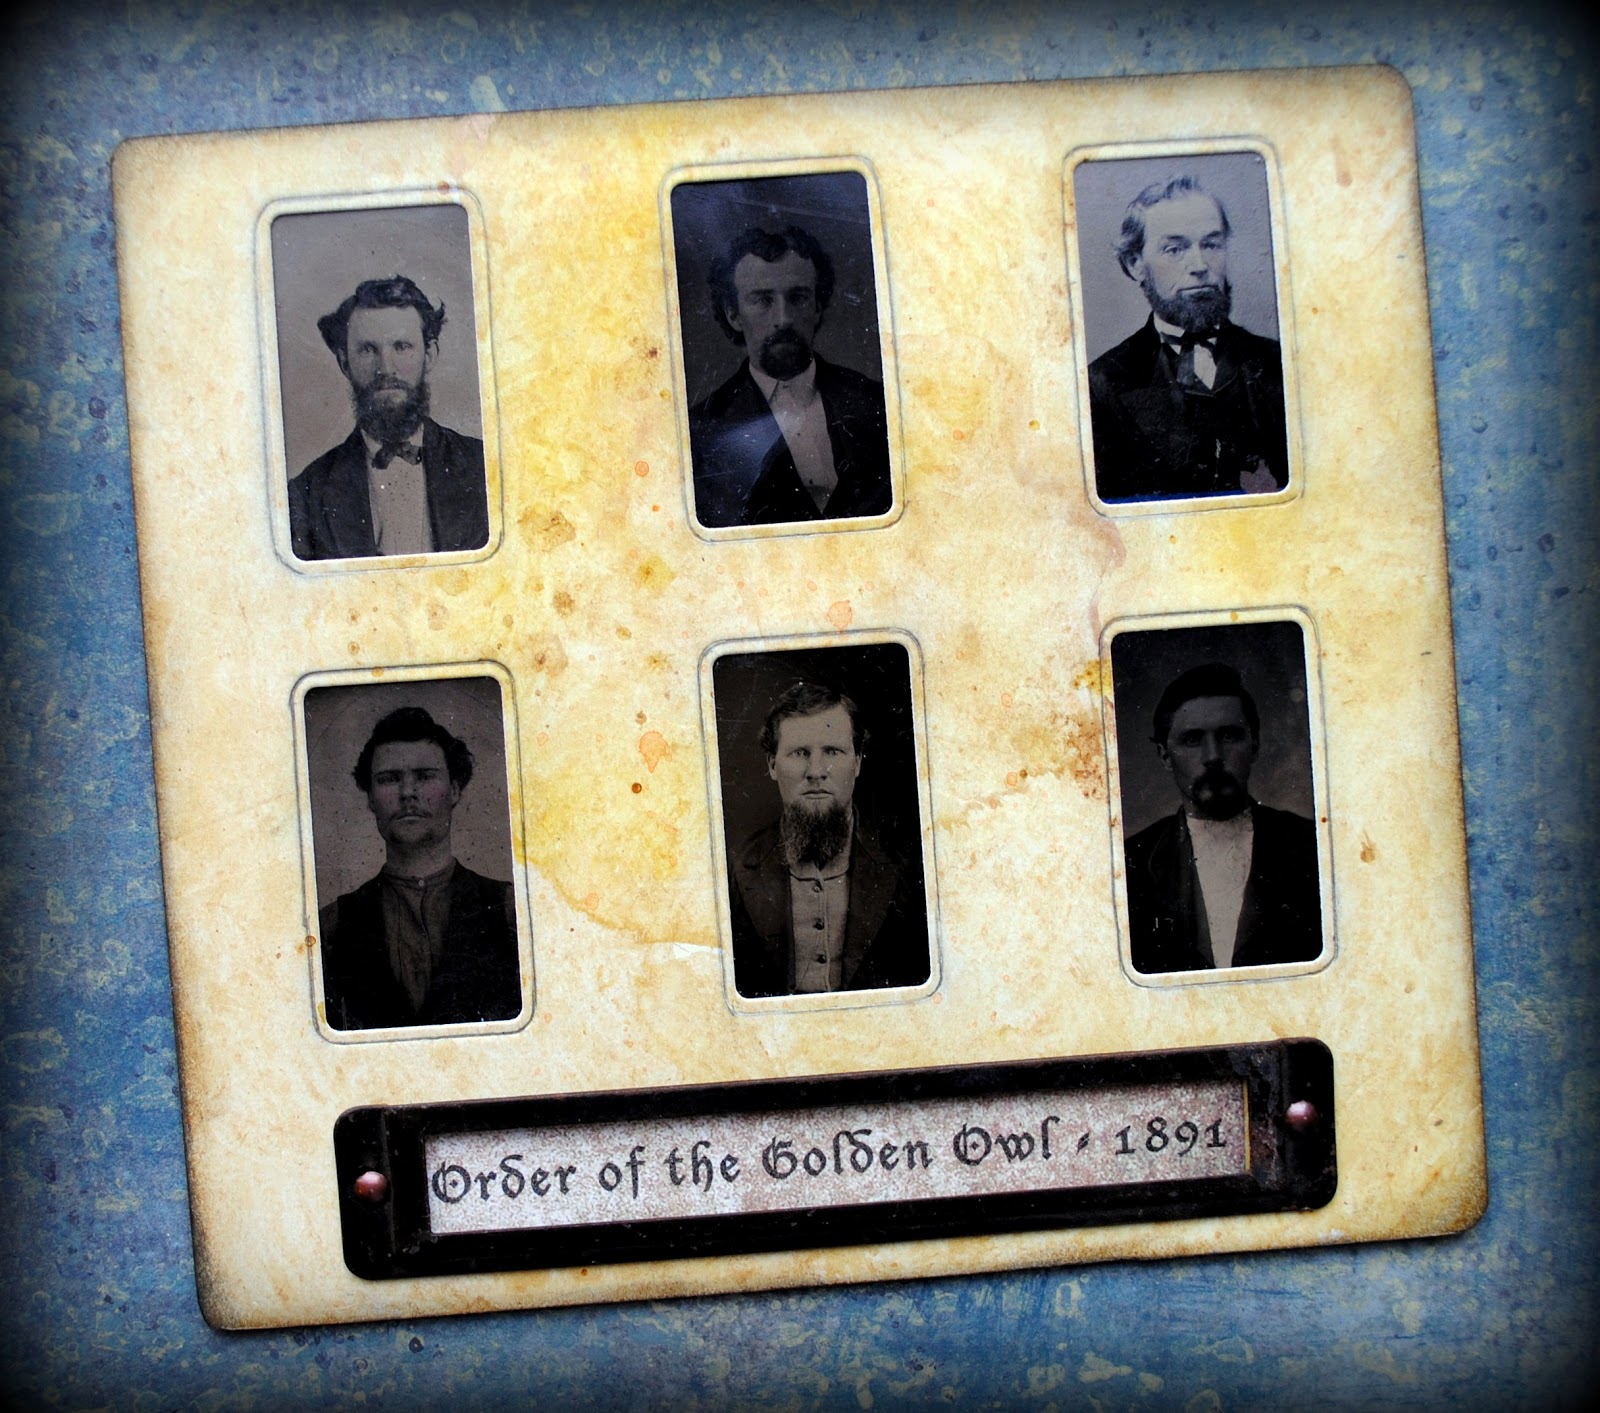
The key and the rectangles came together and in an instant, I knew what I wanted to make.
I started by choosing three rectangular bezels from the Spellbinders Media Mixage line. I cut an additional rectangle from the same hand painted paper I had used on The Golden Owl to match the larger rectangular bezel.
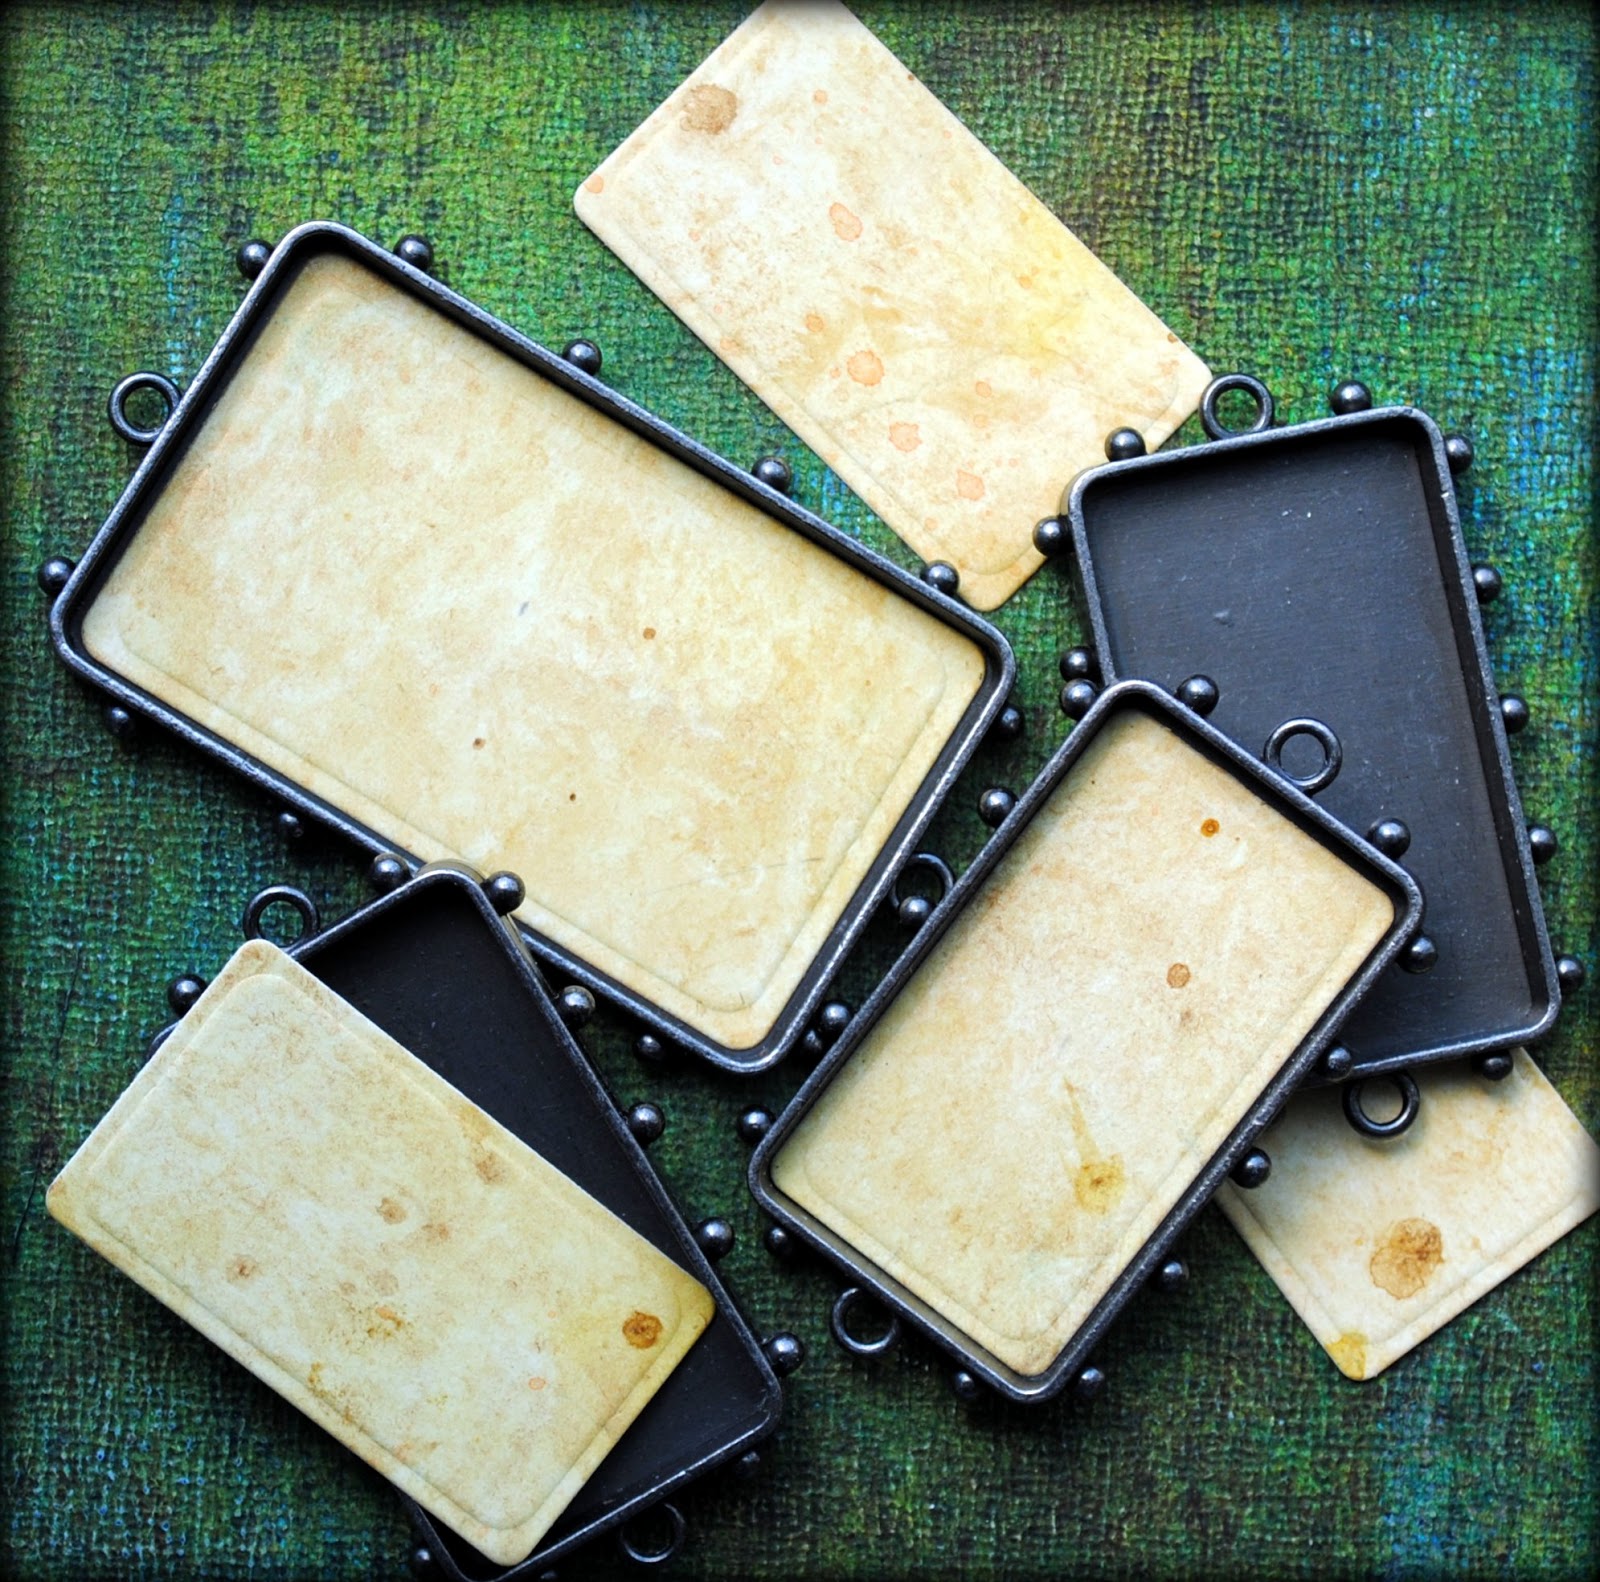
I then chose a texture plate and ran it through my Grand Calibur to deeply emboss the small rectangles.
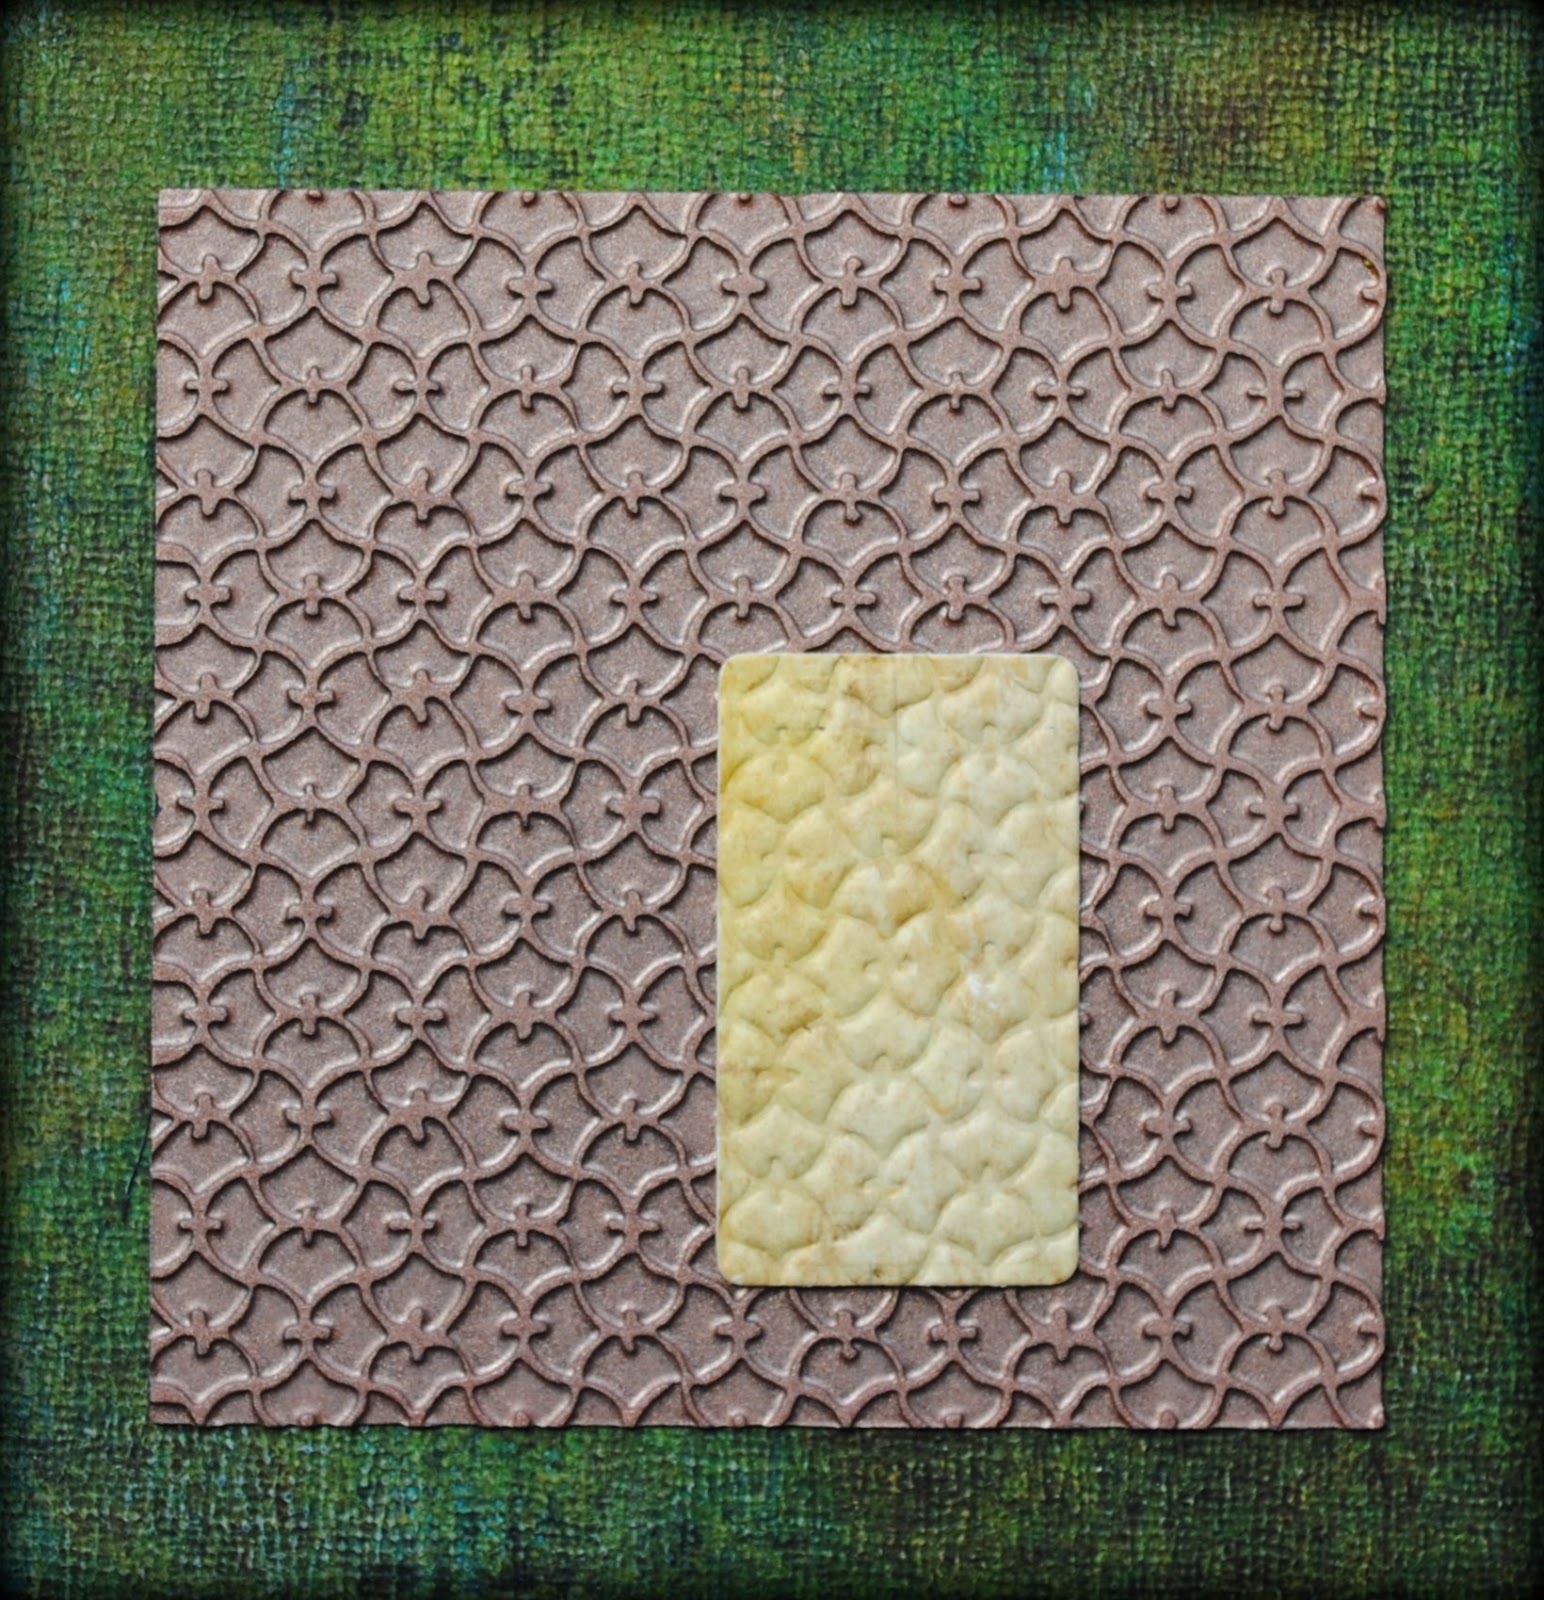
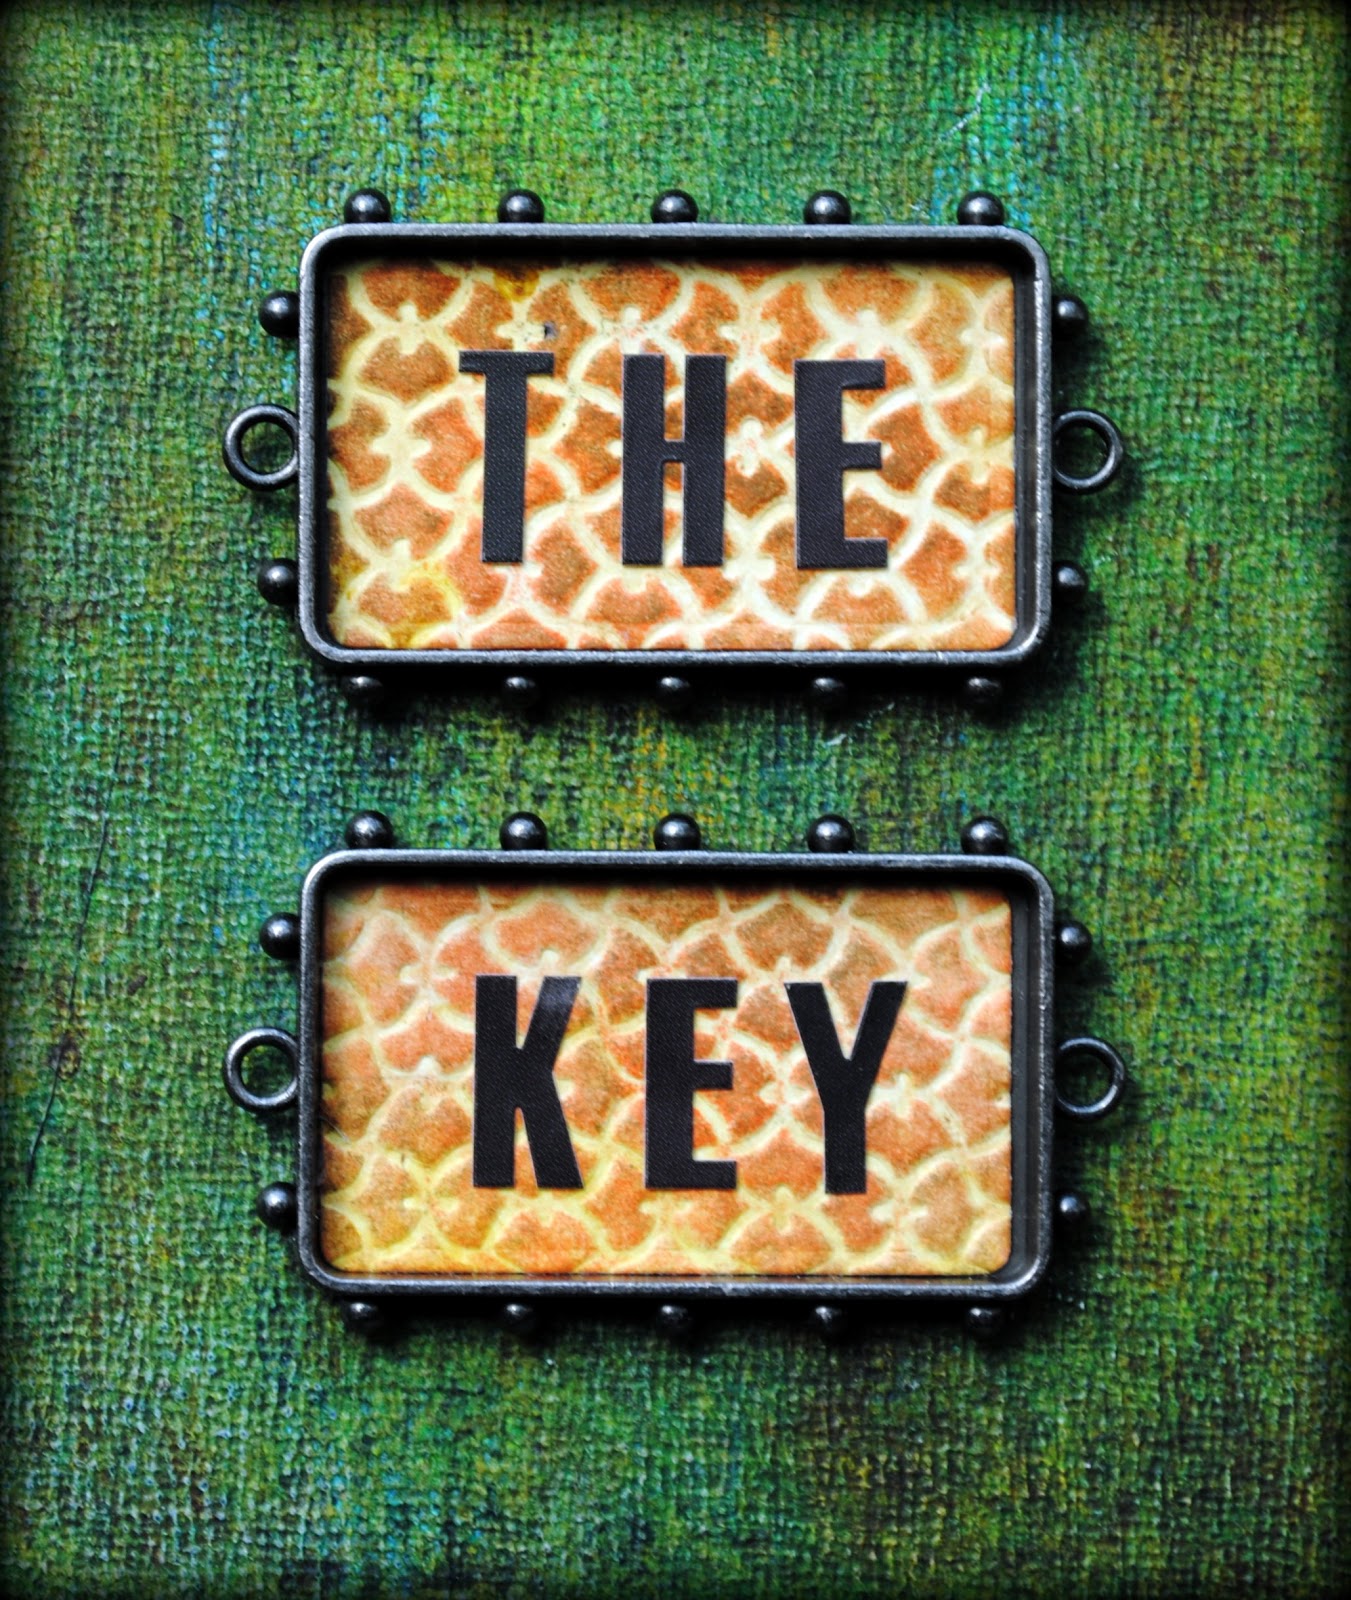
Using a sponge, I rubbed two colors of dye ink over the raised surface to add color, dimension and depth. My choice of colors...Morocco and Olive Grove.

I glued them into the bezels. I glued my key into the larger bezel but not before I die cut a small circle in a contrasting red to make the vignette pop a bit more.

I also added letter stickers to both the smaller of the two bezels to spell the words 'The Key'.
I added the tips from a number of brads to cover the hole from the jump rings on several sides of the bezels.
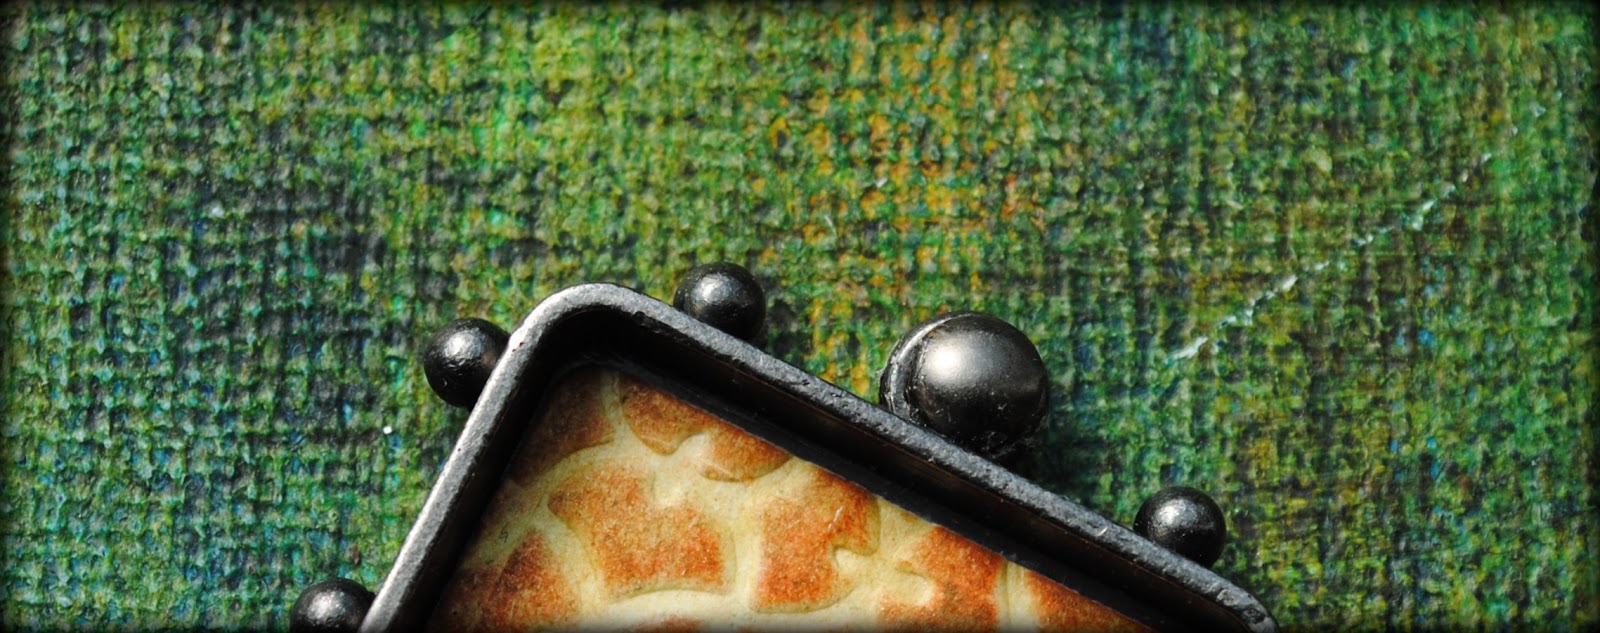
I took my board, which measures 5" x 7", and painted the edges of the surface with Burnt Umber Light and Iridescent Bronze acrylic paint.

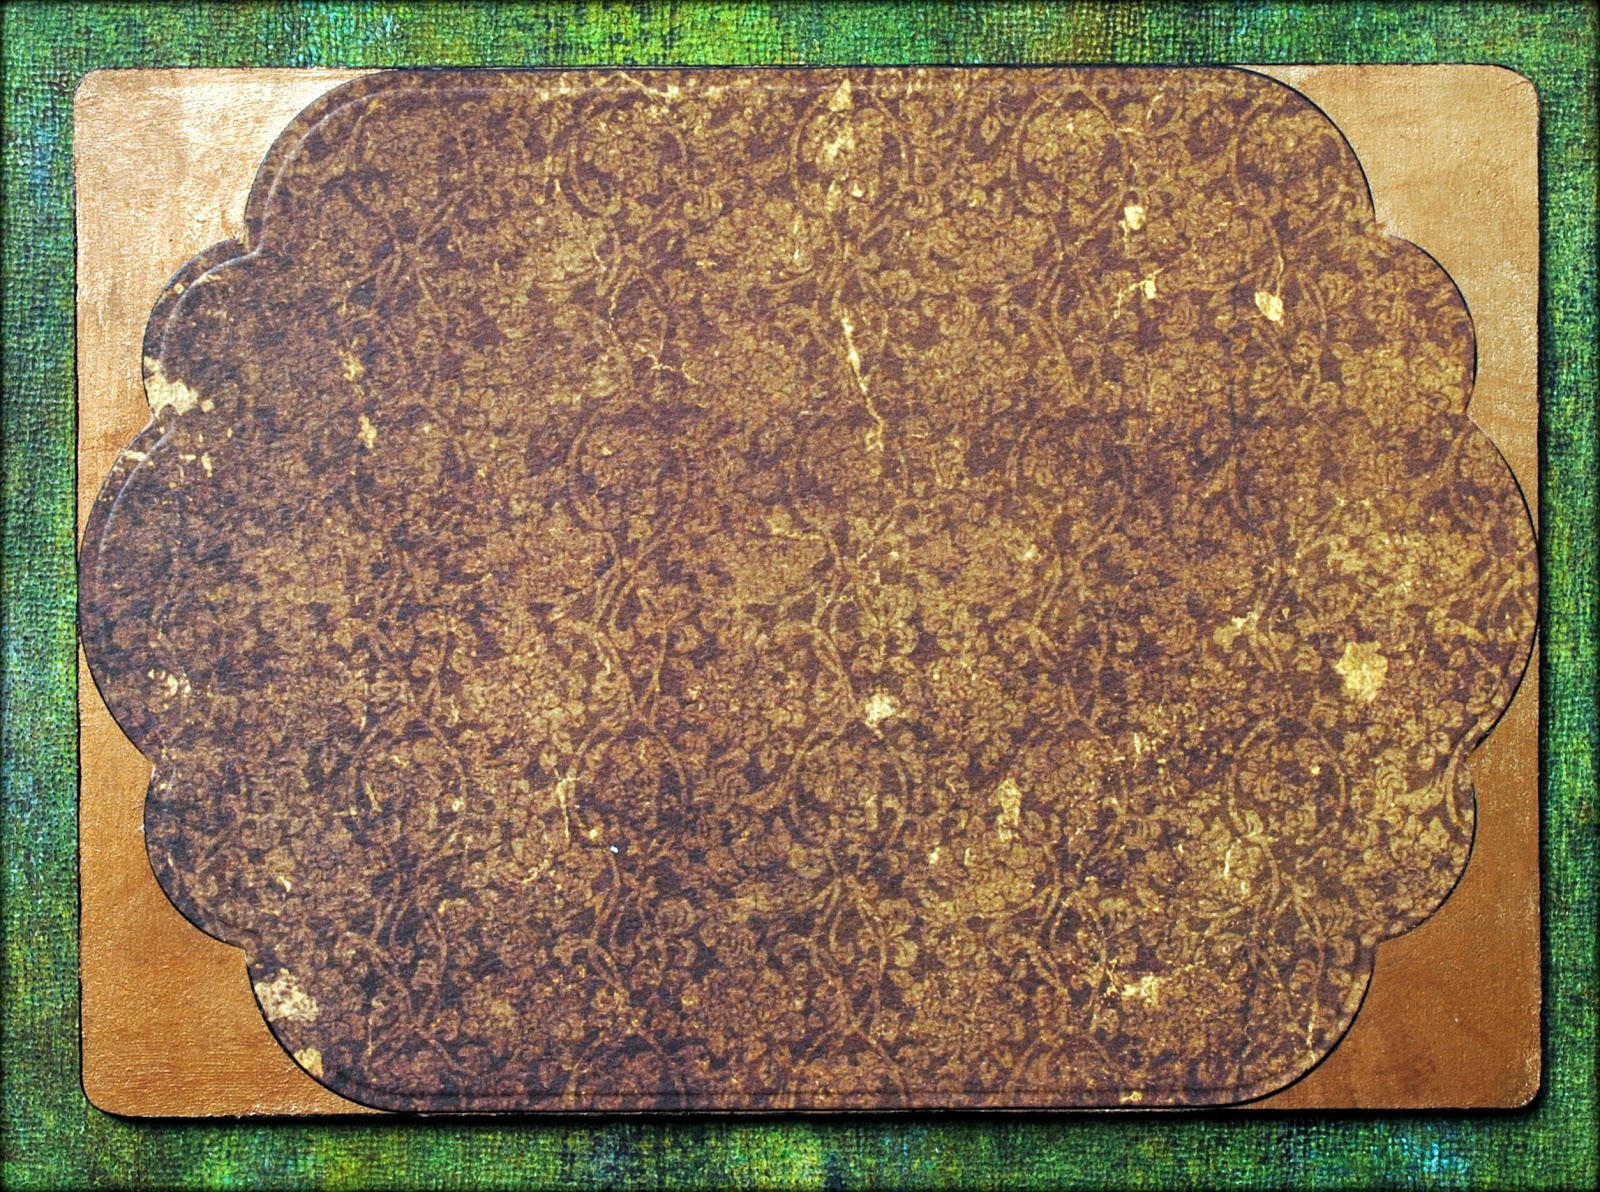
I cut some designed paper with a die from the Grand Labels series, chosen both because its size matched the board but also because the curves echoed the curves of the corners of both the board and the bezels.
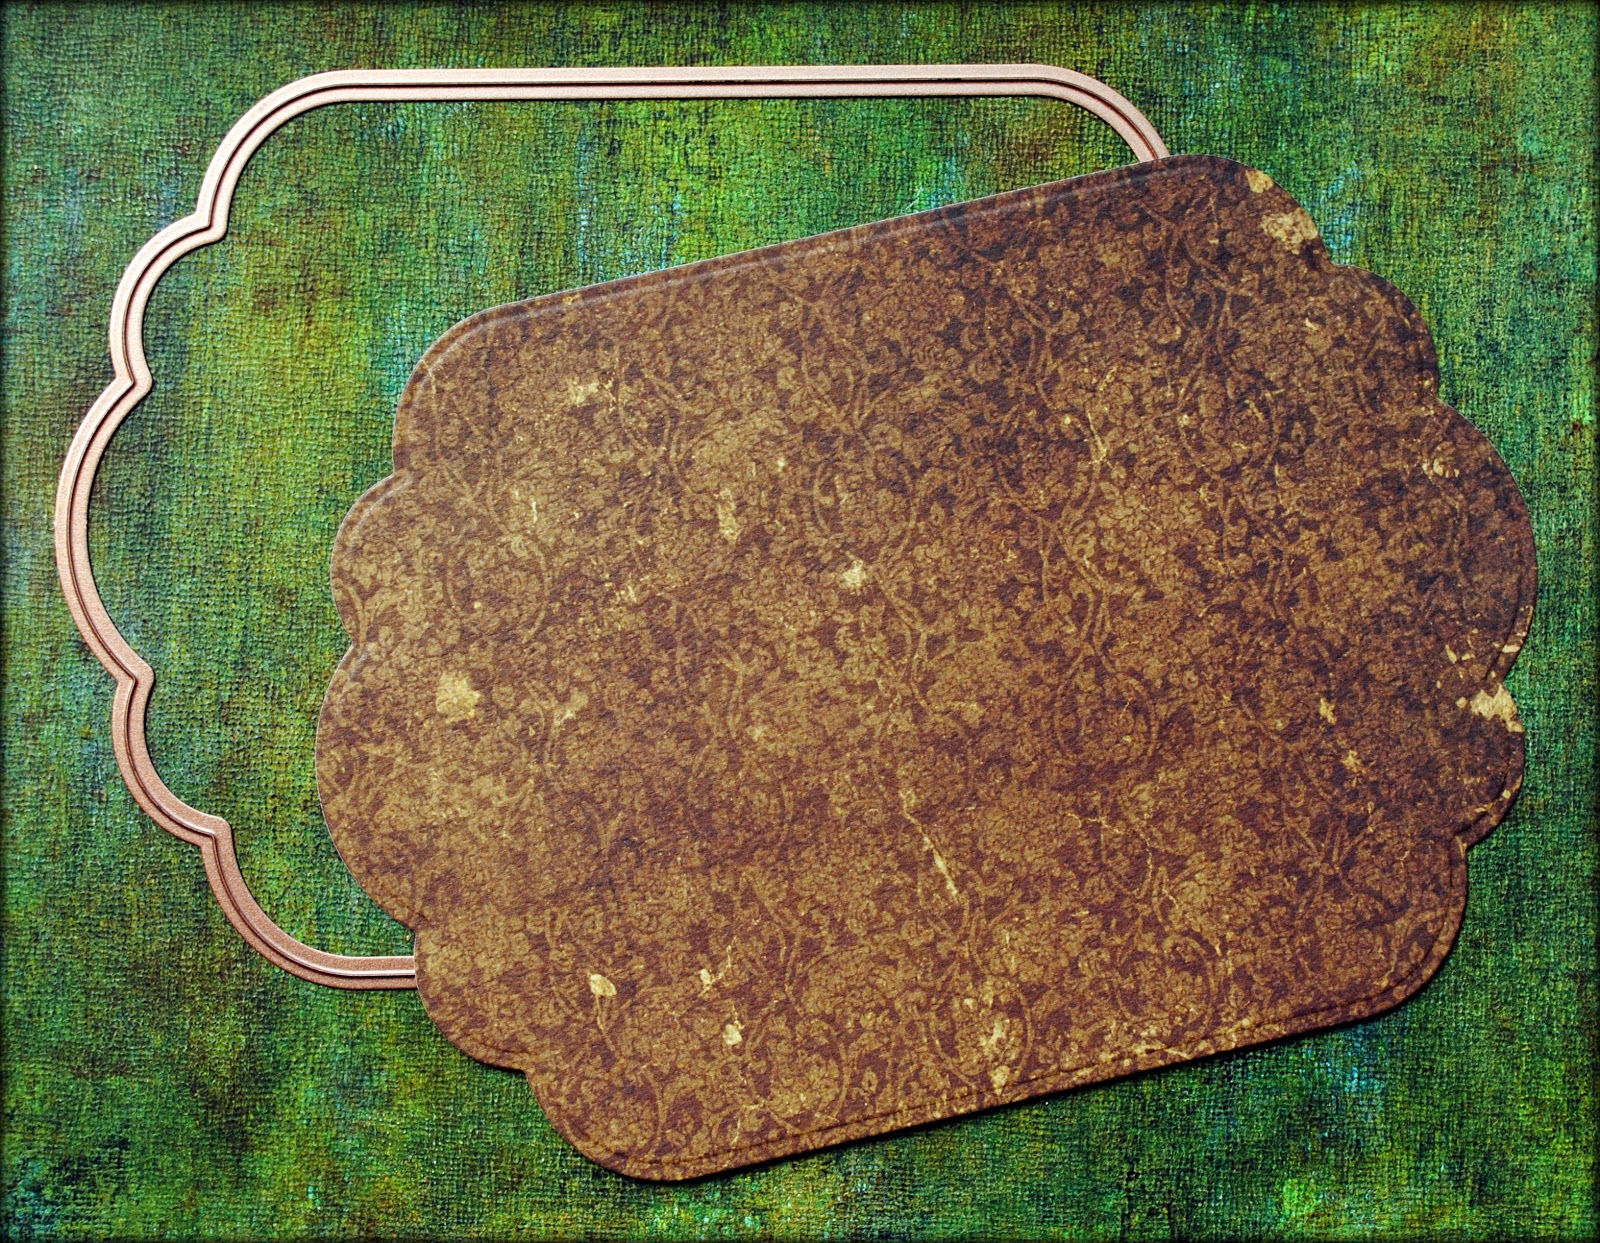
I inked the edges of both the board and the new die cut and then adhered them together.
I gathered some goods from my mixed media stash, which included some fabric scraps, a metal piece cut to size with snippers, and a piece of a vintage book cover cut to size with a guillotine cutter.

I painted the surface of the piece of book cover with acrylic paint and added dye ink to its edges. Then I added more letter stickers to the surface.

I played around with the fabric until I found just the right places to add it.


At this point, I filled the bezels with Ice Resin.

Once the Resin was dry and the clear fluid had domed, I was able to put the piece together. And in the end, the key to my heART was done!


---------------------------------
Supply List
Spellbinders Paper Art Supplies:
GC-001 SpellbindersTM Grand Calibur® MachineMB1-008 - SpellbindersTM Media Mixage® Rectangles Two BezelsMD1-003 - SpellbindersTM Media Mixage® Rectangles Two DiesMD1-007 - SpellbindersTM Media Mixage® Circles One DiesLF-246 - SpellbindersTM Grand Nestabilities® Grand Labels Eleven Dies
Preferred Promotional Partners: Tsukineko Momento dye ink pad, Tsukineko StazOn solvent ink pad, Imagine Crafts Inkblushers sponge
Cross Promotional Partners: Ice Resin®, BoBunny Press paper, 7 Gypsies® stickers
Other: wood panel, watercolor paper, vintage book cover, pan pastels, acrylic paint, paint brush, found metal, brads, fabric scraps, rub on letters, adhesive, guillotine cutter, scissors
May 25, 2013
I Want My MTV
For those of you old enough (I include myself in that group) to not only remember the time when MTV actually played music videos but to have been there to see the first video ('Video Killed the Radio Star' by the Buggles), this post is dedicated especially to you!
I find it ironic that MTV was one of the first media outlets to highlight quick cuts in video editing, which seem to me to be the precursor to the shortening and shortening of social media posts (e.g. Twitter). Ironic because now social media videos themselves (e.g., YouTube and Vimeo) are being shortened (e.g., Vine - which btw is very cool if you have not checked it out yet).
But I digress. These thoughts are just the preamble to the real point of this post: sharing a few videos for your entertainment and some creative inspiration.
Many of you have heard me talk about Patricia Larsen, my good friend who was the original catalyst for me entering into the world of art. Here is a short, one-minute video of her in action, creating one of her ethereal abstracts...
Patricia Larsen from Luis Valdizon on Vimeo.
This is a video that I originally posted in 2008. I am bringing it back because it still makes me smile. Ignore the fact that it is a commercial for a product and just enjoy. And to answer your inevitable question -- these are real and not digital!
And finally a video from Roxanne Evans Stout. I had the pleasure of spending some time with her on my recent visit to Oregon and we spent a full day in her garden (you know, the one from the title of her blog River Garden Studio) making art. She introduced me to encaustic painting and was a wonderfully creative and patient teacher. She created this video as the evidence :-)
Garden Encaustics from Roxanne Evans Stout on Vimeo.