Seth Apter's Blog, page 94
July 30, 2013
Stencil Giveaway
StencilGirl Products is celebrating their 2,500th Like on FB. To celebrate, they have announced a surprise giveaway. One lucky person will win all 3 of my newly released stencils. You can see the designs at the bottom of the following image.
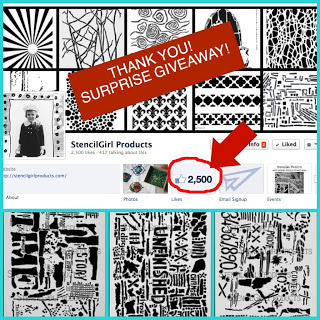
To be eligible for the win, go to this post on the StencilGirl Products blog and leave a comment sharing what type of stencil-related projects you would like to see posted on their blog. Comments close Friday, August 2nd at 11:59pm and the winner will be announced on their blog on Saturday, August 3rd.
Don't want to wait? You can but my stencils here through StencilGirl Products and later this month directly from me through the blog.


July 27, 2013
CREATE 2013
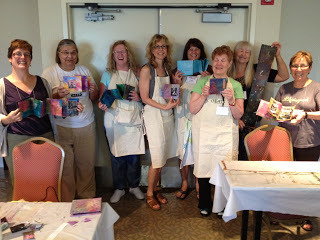
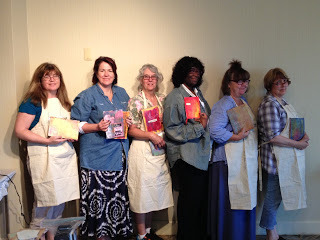
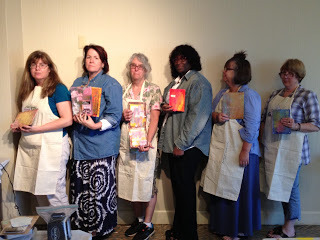
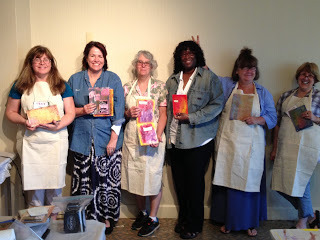
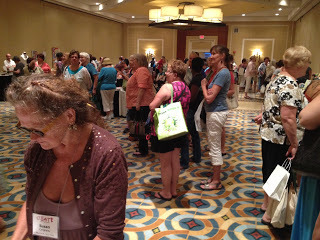
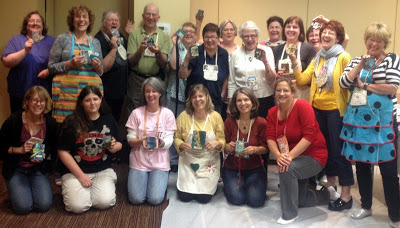
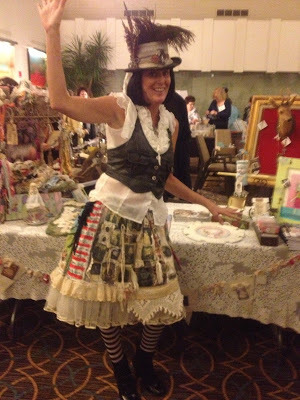
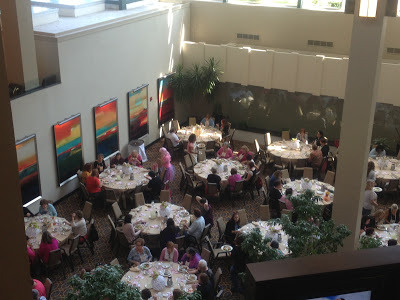
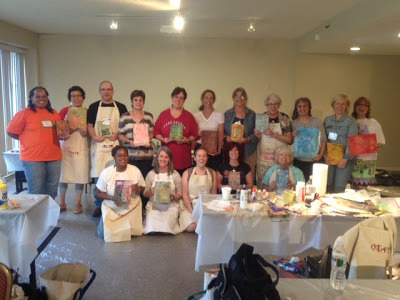
My experience at CREATE Mixed Media retreat last week in Somerset, NJ was just as I had expected: inspirational, exhilarating, and just a bit exhausting. As they say in sports, I left it all out on the field. Between Friday at 9am and Sunday at noon, I taught 4 workshops and participated in the Artist's Fair, selling my wares. There is nothing quite like spending that many hours focused on art with so many people who are just as passionate about it as I am.
I think the following images speak for themselves...and they definitely say CREATE!
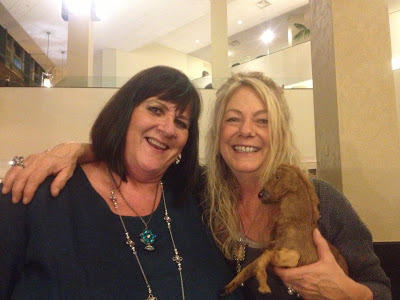
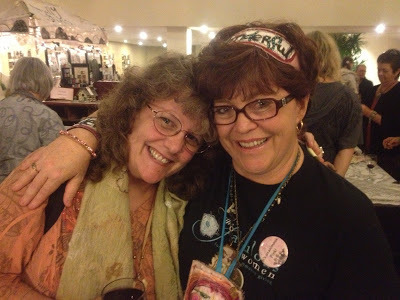
Community
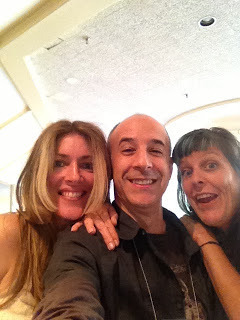 jane, me, and kecia
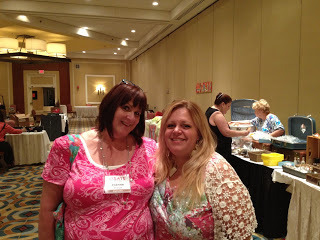 joanne and jen
 michelle and iphoto by michelle ward
 kari
kari
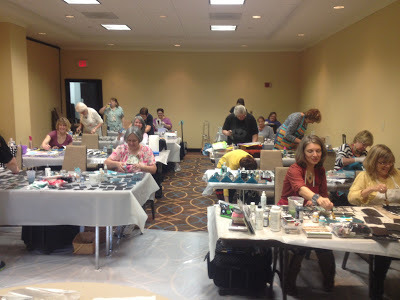
Workshops
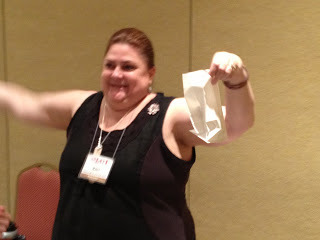
 we did it!
 artist in action
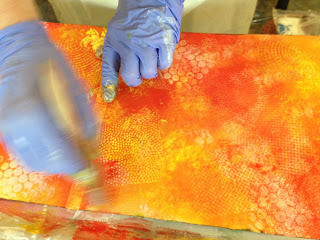
 making layers
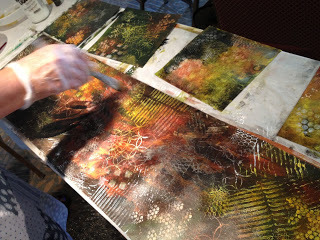 dark and beautiful
 gonna give you my awlphoto by andria kaskey
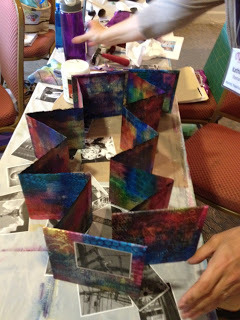 can you play the accordion?
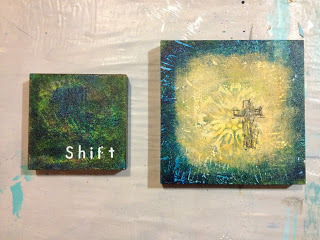 shift
shift
 it's all good
 guilty of making art
 guiltier of making art
 guiltiest of making art
 let the sunshine in
 future art
 photo heaven
 pure joy
Artists' Faire
 the view from my table
 jenn and maggie from interweave/cloth paper scissors
 stencil debut
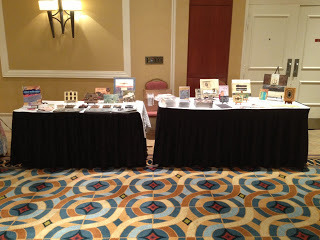 from a distance: my tables
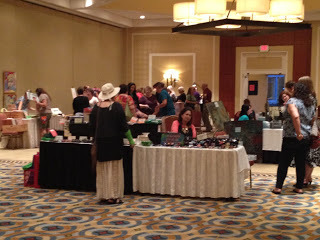 shop till you drop
I think the following images speak for themselves...and they definitely say CREATE!
Community
 jane, me, and kecia
 joanne and jen
 michelle and iphoto by michelle ward
 kari
kariWorkshops
 we did it!
 artist in action
 making layers
 dark and beautiful
 gonna give you my awlphoto by andria kaskey
 can you play the accordion?
 shift
shift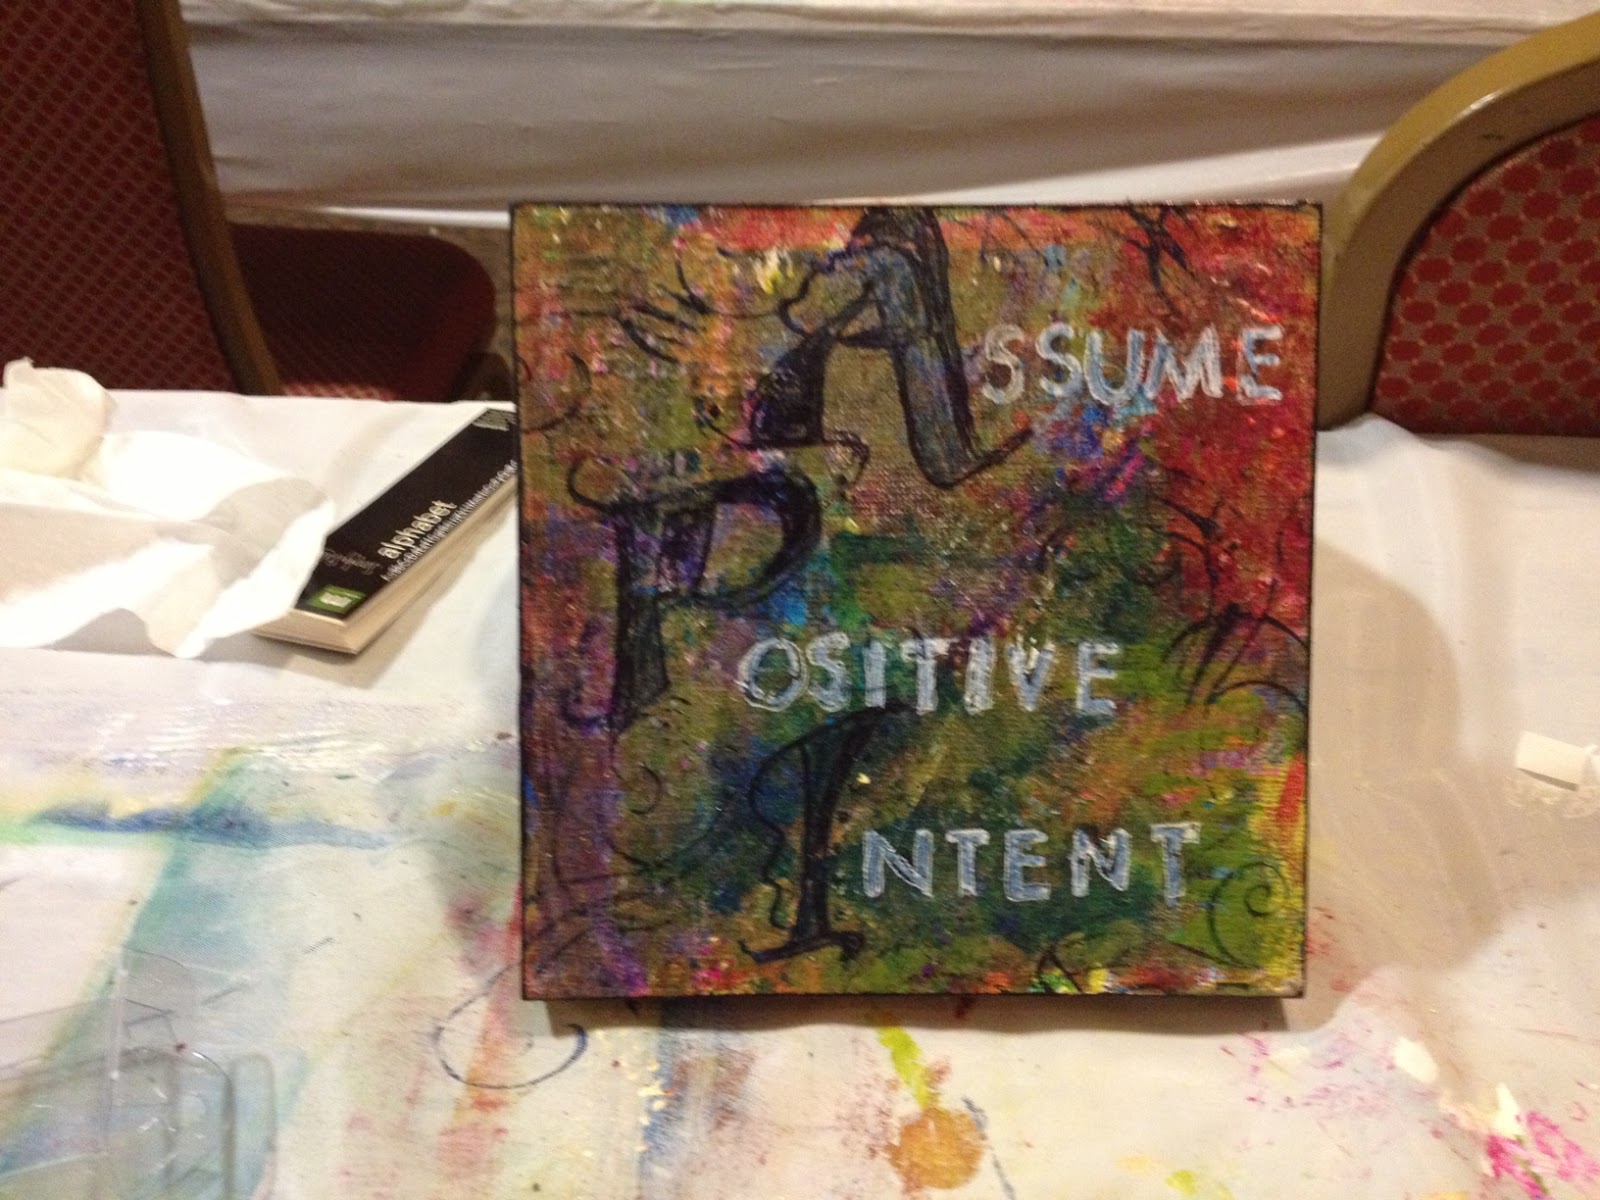 it's all good
 guilty of making art
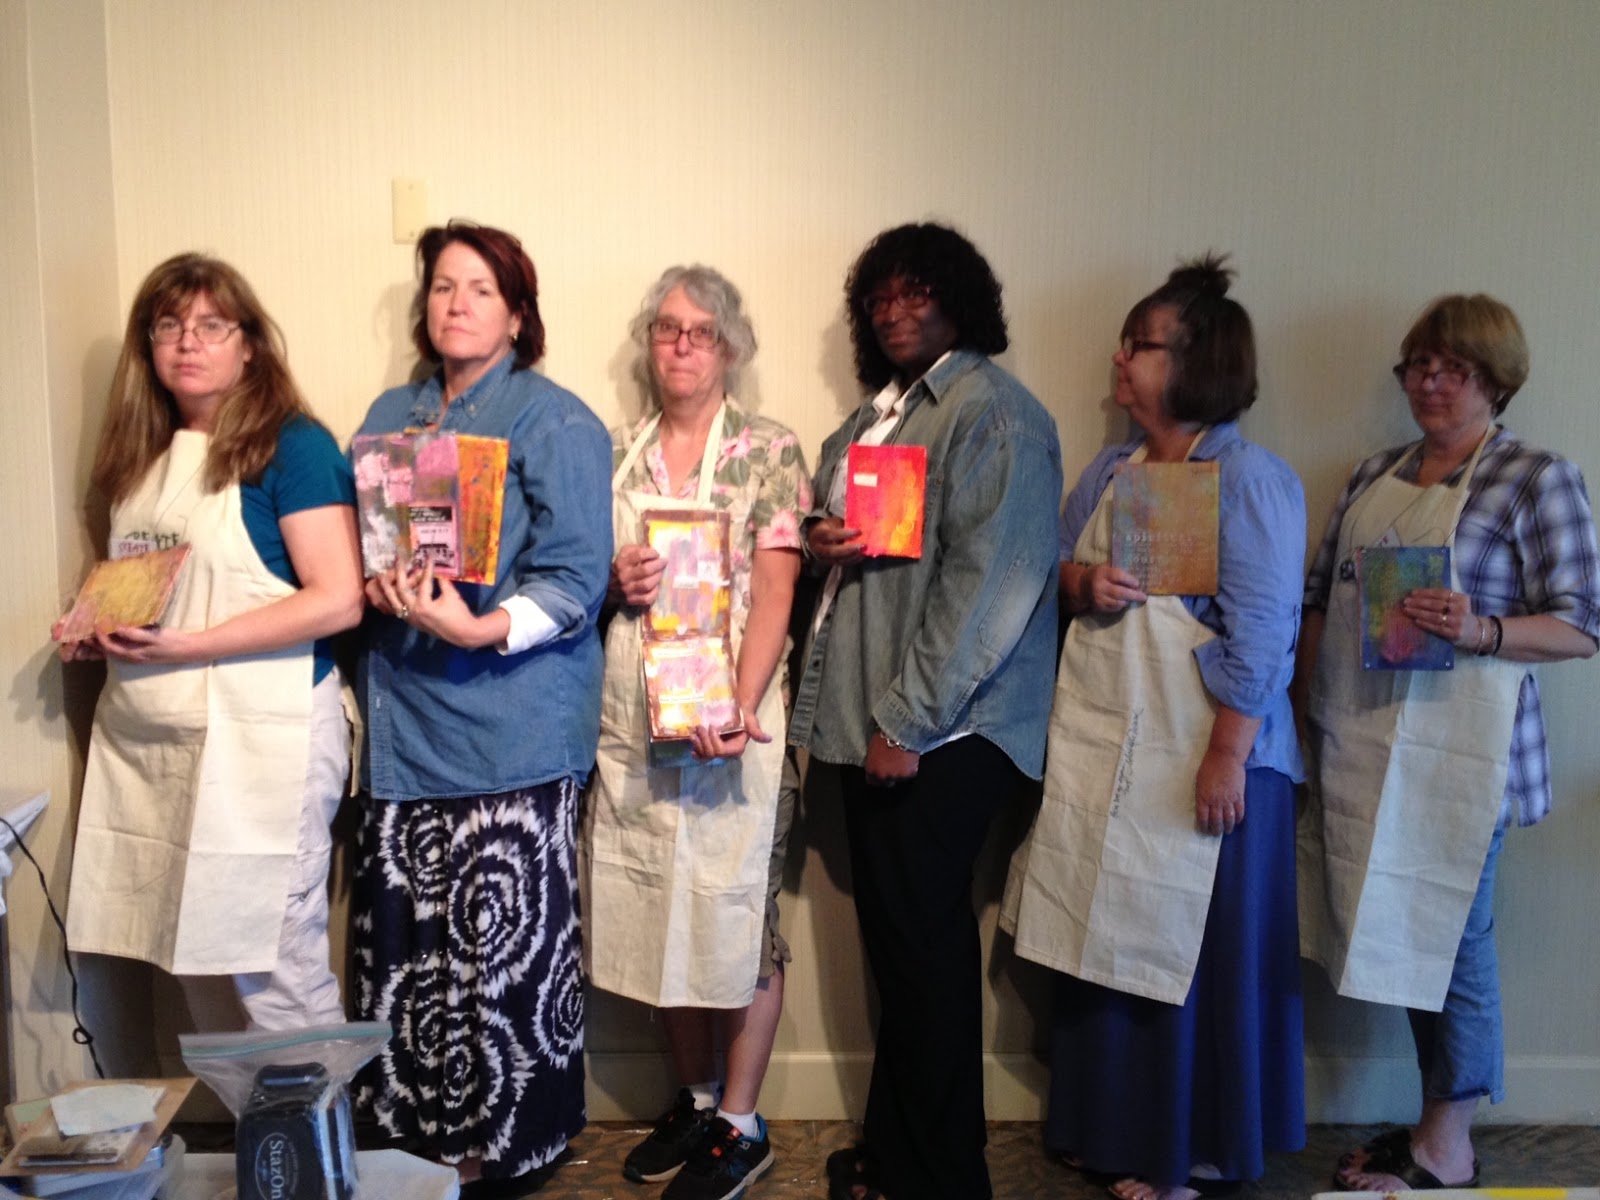 guiltier of making art
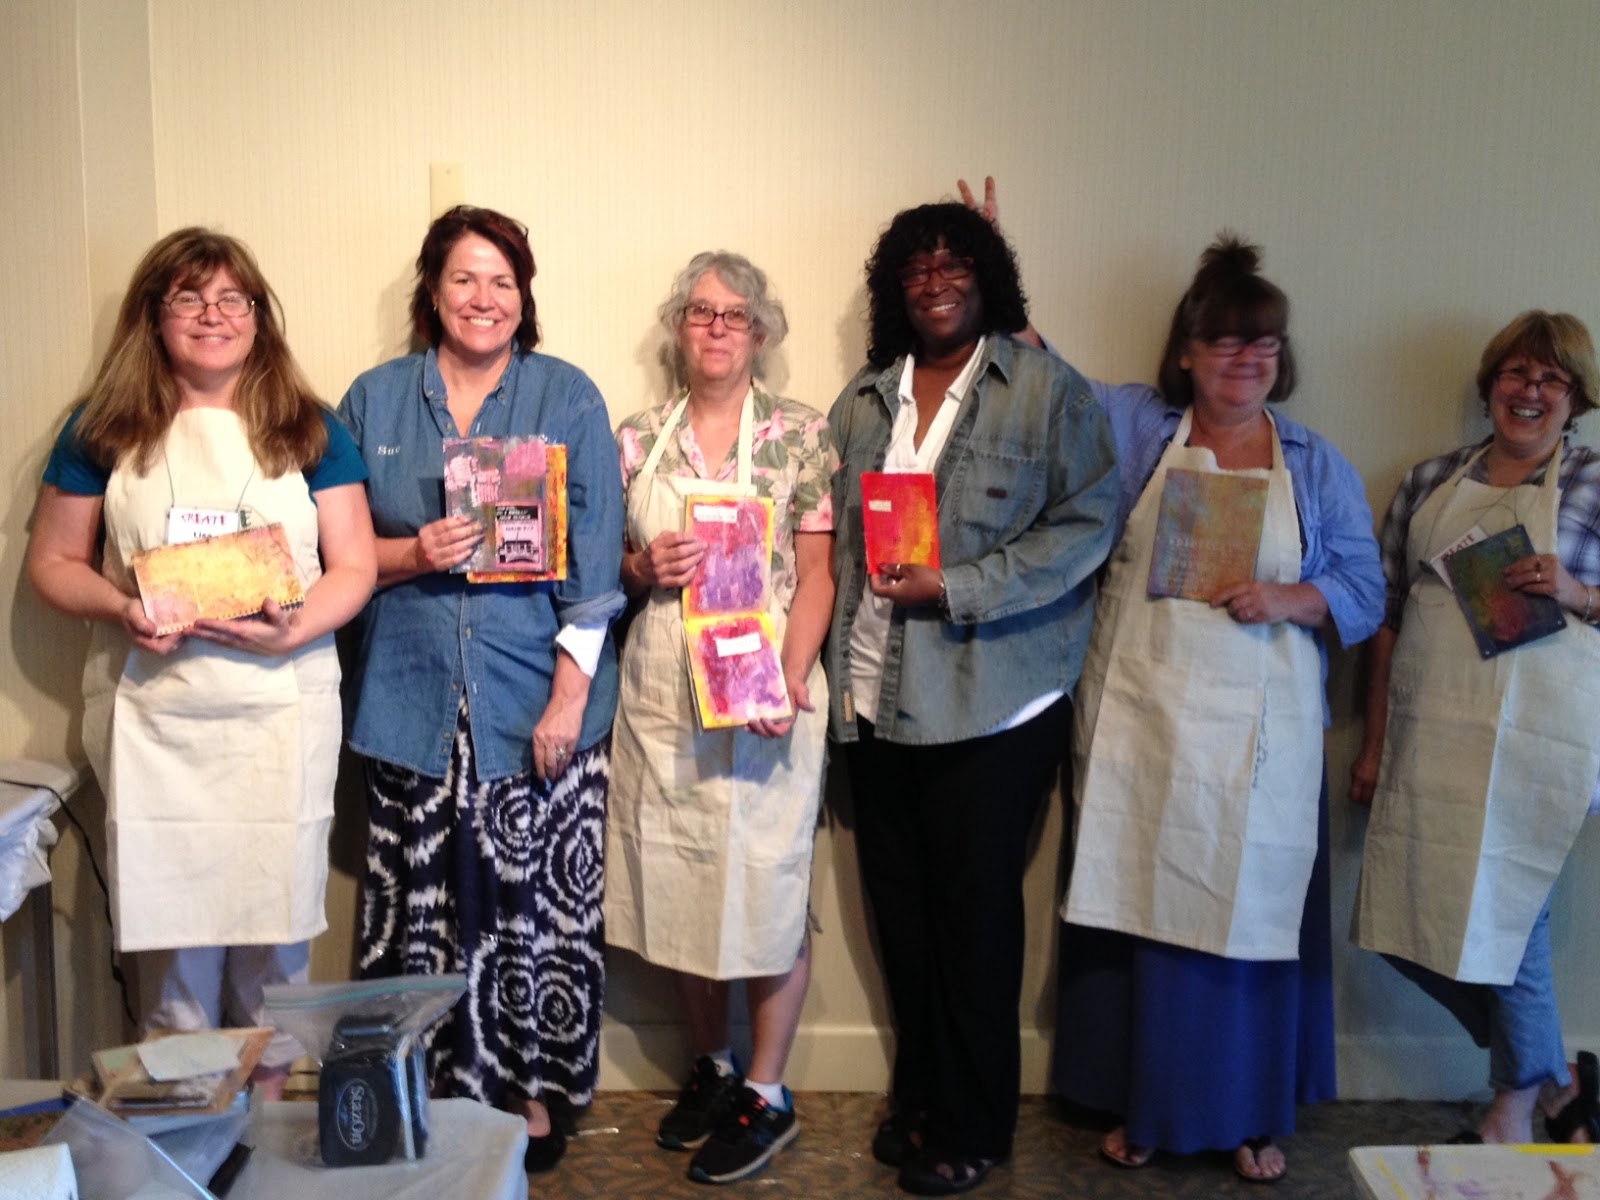 guiltiest of making art
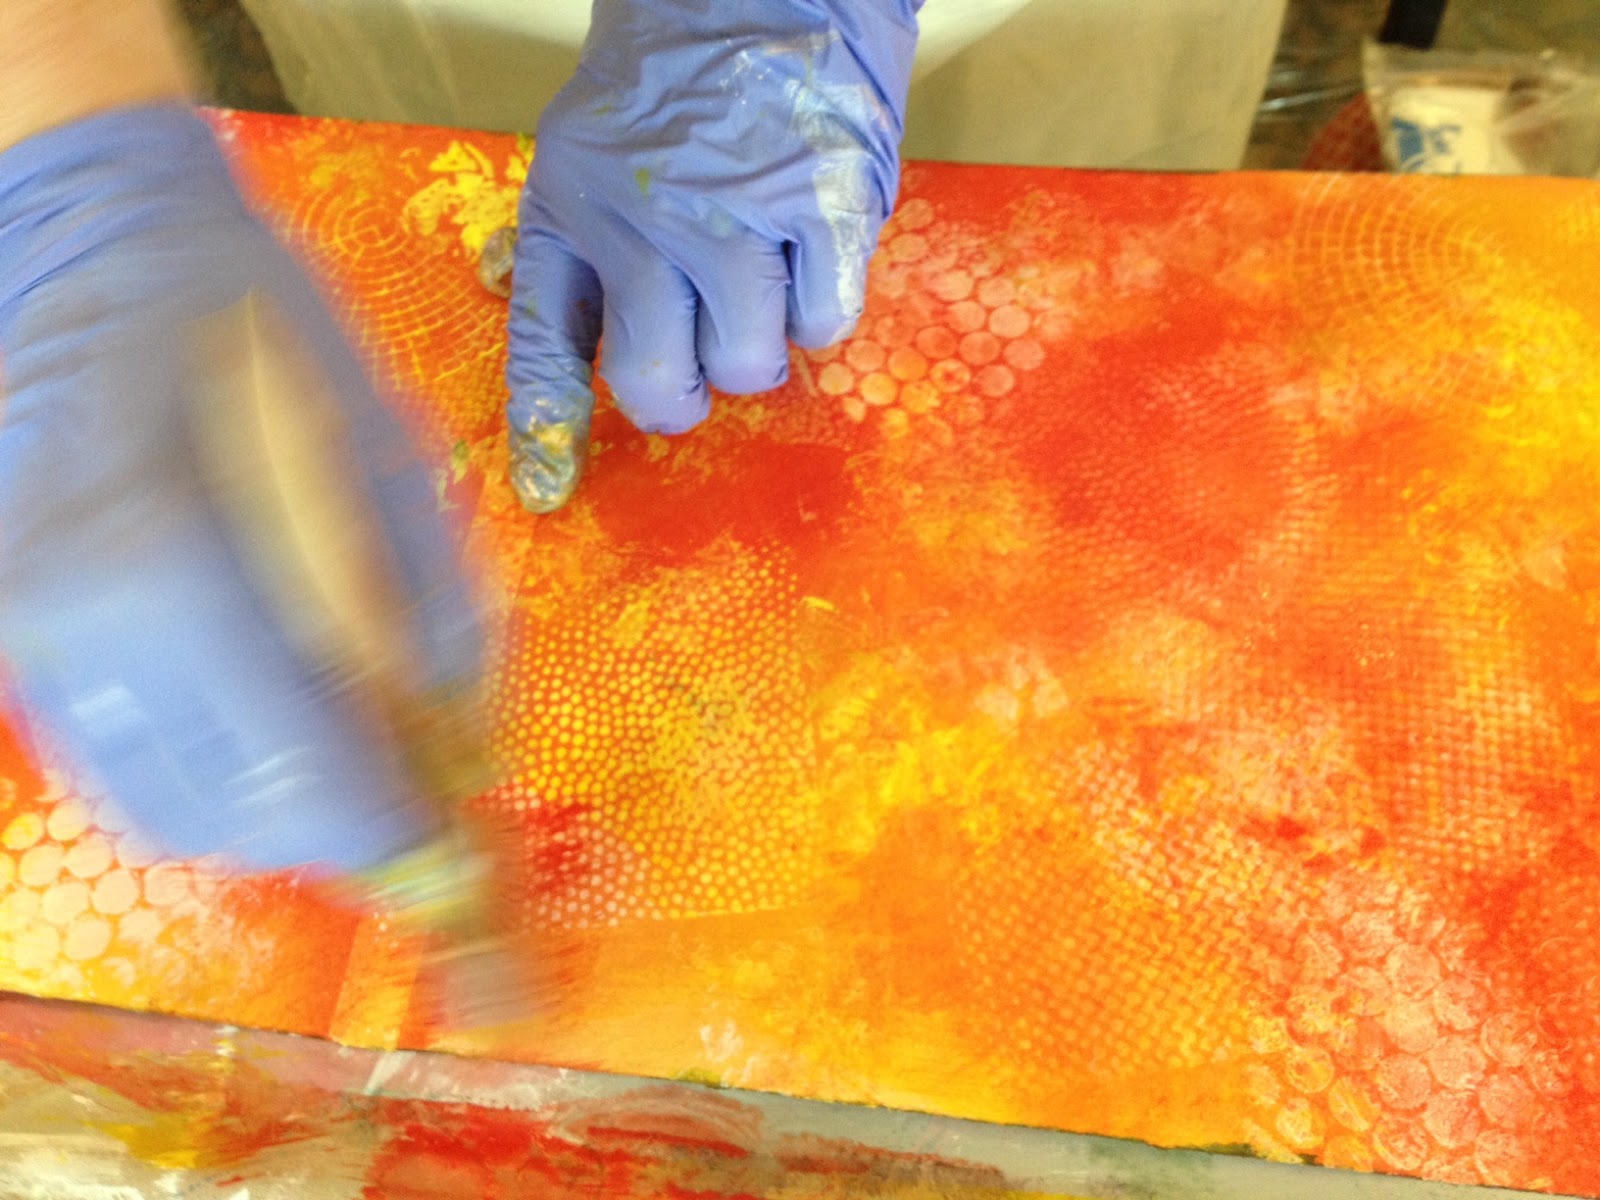 let the sunshine in
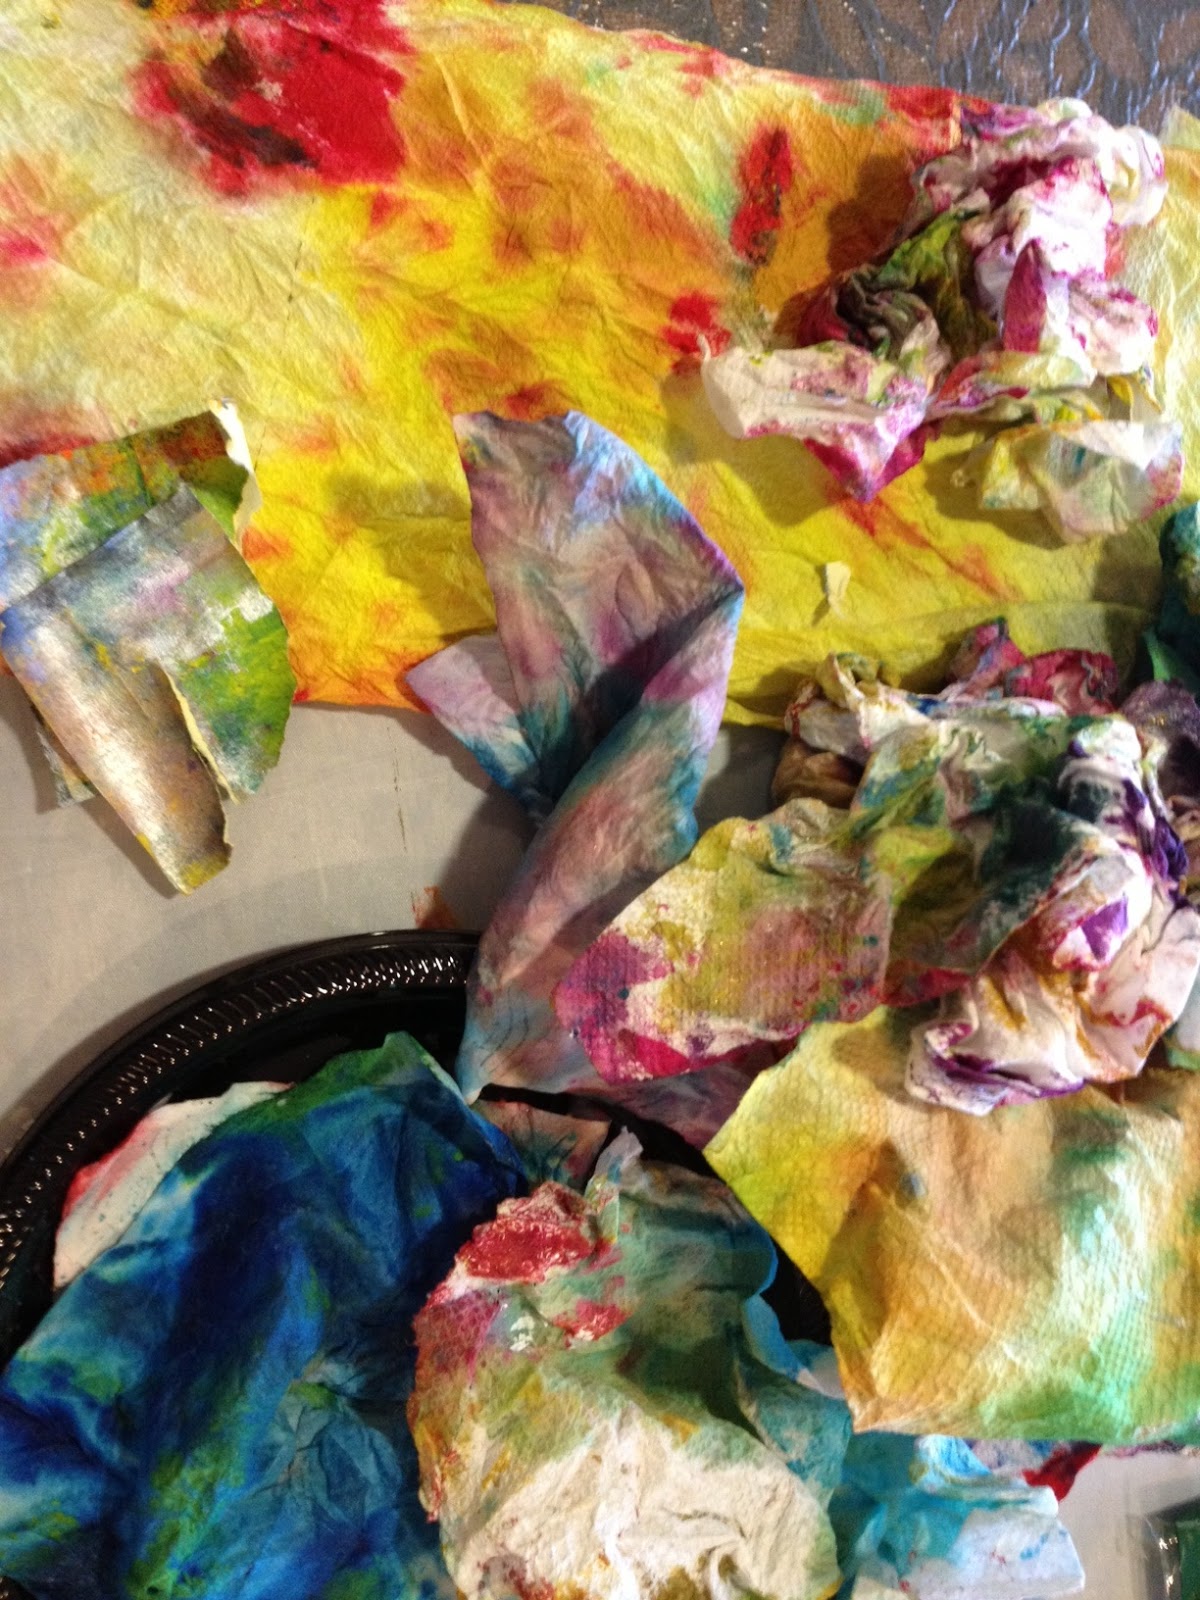 future art
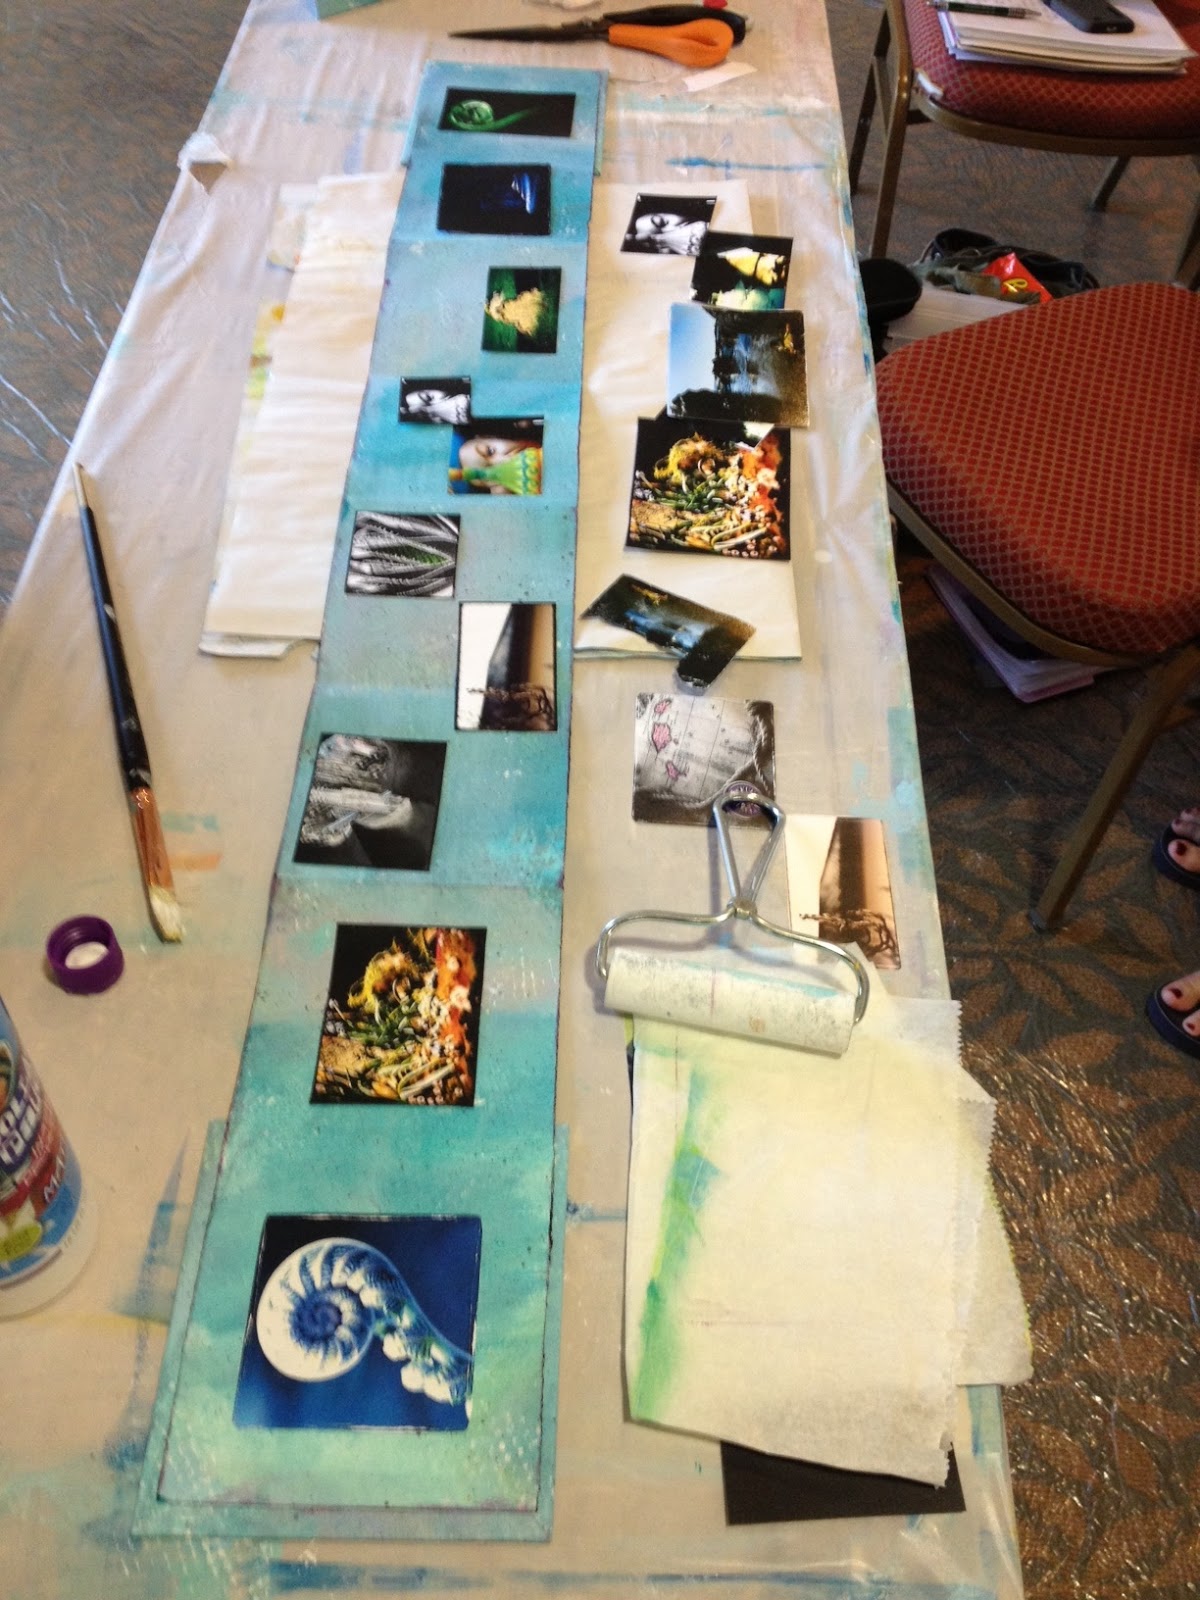 photo heaven
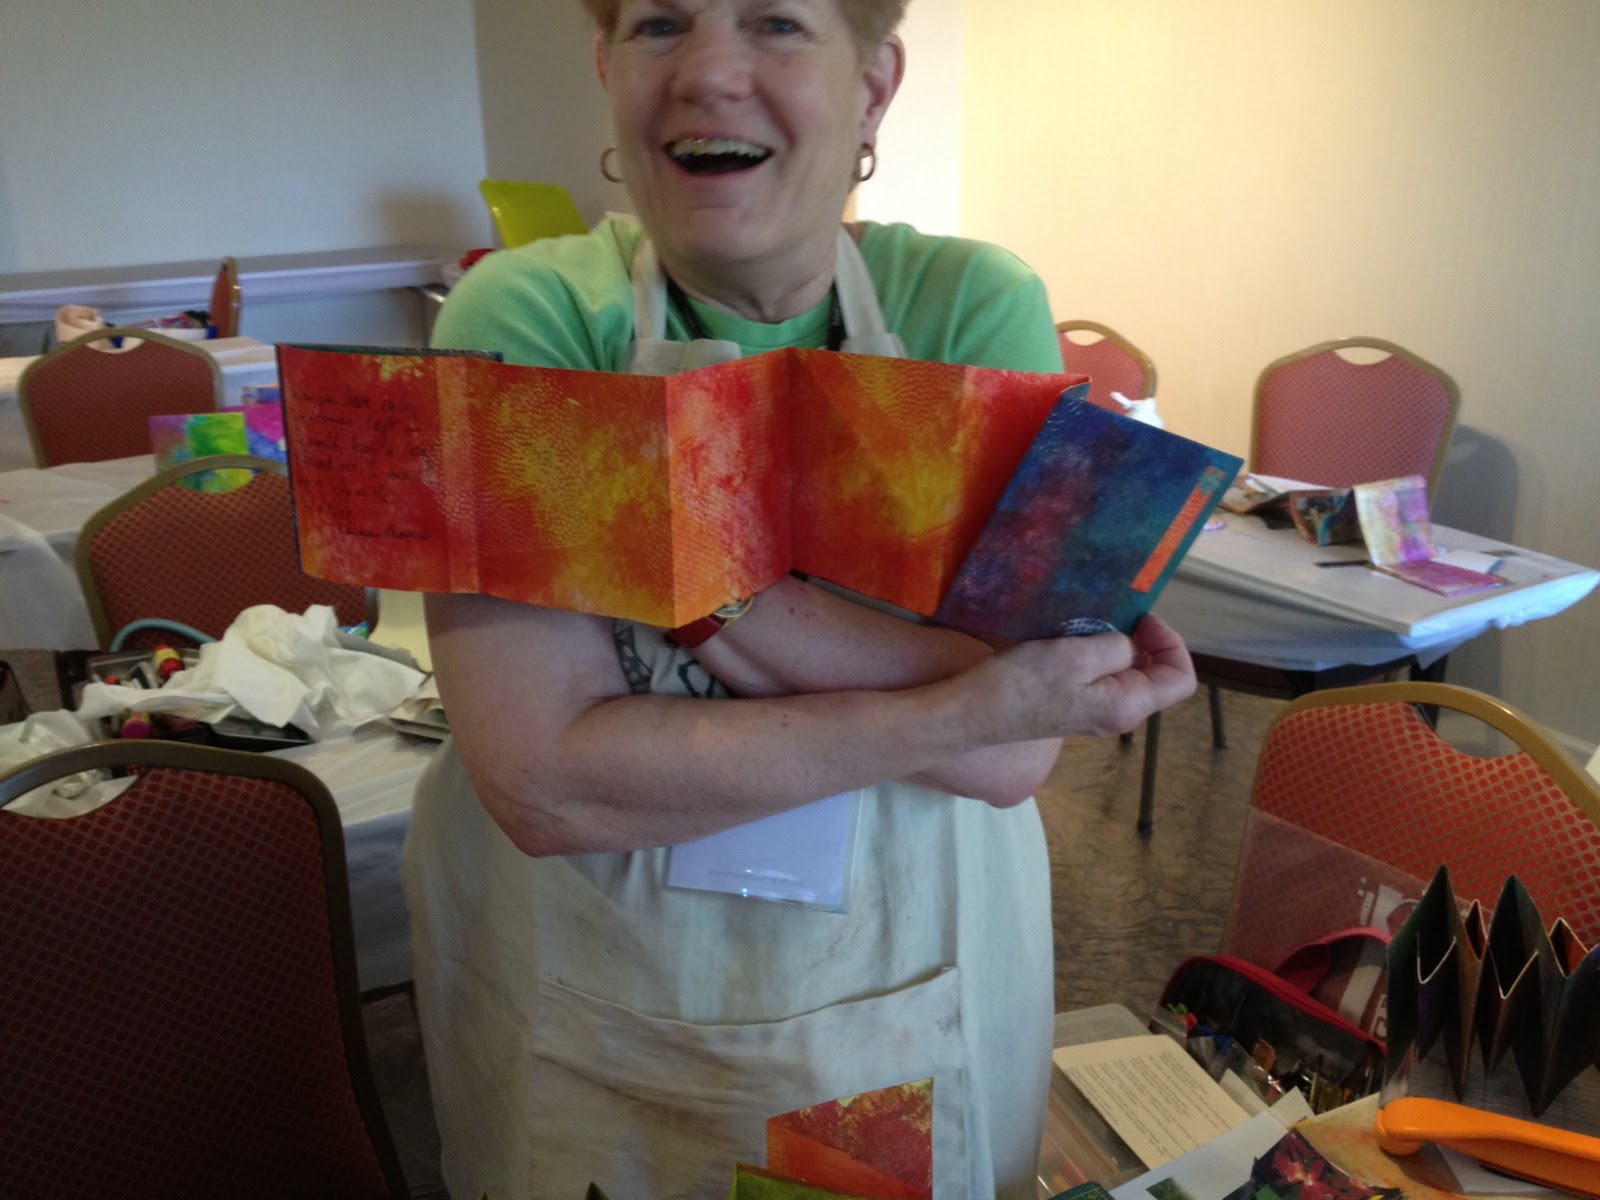 pure joy
Artists' Faire
 the view from my table
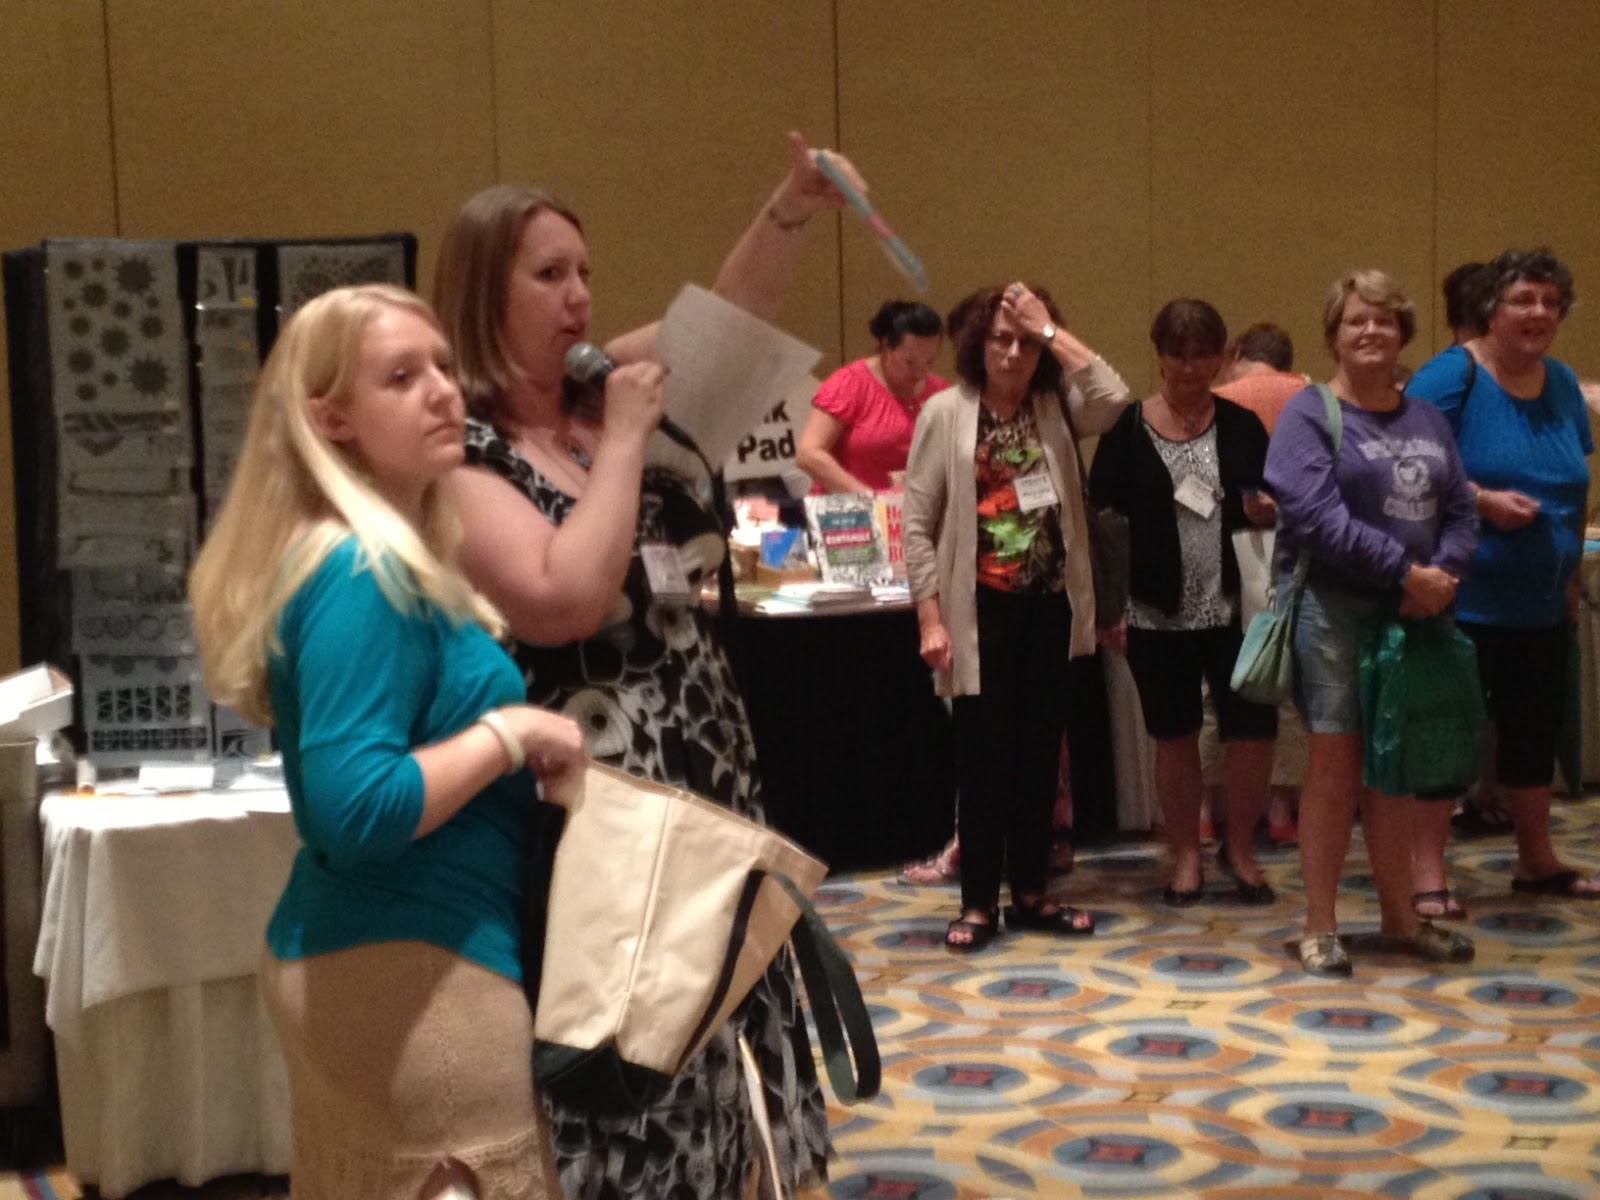 jenn and maggie from interweave/cloth paper scissors
 stencil debut
 from a distance: my tables
 shop till you drop
July 25, 2013
On Your Mark...
On Your Mark...Get Set...Go!
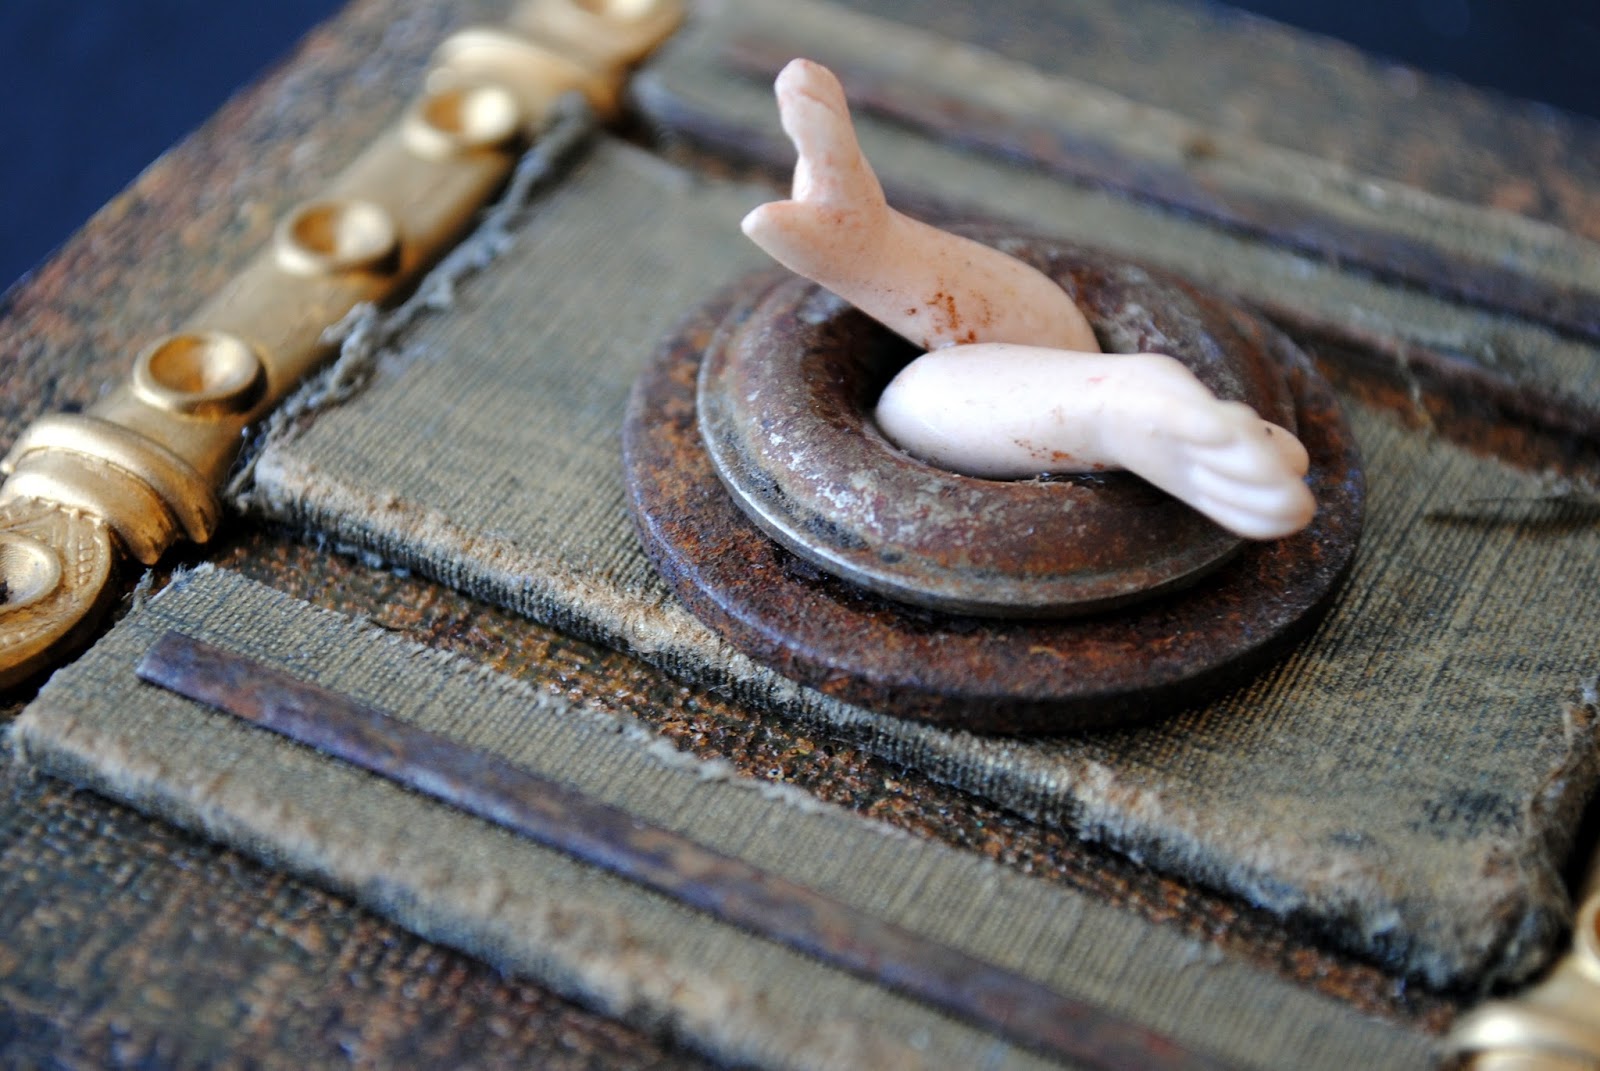
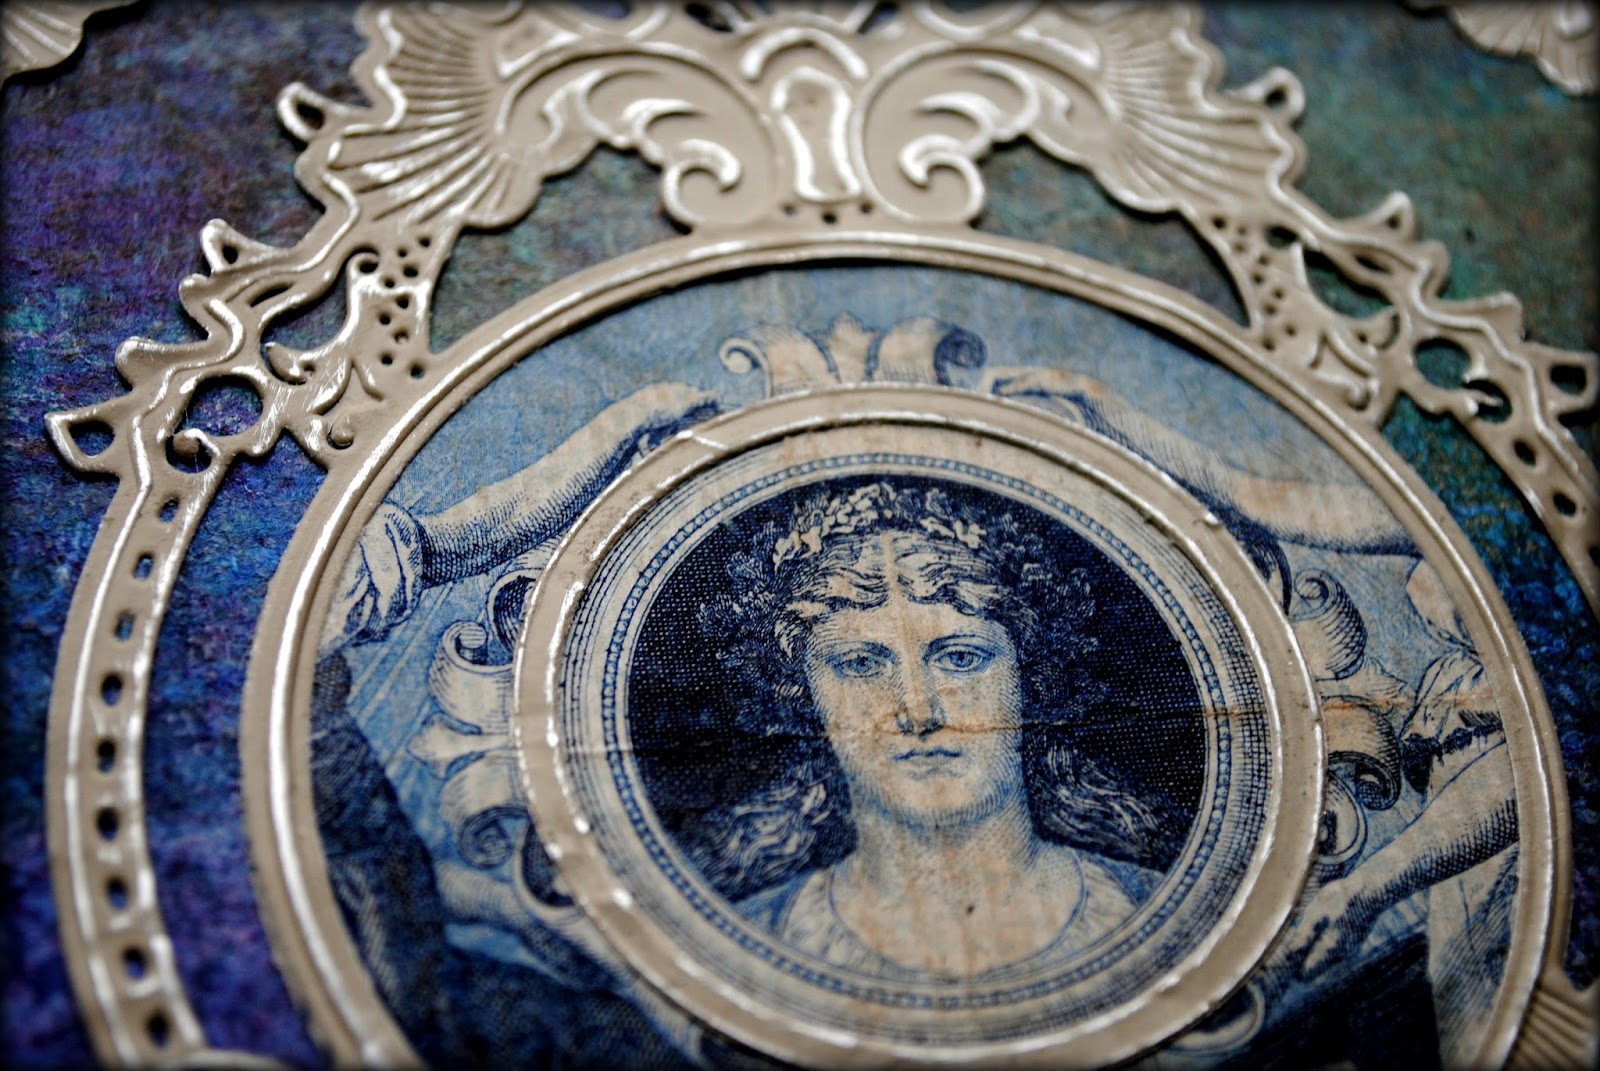
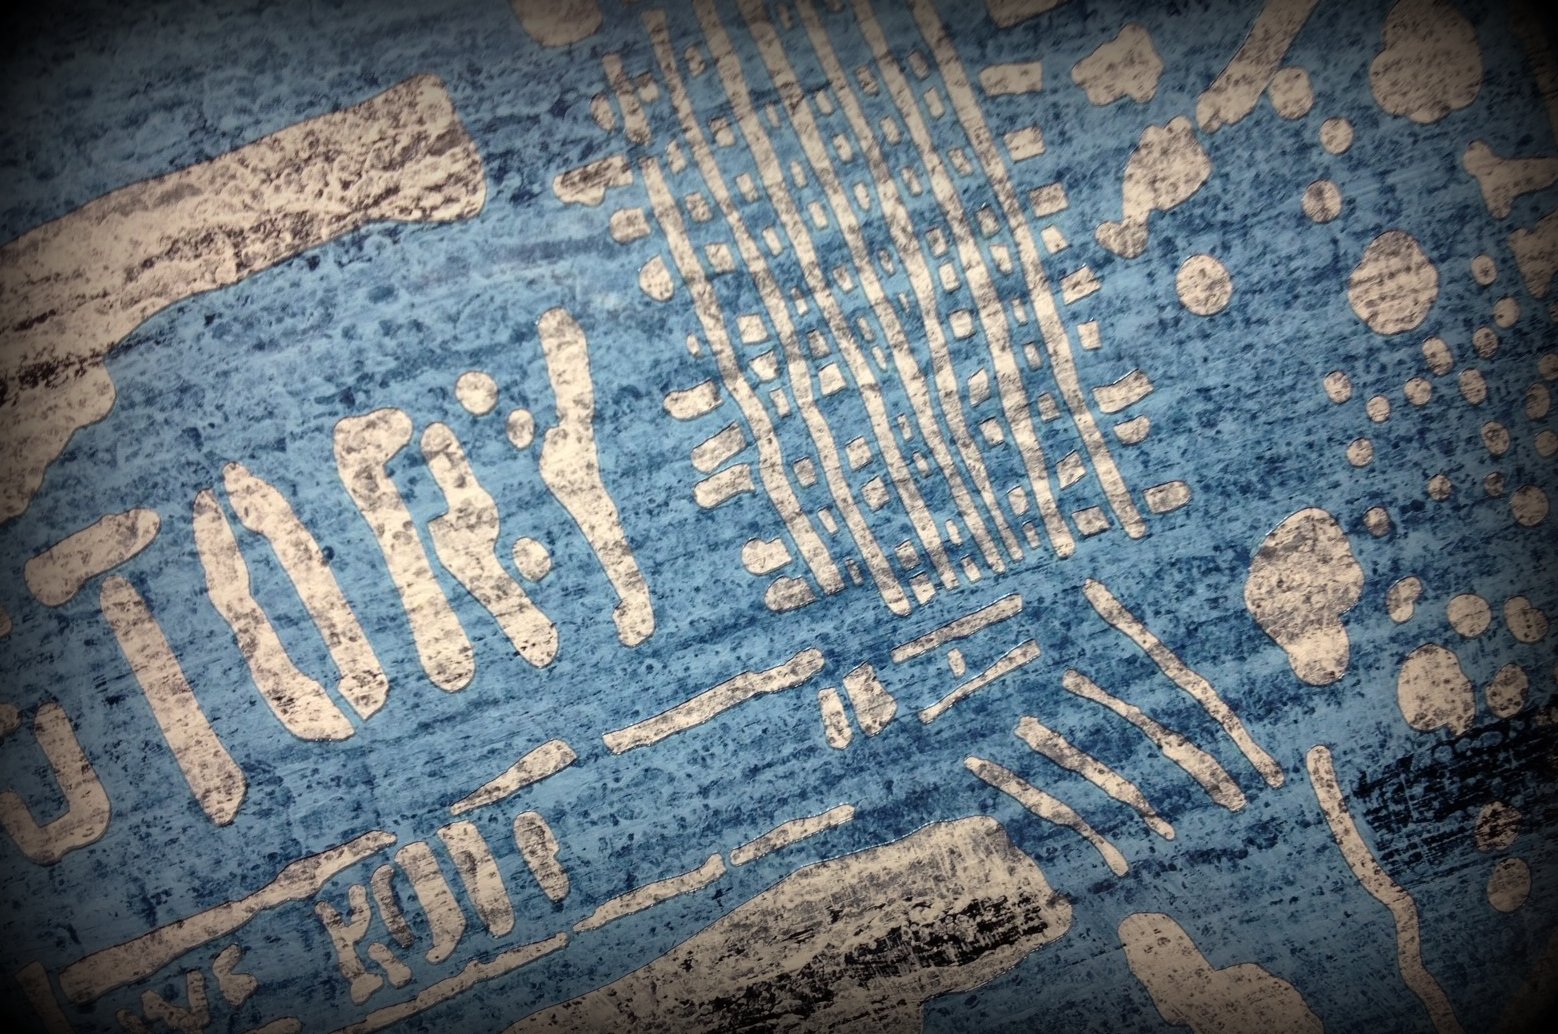
Today's artwork and tutorial were inspired by one of Spellbinders' newest die sets - Gold Majesty Circles - and uses 3 other Spellbinders die sets as well. I am pretty much a grungy guy but can also really appreciate the classic and the ornate. And this set of dies hits that mark.
I used several dies from the set, along with a sheet of Pearl foil, to create this dramatic frame.

Just had to rough it up a bit by running a piece of fine grit sandpaper over the surface. It adds a bit of age and history to the piece. And really highlights the embossed surface.

I needed a focal image to highlight in this frame and I found the perfect image in my stash: a withdrawn German 100 Mark banknote from the early 20th Century.
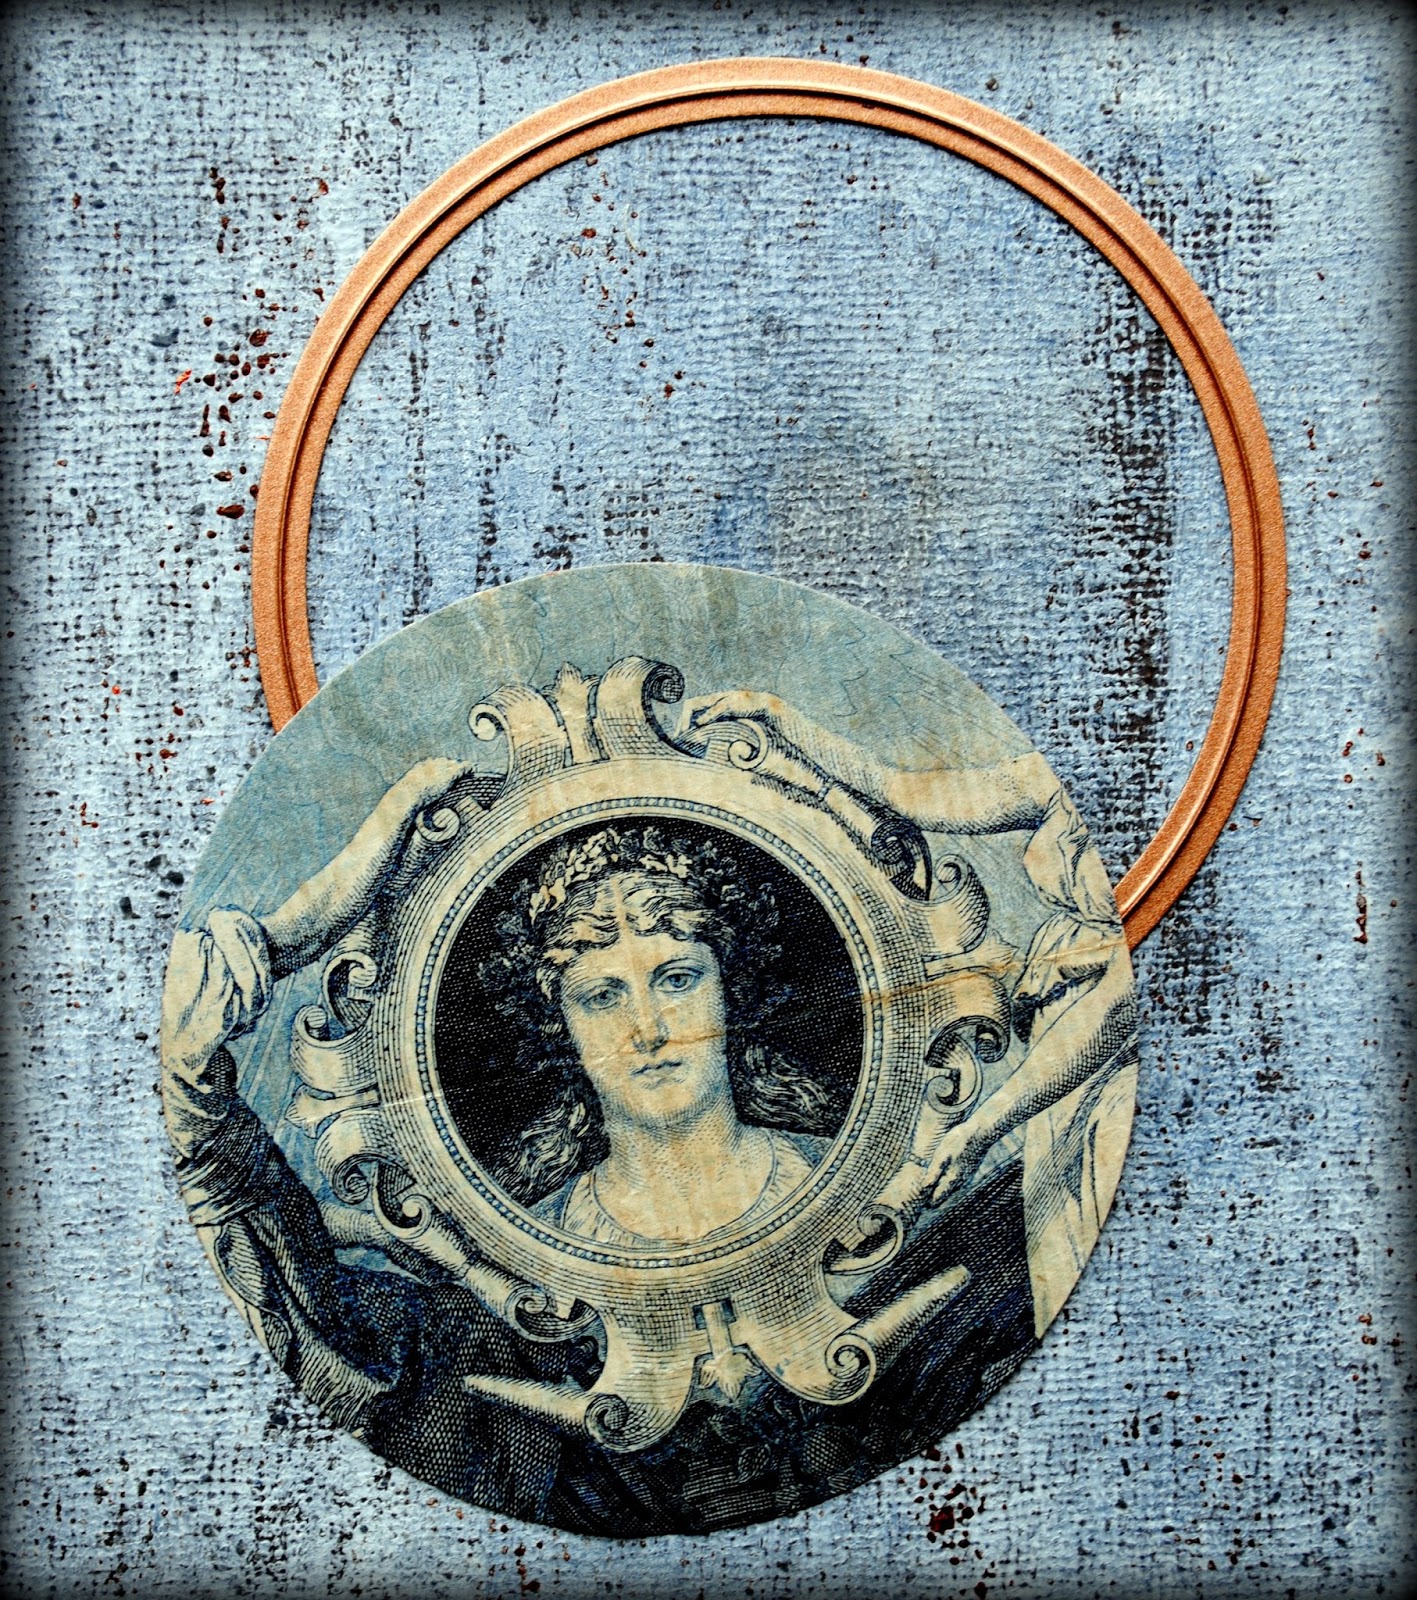
When I first looked at this image, I thought it seemed too cheeky to be used on currency. But in looking more closely - several times - I am pretty sure what we are seeing are unfurled scrolls! LOL!
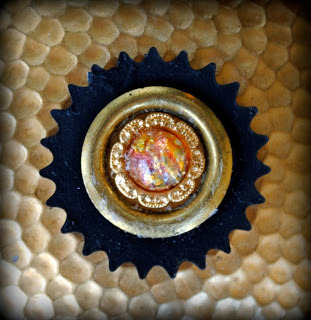
I created a ring using two dies from Spellbinders Circles One set which I planned to use to highlight the image of the face on the paper.
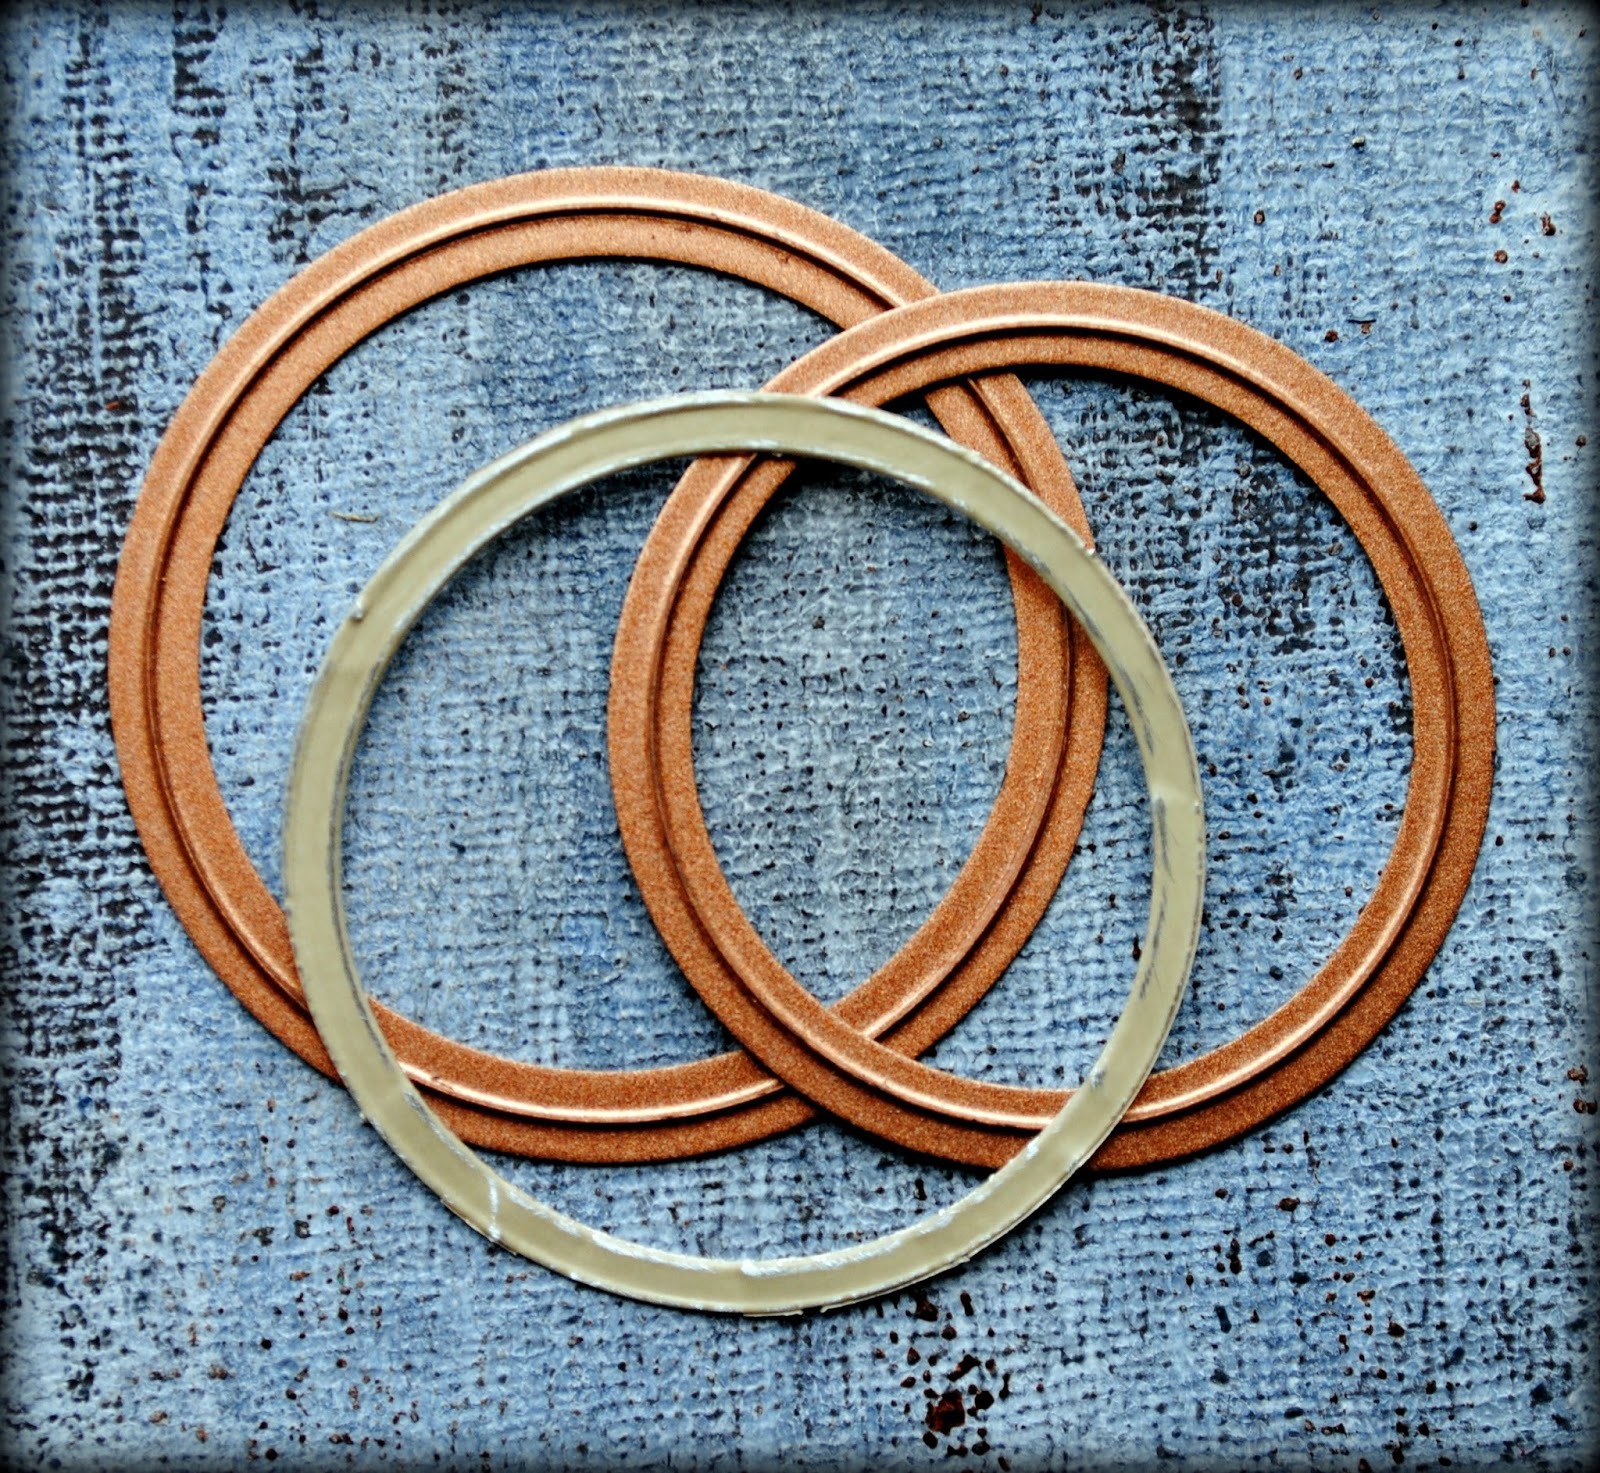
Needing some details to add to this piece, I cut corners using Gold Corners One...

...and one section cut from the same Pearl foil using the new Noble Rectangle die set.

I went hunting through my piles of hand painted paper and found the perfect color match for this piece. I wrapped it around a piece of book board to create a stable backing.
Time for glue. Putting the pieces together is always my favorite part!


----------------------------
Supply List
Spellbinders Paper Art Supplies:
GC-001 SpellbindersTM Grand Calibur® MachineS4-409 SpellbindersTM Shapeabilities® Imperial Gold Majesty CirclesMD1-007 SpellbindersTM Media Mixage Circles One S5-190 SpellbindersTM Majestic Elements Noble RectangleS4-393 SpellbindersTM Imperial Gold Corners OneF-102 SpellbindersTM Precious Metals Premium Craft Foils
Other: watercolor paper, book board, ephemera, gesso, acrylic paint, acrylic glaze, adhesive, brush, sandpaper
July 23, 2013
StencilGuy
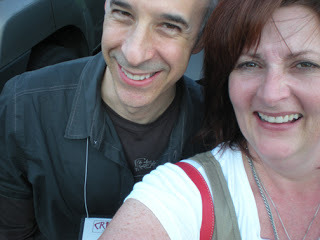
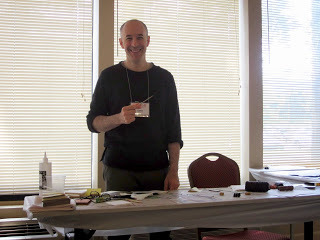
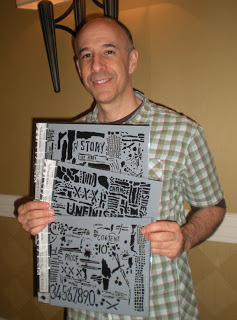
I am officially a StencilGuy at StencilGirl. I have designed three stencils for StencilGirl Products and just unveiled them at CREATE Mixed Media Retreat this past Friday. They are large (9"x12"), of very good quality, and filled edge to edge with stencil goodness.

Special thanks to my pal Michelle Ward who snapped this picture and who is a StencilGirl herself.
The amazing Mary Beth Shaw, the brains behind StencilGirl Products, has somehow managed to expedite production. Originally my stencils were going to be widely available in early August. But I am happy to say that they are here NOW!
Head over to this link at the StencilGirl website to purchase one, two, or all three. And while you are there, check out the other available stencils from some of the bestest artists around.
My stencils will also soon be available for purchase directly though my blog. And I will have a bunch with me to sell at the Shopping Extravaganza at Art Unraveled in just over a week.
And please...if you do buy and use my stencils, I would love to see what you create with them. I will include them all in a blog post in the near future.
July 18, 2013
FinnTastic
I recently had the pleasure of taking a workshop from Anna Dabrowska aka Finnabair aka Finn aka creative genius.

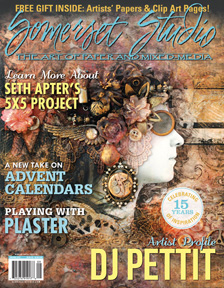
You may know Anna from her spectacular artwork that graced the cover of November/December 2012 issue of Somerset Studio.
Luckily for me, Anna traveled from Poland to the USA to teach and stopped off at Little Bird Creations Studio in NYC. The workshop was called Grungy Spellbook and Spellbook Pages. And Finn absolutely cast a spell over me.
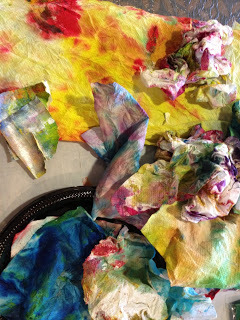
She generously provided us with so many art supplies and materials that we were all able to leave with a doggy bag of treasures - all of which were designed by Finn herself.

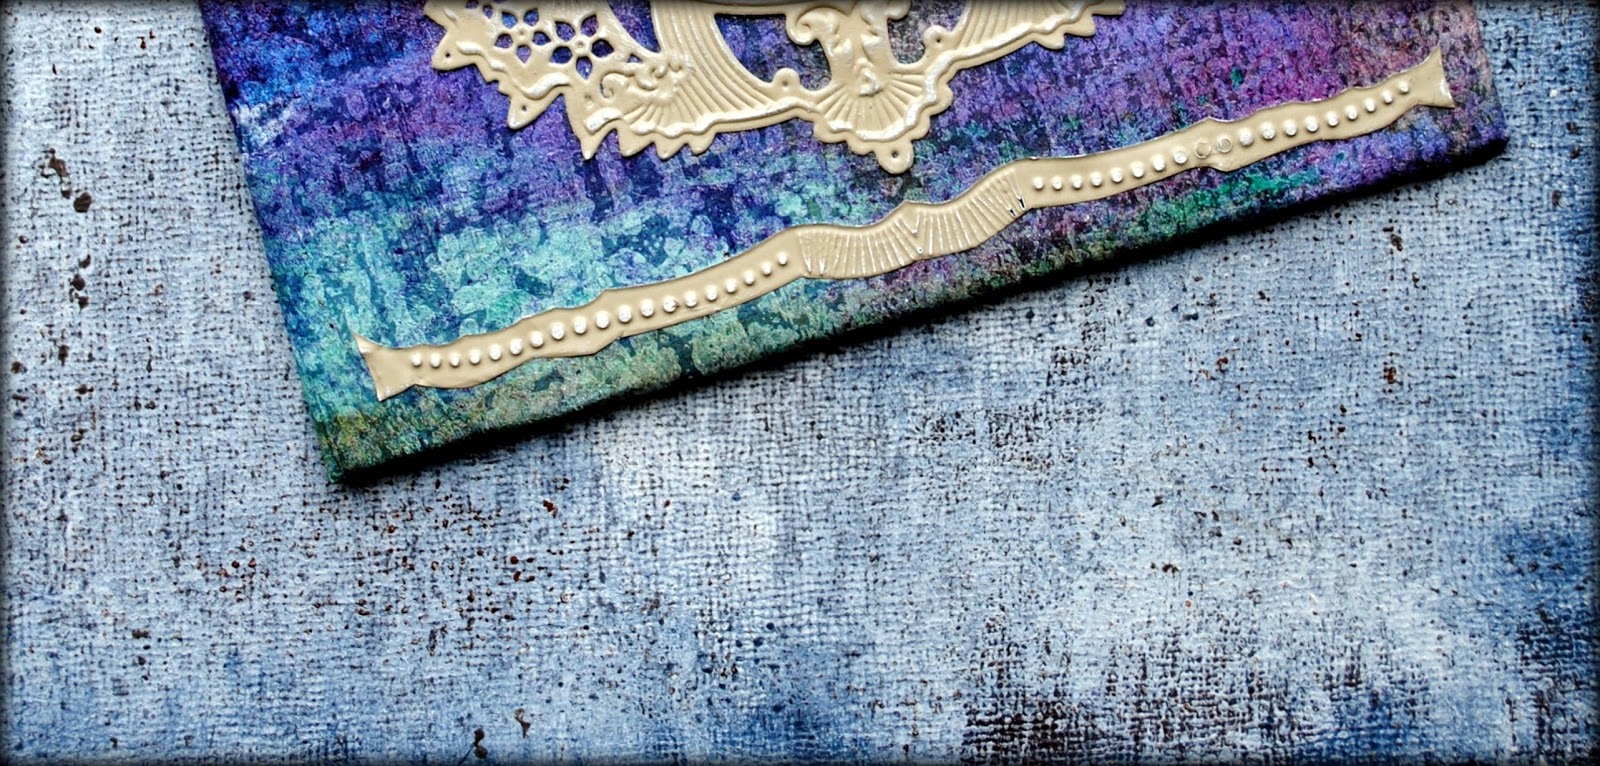
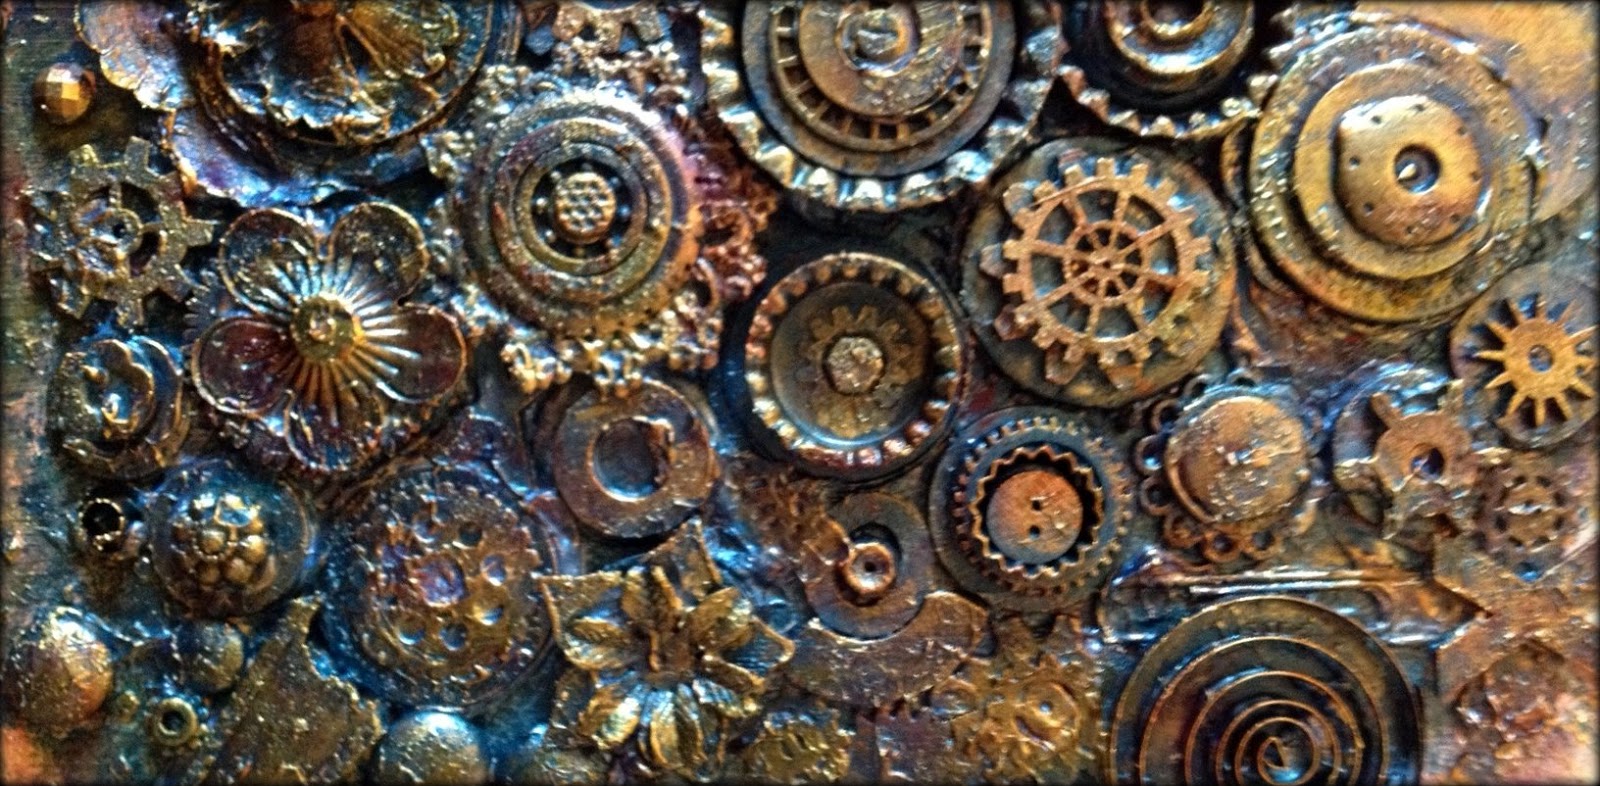
Finn's creative style really resonated with me as she takes whatever object she is working with and alters it to make it her own. Look at what she does with simple thread here...

We used one of the books that Finn designed as the basis for the project. We created front and back book covers using the embellishments that she provided, objects that we brought (my usual stash of rusty washers, watch parts, gears, etc.), and paint. And more paint. We ended up with a garden of textural delight.
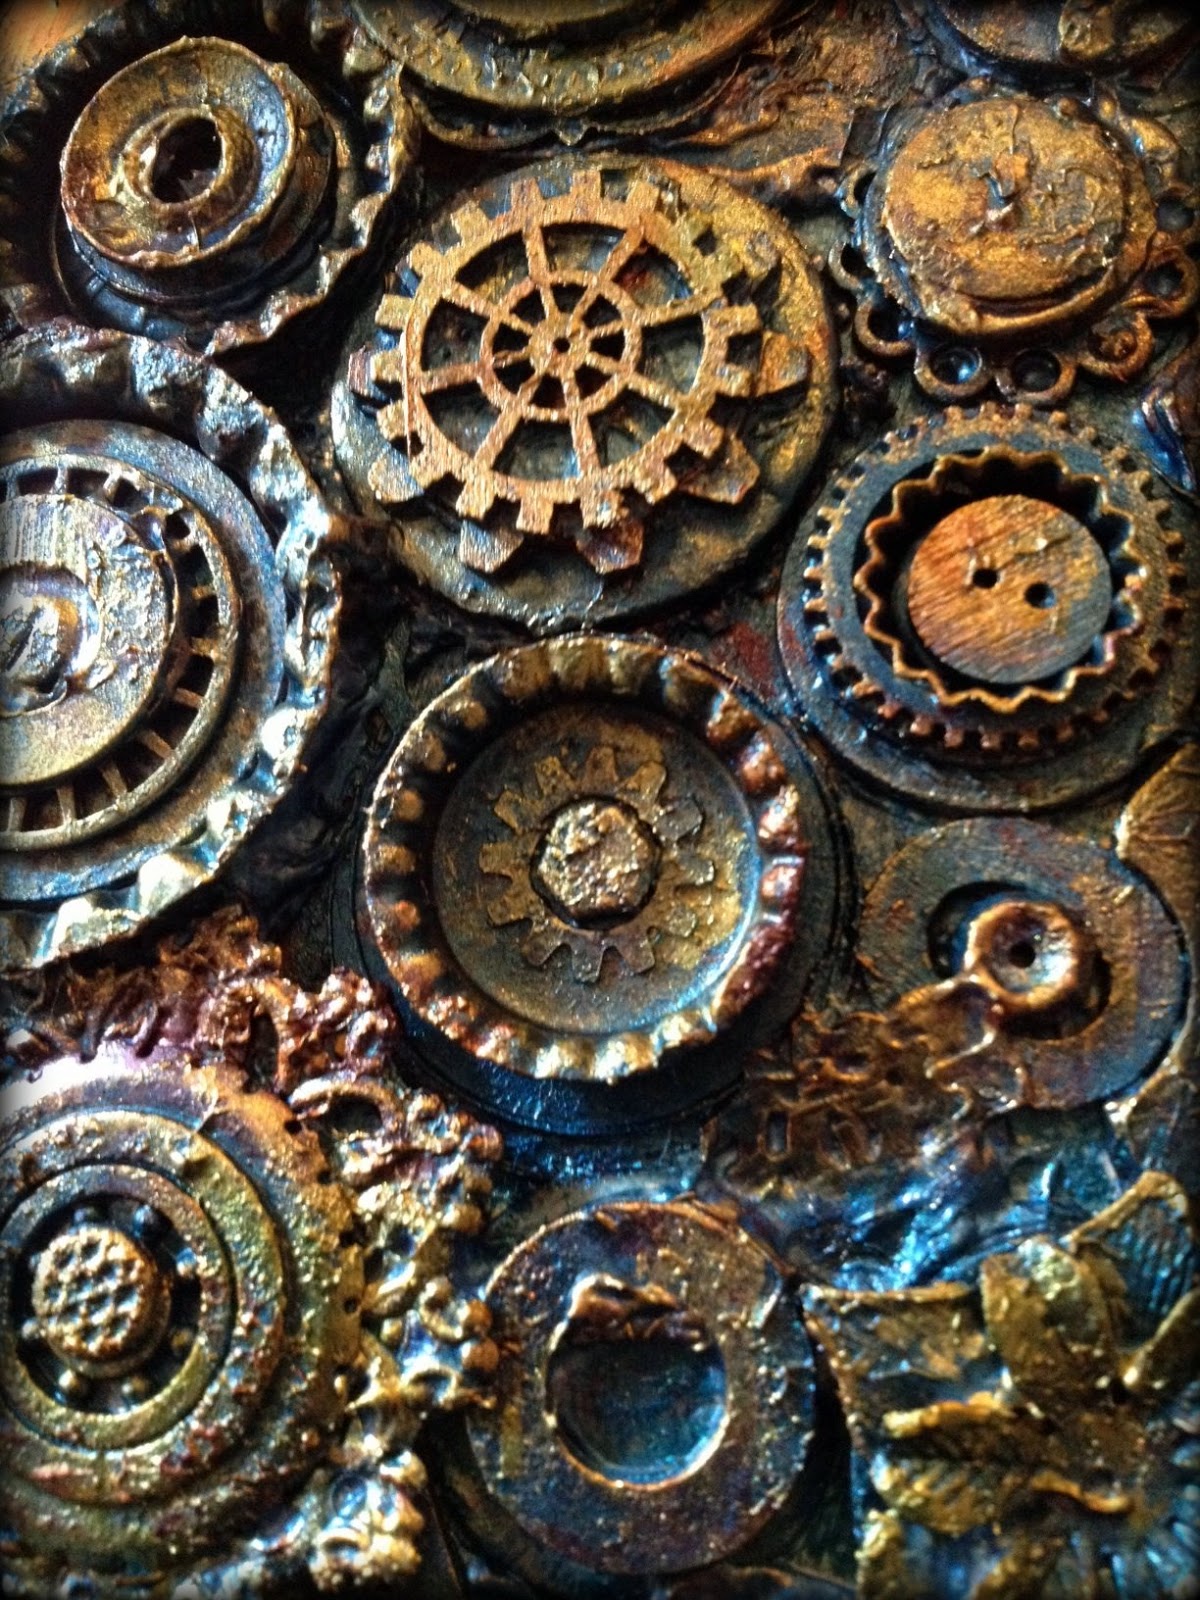
Although the idea was too add the objects to a relatively small section of the book cover, I got possessed and obsessed and couldn't stop. I ended up filling up almost the entire front cover.

Happily, I gained control of myself for the back cover and was able to be less impulsive. This allowed me to actually create a design for the embellishments.

After we finished the covers, Anna took us through several different techniques to create the inside pages for our books. When they were completed, the idea was to cut them in half and glue them in on facing pages.


In the end, I decided to leave my pages uncut and outside the book. Call it an artist's prerogative.
Finn was a wonderful instructor, really bringing out the creativity in everybody. She provided helpful and honest feedback in the most supportive of ways. And she shared an endless number of techniques that I know I will adapt in my own artwork.

July 17, 2013
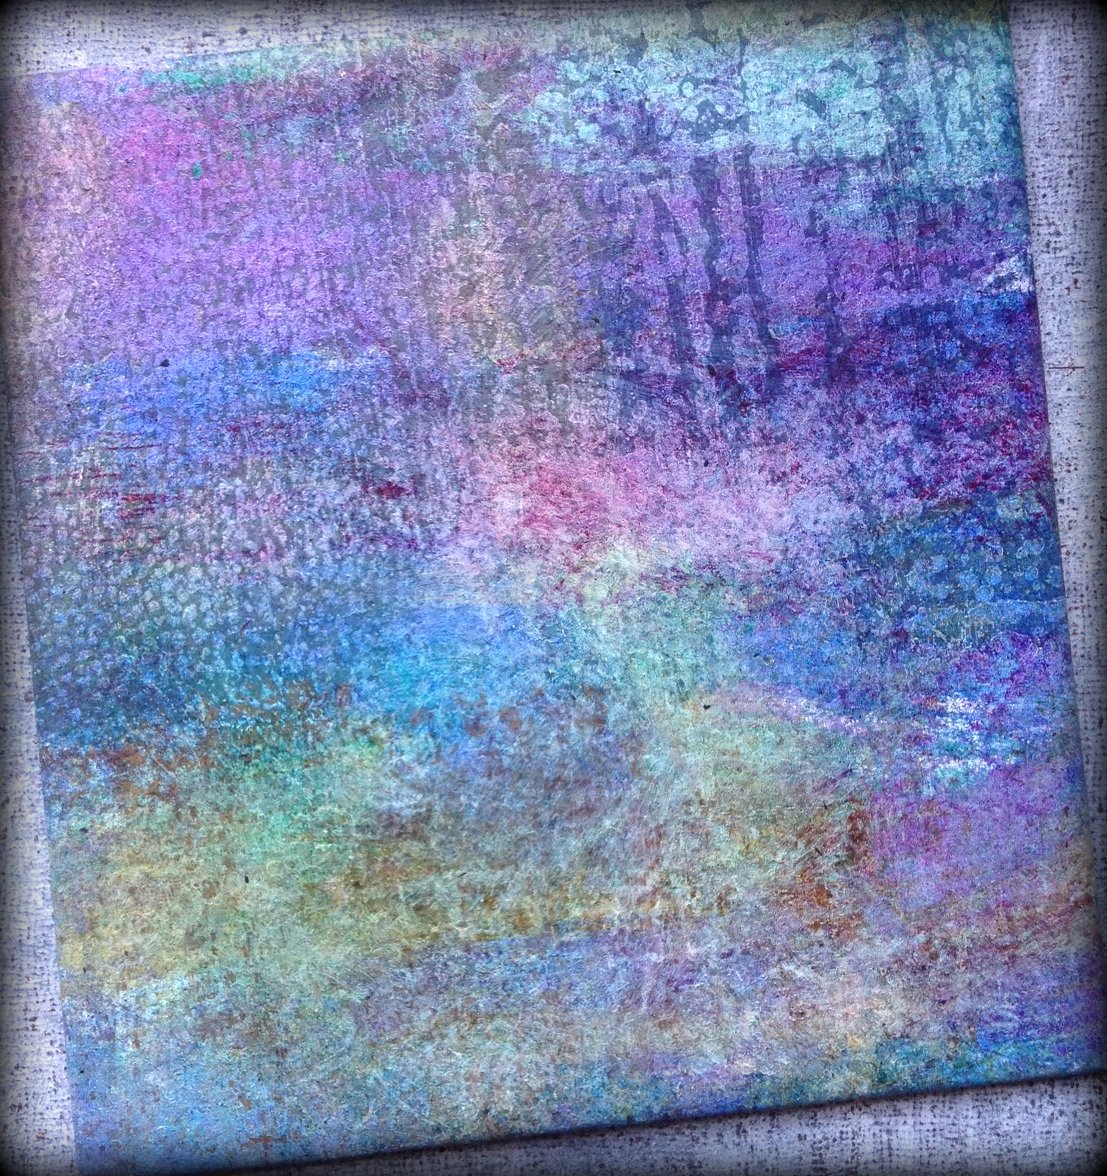
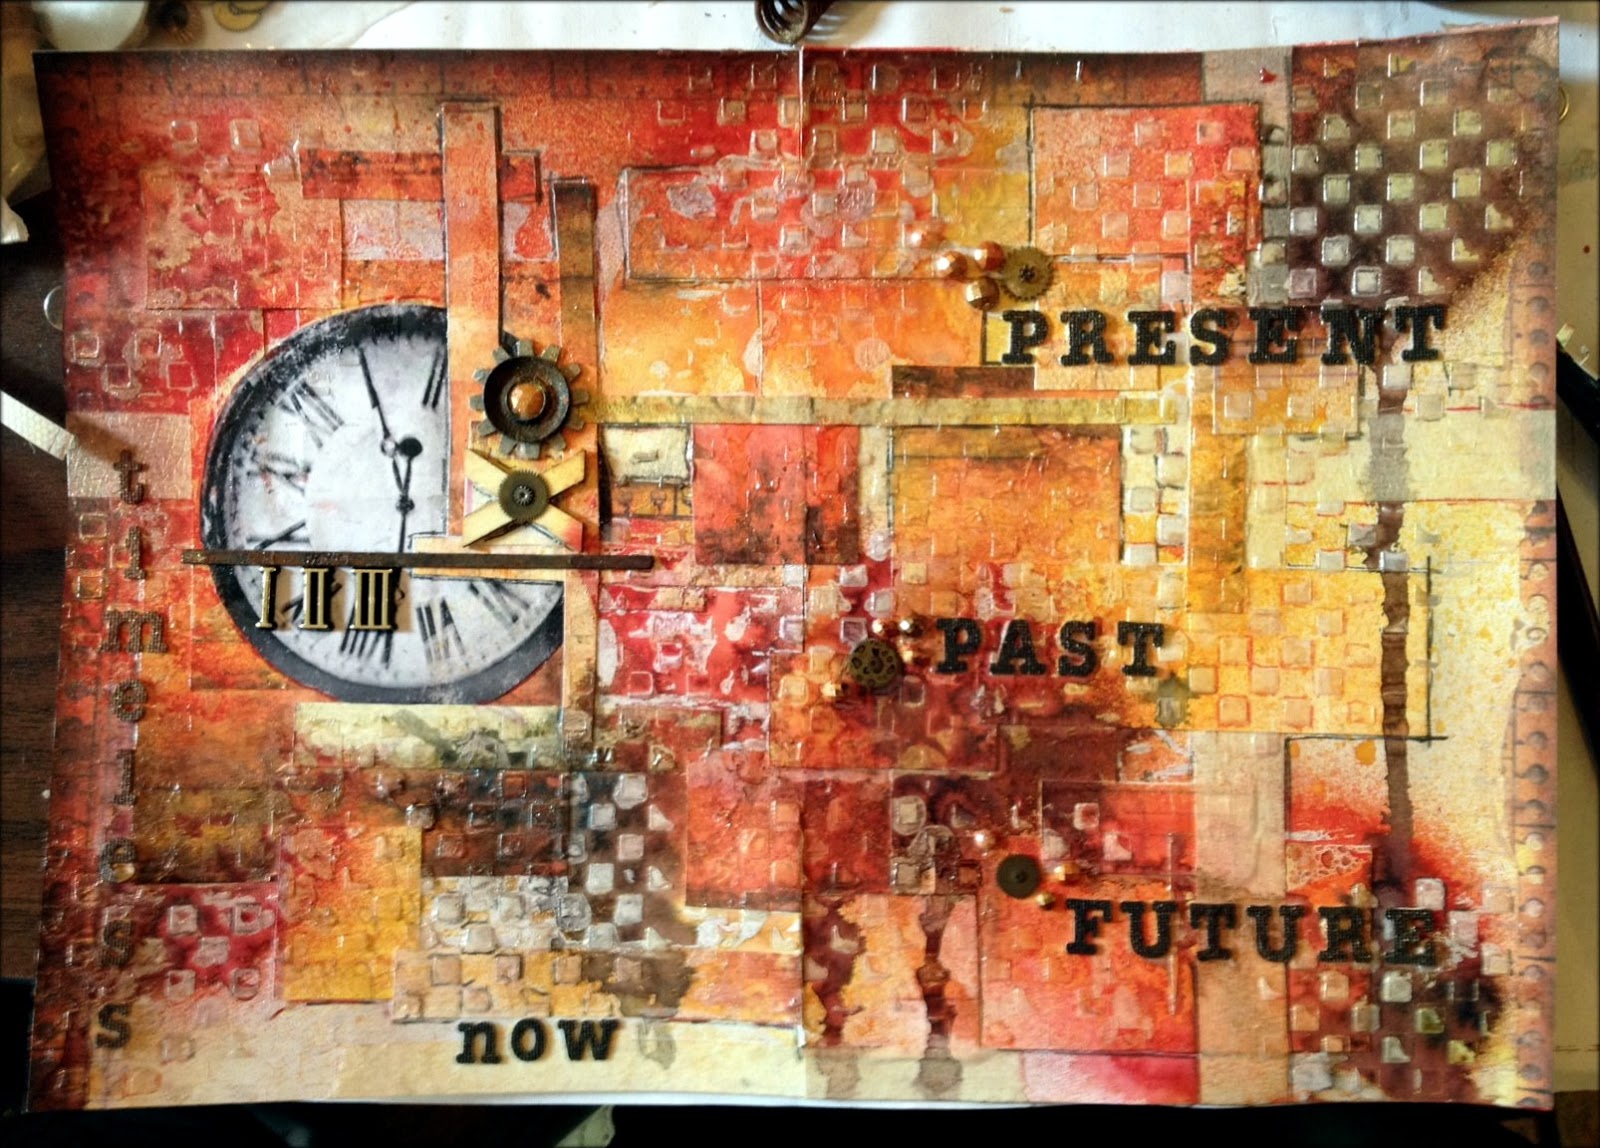
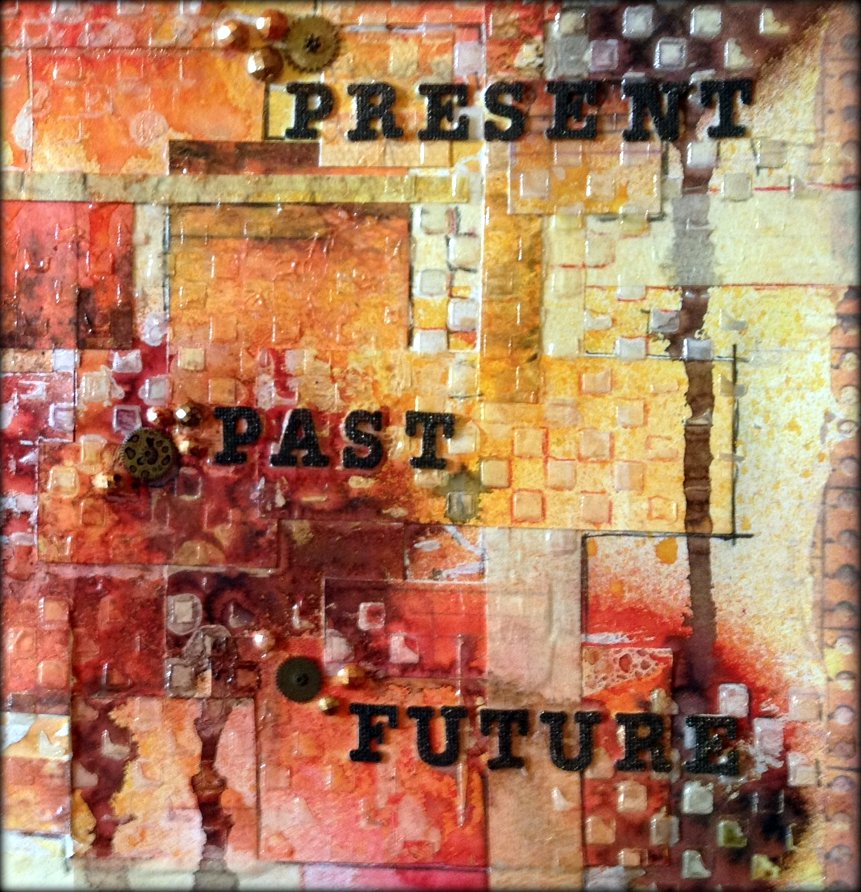
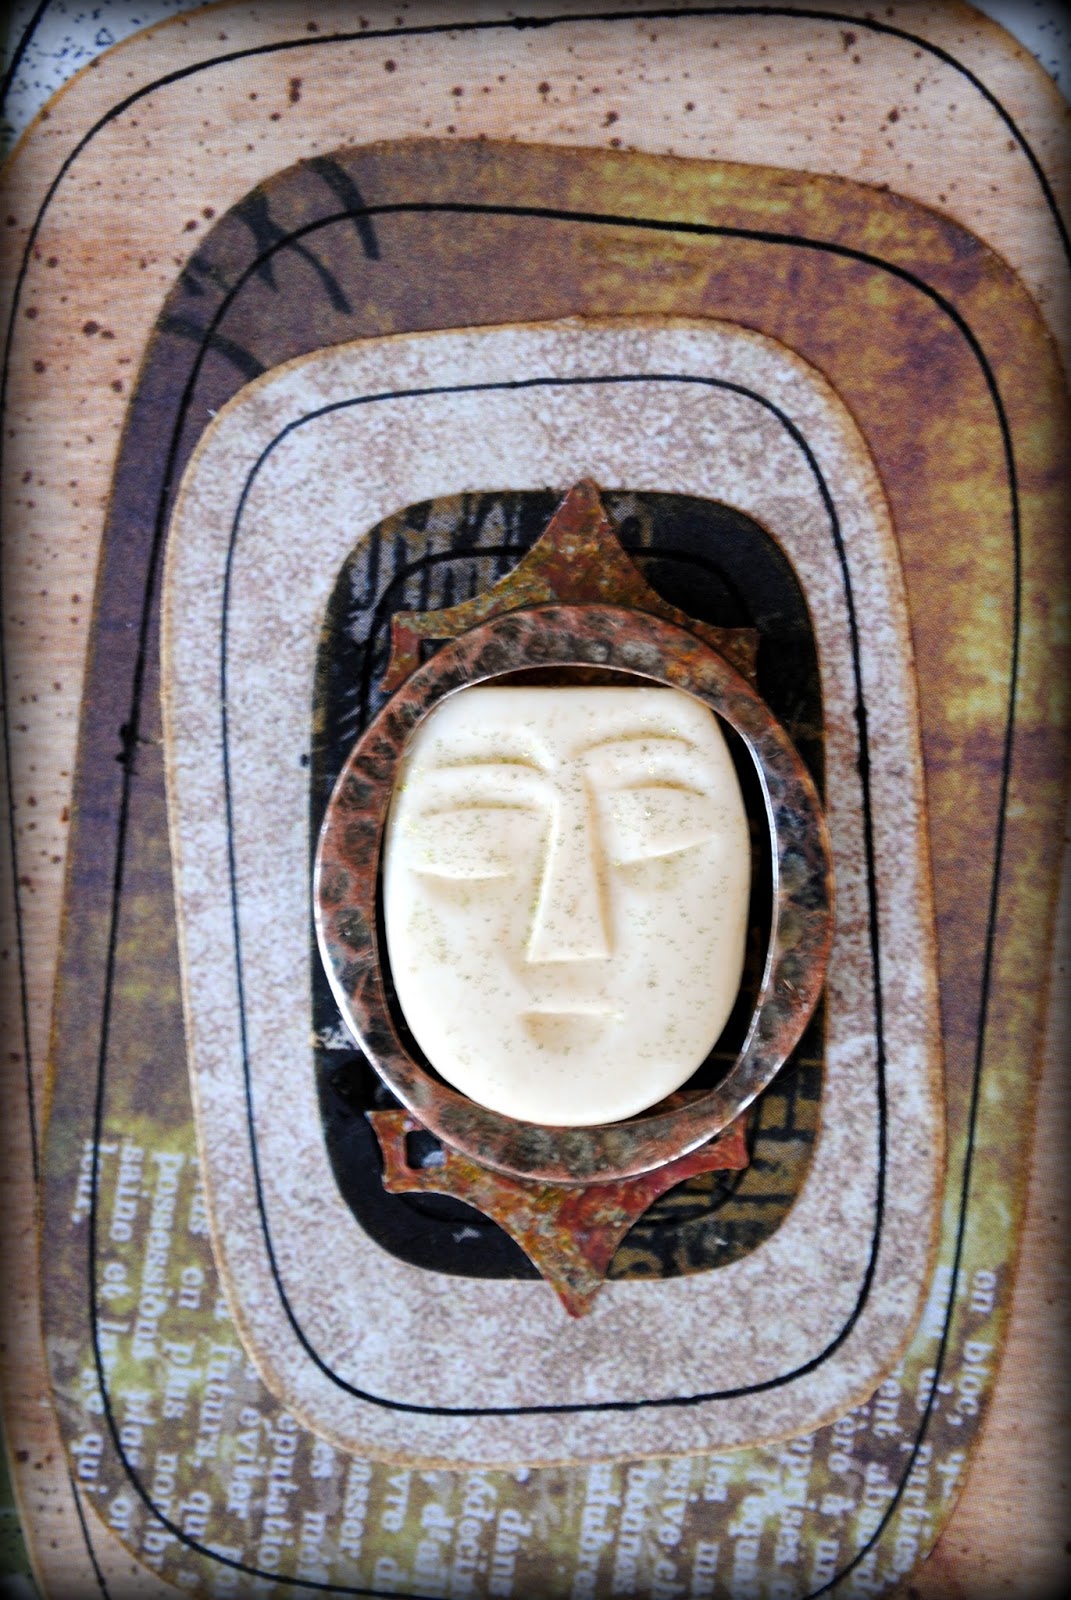
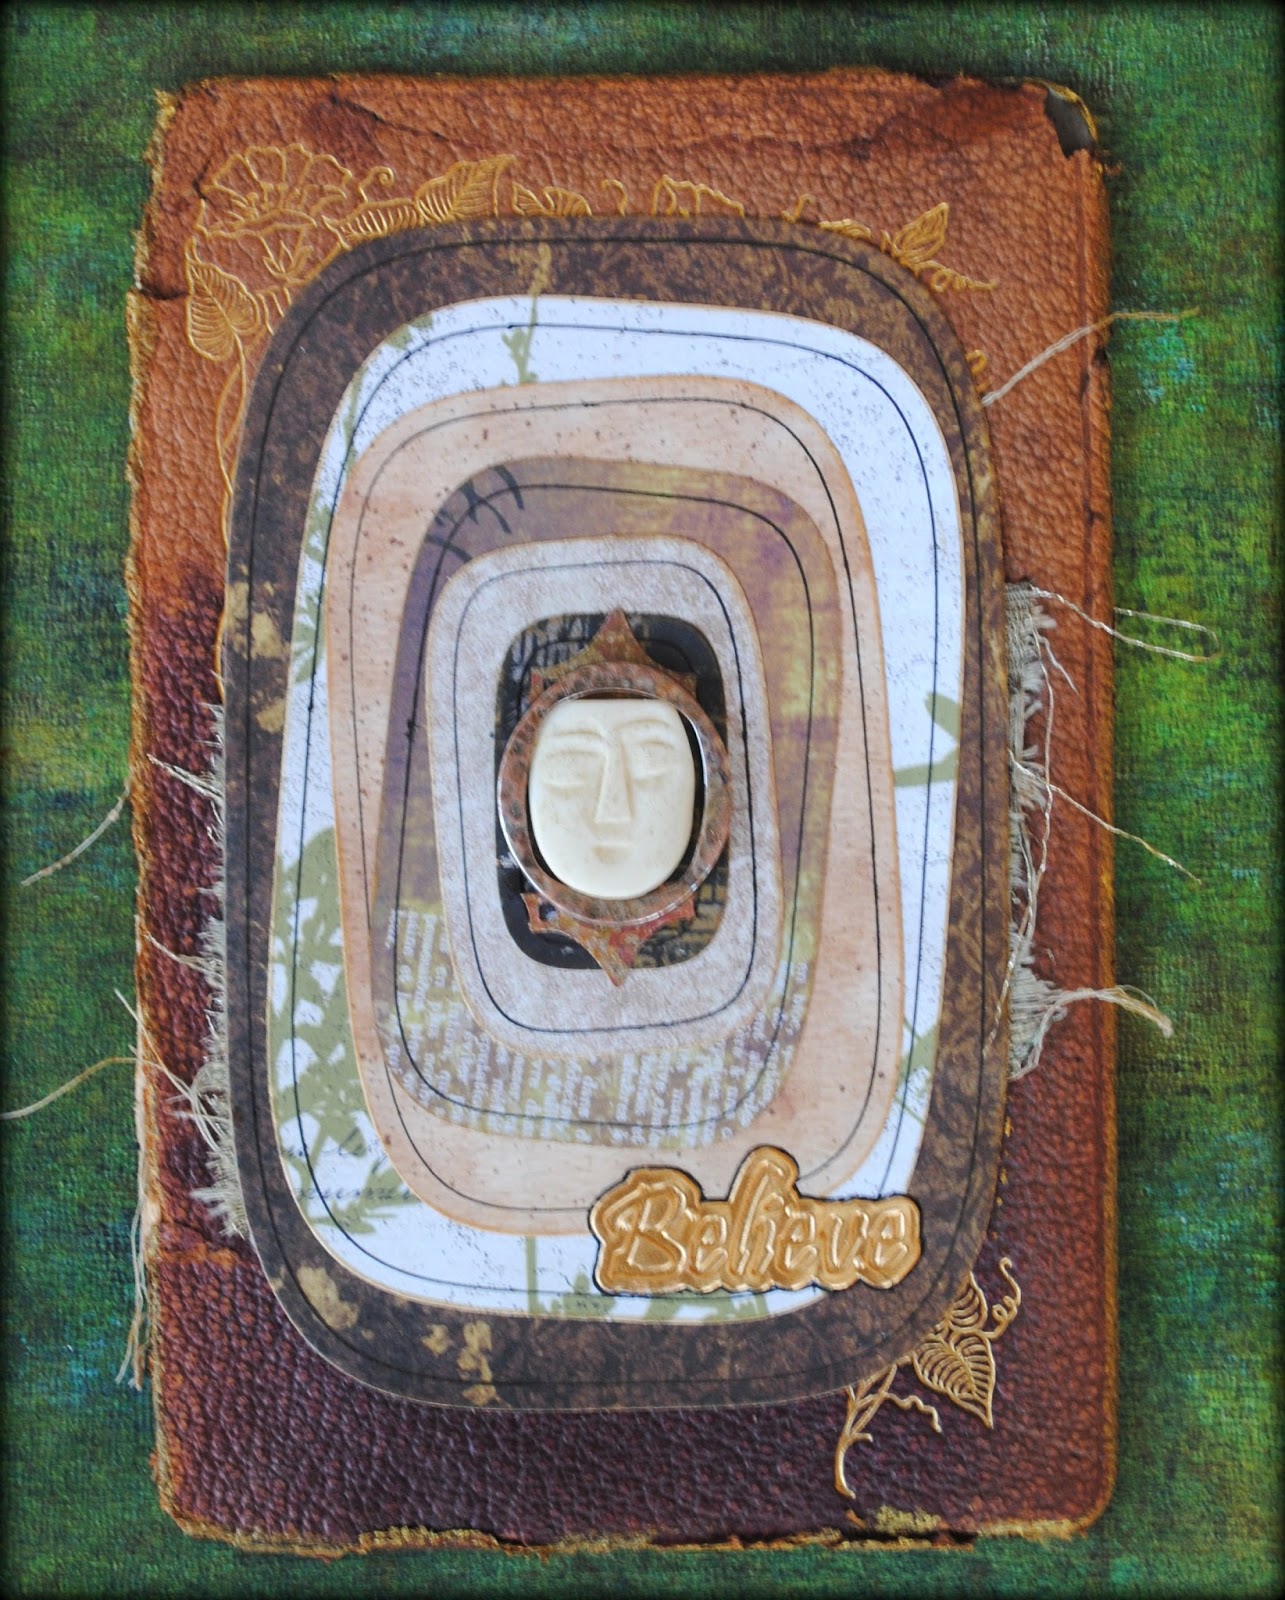
Believe

Believe was inspired by a vintage book cover that has been in my collection for some time now. I loved the textured book cloth, the naturally brittle and distressed edges, and the beautiful gold embossing. The dark patch of color does not read as bold in real life.

I also knew that I wanted to use the face from this earring, which I had picked up long ago at a NYC flea market. Although I love abstract art, I also love to include faces as focal images.

I started out by using all six pieces from the just-released Spellbinders Superellipse die set.
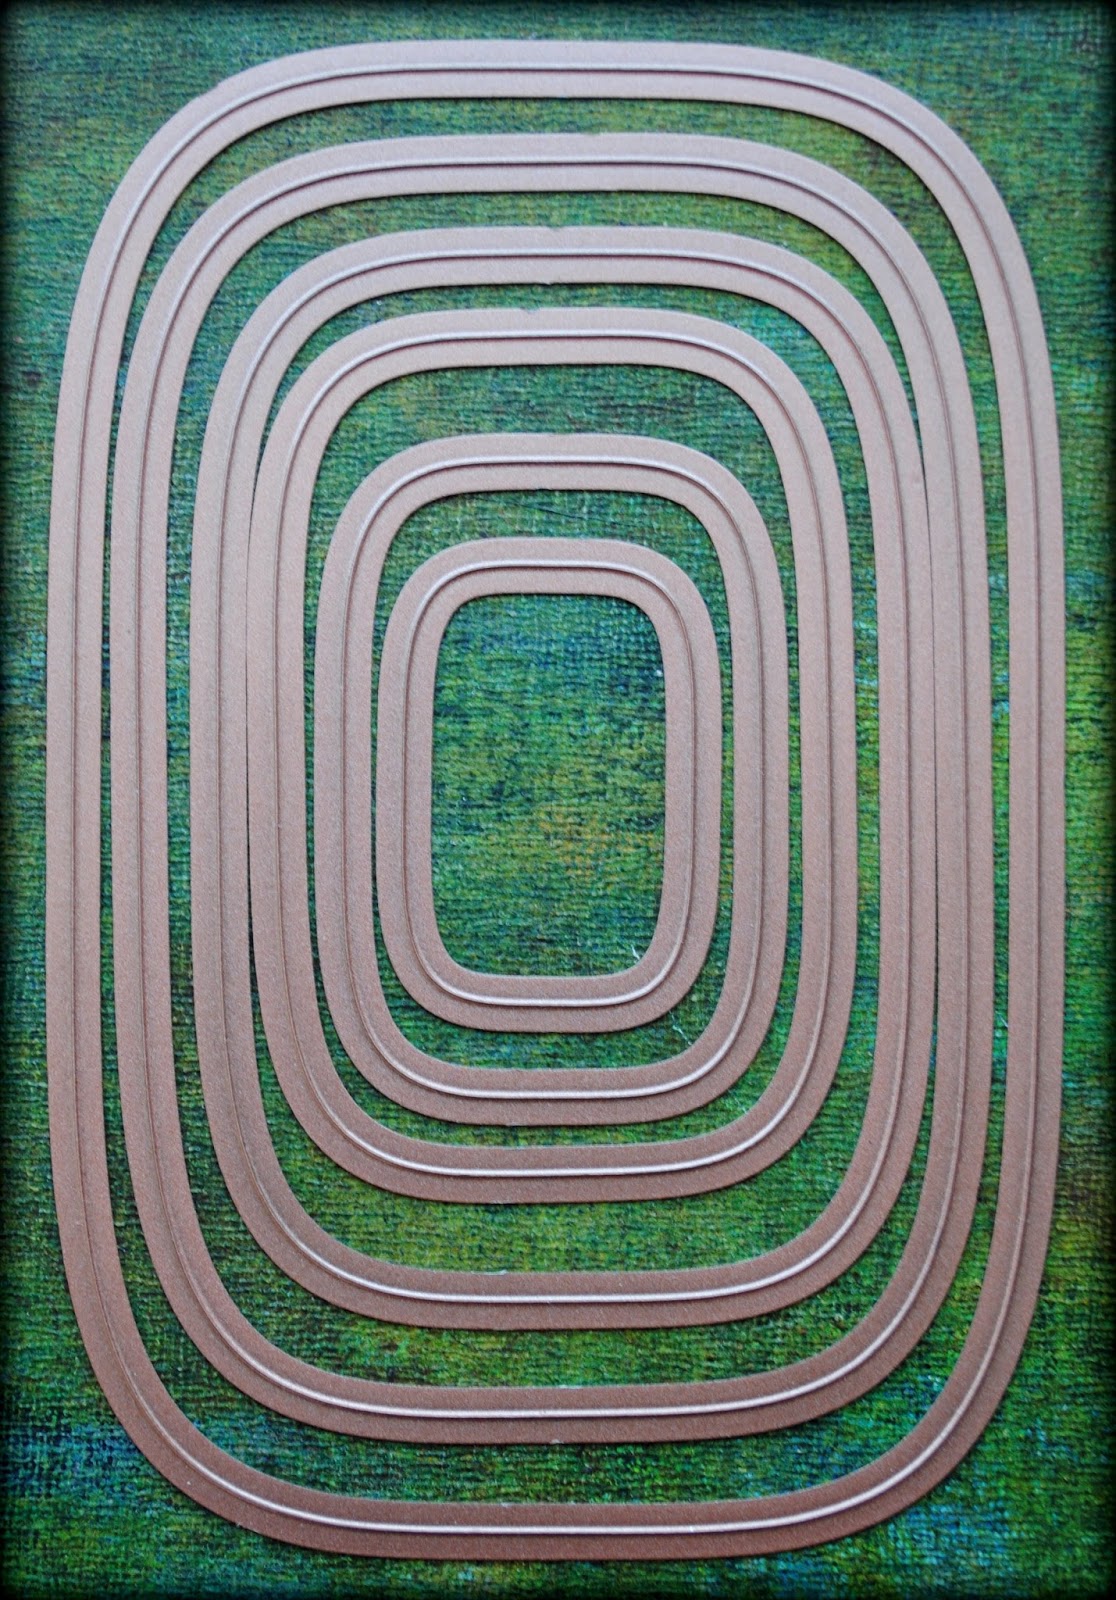
I cut out the shapes from six different decorated pages.
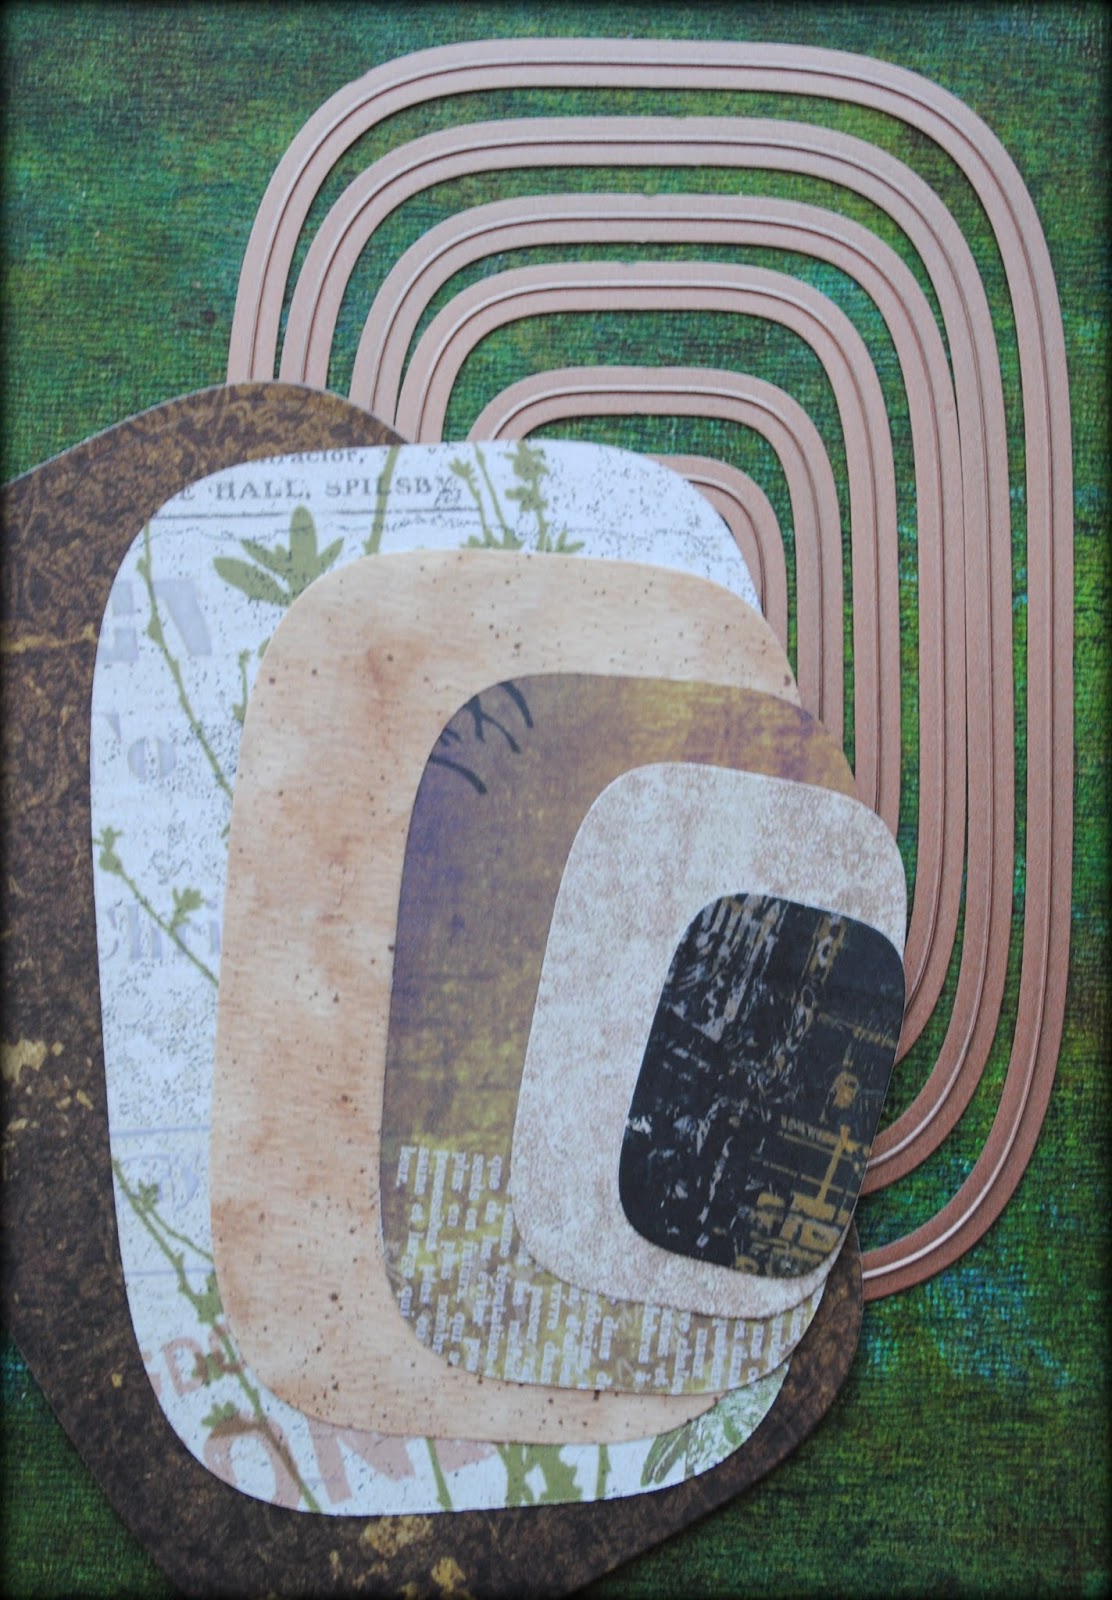
I altered each of these pieces by edging them with gold metallic pigment ink and a border of black ink, created by using the inside of each die as a template. I ran the gold ink pad around the edge of the book cover for more contrast as well.

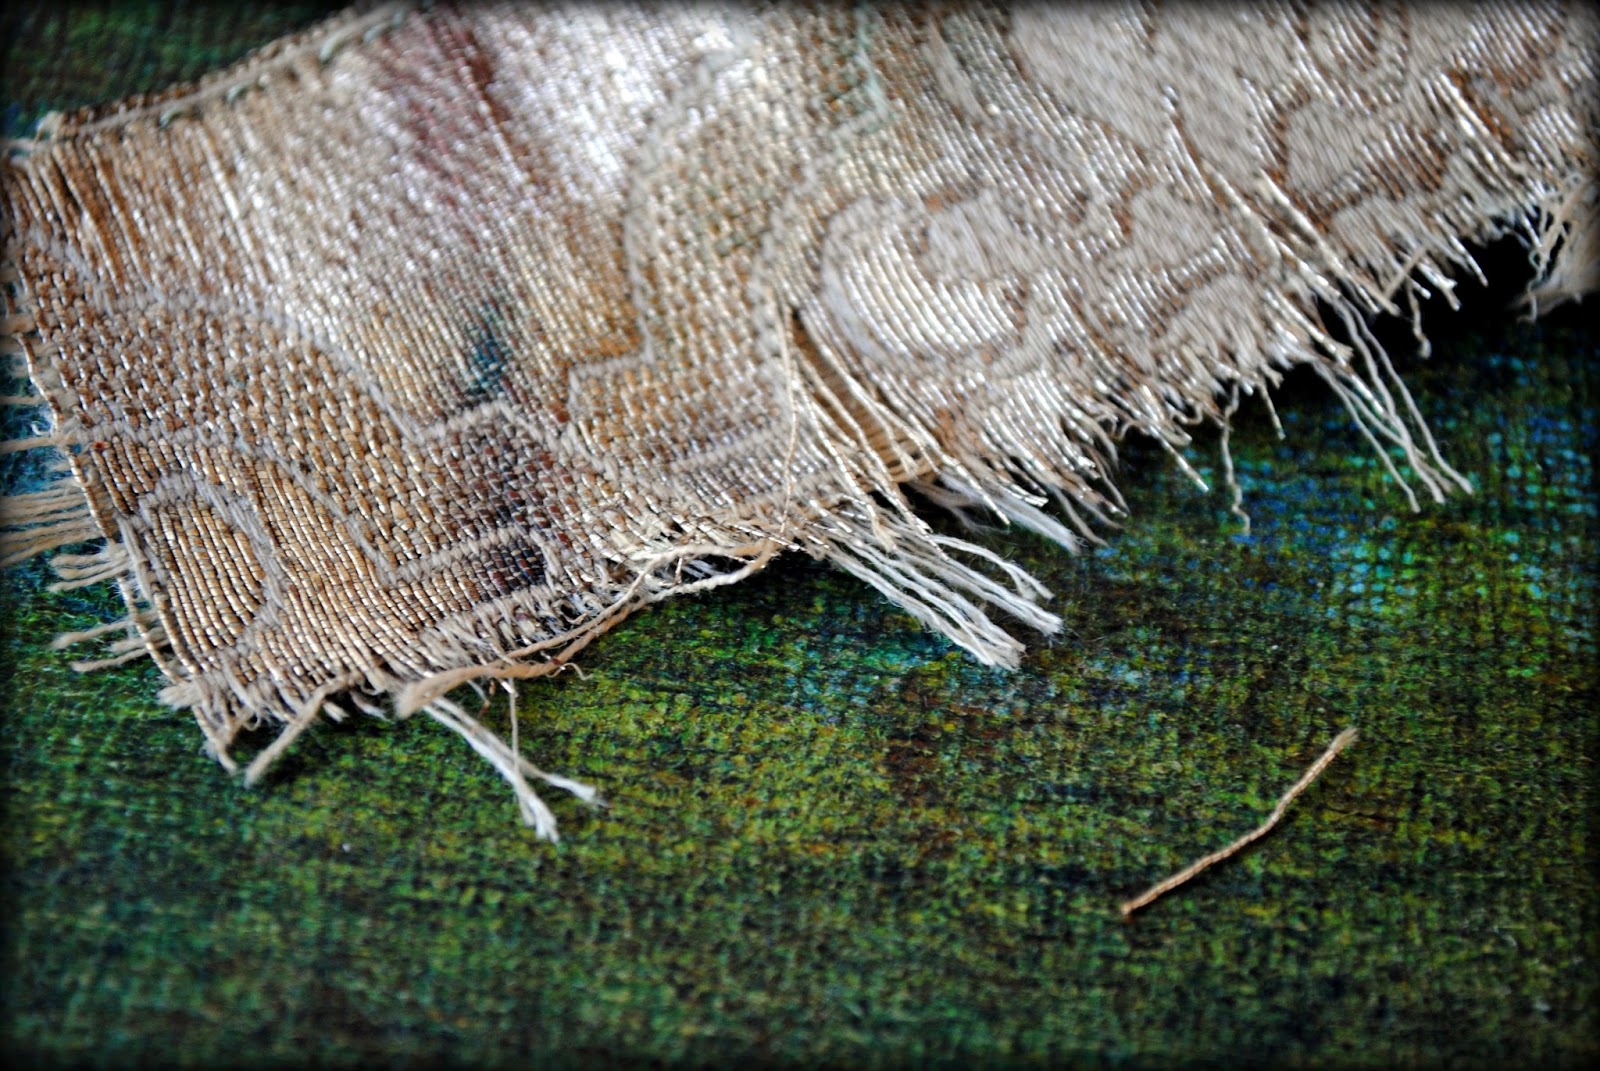
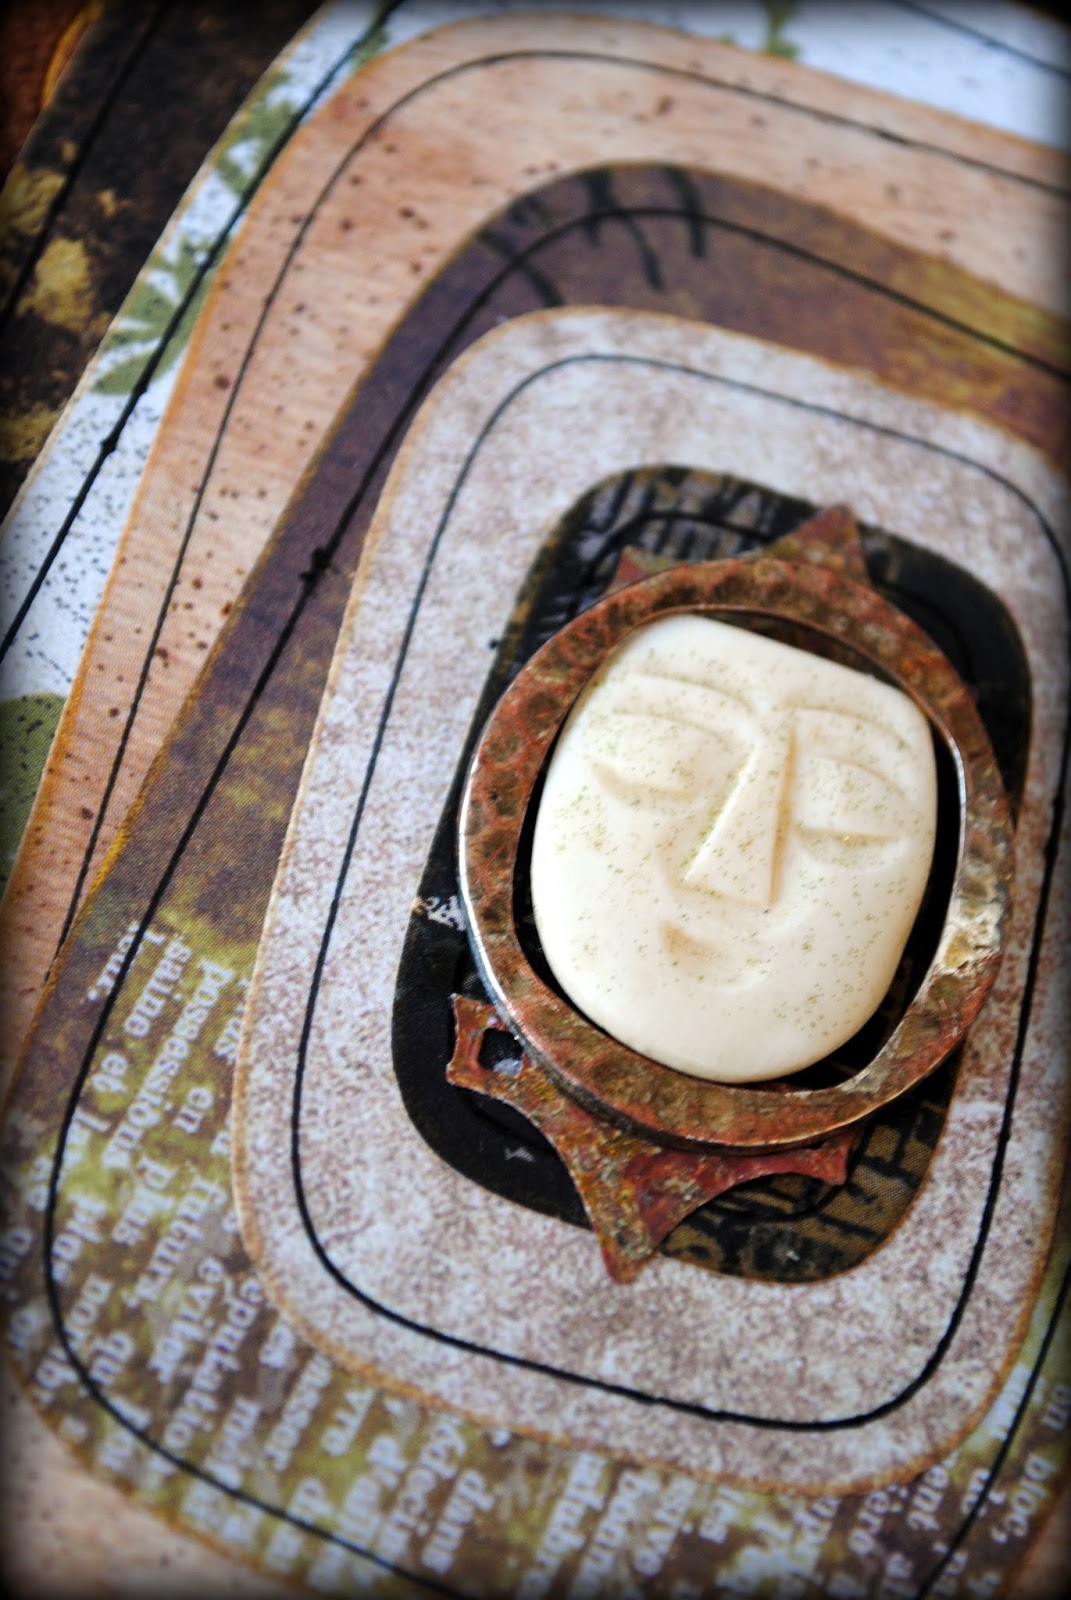
My plan was to stack the ellipses from large to small. I decided to add some fragment remnants underneath for more depth, complexity and texture.
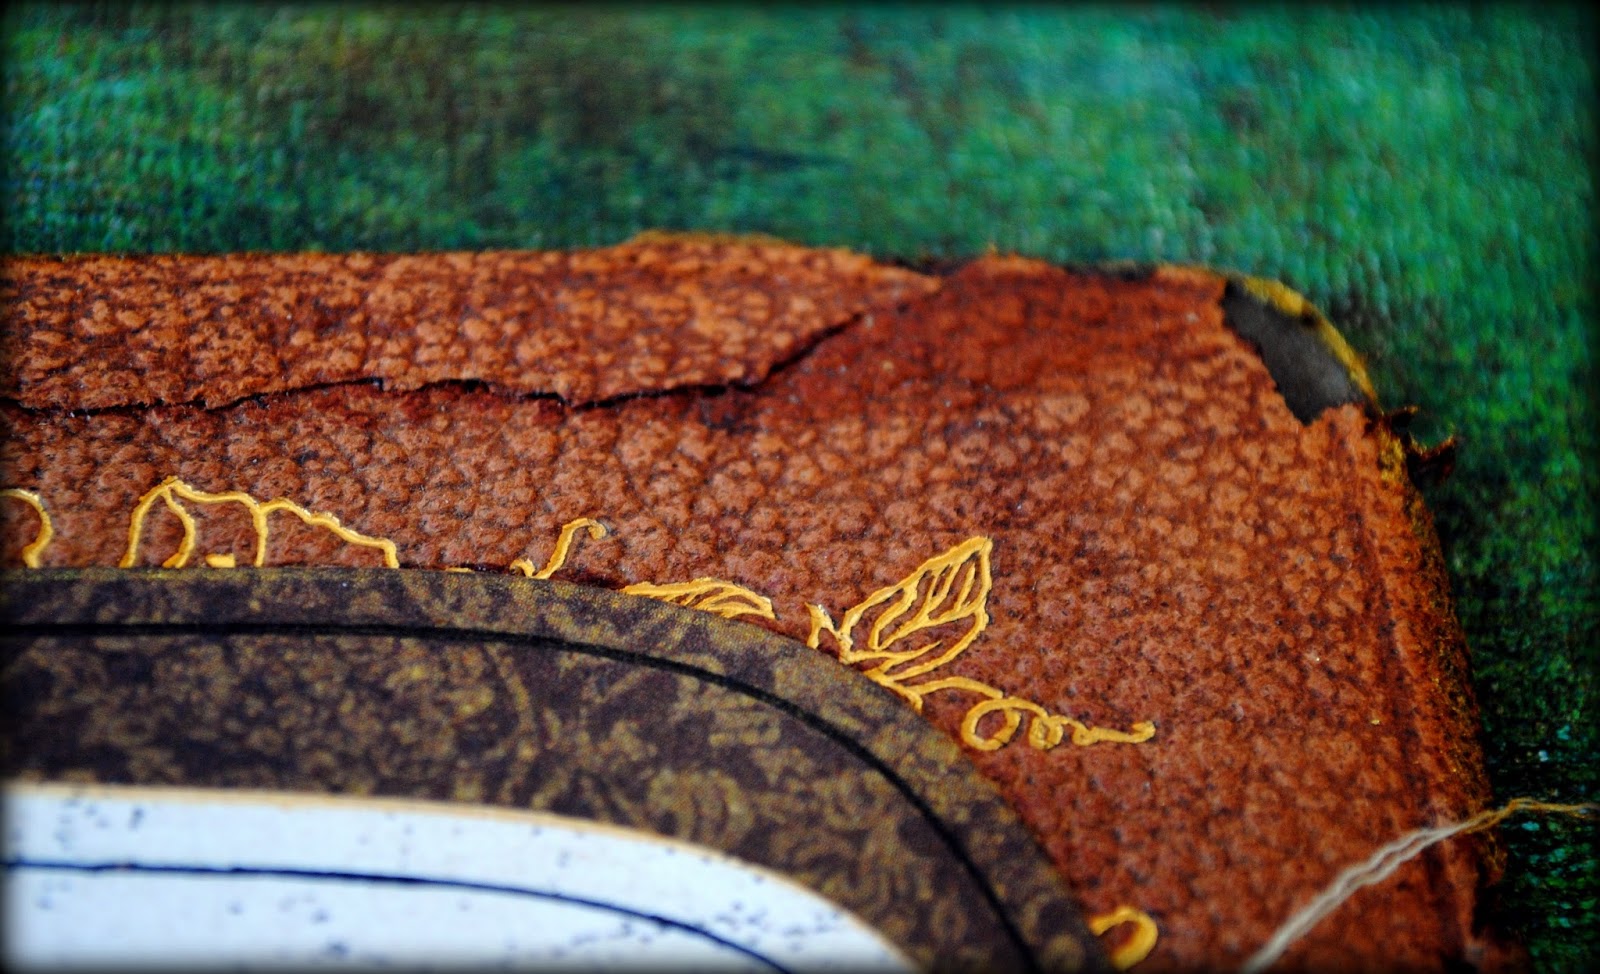
I used one of the dies from Spellbinders new Sentiments set, which includes 14 descriptive words in text. In keeping with the color theme, I cut the word believe out of gold foil. I knew that when I attached it I would outline the word in black ink to make it pop.

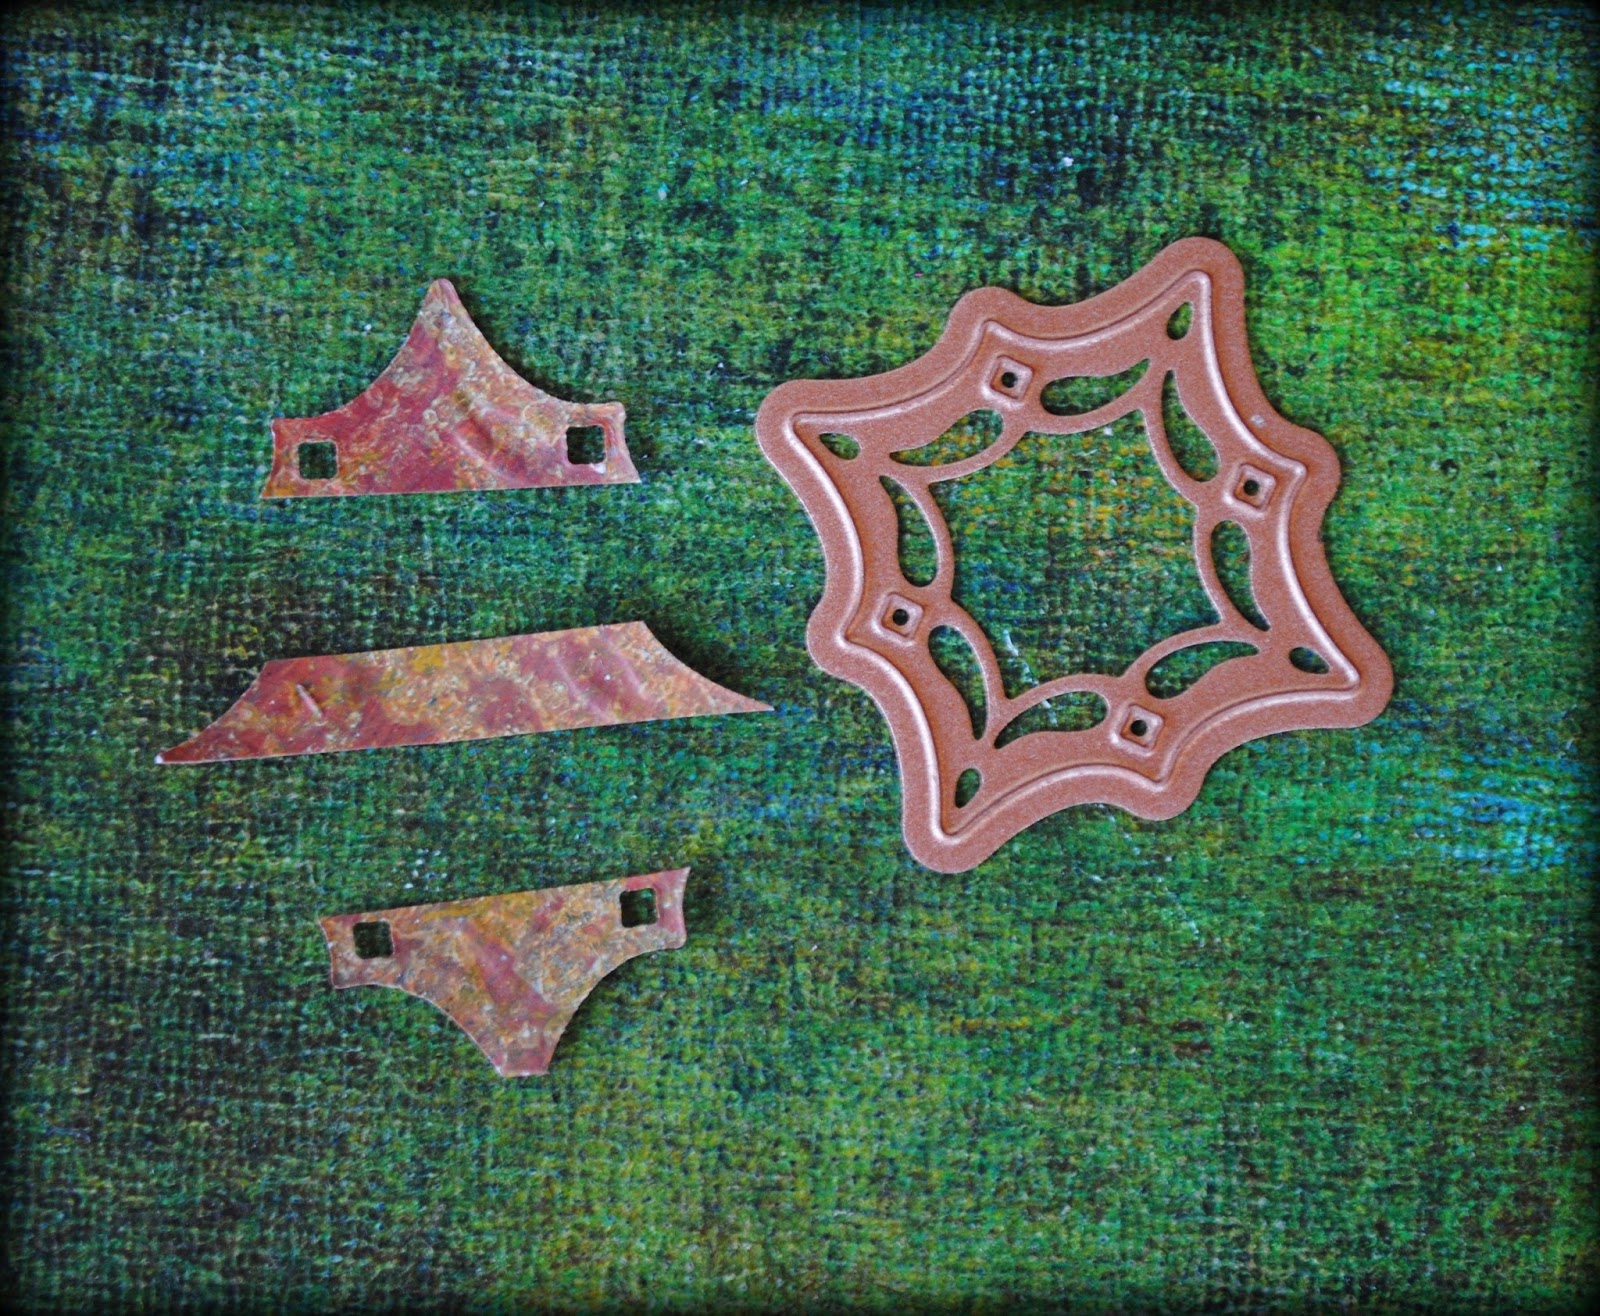
I decided the face needed a surround. I chose the following metal ring from my stash...

...as well as a die cut, which I cut by hand so I could use part of the design to frame the face.
I then got to stacking and gluing and gluing and stacking until, believe it or not, Believe was completed.


-------------------------------------
Supply List
Spellbinders Paper Art Supplies:
GC-001 SpellbindersTM Grand Calibur® MachineS5-188 SpellbindersTM Nestabilities® SuperellipseS5-200 SpellbindersTM Shapeabilities® SentimentsS5-146 SpellbindersTM Shapeabilities® Botanical Swirls and AccentsMM1-001 SpellbindersTM Media Mixage Foil Pack One
Preferred Promotional Partners: Tsukineko Delicata ink pad
Cross Promotional Partners: 7 Gypsies paper, BoBunny Press paper
Other: vintage book cover, decorated and hand painted paper, adhesive, paint brush, pen, embellishments
July 12, 2013
Stencil Love
I have found myself using stencils over and over again lately in a lot of my mixed media work. Stencils have been on the scene for quite a long time but they seem to be exploding lately. There are more choices of styles and sizes than ever before. And many people are making their own.

Of the many choices of stencil sources out there, one of my favorites is Mary Beth Shaw's StencilGirl Products. You can count on wonderful quality, a large selection, and an all-star team of artists who design for the company. In fact, earlier this year I posted about a set of stencils from Chris Cozen and two sets of stencils from Jessica Sporn here and here.
In addition to the website and online store, Mary Beth has started a new blog called StencilGirl Talk that highlights the company's stencils. She has even created a Stencil of the Month Club.
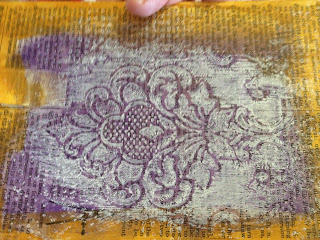
I feel honored to announce that I have recently joined the team of stencil artists at StencilGirl and have created three large (9x12) stencils that will be added to the online shop and available in retail outlets very soon. The designs are a bit of a departure from many of the stencils that are currently available and I am excited to see the direction that artists take when using them. Here is one small section...

I will be "revealing" them next week at CREATE mixed media retreat, where I will be selling a limited number of each stencil at the Artist's Faire on Friday, July 19th. They will not be available anywhere else until just after the retreat. Look for another post on my blog when they are more widely available.
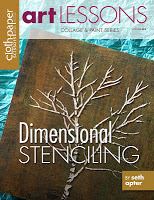
If you are interested in learning techniques for adding texture to your artwork using stencils, you can download Dimensional Stenciling , my eMag published by Cloth Paper Scissors as part of their Art Lessons Series. You can read more about this publication here.

Of the many choices of stencil sources out there, one of my favorites is Mary Beth Shaw's StencilGirl Products. You can count on wonderful quality, a large selection, and an all-star team of artists who design for the company. In fact, earlier this year I posted about a set of stencils from Chris Cozen and two sets of stencils from Jessica Sporn here and here.
In addition to the website and online store, Mary Beth has started a new blog called StencilGirl Talk that highlights the company's stencils. She has even created a Stencil of the Month Club.
I feel honored to announce that I have recently joined the team of stencil artists at StencilGirl and have created three large (9x12) stencils that will be added to the online shop and available in retail outlets very soon. The designs are a bit of a departure from many of the stencils that are currently available and I am excited to see the direction that artists take when using them. Here is one small section...
I will be "revealing" them next week at CREATE mixed media retreat, where I will be selling a limited number of each stencil at the Artist's Faire on Friday, July 19th. They will not be available anywhere else until just after the retreat. Look for another post on my blog when they are more widely available.

If you are interested in learning techniques for adding texture to your artwork using stencils, you can download Dimensional Stenciling , my eMag published by Cloth Paper Scissors as part of their Art Lessons Series. You can read more about this publication here.
July 9, 2013
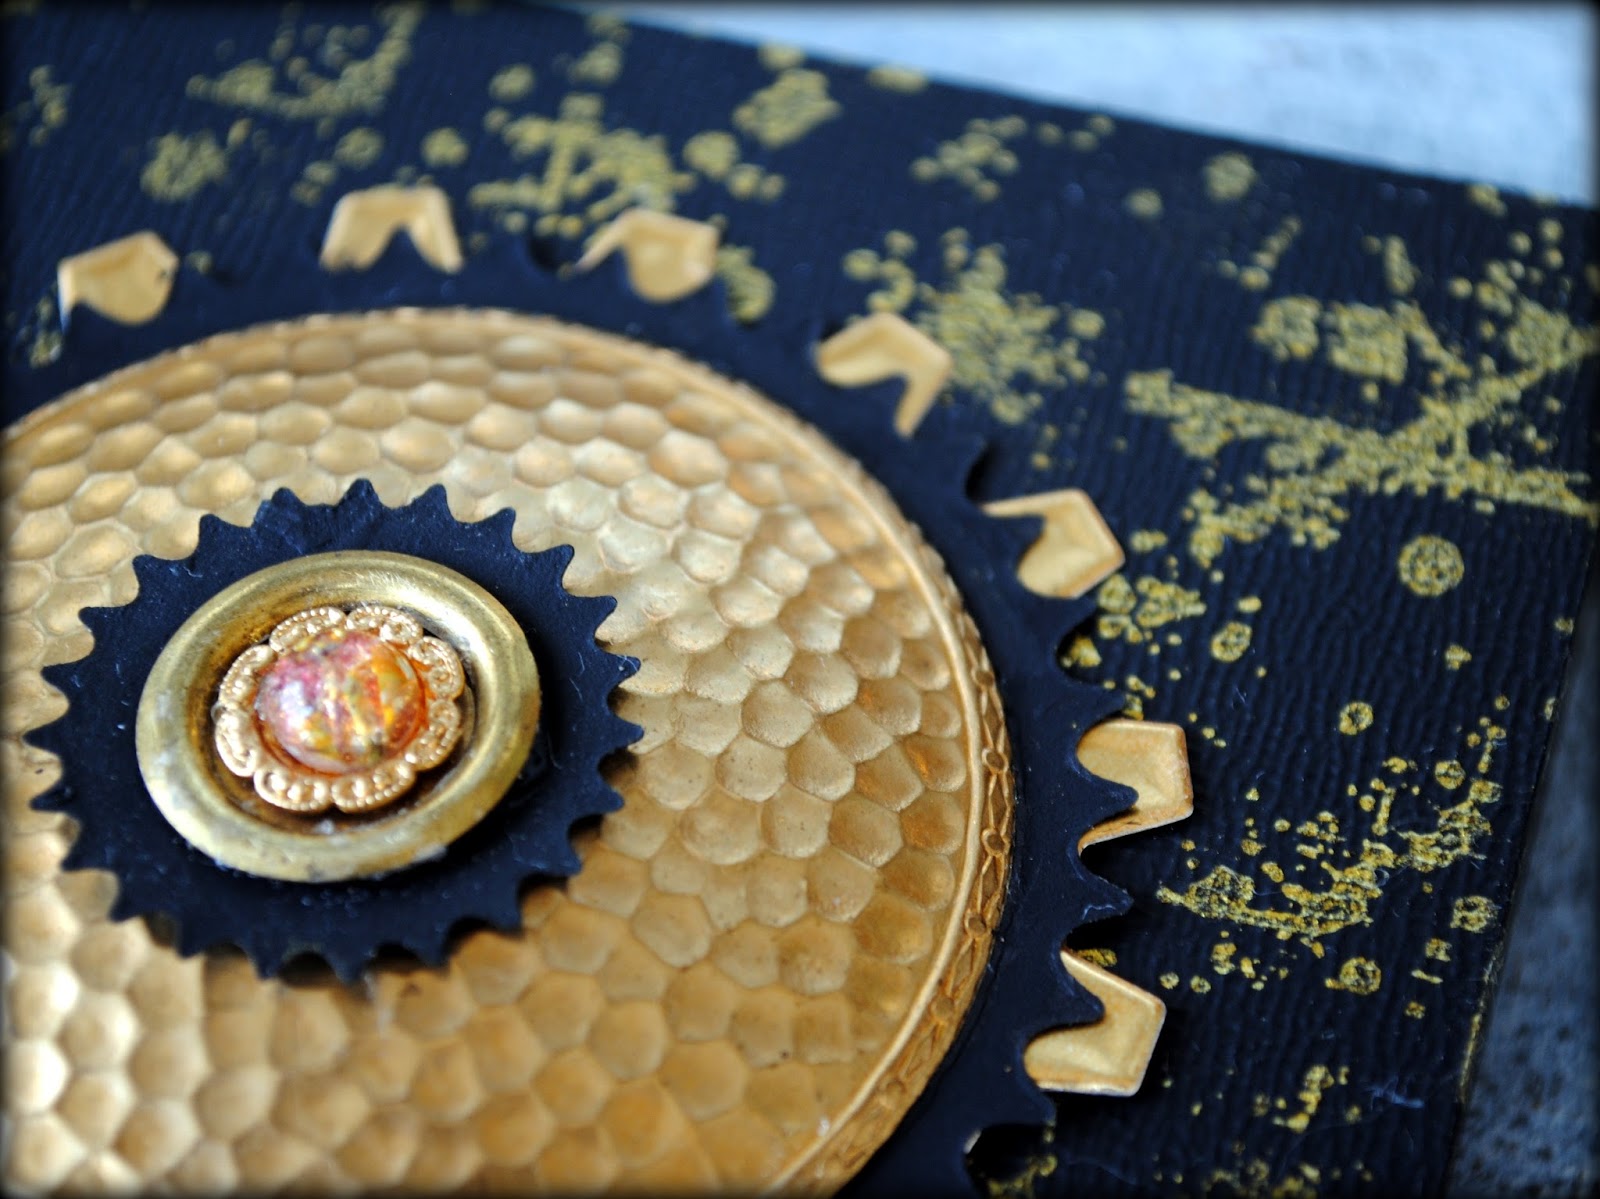
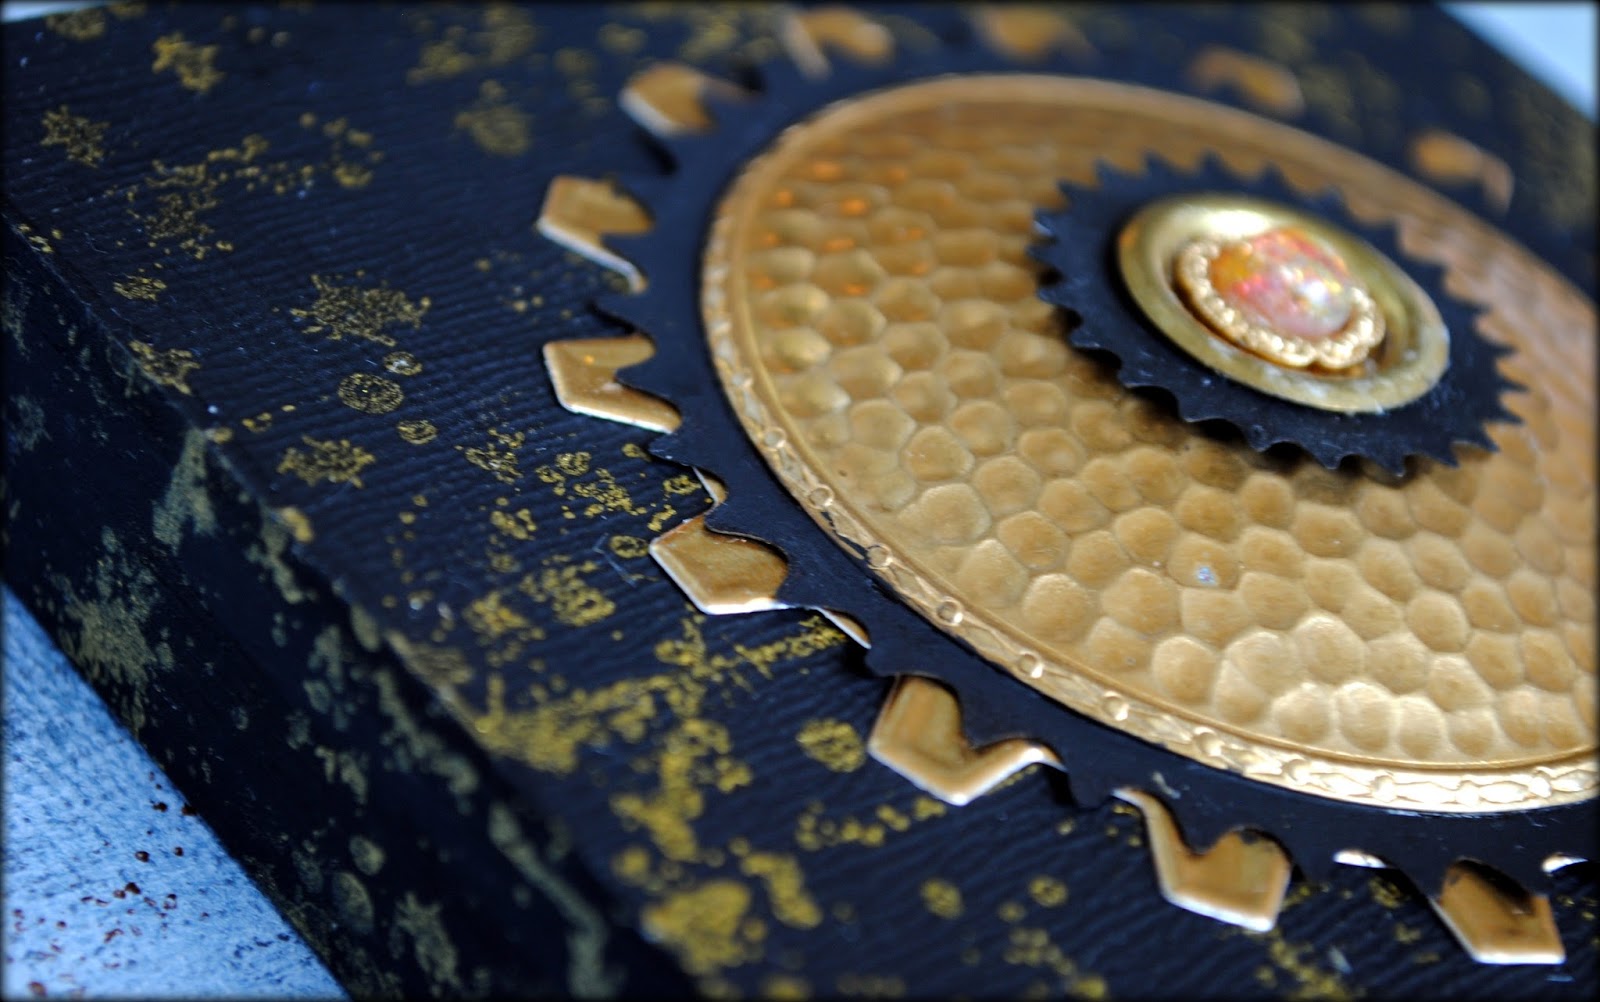
Golden Globe
Today's tutorial was inspired by the color gold.
I started with a 4 x 4 inch cradled wood panel.
The surface was painted a matte black color with gesso.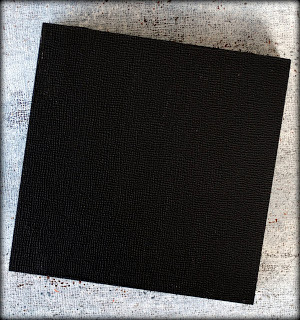
Using a clear stamp and metallic pigment ink, I stamped the surface and sides in a random, abstract pattern.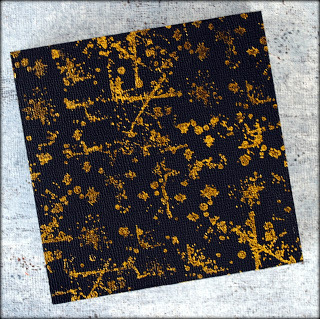
I dug inside my collection of metal bits and found 2 pieces to use, including a wonderful hammered, gold dome.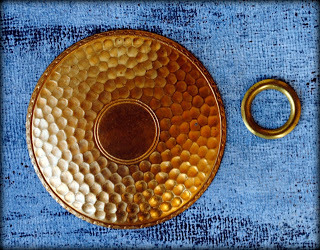
I then dug into my collection of Spellbinders dies and selected a number of dies from 2 of my favorite sets: Cogs and Sprightly Sprockets. I chose some black cardstock and gold foil to match the colors on the panel.
I stacked all the ingredients and adhered them together when I was satisfied with the design. It still needed a finishing touch and, although I do not consider myself a "blingy" kind of guy, I added a small, faux gem to the very top.

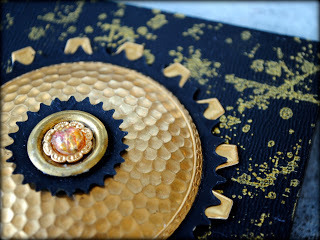
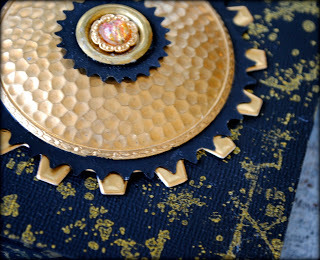


Golden Globe is available for purchase in Aisle 999, my pop-up Etsy shop open only through 7/13.-------------------------------------
Supply List
Spellbinders Paper Art Supplies:
MMM-001 SpellbindersTM Artisan X-plorer® MachineF-012 SpellbindersTM Precious Metals Premium Craft Foils Assortment S4-386 SpellbindersTM Nestabilities® CogsS5-048 SpellbindersTM Shapeabilities® Sprightly Sprockets
Preferred Promotional Partners: Tsukineko Delicata Ink Pad
Other: cradled wood panel, gesso, paint brush, clear stamp and mount, card stock, metal embellishments, adhesive

I started with a 4 x 4 inch cradled wood panel.

The surface was painted a matte black color with gesso.

Using a clear stamp and metallic pigment ink, I stamped the surface and sides in a random, abstract pattern.

I dug inside my collection of metal bits and found 2 pieces to use, including a wonderful hammered, gold dome.

I then dug into my collection of Spellbinders dies and selected a number of dies from 2 of my favorite sets: Cogs and Sprightly Sprockets. I chose some black cardstock and gold foil to match the colors on the panel.

I stacked all the ingredients and adhered them together when I was satisfied with the design. It still needed a finishing touch and, although I do not consider myself a "blingy" kind of guy, I added a small, faux gem to the very top.


Golden Globe is available for purchase in Aisle 999, my pop-up Etsy shop open only through 7/13.-------------------------------------
Supply List
Spellbinders Paper Art Supplies:
MMM-001 SpellbindersTM Artisan X-plorer® MachineF-012 SpellbindersTM Precious Metals Premium Craft Foils Assortment S4-386 SpellbindersTM Nestabilities® CogsS5-048 SpellbindersTM Shapeabilities® Sprightly Sprockets
Preferred Promotional Partners: Tsukineko Delicata Ink Pad
Other: cradled wood panel, gesso, paint brush, clear stamp and mount, card stock, metal embellishments, adhesive
July 8, 2013
Got Class?
In the next four months, I will be attending three art retreats. If you have been to a retreat already, then I know I am preaching to the choir. But if you haven't yet attended an art retreat...believe me when I say that it is an experience not be missed. Not only do you have hours of uninterrupted time when your only job is to make art (!) but you get to do it surrounded by a group of peeps that get ya. I mean really get ya. I enter every retreat with excited anticipation and I leave every retreat with memories that inspire me long after the art party is over. Not to mention many new friends! Every retreat has its own personality and unique highlights. And truly, every retreat is an adventure to remember.
I would love to meet you at one of the retreats I will be attending:
First up is CREATE mixed media retreat in Somerset, NJ, which runs from 7/17 to 7/21. I will be teaching 4 classes and selling my artwork at The Artists' Faire on 7/19.
Later this month, from 7/29 to 8/6, I will be at Art Unraveled in Phoenix, AZ for the first time. I will be teaching 3 workshops, selling artwork alongside over 55 (!) over vendors at the Shopping Extravaganza on 8/3, and am thrilled to be hosting an artist panel as part of the opening events on 7/29.
Later in the year, from 10/10 to 10/14, I will be at Art is You in Stamford, CT. I will be teaching 3 classes and vending at a special faculty vending event on 10/11.
July 7, 2013
Aisle 999: pop-up shop

Welcome to Aisle 999 -- my pop-up shop on Etsy. My shop will open periodically throughout the year, for limited amounts of time. Look for curated themes, art objects, vintage finds, one-of-a-kind items, and some surprises.
Want traditional items? Head to Aisle 3. Want something different? Head to Aisle 999.
--------------------999--------------------
What: 4 x 4 x 44. Look for original art, 4 x 4 inches, at a cost of $44 each.
When: The pop-up is open 24/7 for one week. Doors shut end of day on Saturday, July 13th.
Where: Aisle 999