Seth Apter's Blog, page 97
May 23, 2013
The Story Continues
Earlier this month I traveled to Ashland, Oregon to attend the opening of The Story Within, an art exhibition of work created by both myself and Roxanne Evans Stout at Illahe Studios and Gallery. Working with Roxanne has been a special experience, especially because we worked collaboratively on 12 pieces within the show. We mailed panels back and forth between New York City and Oregon and in doing so, created each piece jointly. We also exhibited our own work as well as a series of handmade artists books that we had collaborated on in previous years. You can see some of my own work in this previous post.
I wish you all could have been there with us to celebrate the opening. But the next best thing is a picture. So as promised, some scenes from The Story Within...
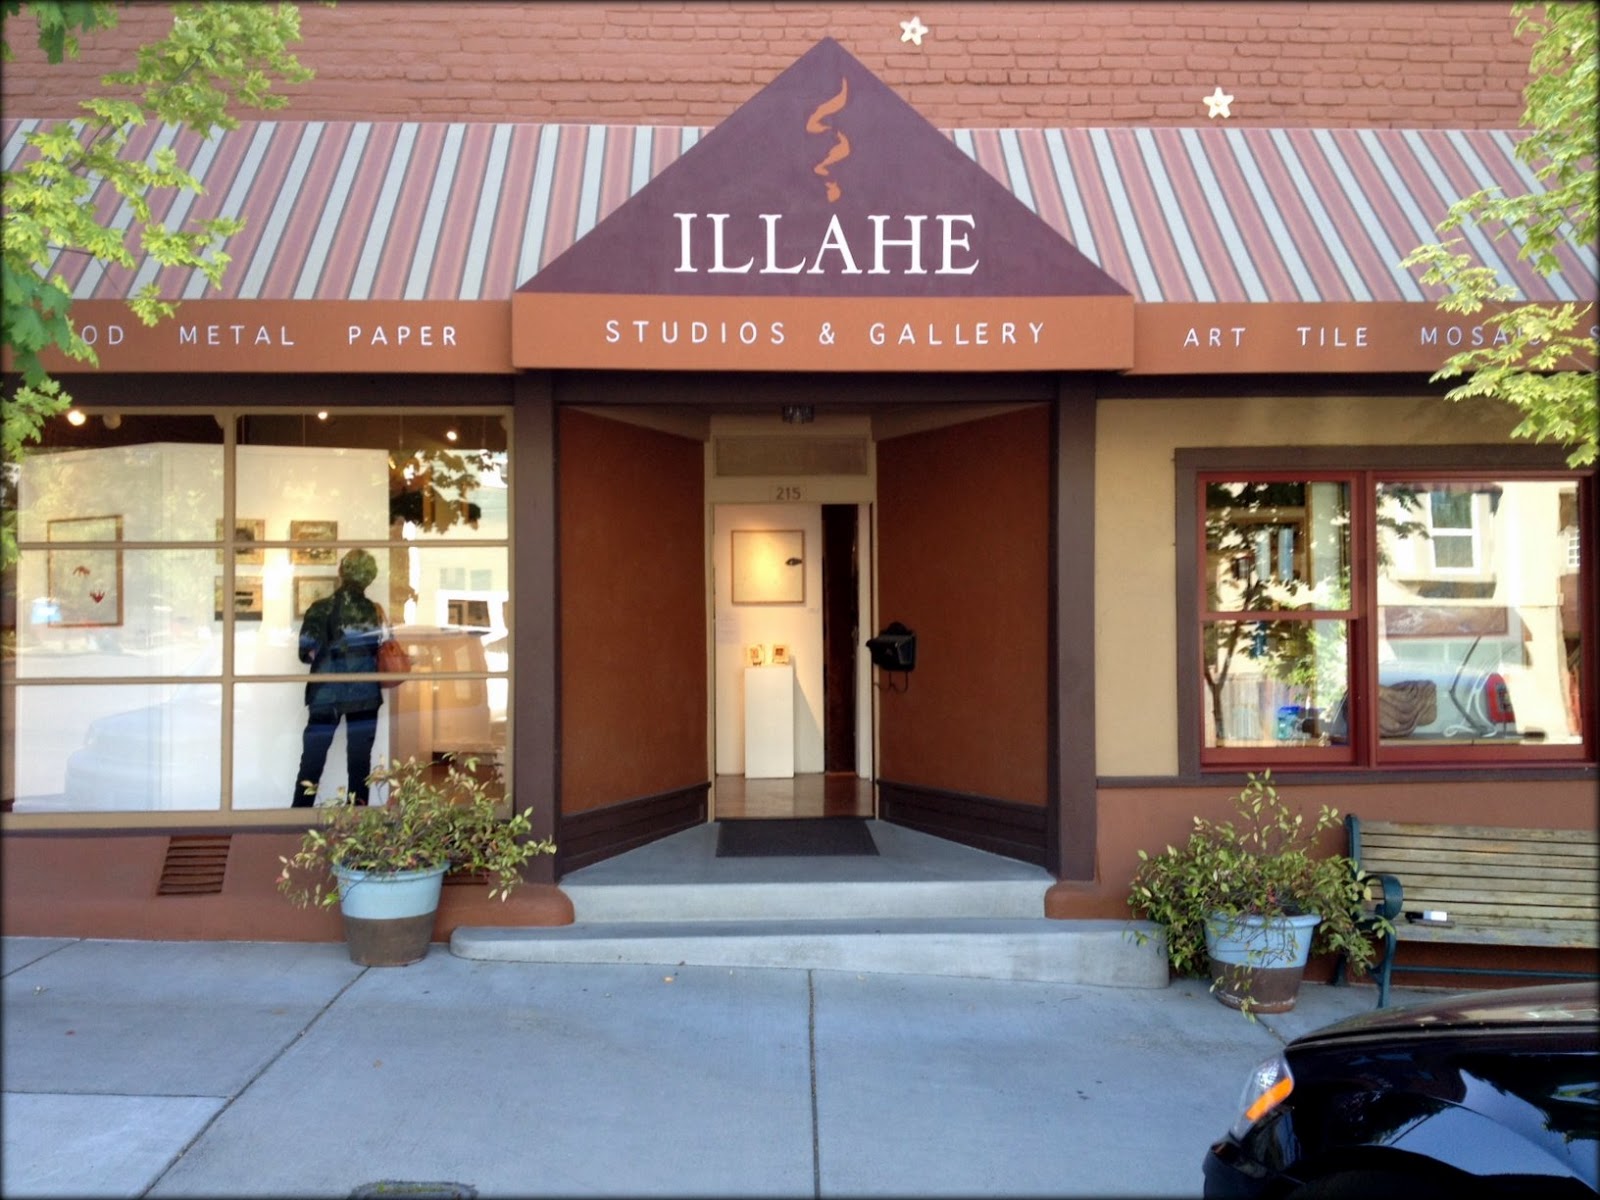 Illahe Studios and Gallery in Ashland, OR
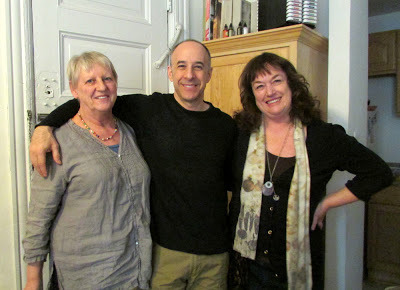
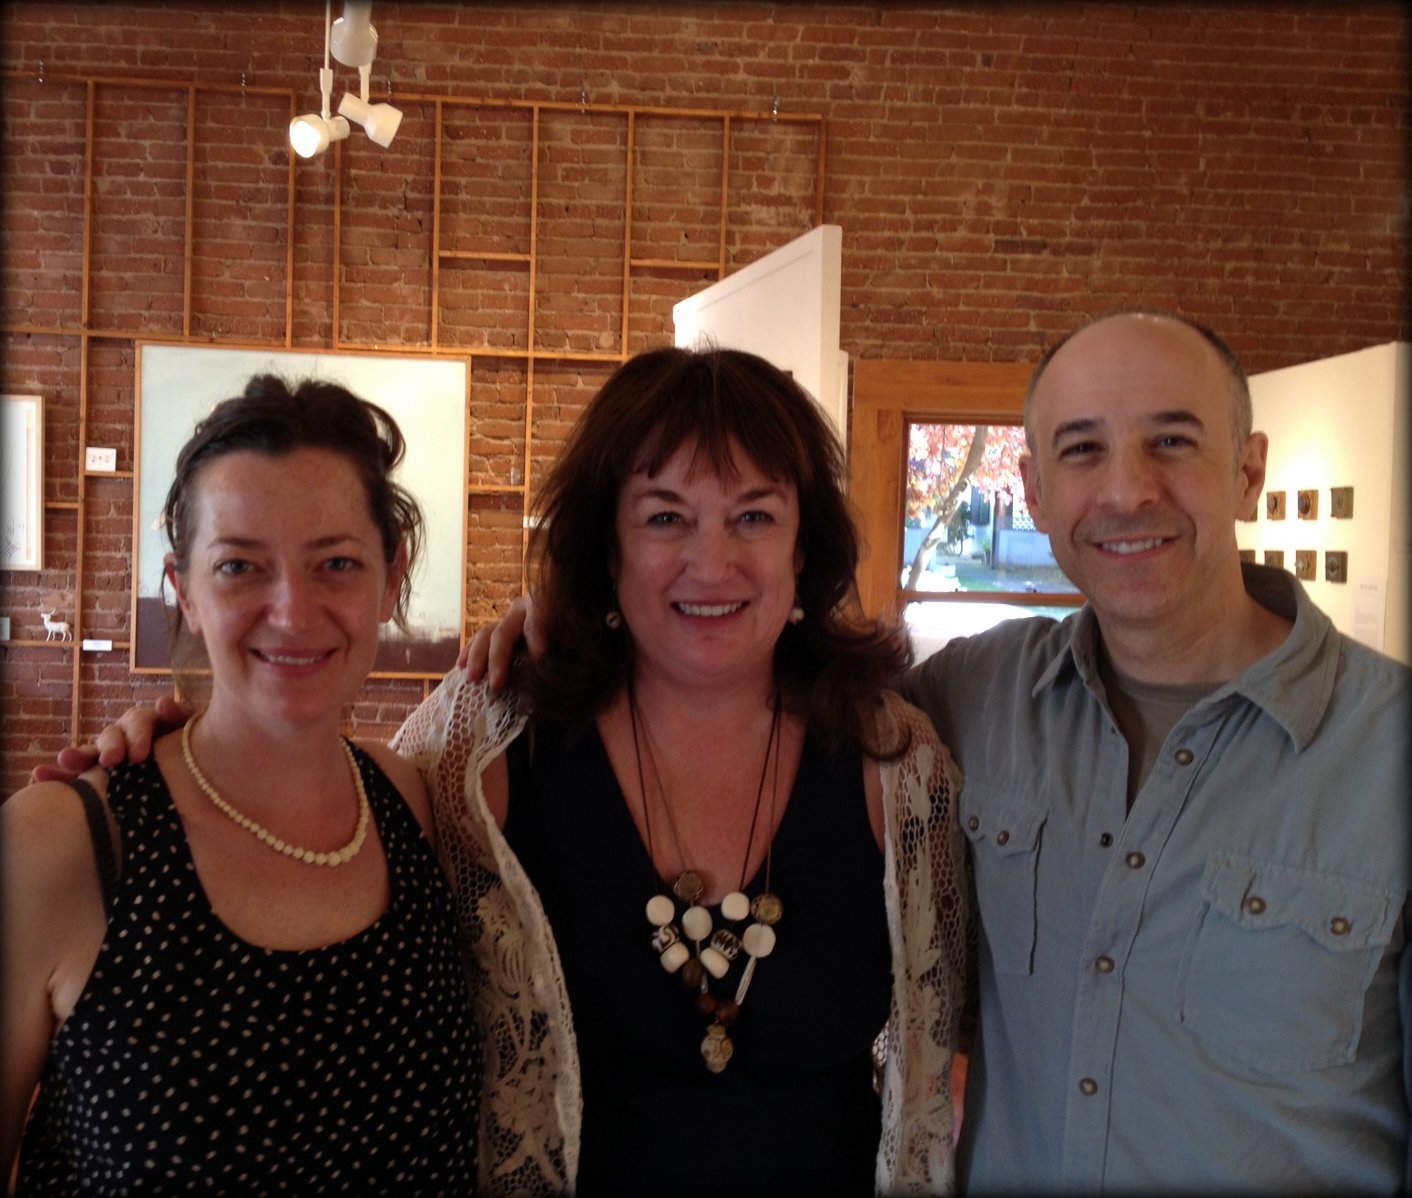 Elan Chardin (who also exhibited with us), Roxanne and I
 The opening on First Friday in Ashland
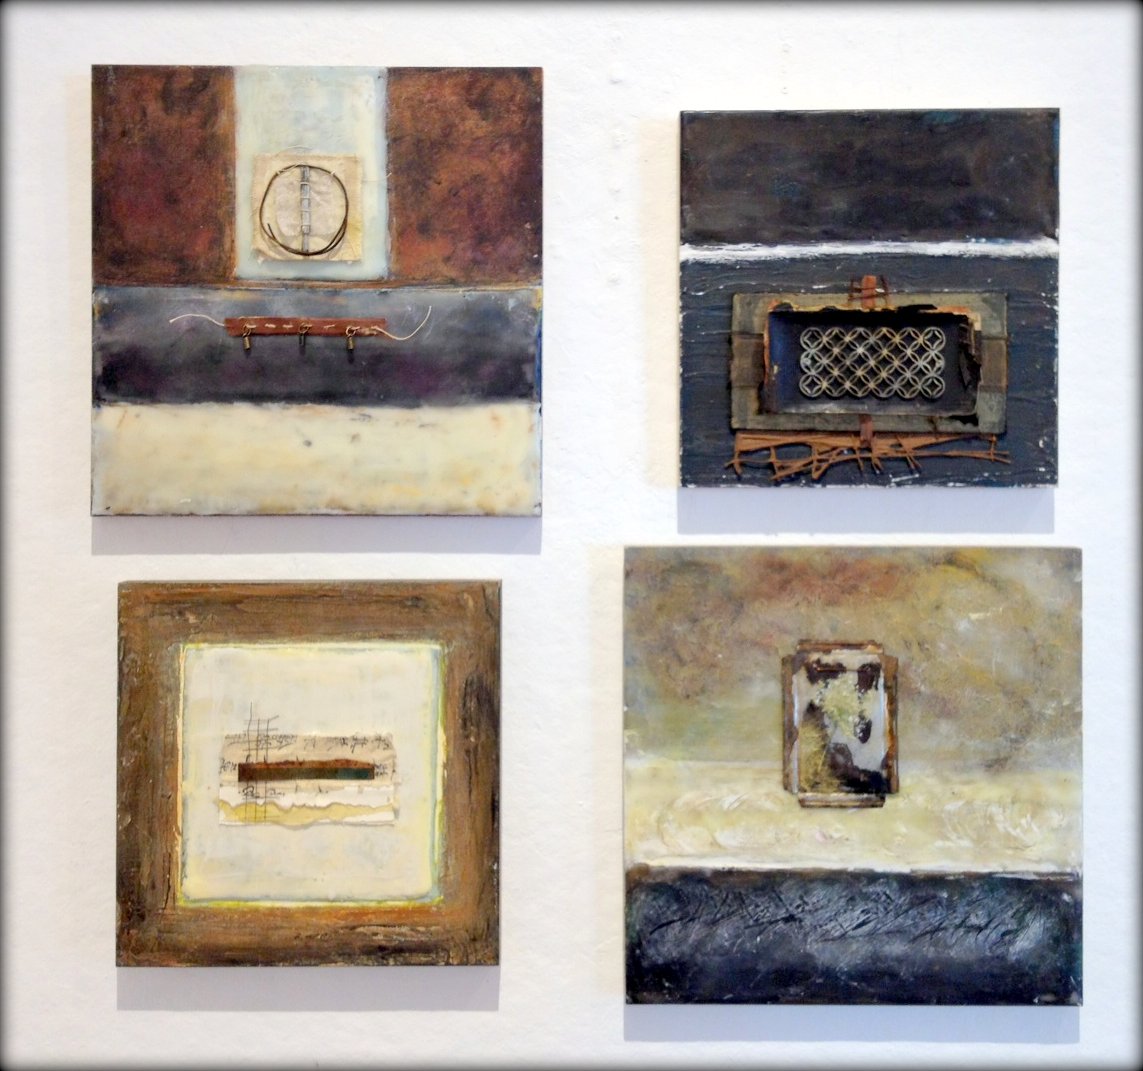
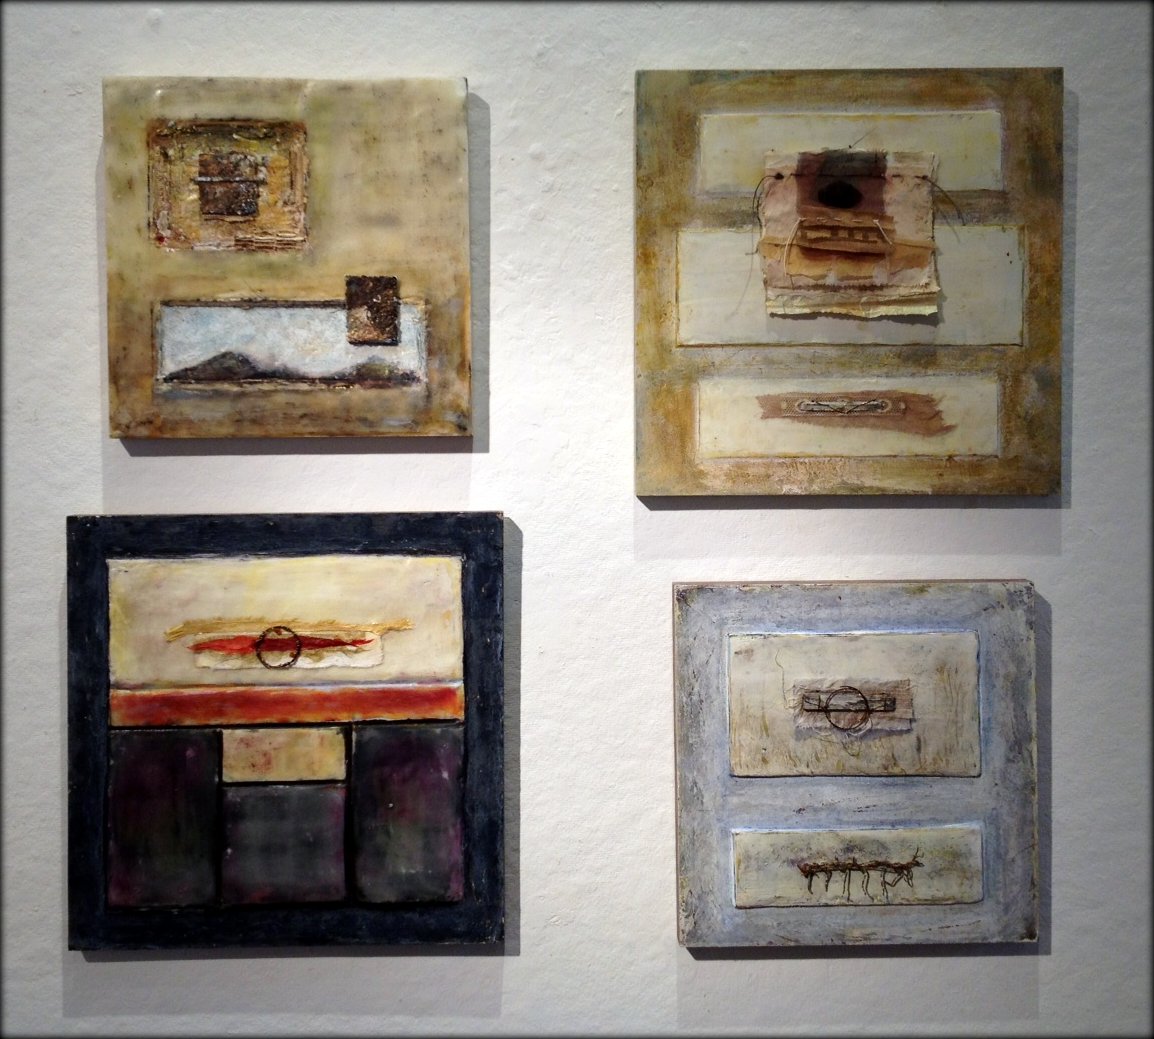 Four of our twelve collaborative pieces
 Where it all began: our first two collaborative books from 2008
 Some of our later collaborative artist books
If you have 2 minutes and 53 seconds, you can take a tour with me of the opening...


May 21, 2013
Cross the Line

I chose to become a member of the Spellbinders Blog Team as I share with them a similar desire to explore beyond and remove the arbitrary divisions that exist among creative groups. I am a firm believer in inclusivity and feel lucky to have the opportunity to spread that word.
Wednesdays on my blog are typically saved for posting blog tutorials that show how I integrate products from Spellbinders, which are traditionally associated with card makers and scrapbookers, into my own mixed media style. Today though, I am posting the first in a series of personal stories from other people who have explored beyond, crossed a line, and broken the boundaries. Perhaps these stories will inspire you to do the same!
----------------------------------
Rachel Whetzel
"Hello. My name is Rachel Whetzel. I'm thrilled to be coming to you as a guest here on The Altered Page. I'm 37 years old, and mom to three boys, ages 19, 13 and 9. We recently moved to the country and I have discovered that I was MADE to be a country girl. I dabble in a million things. One of these things has been scrapbooking. I have been a scrapbooker since I was about 21 years old. Recently, I have drifted toward art journaling. Now I float between the two...because now I believe they are one in the same. This is the story of my journey.
I started out as a pretty traditional scrapbooker.


In 2006, Emily Falconbridge started an art journaling project called deck of ME. The idea was to create an art journal page on a playing card each week for a year. I was instantly hooked. I loved the idea of using images like I would on a scrapbook page but using them in new ways.

I found my subject matter and the things I wanted to do in my scrapbooking changing. I hated being limited by the "rules" of scrapbooking. Why did scrapbook pages have to be happy? What about scrapbooking memories of things I didn't have pictures for? I felt constricted by the limitations the art journaling and scrapbooking worlds put on what was and wasn't allowed. I didn't see any reason for the two to be separated. Before I knew it I was spending more and more time creating things that I wanted to, and worrying less and less about what rules I might be breaking.


I now see how those lines that scrapbookers and art journal artists draw between themselves are only imaginary. They are only self imposed. The two actually live in the same space. They are interchangeable and NOT exclusive of each other. Still when Seth asked me if I scrapbooked, I hesitated - even though I long ago decided that what I do IS scrapbooking. Silly of me, I know. Yet I did. Even after all this time. The reaction is the reason for my sharing here with you.

I want to encourage you. Whether you are a scrapbooker or an art journaler. Step to the other side of the line you see drawn. Join the dark side. Be a rule breaker. Try making your art journal a bit more scrappy. Try scrapbooking with a touch of paint or a touch of angst...whatever the line is that you face. Step over it! Don't hesitate."

----------------------------------
Thanks Rachel for sharing your thoughts and experiences. If you want to learn more about Rachel and see more of her artwork, you can visit her at her website or blog.
May 19, 2013
And the winner is...
Sending out congratulations to...
Sherri from Like Words Together who is the winner of the Playful Pods Series of stencils from Artistcellar and created by Chris Cozen.
and...
Nan G from Froggy Designs who is the winner of both Chris Cozen's DVD Acrylic Painting: Color, Texture, Value as well as Chris' new book, written with Julie Prichard, Acrylic Solutions: Exploring Mixed Media Layer by Layer .
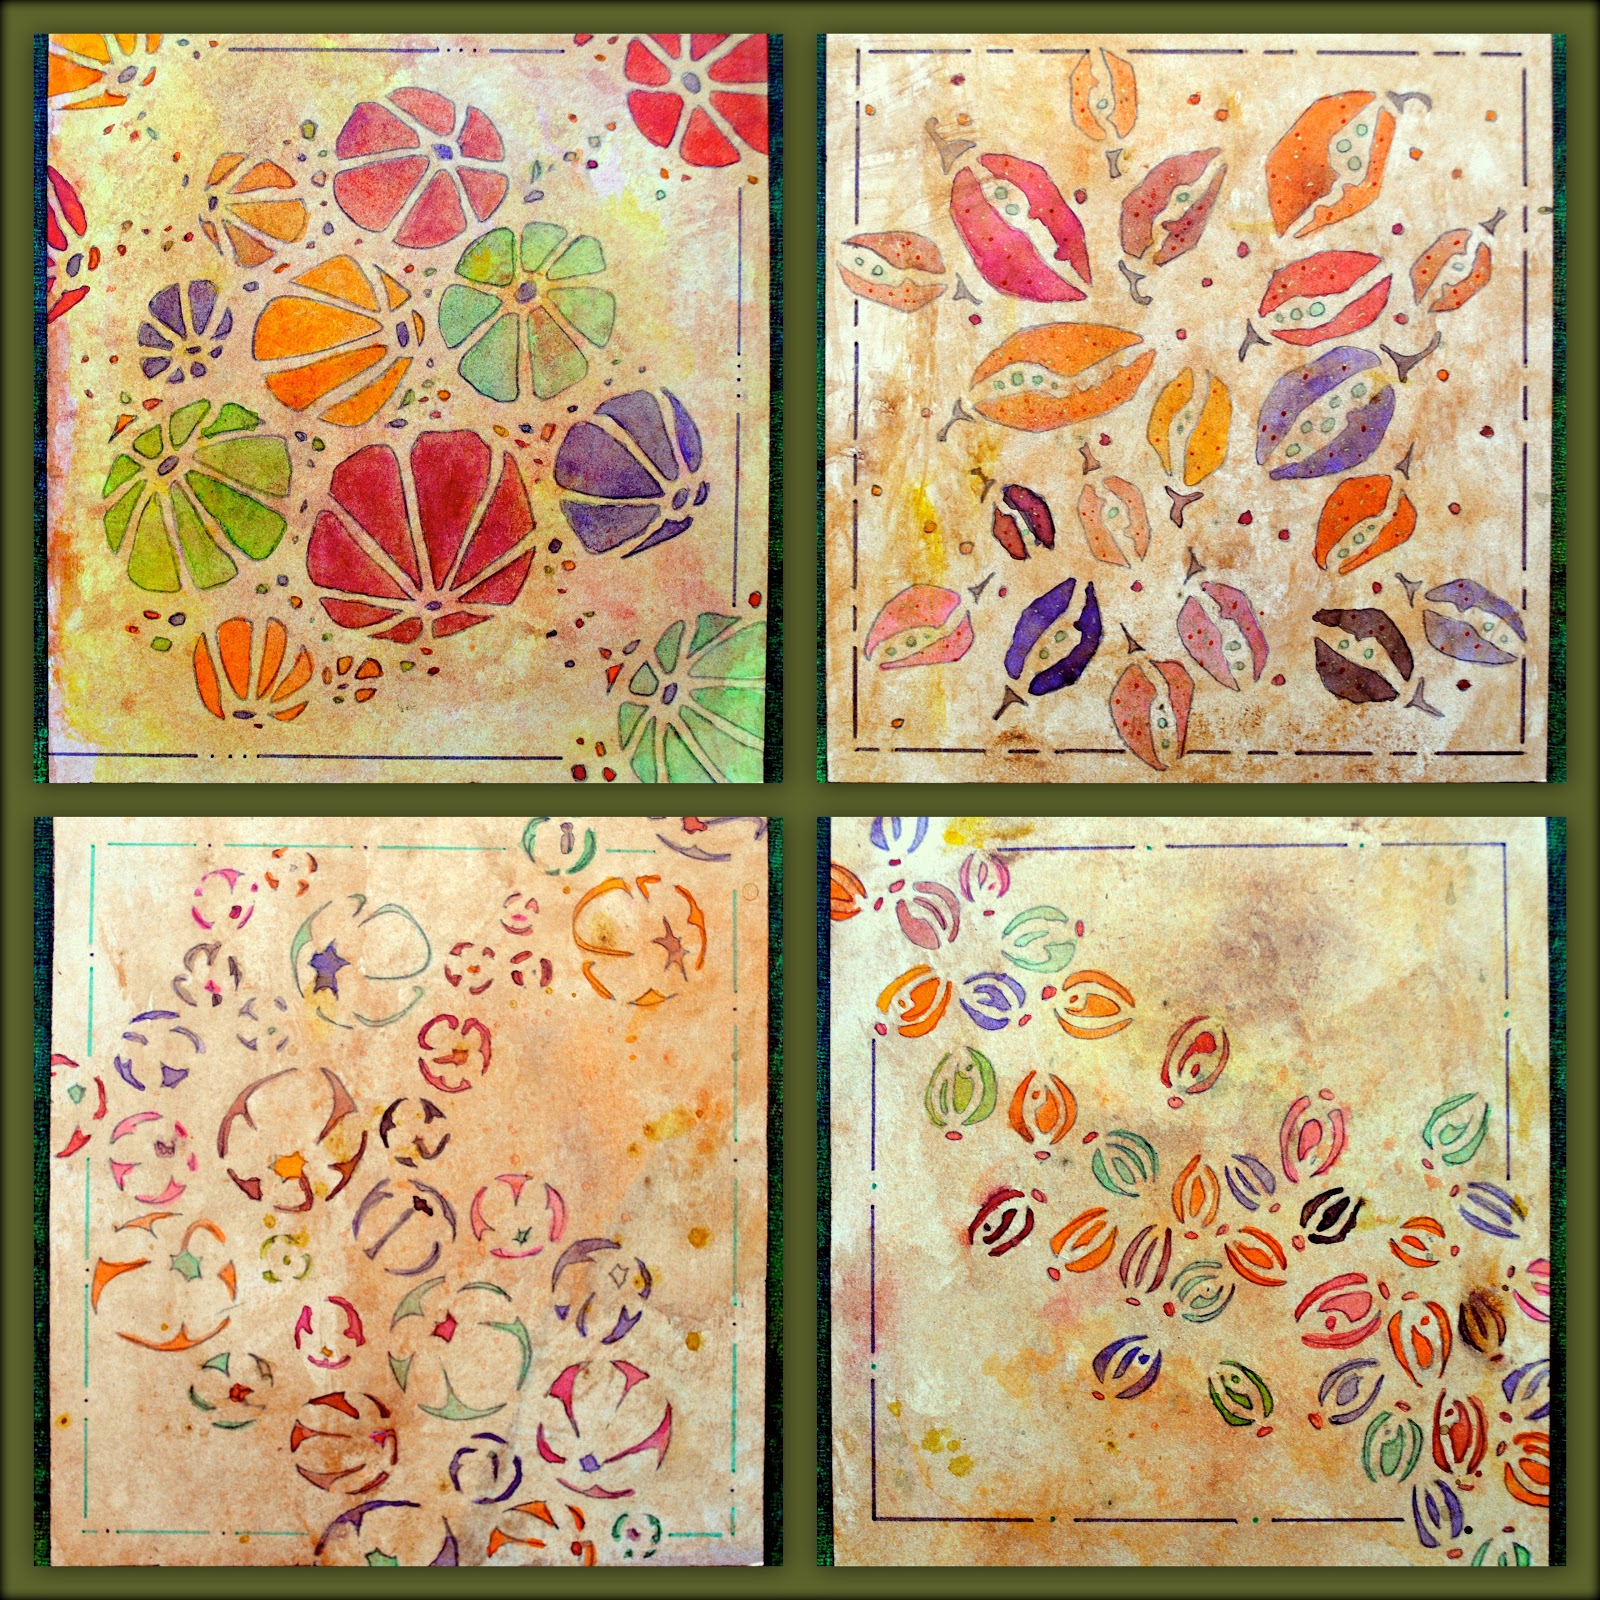
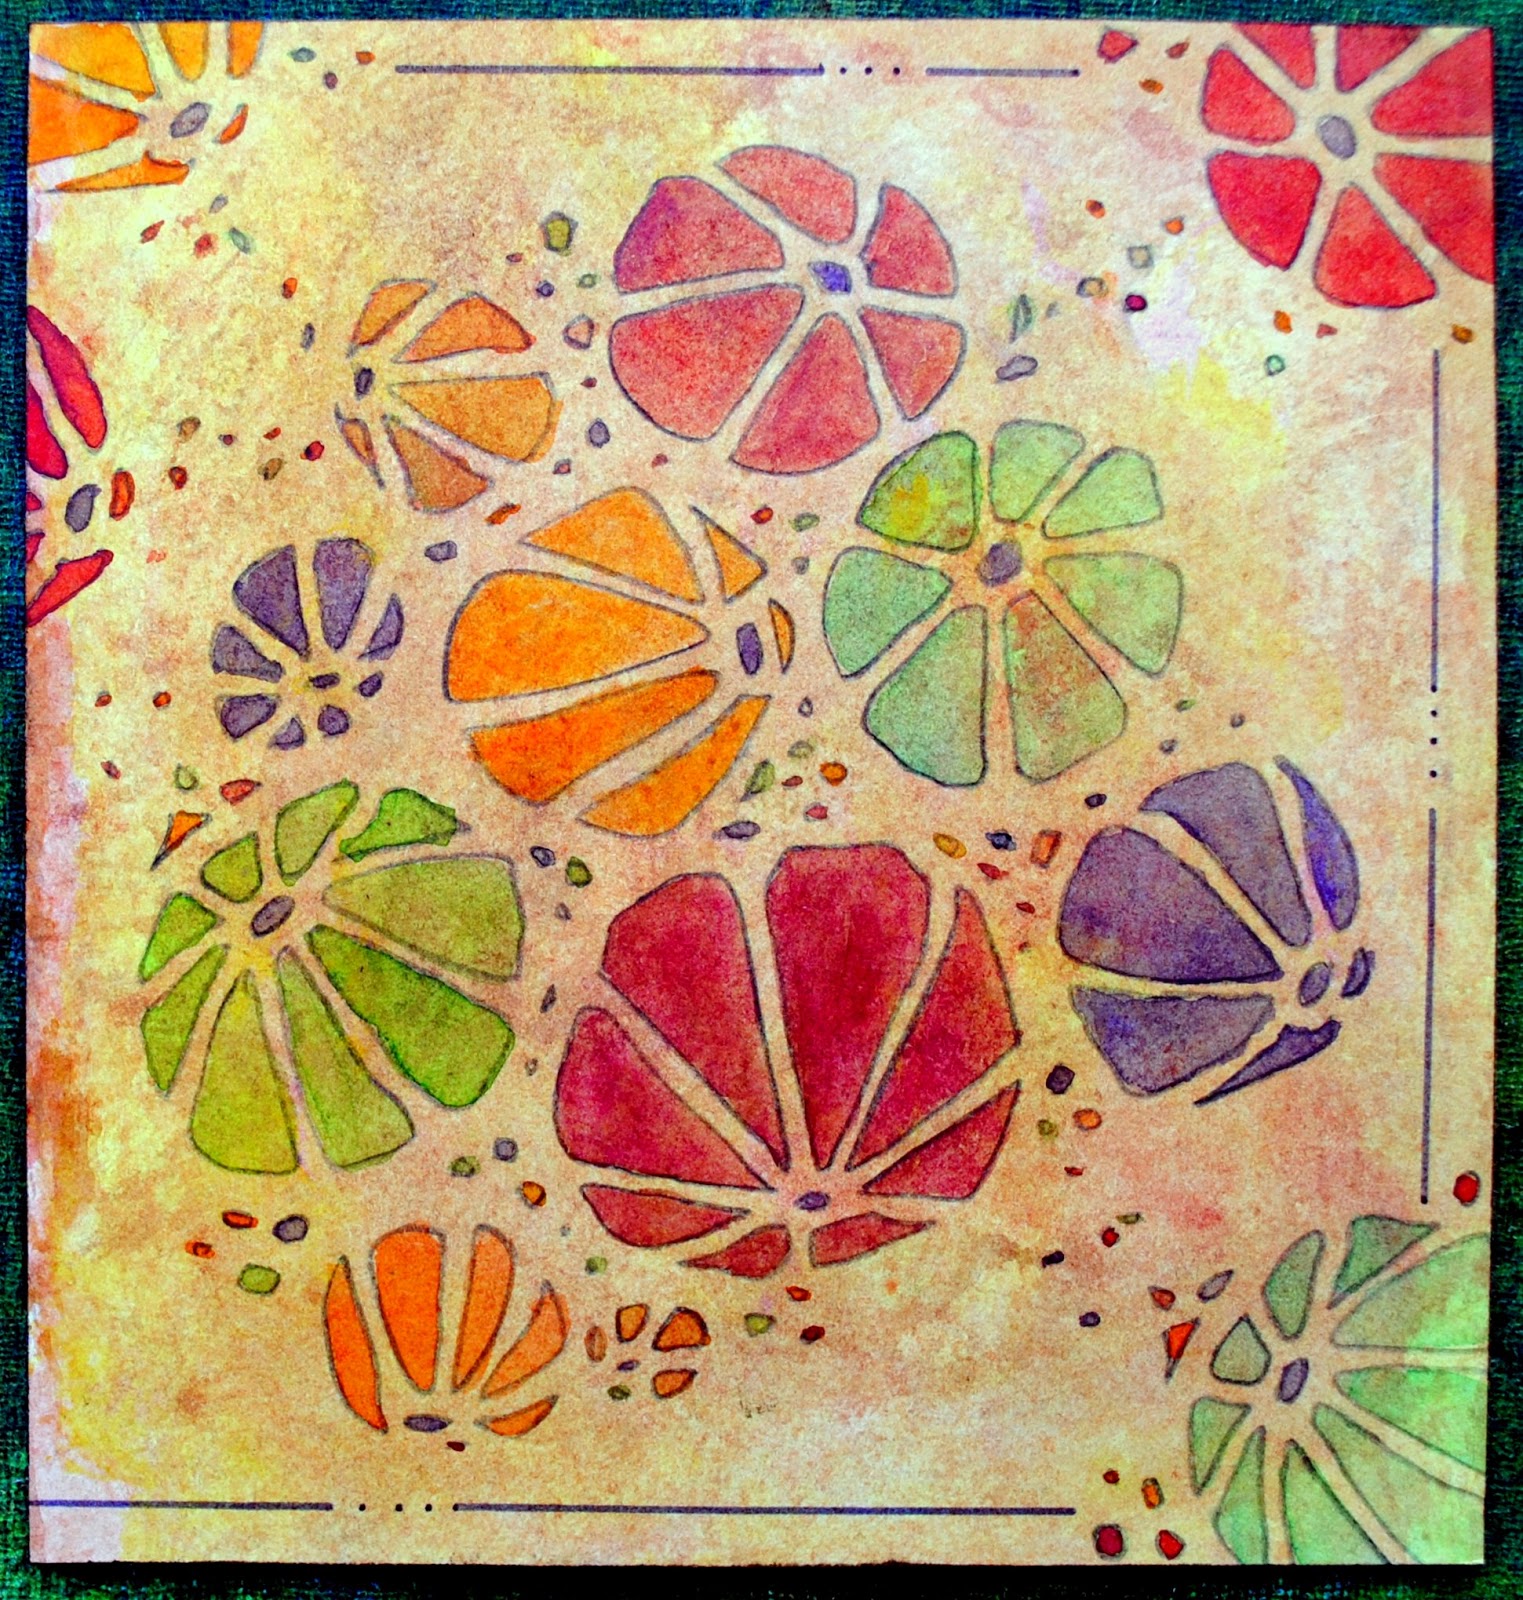
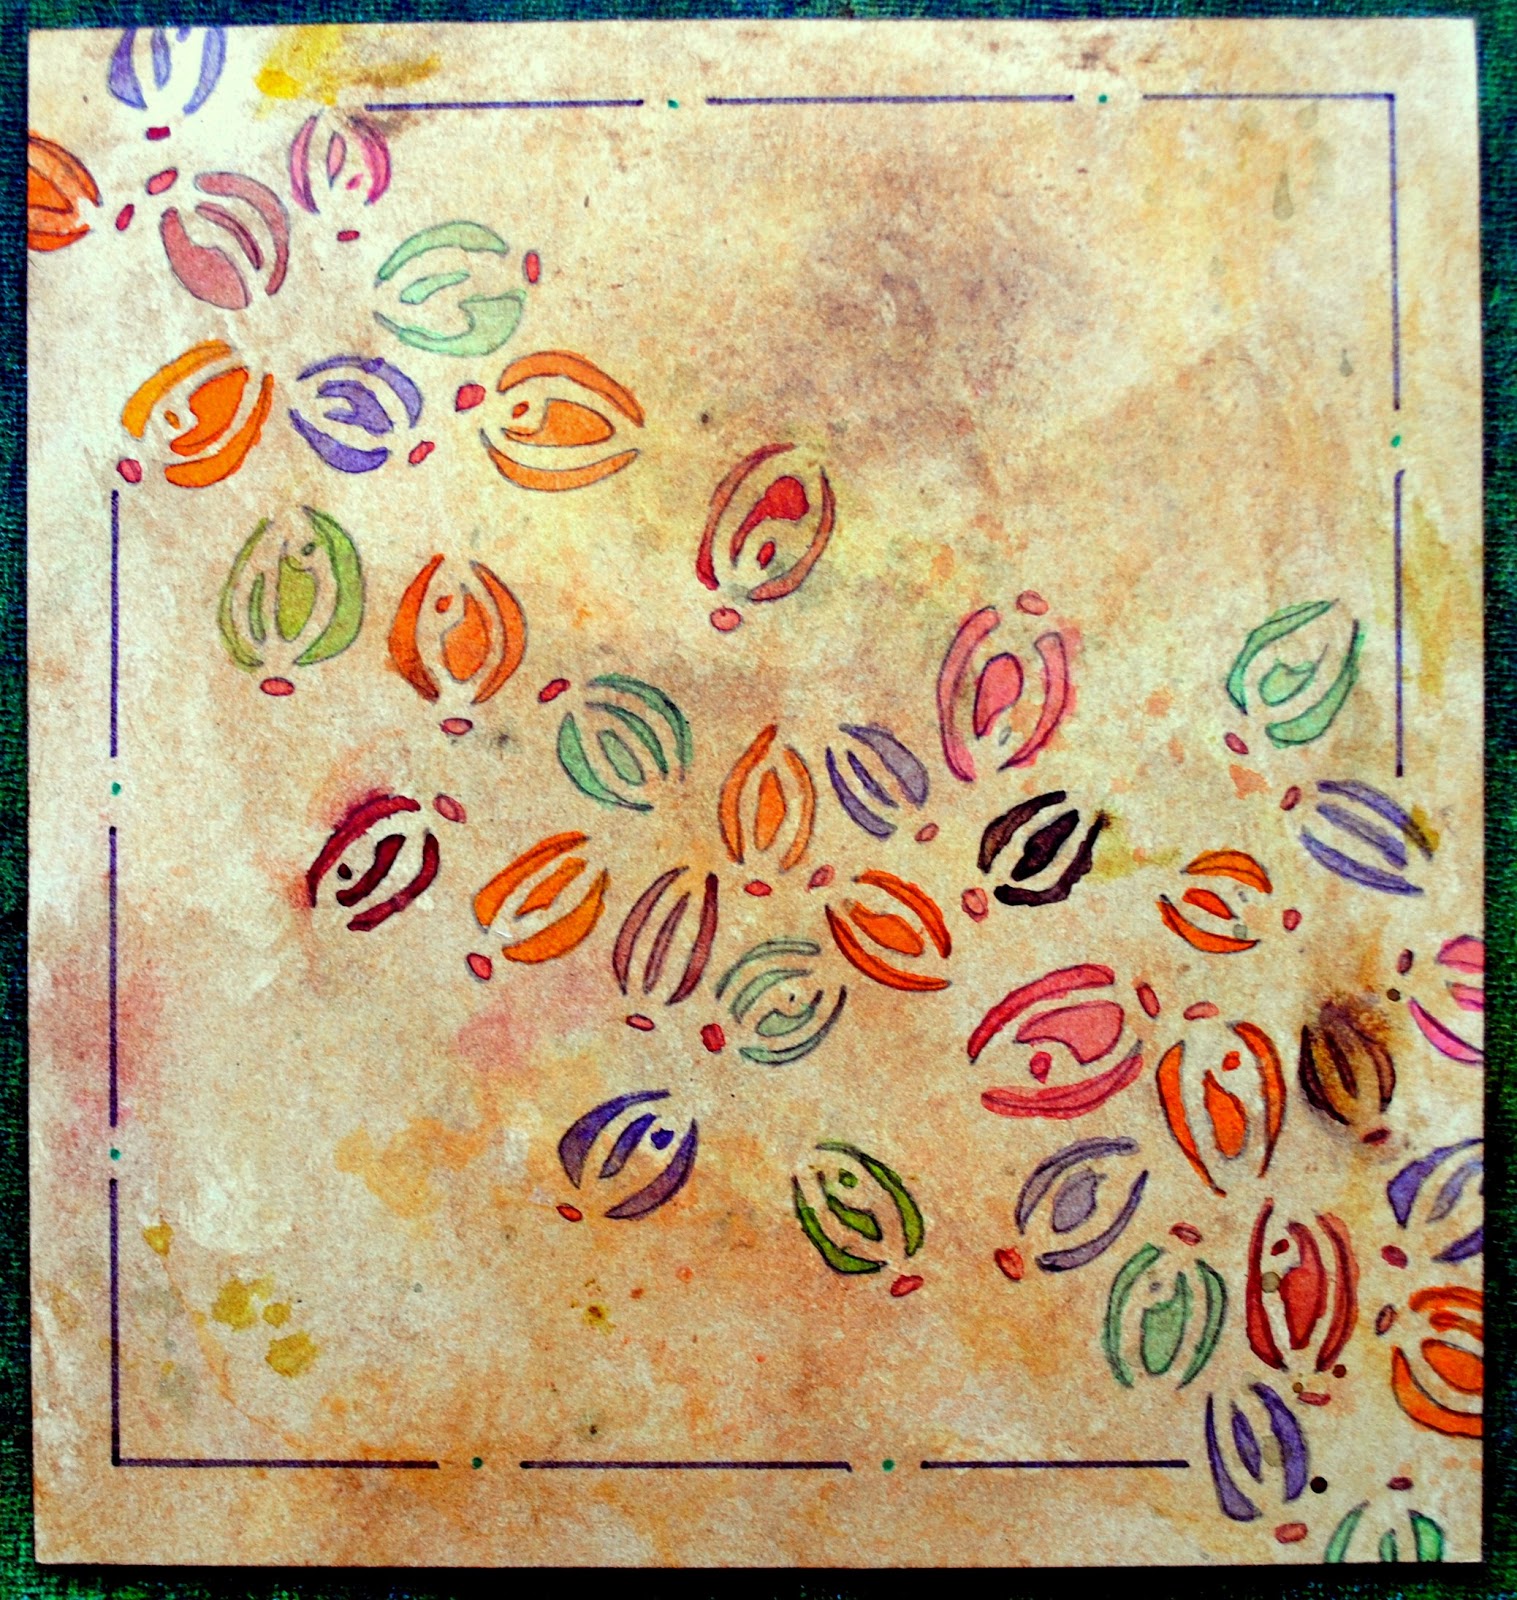
My four pieces created with Chris' Playful Pods stencils are now available for purchase in my Etsy shop.
Pods 1
Pods 2

Pods 3

Pods 4
-----------------
Stay tuned for another giveaway later this week on The Altered Page
May 12, 2013
Chris Cozen: Double Giveaway
Chris Cozen Stencils Blog Hop
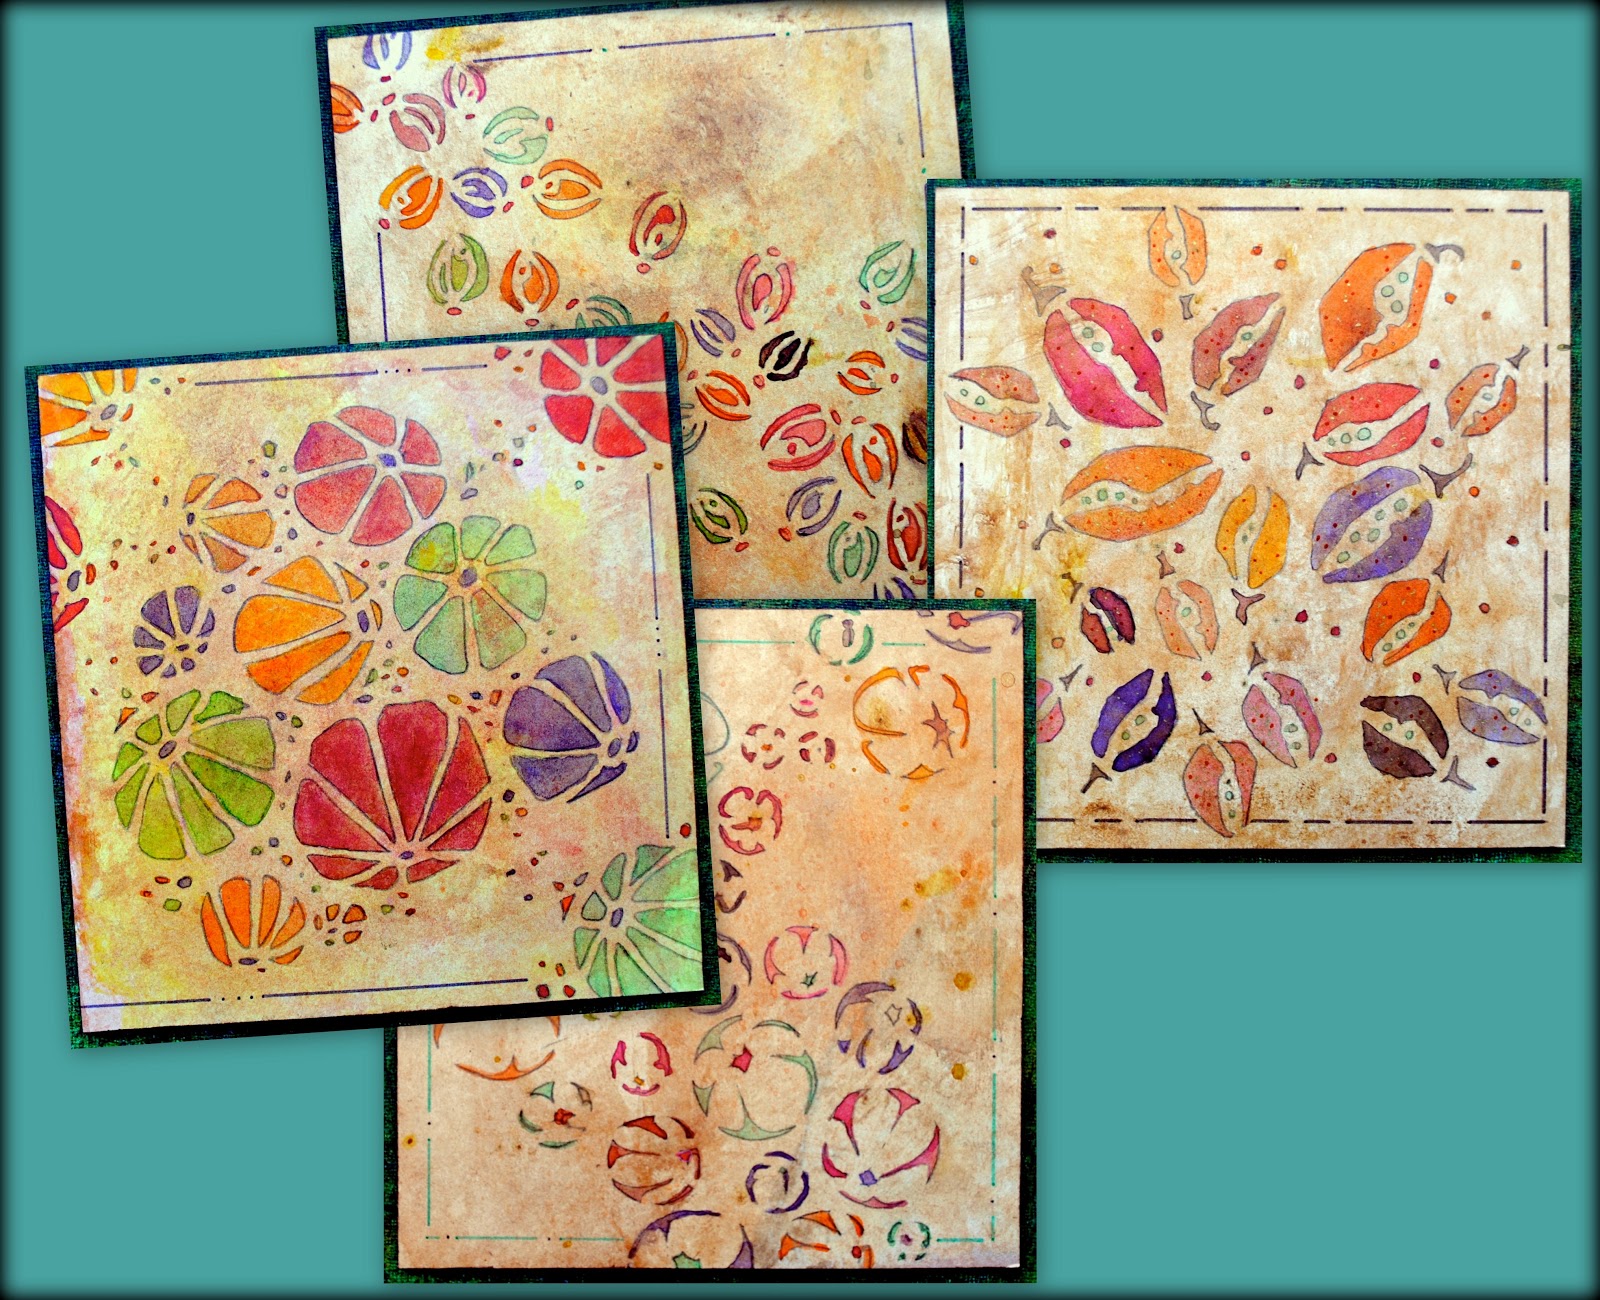
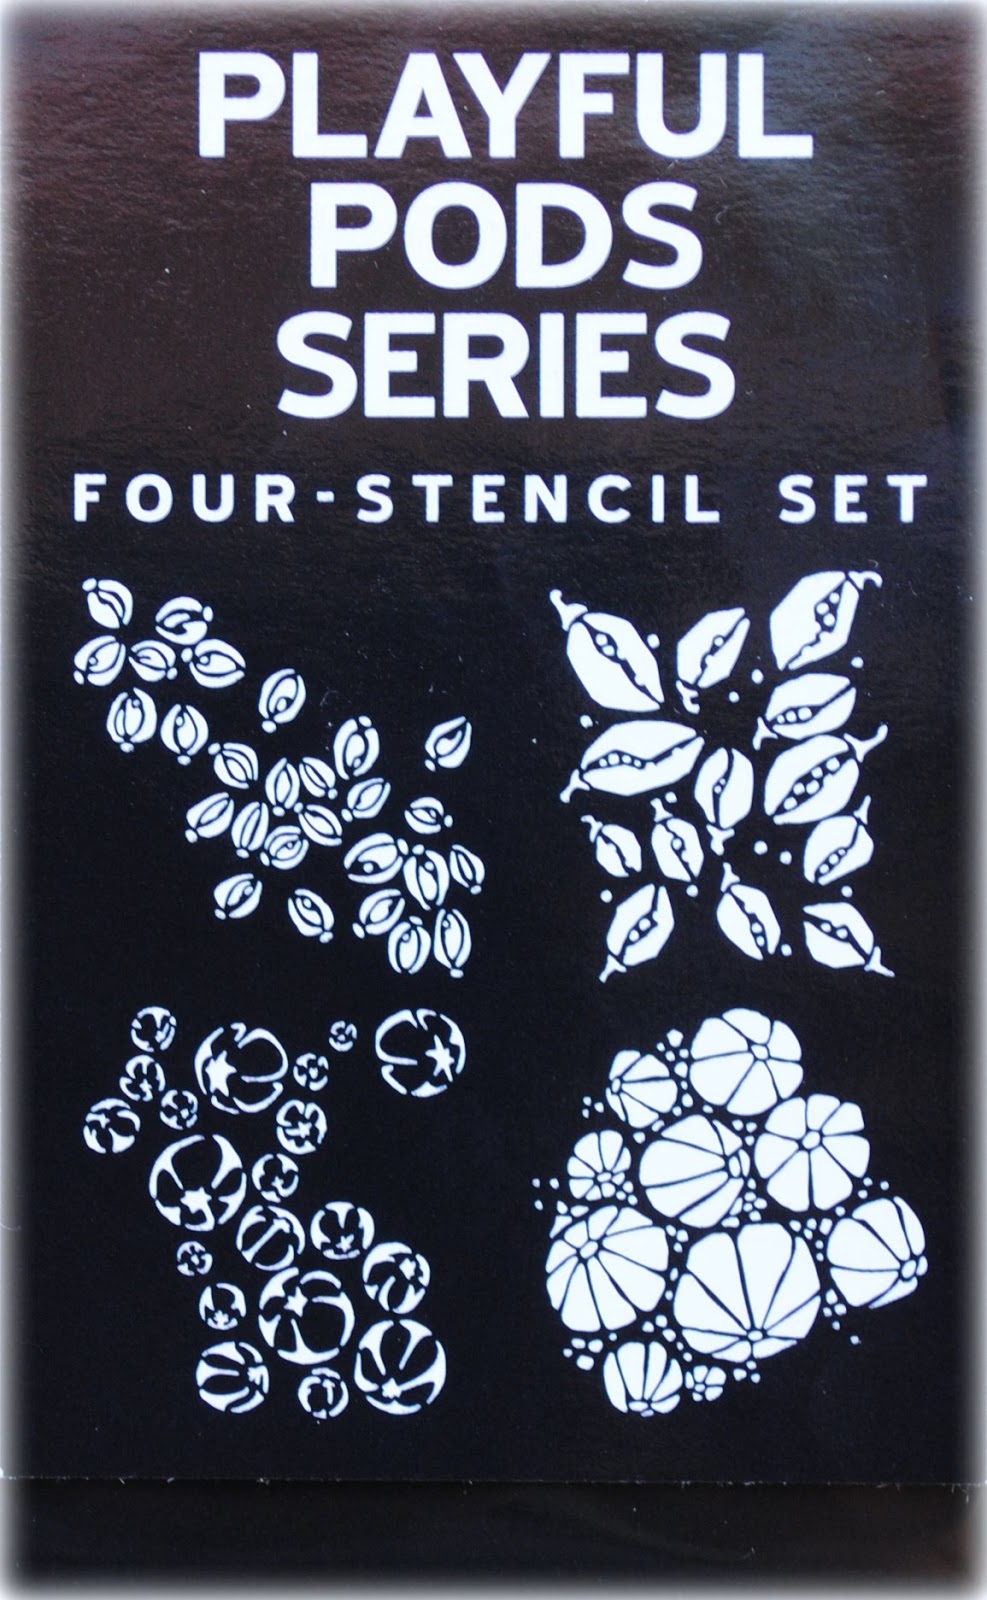
Thrilled to be kicking off the blog hop celebrating the release of the newest line of Signature Series stencils from Artistcellar: Playful Pods from artist and author Chris Cozen.

This four-stencil set includes designs based on the coolest pods I have ever seen.
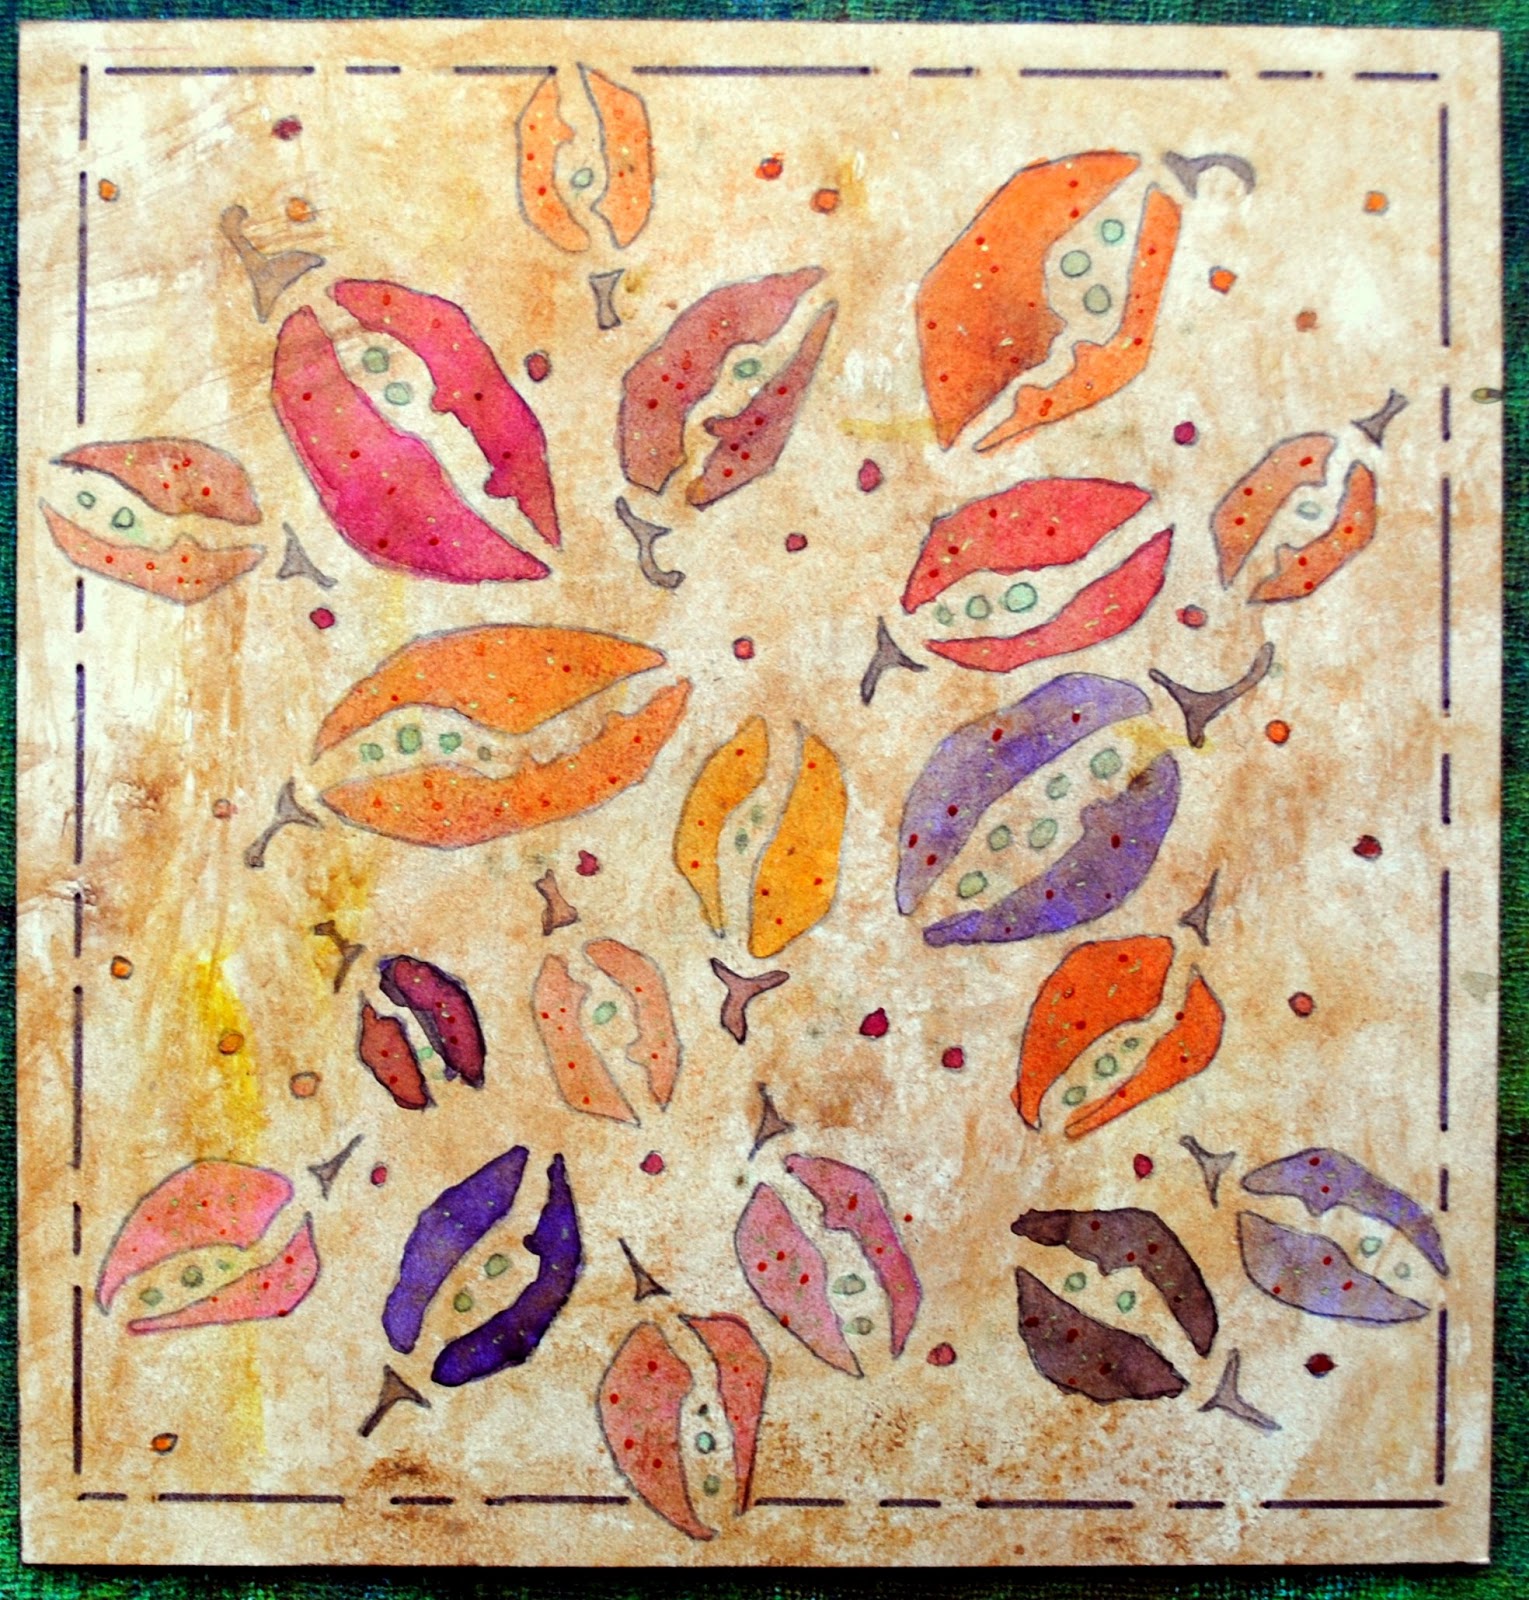
Excited to explore these new stencils, I decided to use all four stencils in four different pieces. I felt so inspired by the designs in these signature stencils that I chose to use materials that are anything but signature for me: pan pastels and watercolor paint. The color palette reflects the beauty of spring.


To celebrate the release of Chris' stencils, I am sponsoring a giveaway. All you need to do is leave a comment on this post, including your email address, to be eligible to win one, four-stencil set as pictured above. Comment by end of day on May 18th, at which time I will chose the winner randomly.
But wait. There is more. North Light Books and F+W Media are also providing copies of Chris' new book written with Julie Prichard Acrylic Soultions: Exploring Mixed Media Layer by Layer AND a copy of Chris' workshop DVD Acrylic Painting: Color, Texture and Value. So a second person will be chosen at random to win both the book and DVD.
I am just one of the many stops on this blog hop, each of which will be having their own giveaway. I hope you are able to take the time to visit everybody!
5/12 Artistcellar
5/13 You Are Here5/14 Mary Beth Shaw 5/15 Maryjo McGraw5/16 Jane LaFazio5/17 Pam Carriker 5/18 Jeanette House5/19 Chris Cozen
May 7, 2013
Australia: here I come!
File this under Dreams Do Come True:
G'day mates. I am over-the-moon excited to be part of the first Downunder Road Show sponsored by the amazing Art is...You duo Sallianne McClelland and EllenPurtill-Legare. I will be joining a special group of artists - Kecia Deveney, Michael deMeng, Andrea Matus deMeng, Sue Pelletier and Lesley Venable in Australia in August 2014. To all my Aussie friends - more info to follow on my blog and on the Art Is...You Australia website.
G'day mates. I am over-the-moon excited to be part of the first Downunder Road Show sponsored by the amazing Art is...You duo Sallianne McClelland and EllenPurtill-Legare. I will be joining a special group of artists - Kecia Deveney, Michael deMeng, Andrea Matus deMeng, Sue Pelletier and Lesley Venable in Australia in August 2014. To all my Aussie friends - more info to follow on my blog and on the Art Is...You Australia website.
May 2, 2013
The Sweater Children
Do you know about the sweater children? They are the creation of artist and friend Don Madden from Fully Flummoxed.
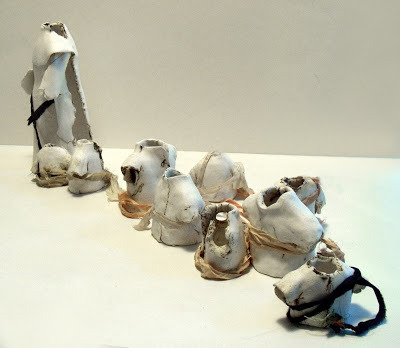
If you do not know the story behind this powerful work of art, take a few minutes to read about it here.
In addition to the children in this piece, Don made about 60 more.

He recently decided to share these with the world and has sent each child to people all over the world. The brief: leave them in public in a secret place in hopes that somebody will find them and give them a good home.
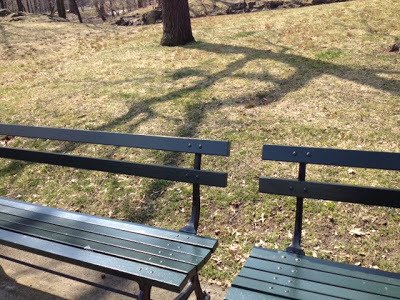
I was lucky enough to get one and placed in on a bench in Central Park in NYC.
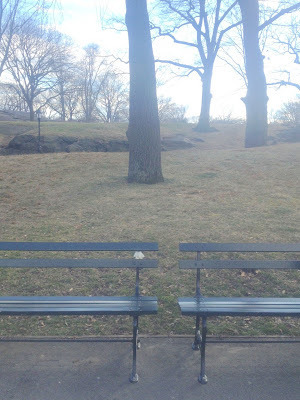
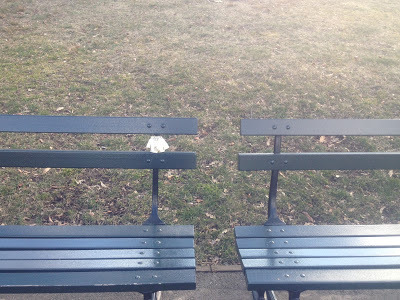
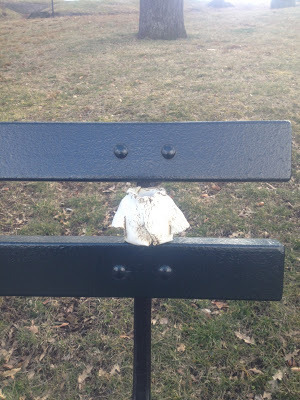
Looks like this story does indeed have a happy ending as days later, he had been found!

If you do not know the story behind this powerful work of art, take a few minutes to read about it here.
In addition to the children in this piece, Don made about 60 more.

He recently decided to share these with the world and has sent each child to people all over the world. The brief: leave them in public in a secret place in hopes that somebody will find them and give them a good home.
I was lucky enough to get one and placed in on a bench in Central Park in NYC.


Looks like this story does indeed have a happy ending as days later, he had been found!

May 1, 2013
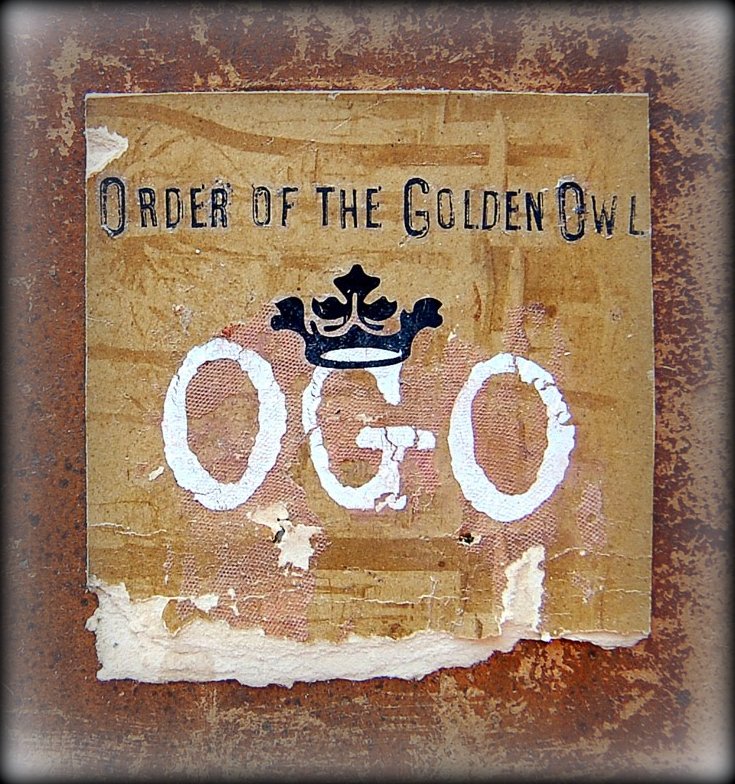
The Golden Owl
Early in 2010 two teenage brothers, Doug and Barry Beeglecomb, discovered a locked chest hidden behind the boiler in their basement. Keeping their discovery a secret, they snuck it up to their shared room and placed it deep within the recesses of their closet, under piles of dirty clothes. Curious as they were, they waited one whole week until they were finally alone in their home one night. Using a mallet to break open the already loose lock, they were amazed to find a pile of yellowed papers and file folders, underneath which laid a velvet-wrapped object. With eyes wide open, this was the night that they discovered the Golden Owl.
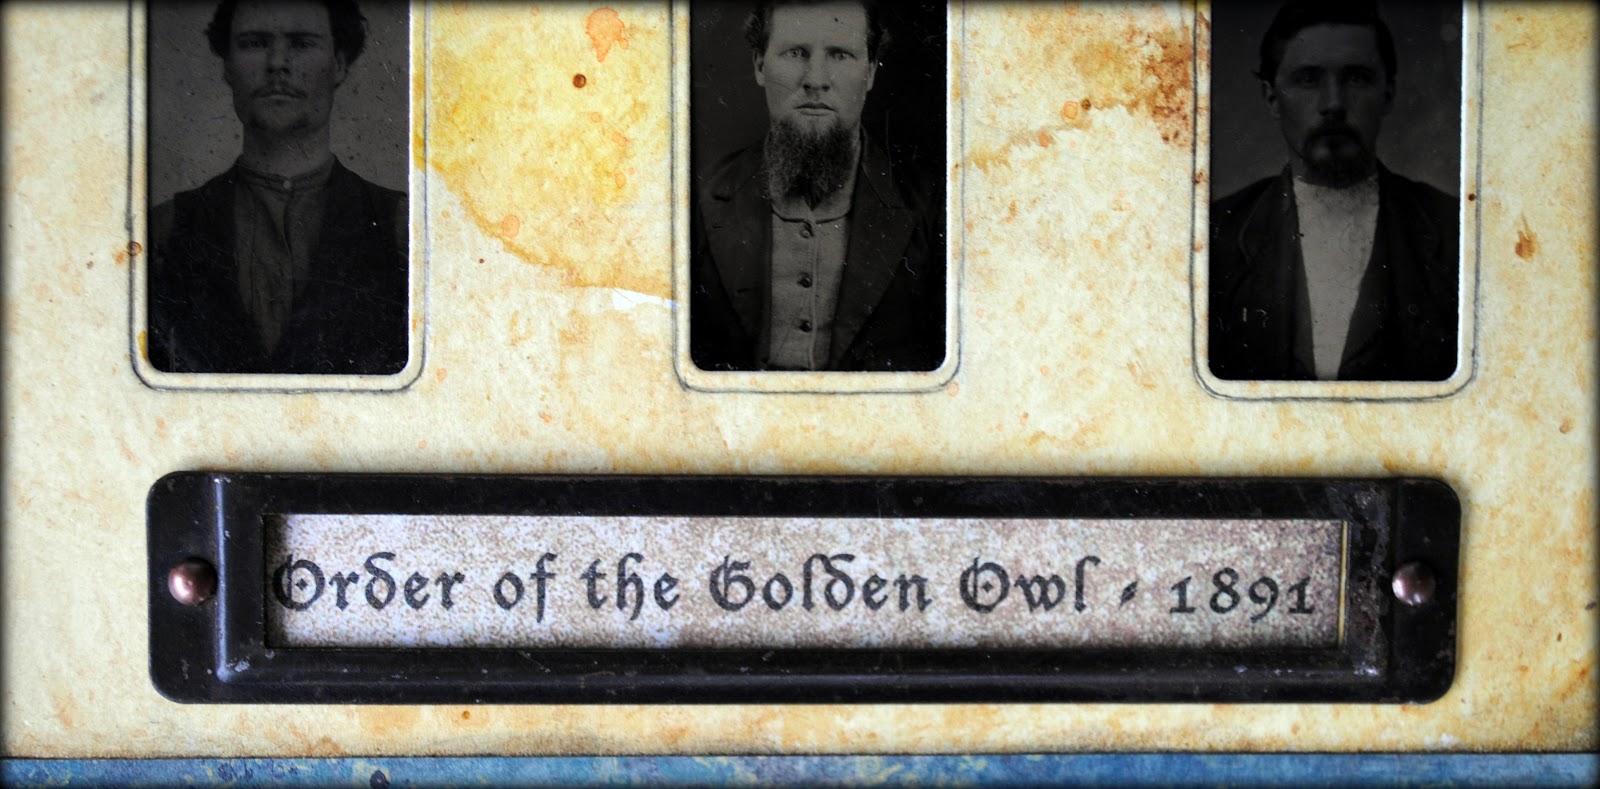
 The Year: 1891The Place: Hibou, DelawareThe Secret: The Order of the Golden Owl
-----------------------------
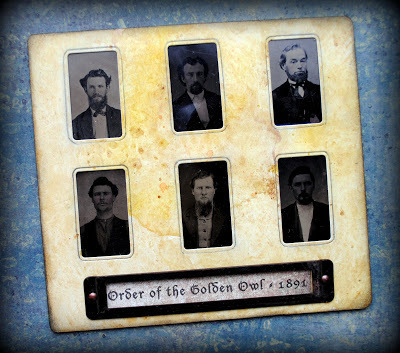
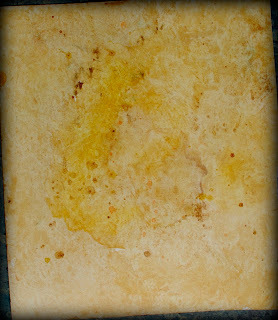
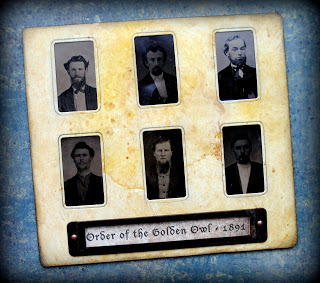
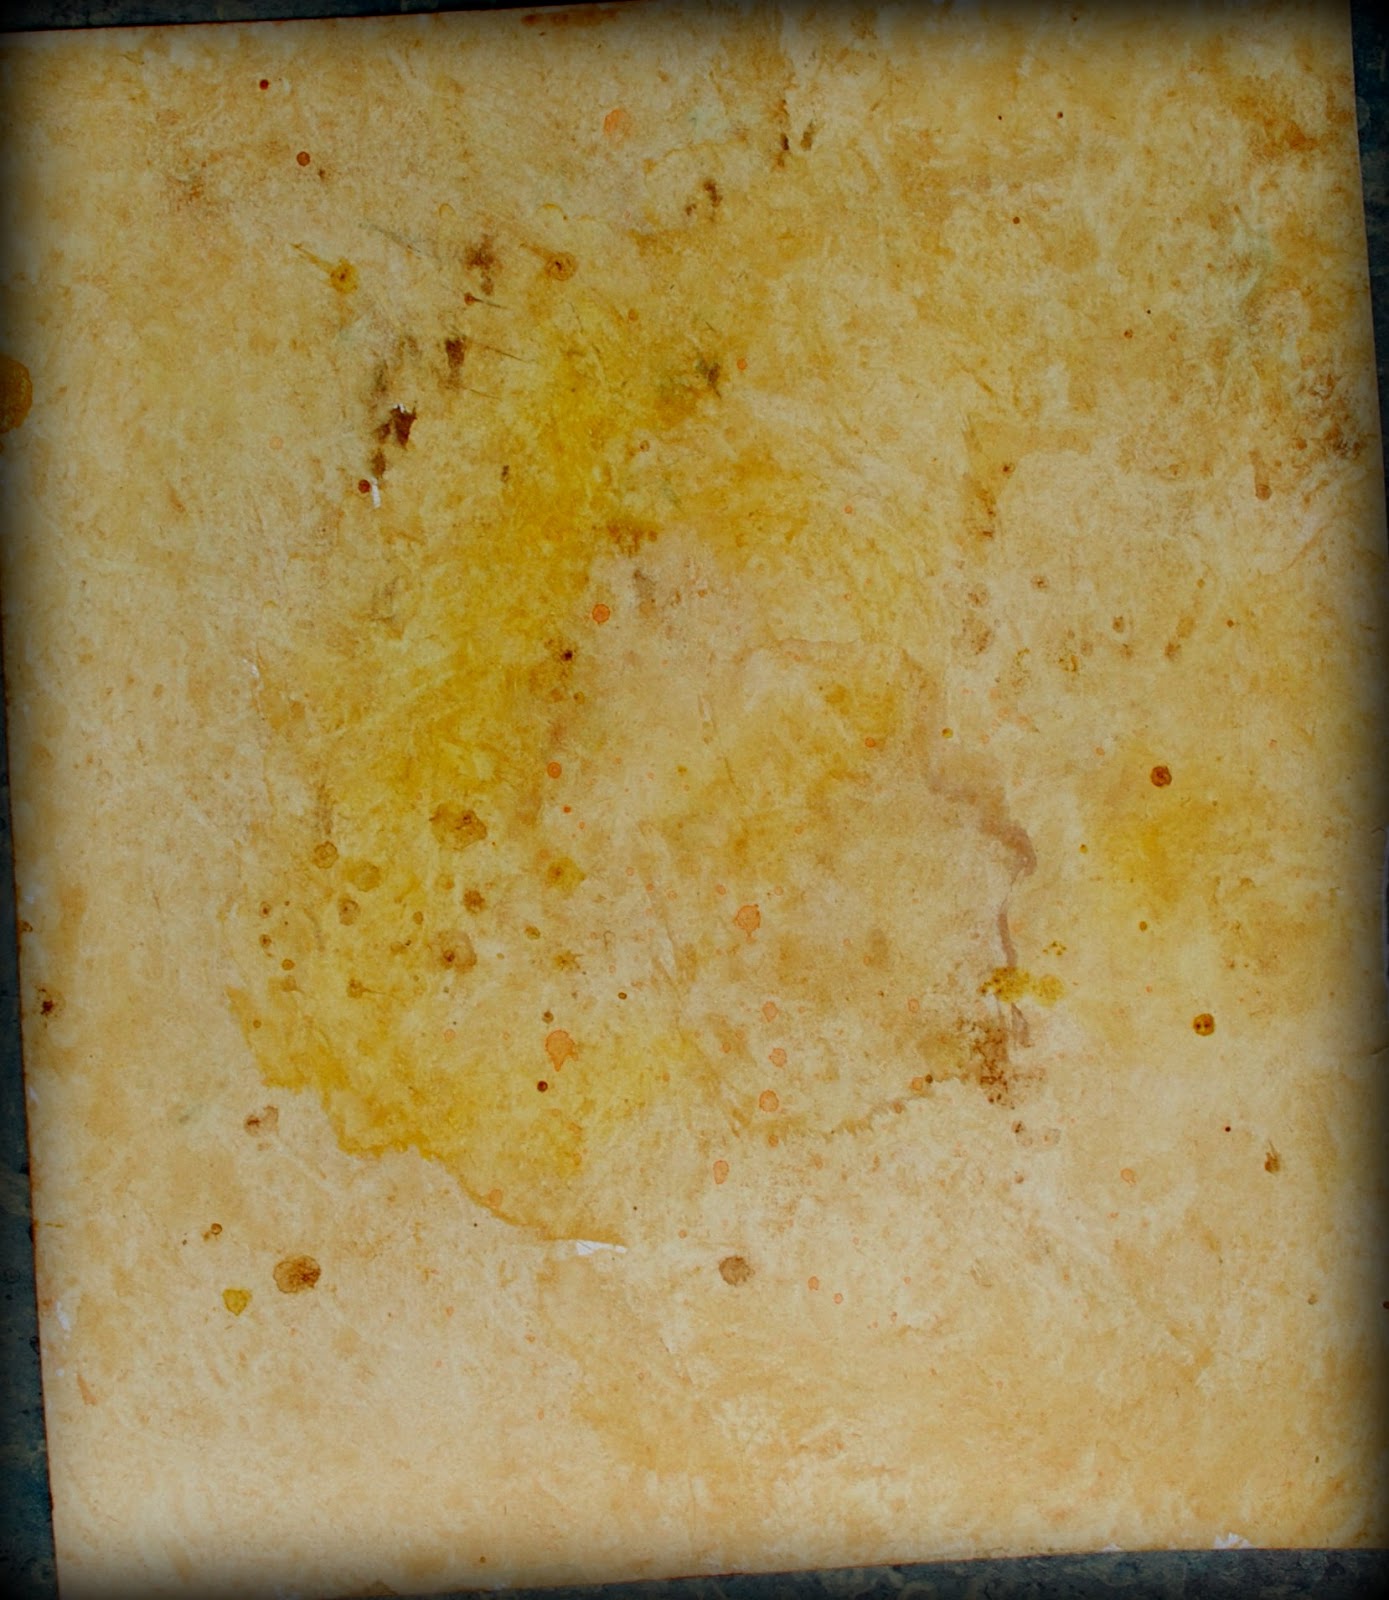
This piece began with a handmade, background page created with pan pastels and acrylic paint on watercolor paper. I was going for the look of vintage, marbleized paper.
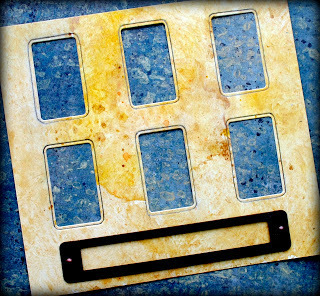
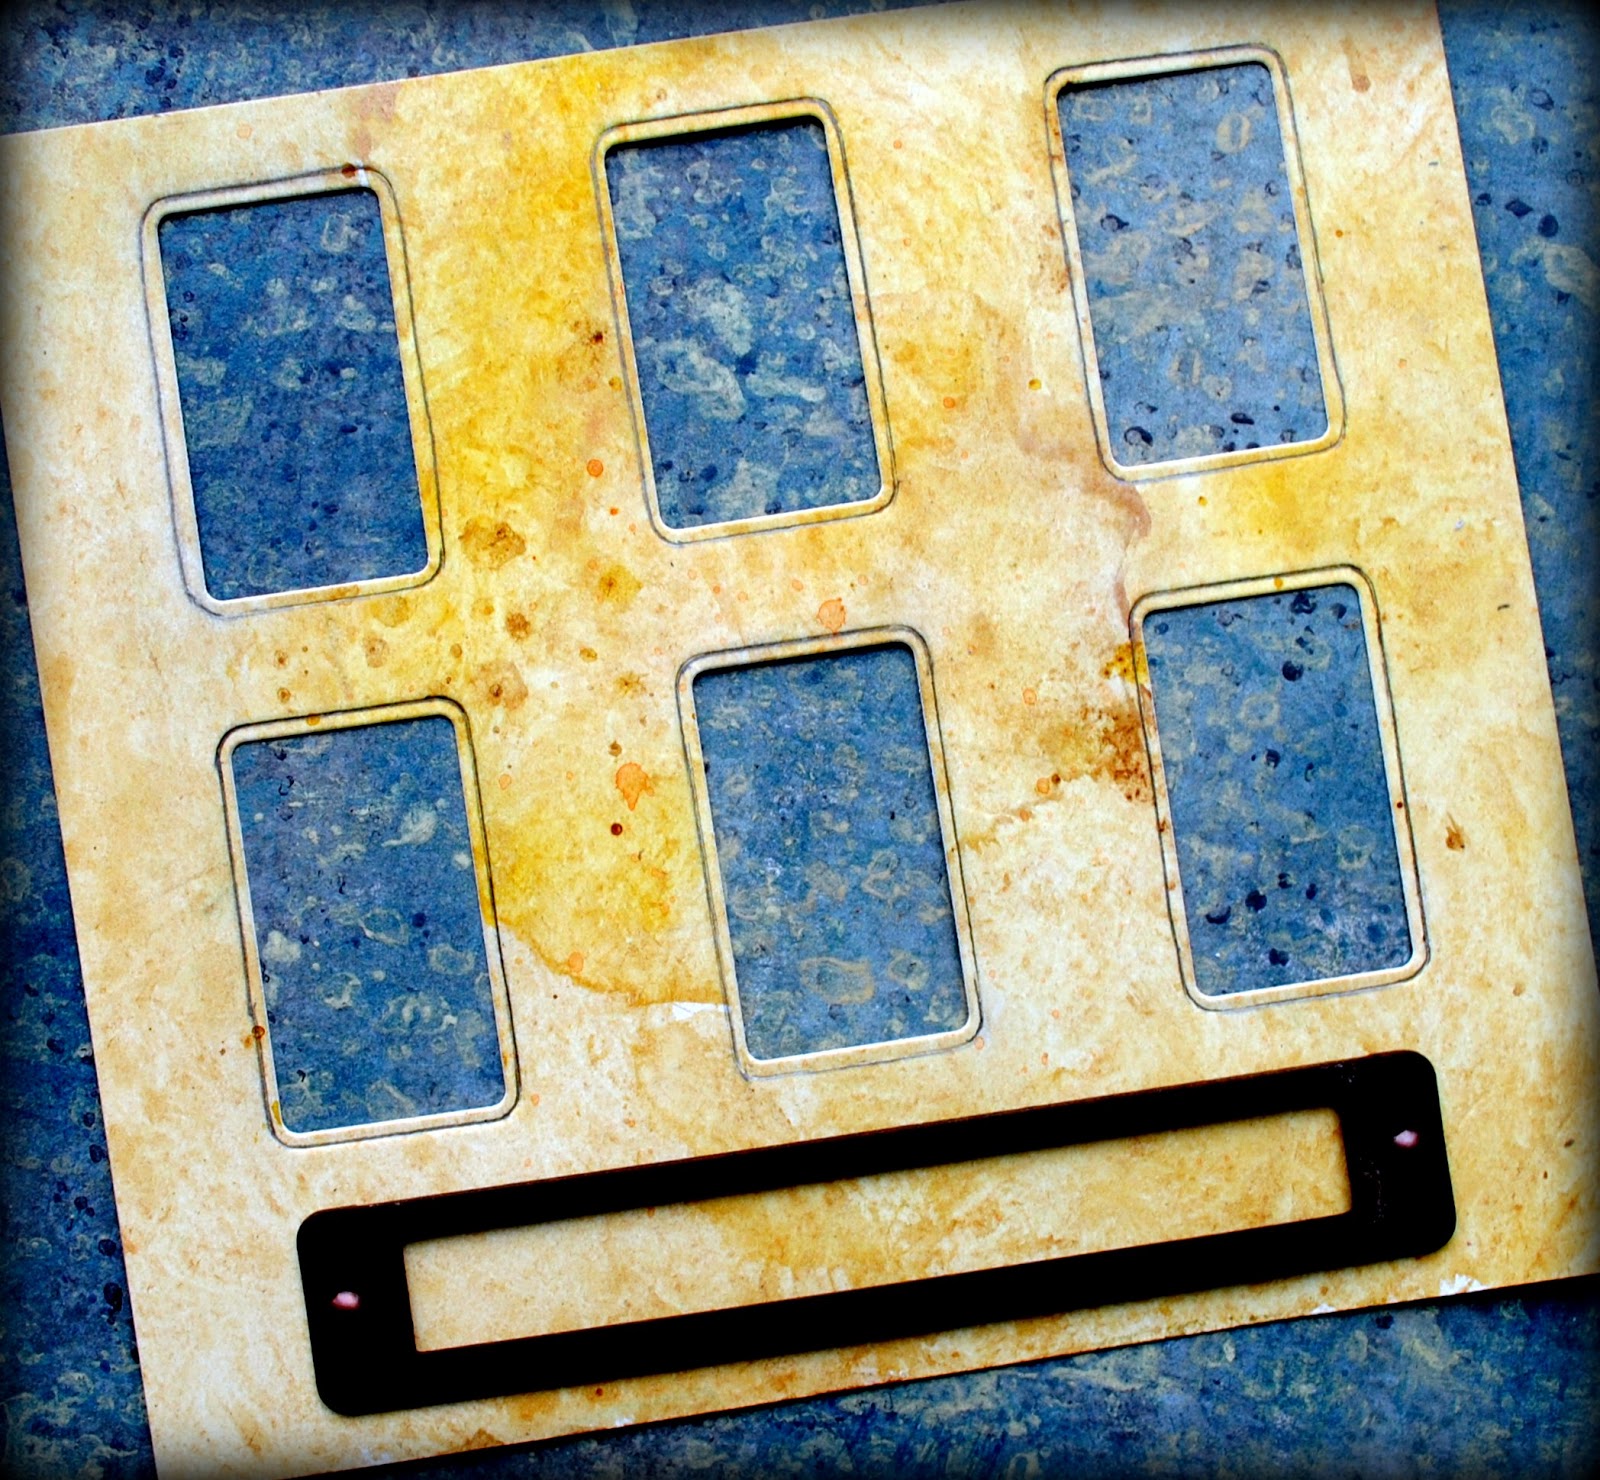
I then die cut and embossed six windows into the paper.
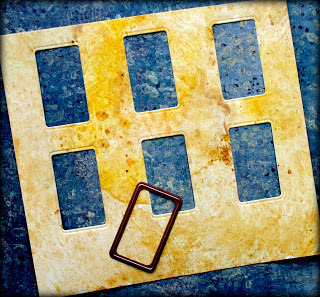
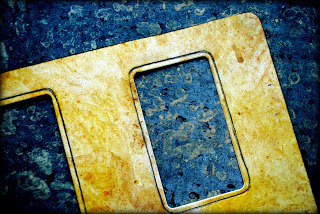
I shaded around the embossed edges with a pencil and hand-smudged each line.
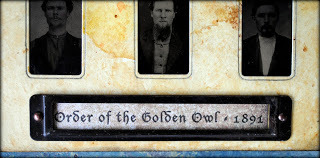
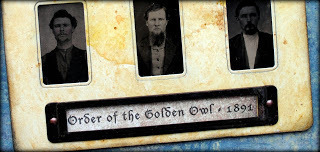
I picked up a set of name plates at a flea market many years ago and attached one to the base of the paper using adhesive and brads.
I added a finishing touch to the edges by adding some dye ink and cutting curves into each corner to mimic the curves of both the cut-out windows and the name plate.
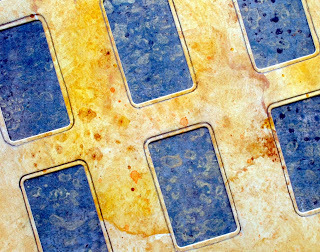
I dug into my very large stash of vintage tintypes and selected a group of guys. Looks like mustaches and beards were all the range in the 1890s.

I adhered a tintype behind each window and backed the whole piece with book board cut to size.
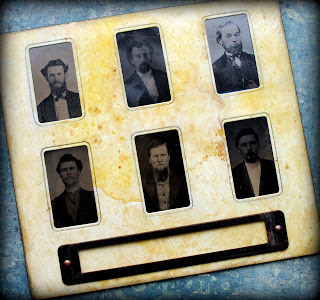
Finally, I inserted a caption into the name plate that was printed out on my computer.


-----------------------------
Supply List
Spellbinders Paper Art Supplies:
GC-001 SpellbindersTM Grand Calibur® MachineMD1-013 - SpellbindersTM Media Mixage® Rectangles Two Dies
Preferred Promotional Partners: Imagine Crafts Inkblushers sponge
Other: vintage, tintypes, book board, watercolor paper, pan pastels, acrylic paint, dye ink, marker, pencil, vintage name plate, brads, adhesive, paint brush, scissors, guillotine paper cutter
 The Year: 1891The Place: Hibou, DelawareThe Secret: The Order of the Golden Owl
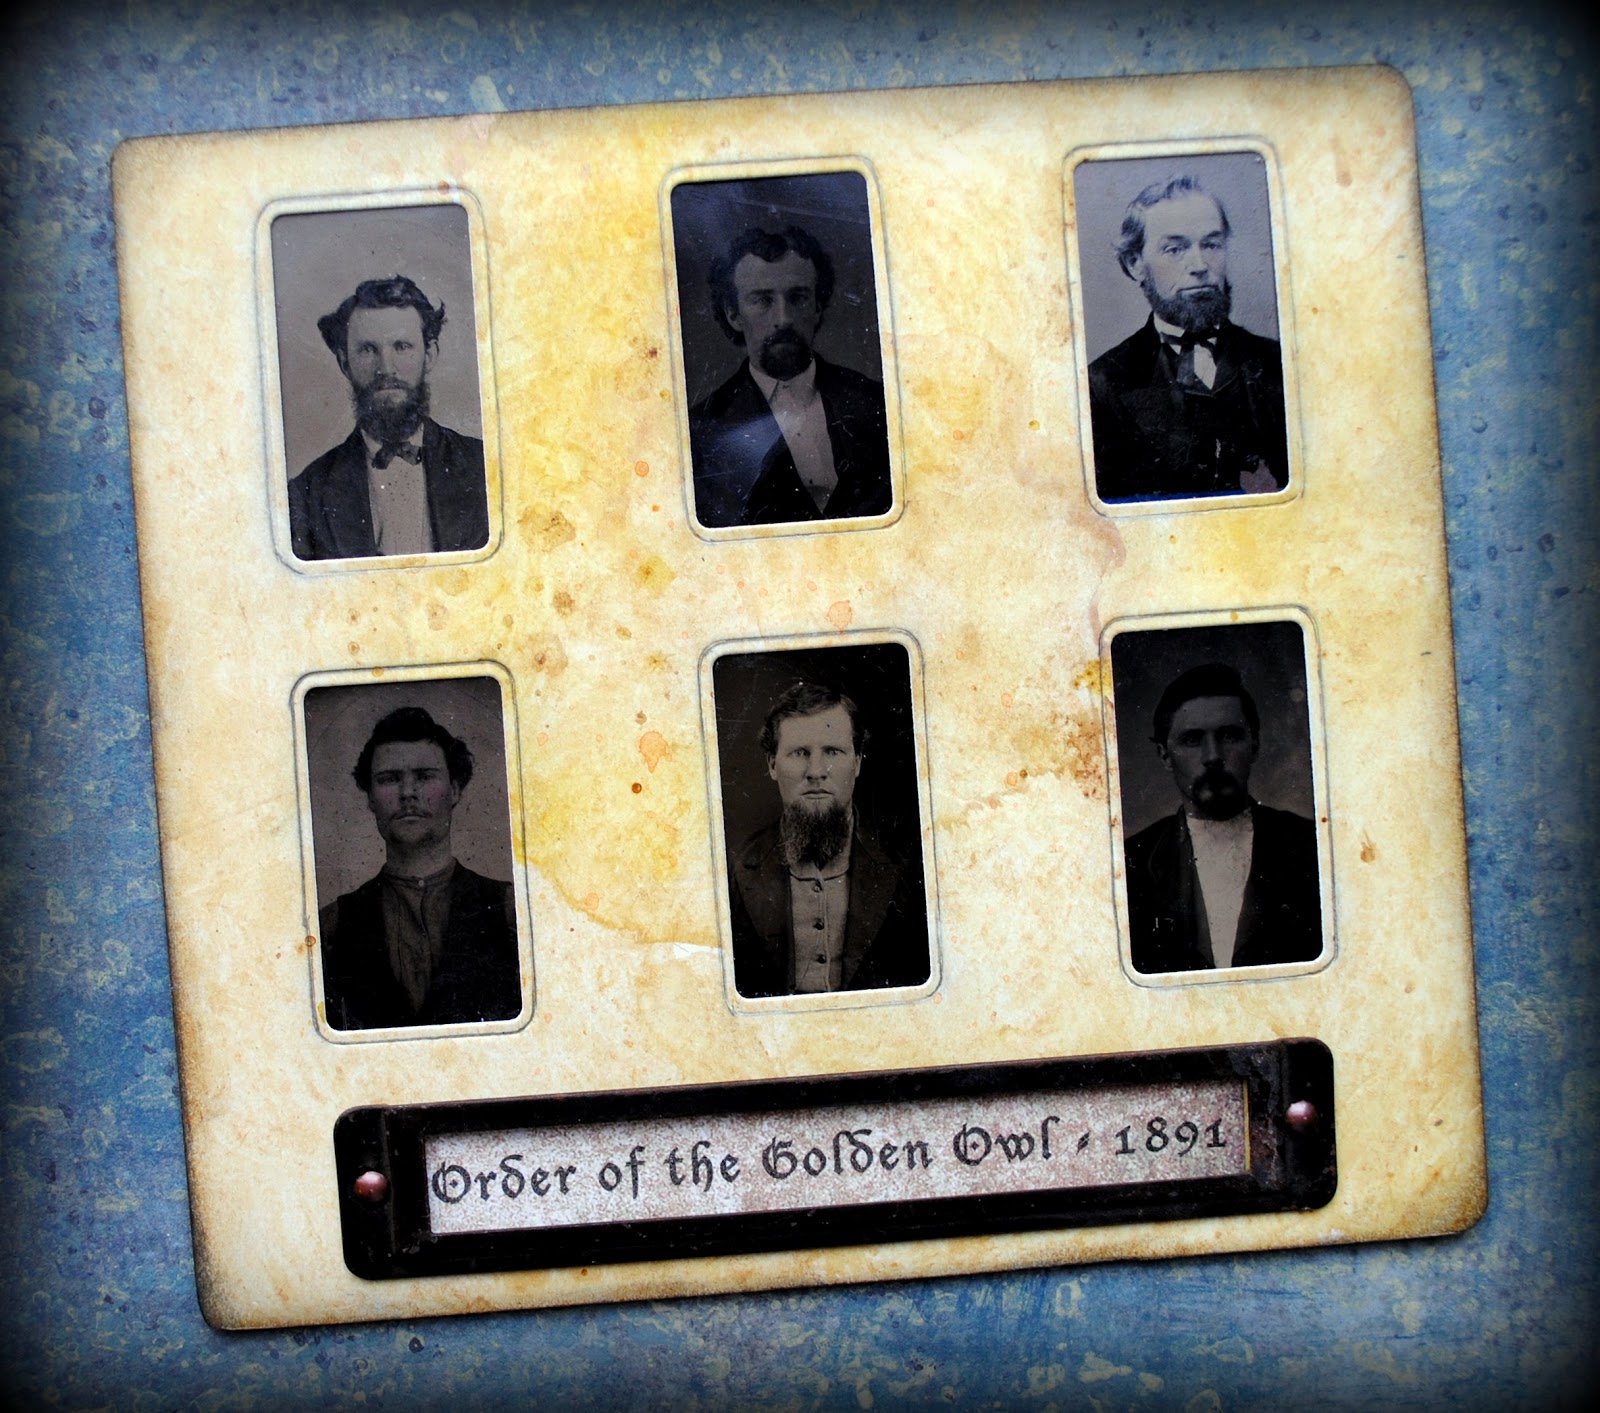
-----------------------------
This piece began with a handmade, background page created with pan pastels and acrylic paint on watercolor paper. I was going for the look of vintage, marbleized paper.
I then die cut and embossed six windows into the paper.

I shaded around the embossed edges with a pencil and hand-smudged each line.

I picked up a set of name plates at a flea market many years ago and attached one to the base of the paper using adhesive and brads.
I added a finishing touch to the edges by adding some dye ink and cutting curves into each corner to mimic the curves of both the cut-out windows and the name plate.

I dug into my very large stash of vintage tintypes and selected a group of guys. Looks like mustaches and beards were all the range in the 1890s.
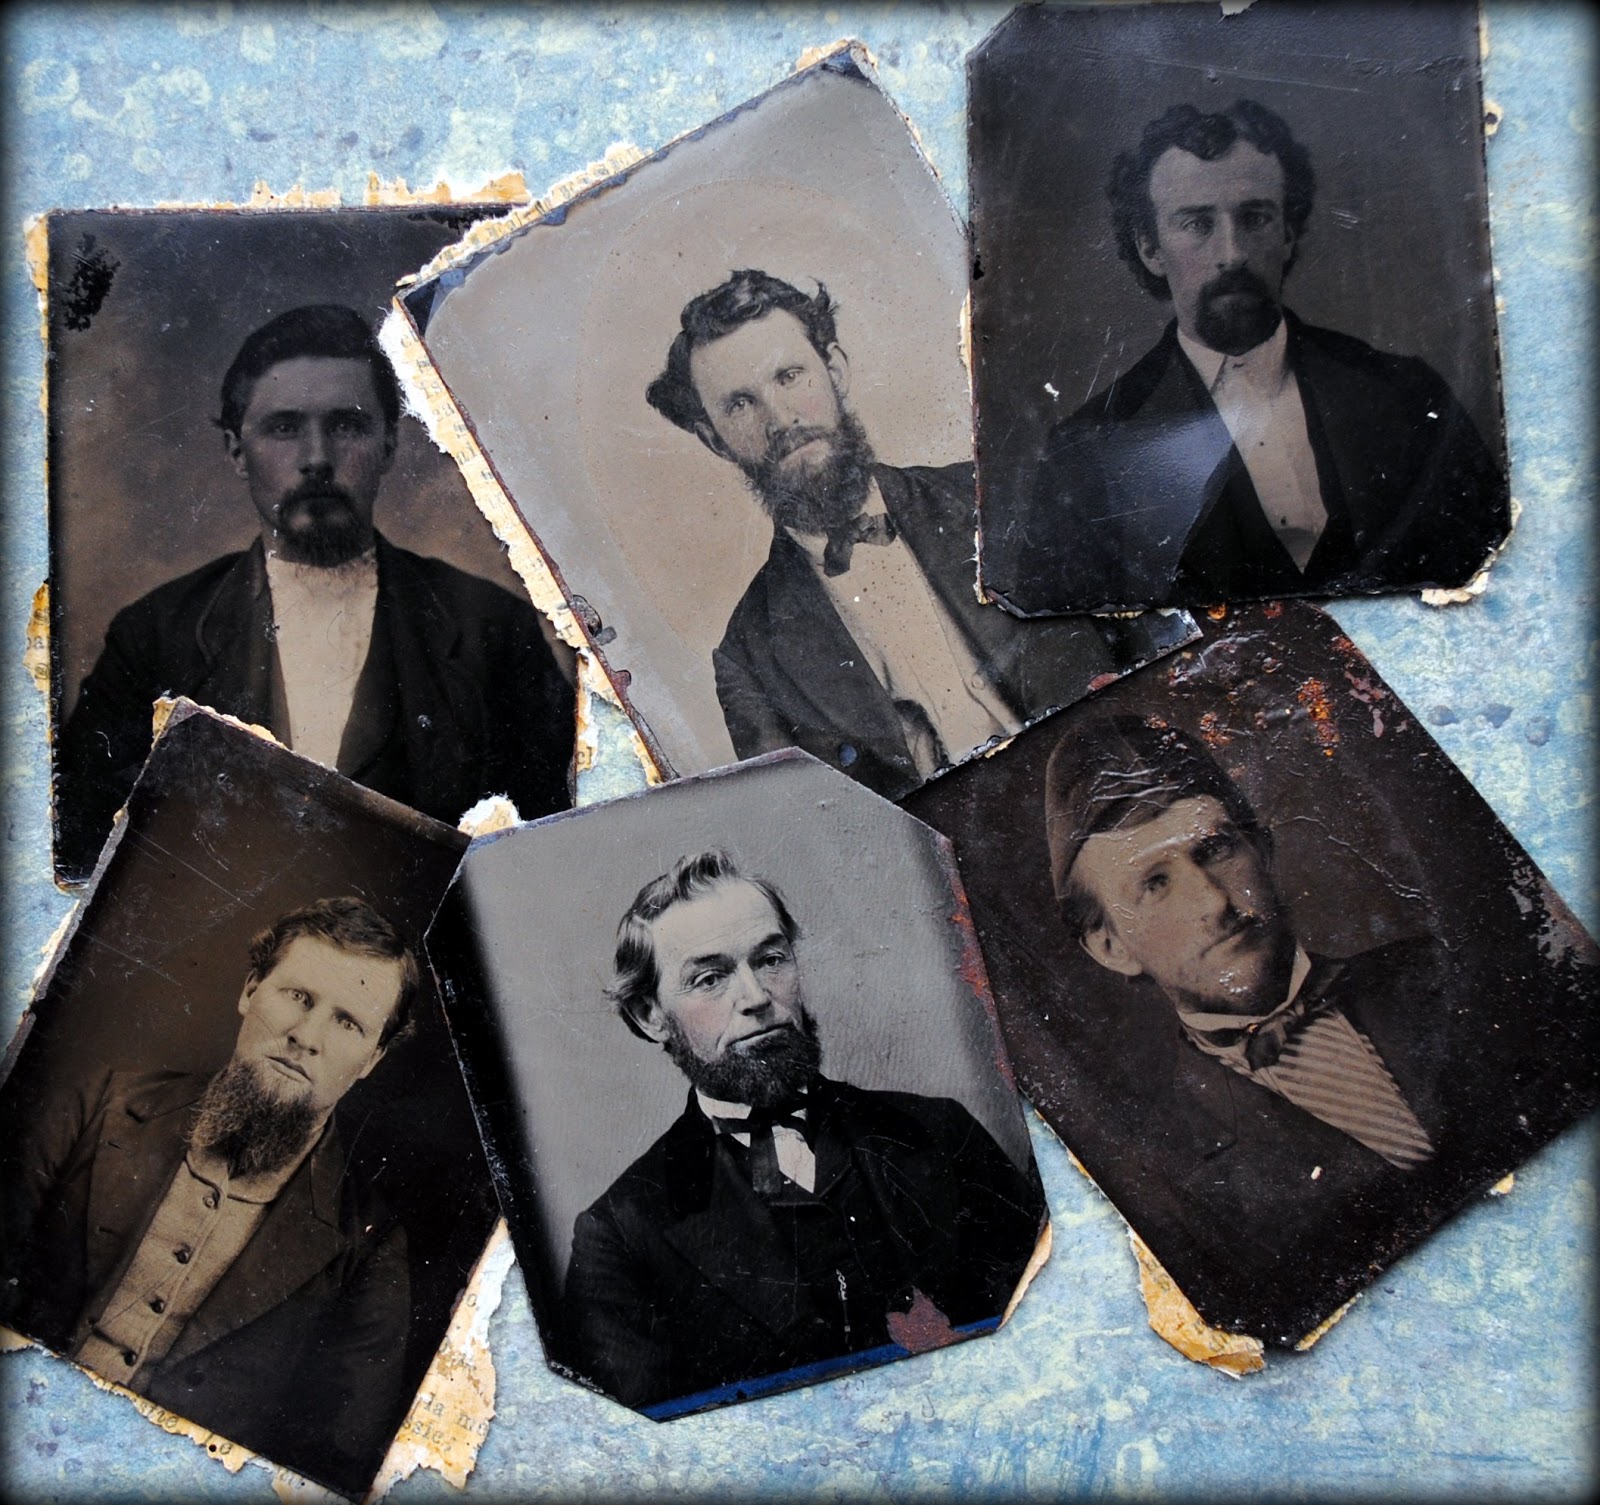
I adhered a tintype behind each window and backed the whole piece with book board cut to size.

Finally, I inserted a caption into the name plate that was printed out on my computer.


-----------------------------
Supply List
Spellbinders Paper Art Supplies:
GC-001 SpellbindersTM Grand Calibur® MachineMD1-013 - SpellbindersTM Media Mixage® Rectangles Two Dies
Preferred Promotional Partners: Imagine Crafts Inkblushers sponge
Other: vintage, tintypes, book board, watercolor paper, pan pastels, acrylic paint, dye ink, marker, pencil, vintage name plate, brads, adhesive, paint brush, scissors, guillotine paper cutter
April 29, 2013
Workshop Recap #2
Thanks for joining me as I recap my recent adventures teaching on the east coast. Post #1 can be found here.
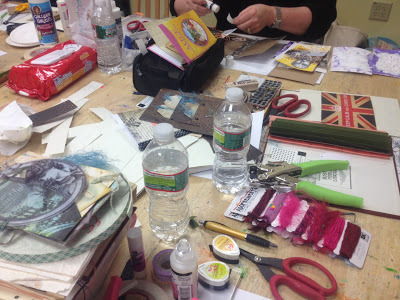
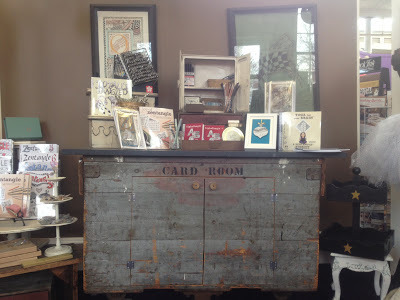
The next stop on my journey was "up north" at Ink About It in Westford, Massachusetts. Lisa and Lori, the owners, gave me the warmest welcome and this is what I found when I walked in the door...

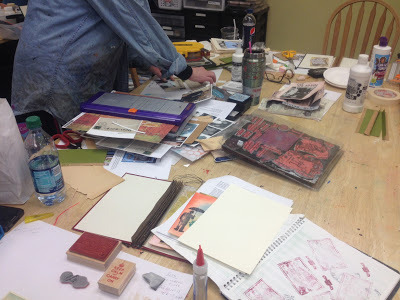
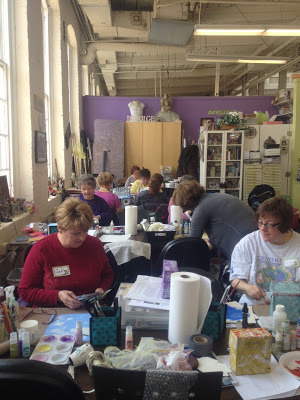
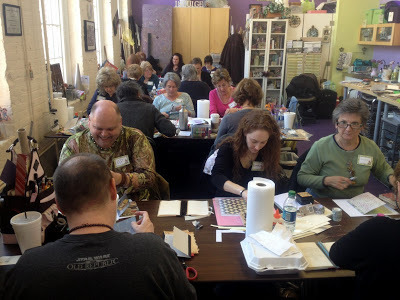
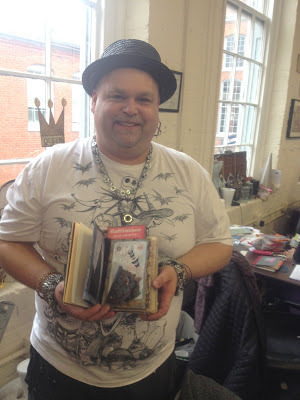
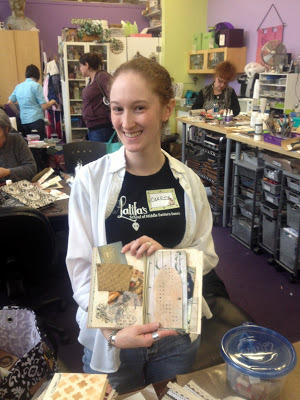
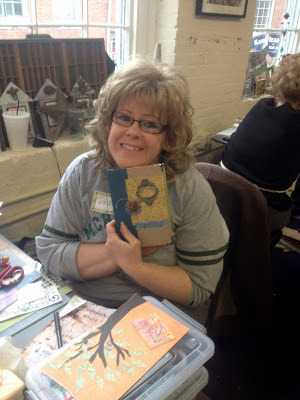
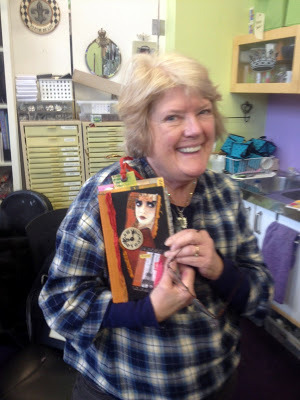
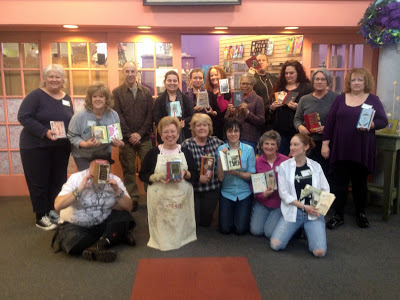
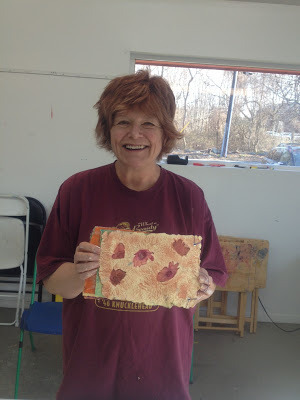
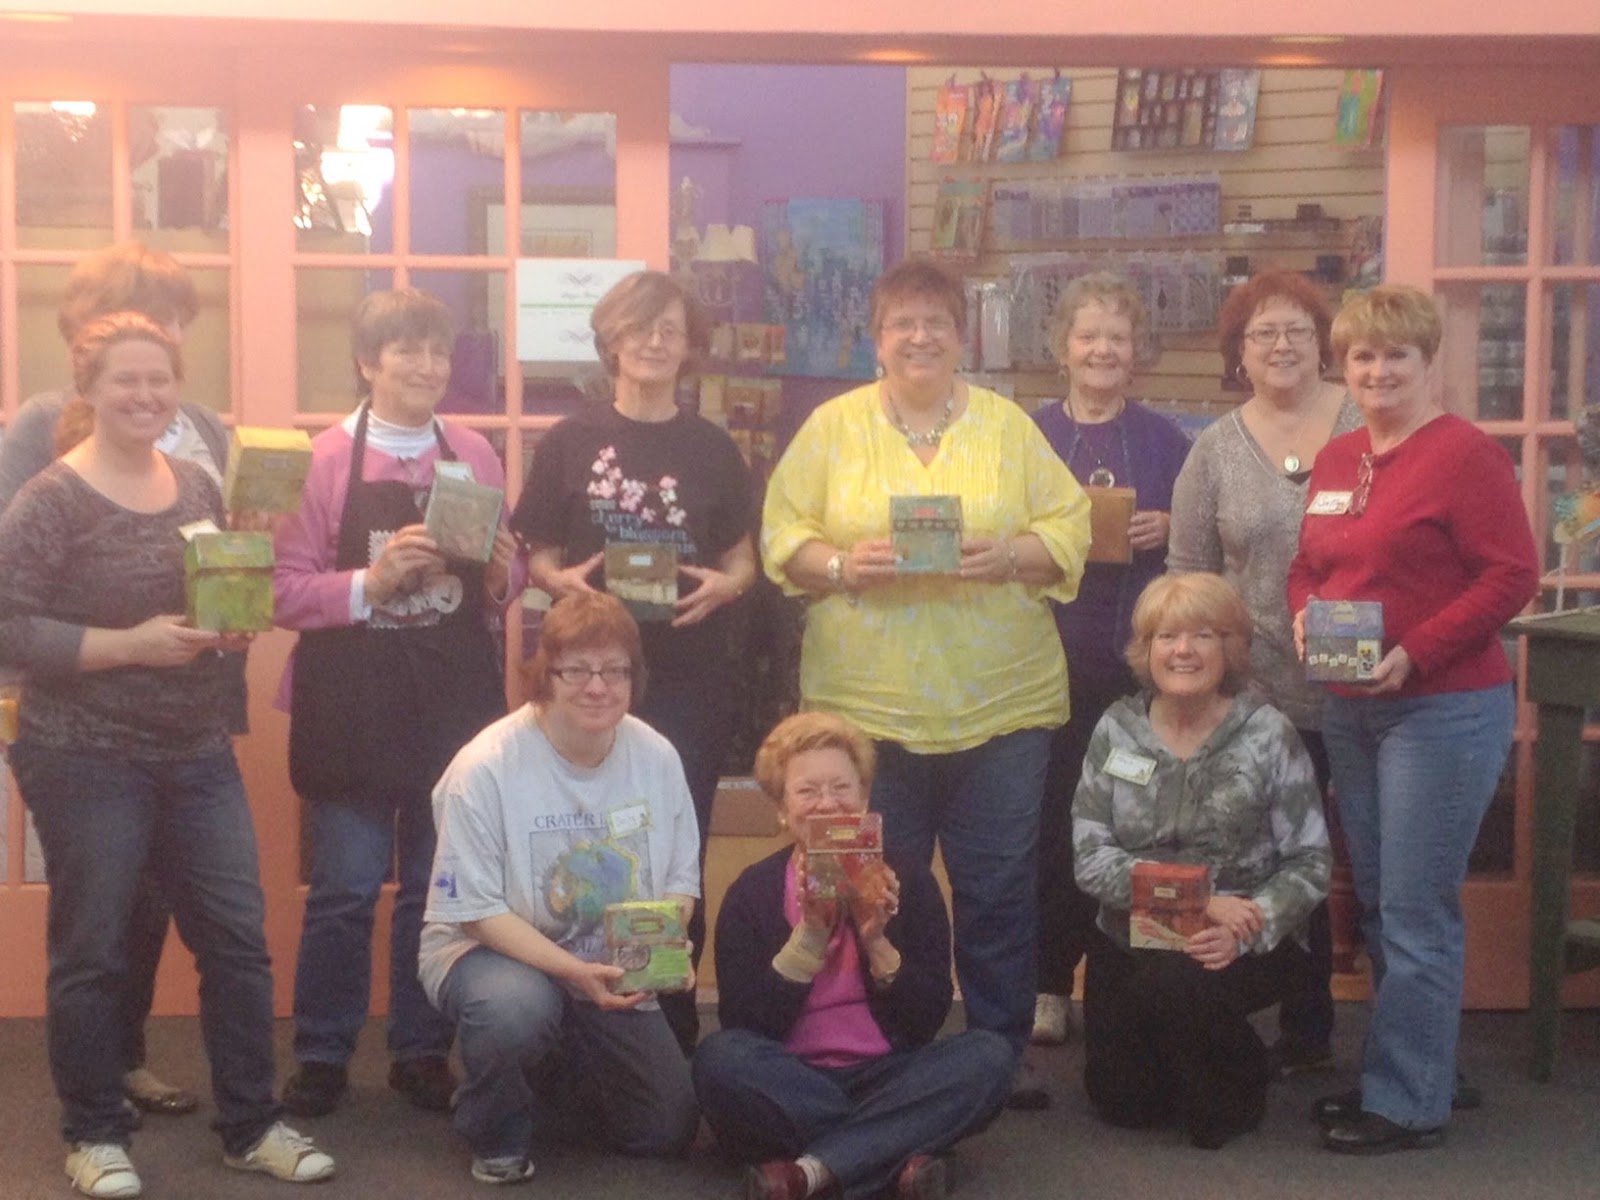
I taught my two-day, Mixed Media Memoire workshop and you know that good art is happening when the table gets messy.
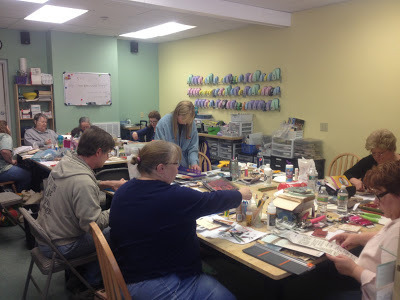
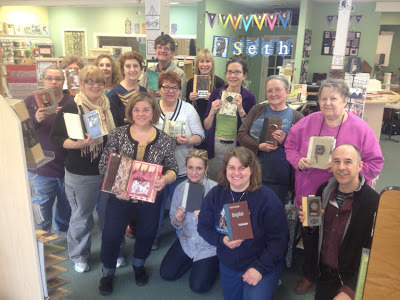
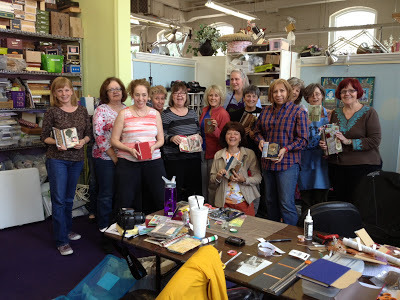
Another amazing group of talented and creative students.
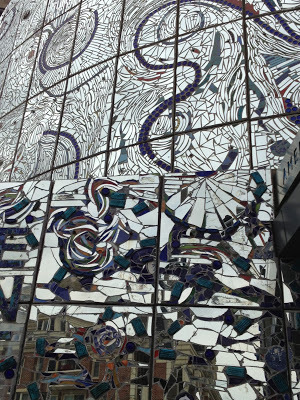
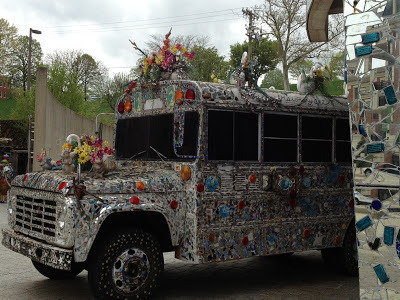
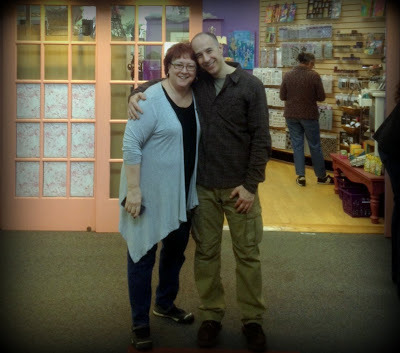
Two weeks later I headed to the "deep south" and taught for a second time in a month at The Queen's Ink in Savage, Maryland. But on my way down, I made a pit stop and met Patti, the owner of The Queen's Ink, in Baltimore at the American Visionary Art Museum.
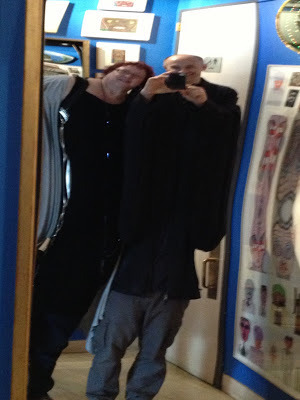
This is an extraordinary museum that focuses on outsider art. Cameras were not allowed inside but even the outside of this museum is photo worthy!
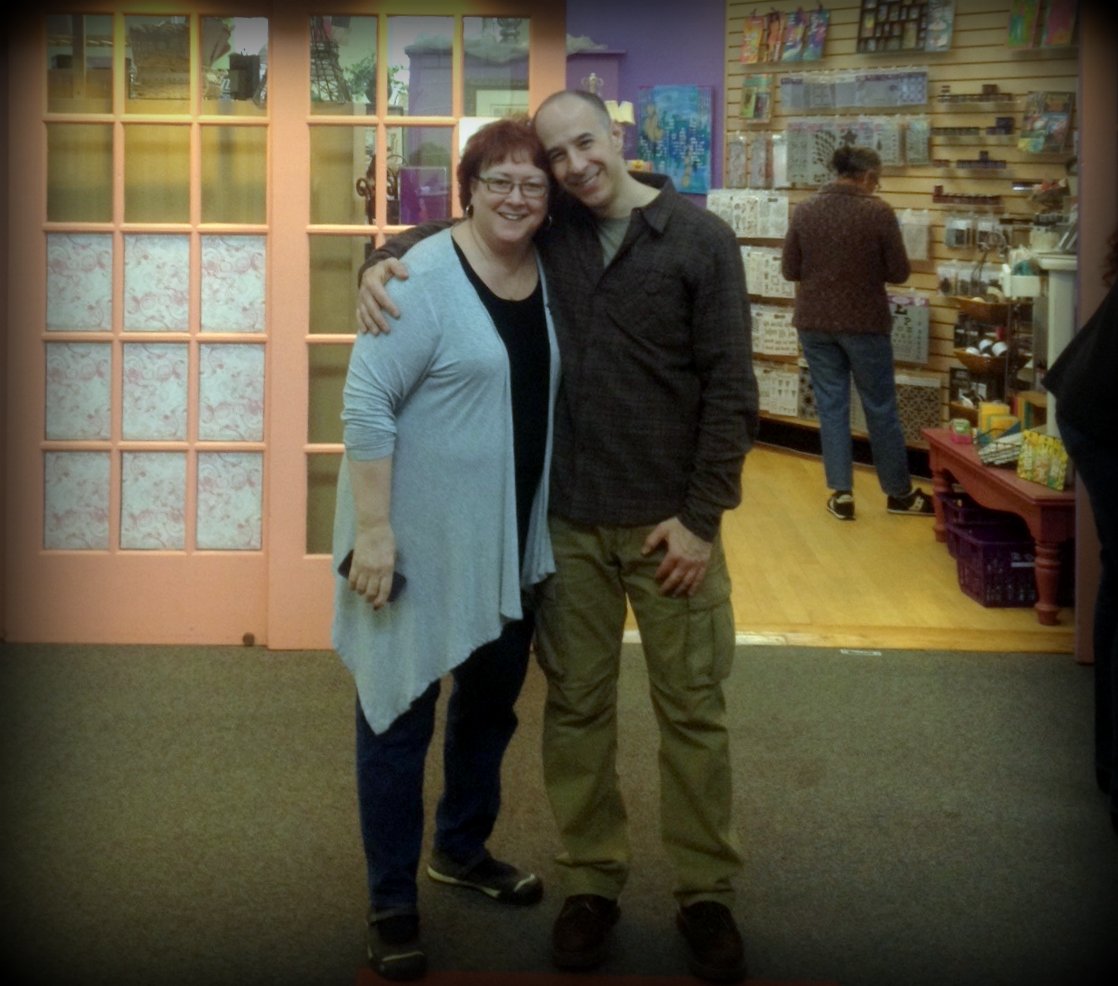
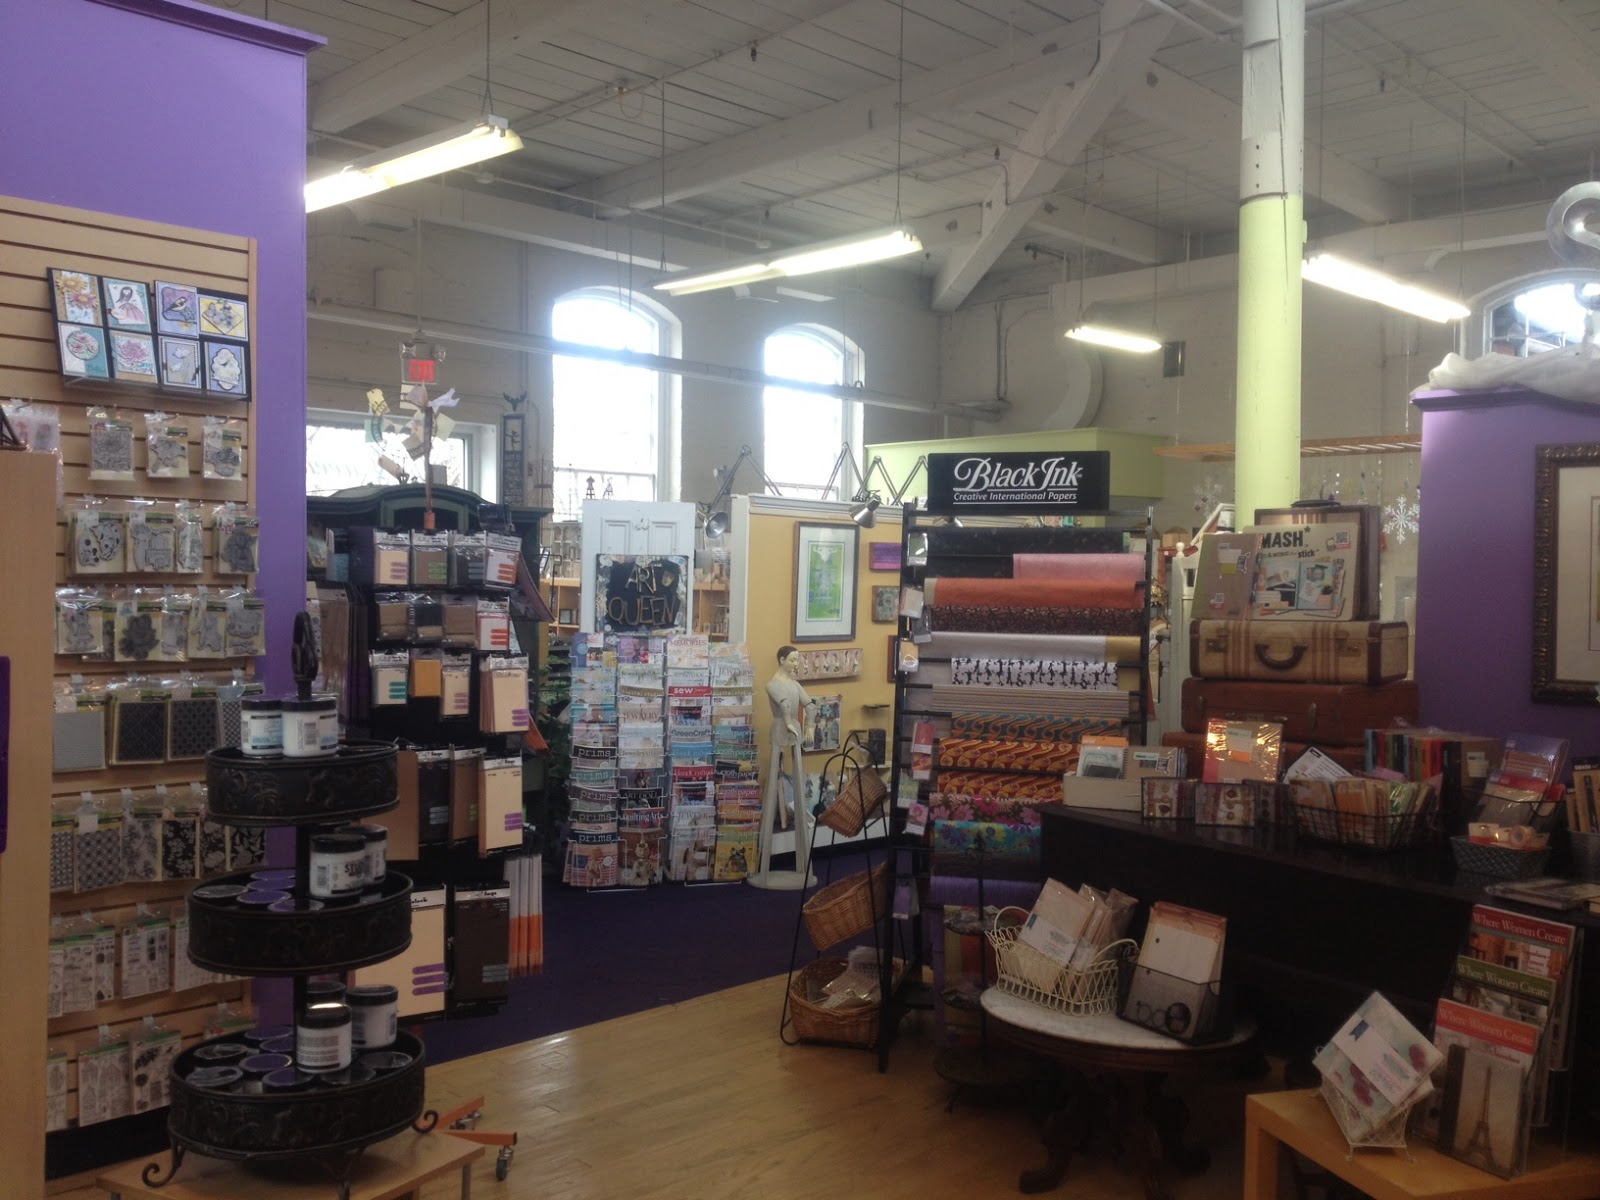
The outside of The Queen's Ink is also quite photogenic, as it is located in Historic Savage in a refurbished mill.

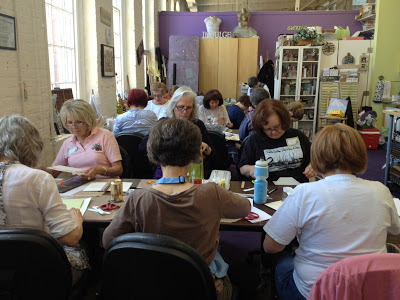
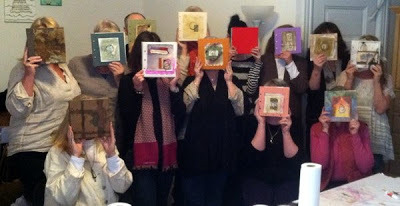
Inside the shop I taught Mixed Media Memoire one more time. And once again, I was welcomed with open arms!
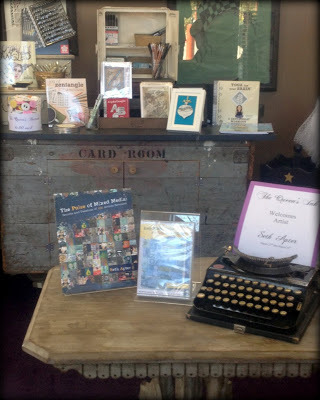
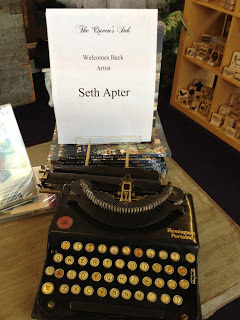 For those of you who also visit my Facebook page...this is the typewriter I have been highlighting.
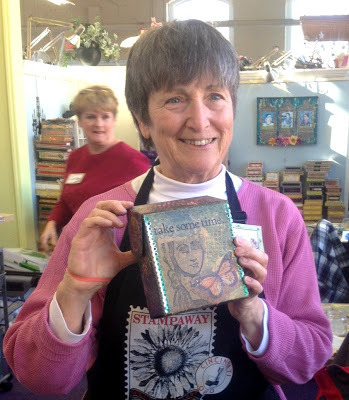
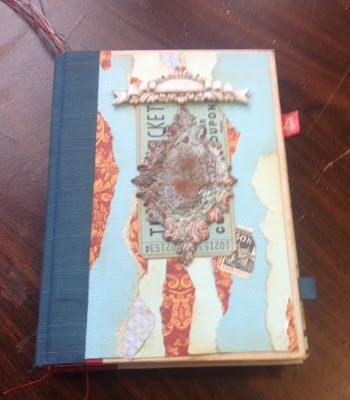
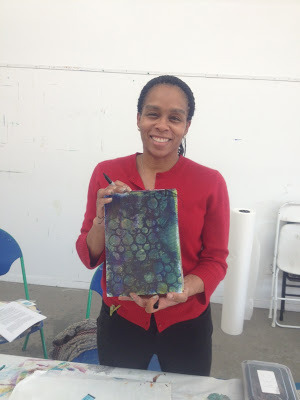
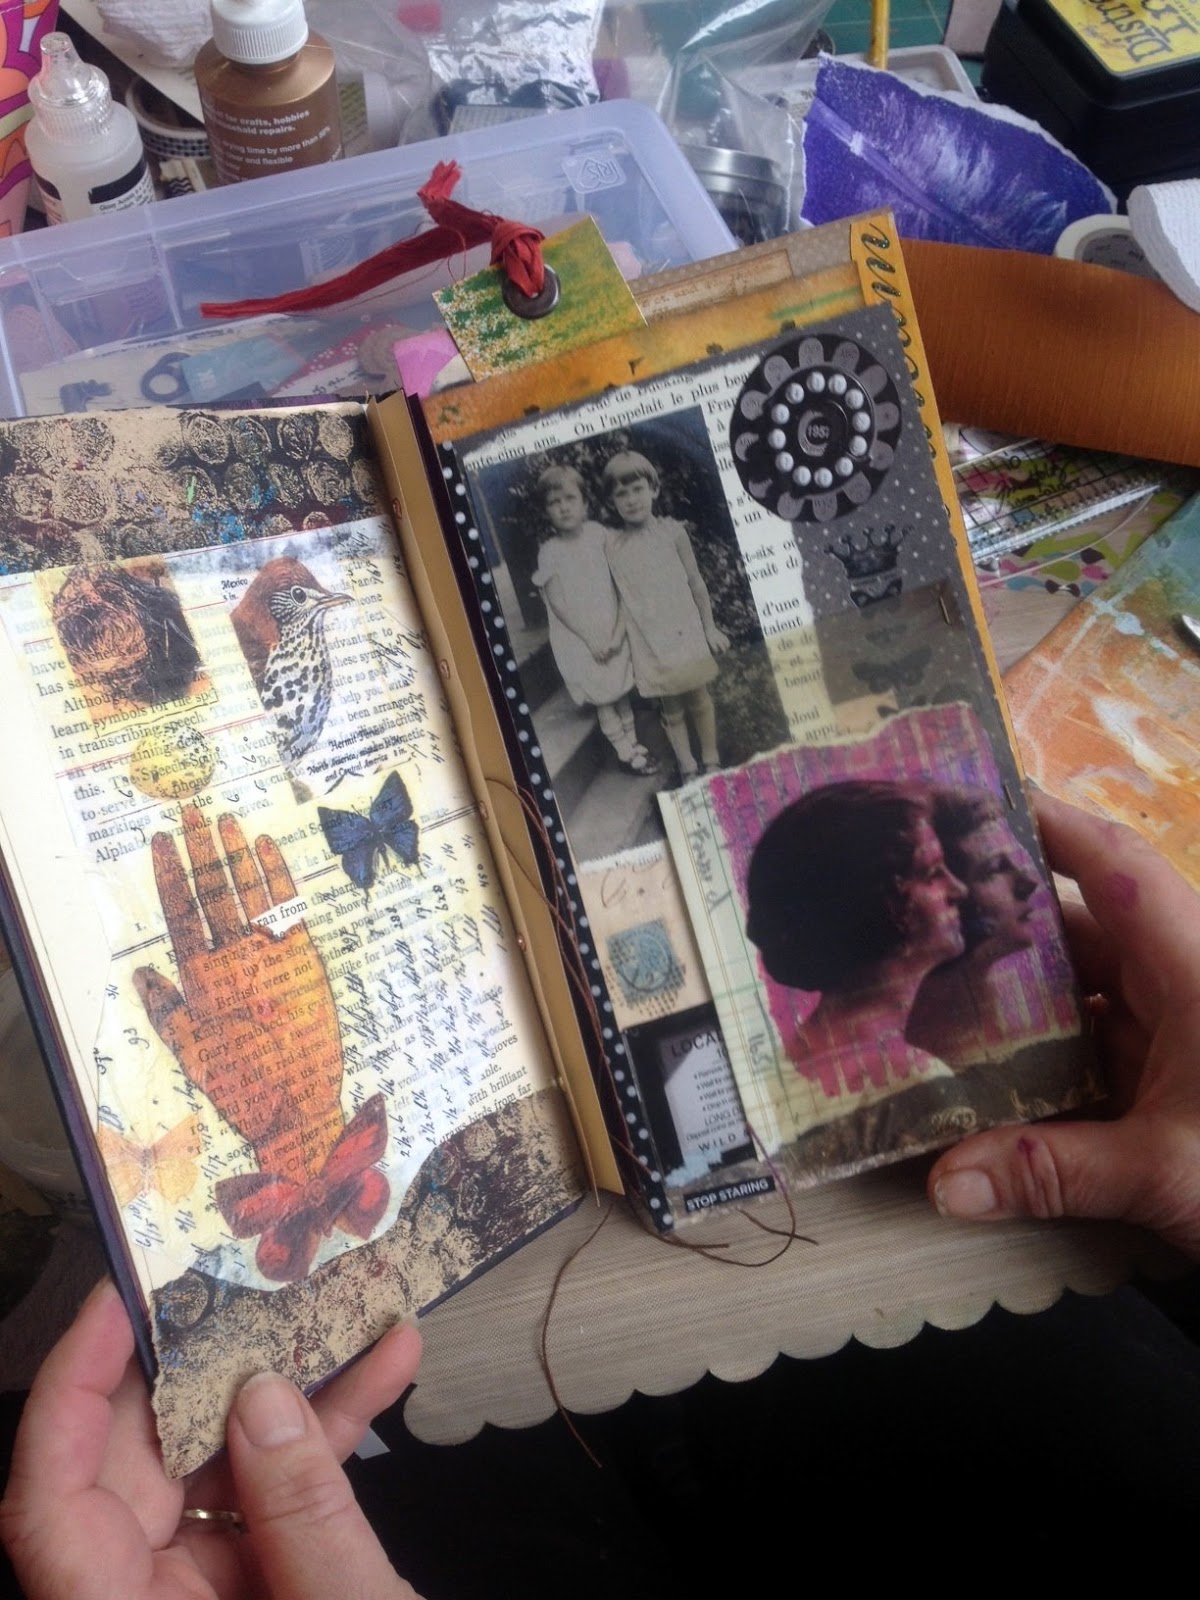
I love this venue and the Mixed Media Memoire workshop as well. I continue to be amazed that no two books are ever alike at the end of this class.
Thanks for coming along with me on my east coast tour. Not one to discriminate against coasts, I am about to embark on a 2+ week art adventure on the west coast. Details here. Stay tuned...
The next stop on my journey was "up north" at Ink About It in Westford, Massachusetts. Lisa and Lori, the owners, gave me the warmest welcome and this is what I found when I walked in the door...

I taught my two-day, Mixed Media Memoire workshop and you know that good art is happening when the table gets messy.


Another amazing group of talented and creative students.

Two weeks later I headed to the "deep south" and taught for a second time in a month at The Queen's Ink in Savage, Maryland. But on my way down, I made a pit stop and met Patti, the owner of The Queen's Ink, in Baltimore at the American Visionary Art Museum.

This is an extraordinary museum that focuses on outsider art. Cameras were not allowed inside but even the outside of this museum is photo worthy!


The outside of The Queen's Ink is also quite photogenic, as it is located in Historic Savage in a refurbished mill.

Inside the shop I taught Mixed Media Memoire one more time. And once again, I was welcomed with open arms!
 For those of you who also visit my Facebook page...this is the typewriter I have been highlighting.
I love this venue and the Mixed Media Memoire workshop as well. I continue to be amazed that no two books are ever alike at the end of this class.


Thanks for coming along with me on my east coast tour. Not one to discriminate against coasts, I am about to embark on a 2+ week art adventure on the west coast. Details here. Stay tuned...
April 27, 2013
Workshop Recap #1
The last few months has been filled with travel for me, as I went both up and down the east coast to teach a series of mixed media art workshops. With so many stops, I am going to break this into 2 posts.
It began back in early March when Roxanne Evans Stout, Elizabeth Wix and I taught a workshop together called The Need to Tell Stories at Little Bird Creations Studio in NYC. You can read more about this workshop and see many other pictures here.
Later in the month, I headed down to The Queen's Ink in Savage, Maryland where I was treated like a king by the owner Patti and the whole crew.
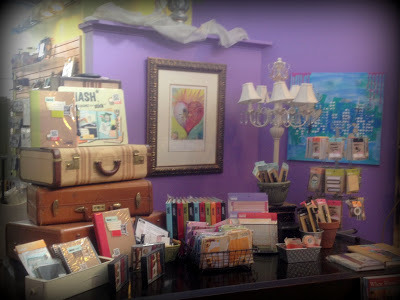
The Queen's Ink is an incredible shop that has their products set up in mini-displays.

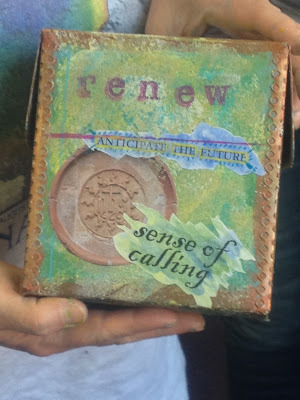
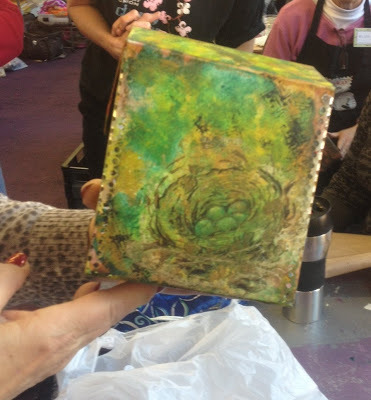
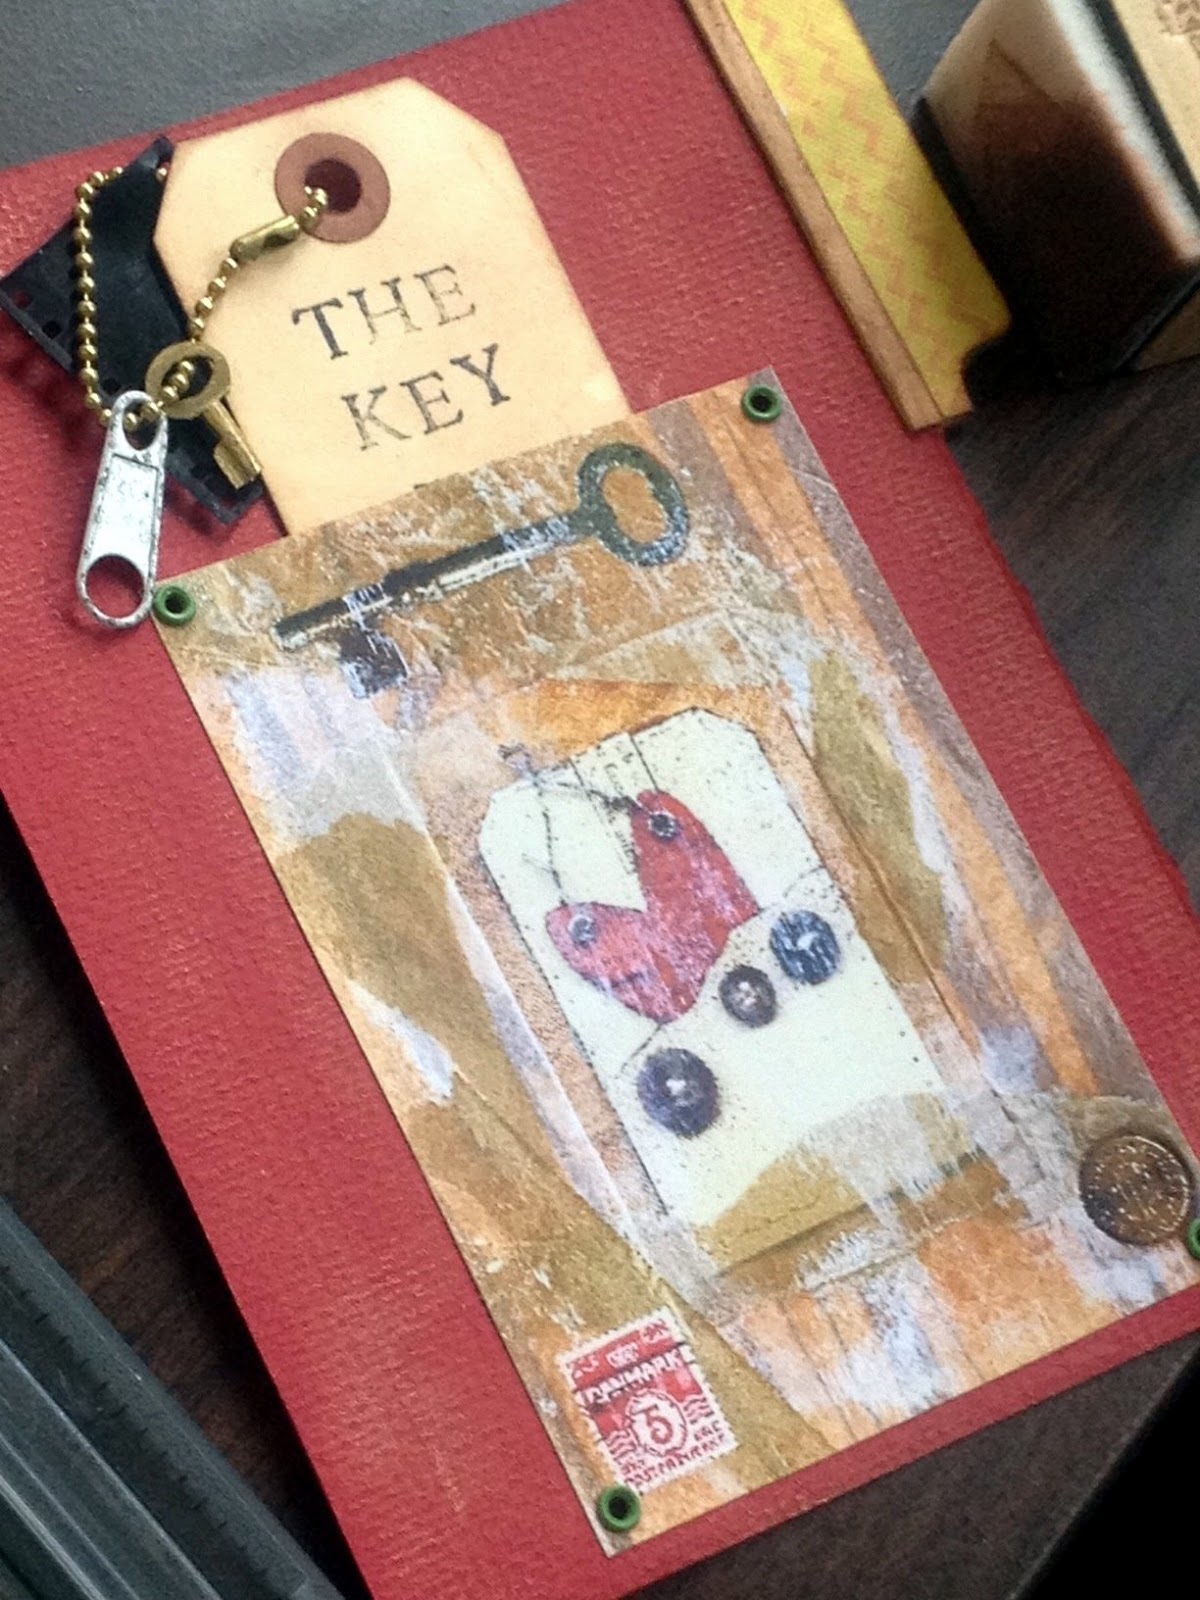
I taught two classes at The Queen's Ink. The first was a one-day workshop called Box of Dreams. The class was a lot of fun and the finished projects were creative and totally unique.

The second class I taught at The Queen's Ink was a two-day workshop Mixed Media Memoire. This was a new workshop and I could not have been any happier with how it all turned out.


Two weekends later I headed out again. I taught my Mixed Media Dossier at the Guilford Art Center in Guilford, Connecticut. What a beautiful place.

I usually take way too many pictures but at Guilford I ended up taking too few. Here are the shots that ended up on my camera roll.
To be continued...
It began back in early March when Roxanne Evans Stout, Elizabeth Wix and I taught a workshop together called The Need to Tell Stories at Little Bird Creations Studio in NYC. You can read more about this workshop and see many other pictures here.


Later in the month, I headed down to The Queen's Ink in Savage, Maryland where I was treated like a king by the owner Patti and the whole crew.
The Queen's Ink is an incredible shop that has their products set up in mini-displays.


I taught two classes at The Queen's Ink. The first was a one-day workshop called Box of Dreams. The class was a lot of fun and the finished projects were creative and totally unique.


The second class I taught at The Queen's Ink was a two-day workshop Mixed Media Memoire. This was a new workshop and I could not have been any happier with how it all turned out.


Two weekends later I headed out again. I taught my Mixed Media Dossier at the Guilford Art Center in Guilford, Connecticut. What a beautiful place.

I usually take way too many pictures but at Guilford I ended up taking too few. Here are the shots that ended up on my camera roll.


To be continued...
April 24, 2013
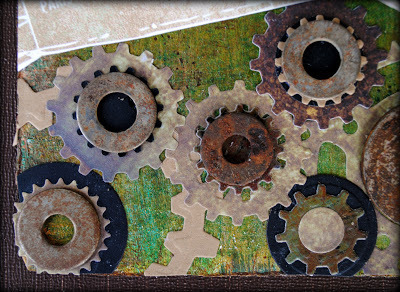
Explore
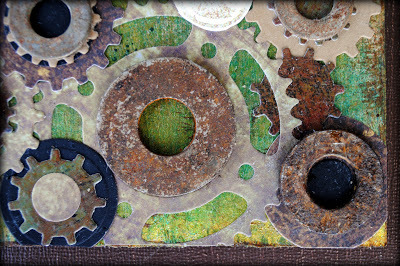
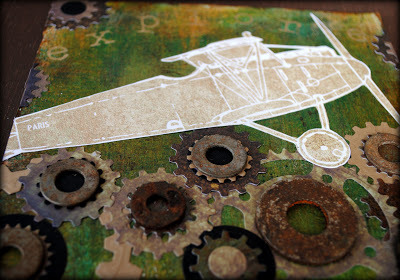
This year, Spellbinders has begun to Explore Beyond, encouraging artists to break through their own personal artistic limits and go beyond their usual comfort zone. In the same way, I am encouraging my crew of mixed media artists to also explore beyond and see how products designed primarily for card makers and scrapbookers can become part of their tool chest and used in a way that make them unique and all their own. To this end, today I am showcasing a piece called 'Explore' that reflects the theme of exploration.
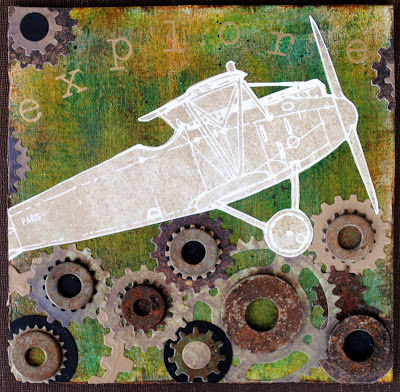
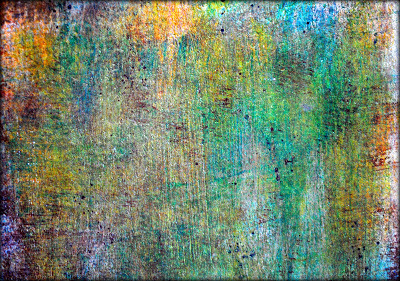
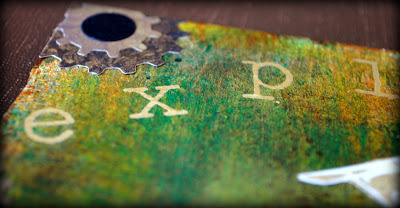
I started off with a 6.5 x 6.5 inch piece of hand painted paper that I grabbed from my stash. It was made on watercolor paper using gesso, acrylic paint and acrylic glazes. I mounted it to a piece of book board to make the piece more sturdy. The backside of the book board was painted and the edges were finished off with a gold leafing pen.
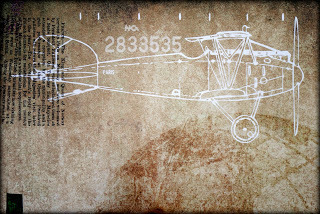
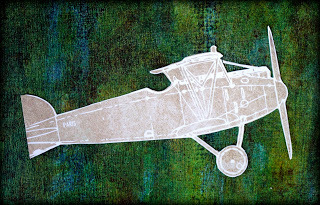
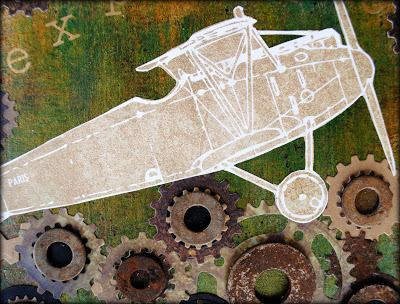
Next I decided to find a focal image that echoed the theme of exploring. I found a great image of a plane, which I cut out from a 12 x 12 inch piece of patterned paper from the Off the Wall Collection: Travel from 7 Gypsies.
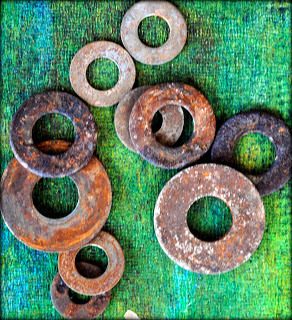
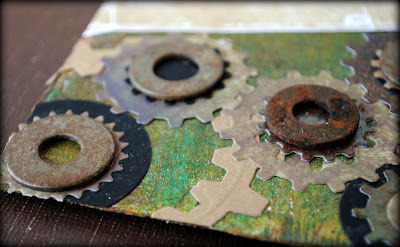
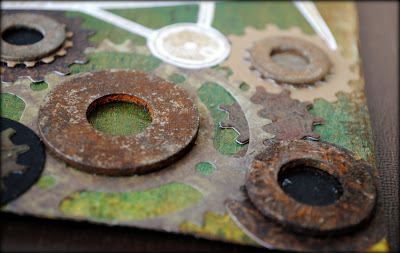
I have a huge pile of metal hardware, both found and bought/altered and I scooped up a batch of rusty metal washers.
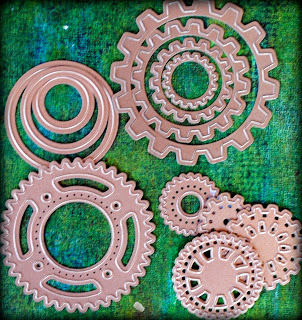
I then die cut circles, cogs and gears using multiple colors of card stock and patterned paper.

Finally I spent some time creating the page, moving the pieces around until I found a composition that I liked. I glued all the paper and hardware to my hand painted background and then added the word 'explore' with rub-on letters.


---------------------------------
Supply List
Spellbinders Paper Art Supplies:
GC-001 SpellbindersTM Grand Calibur® MachineS4-116 Standard Circles Small Spellbinders Nestabilities ®S5-048 Sprightly Sprockets Spellbinders Shapeabilities ®S4-386 Cogs Spellbinders Nestabilities ®
Cross Promotional Partners: 7 Gypsies patterned paper
Other: watercolor paper, card stock, book board, gesso, acrylic paint, acrylic medium, paint brush, adhesive, leafing pen, rub-on letters, found metal washers

I started off with a 6.5 x 6.5 inch piece of hand painted paper that I grabbed from my stash. It was made on watercolor paper using gesso, acrylic paint and acrylic glazes. I mounted it to a piece of book board to make the piece more sturdy. The backside of the book board was painted and the edges were finished off with a gold leafing pen.

Next I decided to find a focal image that echoed the theme of exploring. I found a great image of a plane, which I cut out from a 12 x 12 inch piece of patterned paper from the Off the Wall Collection: Travel from 7 Gypsies.


I have a huge pile of metal hardware, both found and bought/altered and I scooped up a batch of rusty metal washers.

I then die cut circles, cogs and gears using multiple colors of card stock and patterned paper.


Finally I spent some time creating the page, moving the pieces around until I found a composition that I liked. I glued all the paper and hardware to my hand painted background and then added the word 'explore' with rub-on letters.


---------------------------------
Supply List
Spellbinders Paper Art Supplies:
GC-001 SpellbindersTM Grand Calibur® MachineS4-116 Standard Circles Small Spellbinders Nestabilities ®S5-048 Sprightly Sprockets Spellbinders Shapeabilities ®S4-386 Cogs Spellbinders Nestabilities ®
Cross Promotional Partners: 7 Gypsies patterned paper
Other: watercolor paper, card stock, book board, gesso, acrylic paint, acrylic medium, paint brush, adhesive, leafing pen, rub-on letters, found metal washers