
Mike Elliott's Blog, page 8
June 10, 2024
How to Make and Install Half-Ribs in a Wood-Canvas Canoe
by Mike Elliott, Kettle River Canoes
email: artisan@canoeshop.ca

photo from “Tales from Misery Ridge: One Man’s Adventures in the Great Outdoors” by Paul J. Fournier. (Island Port Press, 2011)
About 140 years ago, fishing guides on the east coast of North America (most notably in Maine, New Brunswick and Quebec) started building wood-canvas canoes that they could use in order to take their clients up and down the shallow, rapid salmon rivers in the region. They used the local birch bark canoes as templates. The guides would be standing up all day in the canoe as they poled it upstream and down or held the canoe in place while the client fished for salmon. The canoes needed to be stable and rugged with a strong, comfortable floor. They designed canoes that had wide, flat bottoms which made them stable with a very shallow draft. To strengthen the hull against the inevitable encounters with rocks, they did one of two things:

a) Build the canoe with lots of ribs spaced very close together (0.5″ to 0.75″ – 13 mm to 19 mm apart).

b) Space the ribs normally (1.5″ to 2.0″ – 38 mm to 50 mm apart) and insert extra ribs between them that extended across the bottom of the canoe. These “half-ribs” created a strong, comfortable floor in the canoe.
At my canoe restoration shop, a client sometimes asks me to insert half ribs into their canoe in order to create a stronger bottom. Unfortunately, if you simply pressed shorter ribs into the bottom of the canoe between the regular ribs, the hull would become misshapen – especially if the bottom was not entirely flat. Therefore, retro-fitting half-ribs into a wood canvas canoe is done in the following way. Note, that this is done while the old canvas is off – before a new canvas is stretched on.

1) Cut and shape the new rib material from clear, straight-grained cedar. The half-ribs are about 1″ (25 mm) wide and the same thickness as the original ribs in the canoe. The sides of the half-ribs are chamfered about 10°. Sand the top edges lightly to round them off a little. Soak the new half-ribs for 48 to 72 hours. Then, steam them for about 50 to 60 minutes and bend them over the outside of the hull between the regular ribs. Allow the new ribs to dry for at least 48 hours. Just as when creating an exact replica for a broken rib in the canoe, the half-ribs are bent in a location so that the shape of the rib on the outside of the hull is the same as the dimensions required on the inside. The taper of the hull is such that the inside dimensions are achieved by bending the rib one station closer to the near-end of the canoe. Precision is not as critical for half-ribs as would normally be required since the ribs will not be curving around the chine of the canoe. Use a pencil to mark the centre-line on each new rib.

2) Remove the new ribs from the outside of the canoe and place them in the required positions between the regular ribs. Make sure the centre-line on each new rib is lined up with the centre-line of the canoe. Hold the new ribs in place with spring clamps on the inwales.

3) The length of each half-rib will vary so that they match the taper of the hull dimensions. The actual length of each rib is entirely up to you. Use a straight-edge to help determine the length of each rib and use a pencil to mark both ends.

4) One at a time, cut each half-rib to length.

5) Use a random-orbital sander and 80-grit paper to chamfer the ends of the rib.

6) Place the half-rib back into the desired location and secure it with one tack about halfway between the centre-line and one end of the rib. Make sure the rib is centered between two original ribs. Repeat this procedure on the other side of the rib making sure that the half-rib is centered between the original ribs. This can be done by one person, but is much easier when one person holds the half-rib and clinching iron while a second person drives the tacks with a cobbler’s hammer.
7) Once the half-rib is centered and straight, secure it with a full complement of tacks.

8) Repeat steps 4 to 7 for each half-rib in turn.
All of this (and much more) is described in my book – This Fancy Old Canoe: A Comprehensive Guide to Restoring Antique Canoes.
If you live in Canada, CLICK HERE to buy the book.
If you live in the USA, CLICK HERE to buy the book.
If you live in the UK, CLICK HERE to buy the book.
Si vous habitez en France, CLIQUEZ ICI acheter le livre.
Post a review on Amazon, Goodreads, and any other review site.


June 9, 2024
How to Repair a Long-Framed Veneer Deck in an Antique Canoe
by Mike Elliott, Kettle River Canoes
email: artisan@canoeshop.ca
Note: If you happen to be a master cabinet-maker who repairs Chippendale furniture for fun, this project will be pretty straightforward. For the rest of us, it is a supreme challenge. Many of my adventures in repairing fancy canoes employ a trial-and error methodology. In this project, I used the error-and-error method. As I take you through the process, I describe some of the pitfalls I encountered. I hope this helps you avoid some of them.
***********************

Long decks are found in both wood-canvas canoes and all-wood canoes. They are comprised of a number of components. Most often, the deck itself is two pieces butted together down the centre-line. The king plank covers this joint while the coaming covers the end grain of the deck and king plank.

These decks were made in one of two ways. The first method, already described in a previous blog article, is to pre-bend solid wood for the deck to fit the graceful curves in the ends of the canoe.

The second method is to build a frame at each end and cover it with thin veneers (usually two pieces of mahogany). The king plank covers the joint between the deck veneers while the coaming covers the frame as well as the end-grain of the deck veneers and king plank.

Some companies built the frame directly into the structure of the canoe and installed the veneers afterwards.

I repaired the stern deck in a 1948 Willits Brothers canoe. In their shop, they installed the framed deck after it was fully assembled.


The first step is to remove the deck from the canoe. Start by removing the coaming. It is held in place with six #8 brass flat-head wood screws. Set it aside to be re-installed near the end of the repair process.

The king plank is attached with ¾” (19 mm) 18-gauge brass escutcheon pins. They are dubbed (bent over) at the back of the deck. Ease them out by working a putty knife between the king plank and the deck. Then, wedge a small pry bar between the putty knife and the deck.

Working gently along the length of the king plank, gradually work it free from the deck as the brass pins straighten.

The deck veneers are attached with ¾” (19 mm) #6 brass flat-head wood screws (under the king plank) and ¾” (19 mm) 18-gauge brass escutcheon pins driven into the white oak deck frame along the outer edge. Use the same method to lift the veneers off the frame. Some of the brass pins will probably pull through the veneer and remain in the oak frame. Remove them with a pair of bonsai concave cutters.

With the frame exposed, it is clear that the white oak side rails in this frame are rotted at the ends.

The outwales are attached to the deck by means of several #8 brass flat-head wood screws. Remove them to expose the hull. The main body of the outwales are attached to the hull from the inside with ¾” (19 mm) 16-gauge copper canoe nails. Remove a few of these with a pair of bonsai concave cutters to provide full access to the canoe hull in the region where the frame is attached to the hull.

Clamp a pair of vice grips to a hack saw blade to create a strong handle. Work the blade between the deck frame and the hull of the canoe to cut through a number of ¾” (19 mm) 16-gauge copper canoe nails used to attach the frame to the canoe.

Remove the frame from the canoe.


The side rails of the frame are white oak while the cross members are spruce. This particular frame requires new side rails.

New white oak stock is cut wide enough to create both rails from a single piece once it is bent to the correct shape. A bending form is created that is 3″ (76 mm) wide.

The oak stock is soaked for three days, steamed for 60 minutes and bent onto the form without a backing strip. Let the wood dry for a week.

Once removed from the bending form, saw the new stock into two pieces on the table saw and cut to rough dimensions. The left and right frame rails are mirror images of each other. Be sure to label them to avoid errors further on in the process. Line up the new pieces with the original rails and mark them out for later fitting.

Remove the original rail on one side and install the new piece.

Align a straight edge down the centre-line of the frame and mark the end of the new piece.

Use a dovetail saw or Japanese crosscut saw to cut just outside the line.

Remove the original rail on the other side. Dry-fit the new piece and mark the angle for the end of the frame. Cut on the outside of the line, dry-fit the new piece and make adjustments until the rails fit together properly at the end. Install the second rail and secure them together at the end with a ¾” 16-gauge bronze ring nail.

Dry-fit the deck frame in the canoe and hold it in place with several spring clamps. Trim the end to fit and carve the final shape of the side rails until they are flush with the sheer-line of the canoe. This step is critical to the final fit of the deck. In a solid-wood deck, the shape can be fine-tuned after it is installed. In a veneer deck, the frame must be shaped precisely before anything else is done.

I found this out the hard way. The first time I dry-fit the frame, I shaped the end to be flush with the stem-top. This was about 3/16″ (5 mm) higher than the sheer-line of the hull.

When I went to install the finished deck, the assembled end rose above the stem-top and did not fit properly. I had no choice but to take the entire thing apart and carve the frame to be flush with the sheer-line.

The Willits brothers book-matched their veneers for the decks. They re-sawed a 4/4 (1″ or 25 mm thick) board on a band saw and opened the pieces like a book. The veneers were planed to 3/16″ (5 mm) thick.

Use a mahogany board 7″ (18 cm) wide and 36″ (91 cm) long. Once the boards are re-sawn and planed, use the original veneers as templates. Mark out oversized pieces and cut them to rough shape. Be sure to cut well outside the lines. You want to have lots of room for fitting and trimming to final size.

Make a veneer press jig with 4/4 hardwood.

Soak the veneers for at least four hours. Take one of them and pour boiling water over it. Press the veneer into place and use the veneer jig (locked in place with a couple of C-clamps) to act as another pair of hands while you secure the veneer with fasteners. Be sure the veneer extends at least 1″ (25 mm) past the outside edge of the frame.

Drill pilot holes in the spruce cross members #2 and #3.

Attach the veneer with ¾” (19 mm) #6 bronze flat-head wood screws close to the edge nearest the centre-line.

Reposition the veneer jig to allow full access to the outer edge of the deck. Drill pilot holes through the veneer and into the frame rail at 1½” (38 mm) intervals.

Use a small, flat-head tack hammer to drive ¾” (19 mm) 18-gauge brass escutcheon pins into the veneer. I started with my regular canoe tack hammer which has a large, domed face. I switched over to the small, flat-faced hammer after mis-hitting several pins and bending them. The Willits brothers countersunk these pins and filled the holes with wood putty. I opted to skip this step after my counter-sink slipped and split the veneer (not once, not twice, but three times before I tore off the veneer and started again). This process offers no end of challenges, the least of which being the fact that the drill bit is 3/64″ (1.2 mm) diameter and the holes are drilled free-hand. If you are anything like me, you will need at least one more drill bit than you have on-hand (I used six drill bits to attach six veneers and two king planks).

If your fingers are as big and clumsy as mine, use a pair of forceps to hold the pin while you hammer.

Once the veneers are attached, dry-fit the deck. Mark the end of the veneer so the deck fits back into its original position. Trim the ends of the veneer and dry-fit the deck again. If you have done everything right so far, the top of the veneer will be flush with the stem-top.

Mark the outside edge of the canoe hull on the underside of the veneer. Remove the deck and carefully shape the veneer to just outside the line. Repeat the process of dry-fitting, marking and shaping until the veneer fits precisely.

Use a random-orbital sander to shape the end-grain veneer until the coaming fits precisely. This too, is a slow process of shaping and dry-fitting the coaming in small, careful steps. The veneer is extremely delicate and prone to breaking (especially at the corners). I switched to a fine rasp as I got closer to the final fit.

Sand the veneer by hand from 120-grit to 220-grit. Wet the veneer surface and let it dry. This will raise the grain. Sand by hand from 320-grit to 600-grit. Use a tack cloth to remove lingering dust once the sanding is complete.

Stain the veneer to match the original wood in the canoe.

Prepare a piece of white oak for the king plank. Sand it to 600-grit and stain the wood to match the original. Seal all of the frame components with shellac (2-pound cut using lacquer thinner instead of methyl hydrate). Then apply a coat of spar varnish (thinned 12% with paint thinner). Allow the varnish to dry for a couple of days before proceeding to the next step. Press the king plank into place and use the veneer jig to hold it in place while you secure it with escutcheon pins.

Drill pilot holes and hammer escutcheon pins at 2″ (50 mm) intervals.

Use a clinching iron to dub the pins at the back of the deck.

Dry-fit the deck in the canoe. If you have done everything right so far, the king plank sits snugly on top of the stem-end.

Attach the coaming to the deck with ¾” (19 mm) #6 bronze flat-head wood screws.

Install the completed deck and secure it with ¾” (19 mm) 16-gauge copper canoe nails.

Re-attach the outwales with #8 bronze flat-head wood screws. Spray the screws with a little WD-40 to reduce heat build-up as they are driven in. Hot screws are more likely to break off as they are driven tight.

Use a Japanese cross-cut saw to trim the king plank flush with the outer edge of the stem.

Smooth the corners of the king plank at the end with a rasp.

All’s well that ends well.
All of this (and much more) is described in my book – This Fancy Old Canoe: A Comprehensive Guide to Restoring Antique Canoes.
If you live in Canada, CLICK HERE to buy the book.
If you live in the USA, CLICK HERE to buy the book.
If you live in the UK, CLICK HERE to buy the book.
Si vous habitez en France, CLIQUEZ ICI acheter le livre.
Post a review on Amazon, Goodreads, and any other review site.
June 4, 2024
This Fancy Old Canoe – Best Selling New Release in its category
by Mike Elliott, Kettle River Canoes

This Fancy Old Canoe is now available on Amazon. It is the number one best selling new release in the category of Antique & Collectible Care & Restoration.
https://www.amazon.com/gp/new-releases/books/5075/ref=zg_b_hnr_5075_1
On Amazon.ca, This Fancy Old Canoe is #5 best selling book in the category of Antique & Collectible Care & Restoration.
https://www.amazon.ca/gp/bestsellers/books/943442/ref=pd_zg_hrsr_books
May 13, 2024
This Fancy Old Canoe: A Comprehensive Guide To Restoring Antique Canoes will be available on Amazon June 3, 2024
Circle the date on your calendar. June 3, 2024. This Fancy Old Canoe: A Comprehensive Guide To Restoring Antique Canoes will be available on Amazon.
April 19, 2024
Jerry Stelmok Introduces This Fancy Old Canoe: A Comprehensive Guide To Restoring Antique Canoes
by Mike Elliott, Kettle River Canoes
The foreword to This Fancy Old Canoe is written by Jerry Stelmok. Here is his introduction to the book.

In this, Mike Elliott’s second book on canoe restoration, he uses his first book, This Old Canoe, which treats the more commonly encountered types of canoe damage and repair — broken and rotted ribs, planking, gunwales, need for recanvassing, and such — as a springboard to address some of the less common and often more challenging afflictions found in certain antique (and I’ll use Mike’s appropriate term) fancy canoes.

In the late nineteenth and early third of the twentieth centuries, recreational canoeing became very popular. Not just to explore the backcountry but as a social phenomenon giving rise to large-scale urban canoe clubs and liveries. On a Sunday afternoon on rivers such as the Charles in Boston, and the Detroit’s Belle Isle section, hundreds of canoes might be packed cheek by jowl ferrying sociable paddlers decked out in their finest outfits. These flotillas blossomed not only because they were fun and a chance to show off canoes, but also because they were one of the few acceptable activities where a fellow could be accompanied by his special girl unchaperoned — aside from the thousand or so other canoeists in proximity.

As an expression of this high-visibility exposure, the canoeing public began demanding finer, more strikingly adorned canoe models with more “flare.” Not merely fancy paint jobs, but higher, more romantic sheer lines, long decks leading to open cockpits with coamings, pennant holders, etc.
The builders responded. From the 1890s through the 1930s, with great skill and attention to detail, they employed extreme steam-bending of gunwales, stems and decks, to achieve the desired romantic flavor. Among these builders were Robertson, Brodbeck, and Arnold, in the Boston region. In Maine, they included Williams and Heckman in Kennebunk, Morris in Veazie, and Old Town in Old Town.

To make the canoes practically capsize proof, hollow air chambers termed sponsons were installed beneath the gunwales on some models.
All these extraordinary features present challenges that require innovative restoration procedures when they turn up as broken, dry rotted, or missing components in antique canoes to be repaired.
Mike breaks down these issues into various categories. With detailed instructions and clear photographs, he describes how to go about fixing the problems at hand.
It has been said that there’s more than one way to skin a cat. I’ve never skinned a cat, and never plan to. I like cats, although maybe not as much as I do dogs. The point is that, in my years of experience, I don’t necessarily employ the same techniques as Mike does for each task. Nor does the fellow down the road from me, Rollin Thurlow, who has been at canoe building/restoration as long as I have. He has also developed his own skills and methods. (But then, our town of Atkinson, Maine, is just possibly unique in that it has a full-time canoe shop for every 150 residents.) The late great Jack McGreivey of New York, considered by many of us to be the Dean of canoe restoration, had developed his own methods of tackling these challenges, too. Simply put, there is no single correct solution to address these often-complex issues. Mike freely points this out. His own methods are straight-forward and offer directions that, with care and some skill, should lead to success.

An important section of the book that I find very interesting is the restoration and repair of the various all-wood canoes manufactured in the Peterborough-Lakefield region of Ontario. Builders such as Herald and Stephenson, as early as the 1860s, made many types. These differ from the wood and canvas canoes in that their wooden hulls had to be perfectly watertight without a waterproof skin. I have very little knowledge about restoring such canoes, but I have always been impressed with their artisanship and the obvious challenges they present. Mike takes on a few of these himself and widens the book’s scope with excellent contributions from Sam Browning in the UK, who shares his experience restoring these impressive watercraft. Such is the value of the internet in all its forms when it is employed as it was initially intended — for sharing information.
Of course, numerous posts on the various apps and services these days offer advice. Some are excellent and some are sketchy. Some that are dependable are the Forums on the website of the Wooden Canoe Heritage Association (forums.wcha.org).
Still, when confronted with an exquisite courting canoe in need of major restoration; or just a more ordinary canoe that has issues with those unwieldy sponsons, you will find nothing quite as accessible and reassuring as a credible book on your bench. That is why This Fancy Old Canoe can be your best place to start.
Jerry Stelmok
Atkinson, Maine
April 8, 2024
Coming in July 2024: This Fancy Old Canoe: A Comprehensive Guide to Restoring Antique Canoes
by Mike Elliott, Kettle River Canoes
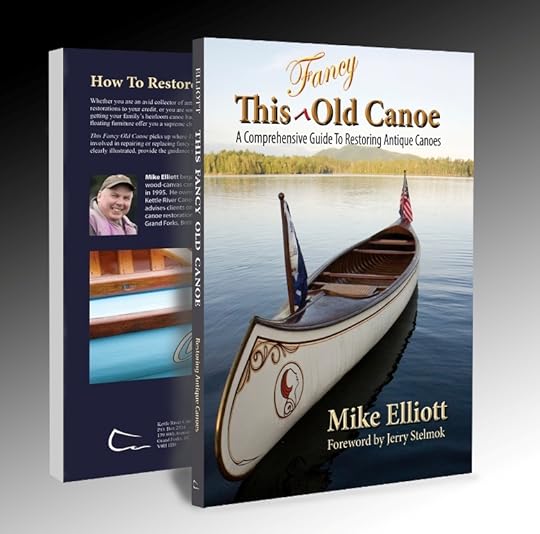
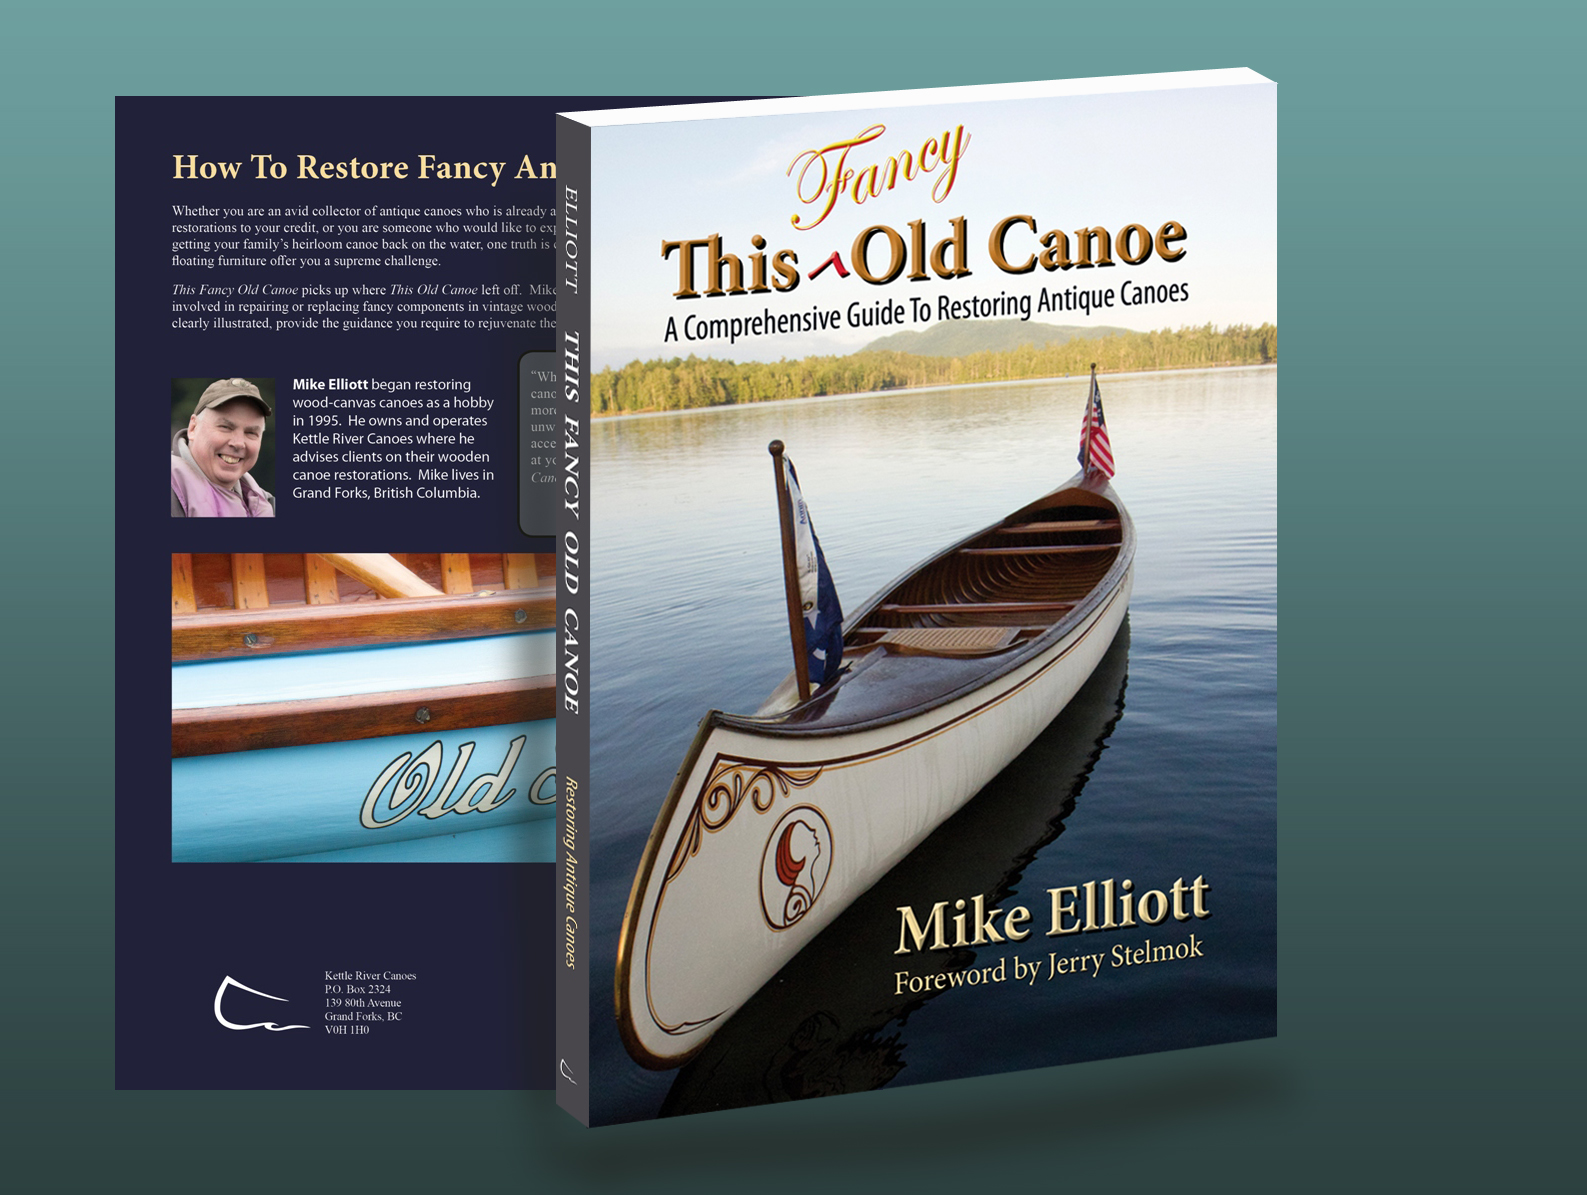
This Fancy Old Canoe: A Comprehensive Guide to Restoring Antique Canoes picks up where This Old Canoe: How to Restore Your Wood-Canvas Canoe left off. Whether you are an avid collector of antique canoes, or you have limited experience in the woodwork shop and just want to get your family’s heirloom canoe back on the water, the two books work together providing the techniques necessary to achieve success in your canoe restoration adventure.

Using over 400 photos and more than 100 plans and illustrations, This Fancy Old Canoe is designed to simplify and clarify the restoration process.

The book covers every aspect you may encounter in your canoe. Cane seats, highly curved ends in fancy canoes, sponsons (air chambers attached to the sides of the canoe), sailing rigs, floor systems, fancy hand-painted designs — they are all described in This Fancy Old Canoe.

Many antique canoes, built in the Peterborough region of Ontario, Canada are all-wood construction. They do not have a canvas cover. Instead, they rely on precise joinery to create a water-tight hull. This Fancy Old Canoe describes how to repair and replace every component in these elegant examples of floating art.
This Fancy Old Canoe: A Comprehensive Guide to Restoring Antique Canoes will be available in July 2024. Stay tuned.
June 6, 2020
COVID-19 Safety Plan Update: Kettle River Canoes – Wood-Canvas Canoe Repairs
email: artisan@canoeshop.ca
Background: According to information provided by the World Health Organization, COVID-19 is a highly contagious respiratory disease which results in death for about 3.4% of those infected with the Coronavirus. Of those who have died from COVID-19, almost three-quarters are 65 years of age or older and 99% of those had pre-existing health conditions. The spread of the Coronavirus is amplified by the fact that infected people can transmit the virus for 5 – 14 days before they show any symptoms. Until a vaccine is readily available, the vast majority of the general public is susceptible to infection. Therefore, Kettle River Canoes (KRC) will implement a safety plan to reduce transmission of the virus.
Personal Context: My wife, Christy, is 70 years old. She is dealing with Lupus (immune system disorder in which the body attacks itself). She suffered a stroke (2018), has had open-heart surgery to replace the large valve on the left side of her heart (2018) and has had kidney failure three times (2016, 2017 and 2018). I am 66 years old and have chronic bronchitis. If either of us were to contract the Coronavirus, the effects on our health would be serious.
Safety Plan: KRC will open for business on June 8, 2020. Clients and the public will be allowed into the shop by appointment only. Most clients of KRC are located outside the local region (more than 50 kilometers from Grand Forks, BC). We ask you to avoid traveling to Grand Forks until further notice. If you must travel, we will check on your health with a general questionnaire. We ask you to stay home if you are sick (i.e. high fever, persistent cough, difficulty breathing). Your time in the shop will be kept to a minimum in order to deliver a canoe for restoration or pick-up a completed canoe. When you enter the shop, hand-sanitizer will be provided for you. While in the shop, we ask you to avoid touching any and all surfaces. We will maintain the recommended 2-meter physical distance from you at all times. In-Store purchases will be done via credit card and the Square Reader app on my iPhone. The iPhone will be wiped with sanitizer after each transaction. Toilet facilities are present at KRC but will not be made available to the public.
Updates to the Plan: KRC will operate according to recommendations and regular updates provided by Dr. Bonnie Henry (Provincial Health Officer for British Columbia). Consequently, our safety plan may change as the situation changes with regard to public health risks associated with the Coronavirus.
Stay home if you are sick. Stay safe. Be kind to others.
June 1, 2020
COVID-19 Safety Plan Up-Date – Kettle River Canoes Wood-Canvas Canoe Repairs
Kettle River Canoes
COVID-19 Safety Plan
May 31, 2020
Background: According to information provided by the World Health Organization, COVID-19 is a highly contagious respiratory disease which results in death for about 3.4% of those infected with the Coronavirus. Of those who have died from COVID-19, almost three-quarters are 65 years of age or older and 99% of those had pre-existing health conditions. The spread of the Coronavirus is amplified by the fact that infected people can transmit the virus for 5 – 14 days before they show any symptoms. Until a vaccine is readily available, the vast majority of the general public is susceptible to infection. Therefore, Kettle River Canoes (KRC) will implement a safety plan to reduce transmission of the virus.
Personal Context: My wife, Christy, is 70 years old. She is dealing with Lupus (immune system disorder in which the body attacks itself). She has already suffered a stroke (2018), has had open-heart surgery to replace the large valve on the left side of her heart (2018) and has had kidney failure three times (2016, 2017 and 2018). I am 66 years old and have chronic bronchitis. If either of us were to contract the Coronavirus, the effects on our health would be serious. On top of everything else, Grand Forks, BC is on flood alert. We will be evacuated if the weather causes river levels to rise in the first week of June.
Safety Plan: KRC will remain closed until further notice. When we re-open, clients and the general public will be allowed into the shop by appointment only. Most clients of KRC are located outside the local region (more than 50 kilometers from Grand Forks, BC). We ask you to avoid traveling to Grand Forks until further notice. If you must travel, we will check on your health with a general questionnaire. We ask you to stay home if you are sick (i.e. high fever, persistent cough, difficulty breathing). Your time in the shop will be kept to a minimum in order to deliver a canoe for restoration or pick-up a completed canoe. When you enter the shop, hand-sanitizer will be provided for you. While in the shop, we ask you to avoid touching any and all surfaces. We will maintain the recommended 2-meter physical distance from you at all times. In-Store purchases will be done via credit card and the Square Reader app on my iPhone. The iPhone will be wiped with sanitizer after each transaction. Toilet facilities are present at KRC but will not be made available to the public.
Updates to the Plan: KRC will operate according to recommendations and regular updates provided by Dr. Bonnie Henry (Provincial Health Officer for British Columbia). Consequently, our safety plan may change as the situation changes with regard to public health risks associated with the Coronavirus.
Stay home if you are sick. Stay safe. Be kind to others.
May 19, 2020
Kettle River Canoes: Wood-Canvas Canoe Repairs — COVID-19 Safety Plan
COVID-19 Safety Plan
email: artisan@canoeshop.ca
Background: According to information provided by the World Health Organization, COVID-19 is a highly contagious respiratory disease which results in death for about 3.4% of those infected with the Coronavirus. Of those who have died from COVID-19, almost three-quarters are 65 years of age or older and 99% of those had pre-existing health conditions. The spread of the Coronavirus is amplified by the fact that infected people can transmit the virus for 5 – 14 days before they show any symptoms. Until a vaccine is readily available, the vast majority of the general public is susceptible to infection. Therefore, Kettle River Canoes (KRC) will implement a safety plan to reduce transmission of the virus.
Personal Context: My wife, Christy, is 70 years old. She is dealing with Lupus (immune system disorder in which the body attacks itself). She has already suffered a stroke (2018), has had open-heart surgery to replace the large valve on the left side of her heart (2018) and has had kidney failure three times (2016, 2017 and 2018). I am 66 years old and have chronic bronchitis. If either of us were to contract the Coronavirus, the effects on our health would be serious.
Safety Plan: KRC will open to the public on Monday, June 1, 2020. Clients and the general public will be allowed into the shop by appointment only. Most clients of KRC are located outside the local region (more than 50 kilometers from Grand Forks, BC). We ask you to avoid traveling to Grand Forks until further notice. If you must travel, we will check on your health with a general questionnaire. We ask you to stay home if you are sick (i.e. high fever, persistent cough, difficulty breathing). Your visit to the shop will be kept to a minimum time-frame in order to deliver a canoe for restoration or pick-up a completed canoe. When you enter the shop, hand-sanitizer will be provided for you. While in the shop, we ask you to avoid touching any and all surfaces. We will maintain the recommended 2-meter physical distance from you at all times. In-Store purchases will be done via credit card and the Square Reader app on my iPhone. The iPhone will be wiped with sanitizer after each transaction. Toilet facilities are present at KRC but will not be made available to the public.
Updates to the Plan: KRC will operate according to recommendations and regular updates provided by Dr. Bonnie Henry (Provincial Health Officer for British Columbia). Consequently, our safety plan may change as the situation changes with regard to public health risks associated with the Coronavirus.
Stat home if you are sick. Stay safe. Be kind to others.
December 6, 2019
A Brief Guide to Canvas-Covered Old Town Canoes
by Mike Elliott, Kettle River Canoes
email: artisan@canoeshop.ca
In America, the Old Town Canoe Company set the standard by which all other canvas-covered canoes are measured. With more than 170,000 produced over the course of seven decades or more, Old Town canoes are ubiquitous. So let’s look at a few of their classic models and compare them. From this, you ought to be able to identify your Old Town. However, be prepared for any American canoe to be called an Old Town.
The Old Town Canoe Company
The brand-name Old Town is synonymous with canvas-covered canoes in the United States. They are one of the only canoe companies to survive into the present day from their humble beginnings behind the Gray hardware store in Old Town, Maine in 1898. George and Samuel Gray incorporated the Old Town Canoe Company in 1901. They were entrepreneurs who hired others to design and build their canoes. The company kept meticulous build records which are still available through the WCHA. Their designs appealed to customers across the full range of styles from work-a-day canoes to elegant showpieces. So, let’s look at some of these quintessential canoes.
The Otca Model
Probably the best selling of all the Old Town models, the Otca was introduced in 1908 and began with a narrow hull (34.5” beam in the 16’ length) and later adopted the wide, flat-bottom of the Yankee model (36” beam in the 16’ length). According to their 1938 catalog, “The ‘Otca’ model is the widest, deepest and roomiest. These features make it the steadiest, safest and most capacious canoe we build. The floor is flat and wide, and carries far into the ends. The sides are convex, thus producing a handsome tumblehome. This model is not designed for speed but comfort, safety and fine appearance.”
The Otca caters to novice canoeists as well as those looking for a leisurely day on the water. There is little to no rocker at the ends, so it tracks very well. As a friend of mine explained, “It goes in a straight line. If you want to turn, just paddle until you reach the opposite side of the lake, get out, turn the canoe around and head back.”
It comes in 16’, 17’ and 18’ lengths and usually has a floor rack installed. It sports elegant, up-swept ends with a variety of deck styles over the years including a 16” solid-wood, pre-bent deck, a 20” one-piece deck with a low coaming and a 30” framed-veneer deck with a king-plank and coaming. The ribs in the Otca are standard-issue (5/16” thick, 2” wide spaced 1.5” apart and tapered on both sides to be approximately 1.5” wide at the sheer-line). The 16’ model weighs approximately 75 pounds.
The Yankee Model
This canoe (known as the Livery Model prior to 1920) was phased out in favour of the Otca in the 1940’s. It is a very easy paddling canoe. The flat bottom and soft chine makes it both steady and quick. It is 16’ long, 36” beam, 12” deep and weighs approximately 73 pounds. With fine entry lines and moderate rocker at the ends, it is a delight to paddle.
The Ideal Model
The Ideal comes in 16’ and 17’ lengths. It has a flat bottom, soft chine, straight sides, moderate rocker and fine entry lines making for a quick, responsive canoe. The floor is furnished with half-ribs to make it strong and comfortable. The ends sweep up with an elegant rise in the sheer-line. It is a quick, easy paddler and becomes more stable as it is loaded.
The Charles River Model
This canoe (introduced in 1903) is the same as the Ideal without the half-ribs. It was often furnished with a floor rack and was built with elegance and showy good looks in mind. That said, its flat-bottom, soft chine and fine entry lines produce in a canoe that was just as much fun to paddle as it was a delight to look at. Both the Ideal and Charles River were phased out in 1929.
The Guides Special Model
This is a slow, steady work-a-day canoe that comes in 18’ and 20’ lengths. The 18’ model has a 36” beam and is 13” deep. It has a flat-bottom, slight tumblehome, very little rocker and full ends. This workhorse is meant to be loaded and will get you where you want to go. Just don’t expect to get there quickly.
The H W Model
The Heavy Water Model is the consummate back-country traveler. It has moderate rocker, a semi-arch “yawl” hull, mild tumblehome through the entire length and full ends. With a narrow beam, this canoe is very quick on the water. Stability is traded for a canoe which is agile and responsive. It takes a little getting used to and once you do, it dances through river rapids. In my books, it is a delightful recreational canoe. The 16’ model has a 33” beam, is 12” deep at the centre and weighs about 70 pounds.
The 50-LB. Model
The “50-Pounder” is a series of light-weight versions of the HW model. They come in 11’, 13’ and 15’ lengths and weigh 50, 53 and 58 pounds respectively. They are constructed with ribs ¼” thick to produce canoes which are easy to portage. Modest tumblehome extends the entire length of the canoe and the bottom has a semi-arch and fine entry lines. The result is a versatile all-purpose canoe. Personally, I enjoy the 15’ model. It is light, quick and both steady and agile to handle rivers and lakes with ease.


![[image error]](https://canoeguybc.files.wordpress.com/2019/12/img_5460_sm.jpg)
![[image error]](https://canoeguybc.files.wordpress.com/2019/12/img_6846c_sm.jpg)
![[image error]](https://canoeguybc.files.wordpress.com/2019/12/img_6848_sm.jpg)
![[image error]](https://canoeguybc.files.wordpress.com/2019/12/img_6140b_sm.jpg)
![[image error]](https://canoeguybc.files.wordpress.com/2019/12/img_5531_sm.jpg)
![[image error]](https://canoeguybc.files.wordpress.com/2019/12/img_5525_sm.jpg)
![[image error]](https://canoeguybc.files.wordpress.com/2019/12/img_6584_sm.jpg)
![[image error]](https://canoeguybc.files.wordpress.com/2019/12/img_6552_sm.jpg)
![[image error]](https://canoeguybc.files.wordpress.com/2019/12/img_5548_sm.jpg)
![[image error]](https://canoeguybc.files.wordpress.com/2019/12/img_5549_sm.jpg)
![[image error]](https://canoeguybc.files.wordpress.com/2019/12/img_6371b_sm.jpg)
![[image error]](https://canoeguybc.files.wordpress.com/2019/12/img_5473_sm.jpg)
![[image error]](https://canoeguybc.files.wordpress.com/2019/12/img_5469_sm.jpg)