
Marisa McClellan's Blog, page 12
March 23, 2019
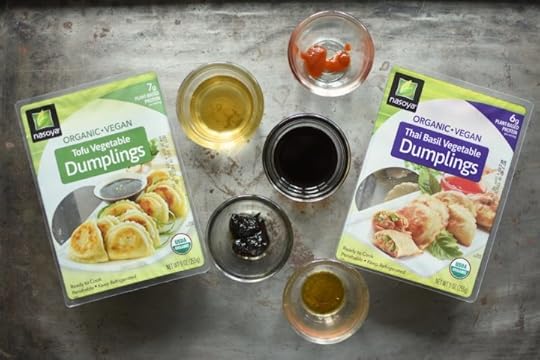
Sponsored Post: Plum Dumpling Sauce for Nasoya Vegetable Dumplings
This post is sponsored by Nasoya Vegan Dumplings.
One of the things I didn’t anticipate about pregnancy is the sudden, ravenous hunger that strikes every couple of hours. When I need to eat, I have all of a few minute to pull something together before I start eating spoonfuls of peanut butter.
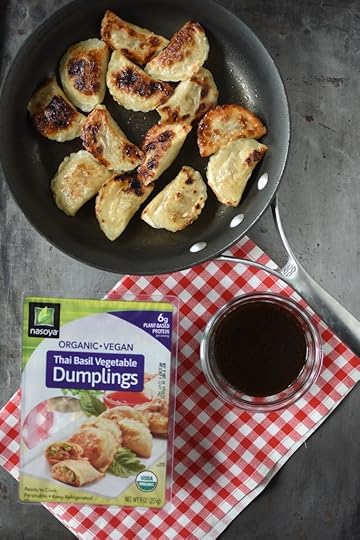
I have been dealing with this by making spinach and egg pucks to keep in the freezer (they defrost quickly in the microwave), keeping cut fruit and yogurt in the fridge, and jars of nuts all over the apartment. I’ve also enjoyed turning to these Nasoya Vegan Dumplings.
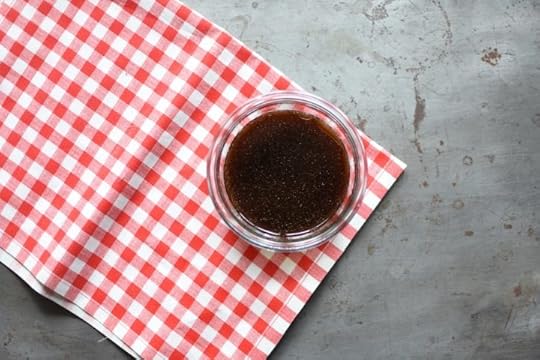
The have plenty of plant-based protein, are quick to cook, and satisfy my pregnancy hunger monster. To go along with them, I’ve been making up jars of plum dumpling sauce to keep in the fridge.
This easy sauce is my riff on traditional dumpling dippers. Instead of getting the sweetness from seasoned rice wine vinegar (which has either sugar or corn syrup), I use a 1 tablespoon of plum jam. It helps use up one of my preserves, and adds a nice fruitiness to the experience.
The other ingredients in the dumpling sauce are 1/4 cup soy sauce, 1/4 cup rice wine vinegar, 1 teaspoon toasted sesame oil, and 1/2 teaspoon sriracha (I don’t use much, but you could always dial up the heat). I just whisk the ingredients together and keep it in the fridge. It stays good for several weeks.
If these dumplings look good to you, they are available at a number of stores in the Philadelphia region, including Wegmans, Acme, and ShopRite. If you follow this link, you can download coupon that will get you $1 off your purchase.
Disclosure: This is a sponsored post. Nasoya provided the dumplings you see here, and provided additional compensation to cover time and ingredients.
Related Posts:Chocolate Applesauce Muffins with Ball® Fresh Preserving Products Maple ApplesauceHoney Cinnamon Pear SorbetHoney Cinnamon Pears from Ball® Fresh Preserving Products


March 22, 2019
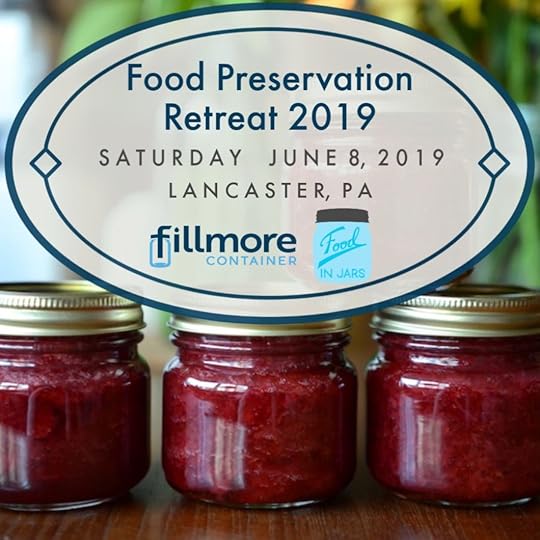
Save the Date for a Food Preservation Retreat!
For years now, I have wanted to create a food preservation gathering. Someplace where we could gather to talk food preservation, meet fellow jam and pickle makers, and share our collective pleasure around this saving food from one season to the next.
This year, Fillmore Container and I are working together to make this dream of mine into reality.
Join us on Saturday, June 8 for a one-day retreat focused on home food preservation. An array of regional experts will present on topics including boiling water bath canning, pressure canning, fermentation, troubleshoot your home preserved goods, preserving with natural sweeteners, and making the best possible use of all those glowing jars of goodies.
The retreat will take place at The Livery at the Lampeter Cafe in Lampeter, PA (located in scenic Lancaster County) and will go from 9 am to 5 pm. The registration fee is $95. That includes the full day of programming, continental breakfast, lunch and a preserving goodie bag for you to take home and enjoy.
Registration for the 60 available seats will open in early April. Head over to the Fillmore Container blog to sign up for the retreat mailing list, so that you’ll know the moment registration begins.
I will be on hand all day, both presenting and participating in the day. Other speakers will be announced as confirmed. We hope you’ll join us for a day of learning, community, and food preservation fun!
Related Posts:March Partners: Fillmore Container, EcoJarz, McDonald Paper, and Mason Jar LifestyleFebruary Partners: Fillmore Container, EcoJarz, McDonald Paper, and Mason Jar LifestyleSnowflake Jars for the Holidays
March 21, 2019
Lemon Cilantro Salt
Last week, I shared a recipe for lemon basil syrup. Here is the companion recipe, in which I show you what I did with the zest from those same lemons (because who wants to throw out two pounds of perfectly good, fragrant zest!?).
These air dried citrus and herb salts are so easy to make (truly, they are the work of less than ten minutes) and give you so much in return. I love using them to season whole chickens before roasting and really enjoy them sprinkled on popcorn. They’re also great when added to the bread crumbs that you are going to use to crust chicken tenders or pork cutlets.
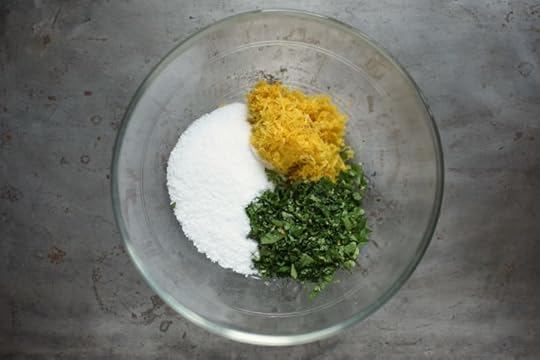
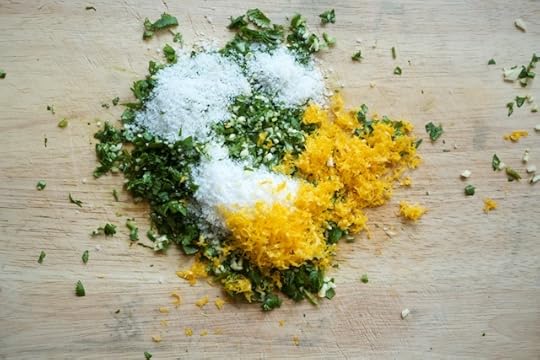
I’ve written about these before, but let’s recap the technique. You remove the zest from the lemons with a rasp-style grater (I love my Microplane for this job). Once you’ve finished zesting the citrus, you measure how much you have (I typically do this by volume, rather than weight). In the case of this batch, I had a half cup of loosely packed lemon zest.
Once you know how much zest you have, you measure out equal parts chopped herbs and salt. For this batch I used kosher salt, but I’ve also used chunky sea salt or Maldon sea salt. Kosher salt is a good choice though, because it is affordable and the right size to hold up well to the other ingredients.
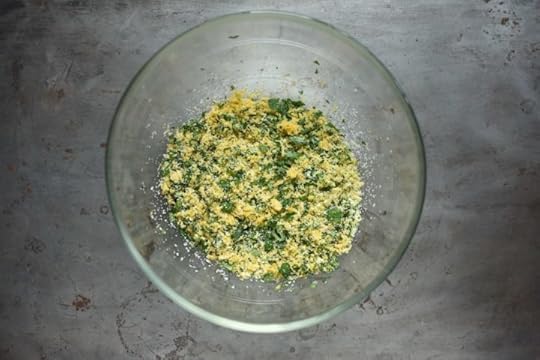
Once all your components are measured out, you toss them to combine. I like to do this with my hands, because it allows me to mix well without crushing the salt or bruising the herbs.
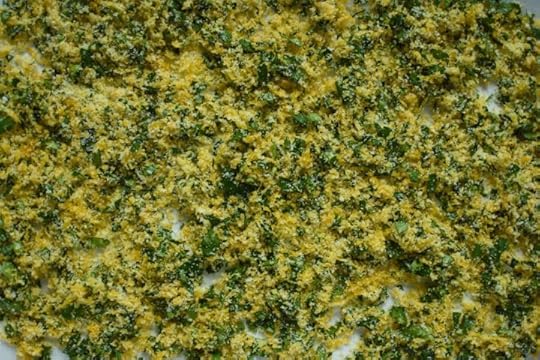
Then, I line a baking sheet with some parchment paper and spread the salt out into an even layer. Once that is done, I tuck the pan into a corner of my dining room where it won’t be disturbed for the better part of a week and I leave it alone. If you don’t have the time or space to let it sit for a week, you can also dry it in your oven set on its lowest setting.
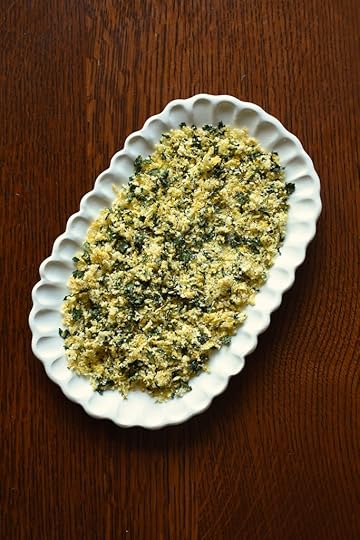
Once the lemon zest and cilantro are completely dried, you can move your herb salt into a lidded jar. For gift giving, I like to pack it up into these 4 ounce Ball spice jars. If I plan on keeping the whole batch for my own use, I use whatever jar is easy to grab.
When you know the technique, you can make these salts with a wide assortment of herbs and varieties of citrus. You could also add coarsely ground black pepper for an all-purpose seasoning salt!
Oh, and if you were admiring the plate in the top image, know that it was made by my friend Melissa Bridgman in her Memphis, Tennessee studio. You can find her work at Bridgman Pottery.
Lemon Cilantro Salt
Yield: makes about 1 1/2 cups
Ingredients
1/2 cup lemon zest (from about 2 pounds of lemons)
1/2 cup chopped cilantro
1/2 cup kosher salt
Instructions
In a large bowl, combine the zest, cilantro, and salt.
Line a rimmed baking sheet with parchment paper and spread the salt combination out in an even layer.
Place the baking sheet in a place where it won't be bumped and let it air dry for 4 to 7 days, until completely dry.
Transfer the salt to a jar. This salt keeps its flavor for about six months. After that point, the flavors begin to fade.
3.1
https://foodinjars.com/recipe/lemon-cilantro-salt/
Related Posts:
Mango Mint Lime Sauce
Submit your Herb Preserve for the March Mastery Challenge
Lemon Basil Syrup
March 20, 2019
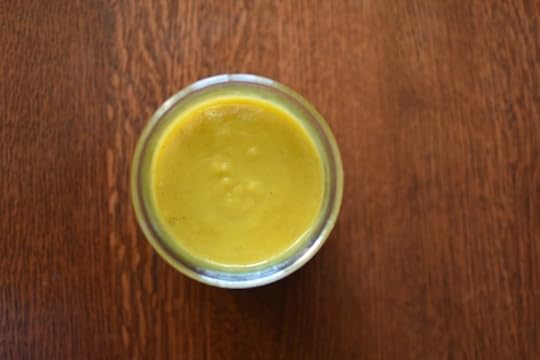
Mango Mint Lime Sauce
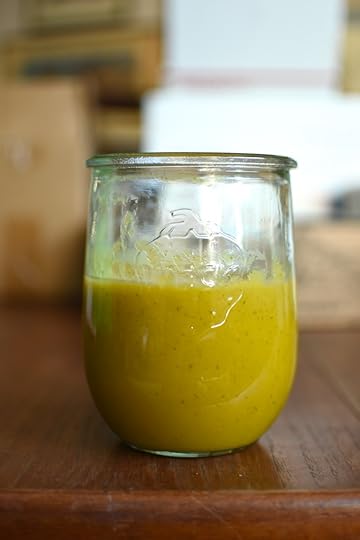
A couple of nights ago, I spent a little time hanging out on Facebook making a little batch mango sauce flavored with fresh mint and lime. I chose to make this particular preserve because a few days earlier, I had bought a bag of six very ripe champagne mangos for $2. They were on the their last legs and needed to be used most urgently.
I chose to include mint because it’s herb month in the Mastery Challenge and because it’s delicious with mango. Finally, the lime joined the party to bring a bit of brightness.
As I contemplated this preserve, I thought a lot about what to call it (mostly because I wasn’t sure what the finished consistency of the thing I was making would be). At first I imagined it as a jam, or perhaps more of a butter. But as it cooked down, I saw clearly that it was going to be more of a sauce. Happily, as a sauce, it is a most delicious and useful thing.

So far, I’ve stirred it into plain yogurt, added it to a smoothie, and have stolen spoonfuls from the jar when in need of something sweet. Because it was such a small batch, I didn’t go to the trouble of running it through a boiling water bath (I was also concerned about the acidity because mangos are a relatively low acid fruit).
If you’d like to see me (and my increasingly giant baby belly) make this preserve, you can watch the livestream right here.
PrintMango Mint Lime Sauce
Yield: makes about 2 cups
Ingredients
2 1/2 cups mango puree (from 5-6 champagne mangos)3/4 cup granulated sugar
2 tablespoons fresh mint
2 limes, zested and juiced
Instructions
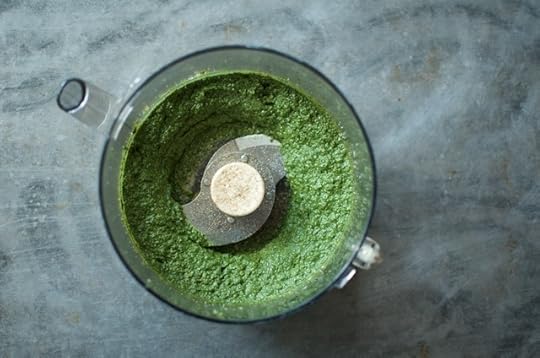
Pour the mango puree into a saucepan.In the carafe of your blender, combine the sugar and mint and blend until combined. Add this mint sugar to the mango. Finally, add the lime zest and juice.
Place the pot on the stove over high heat and bring to a low bubble. Reduce the heat to medium and cook for 10 to 15 minutes, stirring constantly, until the mango reduces a bit.
When you like the consistency, remove the pot from the heat. Position a fine mesh sieve over a small mixing bowl and pour the mango sauce through the sieve. Work it with a silicone spatula, until all that remains in the sieve is bits of lime zest and mint.
Pour the finished mango sauce into a container and refrigerate.
3.1https://foodinjars.com/recipe/mango-mint-lime-sauce/
Related Posts:
Submit your Herb Preserve for the March Mastery Challenge
Lemon Basil Syrup
Useful Cookbooks for Herb Month
March 15, 2019
Submit your Herb Preserve for the March Mastery Challenge
Hello Mastery Challenge participants! It’s hard to believe, but we’re halfway through this third month of the challenge. The topic this time around is herbs and it has been such a pleasure to see all the fun things you’ve all made on the Food in Jars Community Group and the #fijchallenge hashtag on Instagram.
Remember that you don’t have to share your post on social media to participate in the challenge. The option to share on a blog, on Instagram, or in our FB community group is simply there as a way to help you connect with other challenge participants and build your virtual and real life food preservation communities.
If social sharing isn’t your thing, that’s okay too. Just skip the field in the form that asks for the link to your project.
The deadline for submission is March 25, but if you’re already done, feel free to submit them now. I do ask that you only submit the form once, so that I can get an accurate count of the number of people participating this month. If you don’t see the form below, click this link to find it.
Loading…
Related Posts:Lemon Basil SyrupUseful Cookbooks for Herb MonthHerbs for the March Mastery Challenge
March 13, 2019
Lemon Basil Syrup
One of the reasons I decided to assign herbs to March in the Mastery Challenge is that most years, I am absolutely desperate for something bright and fresh by this time of year. There’s not much in local produce these days beyond storage apples, potatoes, beets, and onions. After months of sturdy, serviceable produce, I’m so weary of these reliable overwintered basics.
However, it’s almost always possible to get beautiful herbs, both fresh and dried. Some are local (grown in high tunnels, greenhouses, and even windowsill pots), and others come from points further south. Still, no matter where they come from, these herbs provide a needed burst of flavor and freshness in a time when the other green pickings are slim.
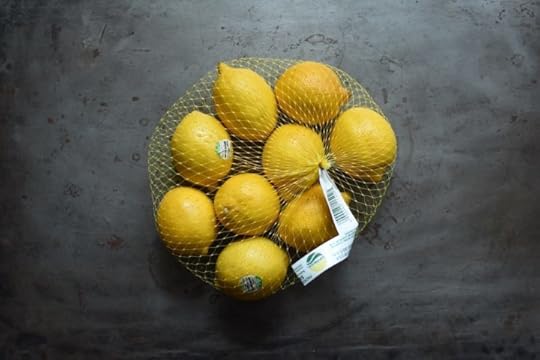
I’ve been enjoying tucking herbs into my various preserves this month and was particularly pleased with the pair of things I made with a two-pound bag of fragrant lemons. one I’m going to talk about today is this lemon basil syrup.
Part of the reason that I decided to make a syrup is that I’m currently pregnant with twins (if you follow me on Facebook or Instagram, you may have picked up on this news). One thing that this pregnancy demands from me is that I drink a truly huge amount of water each day (depending on my level of activity, my body is asking for between 4 and 6 quarts water within a 24 hour period).
While I’ve never had any quibble with plain old water, it can get a little tiresome after the first gallon. And so having a jar of flavorful syrup in the fridge means that I can add a teaspoon or two to a glass of seltzer or a mug of hot water and bring a little variety to my constant hydration.
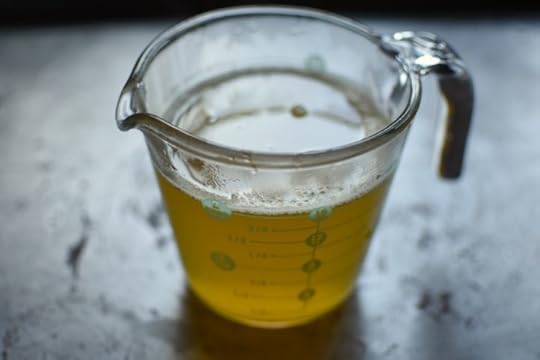
For this syrup, I chose to use a ratio of one part lemon juice and one part sugar (I use it very sparingly). This makes this syrup a true simple syrup. One of the benefits of using this volume of sugar is that it will keep for a longer period because the sugar reduces water activity and helps prevent spoilage. However, if you find that to be too much sugar for your taste, you could use this recipe for lemon ginger concentrate and swap in basil for the ginger.
Lemon Basil Syrup
Yield: makes 1 pint

Ingredients
2 pounds of lemons, juiced
1 1/4 cups granulated sugar
2-3 tablespoons fresh basil leaves
Instructions
Juice lemons.
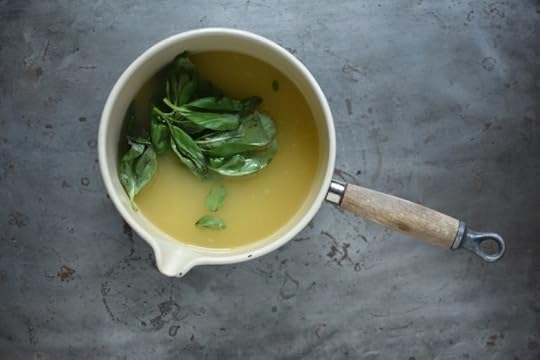
Measure out 1 1/4 cups of juice and pour it into a small saucepan. Add sugar and basil leaves.
Bring to a boil and cook for 3-4 minutes, until the sugar is dissolved and the basil is wilted.
Remove the pan from the stove and let it sit for an hour or two, to further infuse the basil flavor.
Strain concentrate through a fine mesh sieve to remove basil leaves.
This syrup can be canned for shelf stability, but the yield will only be around two cups. I prefer to funnel it into a pint jar and keep it in the fridge.
If you want to can it, here's what to do.
Funnel the finished syrup into a pair of clean, hot half pint jars. Wipe the rims, apply the lids and rings, and process in a boiling water bath canner for 10 minutes.
When the time is up, remove the jars and set them on a folded kitchen towel to cool. When the jars have cooled enough that you can comfortably handle them, check the seals. Sealed jars can be stored at room temperature for up to a year. Any unsealed jars should be refrigerated and used promptly.
3.1
https://foodinjars.com/recipe/lemon-basil-syrup/
Related Posts:
Submit your Herb Preserve for the March Mastery Challenge
Useful Cookbooks for Herb Month
Salt Preserved Herbs from Preserving by the Pint
March 12, 2019
Useful Cookbooks for Herb Month
This month in the Mastery Challenge, we’re focused on preserving herbs. If you’re still wondering what you should make this time around, let me suggest a trio of cookbooks to help you on your path.
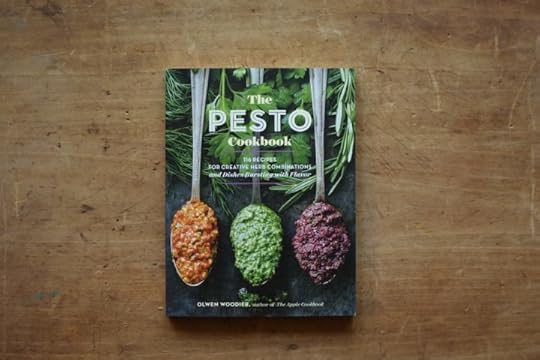
First up is The Pesto Cookbook by Olwen Woodier. This book contains a varied wonderland of pestos, pistous, and herb purees as well as number of recipes to help you use up what you’ve made. If you’re looking to move beyond the traditional flavor combinations, this book is for you.
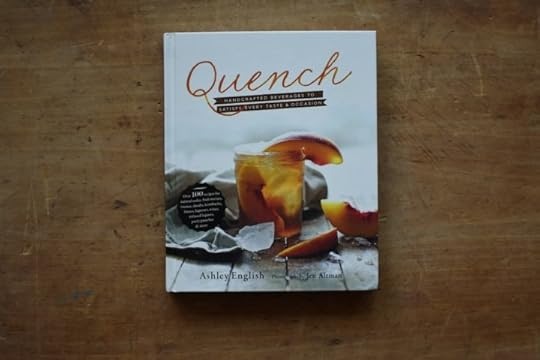
If natural sodas, tisanes, and infusions are more your game, Quench by Ashley English is a natural fit for you. This book came out five years ago, but it is timeless and useful.
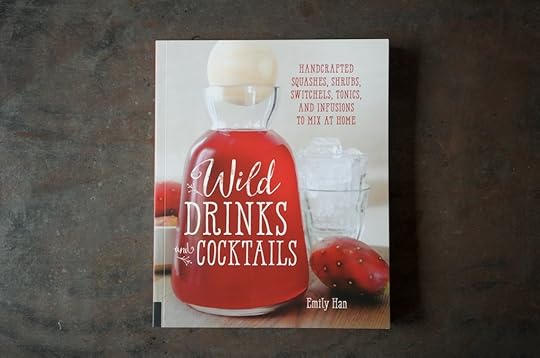
Another option in the drink department is Emily Han’s Wild Drink and Cocktails. It employs a number of herbs in the various tonics and syrups and offers up a different perspective than Ashley’s book does.
If you’re off and running on this month’s challenge, where are you finding your inspiration?
Related Posts:Salt Preserved Herbs from Preserving by the PintHerbs for the March Mastery ChallengeFebruary 2019 Mastery Challenge Round-up
March 11, 2019
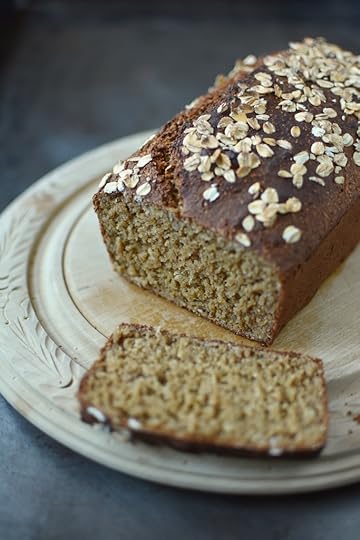
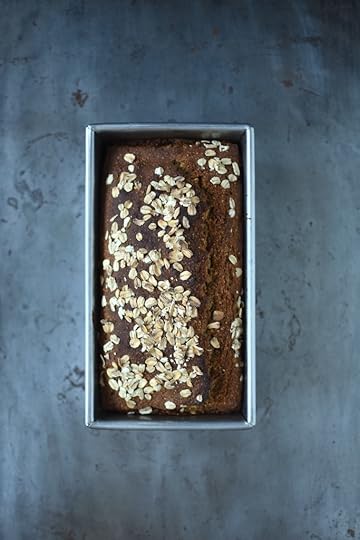
Irish Brown Bread
The first time I visited Ireland was in the fall of 2016. The previous year had been really intense for both Scott and me and we decided that the best way to soothe the unrest and mend the grief that lingered after losing Scott’s mom was with a trip we’d both always longed to take.
We spent a full two weeks exploring the country, resting our eyes on green landscapes and ocean views, exploring grand homes, and eating heartily at every stop.
Last spring, we went back. Scott wanted to see the Giant’s Causeway and visit the area of Northern Ireland where his grandparents had been from, and I wanted to stay in places where I could do some cooking. Because as good as the food was in the restaurants, I was itching to get my hands those amazing raw ingredients.
On that second trip, we stayed in an assortment of cabins, caravans, and short term apartments and I got to cook. I made eggs with dazzlingly orange yolks. I braised carrots, cabbage, and potatoes in butter. We bought pungent wedges of cheese at open air markets. And we ate it all with slices of nubbly brown bread.
That brown bread is ubiquitous in Ireland and nearly unknown here. Much like the soda bread that many of us are familiar with, it’s quick bread that’s leavened with baking soda. However, the magic of brown bread is in the flour that used to make it. It’s a course, stoneground flour that has a nutty, near-toasted flavor. I like this one from The Little Mill in Kilkenny, but King Arthur Flour also sells an acceptable version.
I’ve spent a lot of time in the last few years thinking about that brown bread and how to make a loaf that is as close as is possible to the ones I had in Ireland. I’ve tried a number of recipes (and in the process learned that despite what some recipes say, eggs really have no place in this loaf) and finally settled on the recipe you see below. It’s actually quite simple, but absolutely requires the use of the appropriate flour. Nothing else creates the right texture.
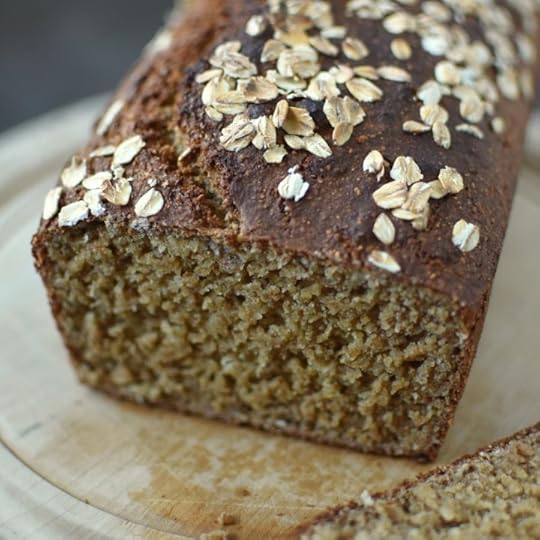
If you get it right, the finished loaf should be crisp on the outside and very tender on the inside. It should have a bit of sweetness while not actually being sweet. It should walk a line between sturdy and crumbly. And it should be baked in a rectangular loaf pan, not in a freeform round.
It keeps in the fridge for about a week and freezes nicely. If you’re looking for something to make to help celebrate St. Patrick’s Day, I suggest this loaf!
PrintIrish Brown Bread
Ingredients
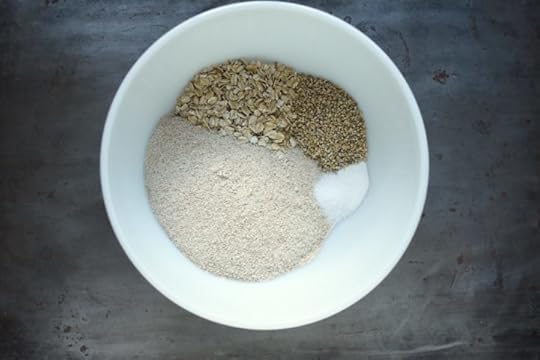
2 1/4 cups whole meal flour1/2 cup rolled oats, plus more for topping
1/4 cup steel cut oats
1 1/2 teaspoons baking soda
1 teaspoon kosher salt
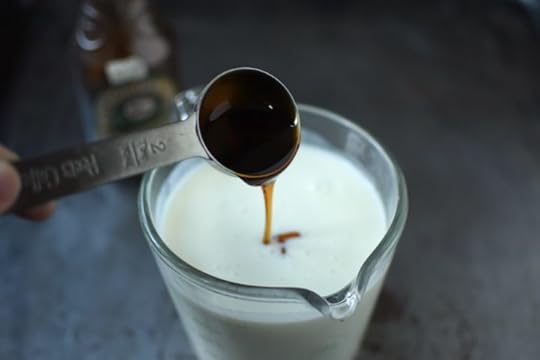
2 1/4 cups buttermilk
2 tablespoons golden syrup or honey
Instructions
Preheat oven to 400°F/204°C degrees.Butter 8 x 4 inch loaf pan.
In a medium bowl, whisk together the flour, rolled oats, steel cut oats, baking soda, and salt.
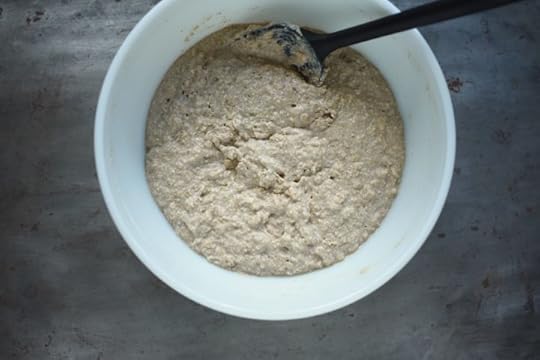
Add buttermilk and syrup and stir until just incorporated. Try not to overmix, as that can lead to a tough loaf. It will look like a thick pancake batter and you might question whether it will cook into a loaf. I promise, it will.
Pour the batter into the prepared loaf pan and smooth the top. Sprinkle with 1 tablespoon rolled oats.
Place the pan in the oven, bake for 20 minutes. When that initial time is up, rotate the pan and bake 20 more minutes. Check for doneness using a wooden skewer or cake tester. It is down when the tester comes out of the center mostly clean.
When the loaf is finished, remove it from the oven. Let it cool in the pan for a few minutes and then tip it out and place it on a cooling rack.
Let the loaf cool completely before slicing. It will keep on the counter for a couple of days, but for longer storage, either refrigerate or freeze. 3.1https://foodinjars.com/recipe/irish-brown-bread/
Related Posts:
Brown Soda Bread from Homemade Winter
March 4, 2019
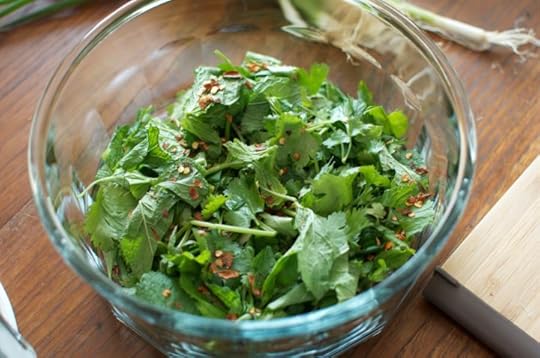
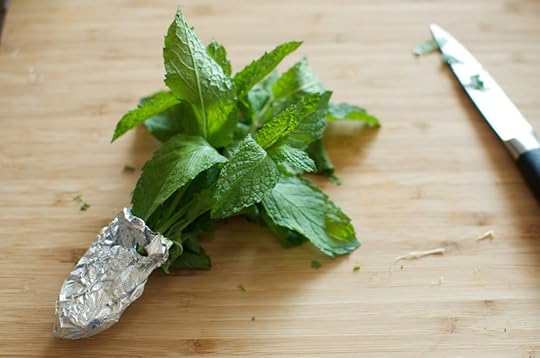
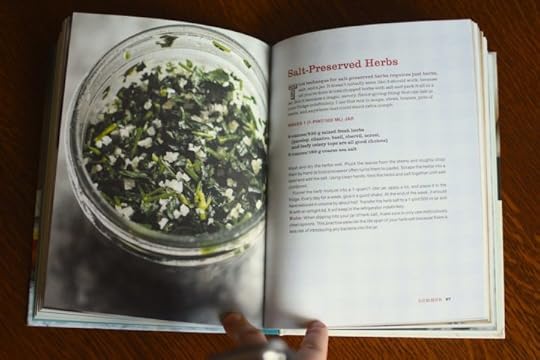
Salt Preserved Herbs from Preserving by the Pint
Each month, I try to do two live demos on Facebook. They’re scheduled for the first and third Mondays of the month at 9 pm ET/6 pm PT and they’re a good way to see what’s happening in my kitchen and ask questions about recipes, the monthly Mastery Challenge topics, and other food preservation topics.
Tonight I’m doing one such livestream (or will have done so, depending on when you read this!). This time, I’m going to demonstrate how to make the Salt Preserved Herbs from my book Preserving by the Pint. In this recipe, you combine soft herbs like parsley, cilantro, basil, and dill with goodly portion of salt. The salt draws out the water and cures the herbs.
After a few days, you have a flavorful condiment that can be stirred into soups, salads, dips, eggs, and more. It’s a really flexible recipe as well, which means that you can use whatever soft herbs you have (for those of you who garden, it’s a great way to preserve your end of season garden herbs).
Another great thing about this preserve is that it keeps indefinitely in the fridge. Just make sure to use clean utensils when going in for a dollop to help extend the useable lifespan of the herbs.
PrintSalt Preserved Herbs from Preserving by the Pint

Ingredients
8 ounces mixed soft fresh herbs (like parsley, cilantro, basil, dill, mint, etc)6 ounces coarse sea salt
Instructions
Wash and dry the herbs well. Pluck the leaves from the stems and roughly chop them by hand (a food processor often turns them to paste). Scrape the herbs into a bowl and add the salt. Using clean hands, toss the herbs and salt together until well combined.Funnel the herb mixture into a quart jar, apply a lid, and place it in the fridge. Every day for a week, give the jar a good shake to help combine the herbs and salt.
At the end of the week, it should have reduced in volume by about half.
Transfer herb salt to a pint jar and fit with an airtight lid. It will keep in the refrigerator indefinitely. 3.1https://foodinjars.com/recipe/salt-preserved-herbs-from-preserving-by-the-pint/
Related Posts:
Herbs for the March Mastery Challenge
February 2019 Mastery Challenge Round-up
Hot Dog Kraut
March 2, 2019
March Partners: Fillmore Container, EcoJarz, McDonald Paper, and Mason Jar Lifestyle
Happy March, dear readers! It’s the start of the month and that means that it’s time to thank the businesses that help make this site possible. Please do show them that you appreciate their support with your time and attention!
Lancaster, PA-based and family-owned Fillmore Container are first! They offer all manner of canning jars, lids, and other preservation gear and carry just about every Ball jar currently available , so if you’re looking for a particular style, check them out. Their blog is also a great resource, so keep it on your must-check list!
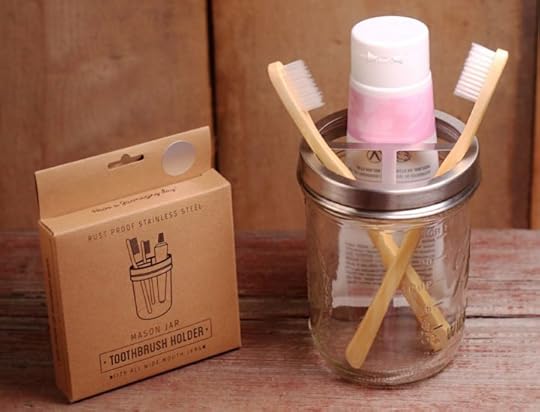
Our friends over at EcoJarz are another stalwart sponsor. They make an array of products designed to fit on top of mason jars, including cheese graters, coffee brewers, and stainless steel storage lids. They recently added mason jar toothbrush holders to their line-up, which is such a clever, everyday tool!
Back for another month is McDonald Paper & Restaurant Supply. Based in Brooklyn, they are open to the public and sell all manner of culinary supplies. Restaurant supply stores are a great way to get affordable, durable kitchen gear (including jars!). I’m a big of their big food storage containers for macerating fruit for jam and I love these recyclable lidded aluminum containers for those times when I’m bringing food to friends and neighbors.
Mason Jar Lifestyle isa one-stop shopping site for all the jar lovers out there. They sell all manner of mason jar accessories and adaptors. If you’re in the market for lids, straws, sprouting lids, fermentation weights, airlocks, tea light converters, cozies, they are there for you. I recently featured their Leak Proof Plastic Storage Lids (I reach for them all the time in my kitchen!).
And if your company, shop, or family business is interested in reaching the food-loving and engaged Food in Jars audience, you can find more details here. Leave a comment on this post or drop me a note to learn more!
Related Posts:February Partners: Fillmore Container, EcoJarz, McDonald Paper, and Mason Jar LifestyleDecember Partners: Fillmore Container, EcoJarz, McDonald Paper, and Mason Jar LifestyleNovember Partners: Fillmore Container, EcoJarz, McDonald Paper, and Mason Jar Lifestyle


