
Ali Edwards's Blog, page 219
June 1, 2014
And The Giveaway Goes To…

GIVEAWAY | One (1) person will win a June Hello There kit from Scrapbook Circle.
#71 | Karrie said…I’ve always eyed Scrapbook Circle. This would be an awesome birthday treat!
Congratulations! Please email Katie with your contact information.


May 31, 2014
Newest Releases | Printables & Word Art
Happy weekend!
Today I wanted to share a few new products I’ve released over the last two weeks over at Designer Digitals.
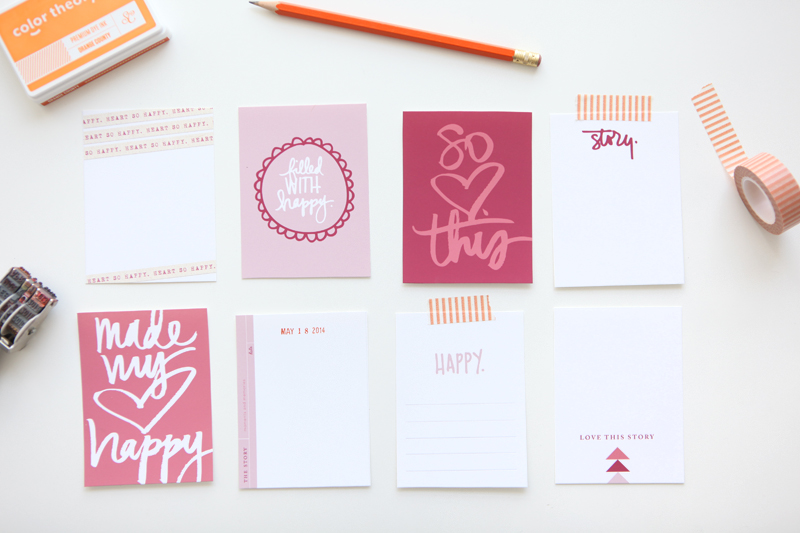
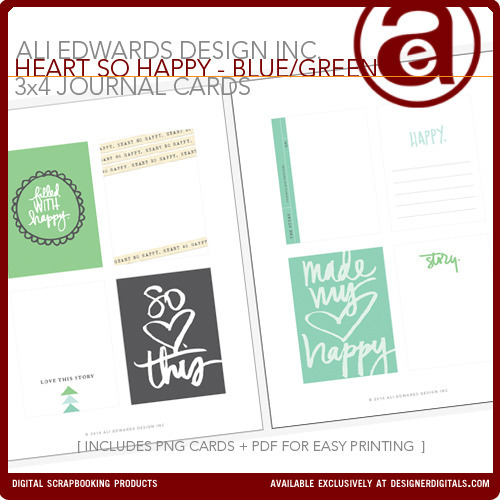
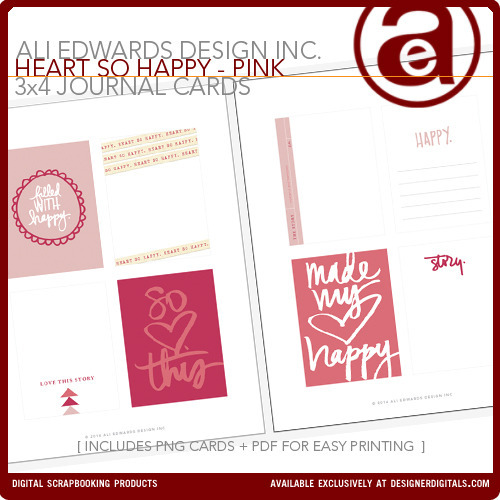
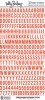
First up are two new printable sets called Heart So Happy 3×4 Cards. They come in a pink version (shown printed out above) and a blue/green version shown below:
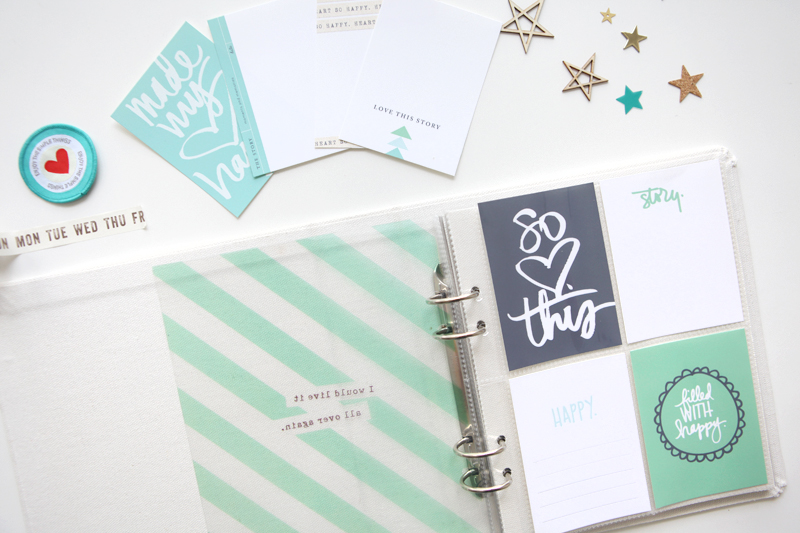
I’m showing the Heart So Happy 3×4 Cards Blue/Green set inside this great canvas mini album from Dear Lizzy that includes transparencies, page protectors and other textures of paper inside the album (chipboard and canvas fabric). Super cool mixture of textures.
You can grab that album from Scrapbook.com here.
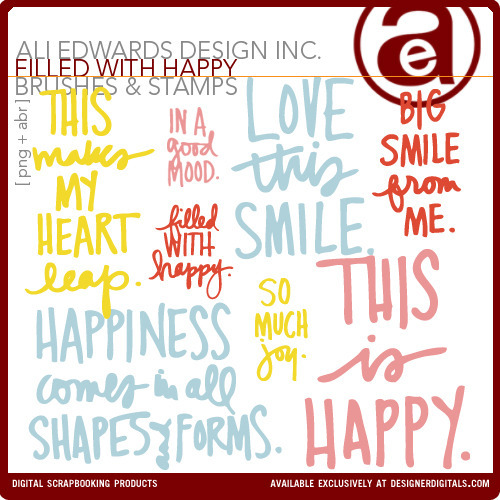
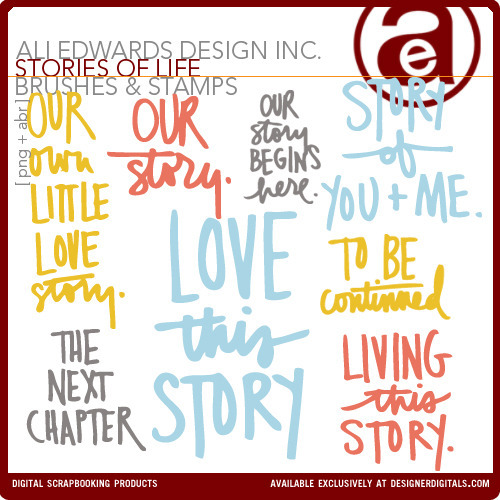
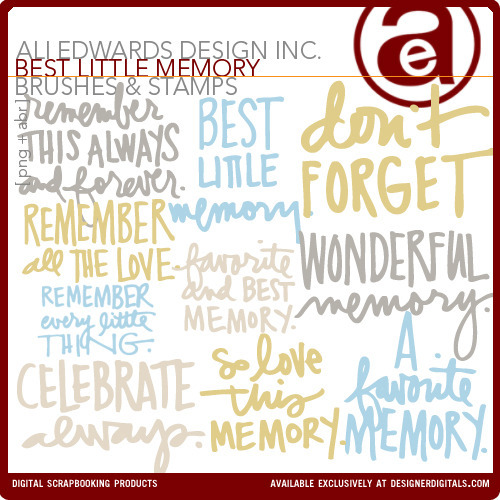
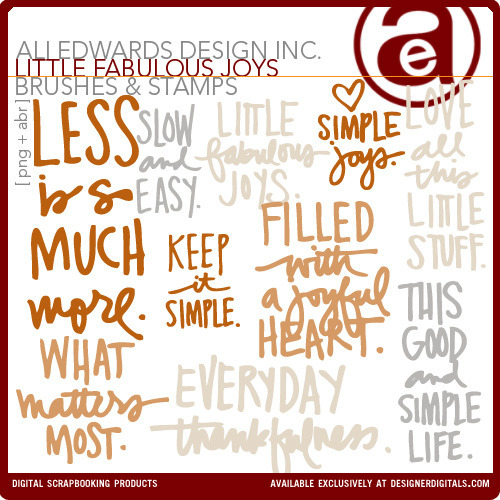
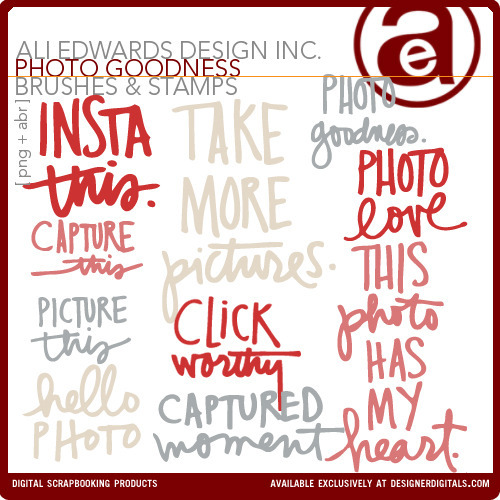
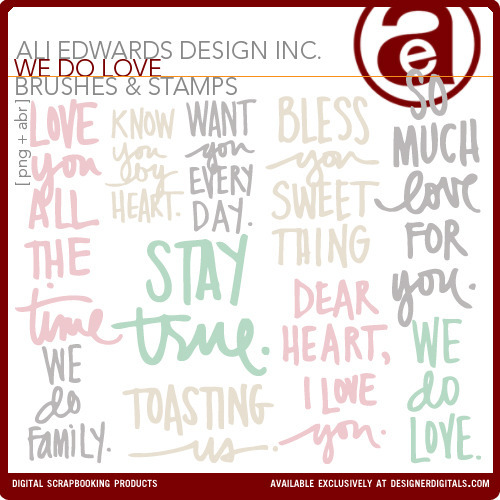
In addition to those two printable sets I’ve got six new sets of word art that is great to add directly to your photos, print out on journal cards, or add to your layouts or other projects.
If you’d like to learn more about working with digital word art check out my series on Getting Started here.
Hope you have a great weekend!


Sponsored Giveaways | Scrapbook Circle

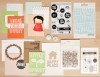
GIVEAWAY | One (1) person will win a June Hello There kit from Scrapbook Circle.
This kit includes a variety of products fromm favorite companies including several Scrapbook Circle exclusives. This month our exclusives include a set of wood veneers, a stamp set, a tag set, plus a page of printable elements.
ABOUT | We love designing and sharing our boutique style kits every month. We take much time and pleasure in curating each of the items that we include in our monthly kits. We love sharing daily inspiration and connecting with others who share our same desire to create + preserve memories.
SPECIAL OFFER | We offer a single kit option plus subscriptions where kits are purchased at a discount. We are offering Ali’s readers a 20% discount off of their order now through the end of June. Just use code ALI20 at checkout to receive the discount.
CONNECT | Blog | Shop | Instagram | Facebook | Pinterest
TO BE ENTERED into this giveaway please leave a comment below (if you are reading this post on Facebook please come to my blog to leave a comment). Comments will be closed at 8pm Pacific on Sunday, June 1st. The winners will be announced shortly after. Please be sure to check back or subscribe (click here to get posts delivered to your email box) to see if you are receiving one of the items.


May 29, 2014
Project Life® 2014 | Week Thirteen
Remember last month when I shared Week Twelve that included a full-page 12 inch x 12 inch photo? Here’s the companion to that page that also incorporates another 12 inch x 12 inch photo enlargement (and finishes up the rest of our Kauai vacation).
For this spread I used an Add-On Project Life® Kit from Studio Calico called Guten Tag.
I also created a 6 inch x 8 inch photobook of this adventure that you can see here.
Here’s a look at Week Thirteen:
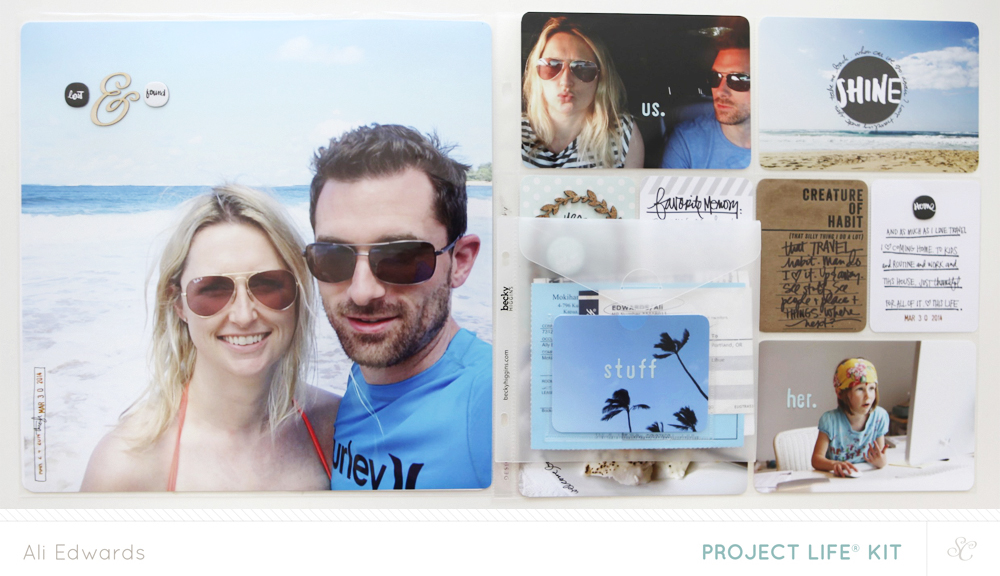
One of the things I included this week was one of the Project Life® small envelopes. These are great for storing additional papers/items that you might not want to cut up to fit into the pockets.
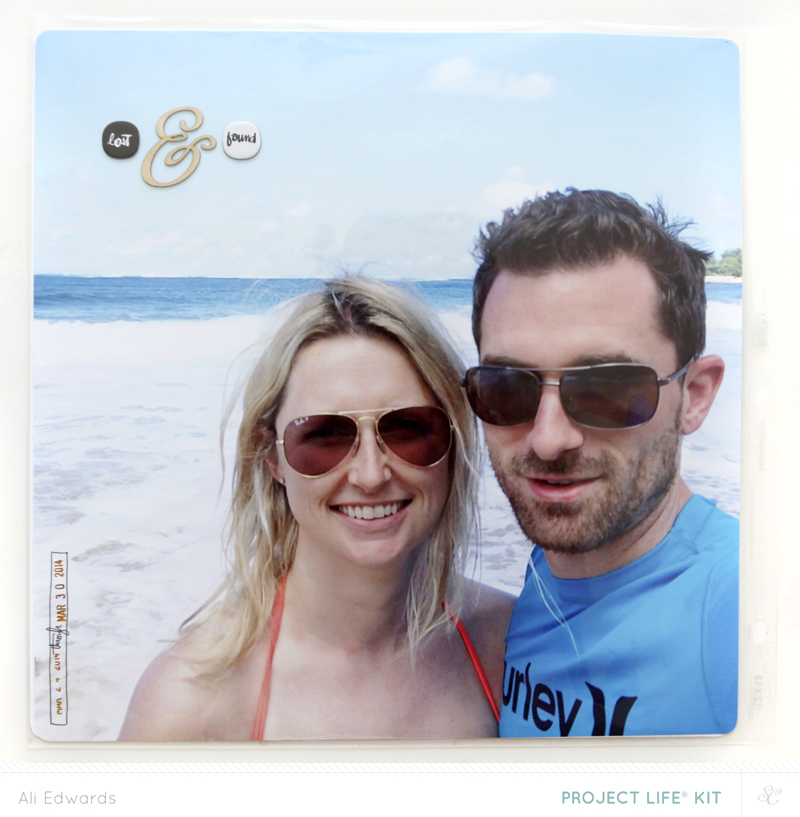
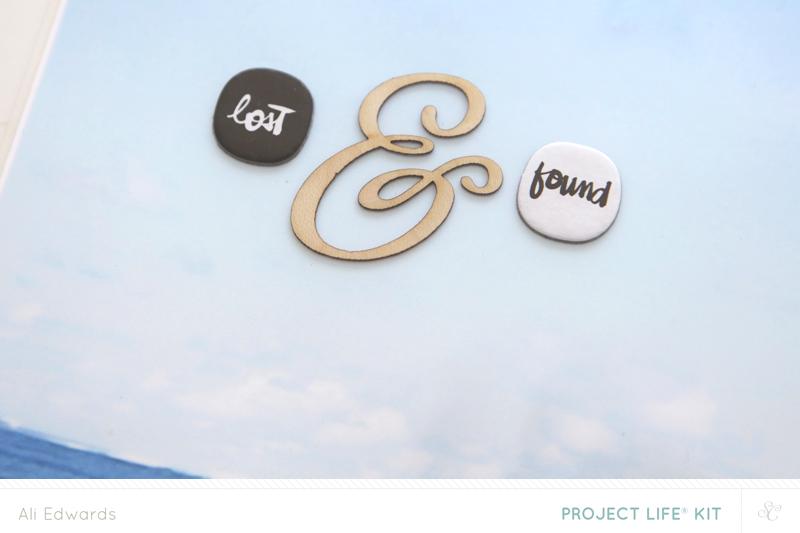
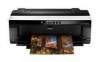
I love taking a really big photo (printed here at home on an Epson R2000 printer) and adding just a few embellishments. The wood ampersand is from the main Hello Hello Project Life kit.
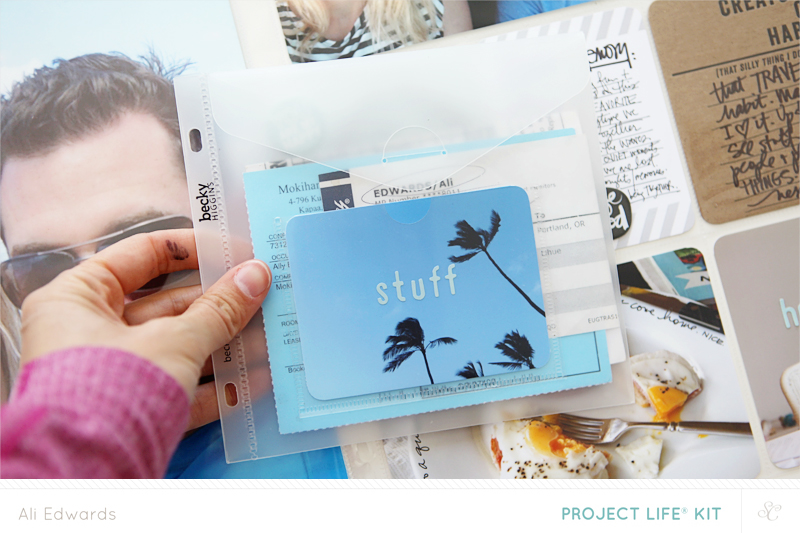
The small envelopes include a 4 inch x 3 inch pocket on the outside – great for another photo or a journal card.
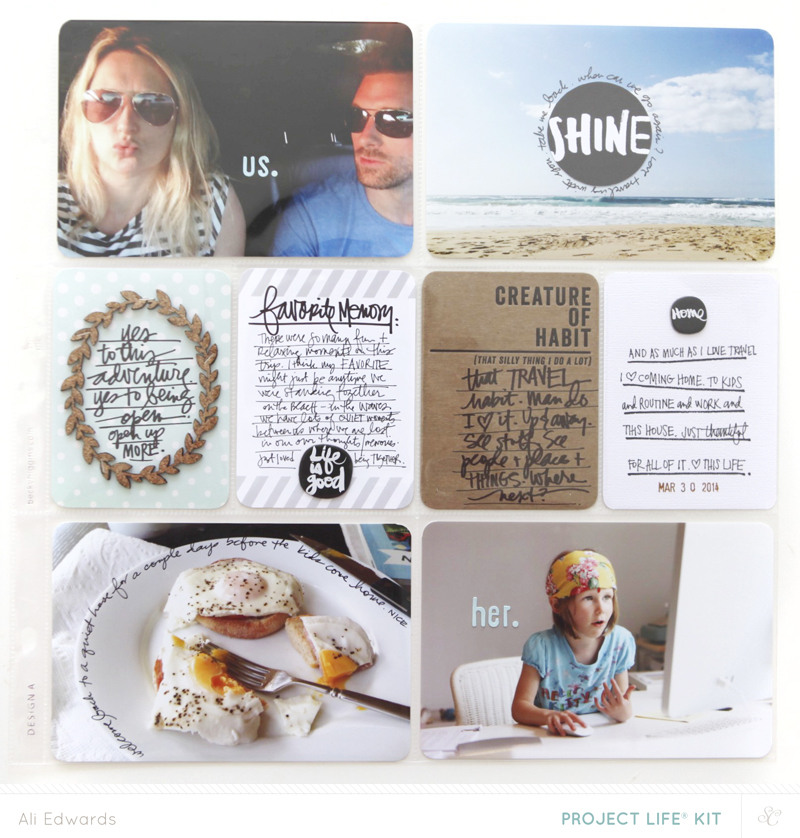
The second page of the spread includes a few more vacation photos paired with photos from when we returned home. I like the balance between the two on the top and the two on the bottom.
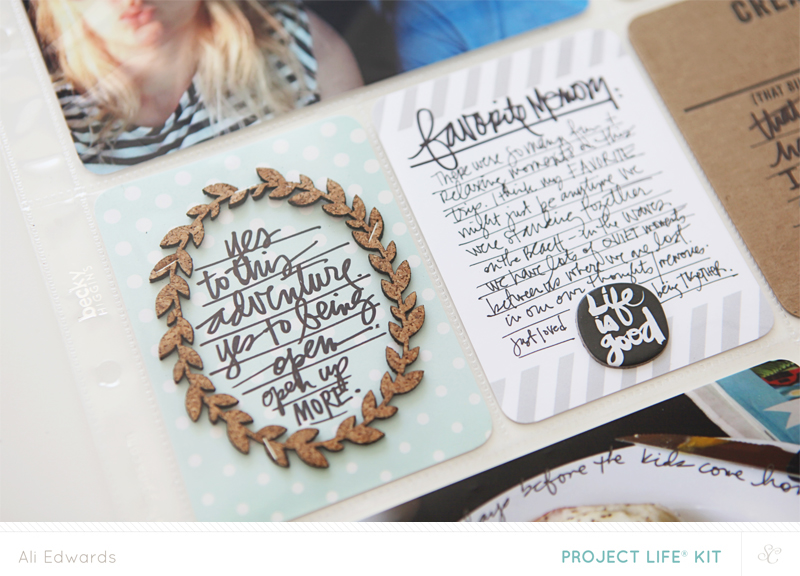
I seriously loved this cork piece. All kinds of cool stuff could happen with that. I went simple and created an oval and journaled on the inside.

ACTION ITEMS/IDEAS
Don’t be afraid to cut up or punch those 3 inch x 4 inch or 4 inch x 6 inch cards. Make them work for you and your stories.
Consider limiting your color palette for a week and stick with only black and white embellishments (and maybe add in one other color like the light blue letter stickers used here).
If you haven’t ventured into adding enlargements to your Project Life® here and there it’s really a fun way to mix it up and add some additional visual interest to your albums.
SUPPLIES | 2014 | WEEK THIRTEEN
Click on the images to link to the products.

InLinkz.com
Project Life® is a product and a system and a lifestyle created by Becky Higgins. It can be anything you want it to be. The core pieces used in my album are available here. If you live outside the US check Becky’s site for more information on sources. View all my posts about Project Life® here.


May 27, 2014
Project Life® 2014 | Week Sixteen (Studio Calico Project Life® Kit)
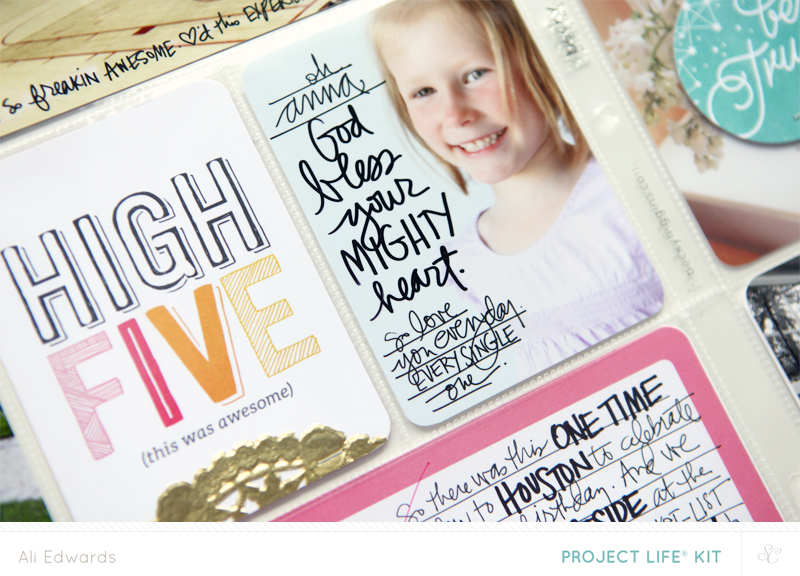
Say hello to Project Life® 2014 | Week Sixteen (April 14th through April 20th). You can check out all the new kits for June (called Hello Hello) over at Studio Calico here: Scrapbook Kit | Project Life® Kit | Card Kit.
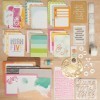
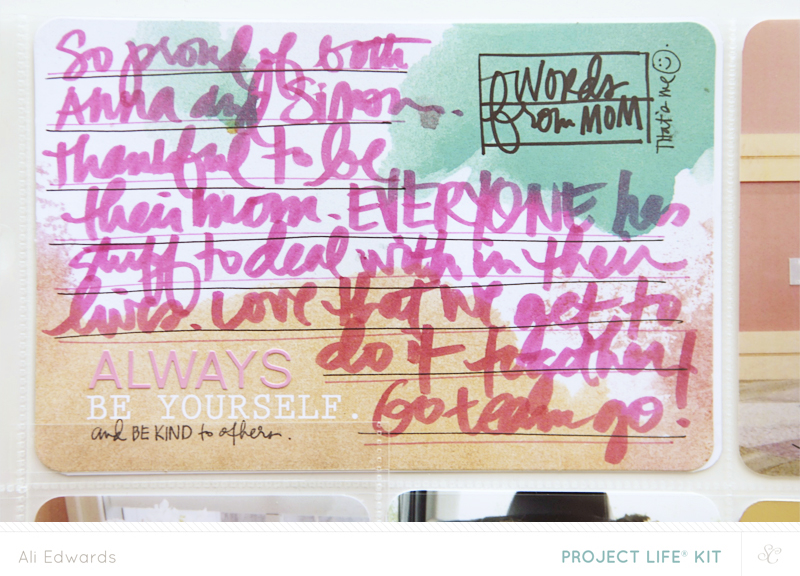
Never underestimate the power of the pen.
Maybe I should also say, “never underestimate the power of pink.” I actually have a draft post in progress talking about my developing interest/love for the color pink.
Pink + gold = even more fun.
Pink + gold + a whole lot of handwriting = Week Sixteen.
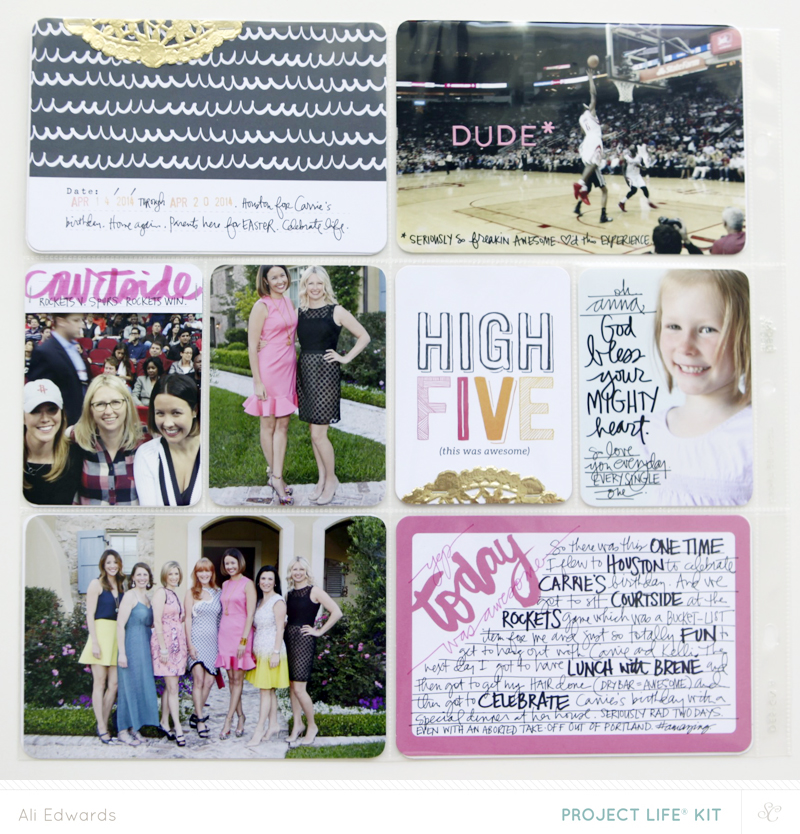
Here’s a look:
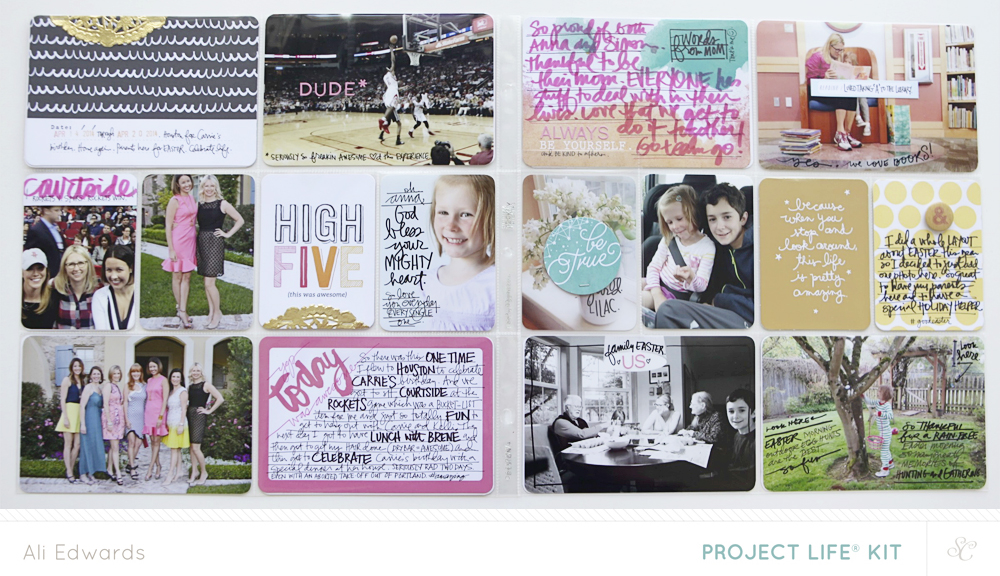
Writing on photos. Writing on journaling cards. Writing anywhere I can add-in a few more words. I really liked being really “loose” and “playful” with my pens this week.
Pink pen is a Distress Marker from Tim Holtz (color is Picked Raspberry). Super fun to work with this pen for writing out some of the journaling this time – love that it has two tip sizes.
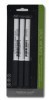
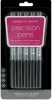
Black pens are a Medium Slick Writer and a .03 Precision Pen.
I had a really hard time photographing this spread. I think it was a combination of the time of day, the weather, and something seems to be up with my lens creating a blur in the upper left corner consistently. Might be time for a new lens.
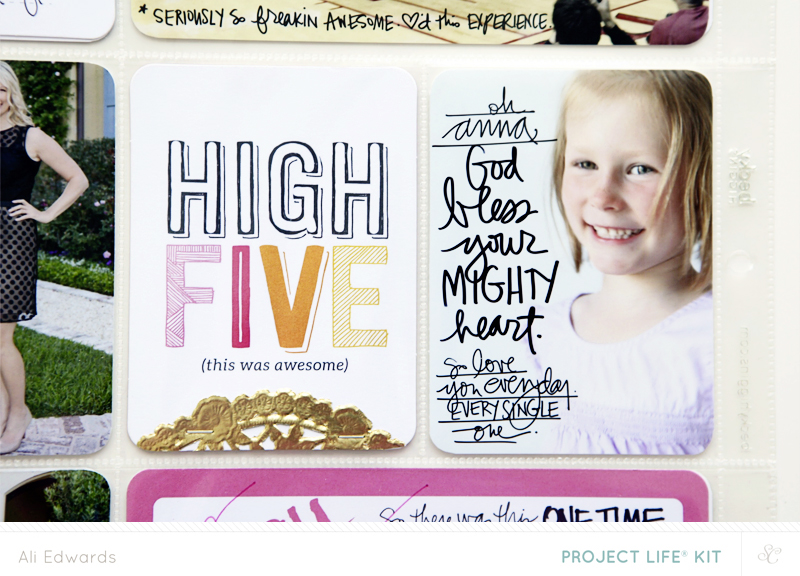
I’ve got a new set of digital art coming out soon that will include the “God Bless” sentiment above.
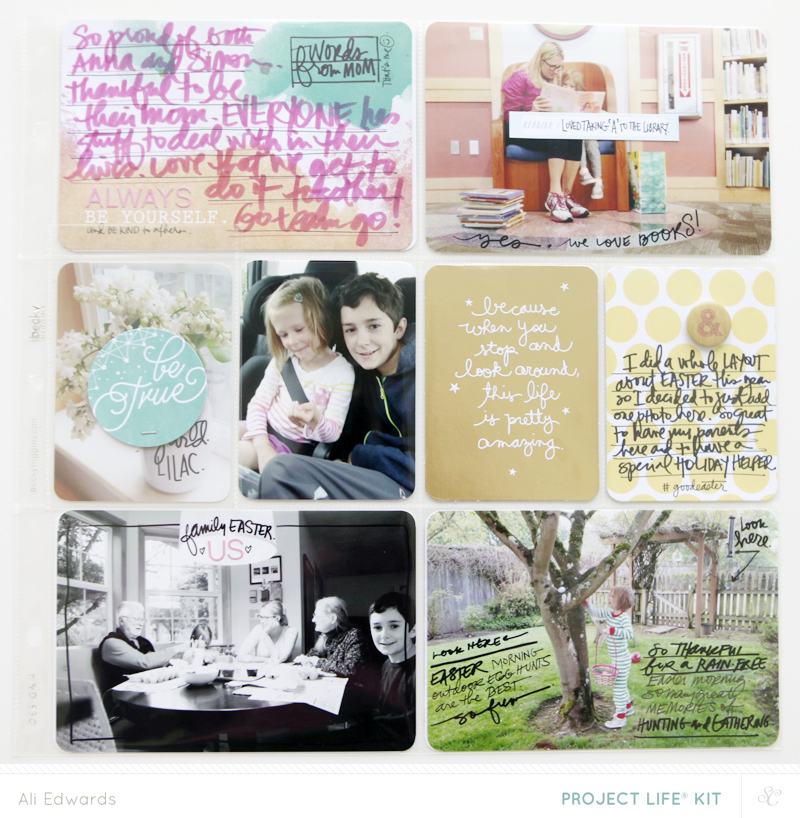
This was the week of Easter. Because I already did a layout that included more photos and the longer story from Easter I was fine with just adding in one/two photos here.
The little pink letter stickers in this kit are awesome.
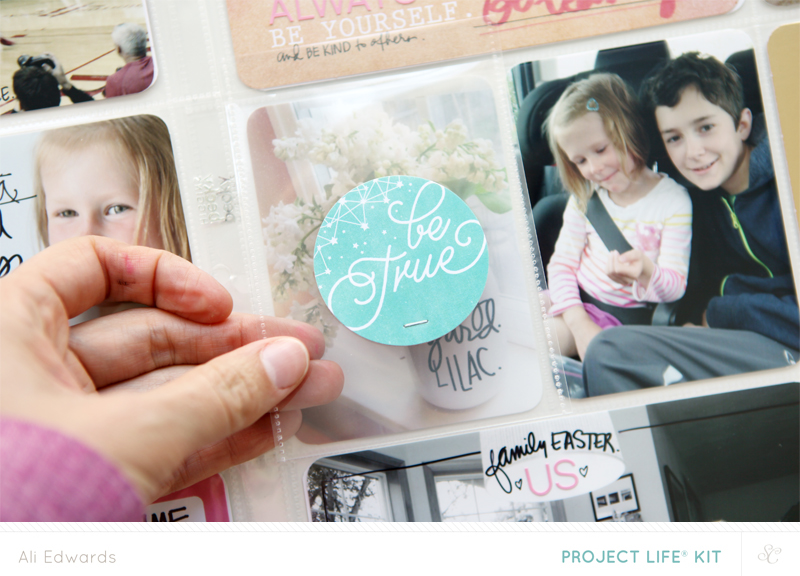
I used another one of those Simple Stories 3×4 Photo Flips to hold the circle embellishment. I used a 2-inch circle punch to remove that from the filler card.

To keep it in one place I stapled it with the Tiny Attacher.
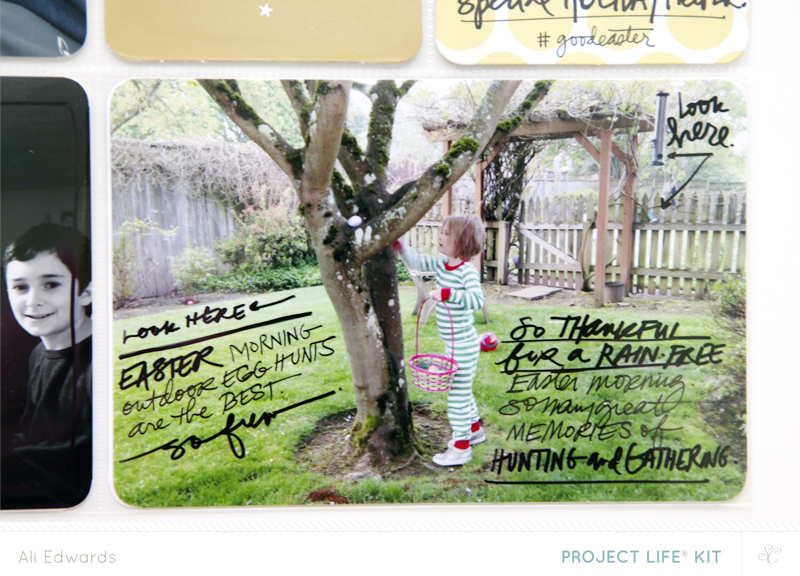
Great example of being more playful with my pens and using the space and lines in the photo to add words.
ACTION ITEMS/IDEAS
Get out those pens and use them! Get playful and mess around and think more in terms of “art-journaling” vs. “scrapbooking.” If you think in your head you are “art-journaling” then you might just give yourself a little more freedom and permission to play with your words.
Is there a color you resist? Consider embracing it and see where it takes you. I’ve been warming up to pink slowly but surely over the last few years. Purple might be next.
SUPPLIES | 2014 | WEEK SIXTEEN
Click on the images to link to the products.


InLinkz.com
Project Life® is a product and a system and a lifestyle created by Becky Higgins. It can be anything you want it to be. The core pieces used in my album are available here. If you live outside the US check Becky’s site for more information on sources. View all my posts about Project Life® here.


AE | The Weekend Lens

Ah, a long weekend at home.
The perfect opportunity for some backyard camping on Saturday night and practice for some potential upcoming camping adventures later this summer.
We were joined by Aaron and his three kids which means all kinds of play and fun and food and dolls and legos and messes and laughter.
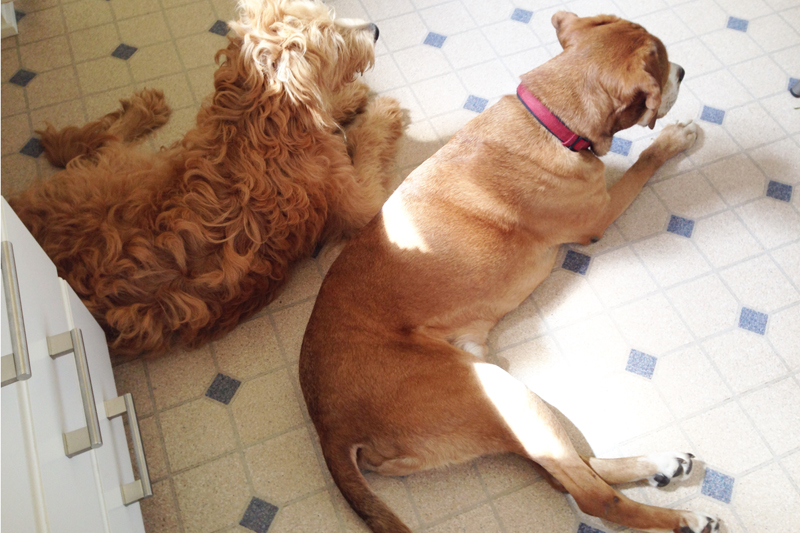
Two dogs added even more excitement to the mix. Katie’s dog Charlotte was here for the day on Saturday and Aaron’s dog Woody was here for the whole weekend.
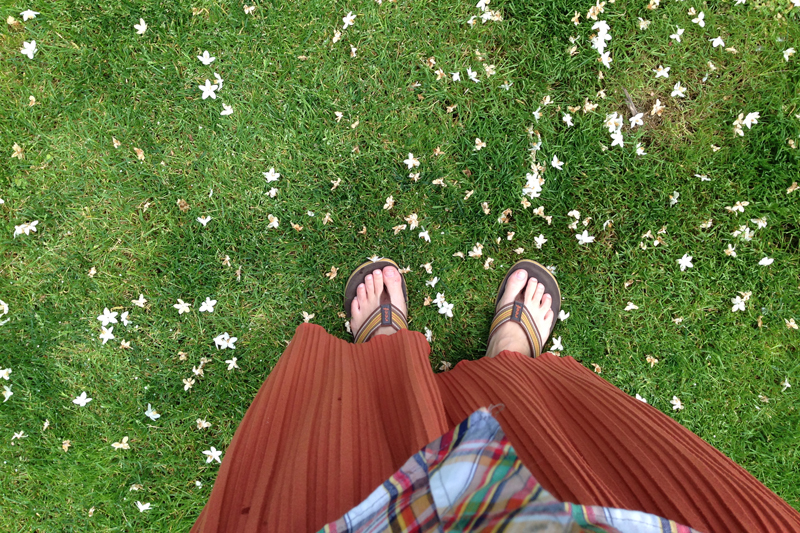
The weather was just right for living outside.
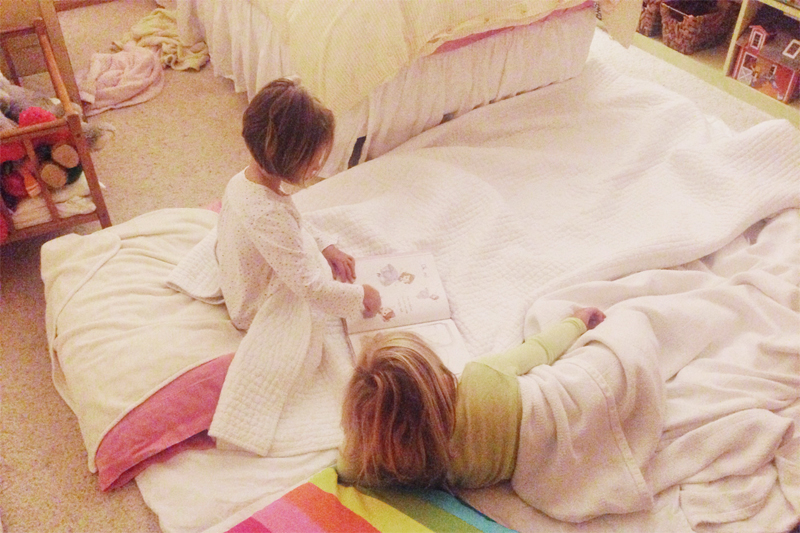
On Friday night we stayed inside – the camping idea manifested itself on Saturday morning. We’ve done a handful of overnights with everyone all together from time to time – this was the first weekend of all being together two nights in a row at home. Aaron has three kids – a girl and two boys.

First sweet peas.
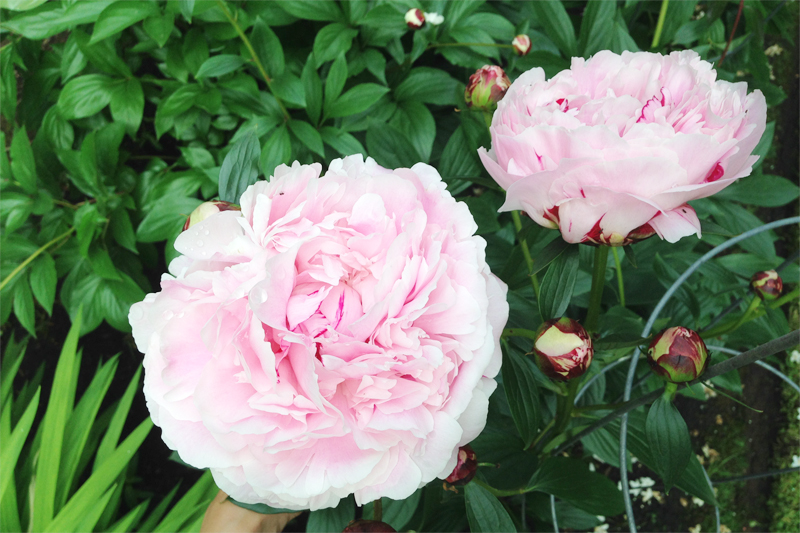
The peonies that I’m savoring every single day.
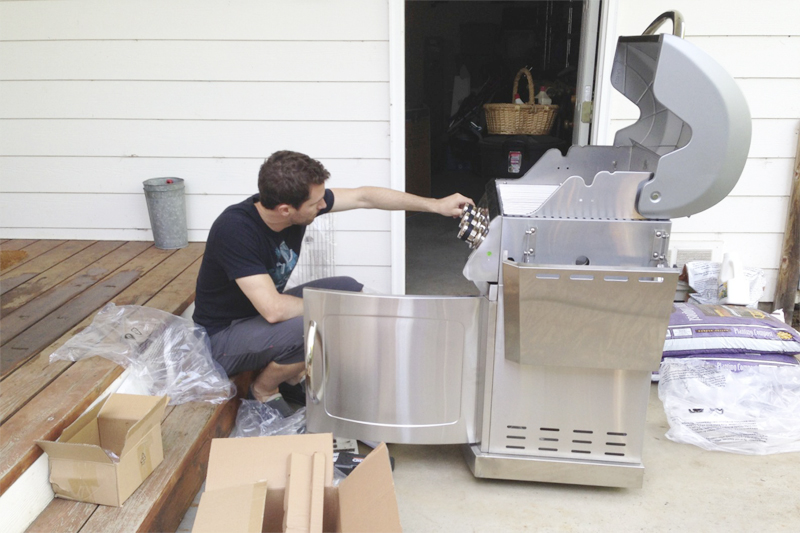
A new BBQ that Aaron set up.
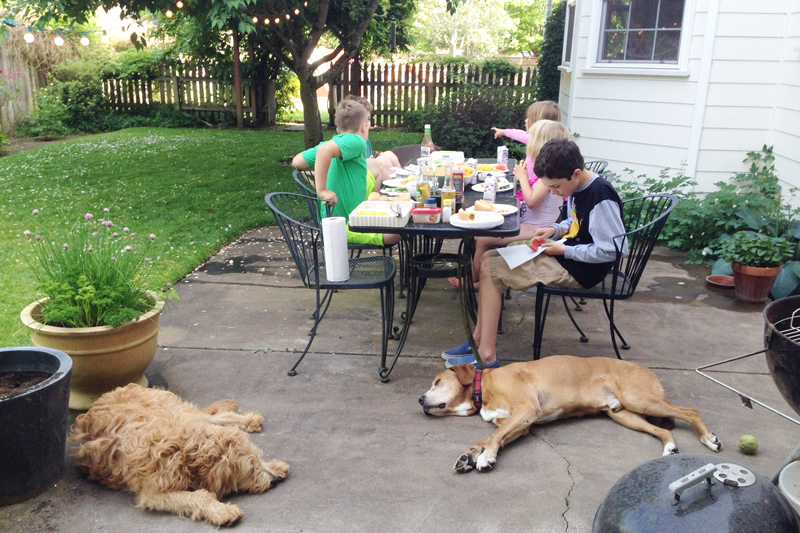
Hot dogs (the kind we eat and the kind who run around and around the yard) and cheetos and corn on the cob and watermelon for dinner.
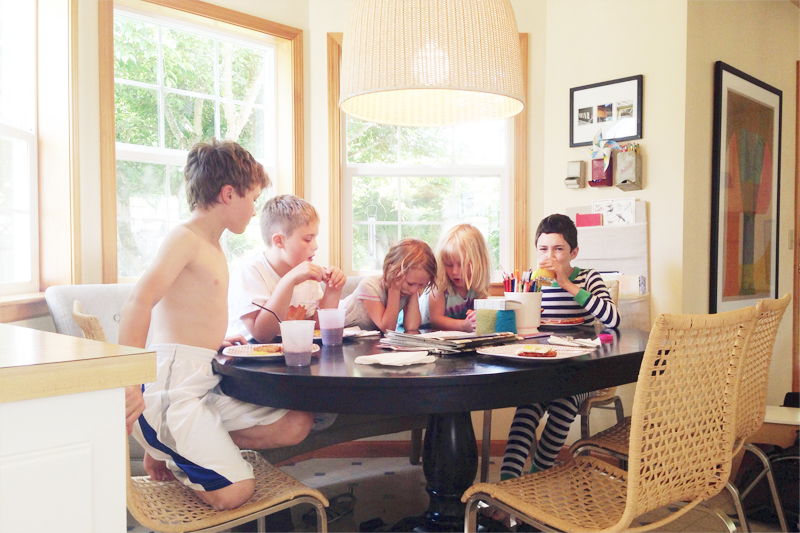
They all did great in the tents – no middle of the night wake-ups. We came inside for breakfast Sunday morning.
NOTE TO SELF | When camping out in the backyard make sure to turn off the sprinkler system. A little early morning wake-up and a run to the garage to turn them off. Only Aaron and I woke up for that excitement.
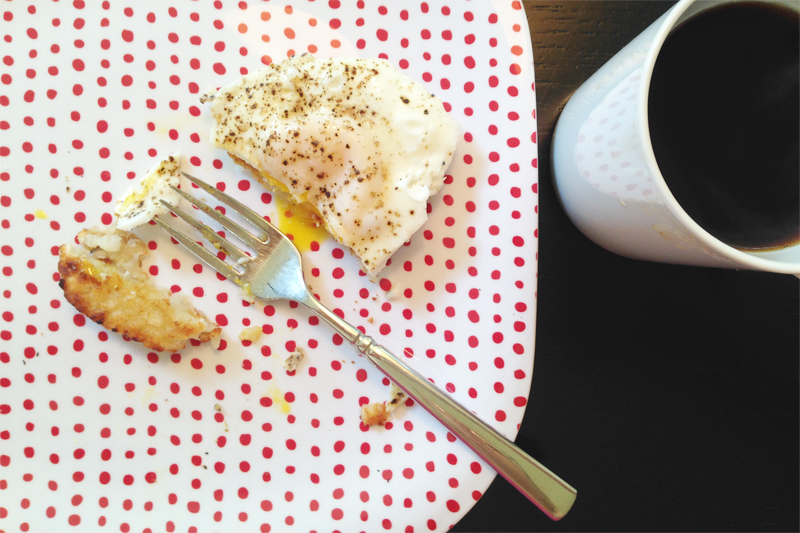
Eggs and toast all around.
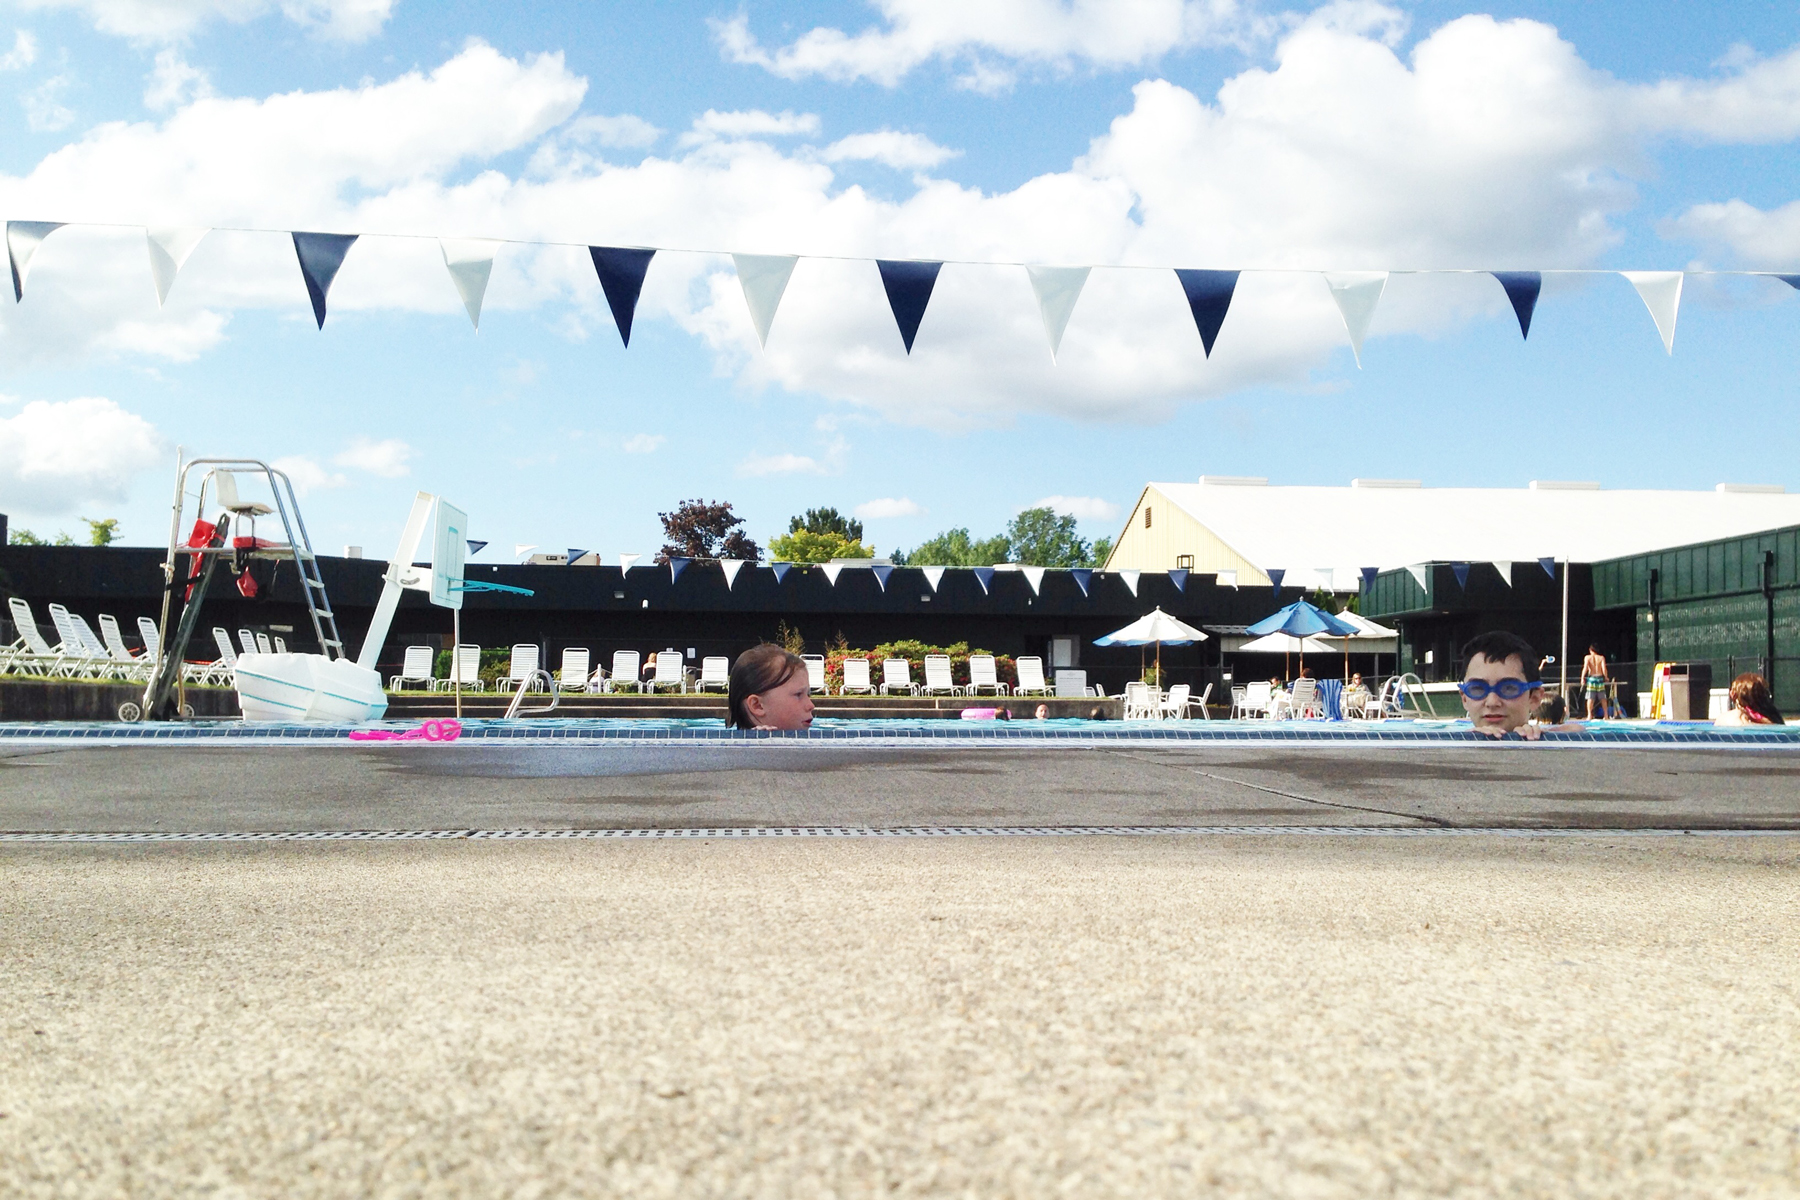
On Monday I took the kids to a birthday party and then ended the weekend with a short swim at the pool before coming home for beans & cheese & chips.
I’m getting excited for summer and the change of routine and pace that brings with it. Planning to work on some sort of summer manifesto this week.


May 25, 2014
And the giveaway goes to…
GIVEAWAY | One (1) person will win a Silhouette Portrait. (Open to US and Canadian residents only)
#568 | Samantha F said…We’ve wanted one of these for too long! Hoping this is our lucky break. Thanks to you both for another cool giveaway opportunity!
Congratulations! Please email Katie with your contact information.


May 23, 2014
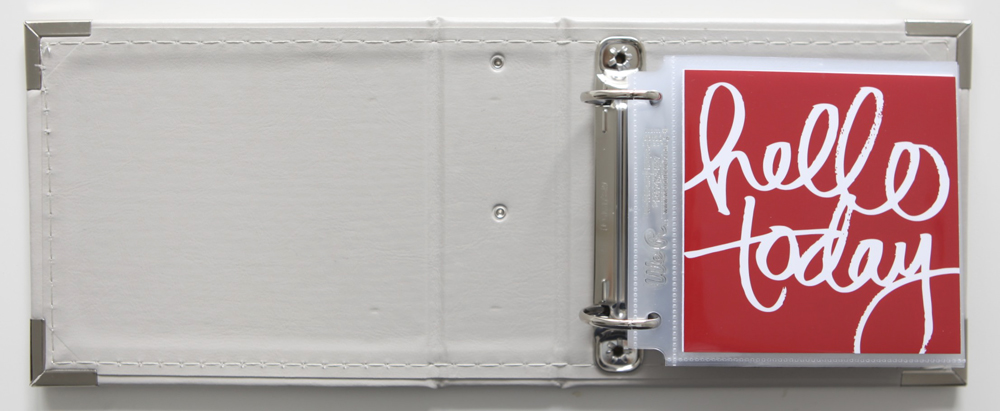
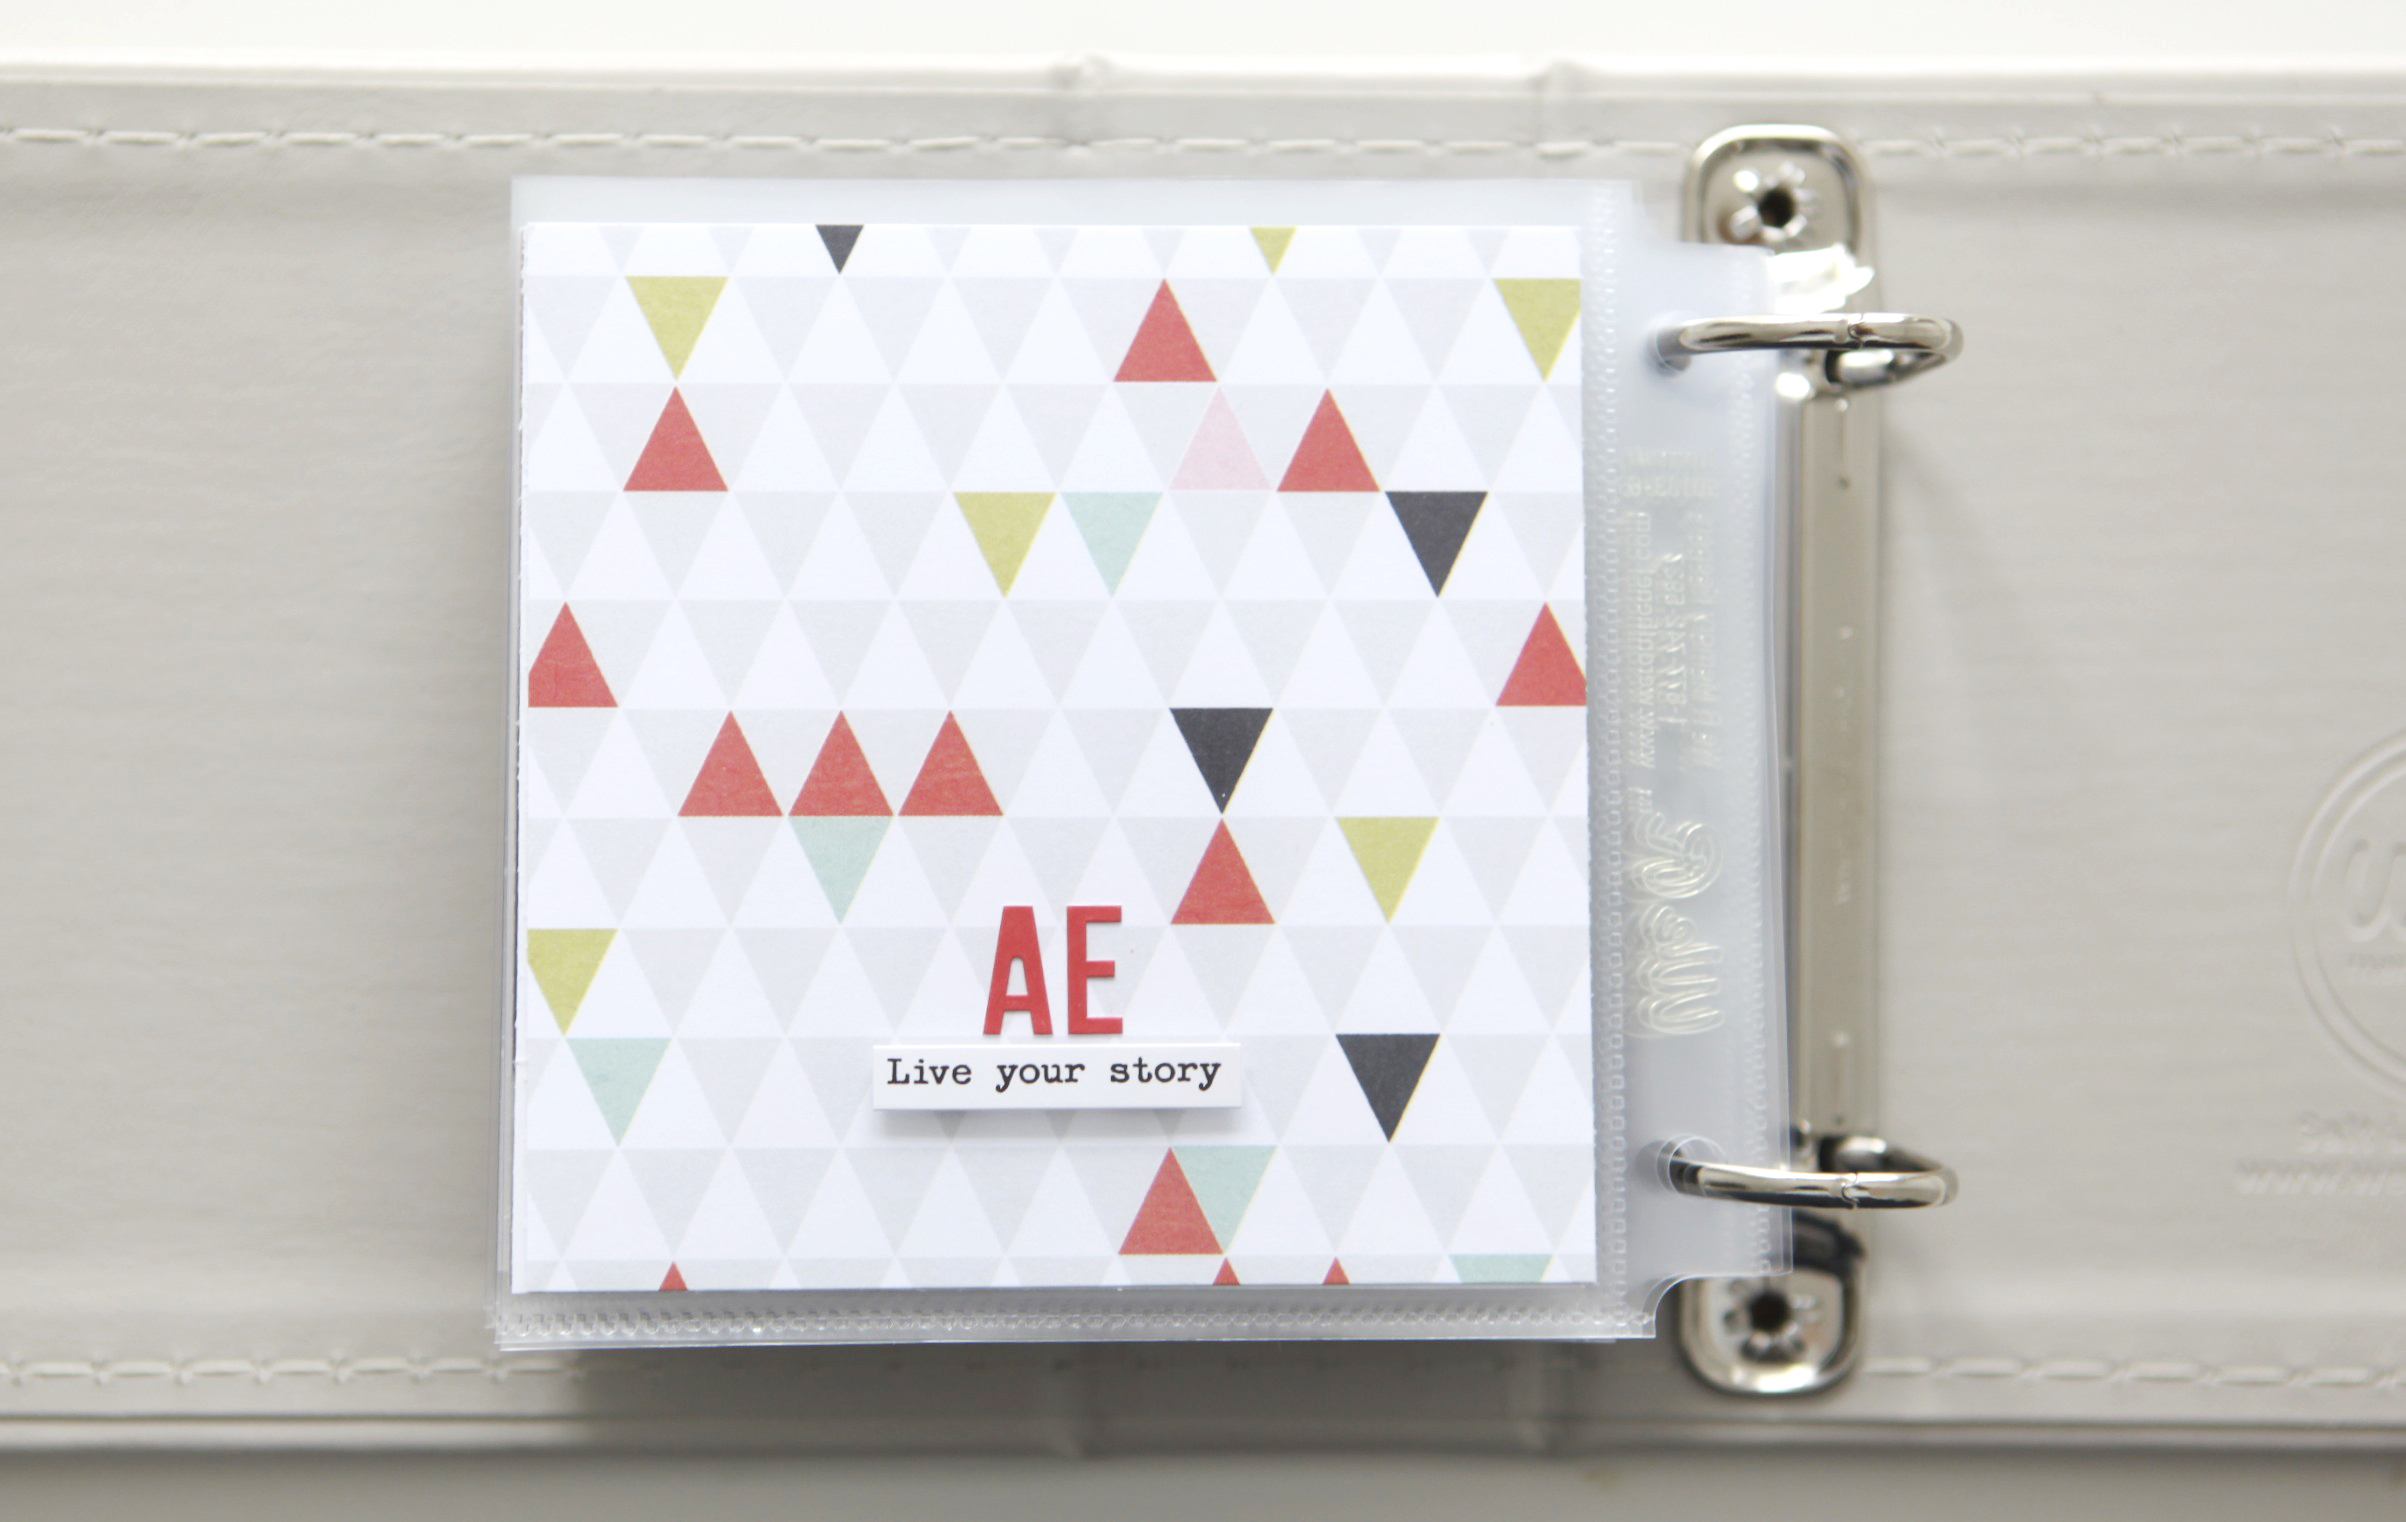
Day In The Life | 4×4 Mini Book

Today I’m sharing what I ended up doing with my words & photos from my Day In The Life documentation back on May 8th. You can check out my post that just includes the words and photos here.
Last year I did a Day In The Life each month from January through June. I incorporated my words and photos into Project Life® using a 6 inch x 12 inch layered template. You can read more about how I did that here:
January
February
March
April
May
June
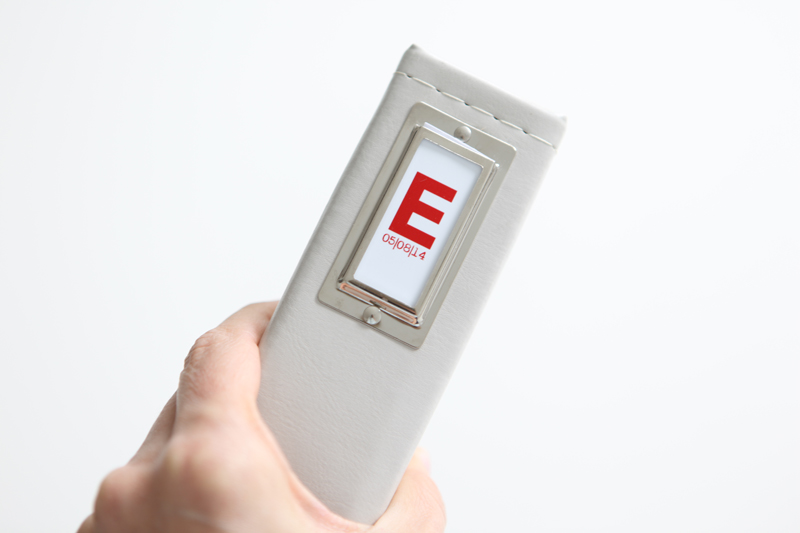
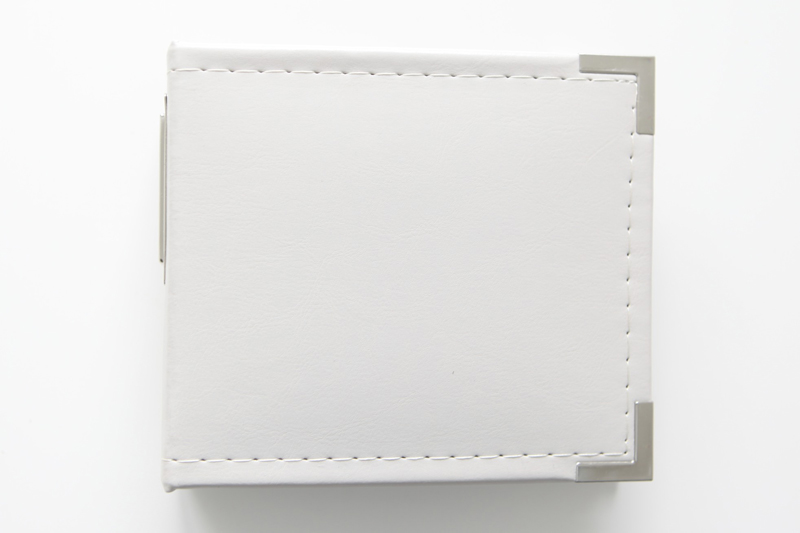
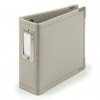
This time I decided to go with a 4 inch x 4 inch mini-album from We R Memory Keepers and ended up using 30, 4×4 photos.
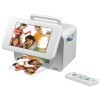
All photos were printed here at home on the Epson Picturemate Show printer. I printed these on 4 inch x 6 inch paper and trimmed off the excess. I know I mention that printer all the time – it’s because I use it all the time and it’s awesome. I would totally buy another one if this one breaks. Love being able to print when and what I want.
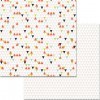
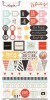
In addition to my 4 inch x 4 inch photos I also used this 4 inch x 4 inch set of printables. I ended up printing these on the Epson Picturemate Show printer too. Sometimes I print printables on Epson Matte Presentation Paper and other times on photo paper. Depends on the size and on the color.
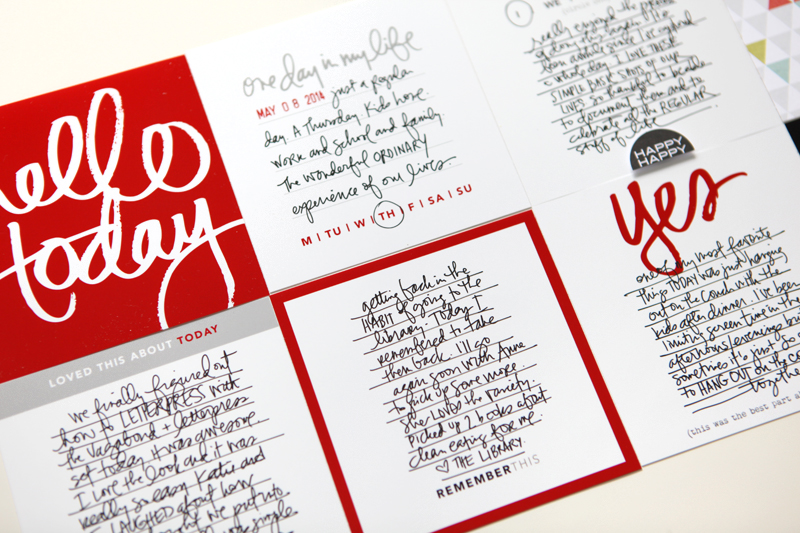
If you don’t want to work in the 4 inch x 4 inch size here’s a 3 inch x 4 inch Day In The Life Cards version as well for those of you that might a different size or color family.
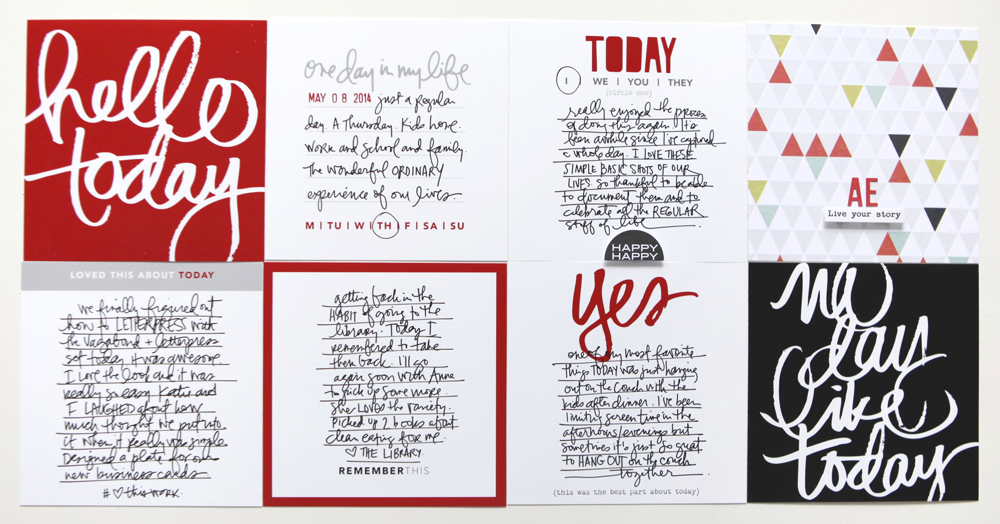
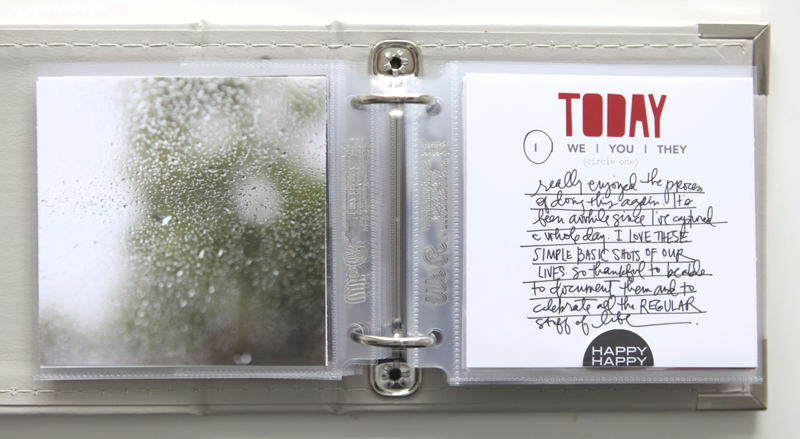
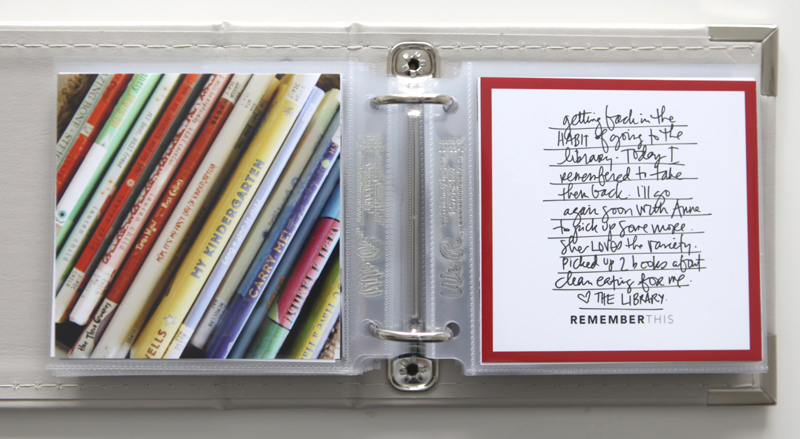
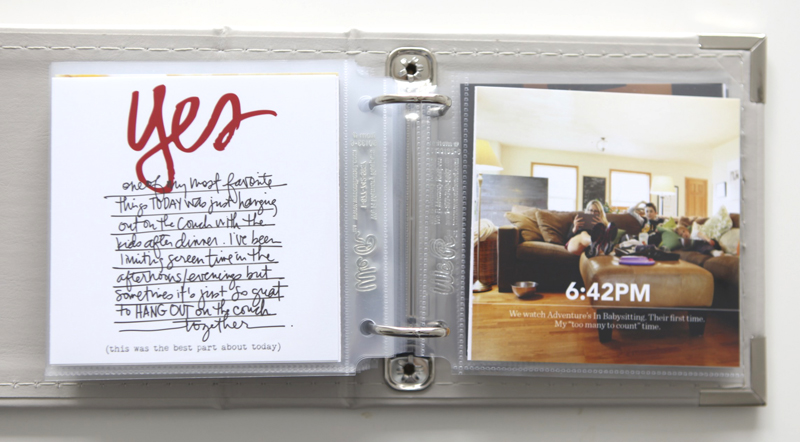
I loved how these cards turned out. I used a Precision Pen in .03 to write on the photo paper.
On these cards I ended up adding some additional text that wasn’t included in my original post – they ended up being more perspective-style journaling vs. the facts of what was happening that day.
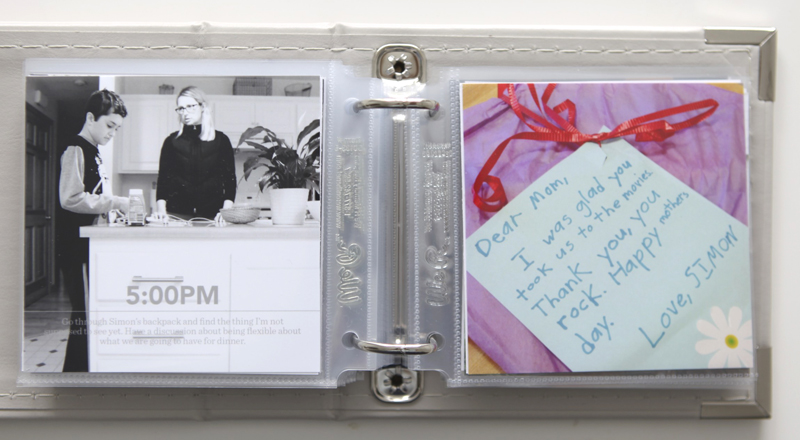
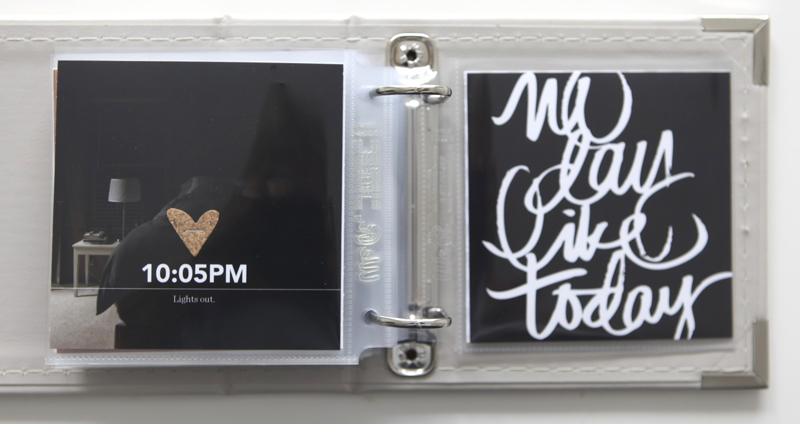
I also ended up cutting up a 12 inch x 12 inch piece of pattern paper from Teresa Collins for the last page of the album – that’s the diamond paper called Something Wonderful Geometric.
ANOTHER IDEA
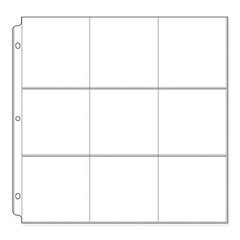
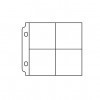
If you’d like to incorporate 4 inch x 4 inch images and printables in Project Life® you could use these 12 inch x 12 inch page protectors from We R Memory Keepers.
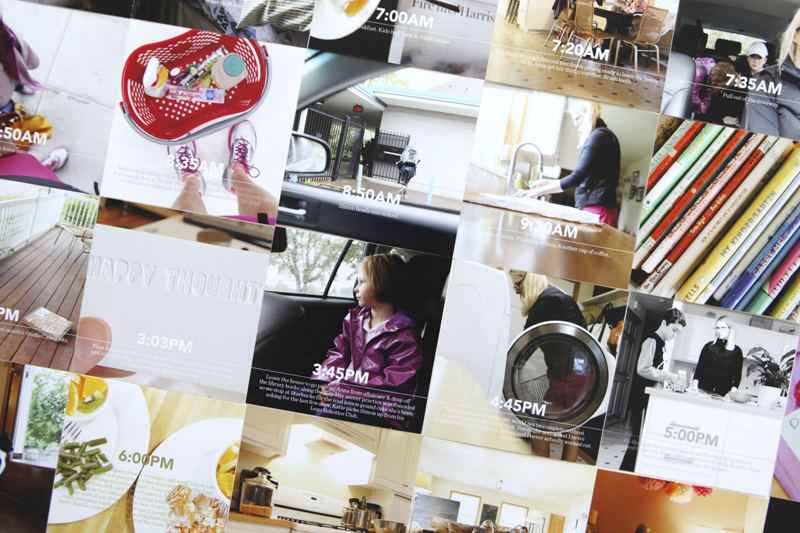
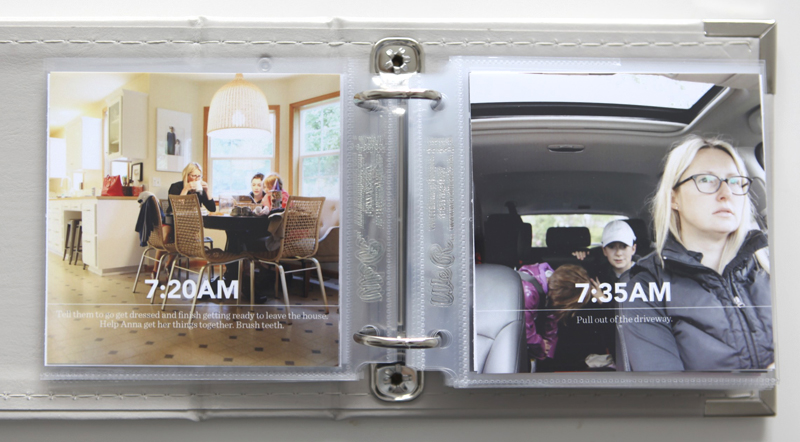
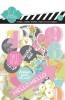
Here’s a look at my completed book:
THOUGHTS ON THE PROCESS
I loved playing with this size. 4 inch x 4 inch was enough of a departure from what I usually work with that I felt renewed energy working in this size.
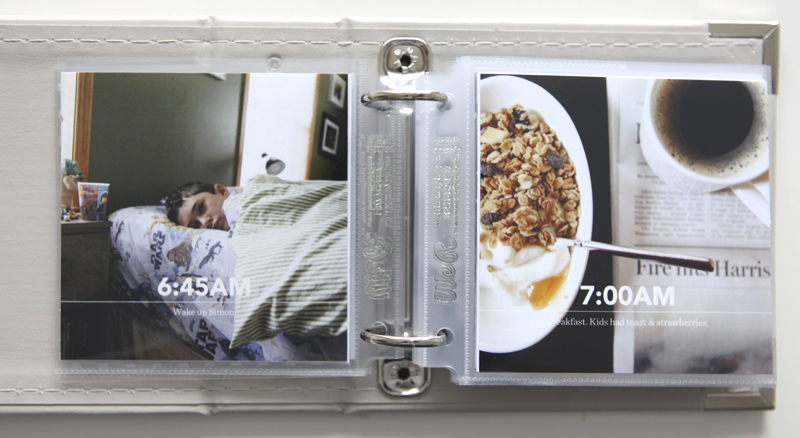
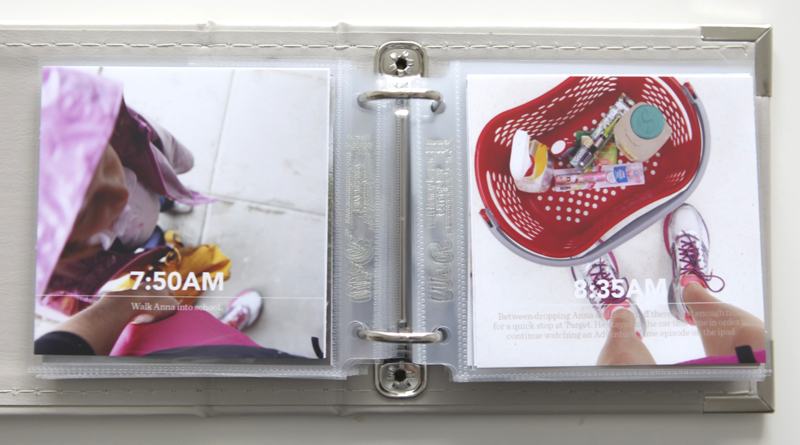
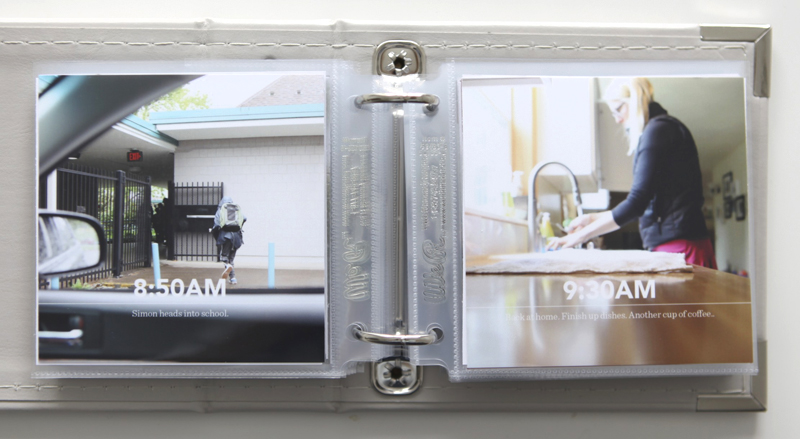
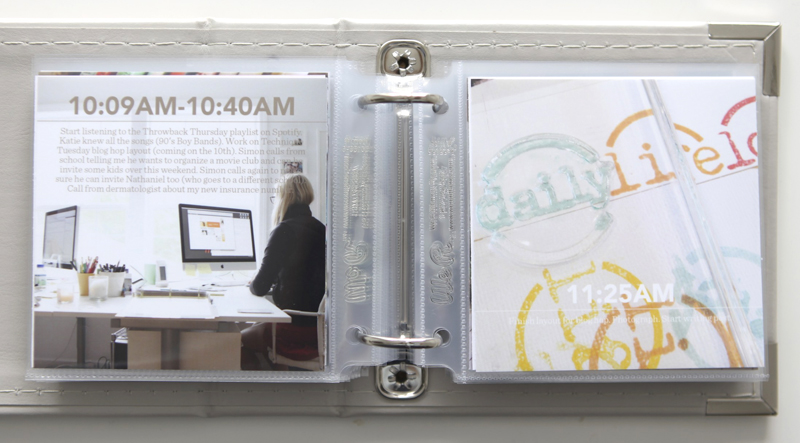
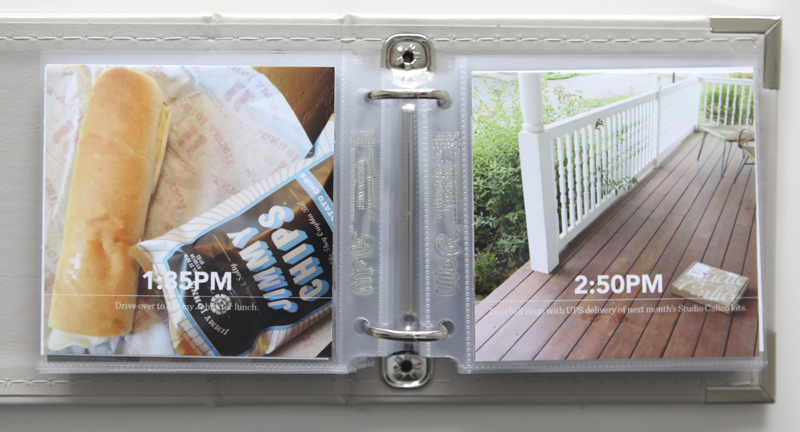
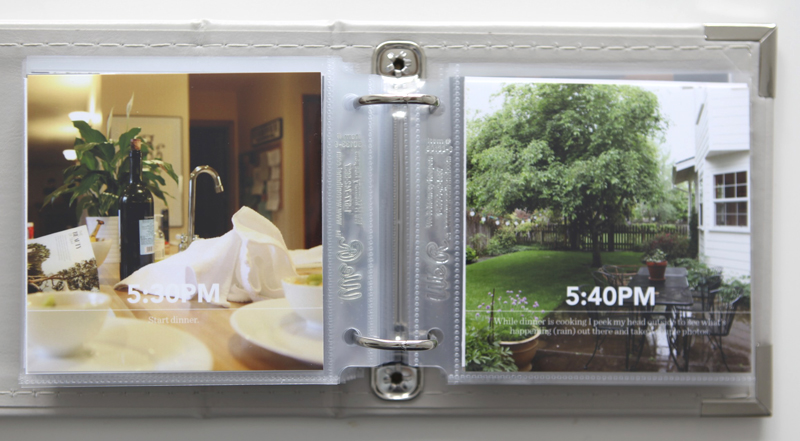
I loved putting the times on the photos. As you will see below I ended up putting the time, a line, and some text (pulled directly from my blog post) on each photo (with the exception of a couple that I left blank that were companions to another photo from the same time).
I added just a few embellishments here and there. I thought about adding more but I ended up even taking a few things off (and reprinting the photos).
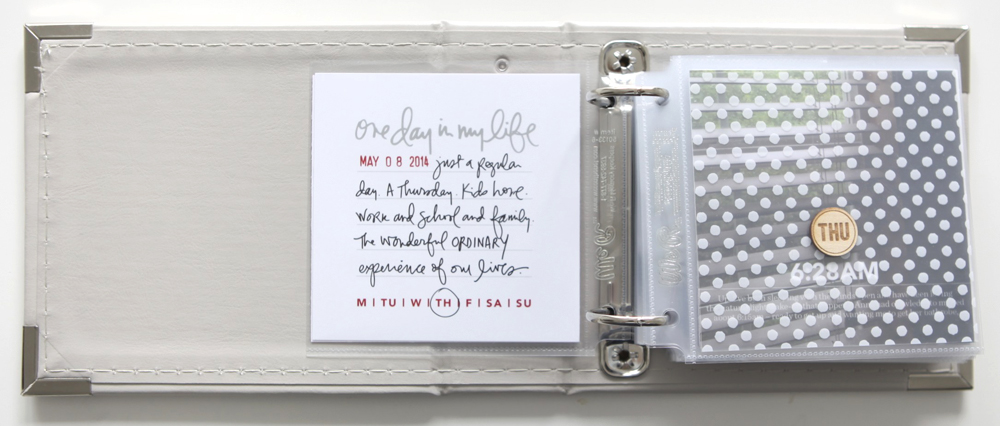
Wood veneer circle is from Elle’s Studio Happy Day. White transparent polka dots is from this set at Studio Calico.
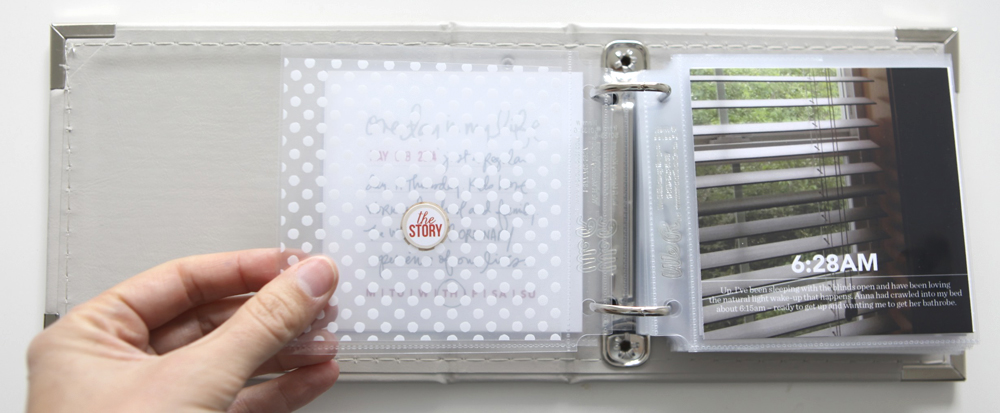
Small “the story” circle sticker is from Teresa Collins Something Wonderful Sticker Sheet. I cut it to make it a circle because it had an extra little tab on it.
As I mentioned above I opened, edited (using RadLab) and added text to each of my photos in Photoshop. I basically kept one file open and dragged and dropped my photos on top and then changed the time and words – each time doing a Save As at the end.
Most of times and words stayed in the same position but some changed due to more words or too much white along the bottom of the photo.

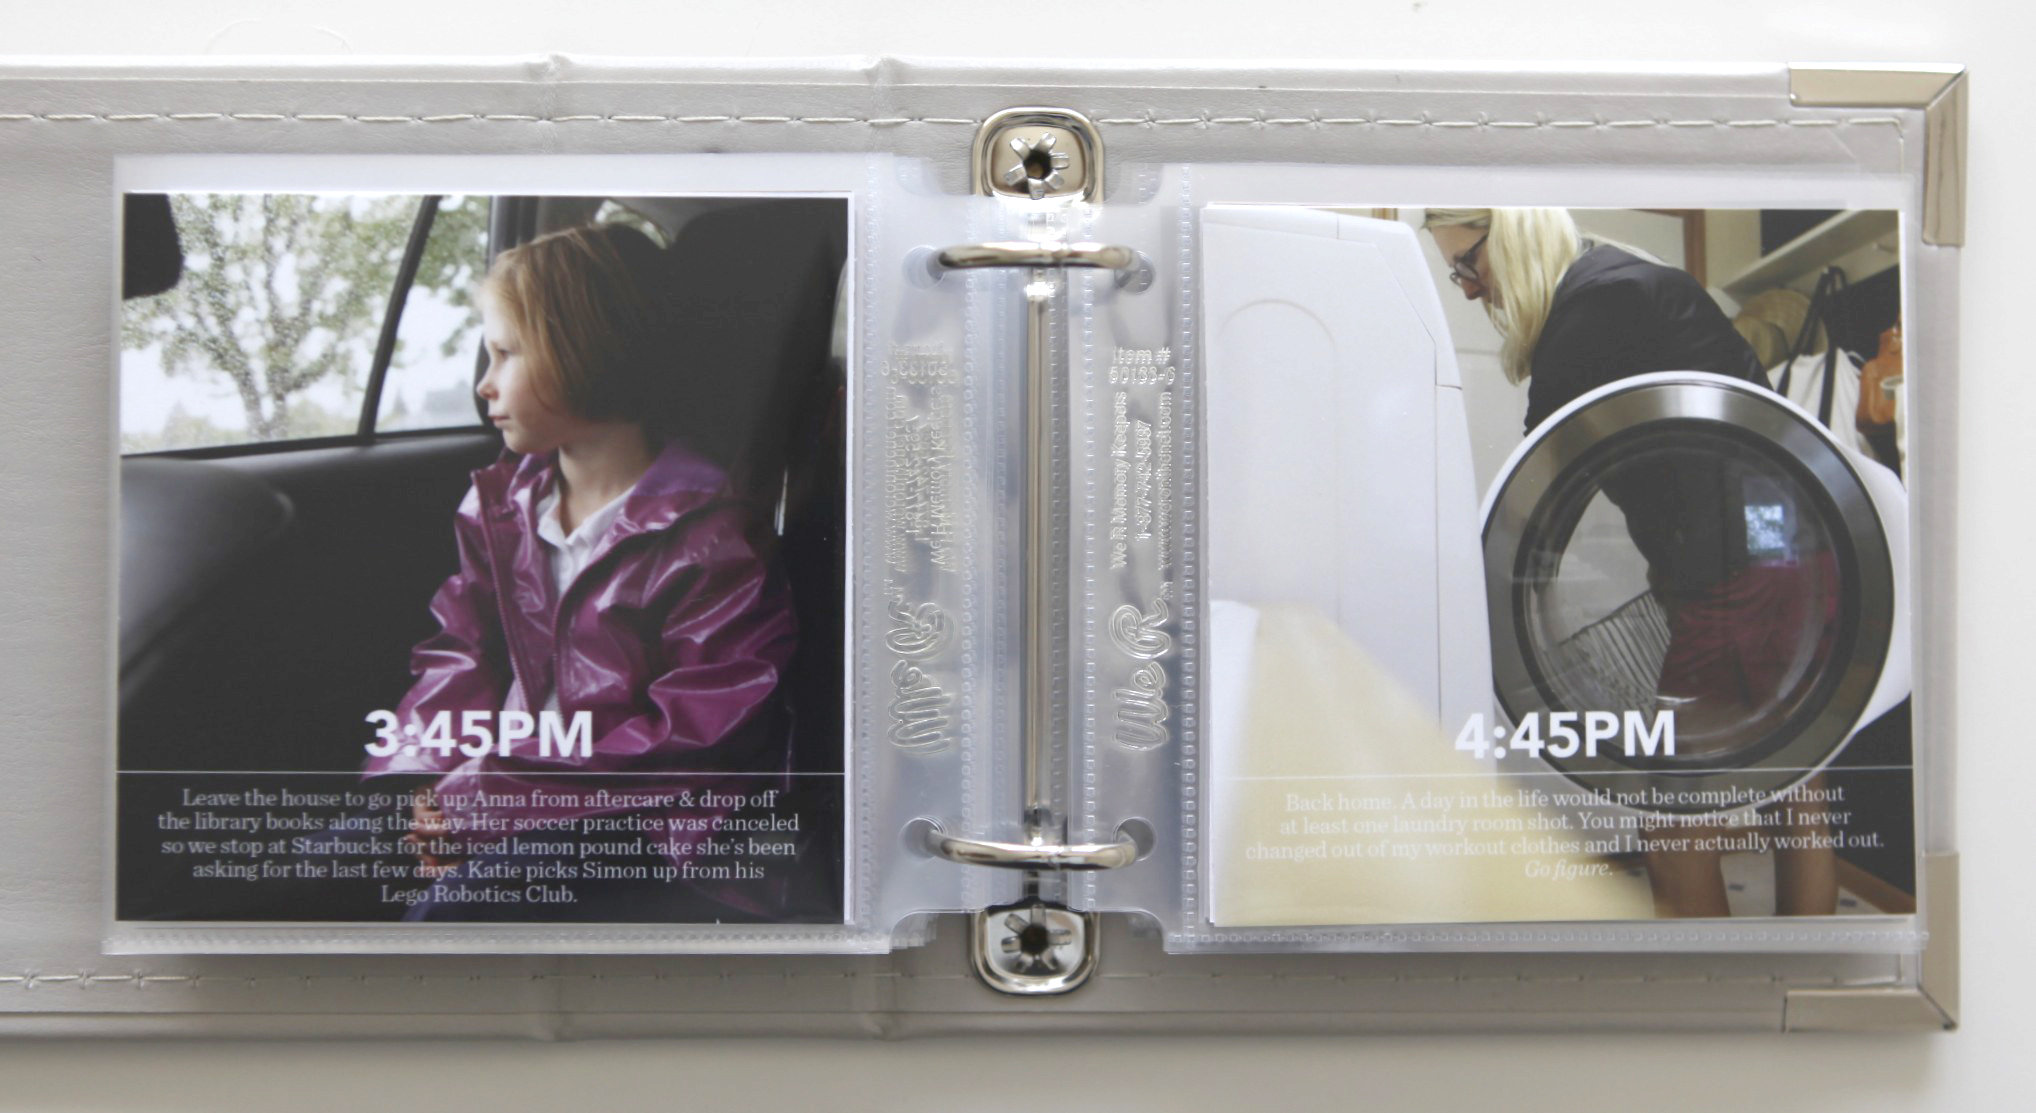
Sometimes when I put together projects like this I like to specify the kids ages. This means no math for me later on (win) when I look back through the album to try and figure out how old they were at a particular point in time.
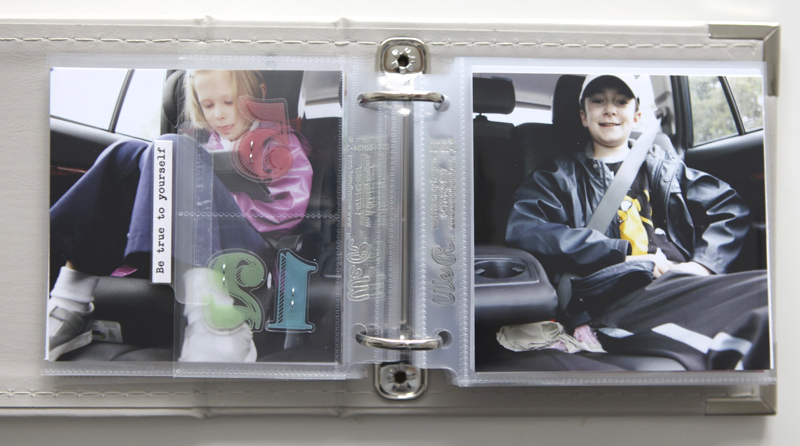
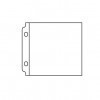
This little insert is one of the 4 inch x 4 inch divided page protectors that I cut in half and slipped a “5″ and a “12″ in from this set of Heidi Swapp ephemera. Those are kept in place with small staples from the Tiny Attacher.
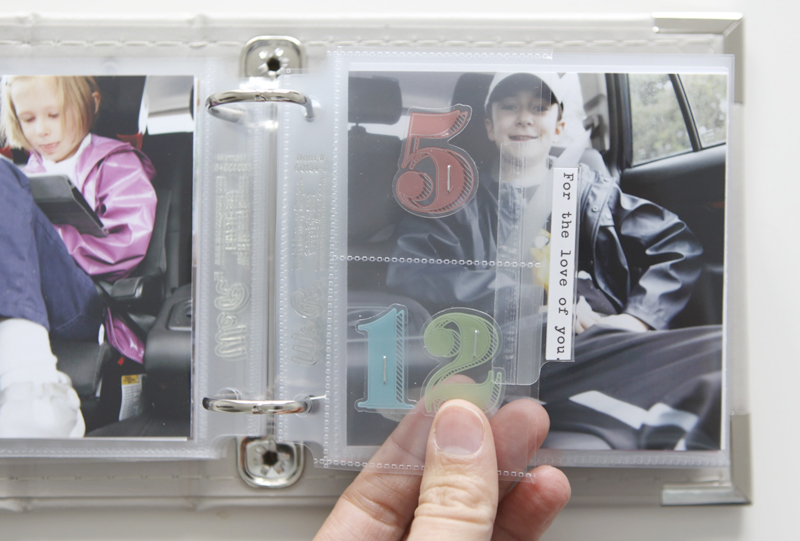
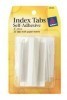
And, as some of you know, I love adding 2 inch index tabs to my inserts. Inside I slipped a couple stickers (stuck back to back) from Cosmo Cricket.
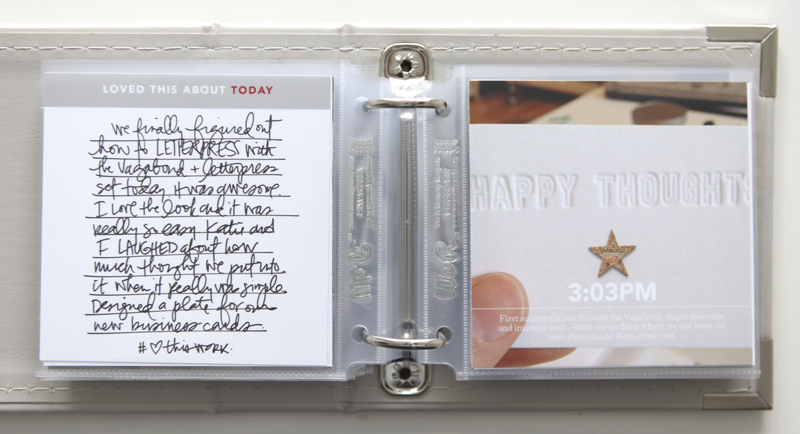
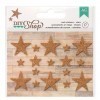
A stapled cork star adds a little interest to this one.
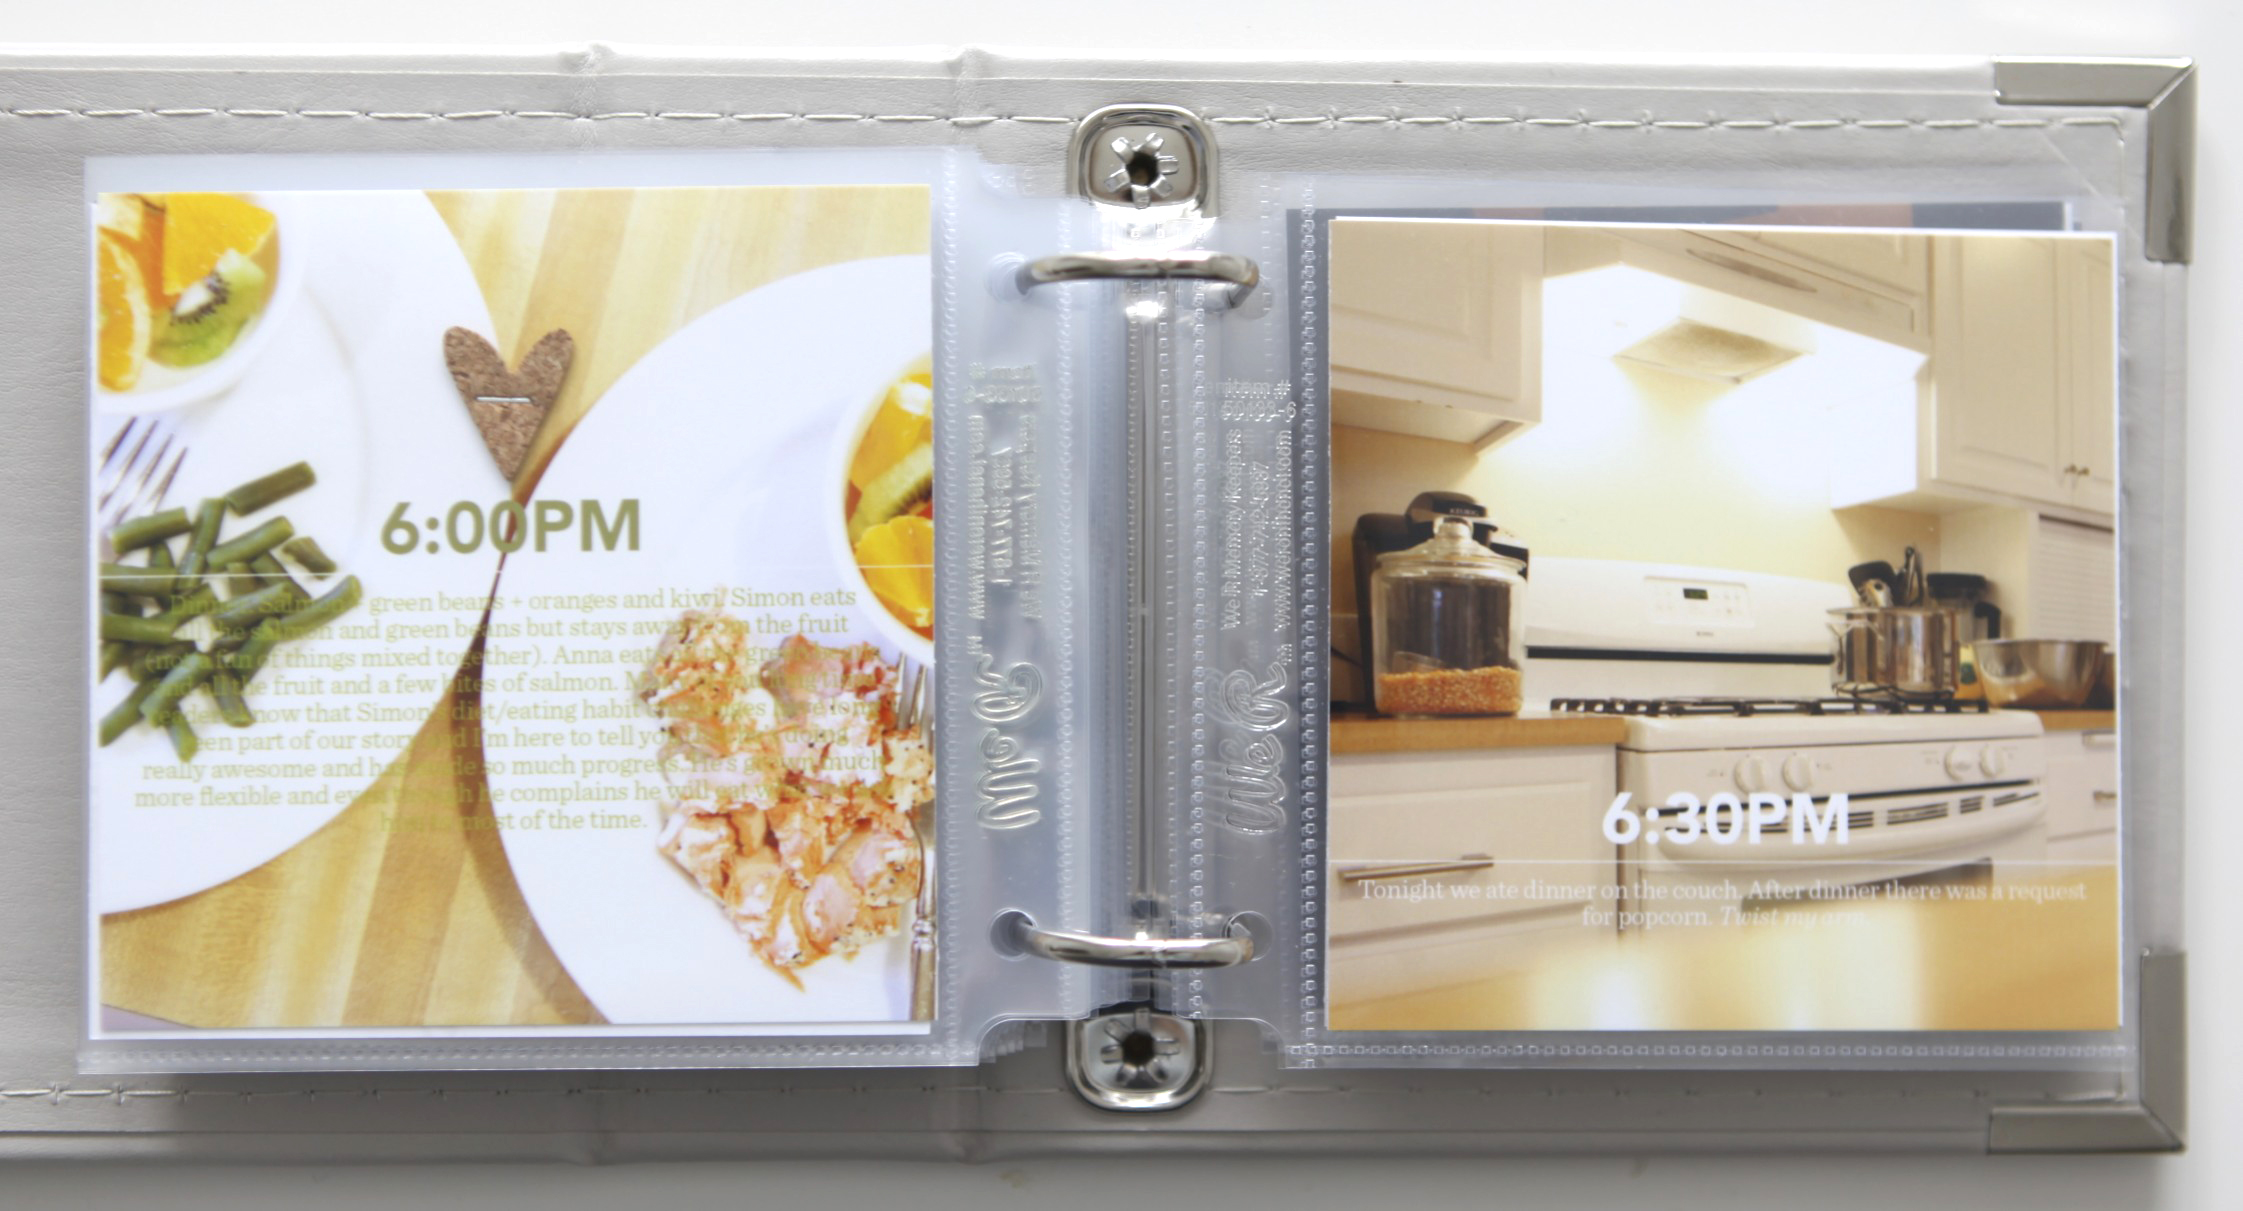
Cork heart added to this photo. Again, it was random.
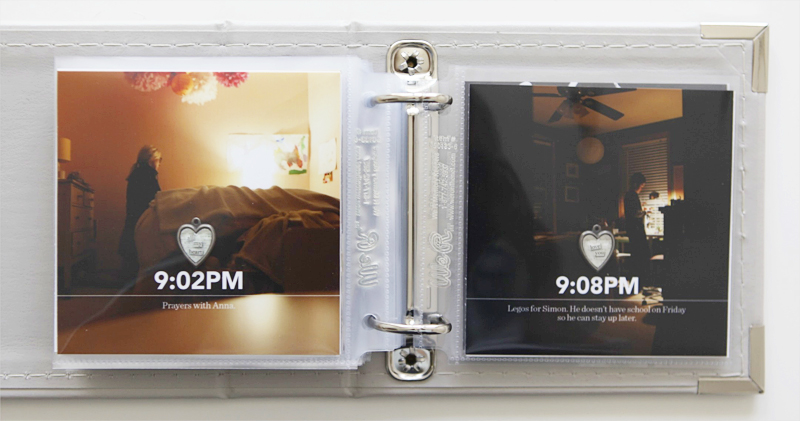
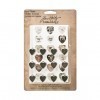
For these two images I did want to add in something a little different. I chose these metal heart charms from Tim Holtz.
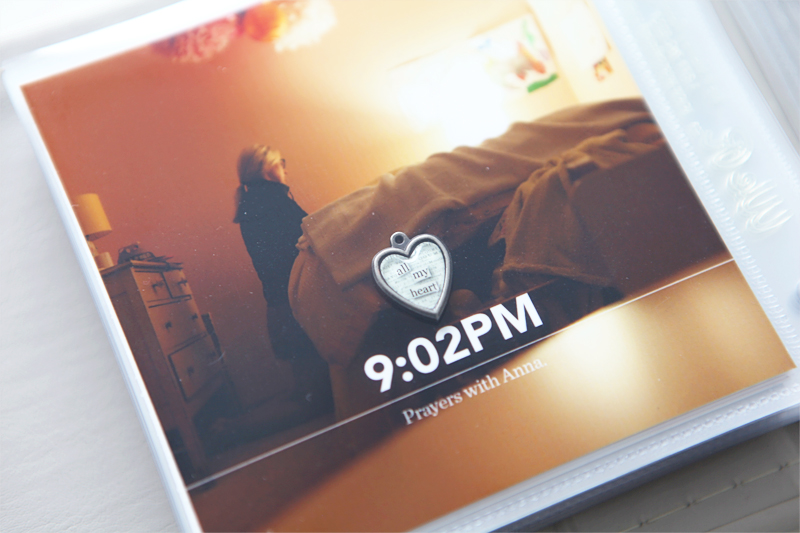
Each of the pieces are separate in the package (the charm, the designed paper and then a plastic epoxy that fits on top). I adhered them with a mini-glue dot.
A little cork heart to finish off the day.
SUPPLIES
Click on the images to jump to the products.


InLinkz.com
SHARE YOUR STORY | LINK TO YOUR DAY IN THE LIFE
Did you participate in Day In The Life this go-around? I’d love to see your blog post and/or how you made something with your content. Please link directly to your post vs. your general blog link.


May 22, 2014
The Phone Photography Project 2

Registration is now open for The Phone Photography Project 2 form Big Picture Classes.
28 days of photo tips, app tutorials, and iPhone awesomeness.
Would you like to take better photos with the camera you always have with you—your smartphone?
Get ready to transform your mobile photography in a brand-new interactive workshop, The Phone Photography Project 2, starting July 17. Twenty expert iPhoneographers have collected their best tips, tricks, and tutorials for phone photography, and they’re ready to share it all with you inside a private online classroom—with lots of fun happening on Instagram, too.
No matter what kind of camera or smartphone you use, taking better photos requires a basic understanding of photographic principles and the inspiration to see the amazing photo opportunities all around you. This class will show you that:
Your phone camera is capable of much more than you realize
Composition and lighting are just as important (if not more so) when you use a phone camera vs. a DSLR
You can produce frame-worthy snapshots with nothing more than your smartphone and the right combination of apps
With practical tips for mastering lighting, composition, editing, and more, this workshop will give you the tools you need to create impressive photos you’ll be proud to share online, in your home, or in your scrapbooks.

The Phone Photography Project 2 includes:
Practical tips for mastering lighting, composition, editing, and more
14 before-and-after video tutorials that demonstrate photo-editing techniques
Hands-on photography challenges every Tuesday, Thursday, and Saturday from July 17 to August 16
14 image galleries featuring more than 250 inspiring photographs from your workshop instructors
Active, supportive Instagram community to share and view photographs
Resource section featuring app and equipment recommendations
Supply recommendations
Bonus handouts
Message board to share your thoughts with classmates and interact with instructors
Private posting gallery to share and view photographs
The workshop will run July 17-August 16.
Cost is $59. To find out more and to sign up click here.


May 21, 2014
Special Weekday Giveaway + Promotion | Silhouette Portrait™
GIVEAWAY | One (1) person will win a Silhouette Portrait. (Open to US and Canadian residents only)

When you use the code “EDWARDS” betwen May 21-31 you will be able to get: The list of specialty media plus a Silhouette CAMEO® for $269.99 (savings of over $70 from retail cost $340.94)
Silhouette CAMEO® electronic cutting machine
$10 download card
12 in x 12 in cutting mat
Silhouette blade
1 pack printable cotton canvas
1 pack vellum
1 pack adhesive washi sheets
1 pack printable adhesive kraft paper
1 pack stencil material
When you use the code “EDWARDS” between May 21-31 you will be able to get:
this list of specialty media plus a Silhouette Portrait™ for $129.99 (savings of over $80 from retail cost $220.94)
Silhouette Portrait™ electronic cutting machine
$10 dollar download card
8.5 x 12 in cutting mat
Silhouette blade
1 pack printable cotton canvas
1 pack vellum
1 pack adhesive washi sheets
1 pack printable adhesive kraft paper
1 pack stencil material
When you use the code “EDWARDS” between May 21-31 you will be able to get 25% off on all Specialty Media.
ABOUT | The Silhouette Portrait™ is an electronic cutting tool for personal use. Like a home printer, it plugs into your PC or Mac® with a simple USB cable. However, instead of printing it uses a small blade to cut paper, cardstock, vinyl, fabric and more up to 8″ wide and 10 feet long. The machine also has the ability to register and cut printed materials.
Here are some helpful tutorials from me using the Silhouette Studio® Software:
Using PNG files with Silhouette Studio® Software
Tracing and welding PNG files with the Silhouette Studio® Software
Tracing my For The Love Of Days Journal Cards with Silhouette Studio® Software
Here are a few of my favorite projects I’ve created for Project Life using the Silhouette Cameo®:
Cutting out and using my For The Love Of Days Journal Cards to document our daily happenings of our Disneyland Trip in Project Life
Cutting a quote out using The Silhouette Cameo® + Vellum for Project Life
Using The Silhouette Cameo® + American Crafts POW! Glitter Paper to add a little something extra to my Heart Life 3×4 Boxes in Project Life
DESIGNER DIGITALS QUARTLY SALE

Designer Digitals is having their 4th quarter sale and all of my products are currently 40% off until this Friday, May 23rd at 6am EST.
Here are some of my recent designs that would look great cut out on the Silhouette:
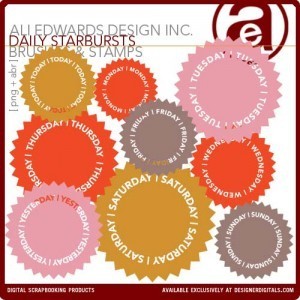
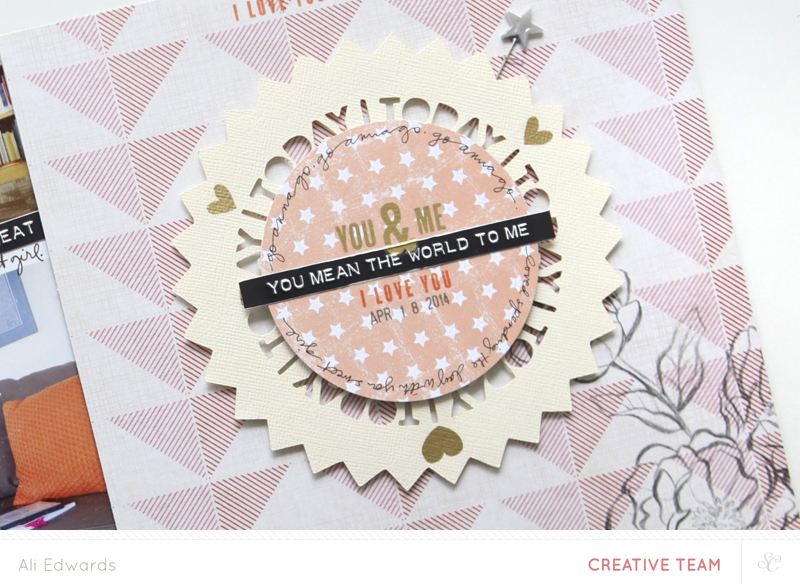
Daily Starbursts. You can see how I paired one of these designs with the Silhouette on a layout here.

TO BE ENTERED into this giveaway please leave a comment below (if you are reading this post on Facebook please come to my blog to leave a comment). Comments will be closed at 8pm Pacific on Sunday, May 25th . The winner will be announced shortly after. Please be sure to check back or subscribe (click here to get posts delivered to your email box) to see if you are receiving one of the items.


