
Ali Edwards's Blog, page 218
June 16, 2014
And The Giveaway Goes To…

GIVEAWAY | Two (2) people will win a spot in The Phone Photography Project from Big Picture Classes.
#148 | Debra said…I use my phone for pictures and this class would help me make them so much better. Thanks for the opportunity!
#298 | Kelly Sill said…Would love to have a spot in the class! Thanks for the chance to win!
Congratulations! Please email Katie with your contact information.


Project Life® 2014 | Week 9 + New Tim Holtz Distress Mini Ink Giveaway
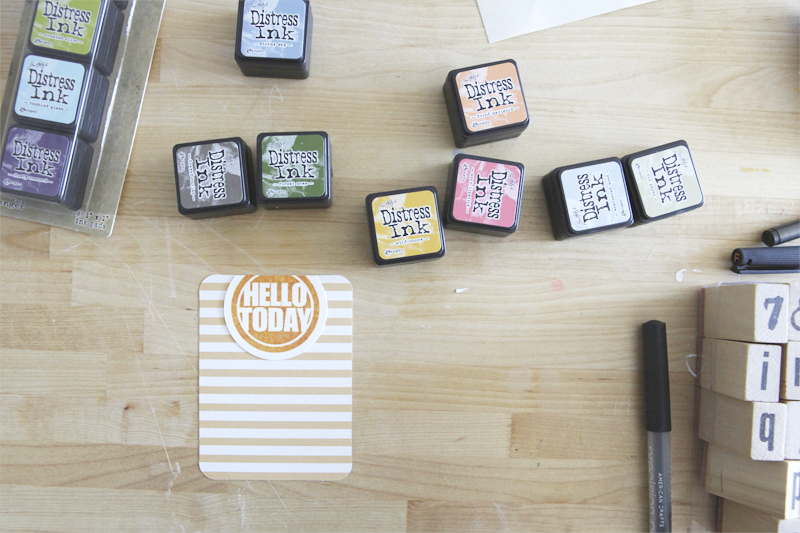
A couple weeks ago Tim Holtz emailed me to see if I’d be interested in playing with some new colors of his Distress Mini Inks and doing a giveaway of the new color sets.
Sounded like a good plan to me.
GIVEAWAY | One person will receive all three new Distress Mini Ink sets from Ranger & Tim Holtz.
TO BE ENTERED into this giveaway please leave a comment below (if you are reading this post on Facebook please come to my blog to leave a comment). Comments will be closed at 8pm Pacific on Thursday, June 19th. The winners will be announced shortly after. Please be sure to check back or subscribe (click here to get posts delivered to your email box) to see if you are receiving one of the items.
I decided to put them to good use to finish up Week Nine (February 24th through March 2nd).
Here’s a look:
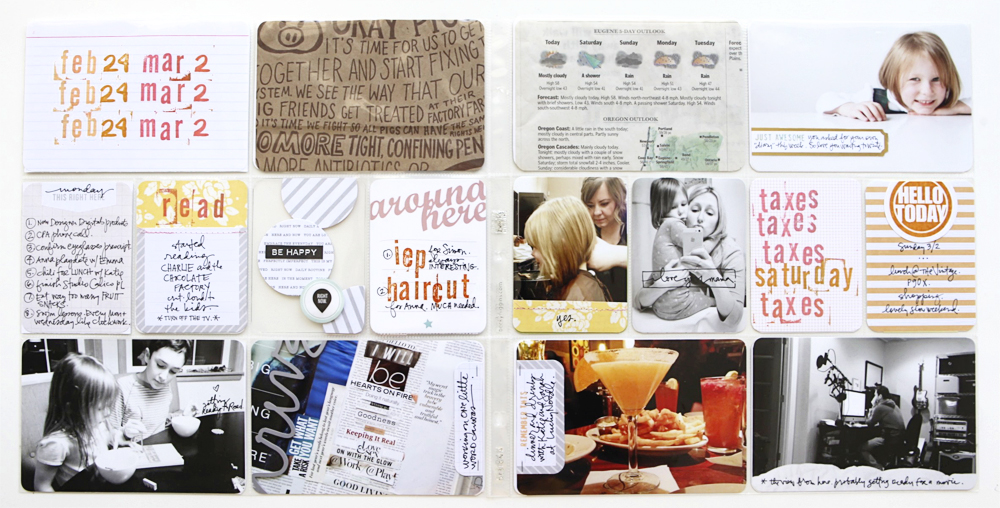
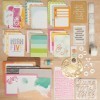
This spread had most of the photos in place and a bunch of sticky notes when I started the process of finishing it up (you can see a recent Project Life® in progress post here).
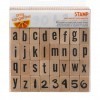
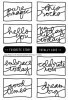
I gathered up some 3×4 cards – mainly from the Midnight kit and one of my own and started stamping using these great Amy Tan letter stamps and my Good Day set.

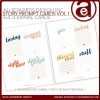
“Around Here” card is a printable found here: Story Prompt Cards Vol. 1.
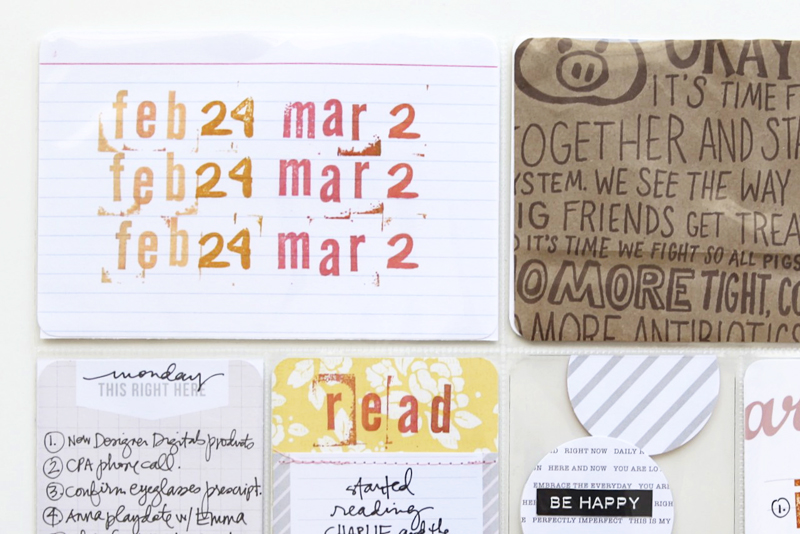
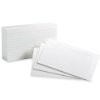
For the title card I used a regular old 4×6 lined index card (go office supplies) + Tim’s inks + Amy’s letter stamps and just repeated the dates.
Seriously it can be this simple.
Eat at Chipotle? They have fun packaging which make for great Project Life® content. I need to remember to include more stuff like this – I tend to go through phases where I remember to save stuff and other times I’m more focused on getting rid of the clutter.

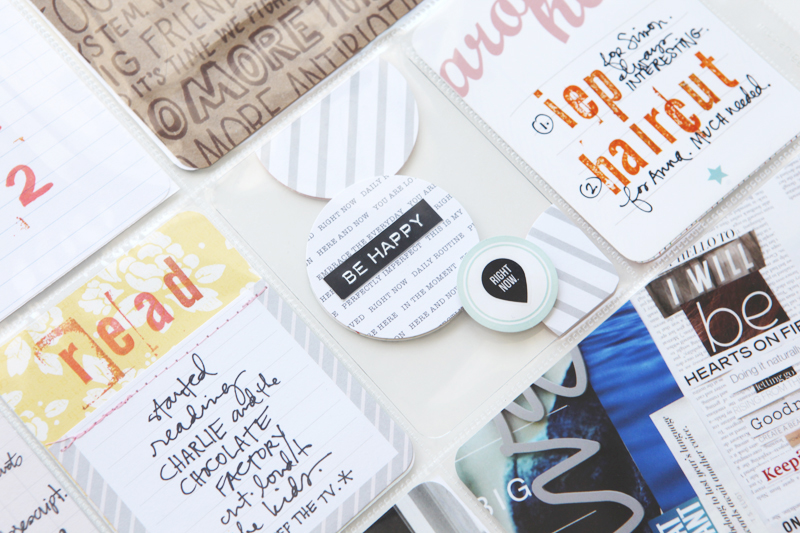
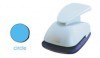
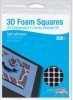
The clear 3×4 card with the circles is the back of a card I made for Week Eight. I simply repeated the same shapes with some pattern paper circles (2 inch punch) + label tape stickers + DIY clear stickers.
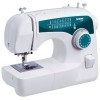
A little stitching to connect two 3×4 journal cards using my Brother sewing machine. You’ll notice that I used other pieces of those cards (the cut off portion) on other elements of this spread (one piece on a 4×6 photo for journaling and one piece on a 3×4 photo for the single word “yes”).
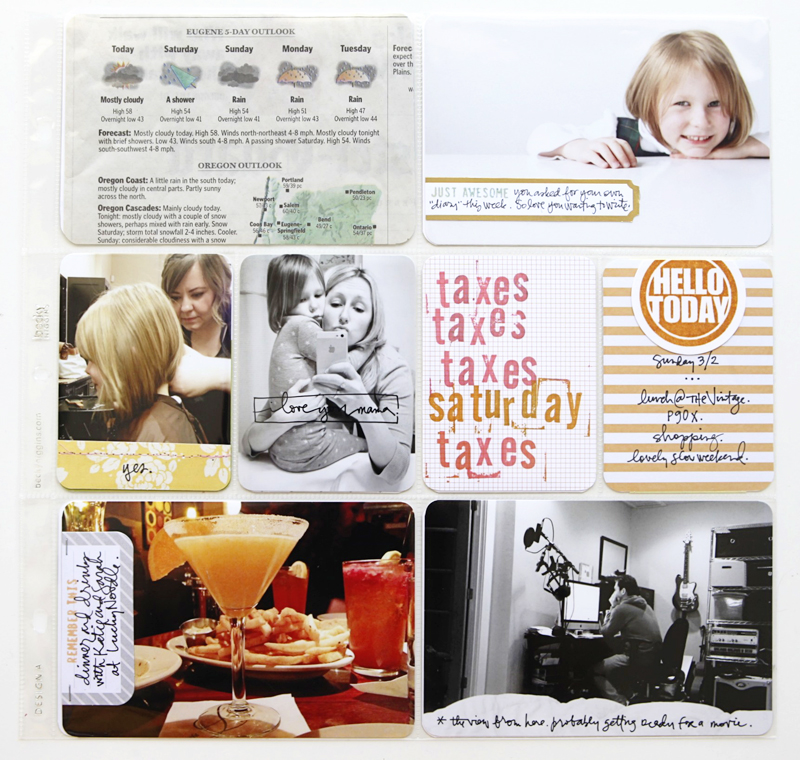
Weather cut from the local paper.
Again, so simple. It adds another dimension to the story of this week that’s not reflected in my words or photos. Rain. Ah Northwest, I love you so.
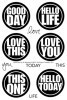
“Hello Today” stamp is from one of my favorite sets: Good Day.
I stamped it with Tim’s ink, punched it with the 2-inch circle punch and adhered it to a card from the Midnight kit.
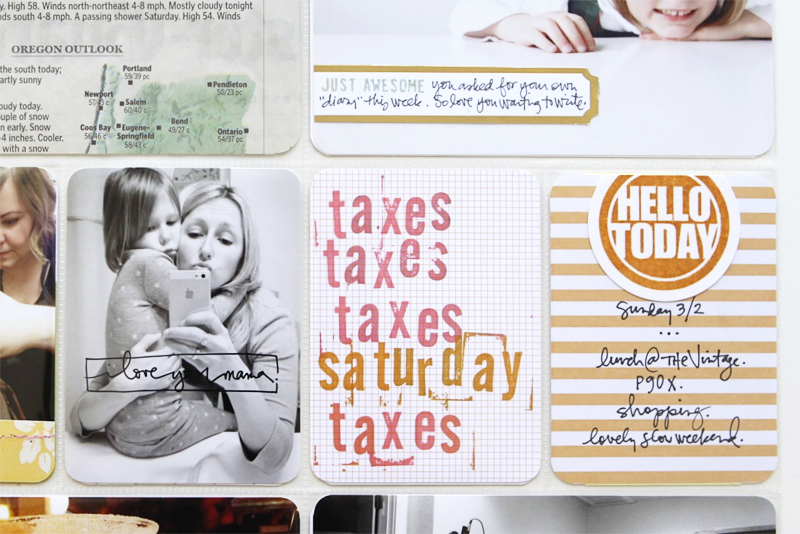
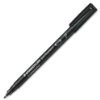
I hand-wrote “I love you Mama” on the photo of Anna and me using Staedtler pen.
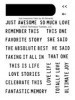
Gold label is from Studio Calico’s Hello Hello Scrapbook Kit and I stamped “just awesome” from the stamp set of the same name (another one of my favorite Technique Tuesday stamps).
ACTION ITEMS/IDEAS
One of the things I loved this week was the simplicity of pulling out just a few stamps and using them multiple times throughout the spread. Loved using those Amy Tan letter stamps specifically.
Embrace the mess. I like that these letter stamps are messy and imperfect. They made me particularly happy for some reason today.
If you don’t have a lot to say think about going bigger with your words or using repetition of words. I didn’t have much to say about working on my taxes so just repeating the words and adding in Saturday was a fine way to fill up the card.
I love my Monday card from this week that was a simple list of the things I did that day. Need to remember to do that more often. Love the simple lists.
SUPPLIES | 2014 | WEEK NINE
Click on the images to link to the products.

InLinkz.com
Project Life® is a product and a system and a lifestyle created by Becky Higgins. It can be anything you want it to be. The core pieces used in my album are available here. If you live outside the US check Becky’s site for more information on sources. View all my posts about Project Life® here.


June 14, 2014
Sponsored Giveaway | Big Picture Classes
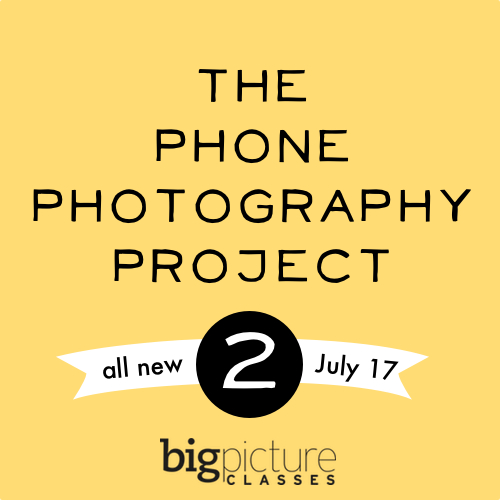
GIVEAWAY | Two (2) people will win a spot in The Phone Photography Project from Big Picture Classes.
28 days of photo tips, app tutorials, and iPhone awesomeness.
Would you like to take better photos with the camera you always have with you—your smartphone?
Get ready to transform your mobile photography in a brand-new interactive workshop, The Phone Photography Project 2, starting July 17. Twenty expert iPhoneographers have collected their best tips, tricks, and tutorials for phone photography, and they’re ready to share it all with you inside a private online classroom—with lots of fun happening on Instagram, too.
No matter what kind of camera or smartphone you use, taking better photos requires a basic understanding of photographic principles and the inspiration to see the amazing photo opportunities all around you. This class will show you that:
Your phone camera is capable of much more than you realize
Composition and lighting are just as important (if not more so) when you use a phone camera vs. a DSLR
You can produce frame-worthy snapshots with nothing more than your smartphone and the right combination of apps
With practical tips for mastering lighting, composition, editing, and more, this workshop will give you the tools you need to create impressive photos you’ll be proud to share online, in your home, or in your scrapbooks.

The Phone Photography Project 2 includes:
Practical tips for mastering lighting, composition, editing, and more
14 before-and-after video tutorials that demonstrate photo-editing techniques
Hands-on photography challenges every Tuesday, Thursday, and Saturday from July 17 to August 16
14 image galleries featuring more than 250 inspiring photographs from your workshop instructors
Active, supportive Instagram community to share and view photographs
Resource section featuring app and equipment recommendations
Supply recommendations
Bonus handouts
Message board to share your thoughts with classmates and interact with instructors
Private posting gallery to share and view photographs
The workshop will run July 17-August 16.
Cost is $59. To find out more and to sign up click here.
TO BE ENTERED into this giveaway please leave a comment below (if you are reading this post on Facebook please come to my blog to leave a comment). Comments will be closed at 8pm Pacific on Sunday, June 15th. The winners will be announced shortly after. Please be sure to check back or subscribe (click here to get posts delivered to your email box) to see if you are receiving one of the items.


June 12, 2014
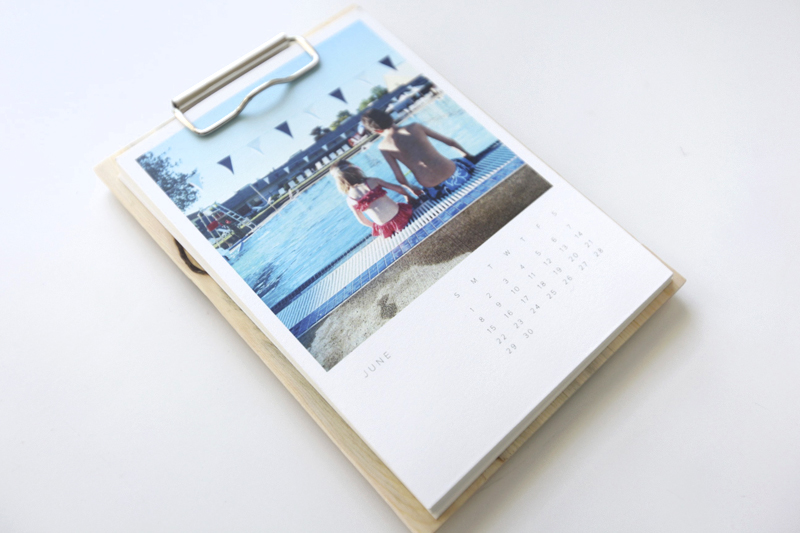
Father’s Day Calendar
The kids celebrated Father’s Day with Chris a last weekend since he was going to be out of town on the actual day.
Chris is really awesome at making sure I get celebrated on Mother’s Day so it’s important for me to do the same for him. Even if we aren’t married any longer we still share awesome kids and he is a great Dad.
He’s my partner in parenting and he does a damn good job at it.
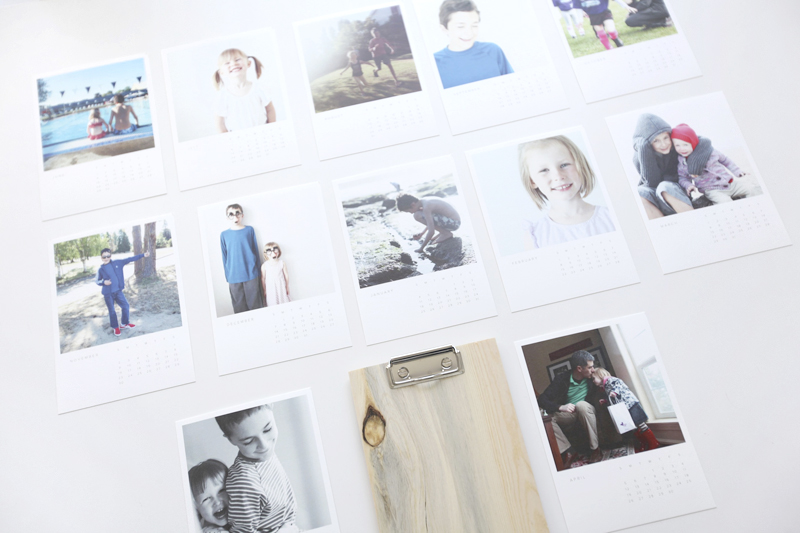
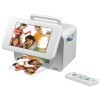
For 2014 I decided to make him a calendar using photos of the kids from the last few years using Artifact Uprising’s Wood Calendar.
It turned out awesome.
The kids loved looking through it and I’m pretty sure he loved it too.
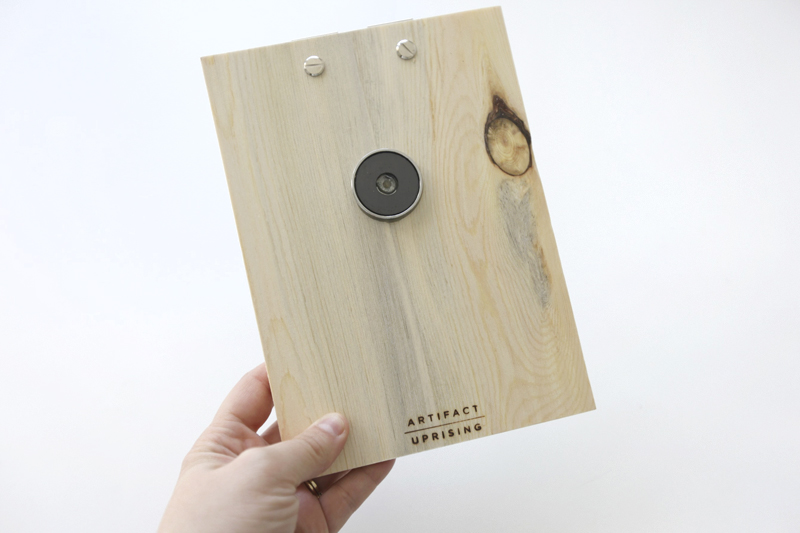
I liked the idea that it was something he could have at his desk or attach somewhere using a magnet (comes on the back of the wood).

The actual process was super easy and quick. Like less than 30 minutes to select and upload photos. These would make great gifts for all kinds of occasions.
DISCLOSURE | Just a note that this is not a sponsored post. I selected and purchased this product on my own. I did recently work with Artifact Uprising and they supplied me with a photobook for my Kauai vacation which you can ready about here. I do use affiliate links so if you click over to Artifact Uprising and end up purchasing something I will receive a small percentage of your purchase.


June 11, 2014
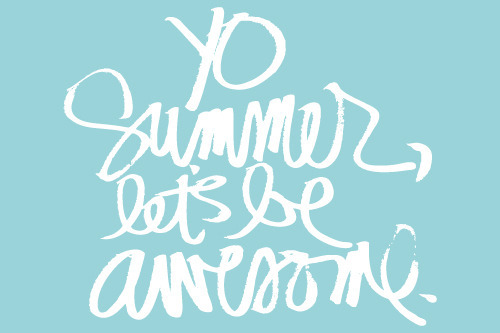
Yo Summer, Let’s Be Awesome
Ah, summer.
Around here we’re in that transitional phase when one season merges into another. Anna finishes school this Friday and Simon follows next Tuesday. Both keep asking over and over when they will be done.
Some people ease into these kinds of seasonal transitions, some people jump in feet first and some people fight it. I’m really just trying to embrace it.
This summer what I really want is LESS and SLOW.
I want to take the long way. Wander. Linger. I want to practice being slow and deliberate.
I want to walk and bike vs. taking the car whenever possible (and even when it’s not convenient).
I want to hang out in my backyard. I’d like to say “period” right there and have that be the one and only thing and just leave it at that, but there’s a bit more already planned for our summer.
A family camping trip, a camping weekend with friends. A business trip for me at the end of the month and another in late July. Camps for kids.
Basically, enough.
The last couple of years I’ve written up a manifesto and turned it into some sort of a memory keeping project. This year I’m just jotting down some ideas here and going with it – I’ve got enough memory keeping projects in process that adding one more feels counterproductive to my desires for the next few months.
Here’s a few thoughts about the next few months:
CREATE A SPACE | Designate an area in my yard for a fire pit. I bought one from Home Depot and it needs a permanent home in my yard. Now here’s the deal – knowing myself and my tendencies from time to time I might keep putting this off because what I can do right now might not be the perfect thing I have in my mind ( hello Pinterest inspiration ). I need to push through that and simply get it set up so we can use it spur of the moment vs. waiting for the whole set-up to be perfect. A couple of simple inspiration images from Pinterest can be found here and here.
A BIT OF ROUTINE. Simple daily chores and educational time for the kids. We like these Brain Quest workbooks plus daily reading/quiet time. In addition, Simon’s going to be charged with making a batch of cookies each week (teaching all kinds of practical skills) and I’m sure Anna’s going to want a part of that as well. Both kids will be attending a few different camps over the course of the summer. Simon’s signed up for a comic drawning/stop motion camp, a sailing camp, and a Harry Potter camp. Anna will be doing a local community center camp, a gymnastics camp, a ballet camp and a more traditional outdoor camp with some of her school friends. Both will also spend time with my parents for at least a week at Grandparents Camp (as we like to call it).
INVITE SLOW | This hammock and stand. Not really less (because it needs to be purchased) but it definitely invites slow and it will add another opportunity to spend more time doing nothing in the backyard.
CHOOSE LESS & SLOW. I’ve got a whole lot of work stuff happening this summer that might at times feel like the antithesis to less and slow. Ha. Forget “might” – “will” is more like it. I still want to be able to turn that intensity off and practice lingering in the evening when I’m done with my working day. Turn off the electronics. Ride our bikes to the pool. Lay out a blanket in the backyard grass and having a picnic dinner. Set up the projector and screen for a movie night in our backyard.
SLOW = FOCUS | Read one book at a time (vs. a bunch at the same time) from beginning to end. I’m currently consumed with Gone Girl.
I loved reading this fantastic post the other day that came along at just the right time for me (written by Courtney Carver at Be More With Less): The Greatest Secret To Productivity.
As I write this out I think the main thing I want to keep in mind is slow – even more than less. How can I take the slow route or the long way this summer and what happens when I do?
Have you taken some time to think about what you want in your life as the seasons change? I know many of you are in the Southern Hemisphere and are transitioning to a completely different season all together.
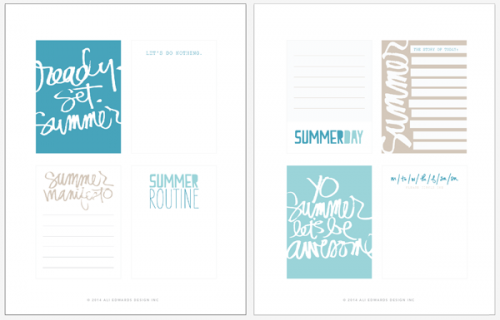
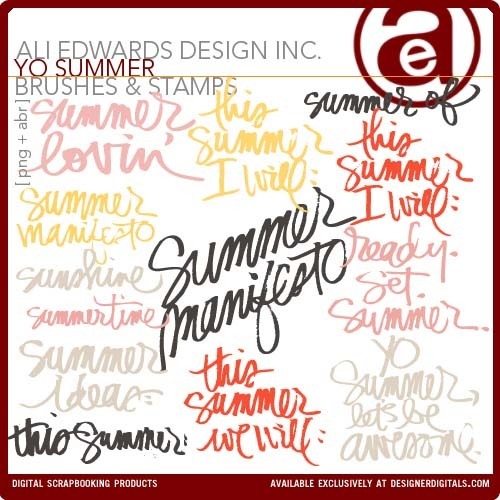
PS | I made some Summer 3×4 cards (printable and PNG) that were released at Designer Digitals last weekend. Grab them here.
Like the word art used at the top of this post? It’s available here.
PREVIOUS SUMMER MANIFESTO PROJECTS/INFORMATION
2012 Summer Manifesto (the handwritten version)
Bringing The Summer Manifesto To Life
Completed 2012 Album
2013 Summer Manifesto Update


June 10, 2014
June Studio AE Blog Hop From Technique Tuesday

Welcome to the May Studio AE Blog Hop From Technique Tuesday.
Technique Tuesday offers a monthly stamp club that features a limited edition stamp set designed by me each month. You can check out past stamp sets (some are still available) here.
This month’s stamp set: Pure Magic

DIGITAL MEMORY KEEPER? | Similar sets of digital word art is available here: Hello You Sentiment Boxes, No Day Like Today Sentiment Boxes, This Is Magic Sentiment Boxes.
Here’s a look at my layout:
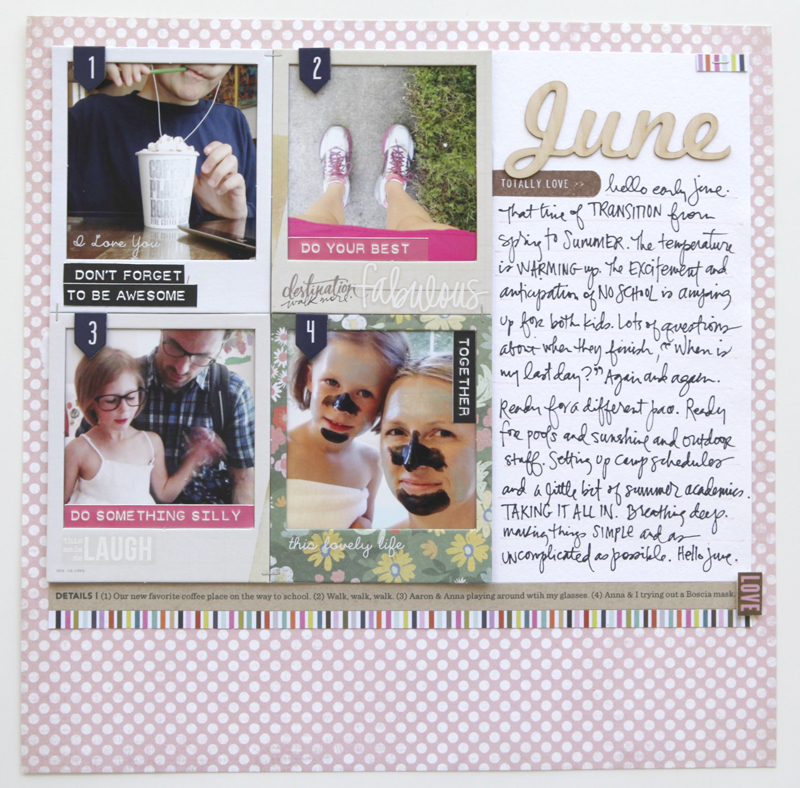
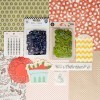
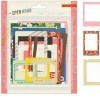
For this layout I started by looking through some of my current photos. I wanted to do an “early June” layout that included a few photos I could place behind those great chipboard frames from Crate Paper.
The “totally” love stamp (love the shape) was a great way to start my journaling for this page in the area next to the photos.
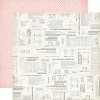
Brown stamping ink is Doc Brown. Background pattern paper is from Carta Bella (and was included in the Ni Hao add-on this month at Studio Calico).
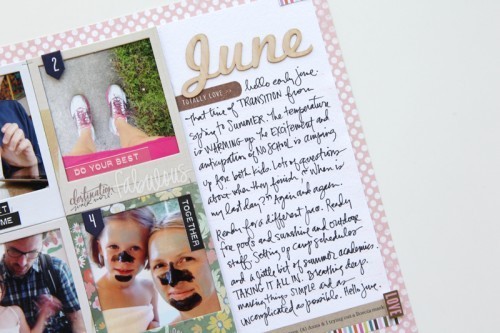
It’s hard to see in this image but I did draw lines for my journaling using a Tim Holtz Distress Marker (Spun Sugar).
The journaling pen I used this time was a Staedtler Lumocolor Permanent pen. I wanted to try it after hearing Wilna talk about it on a recent Paperclipping episode. It’s a little thicker than I’ve been using lately but I liked it for sure – really nice for when you want a thicker, bolder journaling pen (this was the Fine point).
The wood veneer “June” is from Studio Calico’s Project Life® kit this month.
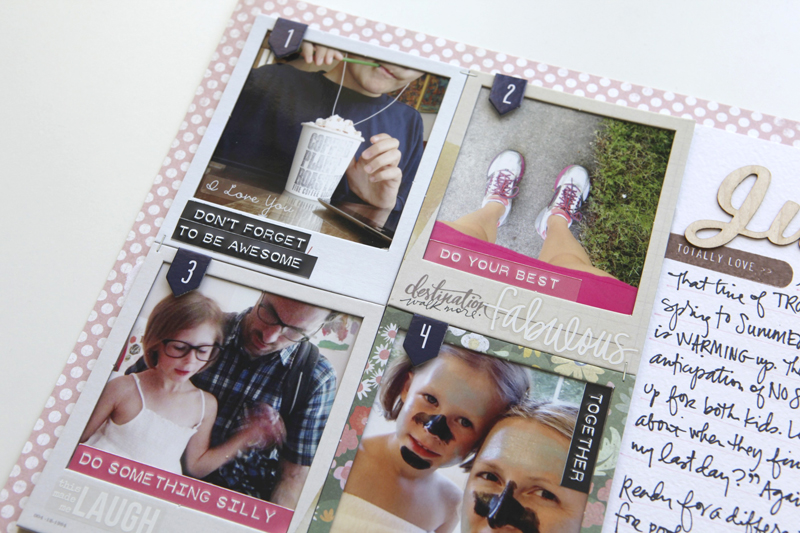
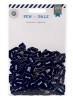
On top of the Crate Paper frames (and on a couple photos) I added white/clear stickers from Simple Stories, navy blue numbers from Pink Paislee to number each photo and pink and black label word phrase stickers from Cosmo Cricket.
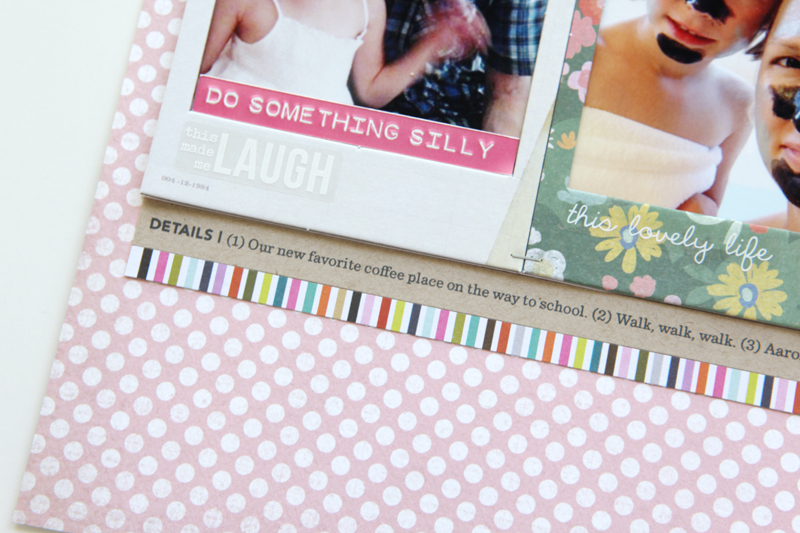
One of the biggest things for me as I worked through this page was the decision to add the details strip along the bottom. I want to make sure I’m including some of those basic details (I could have added more). Sometimes it’s too easy to write in general terms and skip over the details (and vice versa) – I like when there’s a mixture of both.
This layout felt really old school to me when I was done. Not sure exactly how I feel about that, it is what it is in the end. Something about the placement of all the elements – probably especially the strips along the bottom reminded me of layouts I’ve made in the past.
ACTION ITEMS/IDEAS
Add more details. I couldn’t let this page get away from me without adding that detail strip along the bottom of the images/journaling. Yes, I could have included those in my journal block, but I liked having that space for more general thoughts and then getting a little more specific down below.
Use chipboard frames to create homes for your photos. There are a bunch of sizes included in this Crate Paper set.
Add more stuff. Now usually you hear me talking about keeping things simple, but sometimes it’s really fun to layer things on top of each other (it can still be simple). Here I layered different kinds of stickers on top of those chipboard frames and photos.
SUPPLIES
Click on the images to jump to the products.
InLinkz.com
CREATIVE TEAM
Check out what our Creative Team is doing with the stamps this month:
Laura
Nichol
Daniela
Teri
GIVEAWAY | We are going to give away one $25 e-Gift Card to TechniqueTuesday.com to someone who comments during the hop. To be eligible to win, all you need to do is comment on any of our blog posts! The lucky winner will be announced on the 21st on the Technique Tuesday blog.
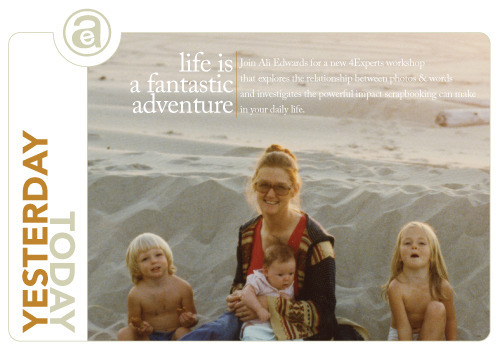
Looking to reconnect with why you are a memory keeper? Check out my self-paced workshop Yesterday & Today (a re-release of a 12-week workshop that ran at Big Picture Classes in 2009 and 2011). Workshop includes a private Facebook group for support and interaction with others who are embarking on this workshop. Full details and registration here.


June 8, 2014
And The Giveaways Go To…
GIVEAWAY | TWO people will win one customizable YOU ARE AWESOME classic 8×10 poster
#30 | Megan Smith said…These are gorgeous! Thanks for the chance to win!
#94 | Terri said…The truth: you see your name and believe the words. Awesome giveaway. Thanks.
FIVE people will each win one set of YOU ARE AWESOME 3×4 Journal Cards – our new, colourful and beautiful 3×4 cards.
#201 | Laura BC said…Such a great way to remind ourselves we are special.
#23 | michelle t said…Wow, awesome art and website. Thank you for a chance to win.
#50 | Cassie said…How cool! Love this! Thanks for the chance!
#277 | mary williams said…Wow… there are soooo beautiful and I love how simply they are done but so powerful to look at! Adore the chance at winning one of those! Thank you Ali!!!
#102 | Sonya B said…Thanks for the opportunity to win! Awesomeness!
Congratulations! Please email Katie with your contact information.


June 7, 2014
You Are Awesome Co. Giveaway
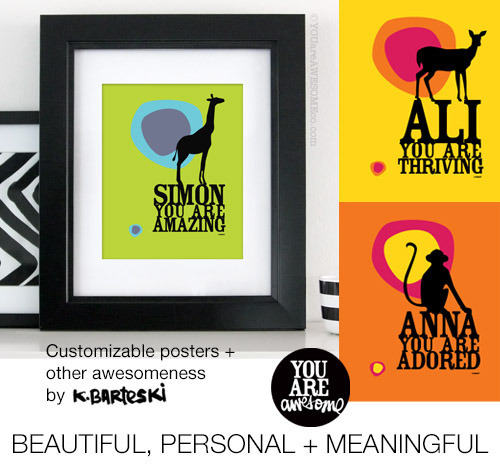
GIVEAWAY | TWO people will win one customizable YOU ARE AWESOME classic 8×10 poster and FIVE people will each win one set of YOU ARE AWESOME 3×4 Journal Cards – our new, colourful and beautiful 3×4 cards.
YOUareAWESOMEco.com is the happy new home of personalized posters designed by artist Kal Barteski. In her words, “I believe seeing your name in print validates you in a way that moves you from the inside. It becomes your truth. It embodies you. Seeing is believing and believing in your own worthiness is a gift that will change your life.”
In other words, it feels good. Perfect for every occasion, the posters are inspiring ways to help people realize, share and celebrate their value + importance. Baby gifts, graduation gifts, wedding gifts, housewarmings, family celebrations, teacher gifts, birthday gifts – there’s a beautiful, meaningful, customizable poster to spread awesomeness.
Because WHEN YOU SEE YOUR NAME IN PRINT - you believe the words.
BIG NEWS | We are really excited to releasing the YOU ARE AWESOME 3×4 journal cards Series 1 on Ali Edwards’ blog! A brand new, colourful set of six tiny 3×4 inch cards are perfect for using in your pocket scrapbook and memory-keeping layouts! Positive messages + life’s memories.
Follow along on Instagram to be the first to see the series of new summer print releases and special messages. YOU ARE AWESOME.
CONNECT WITH YOU ARE AWESOME : WEBSITE | FACEBOOK | TWITTER | INSTAGRAM | BLOG
TO BE ENTERED into this giveaway please leave a comment below (if you are reading this post on Facebook please come to my blog to leave a comment). Comments will be closed at 8pm Pacific on Sunday, June 8th. The winners will be announced shortly after. Please be sure to check back or subscribe (click here to get posts delivered to your email box) to see if you are receiving one of the items.


June 5, 2014
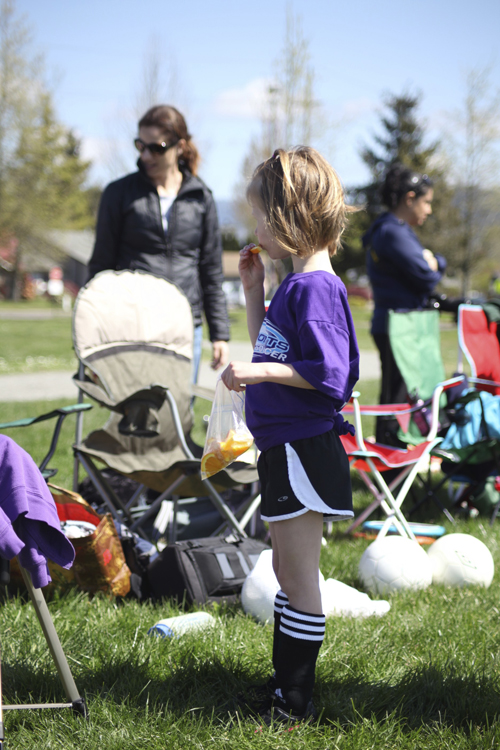
Anna’s Soccer Season Spring 2014

The Soccer Chocolate Kittens first season came to a close a few weeks ago.
And man it was so fun.
This was Anna’s first real soccer experience. She was on a team with other Pre-K girls from her school and they were in league comprised mainly of Kindergarten teams (meaning they were usually a little smaller and a little less coordinated/experienced than their competition). They played half-field, 3 on 3 matches – they had 6, 5 minute matches each game if I remember correctly.
At the team celebration dinner Coach Sid had this to say about Anna:
“This girl was the most creative player. She created a new move, the back kick, introduced all of us to the concept of a dog pile, and she was the best grass-eater on the team.”
That’s my girl!
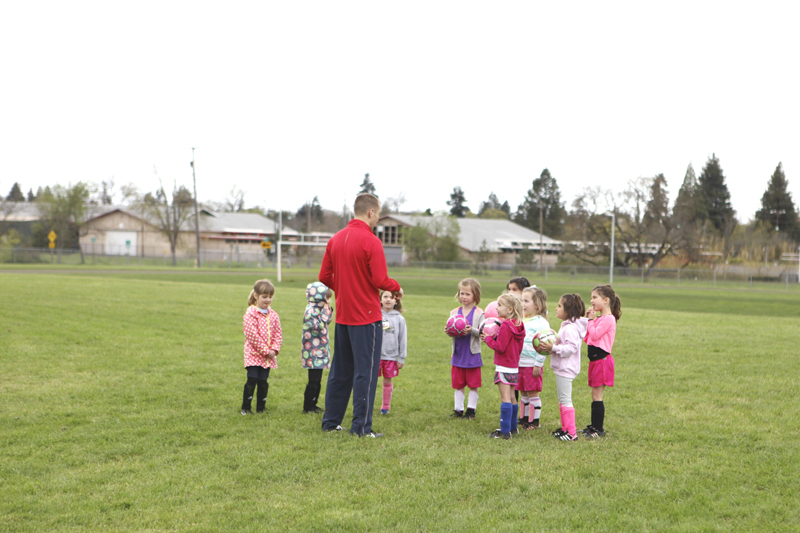
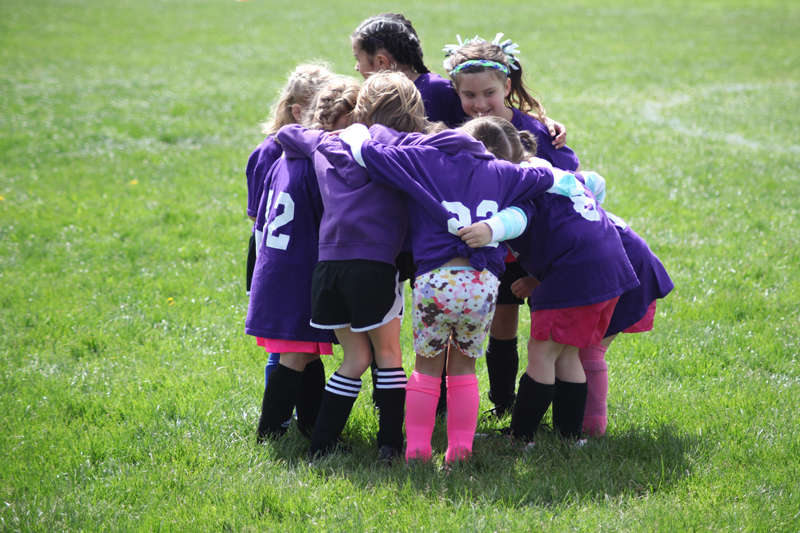
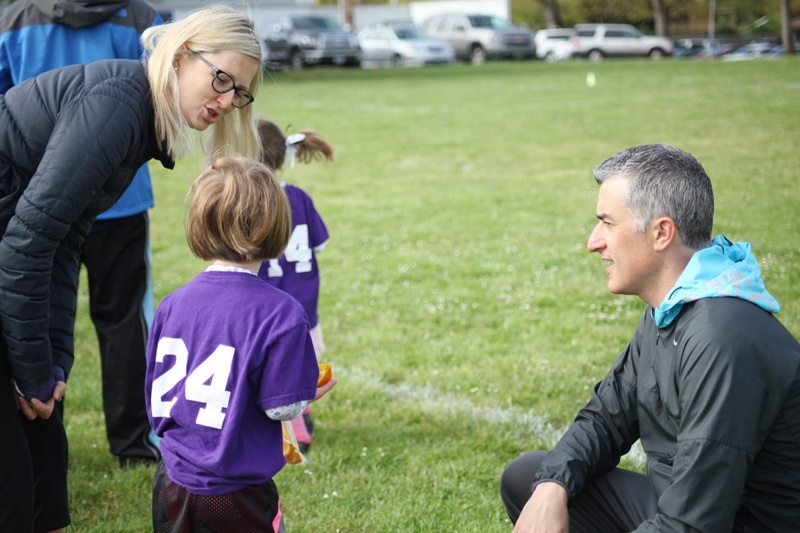
From the first practice to the last game it was so fun to watch this group of girls learn about teamwork and friendship and some of the basic fundamentals of soccer.
Coach Sid (a parent of twin girls on the team) was awesome. One of the first things he did was teach the girls the concept of “tank full.” He would ask them, and they would ask each other, “Is your tank full?” If the answer was no they would give each other positive praise. It was such a great way to build each other up.
He was also the kind of coach that went up to each girl after the game and said something positive about their experience and told him he was so proud of them.
Needless to say I don’t think I’m alone in hoping he will volunteer again in the fall.
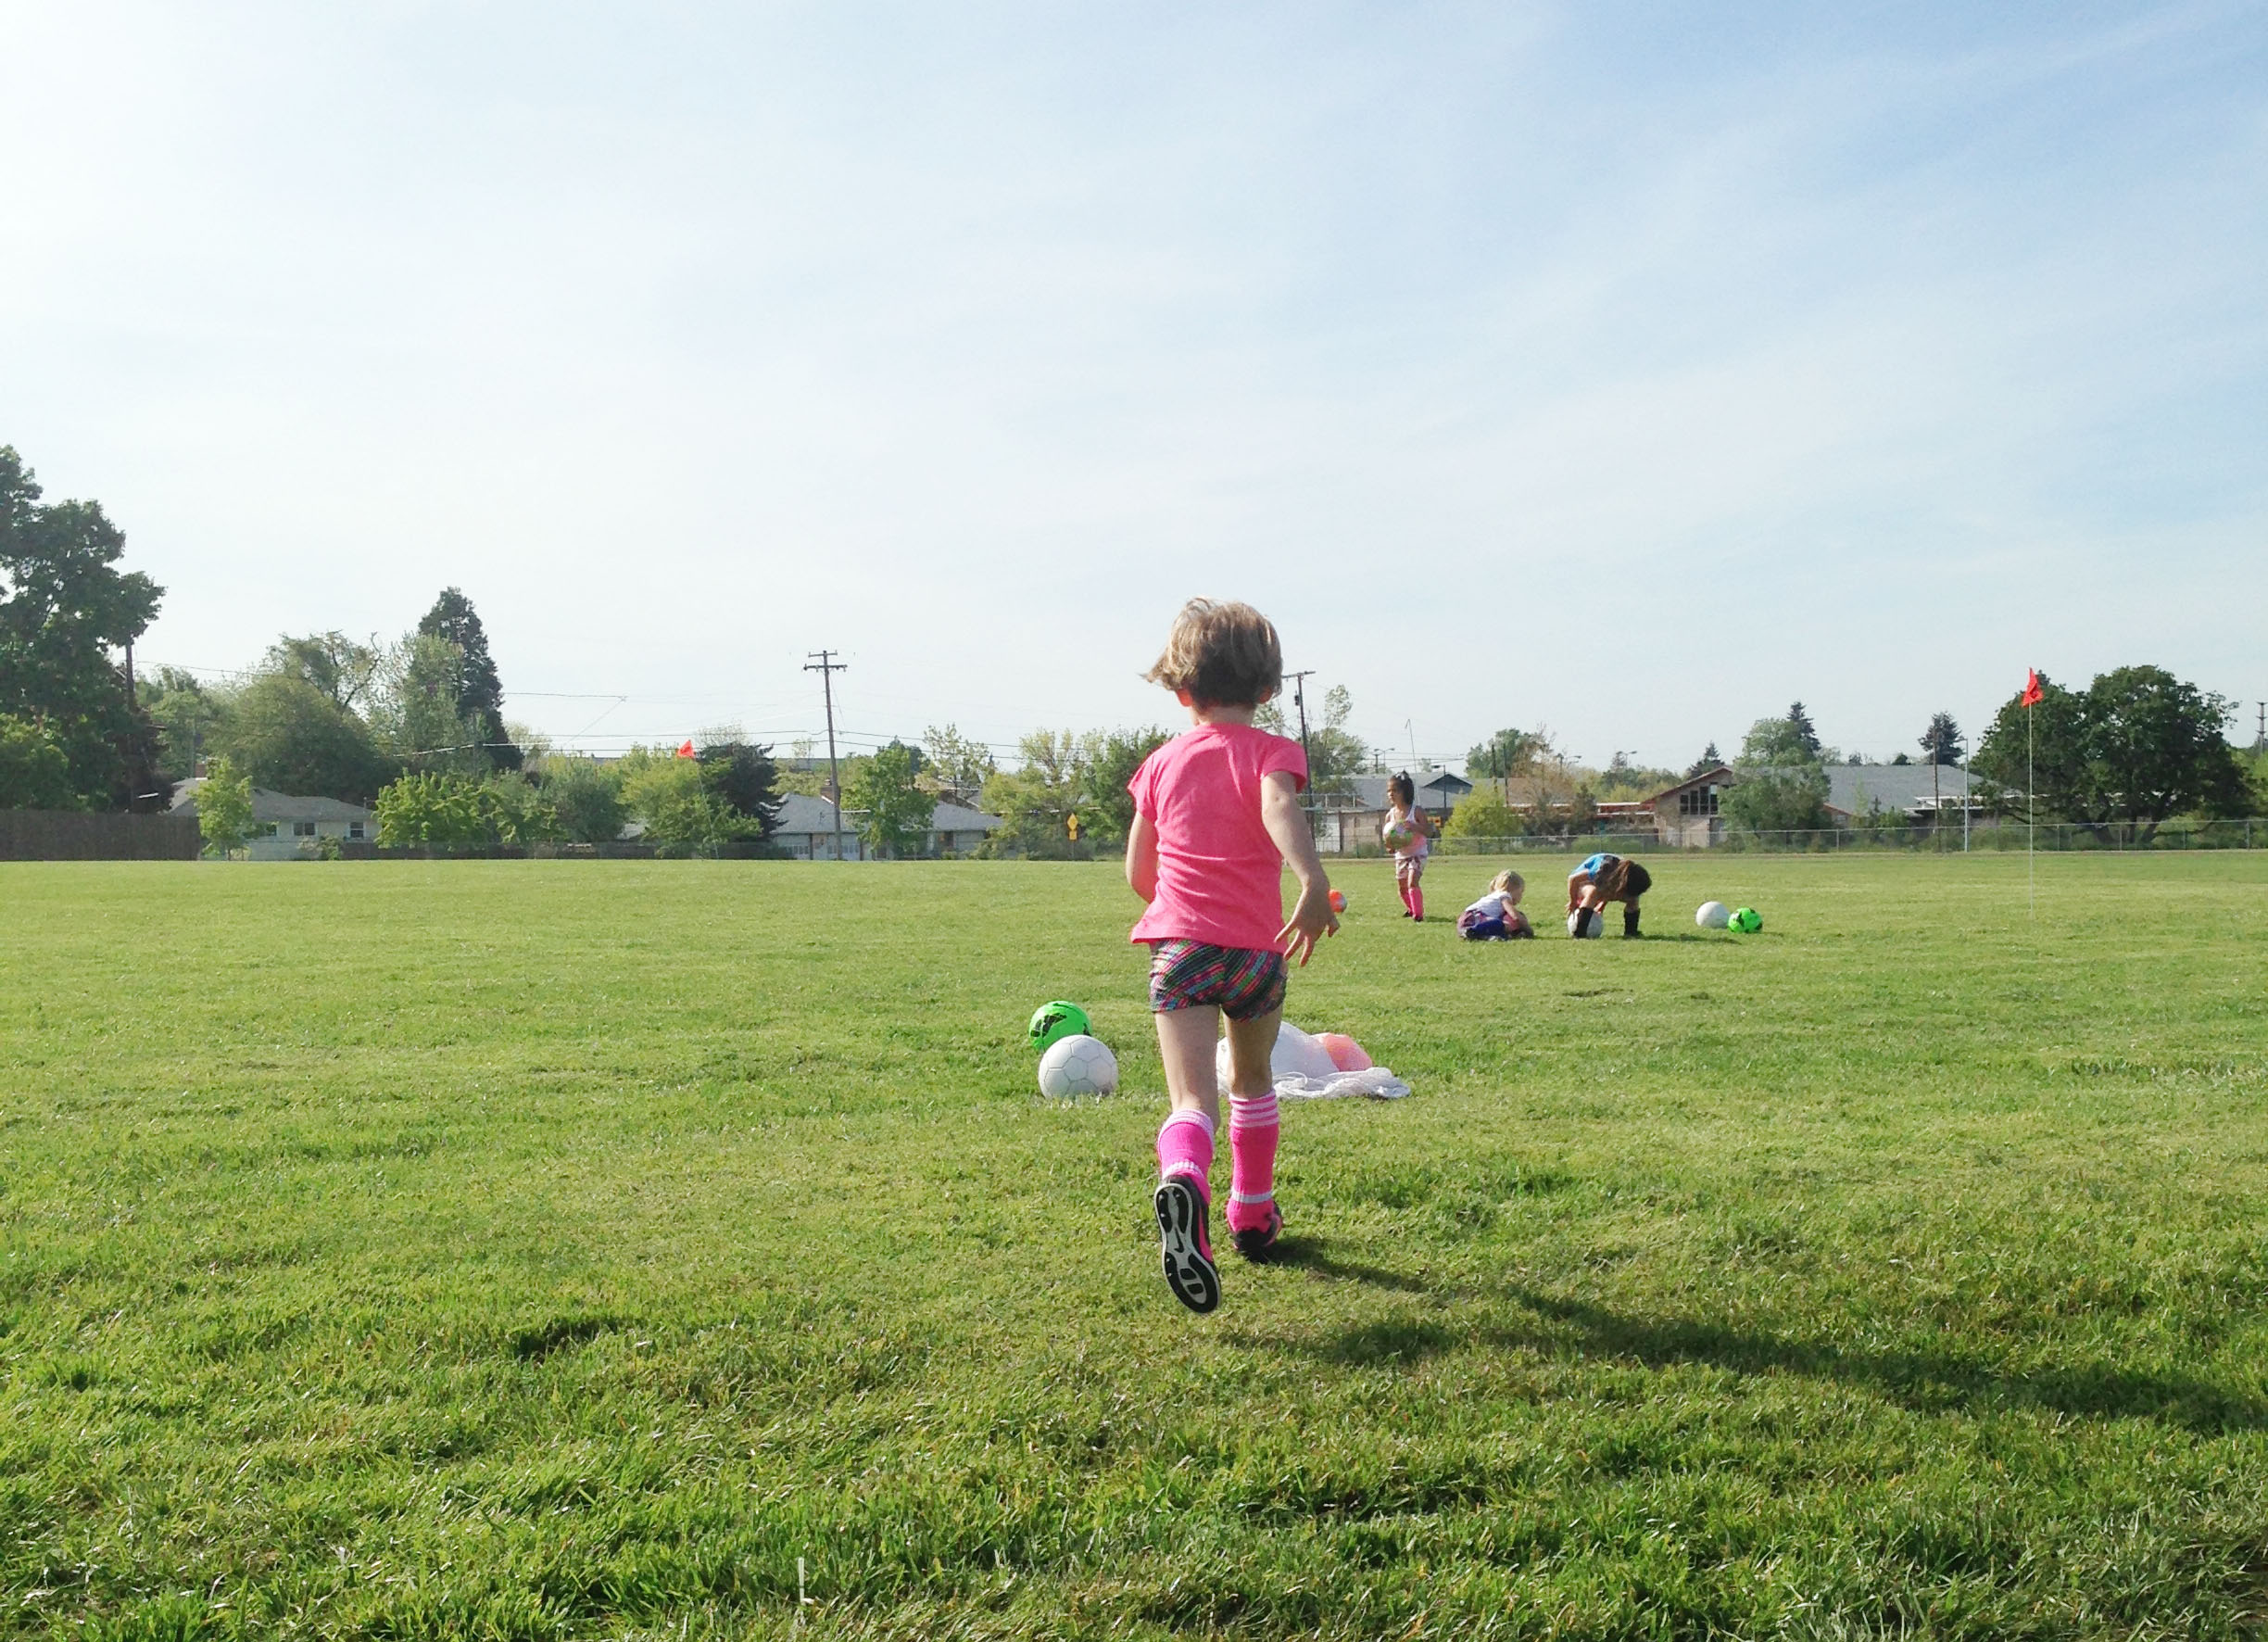
And she loved it.
Soccer at this level is really all about the basics. They learned so much from their first time on the field where they really had no clue what was happening to a few games in when things finally started to click.
I yelled “go to the ball” a lot.
I loved the chance to better get to know some of the other parents of the girl’s in Anna’s grade (there are two Pre-K classes at her school). I imagine, unless something changes drastically, that most of these girls will continue at this school until 8th grade.
It already feels like family.
Seeing that photo made me think of this one:
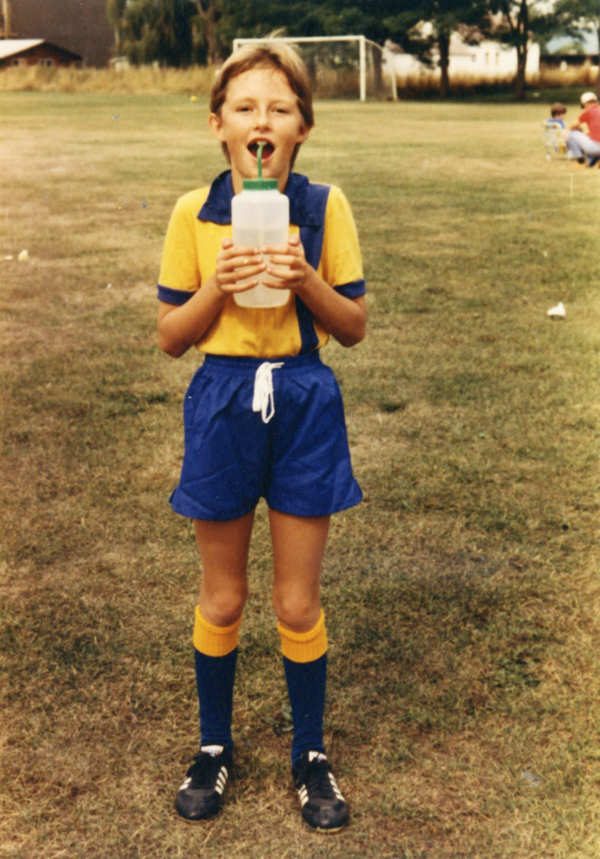
That’s me in 1984 (age 8 or 9).
And yes, I know I look like a boy.
I played competitive elite soccer starting around age 6 (I think) until about age 12 or 13 (junior high) when I needed to decide between swimming or soccer because both of them occurred during the same season in high school. I went with swimming.
Soccer and all that went into being on a competitive team was a big part of those growing up years for me and I really liked it. Practices in the cold and rain (it’s the Northwest of course), weekend travel all around the state, tournaments in the summer heat.
So many good lessons learned playing soccer.
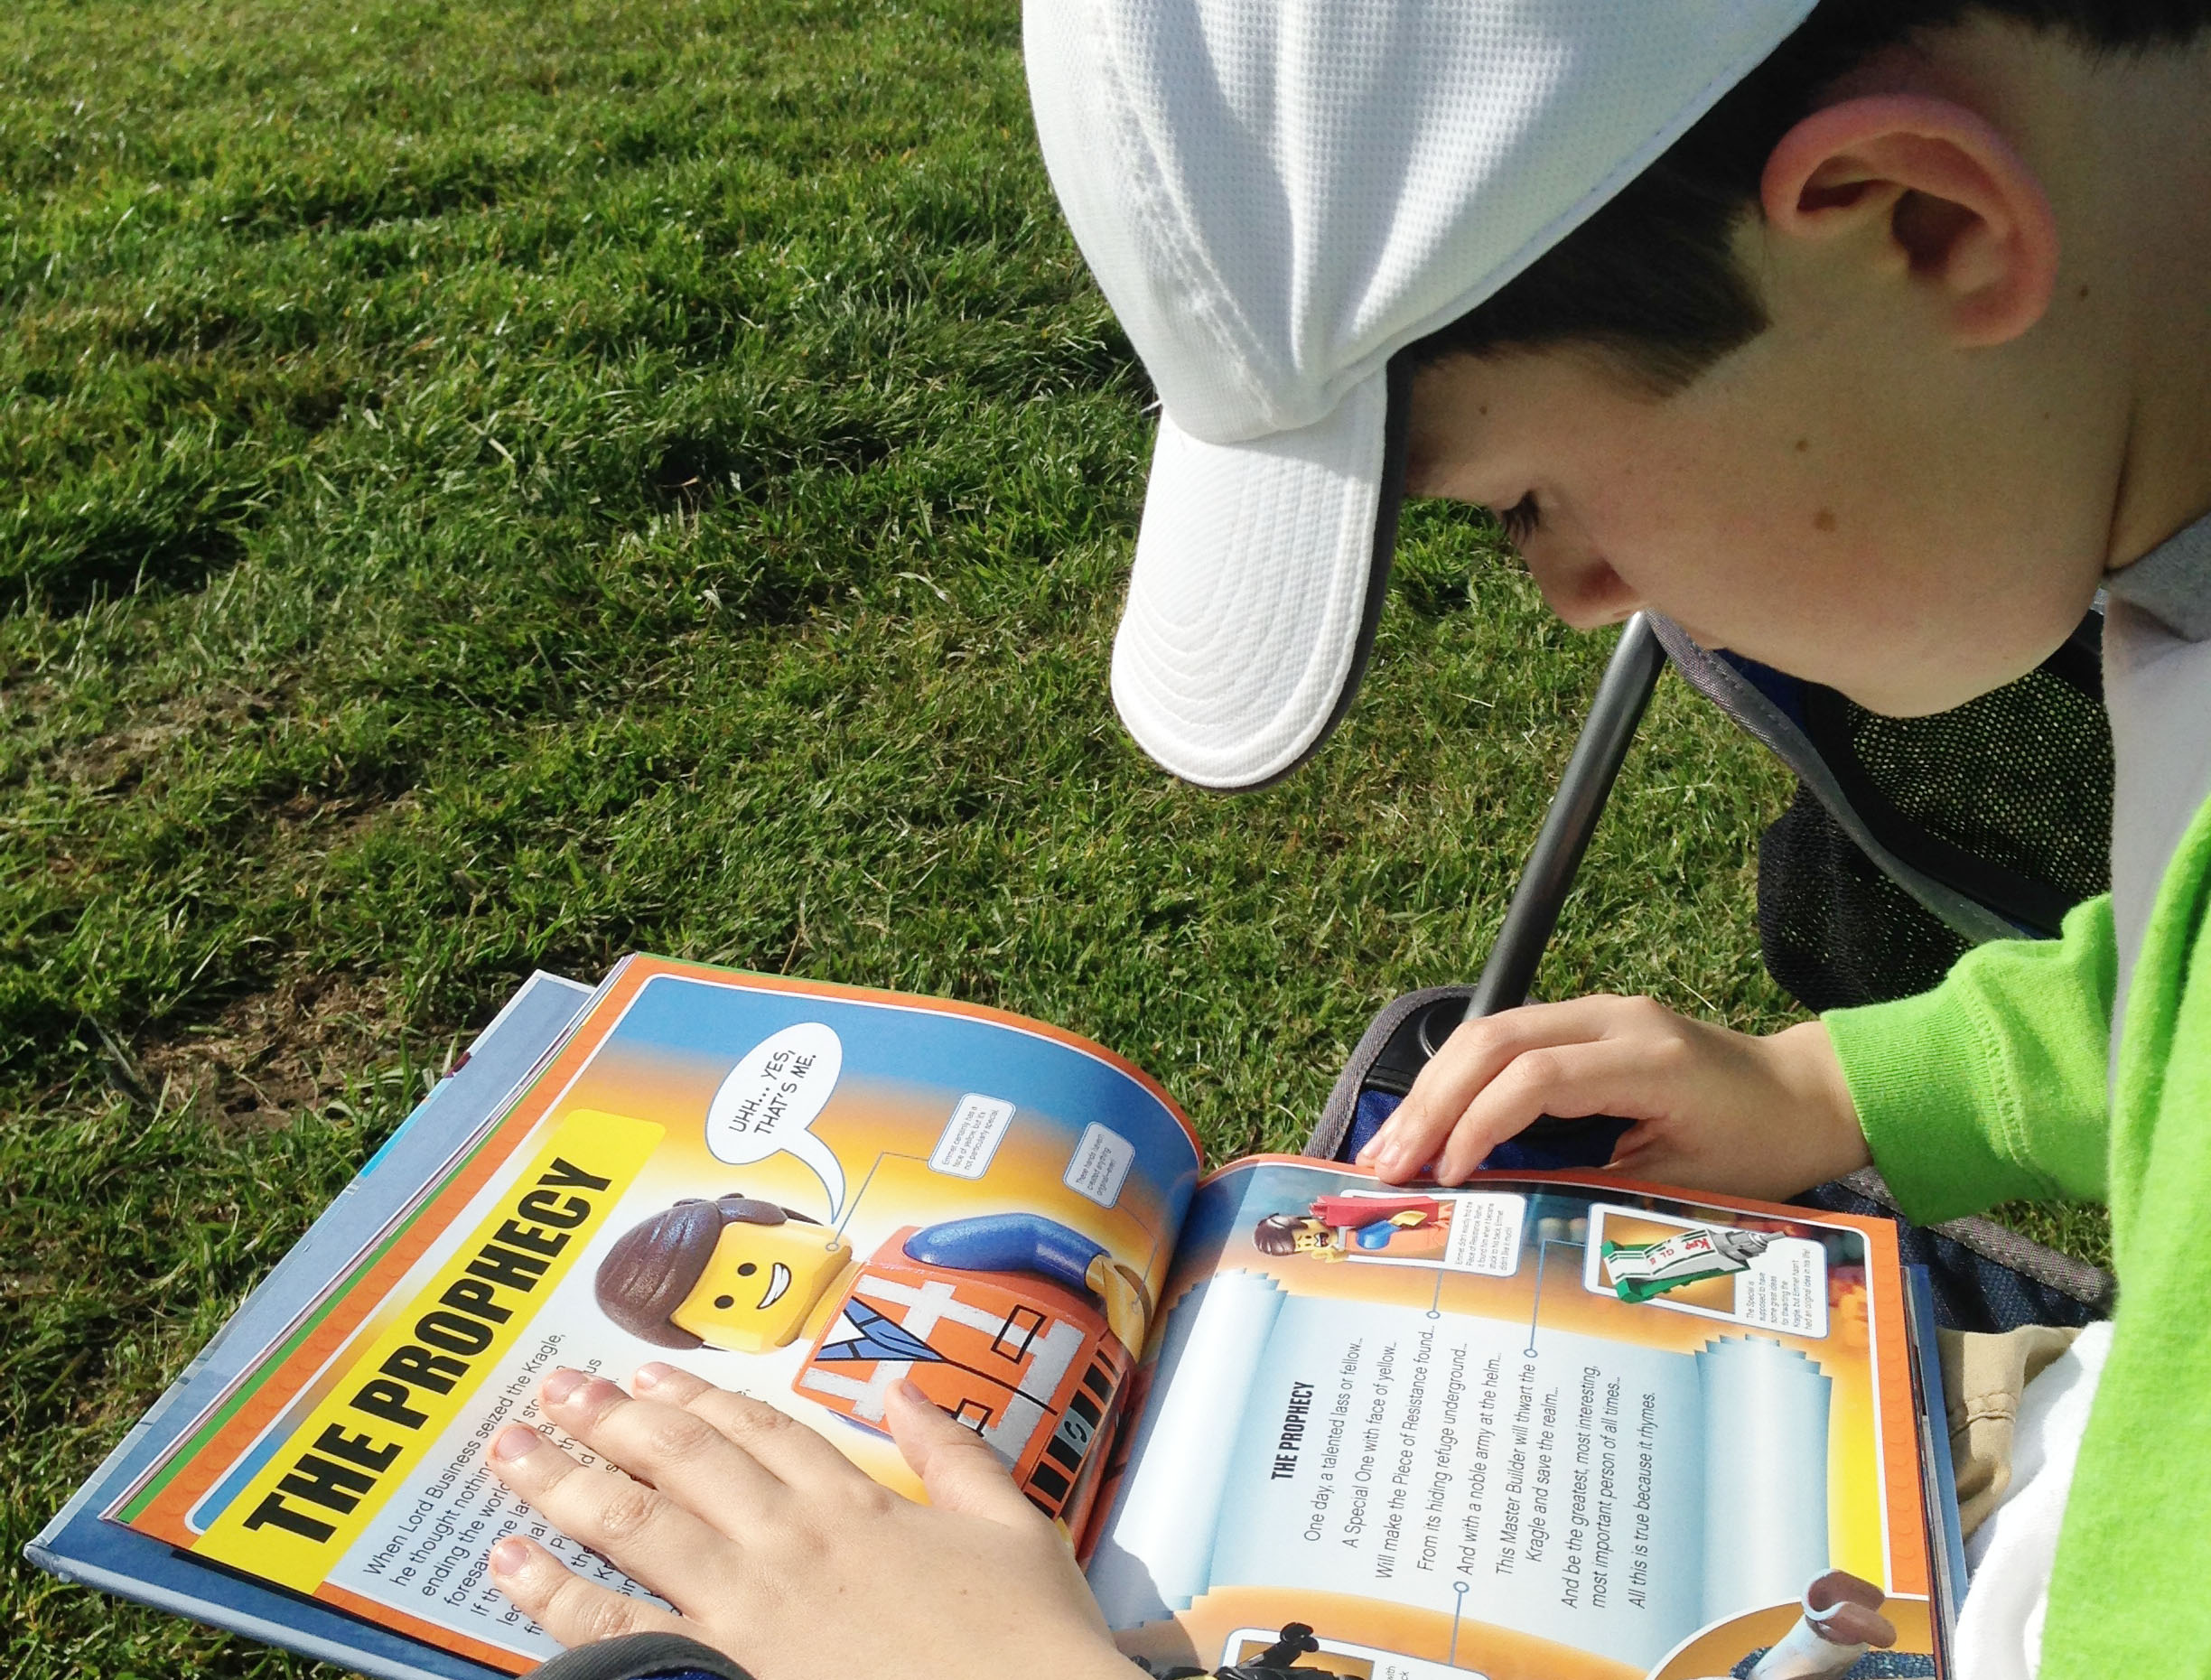
Simon had his own learning experiences over the course of Anna’s soccer season – most especially about how to be a good sideline friend. There was a lot of talk about how we cheer for the girls. We support them even when they miss a goal (vs. getting angry that they missed).
Sometimes we took a little walk with him to the car to take a break when he was feeling extra frustrated by their lack of skills. It was a good time for him to practice his own skills and he did get progressively better by the end of the short season.
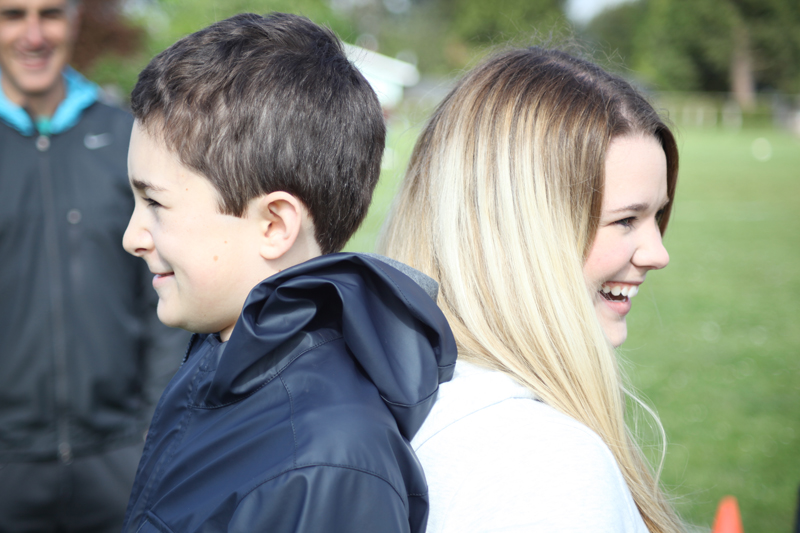
We also captured the moment when we could all plainly see that Simon is now taller than Katie.
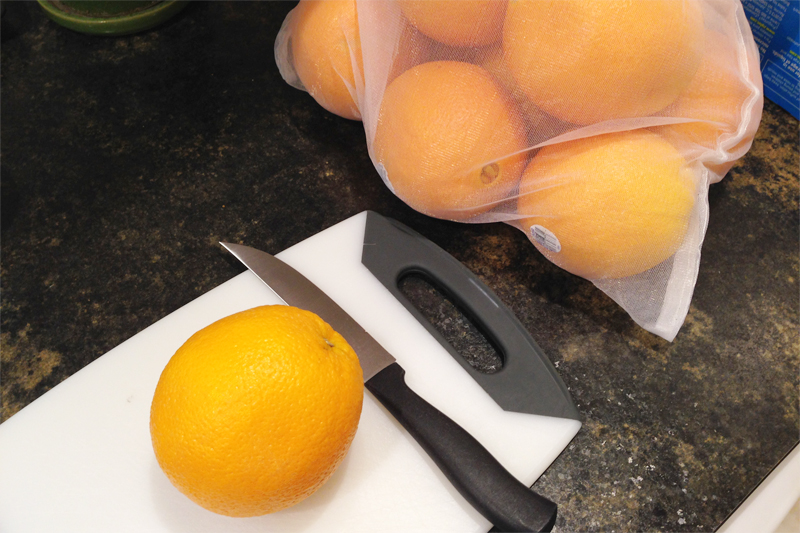
In April I posted this photo of oranges on Instagram with the caption, “Soccer mom!!!!!! I’m on orange duty for the Soccer Chocolate Kittens game tomorrow morning.”
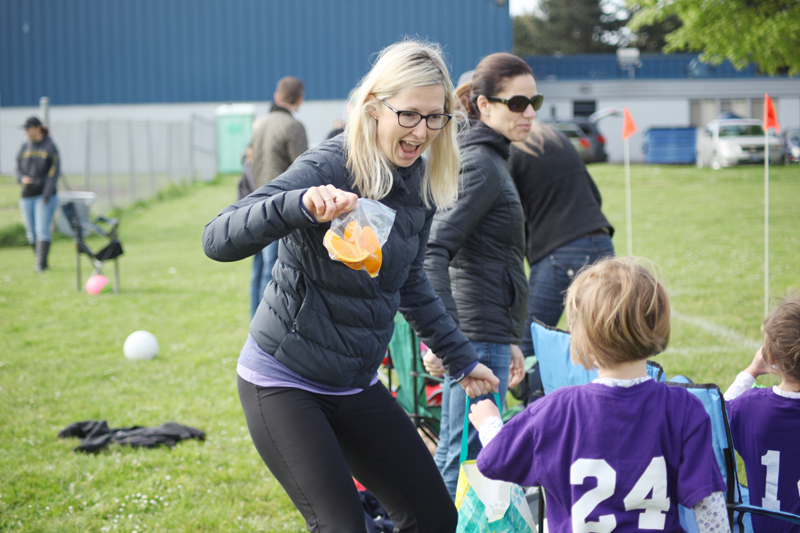
Katie captured my personal excitement about getting the chance to cut up those oranges for the half-time snack. Told you I was excited about those oranges.

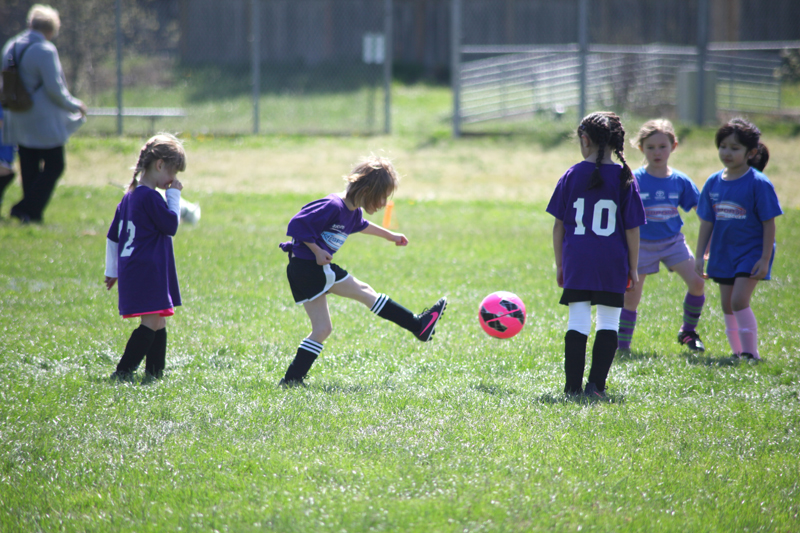
There were definitely times when she wasn’t into it but when she finally scored her first goal and got a taste for what that feels like she was all over it.
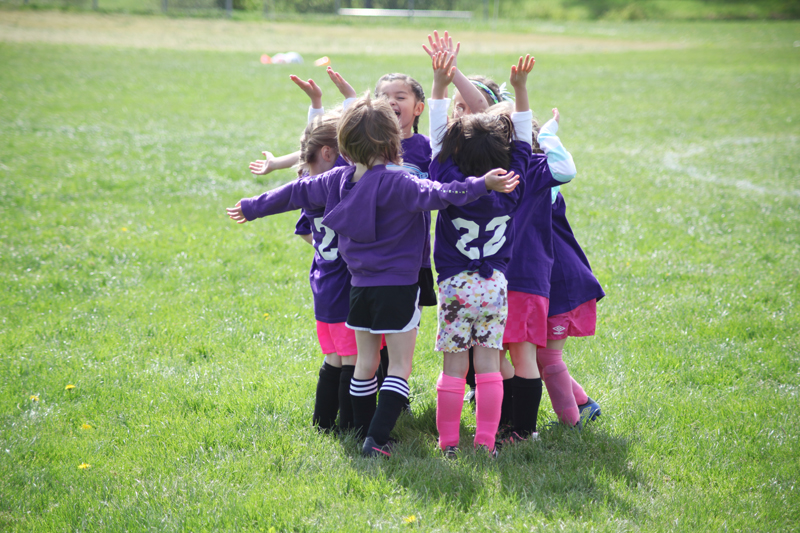
One of the special things parents and supporters in this league do at the end of each game is a tunnel for the kids to run through after they’ve given the other team a high five and gone through the “good-game” line.
I think the tunnel is quite possibly their favorite part, next to the snack at the end of the game of course.
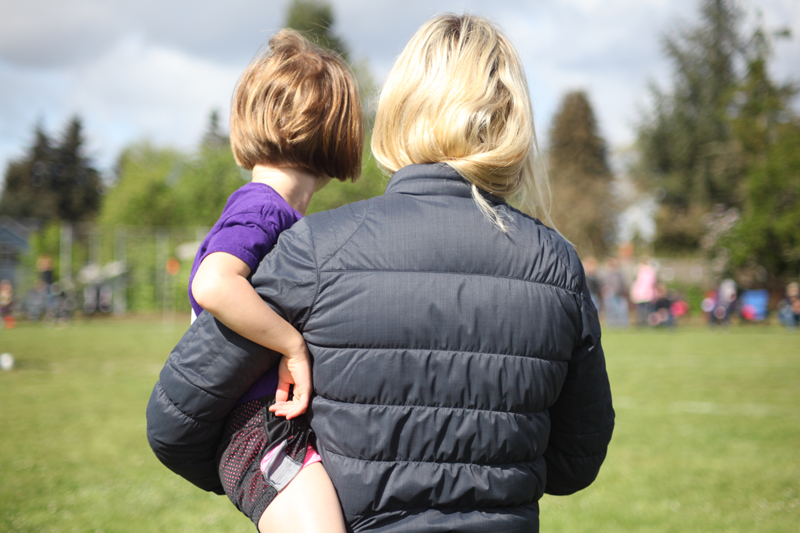
I’m hoping this is the start of many more athletic adventures to come because Anna, I love watching you play.
Go, Anna go!
PS | And in case you haven’t read that awesome post about the Six Words You Should Say Today by Hands Free Mama I highly recommend it.


June 3, 2014
2014 Reader Survey Results
Thank you again to those of you who took the time a few weeks ago to participate in my reader survey. There were close to 2700 responses and I appreciated the kind words, the support and the constructive criticism/suggestions/requests.
One of the big reasons I wanted to do a survey (my first one for this site) was simply to see if we were all on the same page. You guys are a great community and I liked the opportunity to connect with you in this way and get your input and feedback.
Primarily I was interested in learning what’s working for you at the same time I figure out what’s working for me professionally and personally. I was also interested in some pretty basic information like how long people have been reading and how you access my content.
In case you were wondering I used Survey Monkey to create this survey and have exported the results graphs to share them with you today.
Here’s a look at the results (under some of the graphics I’ve included a bit more commentary):
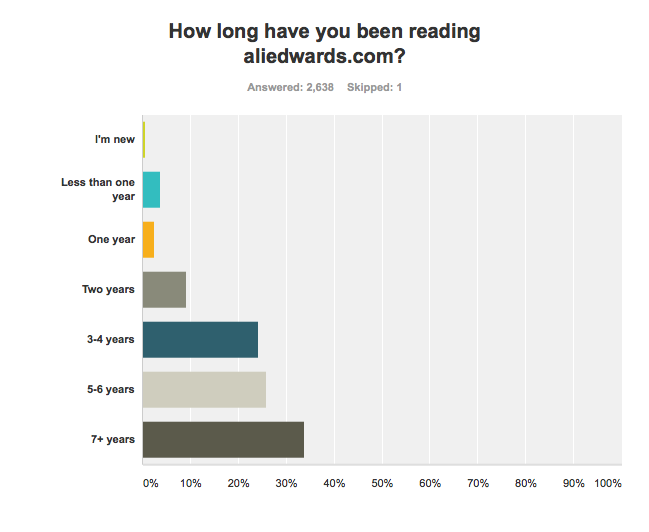
So many of you have been around such a long time! Your continued support and loyalty is really humbling. Thank you for being here and contributing to this adventure and being interested in my story and telling your own.

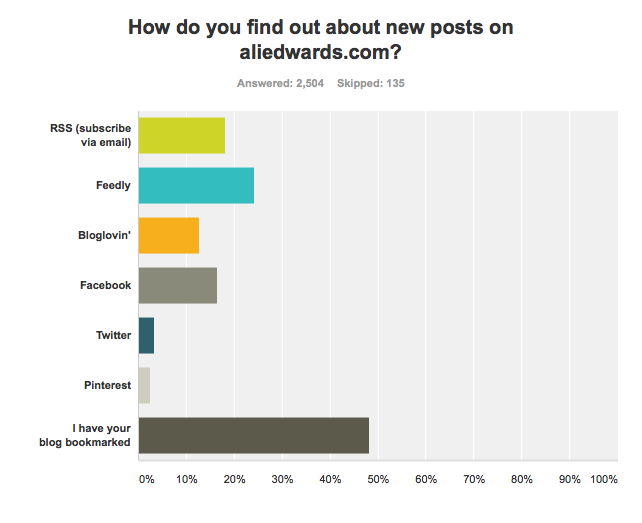
This one was interesting to me as it’s been a topic of conversation around here from time to time about how people actually read blogs these days.
I’ve personally been going back and forth between Feedly and Bloglovin trying to decide which one I want to stick with regularly.
If you want to subscribe via email go here.

Not a huge surprise that Project Life® and traditional scrapbooking came out as the most popular forms of memory keeping.
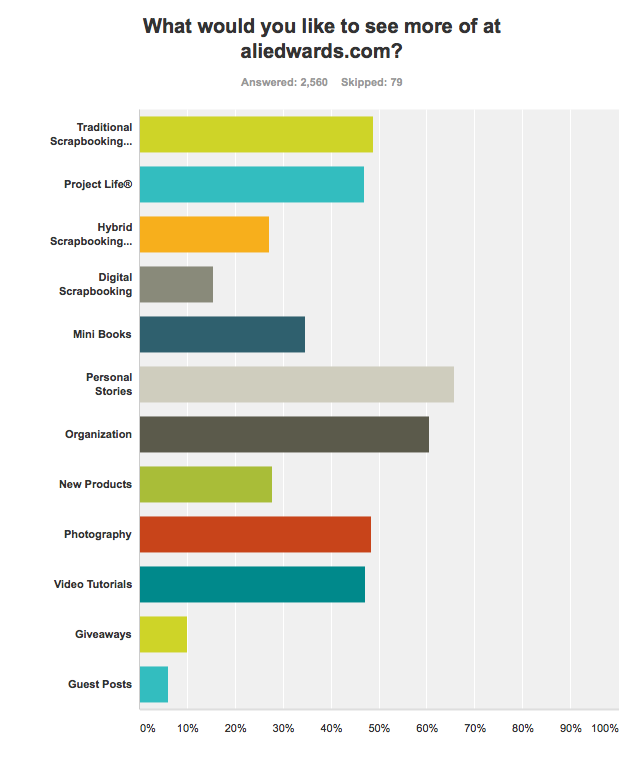
Personal stories and organization. Noted.
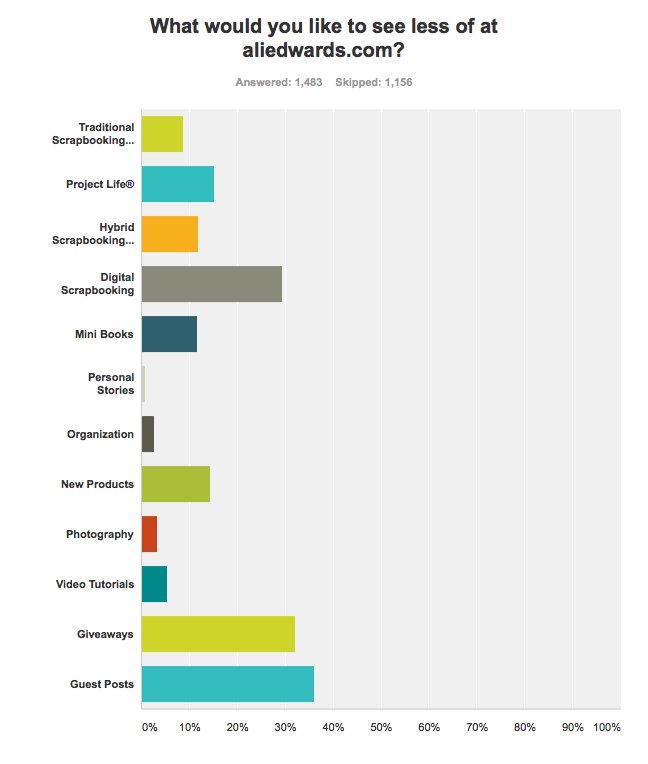
I’m listening and I’m making some changes and adjustments to find ways to bring you more of what you want and less of what you don’t. Obviously some of what happens here has to be commercial in nature as it’s one of the ways I put food on our table, but I agree that there’s an opportunity for a more intentional approach.

Creating workshops is one of the things I enjoy most about my work. Thank you for the great feedback regarding workshops – this helps me as I plan what to focus on for the future.
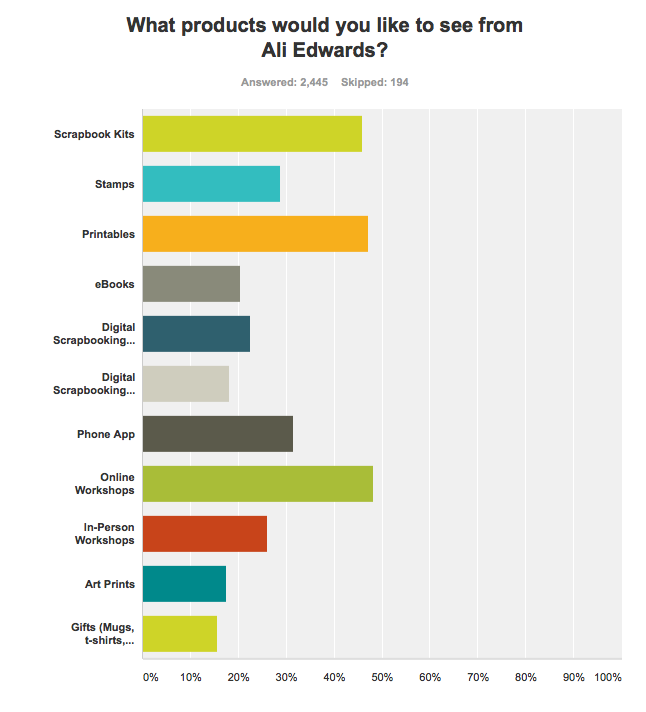
This was defintely helpful for me for planning what I’d like to focus on next. Again, thank you.
Here’s a very small sampling of responses from the other questions that didn’t include specific options:
Why do you continue to visit aliedwards.com?
“After following you for so long it has become “habit” (in a good, positive, way) I love what you write, love your insight into this crazy journey we are all on called life.”
“There’s always something I can relate to or find helpful or inspirational… I like that you’re not afraid to share personal stuff.”
“I discovered your blog at about the time you found out Simon was autistic. Not too long after I found out that my oldest daughter was also autistic. Your blog (in a way) helped me to find my way through the craziness that happened afterward. I felt connected to you, like I knew you and we had gone through something together. Since then I have loved how you keep your readers up on what’s going on in your life but still keep it professional and with the spin of memory keeping.”
“I like your style of memory keeping..clean and not overly product driven. I like your style of blogging…real and inspiring. I admire your courage and strength. You are like a friend.”
“Because I like how you tell your stories and it helps me to remember to write things down and document everyday things, not just special ones. I also like your traditional scrapbook pages and try to follow your style in my own work. I also like to read personal stories about life with children, life after divorce etc. It gives me hope that even though that sometimes things are hard, if you work at things and keep an open mind and heart, your life can get better – it might be different to what you imagined but it will get better.”
“I randomly check in to see what is happening in the scrapbooking world.”
What is your biggest Memory Keeping Challenge?
Time was by far the number one response.
Not knowing where to start.
Journaling.
Organization.
Getting started. And finishing.
NOTE | Next time I do a survey I will definitely ask this one with suggested answers like the others to be able to have a graph that would map out the responses.
THANK YOU
I know I’ve said it a lot in this post but it’s truly how I feel. There were an overflowing of really kind comments left throughout the survey and I’m grateful to those of you who took the time to communicate with me in this way. I’m also thankful to those of you who were honest about what you like/don’t like. I’m not wrapped up in pleasing every single person – zero expectations for making that happen – but I do believe in being open to change and being able to take a good long look at the things I do/don’t do on this site to make it even better for all of us.
Onward!


