
David Petersen's Blog, page 42
November 14, 2017
Mouse Guard Model Video: Gwendolyn's Office
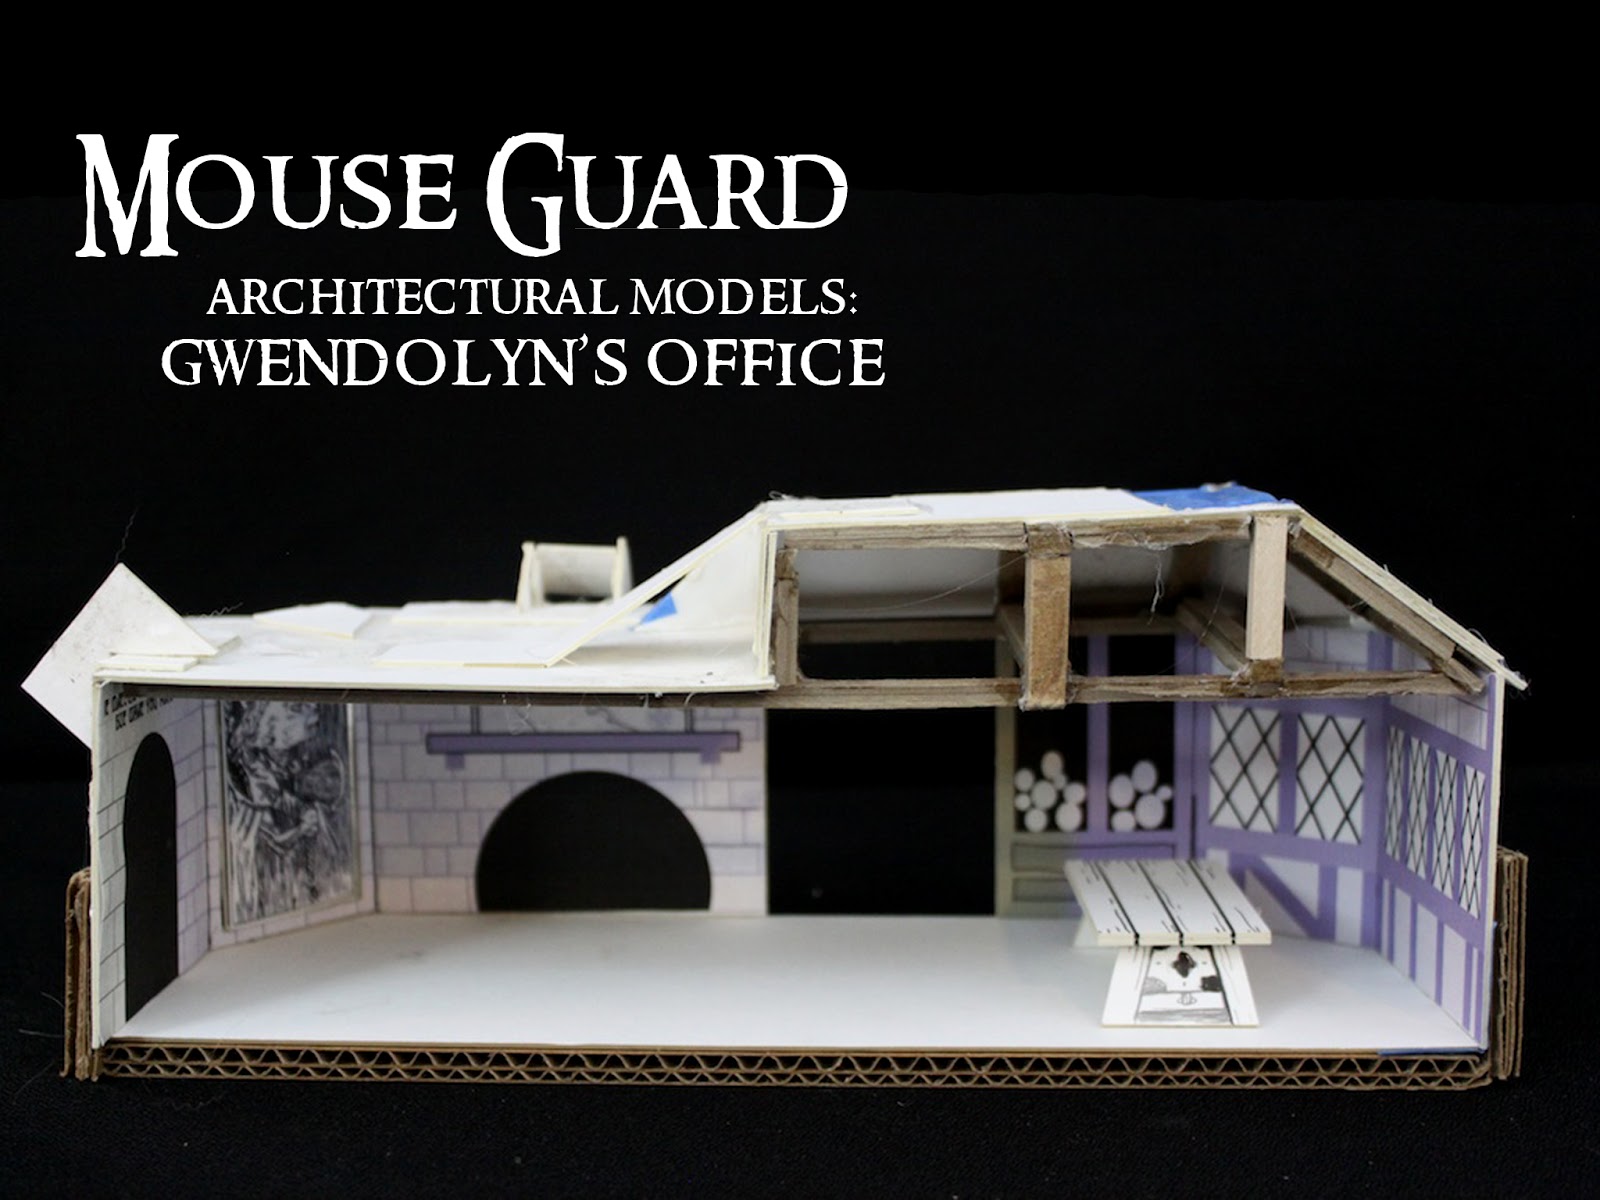
Through all three of the main series of my Mouse Guard books, the Matriarch's office has been featured. In Fall, it was the setting for the climactic battle against Midnight, In Winter Gwendolyn assembled her Guardmice to hunt down Abigail, and in the Black Axe Celanawe reveals his knowledge of the portrait-door as he returns to Lockhaven for his Matriarch Bronwyn. To help me in envisioning and drawing the location, I build a model of the room.
Below you can watch a video where I talk about this model:
Youtube link: https://youtu.be/M7N7d2Wo8Ls
2018 Conventions coming soon...


November 7, 2017
Re-Run Wild's End Cover
 With nine years of blogposts, I will continue to Re-Run past posts for the new fans or folks who may have missed a post the first time around.
Part of the reasoning is also that for various reasons (The health of my Mother, convention travel, behind on deadlines, and projects I'm not able to share yet) I see the need to revisit an old post once a month or so.
You can also go back and see any past posts using the Blog index: http://davidpetersen.blogspot.com/2013/12/blog-index.html)
This week:
Wilds End Variant Cover:

I was pitched Wilds End as "Wind in the Willows meets War of the Worlds". So when asked to do a variant cover, it was an easy 'Yes' for the editors at BOOM! At the link below you can see the full process for this cover from concept all the way through to finished colors and every step in between:
Full Wilds End cover Process Post:
http://davidpetersen.blogspot.com/2014/06/wilds-end-cover-process.html
2017 Appearances: Heroes Con: Jun. 16-18San Diego Comic Con: July 19-23Baltimore Comic Con: Sept. 22-24New York Comic Con: Oct. 5-8
October 31, 2017
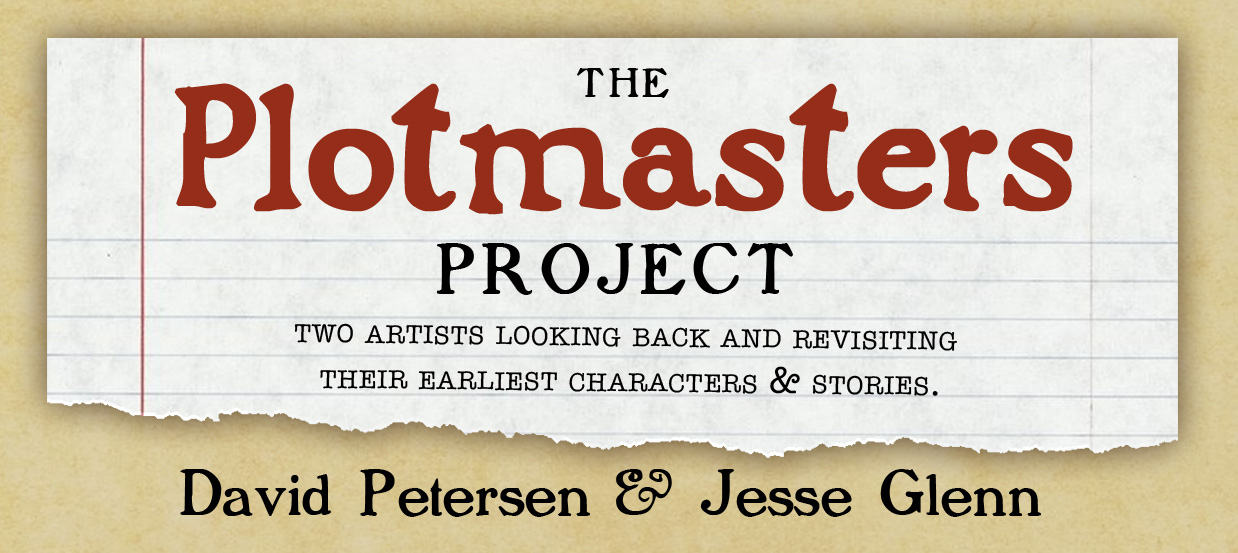
Dragons Revisit Part 1
 For the fourth episode of THE PLOTMASTERS PROJECT, Jesse Glenn & I revisited an old project of ours from 1995 called "DRAGONS". Well...we called it "DRAGONS" But that was a placeholder name at the time. Recently I redubbed it The "Last of the Dragons" -or- "The Last Five of the Dragons"...AND this project demanded a 2 part episode. Part 1 deals with only the human characters. (Feel free to go watch the episode before reading further)
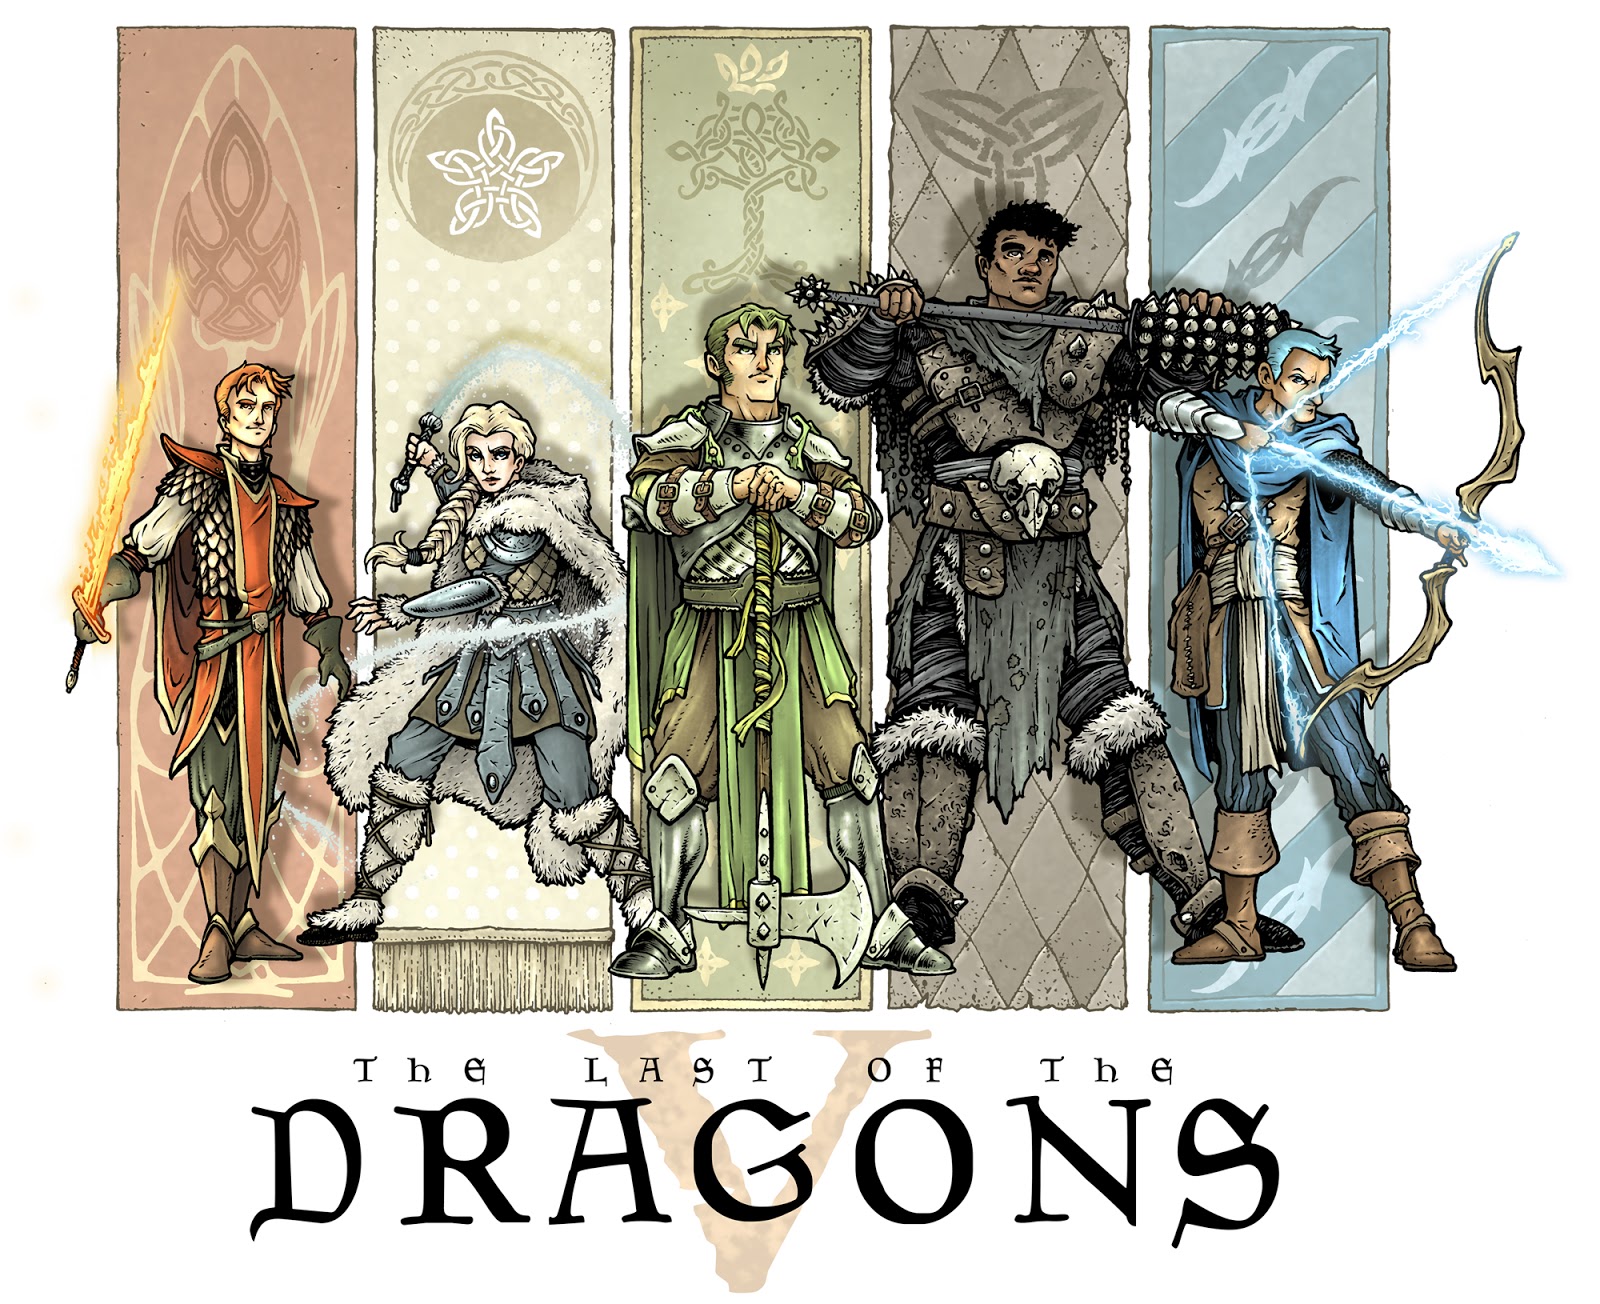
To the left you can see my new finished piece for the first DRAGONS episode of THE PLOTMASTERS PROJECT, and below I'll break down who the characters were, and how I created this updated image for the podcast.
 Our original inspiration for this project was to create a team like Voltron or Power Rangers that had humans in color specific armor that have incredible mounts, and who work best together with their unique abilities focused together. Here I started by ditching some of the past sleek sci-fi anime-influenced armor to play to my strength of doing more fantasy/period designs. I focused on giving each character's clothing a sense of culture, society, and region. I'll get more into what I was thinking on that topic for each character further below. These are pencil on copy paper.
 I then scanned the sketches and placed them into a group composition digitally in Photoshop. I tinted each character to help me see where each started and ended, where there would be overlaps, and tangents. At this stage I also made tweaks to proportions (characters eyes, overall height, weapon size/placement) and added in a bow reference (it's from Skyrim I guess).
At this stage I also toyed with the notion of flags to represent each character's region as a backdrop.
To ink the group as I had them layed out in my composition proved to be problematic. The size that would be comfortable to ink would have been 22" long. I tested shrinking it down to something more manageable (and that would fit on my scanner in one pass), but the faces got small enough I thought they'd be too hard to ink and not loose something from the pencils. So I split them up again to ink individually. This way I'd have nice stand-alone imagery of each character, but I could re-compose them into the group shot if I wanted to. Below are the inks/flats/colors with some notes on each character
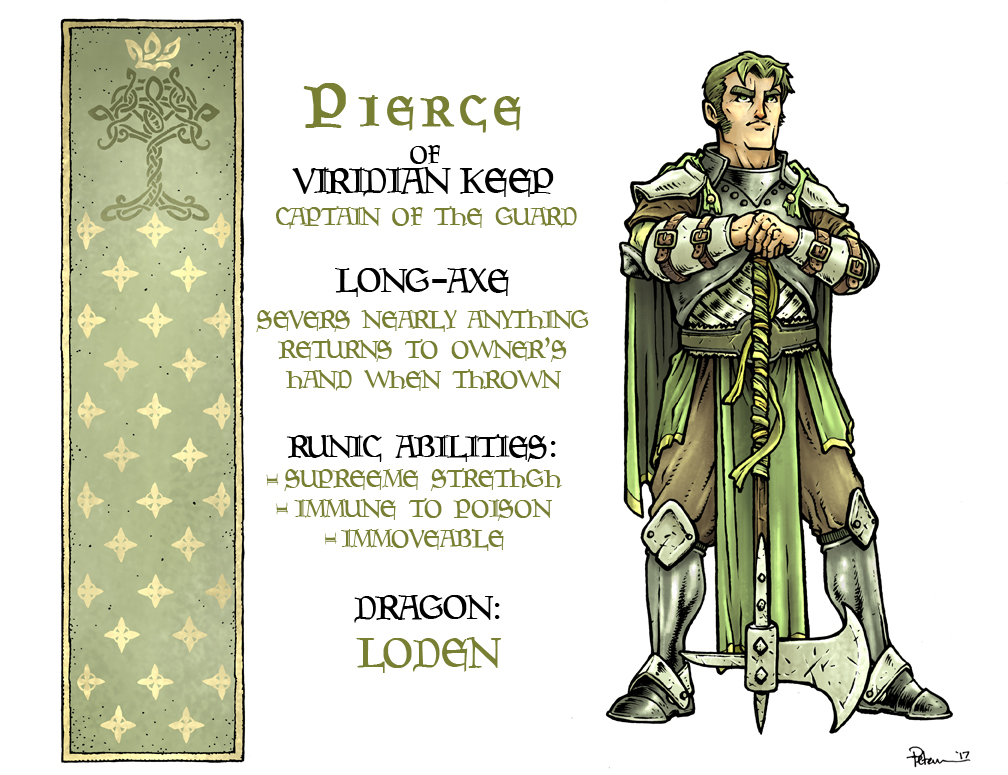
PIERCE:
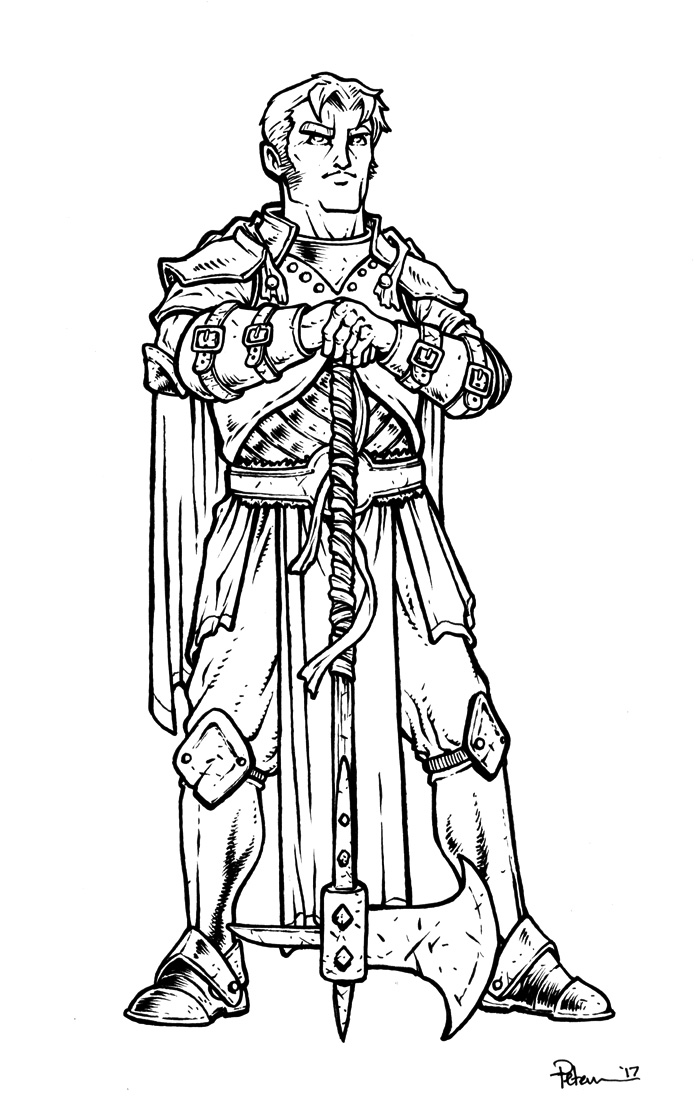
 I made his armor fairly standard in terms of design. As the captain of the guard for the largest province of the king, I thought he should have a square jaw, wide stance, and utilitarian armor. He's a leader, and I wanted his clothes and his facial expression to convey that. Since I drew Pierce first, I established that each character should have some type of chest-plate, cape, hip & groin covering, boots with a ankle piece, bracers, and shoulder pieces. I replaced the '95 double beaked hand axe with something a bit longer and more believable could have been issued to a guard captain. For his palate, I went with all earth-tones. Even the armor is a green-grey.

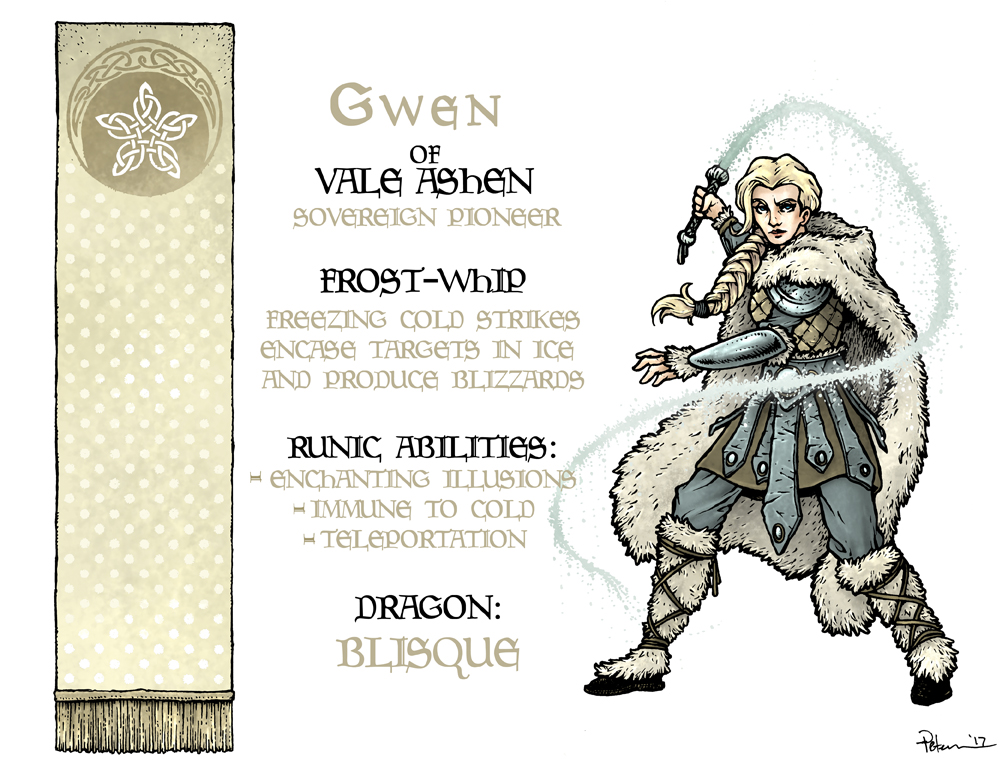
GWENAVERE:
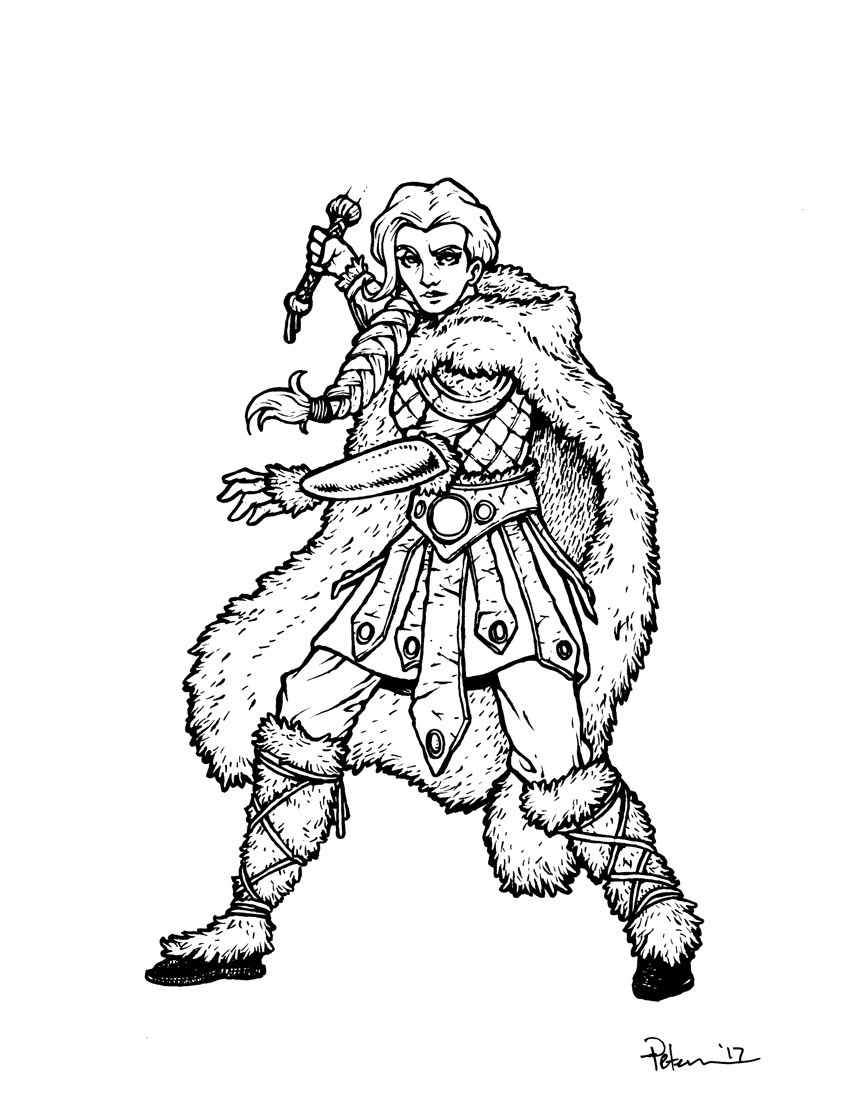
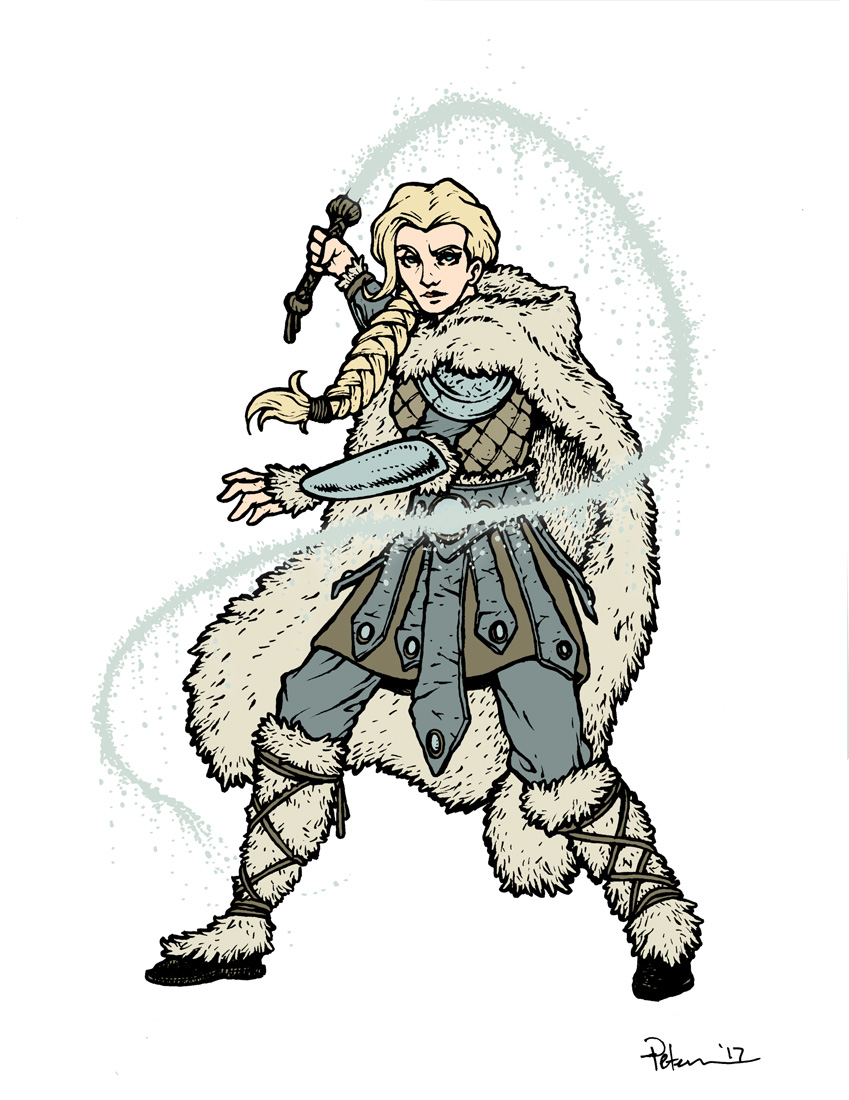 Hailing from the snowy northern mountains, I fashioned Gwen's design on norse fantasy tropes: large braid, furs, and quilting. While that sounds like an easy google reference search, it wasn't. A lot of 'sexy' norse fantasy images pop up that don't help design anything useful for protection or against the cold. I looked to illustrator Even Amundsen's work for a better starting point. I wanted her to exude rugged individualism, survival skills, & independence. The quilted/woven top was inspired by Princess Leia's costume from Empire Strikes Back, and the skirt was unwittingly nabbed from various Wonder Woman designs. For Gwen's ice-whip, I inked the bulk of it on the back (using a lightbox to see it through the surface of the bristol) to more easily isolate it at the coloring stage. While Gwen's color is 'white' I had to go with creams, greys, and neutral browns.

CORNELIUS:

 The region Cornelius comes from is supposed to be a dusty, rocky, impoverished, desert...Somewhere between The Old West and Mad Max. I wanted his armor design to reflect that, and still be imposing. Every bit of his costume is made to look as though it was scavenged, repurposed, and assembled by him: from the hammered looking leg, chest and shoulder pieces, to the wrapped undergarment, the tattered capes, bird skull belt buckle, and the chain cloak. As with the '95 design I kept the spike motif on his costume. I made the character larger than he originally was drawn by Jesse, I wanted him to be a gentle giant. A patient and compassionate soul in a toweringly strong body. All his colors are muted, dark, & drab (other than the spikes)


FELIX:

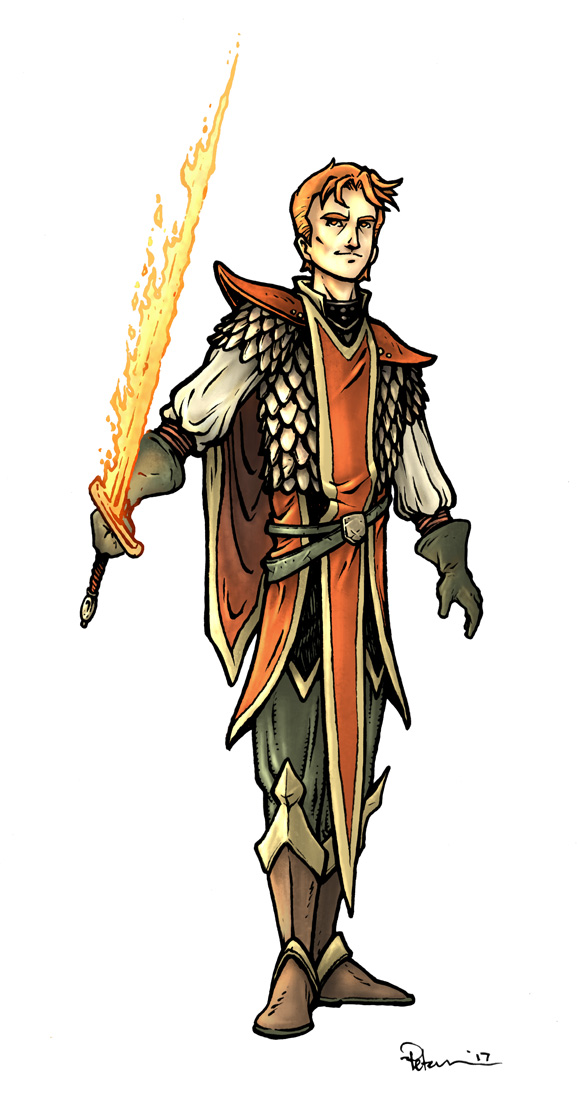
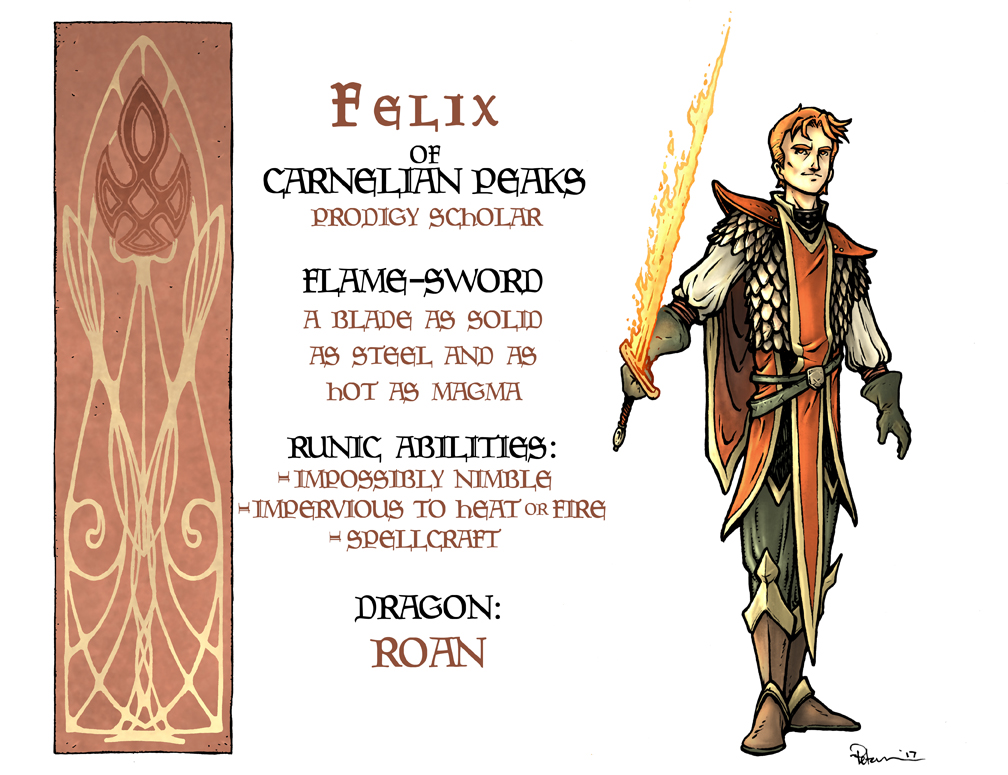
 Felix is meant to come from a prosperous, regal, and elegant province. He is the youngest member of this team, recently graduated top of his class from that societies academy. Some of the fabric-elements of his design are meant to look like a uniform. I echoed those long pointy shapes throughout the design as much as possible, the shape of his sword, shoulder armor, boot-tips, and the scales of his tunic armor. I wanted Felix to have the outward personality of a cocky private-boarding-school fencing champ. His coloring is all warm, but I didn't want to overwhelm with the red, so I played with trim and undergarment tones. Because the sword flame didn't overlap any part of Felix's body, I didn't need to ink them on the back, I could just isolate them easily enough as I colored.
NIGEL:

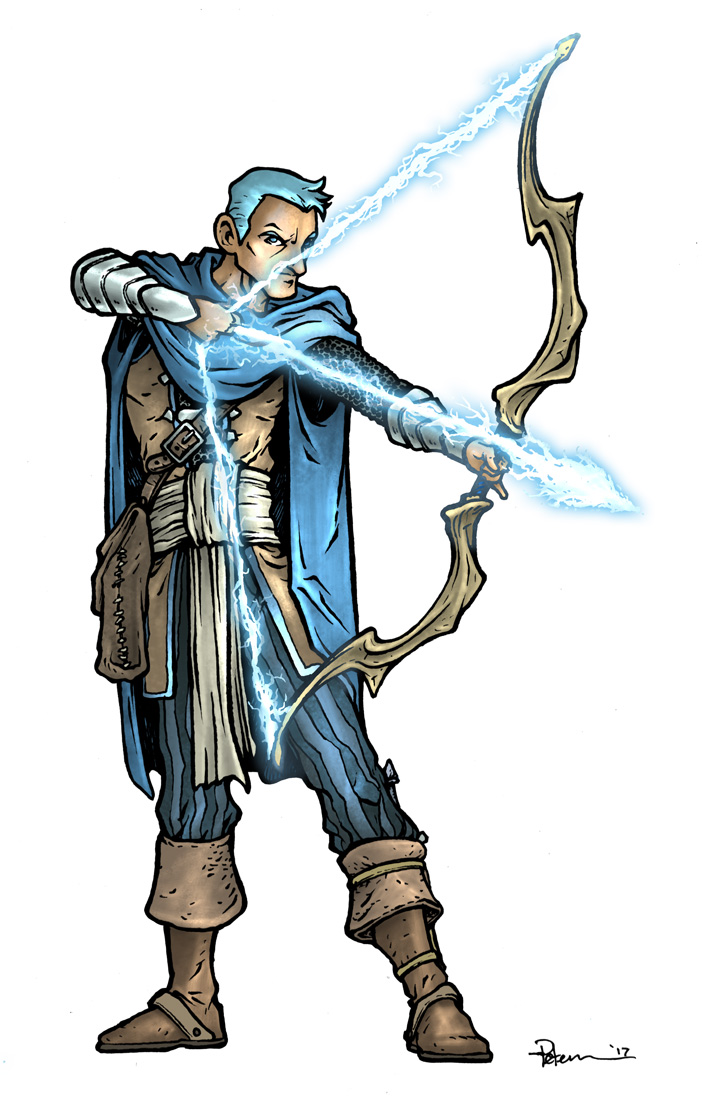
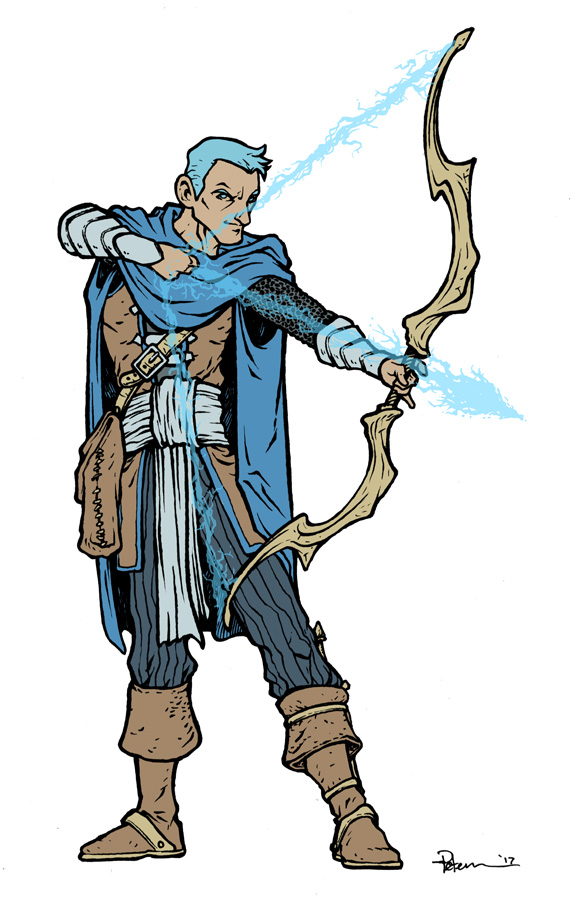 Nigel is meant to be a ranger-theif type character in the vein as Robin Hood from a lake/sea-side province of this fictional world. I gave him the most swashbuckly-type costume I could, pirate boots, thief satchel, leather armor, and fancy striped pirate pants. I did give him ring mail under his leather chest piece, partly because it felt like it worked thematically with how chainmail flows and ripples like water, but also because it was a design choice I hadn't yet used on any of the characters. The bow, I tried to disguise away from the Skyrim details to make it look more like shaped driftwood. For the lightning bowstring & arrow, I did the ink-it-on-the-back trick, and then played with various effects and transparencies to give it the right look.

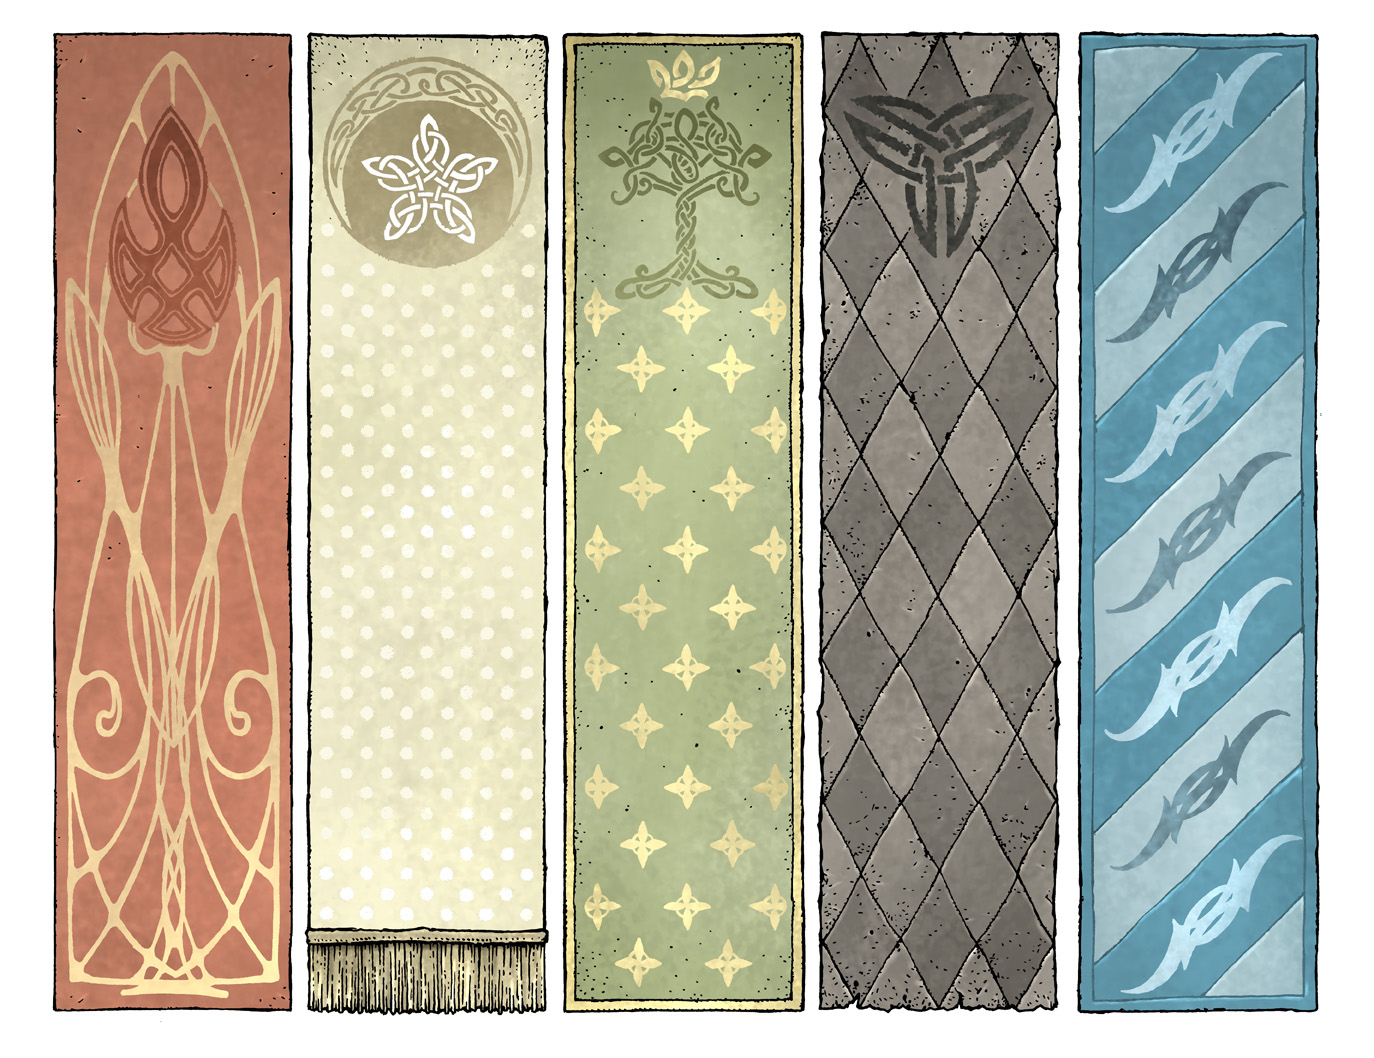 Once I had the characters done, I decided to tap back into that regional flag concept. Instead of using different shapes like I'd roughed out, I opted to make them uniform rectangles (giving the background all the same weight with no odd negative shapes between flags). I thought more about the themes I was trying to portray with each character, the personality of the place they came from, as well as the element their weapons/dragons are charged with. The red is a mix of flame shapes and elegant floral sweeping lines; the white has a celestial motif for the snowflake-star and an even coating of falling snow with a fringe on the bottom to echo Gwen's fur cloak; the green has a crowned tree with the royal trappings of gold trim and compasses; the black is a patchwork, tattered at the bottom with a spiky runic symbol that reminds me of a toxic warning; and blue keeps the playful stripes, but with an echoing bow/lighting rune that also look a bit like waves.
Below is the final composition, characters assembled, flags inserted, and title/logo added.

I really enjoyed getting to revisit these characters for the Plotmasters Project. Where I didn't push the designs very far away from the original source material with previous Plotmasters episodes, I took these characters as an opportunity to flex some redesign muscles. I tried to not be too precious to the original armors and designs, and to pay more attention to the original concepts & inspirations for the characters rather than the surface tropes of what Jesse & I did in '95.
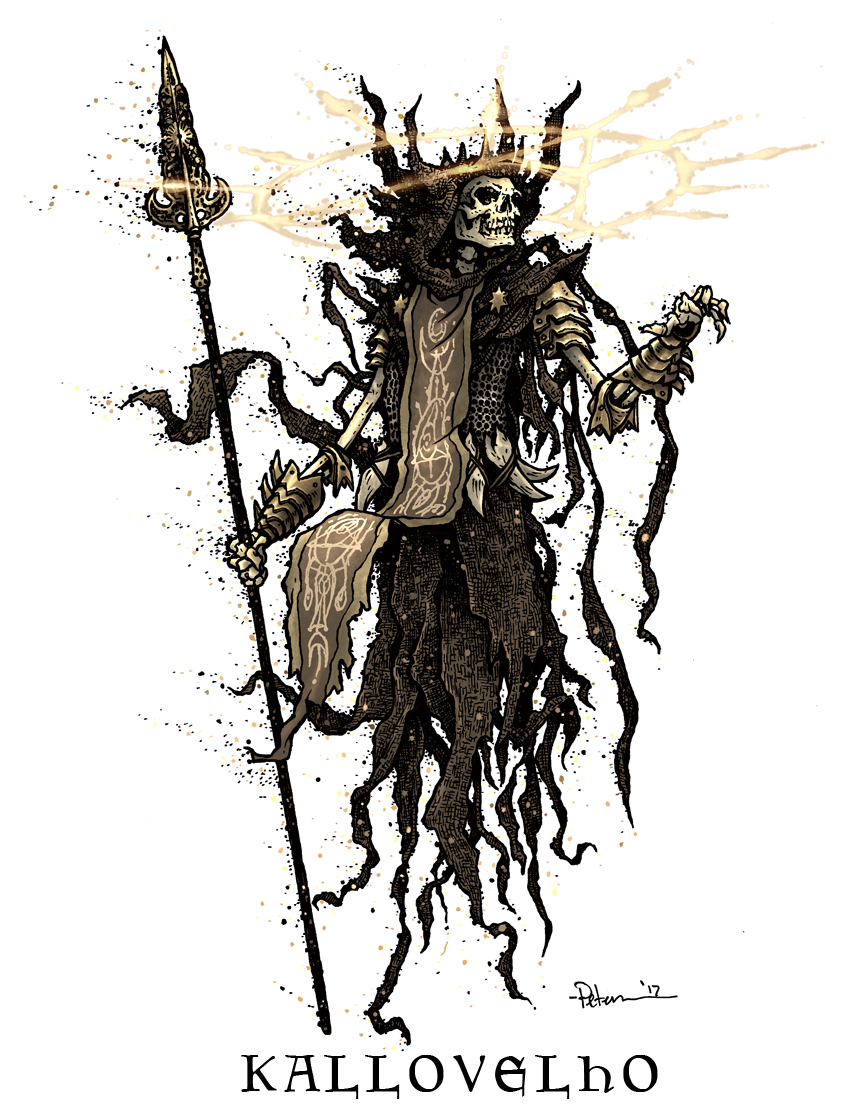
And to add to the 2017 Plotmasters revisit, I added a villain: KALLOVELHO, a Litch (an evil wizard so powerful he raised himself from the dead.)


I wanted to stretch and not use typical 'evil' colors for his color scheme and I went with gold. I imagine this powerful undead sorcerer has enough power and backstory to keep the five characters above rather busy.
You can watch the first DRAGONS episode of The Plotmasters Project on YouTube:https://youtu.be/zgTFFf-r_BA
And follow us on Facebook & Twitter
2018 Appearances coming soon...
October 24, 2017
Mouse Guard Model Video: Upper Port Sumac
 At the end of The Black Axe, Celanawe visits Conrad in Upper Port Sumac (they'd met earlier in the book in the Lower portion of the city), I built a model of the exposed part of the town out of commercially available gaming papercraft kits and then kit-bashed them together
Below you can watch a video where I talk about these models, how I built them, what the materials were, and why I built them in the first place.
Another post about Upper Port Sumac:Model Blogpost:http://davidpetersen.blogspot.com/2013/03/reference-model-upper-port-sumac-as-i.html
2018 Appearances coming soon...
October 17, 2017
Family Mouse Commission Process
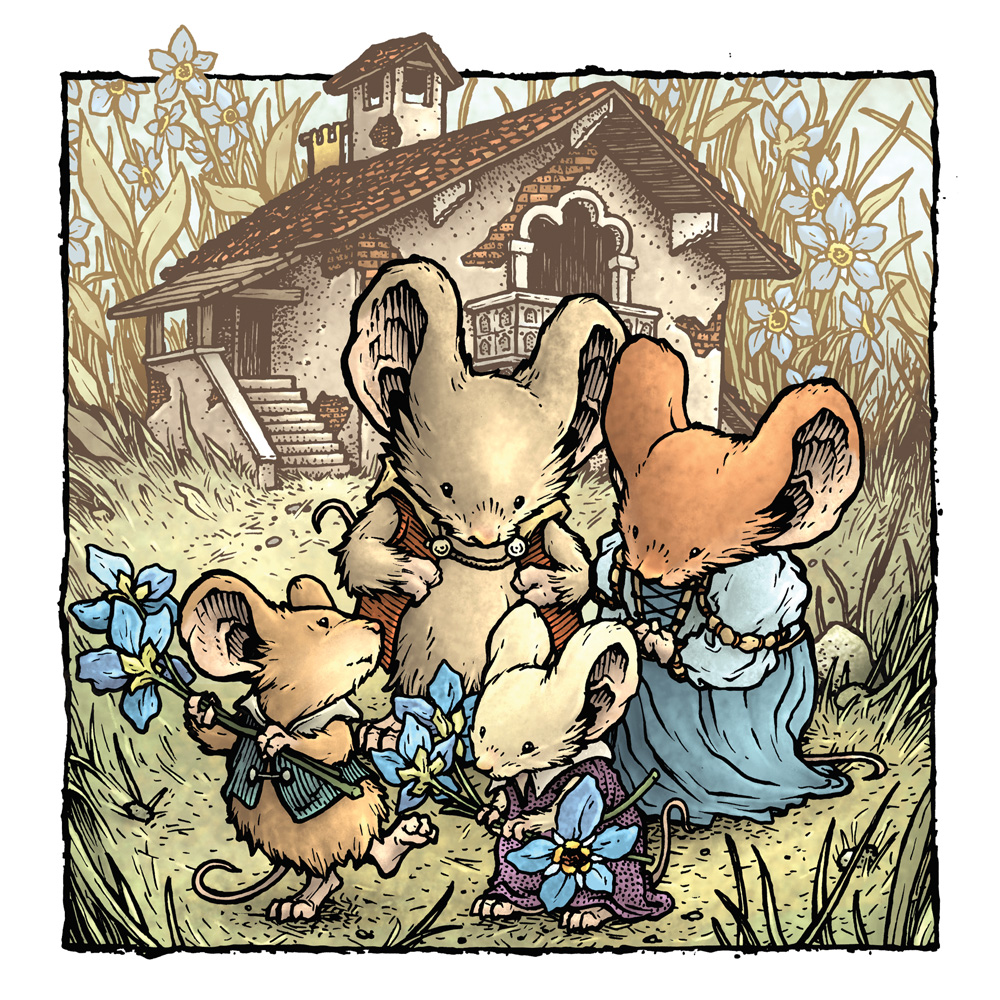
 Several years ago, I did a commission for a family of Mouse Guard fans, when an engagement was about to happen. They wanted the piece to have a mouse lovingly proposing to another with the date included in the piece (though I swapped out the date for the word 'LOVE' when I colored it for a sketchbook) Then later, the family commissioned me again when the 1st baby of that union was expected. You can see both of those pieces colored to the left...but today's blogpost is all about the third piece I did for them this summer...
 The couple now has a 2nd child, a daughter, and they wanted an updated family portrait. Although I wasn't accepting these types of inked commissions any more, the loyal fans & patrons, wanted this last piece to round out their collection. They requested the same characters of the parents, as well as the house with the balcony shown in the previous two, and ultimately their children enjoying the flowers. I sketched out these elements on sheets of copy paper.
After scanning the sketches, I was able to assemble a composition I was happy with in Photoshop. By having all the characters drawn separately, it wasn't difficult to mirror, resize, overlap or shift around each mouse as well as the background. I tinted each character's linework a different color to help me make more sense of the jumble of lines.
Once this was done, I could print it out to prep for inking...

I taped the printout onto the back of a sheet of Strathmore 300 series bristol. Then, on a light-pad, I could see through the bristol to the printed lines to use as guides as I inked on the bristol's surface with Copic Multiliners (the 0.7 & 0.3 nibs mainly).
Most of the grass and the flowery background I improvised in ink as I worked.

Because this piece would work perfectly in a Mouse Guard sketchbook, I decided to get started on the 2018 book now. I flatted the colors for the piece to prep it for final color. Flatting is basically just coloring within the lines and organizing the layers of a color file so you can quickly isolate each area for rendering...establishing the fur colors are different spaces than the clothes and trim, and grass, and flowers, etc...
The colors for the parents and the house were somewhat already established, so I just had to focus on color choices for the kids.
Then last week over on Twitch, I did the final rendering for this piece so it's ready as a page for the 2018 sketchbook (It won't go to the printer until June). Below you can see the final colors after I rendered the piece using the Dodge and Burn tools mainly, with a little assist from the freehand lasso, color balance, and a few screen layers to help push the background further back.
2018 Appearances coming soon...
October 10, 2017
Legends of the Guard characters revisited
 To start on the 2018 sketchbook and to make sure my portfollio was stocked with original art for San Diego Comic Con, I had the idea of doing Mouse Guard pieces based on specific characters & stories from the guest contributors in Legends of the Guard. For those who don't know, Legends is a spinoff anthology series where guest artists write and illustrate tall tales, fables, and folklore set in the Mouse Guard world. The 3 volumes of Legends are now available in a nice boxed set.
Below I'll show a bit of the original artist's tale that I used as reference, and the inks and colors for my homage:
 Potentialby Sean Rubin (a) & Alex Kain (w)
In Volume 1, Sean and Alex told a tale about a mouse named Eskel who visits Barkhamstead to stop a bear who has gotten too close to the town. To get the bear where he needs to perform the slaying, Eskel opens a locked canister filled with some special blend of herbs, pollens, etc that will lure the beast right below him.
For my version, I just wanted to focus on that moment where there is no turning back, where the elaborately decorated and sealed canister is opened, the contents blow to the wind, and the bear's arrival is imminent.
inks:

colors:

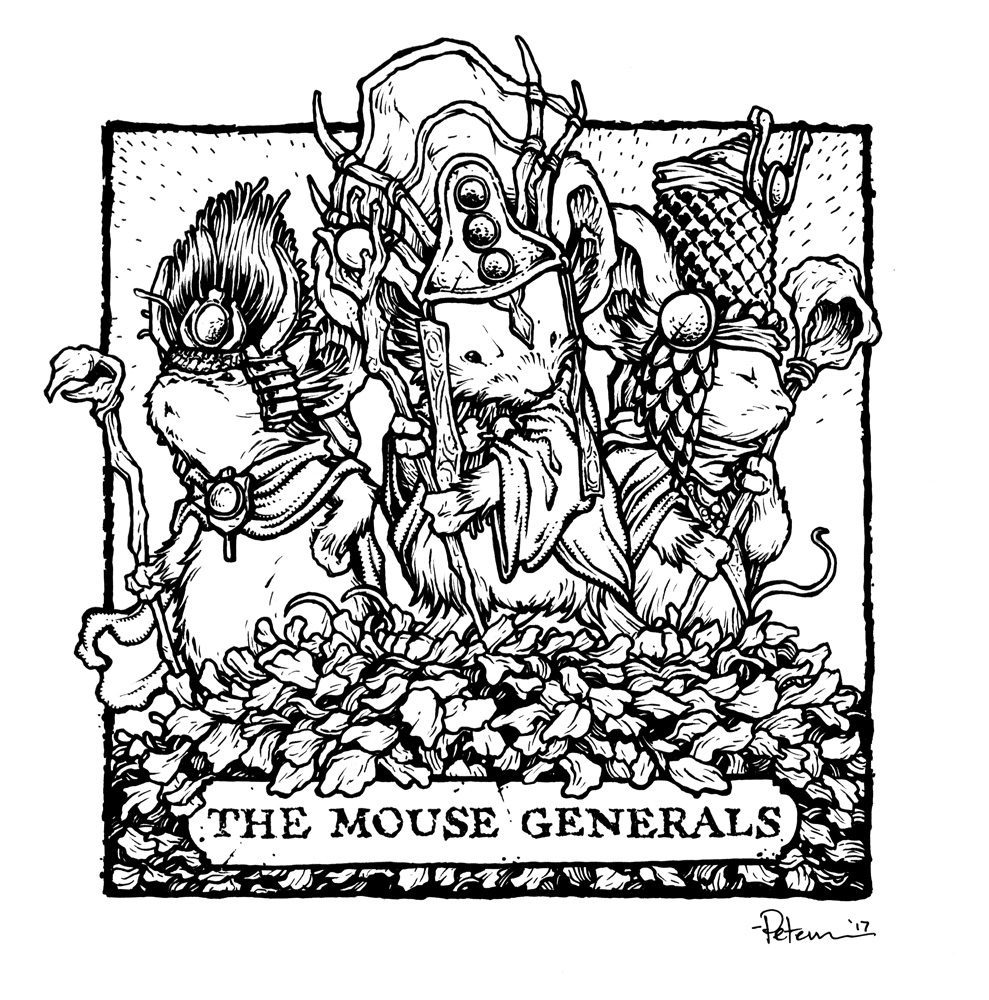
 The Mouse Generalsby Eric Canete
In Volume 2, Eric illustrated a story about three mice who, to be recognized as leaders, build and wear elaborate headdresses. Unfortunately, like in the Aesop story this is based on, the crowns become their undoing.
For my version, I copied the very pose Eric drew and the color palate Scott Keating painted. The designs for these mice are so wonderful, and I loved getting to translate each adornment and texture for this piece.
inks:
colors:

 The Shadeby Jemma Salume
In Volume 2, Jemma did a Mouse Guard ghost story! Two Guardmice, Fila & Aaron, visit an uncharted town where a cursed tree's shadow transports those in the shade to a horrible place haunted by a ghost owl.
For my version, I redrew Aaron & Fila (I cribbed details from Jemma's initial character designs that were refined for the story) and studied a few owl skeleton photos for the ghost.
inks:

colors:

 When Moles Aroundby Charles Paul Wilson III
In Volume 2, C.P. Wilson III contributed a story about a mouse and a mole become unlikely friends, especially since burrowing moles would ruin the foundations of mouse dwellings. The mole ends up using this trait to foil the plans of a marauding group of mouse bandits & pillagers.
For my version, I drew a hero-shot of the Mouse and the Mole burrowing out to save the day.
inks:
colors:

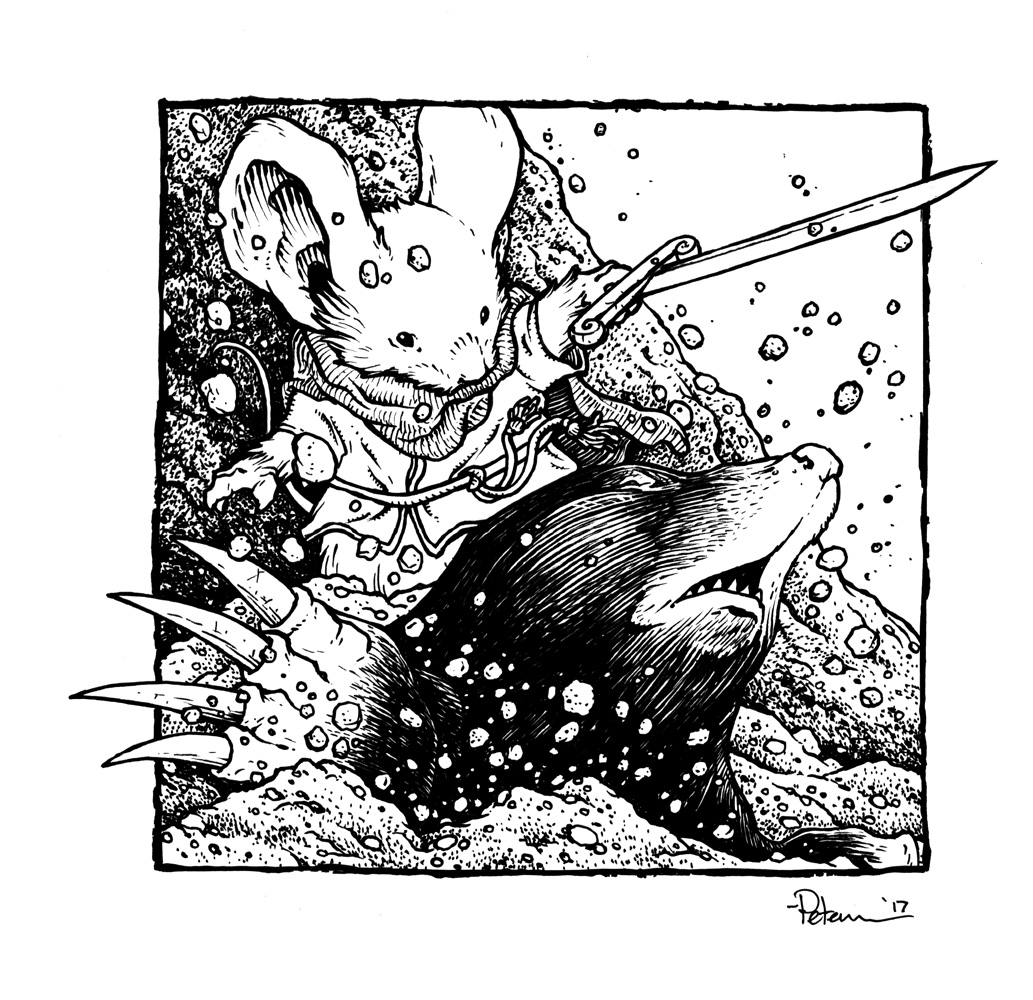
Oleg the Wiseby Alex Sheikman
 In Volume 1, Alex adapted a Russian folktale about a warrior/king who is told a prophecy that his mount will be the death of him. For the Legends version, Oleg gives up the weasel he rides due to this prediction (seemly wise as a weasel is a natural predator) only to be struck down years after the weasel is dead and buried visiting its grave.
For my version, I kept the color palate and layout of a banner in Oleg's castle (again expertly colored by Scott Keating) but with the armor designs of the 'real' Oleg
inks:

color:

My hope is to do more of these Legends homages so that the bulk of the 2018 Mouse Guard Sketchbook is Legends of the Guard related. You can still order the 2016 & 2017 sketchbooks in my online store: https://mouseguard.bigcartel.com
2018 Appearances coming soon...
October 5, 2017
Mouse Guard MONDO POSTER Process
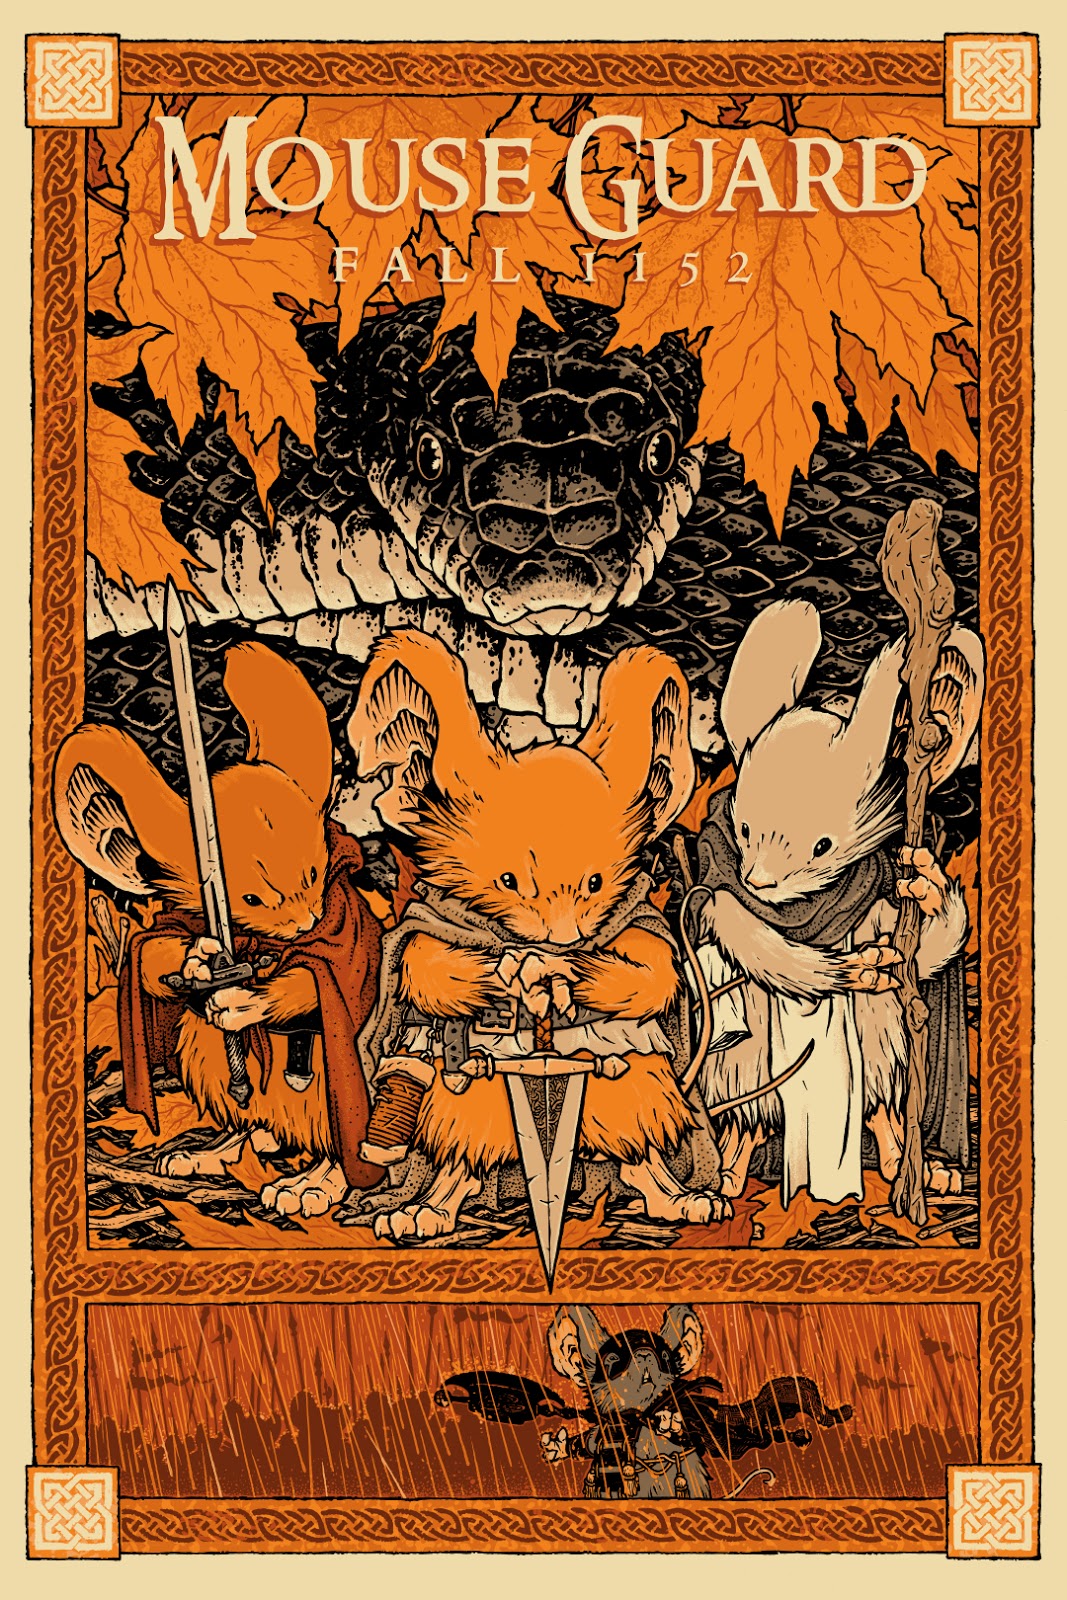 Today Mondo is releasing a Mouse Guard Fall 1152 Silkscreened 24" x 36" poster!!! In the past I've done two posters for MONDO: Brave & The Rescuers (you can click those links to see the process blogposts for those posters), but getting to do a Mondo poster for my own book series, is all the more amazing!!!
To the left you can see the final colors for the print, and below I go through the process from sketch to separated color file sent off to the printer:
 For the Fall 1152 poster I needed to re-create the events of that book in one image that summed everything up. No problem, right? Harder than you think. I started with the idea that I should have the 3 main mouse characters as well as the snake (everyone still remembers that scene from the first issue). So, I sketched on copy paper, Lieam, Saxon and Kenzie with the plan to put Lieam front and center, with the other two either side of him. The snake would loom up over them from behind.
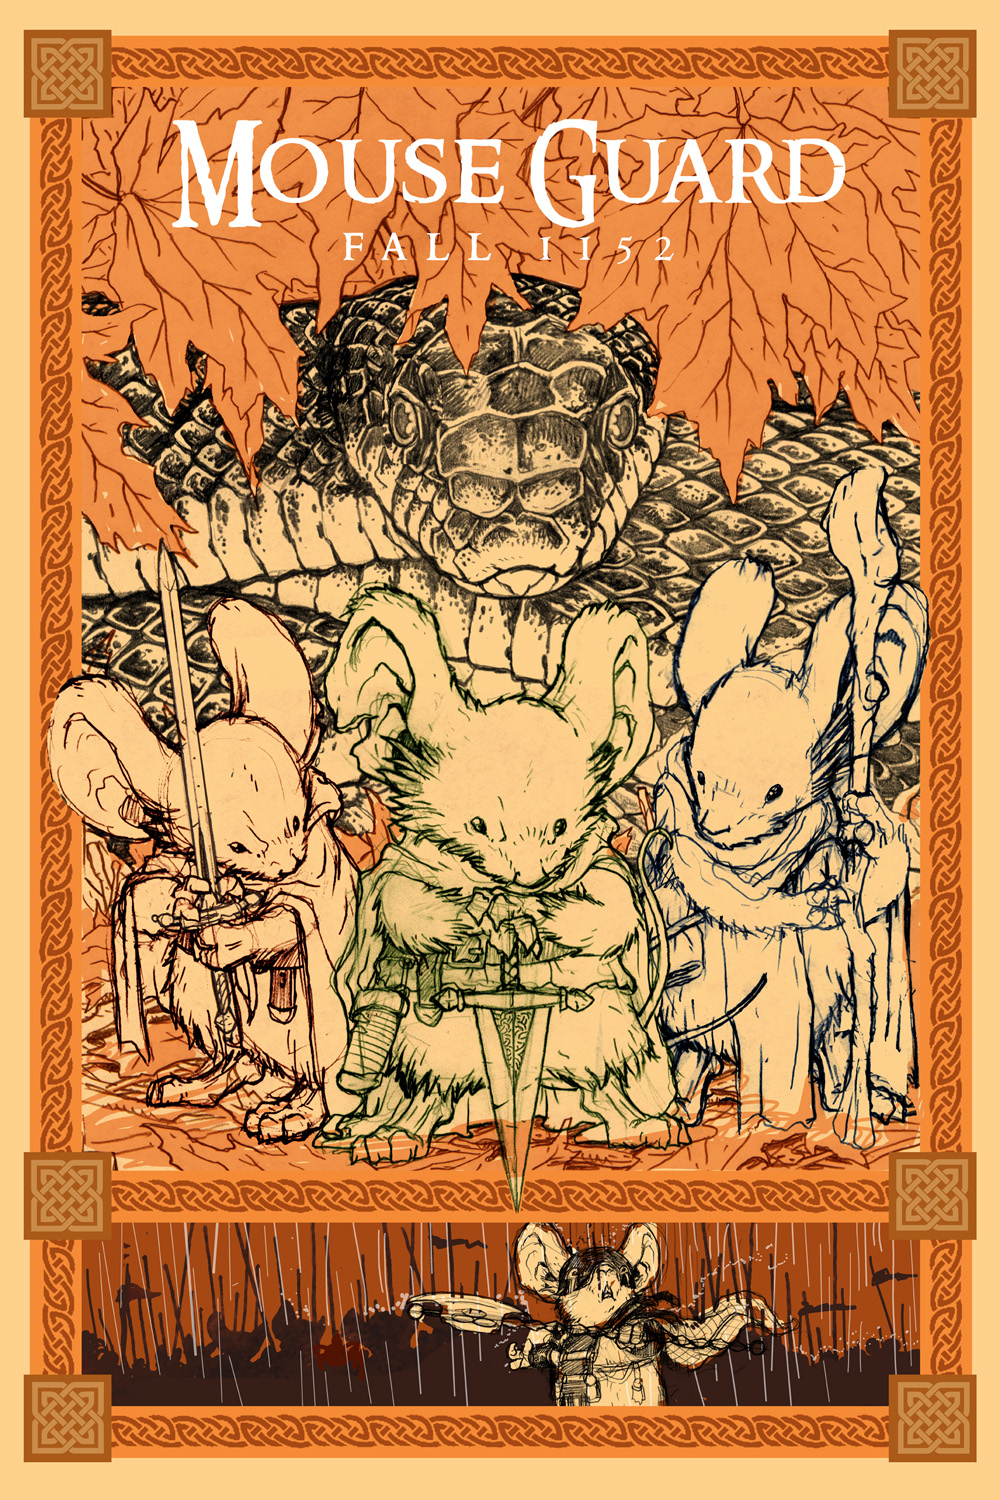 I then decided that I needed to show Midnight too...his part of the story was too big to ignore for a poster...and as a way to show this is an image for a graphic novel series, I added a horizontal panel at the bottom for Midnight's army in the rain. (Sorry, I don't have the original pencils of Midnight handy as-of the typing of this post) I composited the sketches (tinted different colors to help me make sense of the line-spaghetti) in Photoshop and added some border treatments, type, and a rough color scheme.
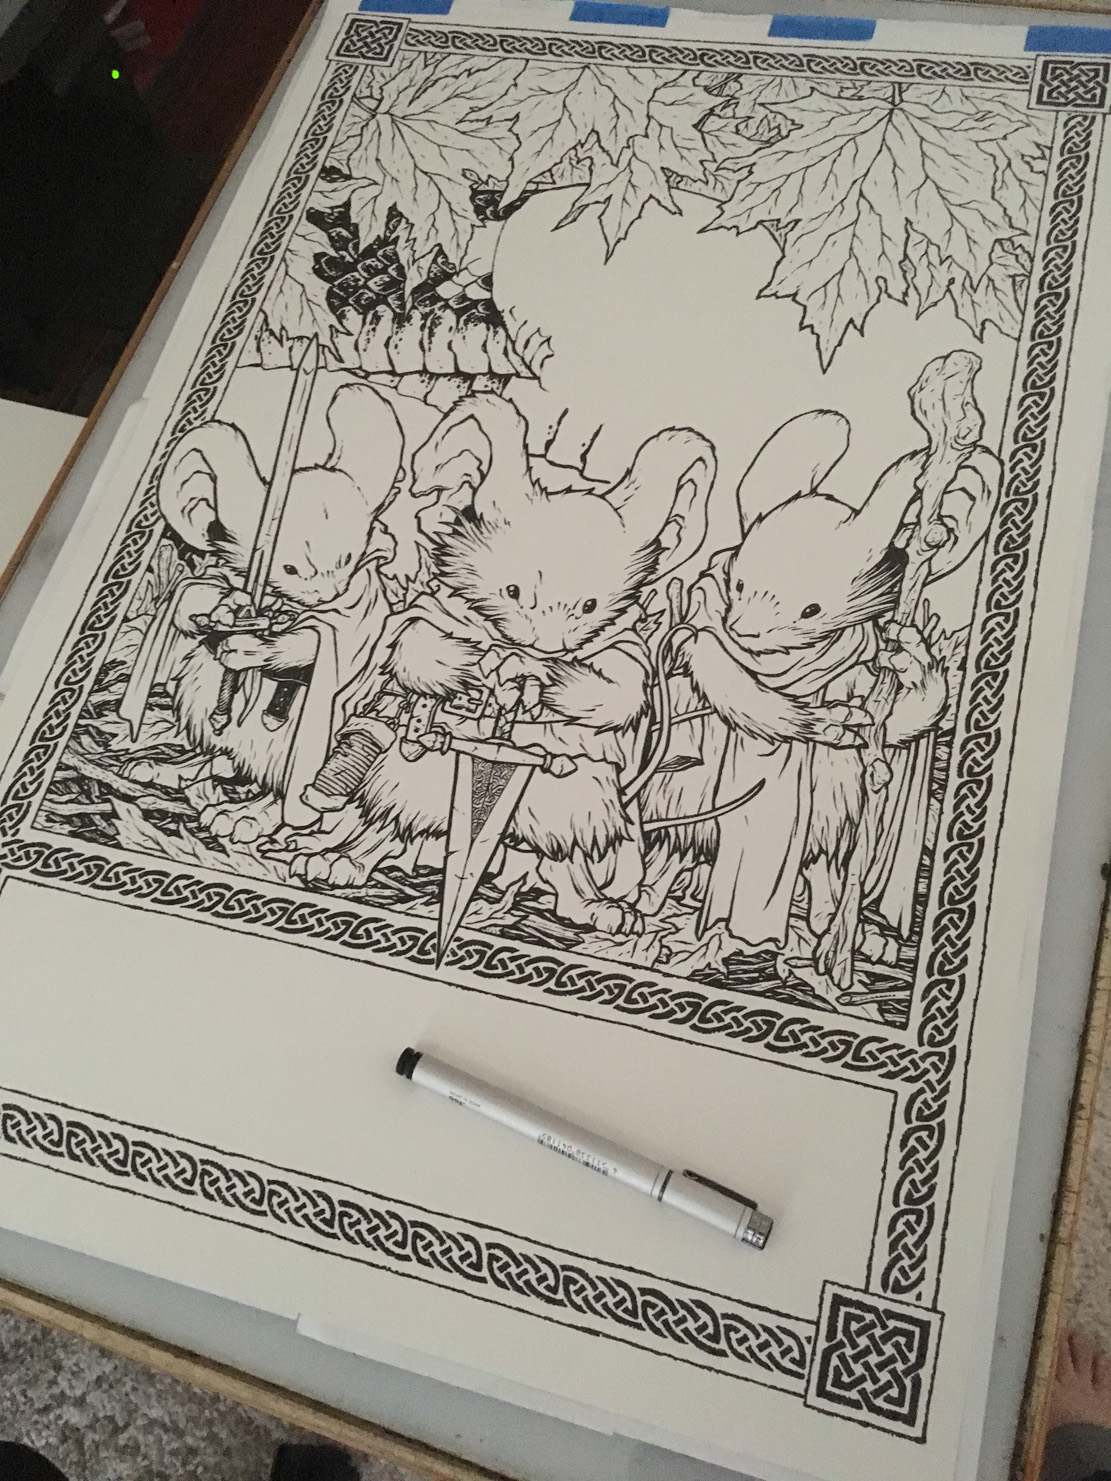
 The poster is 24" x 36", but to make my life more manageable, I didn't do the artwork at that scale. to make sure I could ink the piece and have it still fit on my scanner (in 2 passes) I worked at 16" x 24". I printed the layout on multiple sheets of letter-sized paper and taped them together (the grid you see in the photo is to help me re-allign the pieces of paper into a single taped-together image). I also dropped out most of the color-scheme to save some ink and to make the lines easier to see.
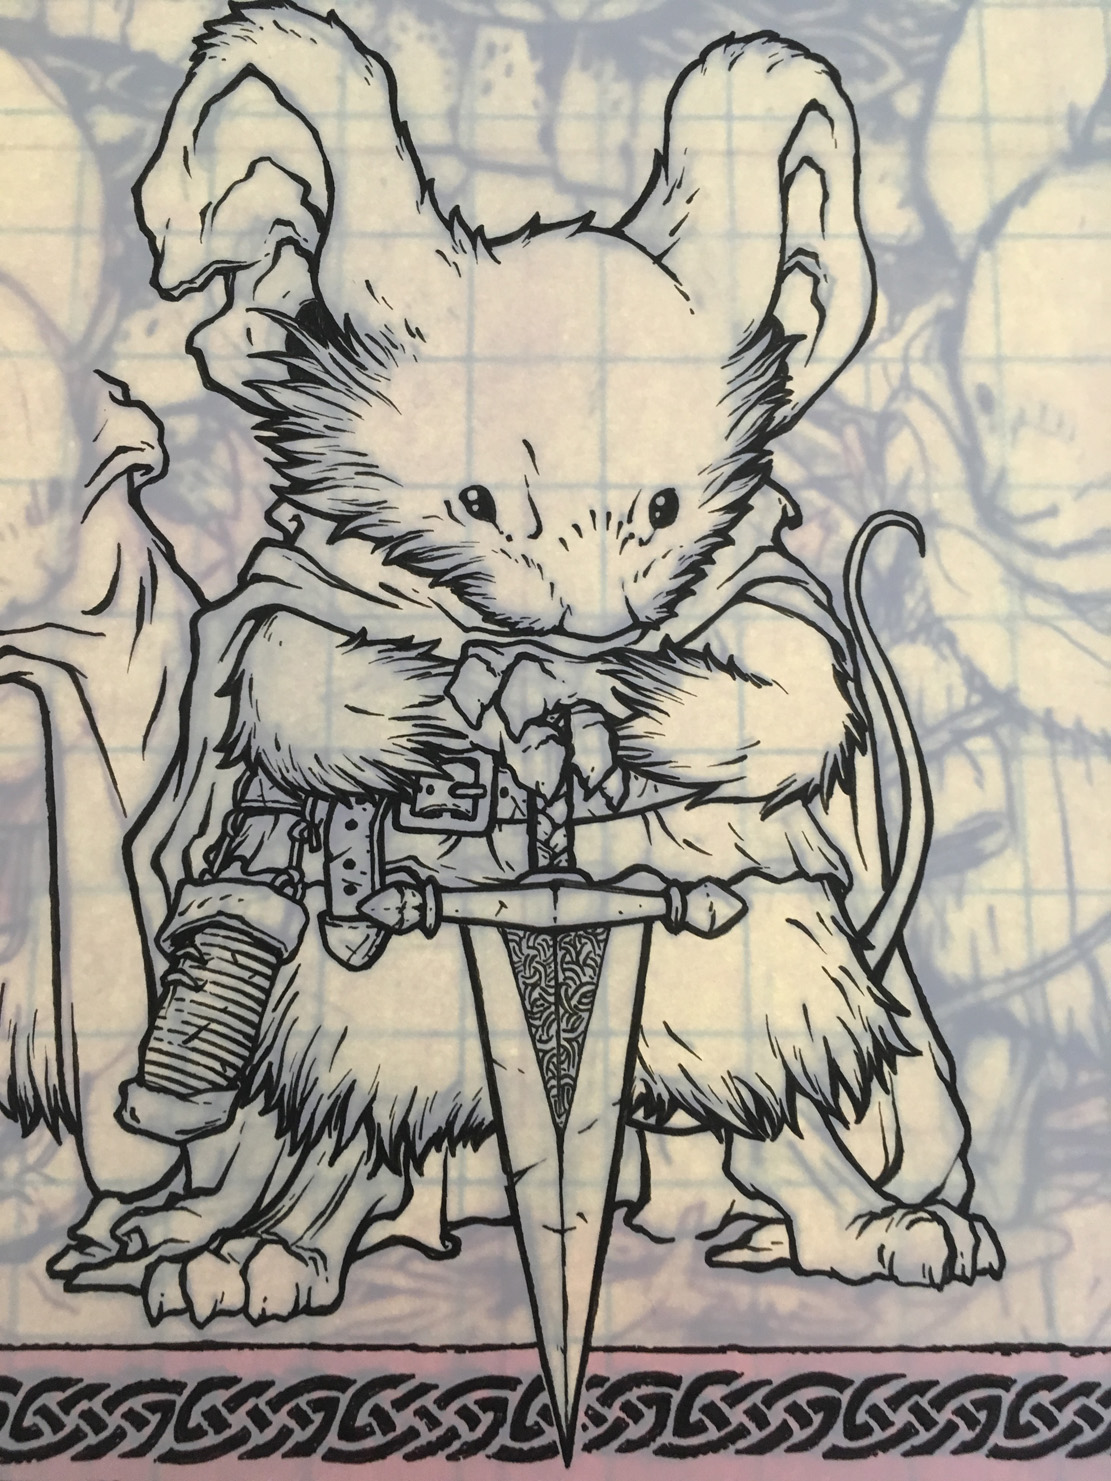 Once the printout was taped to a large sheet of Strathmore 300 series bristol, I started inking the piece on a large lighbox. I used Copic Multiliners (the 0.7 & 0.3 nibs mainly). Below you can see several photos in-process I took as I inked to show my editors & friends:


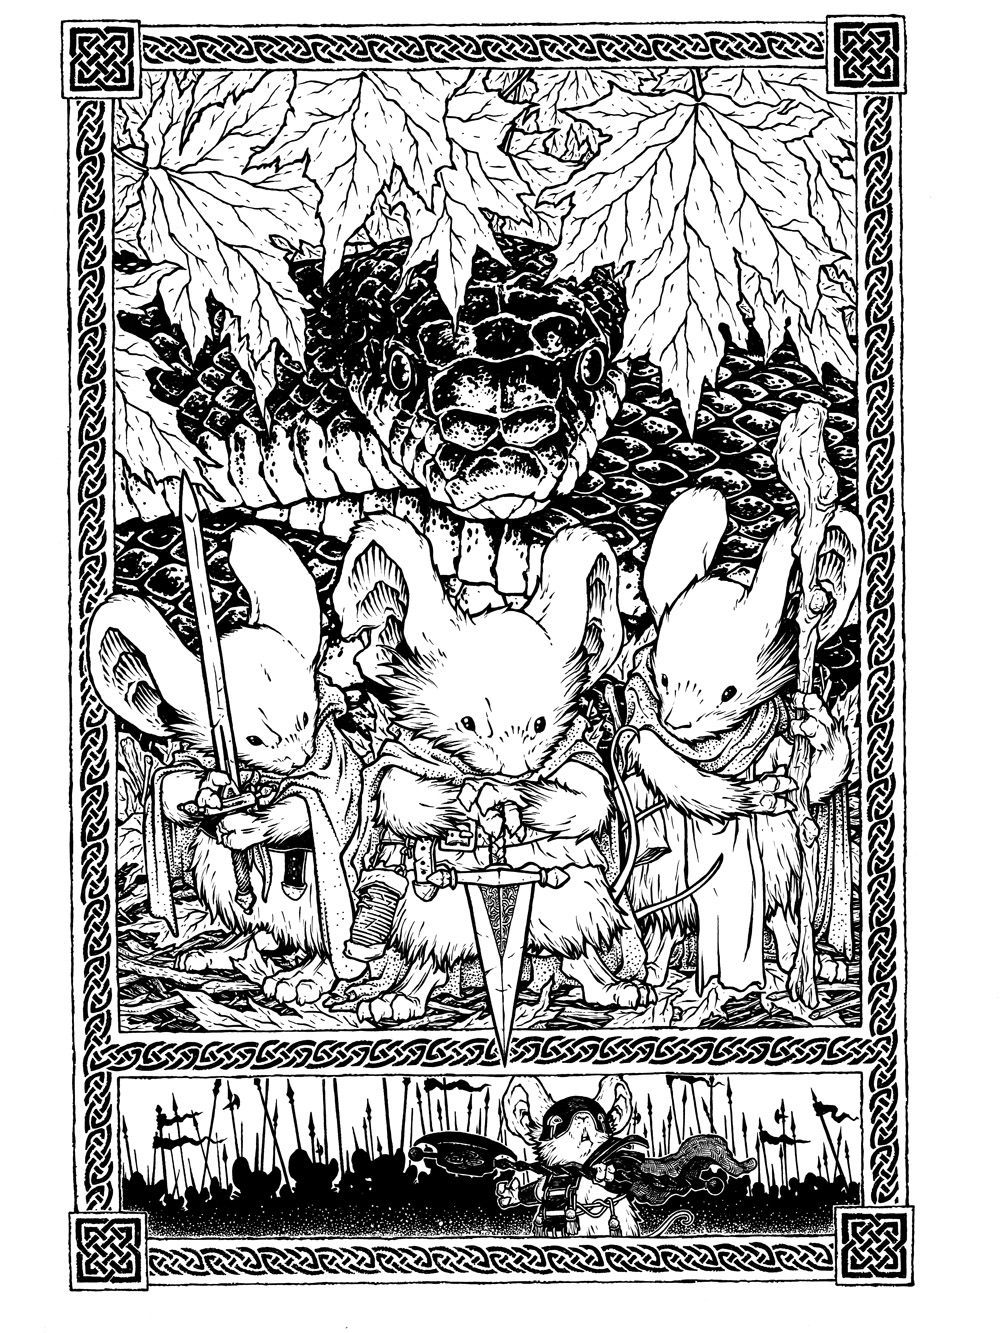 Here are the final inks. I added the rain on the back side of the piece and scanned it separately so that I could easily isolate those marks as they overlapped Midnight & his army. I had to ink this on and off for several days because it was around this time My Mom, who has Parkinson's & Dementia, came to live with us so we could be her caretakers. It made the work go a little slower only being able to ink when she was asleep, resting, or deep into a TV show.
As I said above, I scanned the inks at high-res (600) in 2 separate passes on my scanner (I also had the misfortune to need a new scanner just as I was ending this piece and had to install and learn the quirks of the new scanner for this one.
 For the coloring process I had to limit the palate to under 10 colors. Here was my initial pass, but after the folks at Mondo helped me out getting all the technical specifics worked out with the separations, we ended only needing 8 colors.
Below is the final file sent to the printer for silkscreening. Knowing Mondo poster sales, these may allready be gone by the time this post goes live, but check with MONDO to see if they have any left!!
2017 Appearances: New York Comic Con: Oct. 5-8
September 26, 2017
Blackcat Revisit
 For the third episode of THE PLOTMASTERS PROJECT, Jesse Glenn & I revisited an old super-hero/vigilantly character of mine called "BLACKCAT".
Now I know some of you are yelling at your screen (and in some ways at me) "But there already IS a character named "Blackcat" in Marvel comics...
...yes. I know that, now.
To the left you can see my finished new piece for the BLACKCAT episode of THE PLOTMASTERS PROJECT, and below I'll break down who the character was, and how I created this updated image for the podcast.

Blackcat was a character I created as my teenage alter-ego vigilantly. He patrolled the rooftops of Flint, MI and kept neighborhoods safe. He was agile and nimble, and at one point had a grappling line just like Batman. He wore my same trench coat, and my same tee-shirt, and in a case of life imitating art, I made a cloth mask so I could go as my own character for halloween. Embarrassing, I know. The only thing semi-unique about the character and his name was that he could alter the luck of those around him for the worse and improve his at the same time...because "you didn't want a Blackcat to cross your path". To the right you can see my high-school drawings of him.
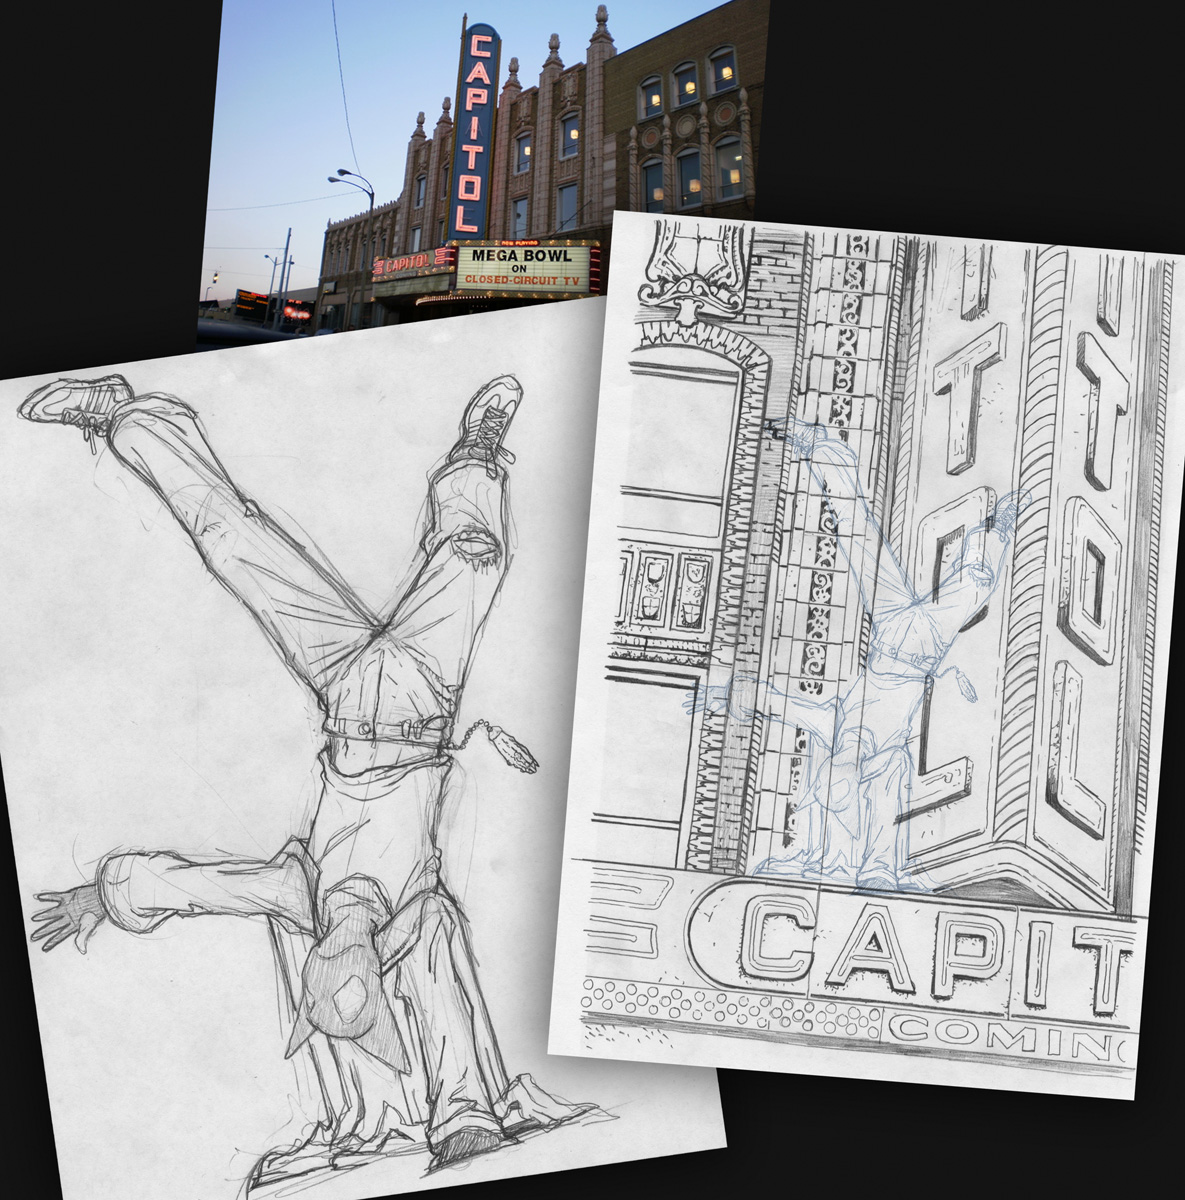 For the updated version, I didn't really want to change the character costume/design at all. I wanted to capture the idea of the clothes being something a teen would have access to, and having sewn that mask myself as a teen, I knew that part was doable. I looked up some parkour reference to find something that could highlight Blackcat's agility prowess (and show a teen showboating a bit). And instead of the typical rooftop backdrop of vigilantes, I opted for the marquee of a Flint, MI landmark, the Capitol Theater.
These were sketched on copy paper (with a printout of the pose already on the background drawing for reference)
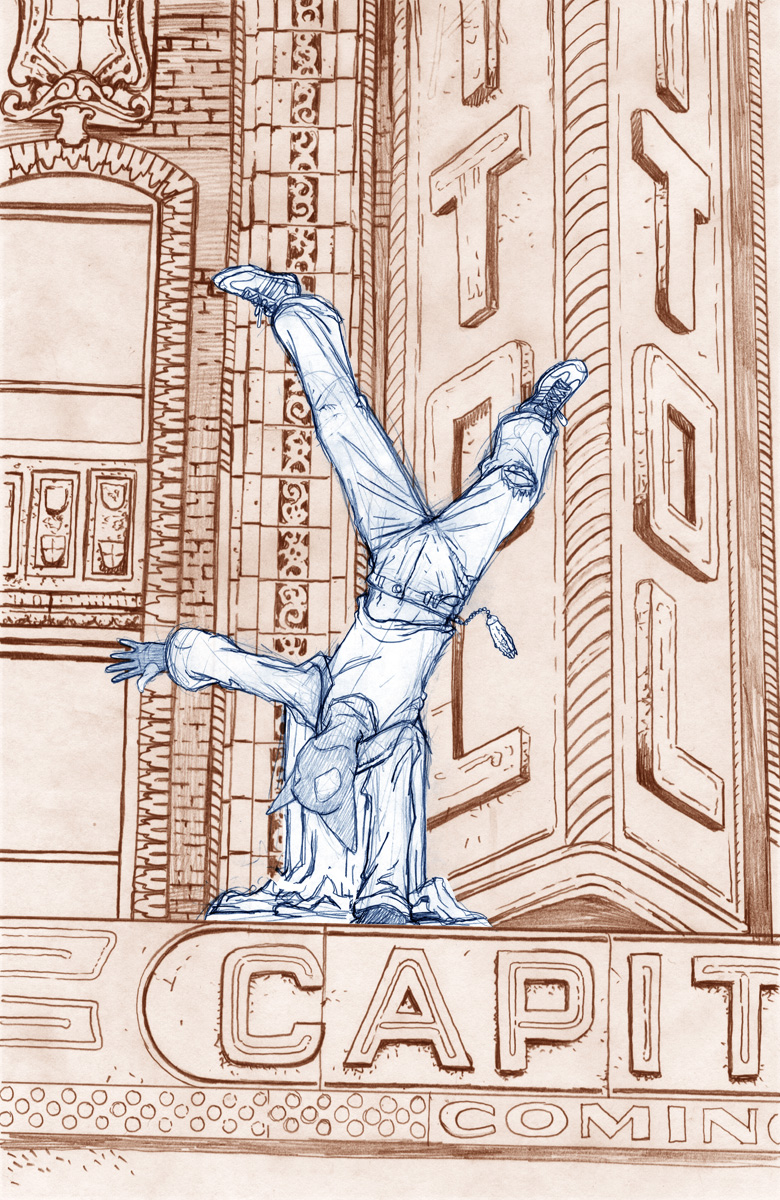 I scanned the sketches and assembled them in photoshop. With each drawing having been done on separate sheets of copy paper, this allowed me to tweak each component, adjust, resize, rotate, etc until I liked the composition. It also made it easy to tine the background a different color than the character to help me see where the character's lines end and where the background begins.
At this point in creating this piece, I realized that I wasn't so much drawing Blackcat, but drawing the background around Blackcat. This piece had gotten away from me like the CATS TRIO piece.
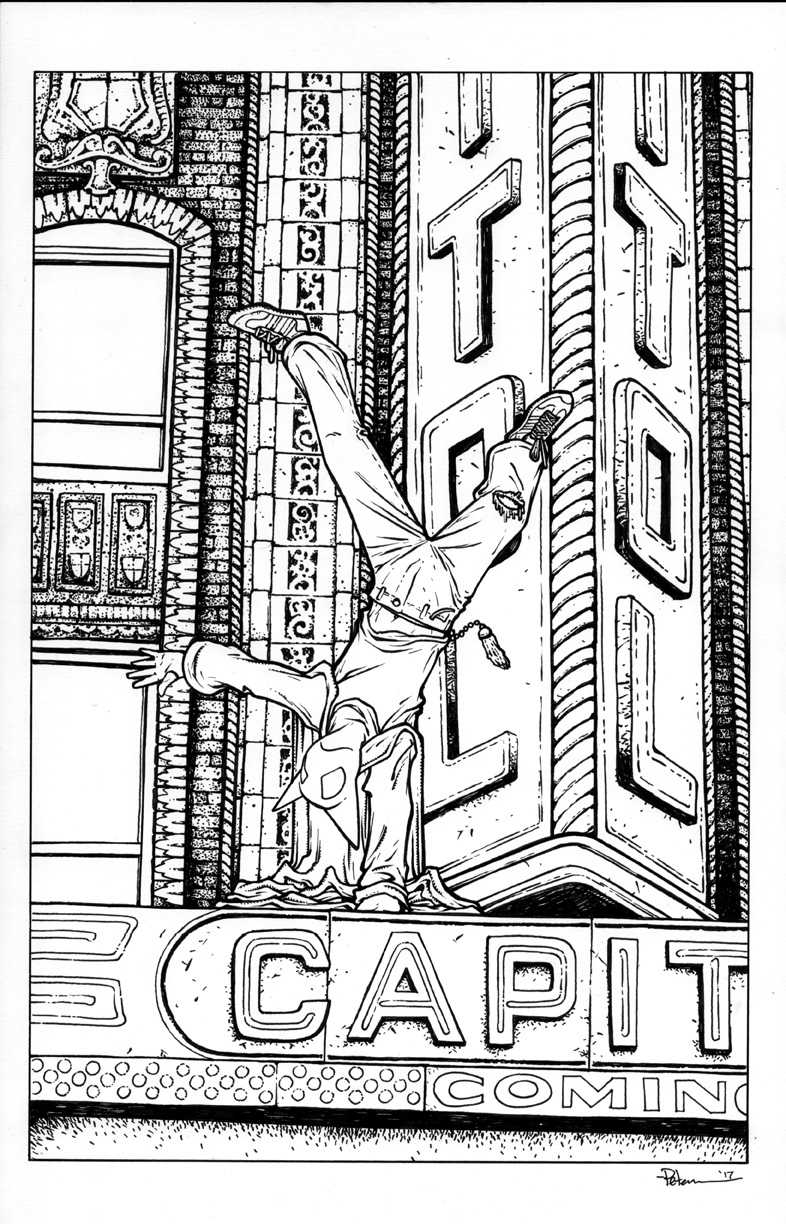 With a printout of the above layout I was able to start inking. First I taped the printout to the back of a sheet of Strathmore 300 series bristol. Then on a lightpad I could see through the bristol to the printout and ink safely on the surface of the bristol. I use this method to save a step in erasing any pencil and to keep the final inks clear of even any blue-line.
I ink with Copic Multiliners (the 0.7 nib mainly for this piece)
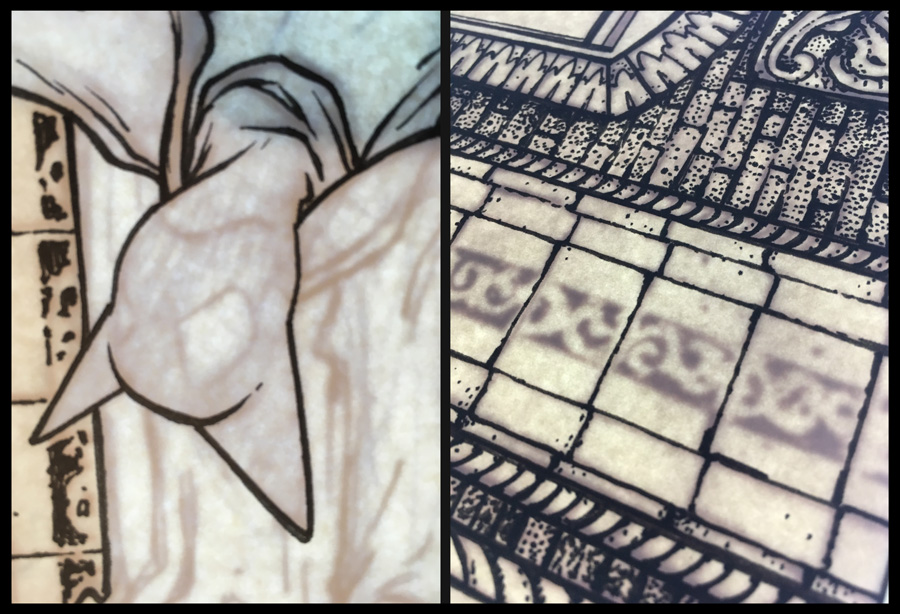
Below you can see a few photos I took in-process as I was inking on the lightpad:
 With the inks finished, I scanned them and started the coloring process by flatting in the colors. Flatting is the boring part of coloring. It amounts to adult coloring within the lines, but only with flat colors--no textures, no lighting, no effects. The color selections were mostly made for me by either the old Blackcat costume design or the real Capitol Theater in Flint. Laying in these flat colors makes it easier to quickly isolate any particular area or group of areas to render them alone without affecting other part of the image.
 Lastly I got in to do the fun part, all of the shading and lighting effects. for the rendering I mostly use the dodge and burn tools in Photoshop with a textured brush. Its in this step that I add layers to help me paint in the reflected neon light as well as the glow around the letters. I had fun revisiting my old paper alter-ego Blackcat for the purposes of the Plotmasters Project episode. In the same way that familiar scents or sounds can trigger the memory into an instant flashback of a point in time, I am routinely transported by these old characters to a great moment in my life.
You can watch the BLACKCAT episode of The Plotmasters Project on YouTube:
And follow us on Facebook & Twitter
2017 Appearances: New York Comic Con: Oct. 5-8
September 19, 2017
Mouse Guard Model Video: Seyan Gatehouse
 For my 2015 Free Comic Book Day story "Service to Seyan" (included in the short story collection Baldwin the Brave and Other Tales), I built a model of the gatehouse that leads to the mouse version of the Elysian fields.
I made a video where I talk about this model, how I built it, what the materials were, and why I built it in the first place. Below you can watch as I explain how having the model helped frame scenes and block where the mice should stand in them:
Further posts about Service to Seyan:
Story Blogpost:
http://davidpetersen.blogspot.com/2014/11/baldwin-brave-other-tales-service-to.html
Model Blogpost:
http://davidpetersen.blogspot.com/2014/11/seyan-gatehouse-model.html
2017 Appearances: Baltimore Comic Con: Sept. 22-24New York Comic Con: Oct. 5-8
September 12, 2017
Toned Paper Commissions
Here are some recent Toned Paper Commissions from Heroes Con & San Diego Comic Con. I will be taking commissions like these at BALTIMORE COMIC CON later this month for $200. First-come/first served.
 Saxon
Saxon
 Kenzie
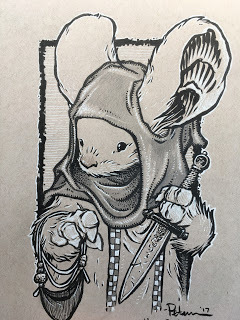
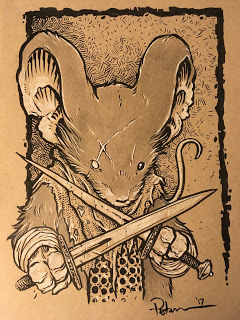 Scarred Guardmouse
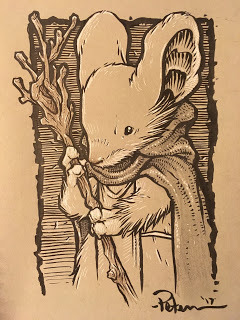
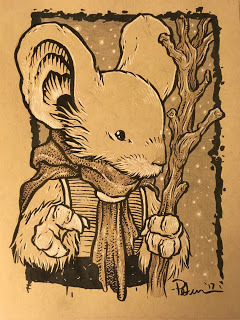 Guardmouse with Staff
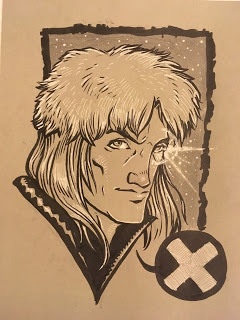 Longshot of the X-Men
 Nightcrawler of the X-Men
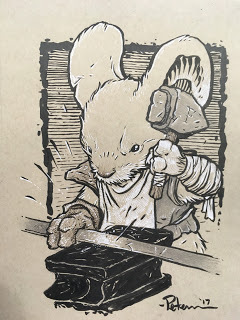 Mouse Blacksmith
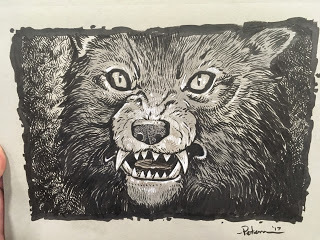 Gmork from Neverending Story
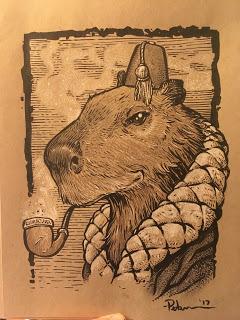 Happy Capybara
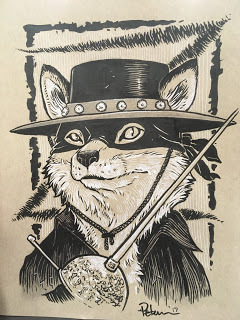 Fox Zorro
 A fan's original character "Krooked"
 Mouse Archeologist
 Gruff Mouse Bartender
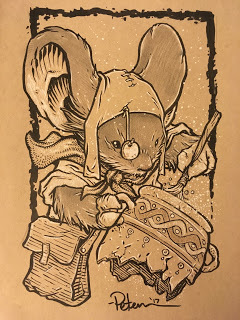
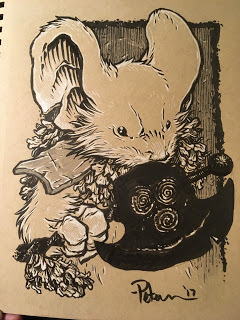
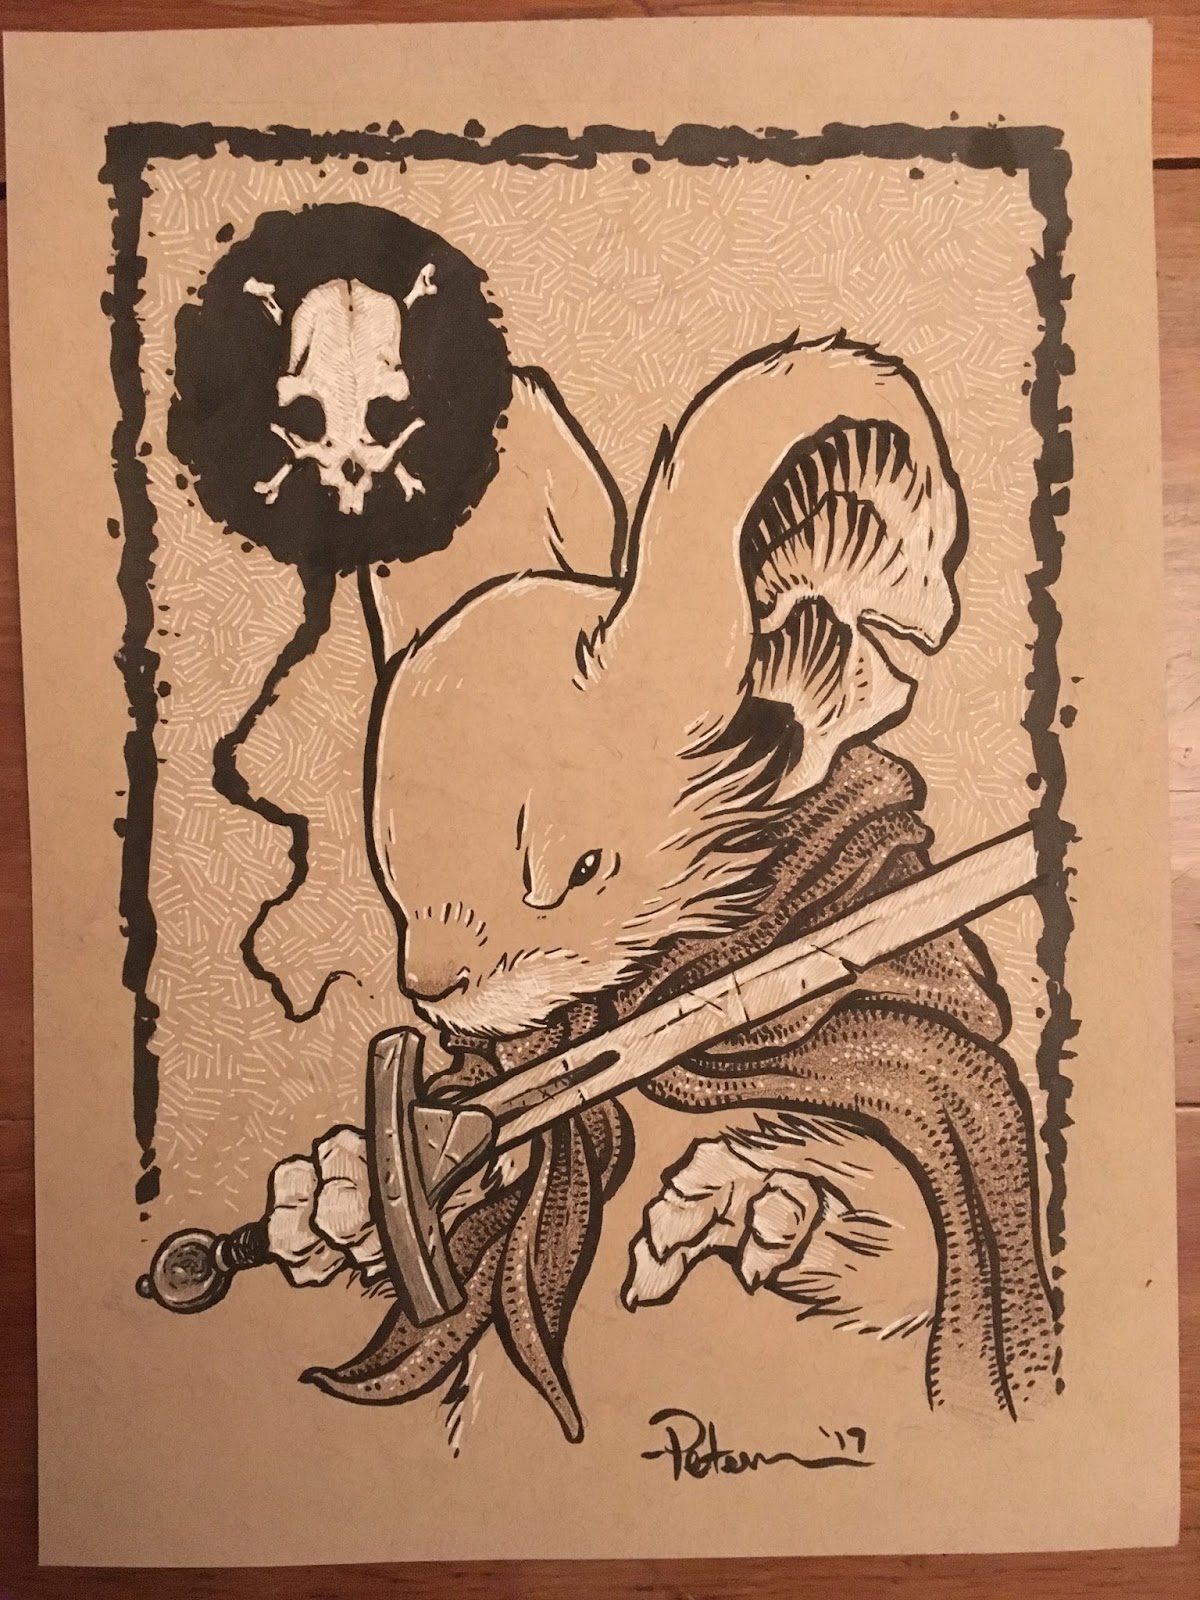
 Lonepine Mouse
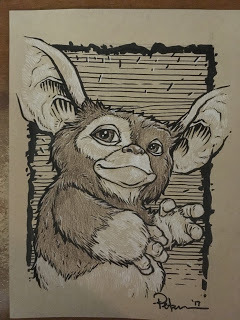 Gizmo
Gizmo
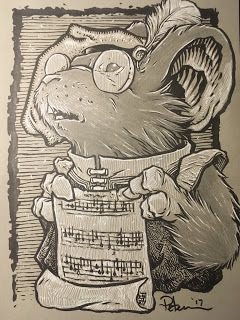 Mouse Composer
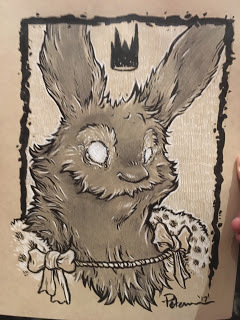
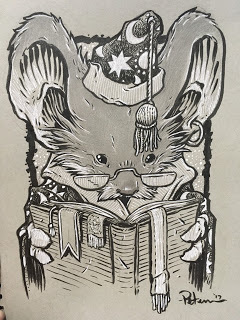 Dumbledore-esque Mouse
 Gandalf-esque Mouse
 Samurai Mouse Armor
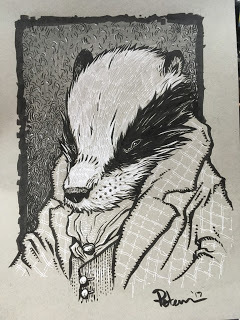 Mr. Badger
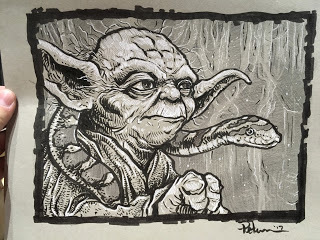 Yoda
Yoda
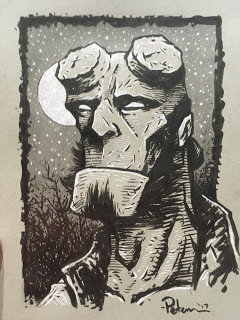 Hellboy
 Lieam as the Black Axe
 Sadie
Sadie
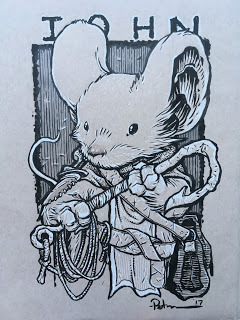 A young Fan's RPG character "Iohn"
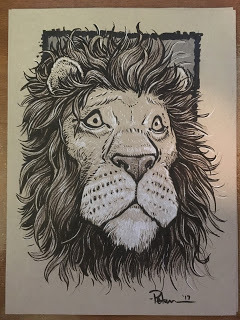 The Cowardly Lion of OZ
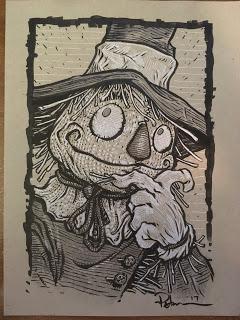 The Scarecrow of OZ
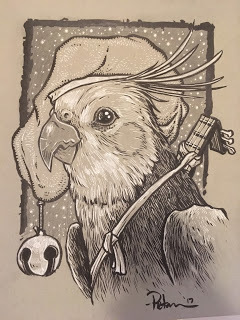 A Cockatiel as a Bard
2017 Appearances: Baltimore Comic Con: Sept. 22-24New York Comic Con: Oct. 5-8
 Saxon
Saxon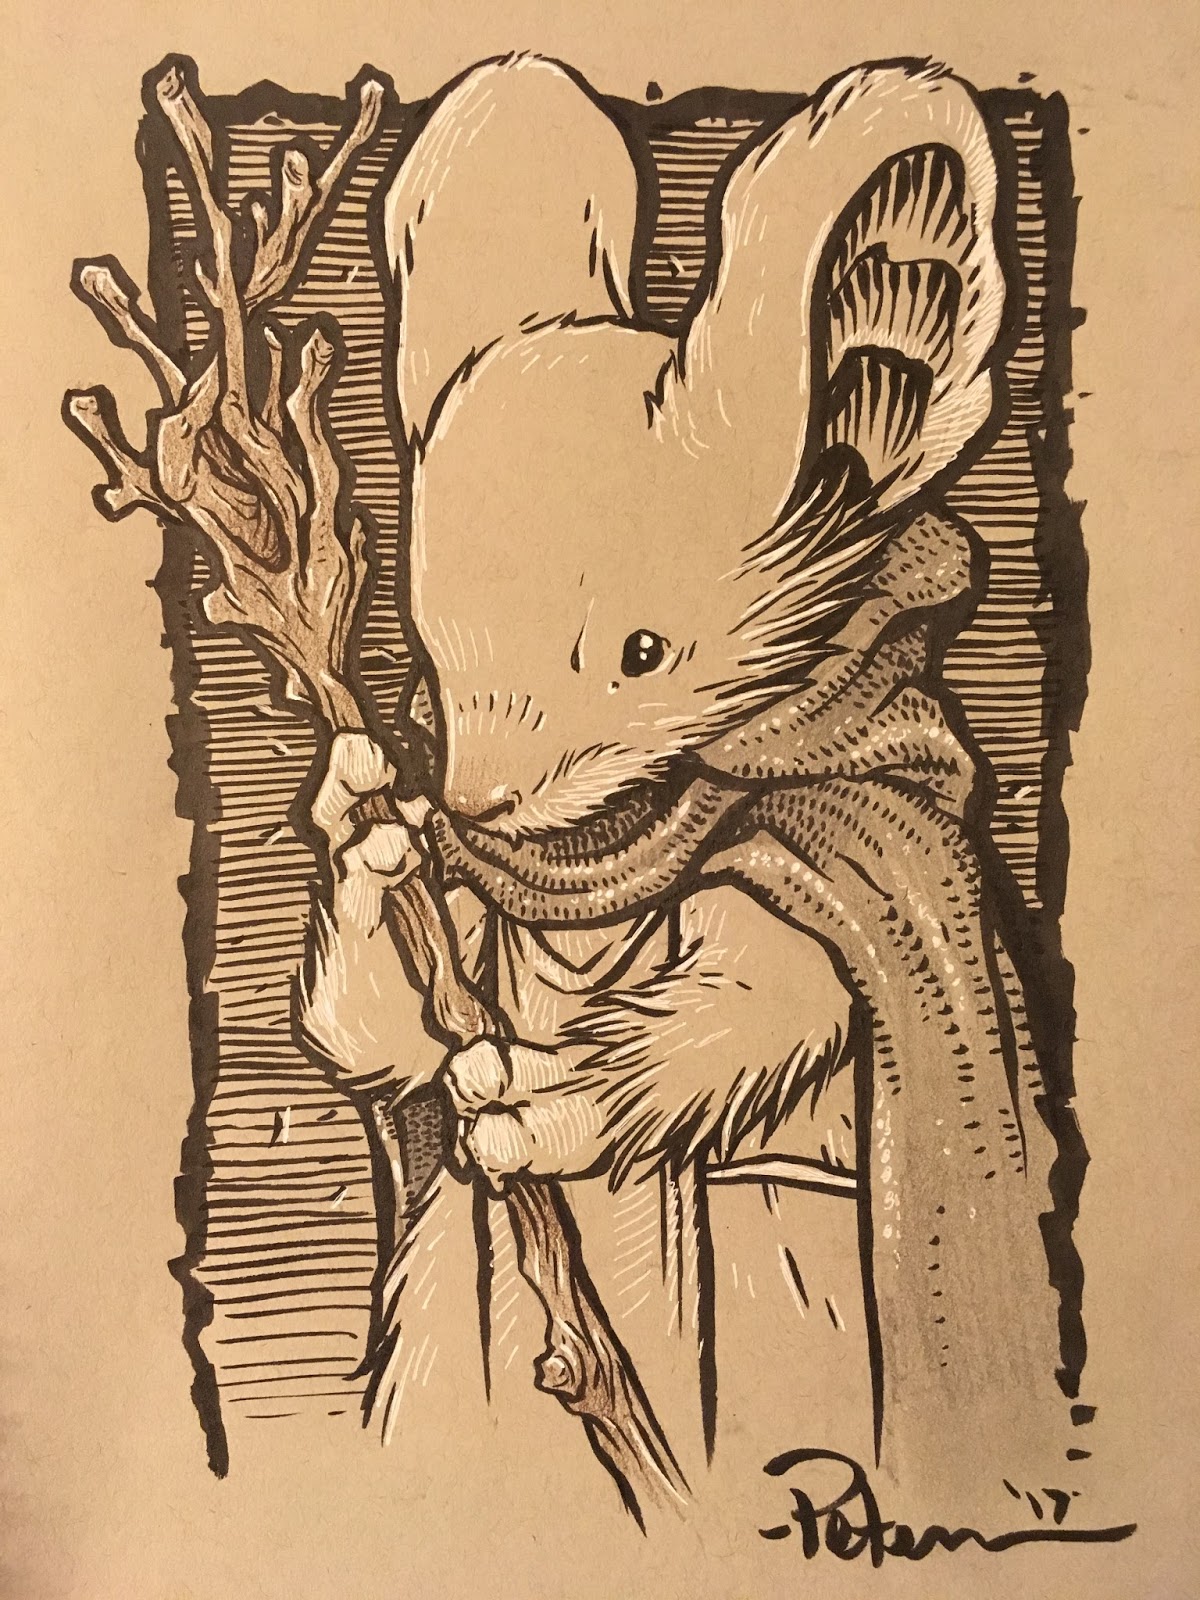 Kenzie
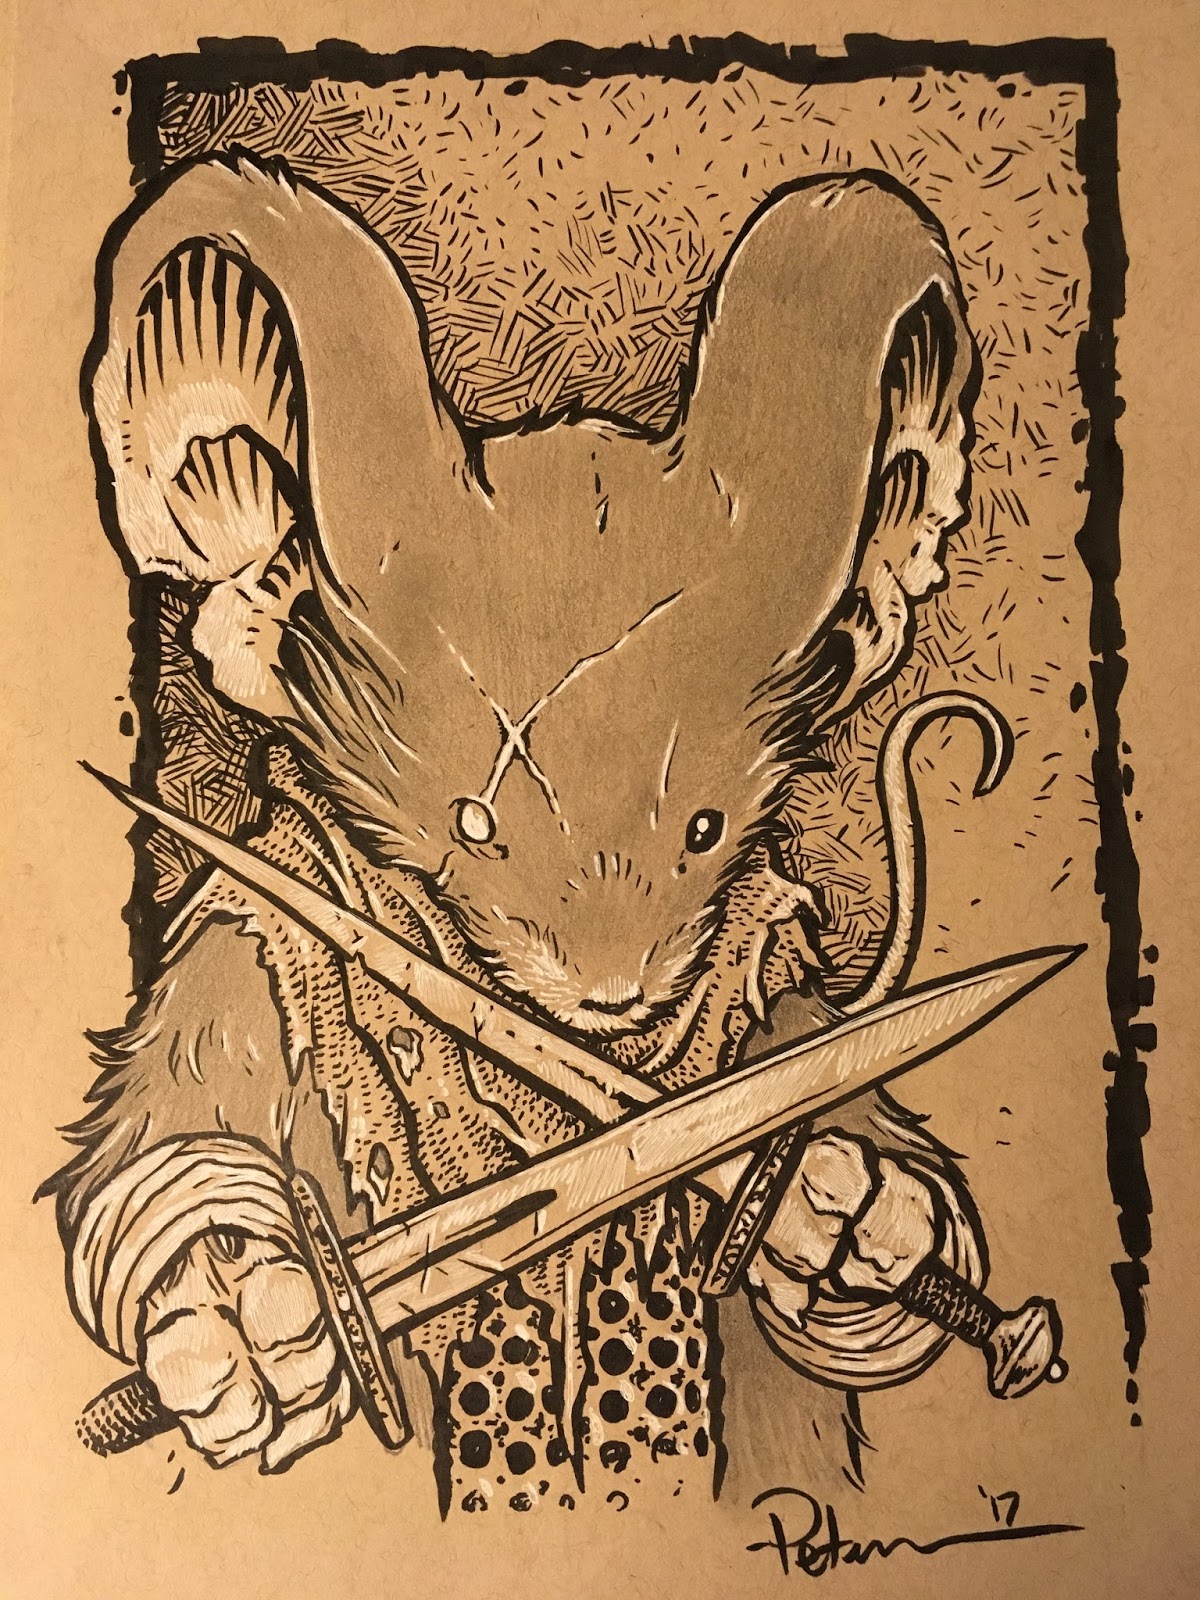 Scarred Guardmouse
 Guardmouse with Staff
 Longshot of the X-Men
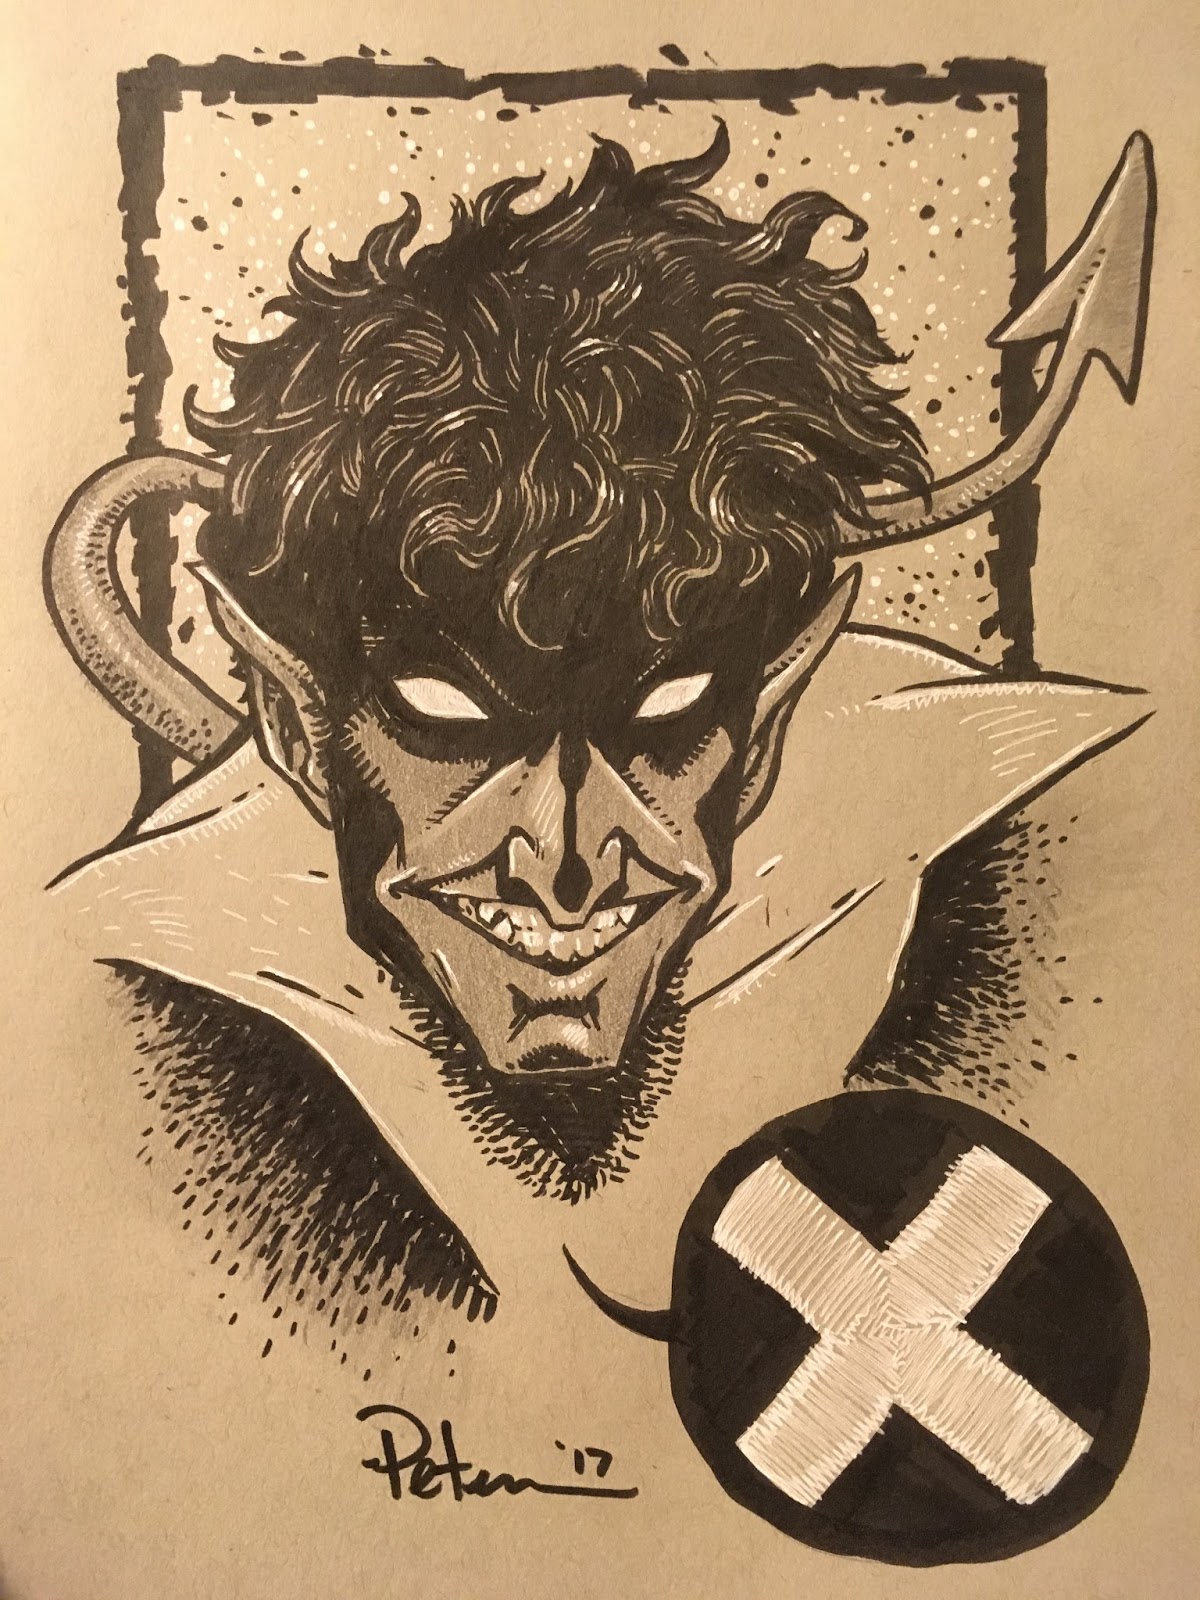 Nightcrawler of the X-Men
 Mouse Blacksmith
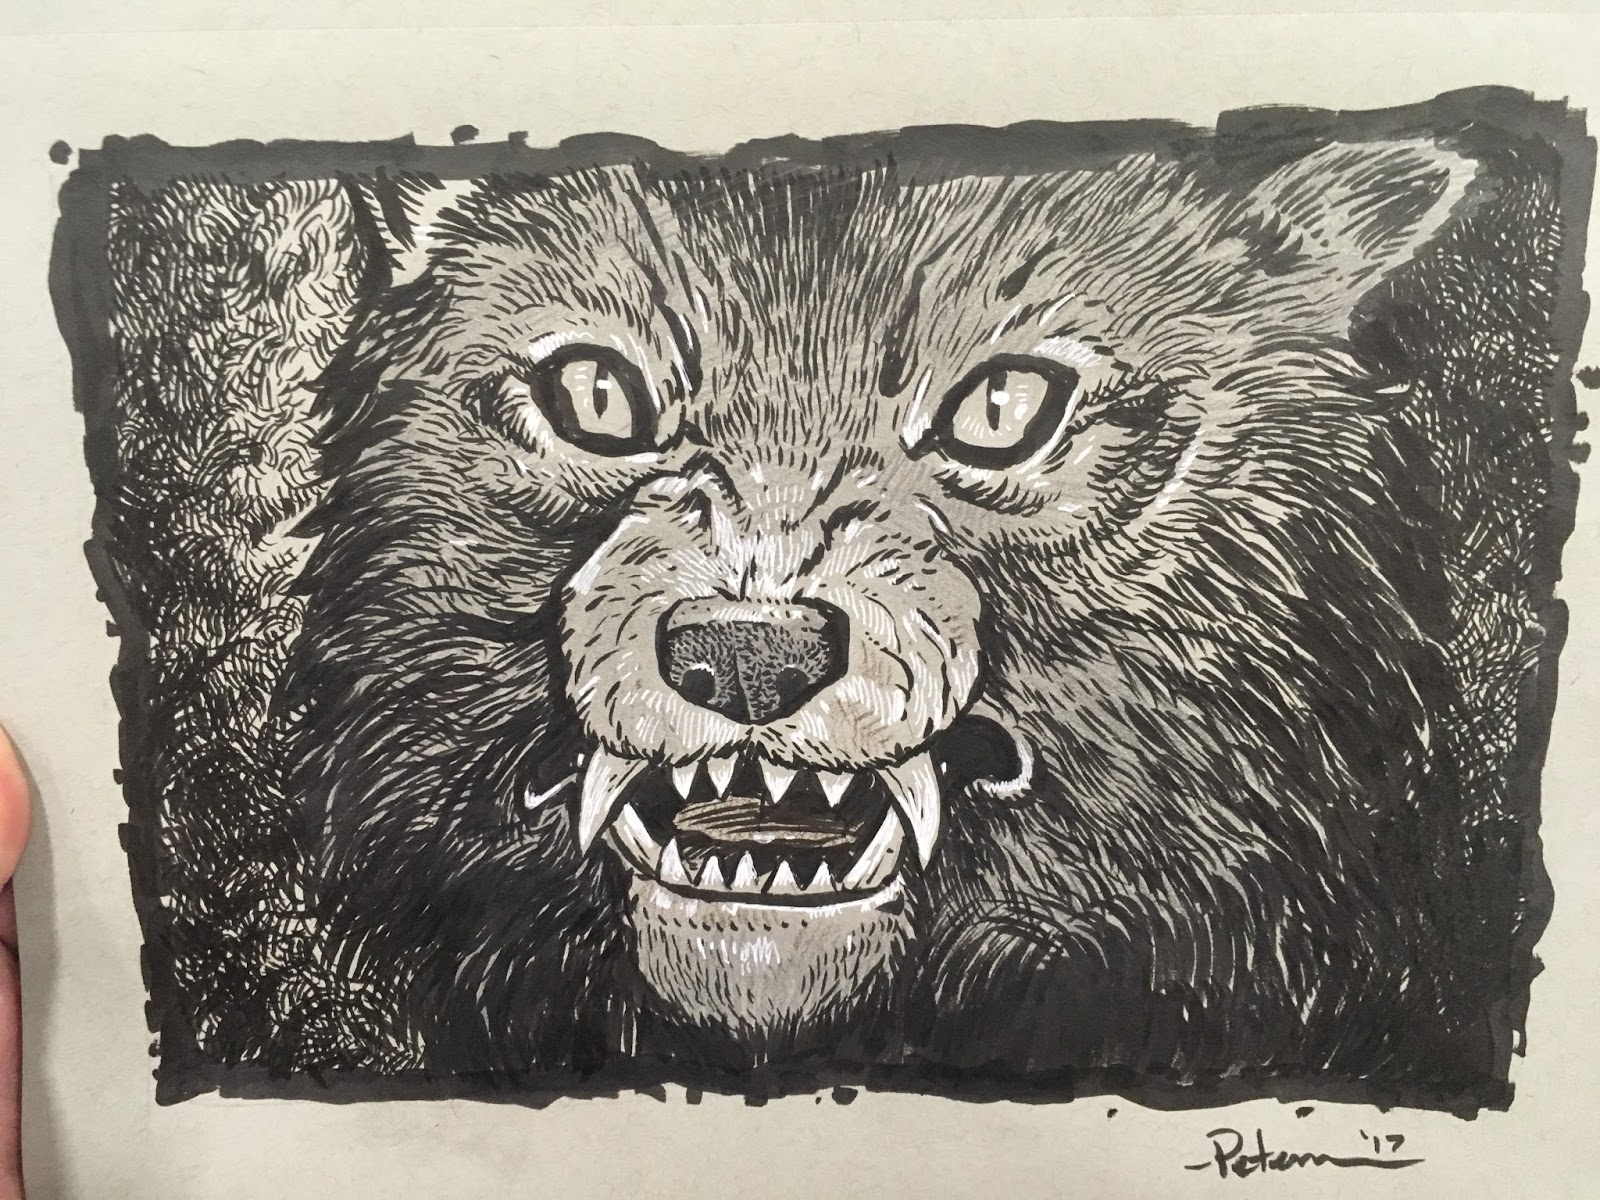 Gmork from Neverending Story
 Happy Capybara
 Fox Zorro
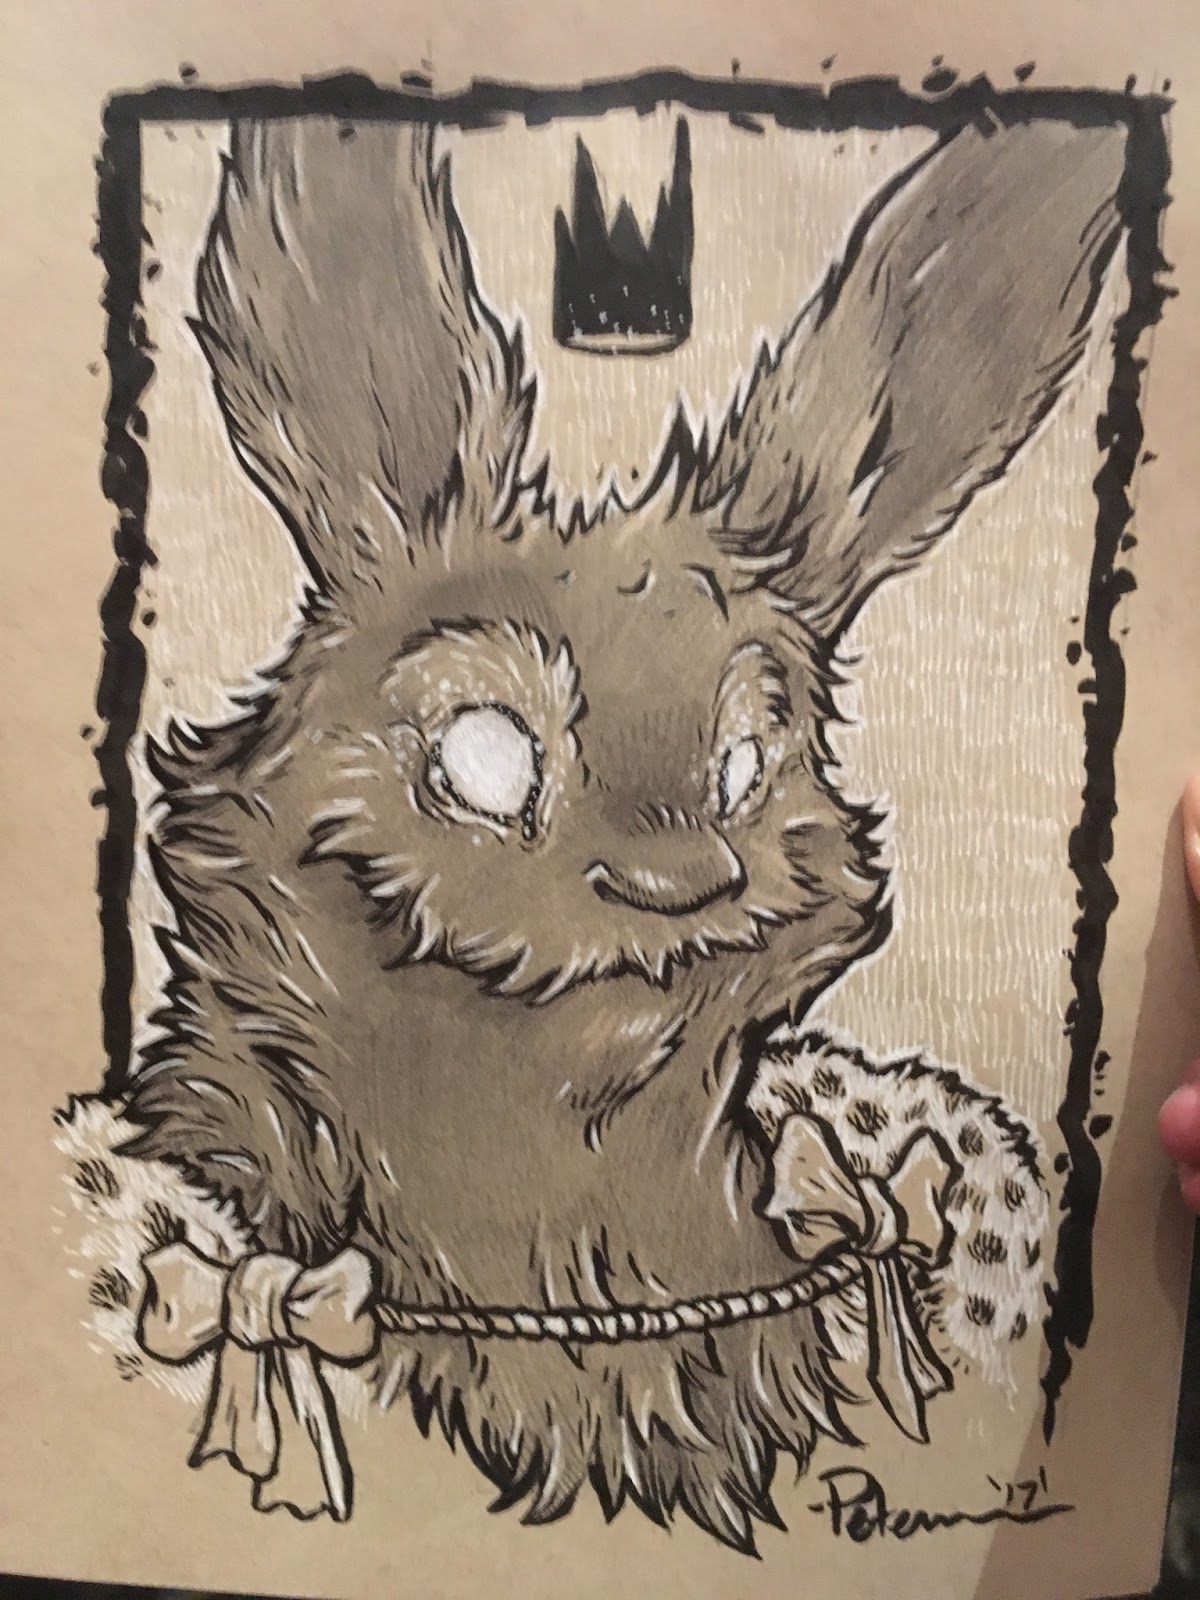 A fan's original character "Krooked"
 Mouse Archeologist
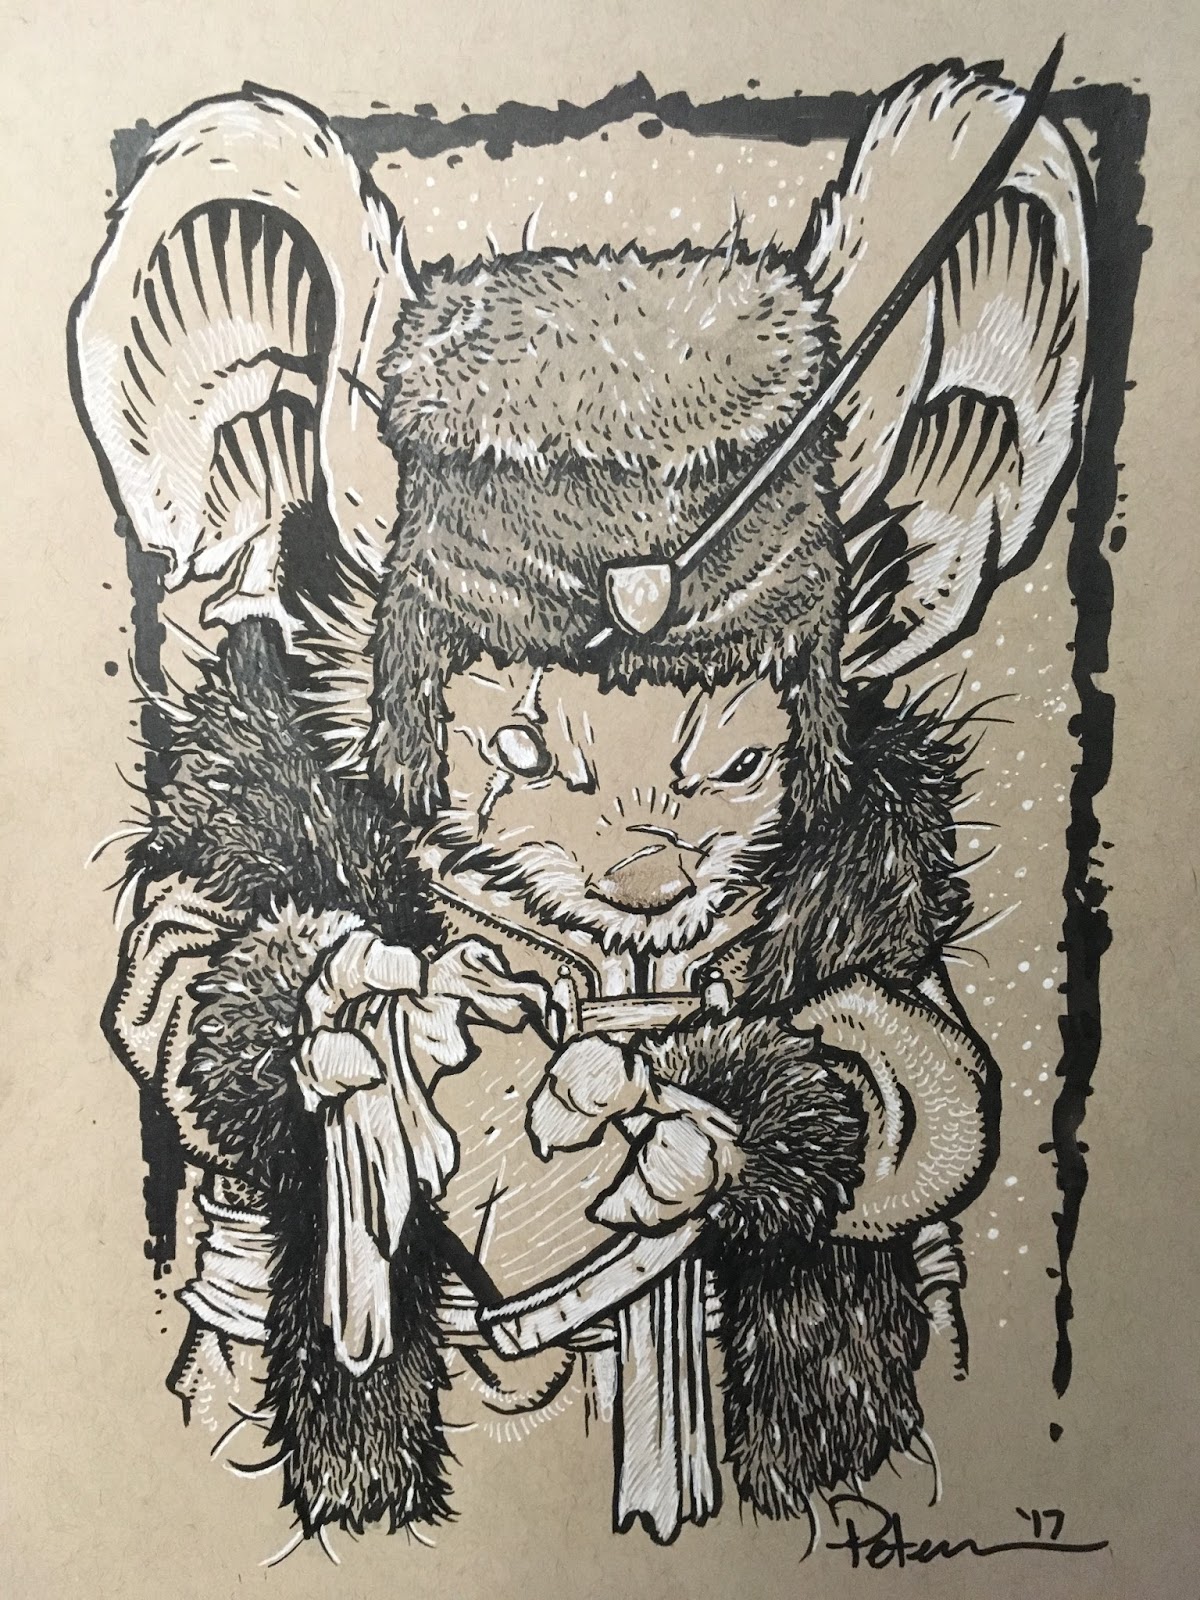 Gruff Mouse Bartender
 Lonepine Mouse
 Gizmo
Gizmo Mouse Composer
 Dumbledore-esque Mouse
 Gandalf-esque Mouse
 Samurai Mouse Armor
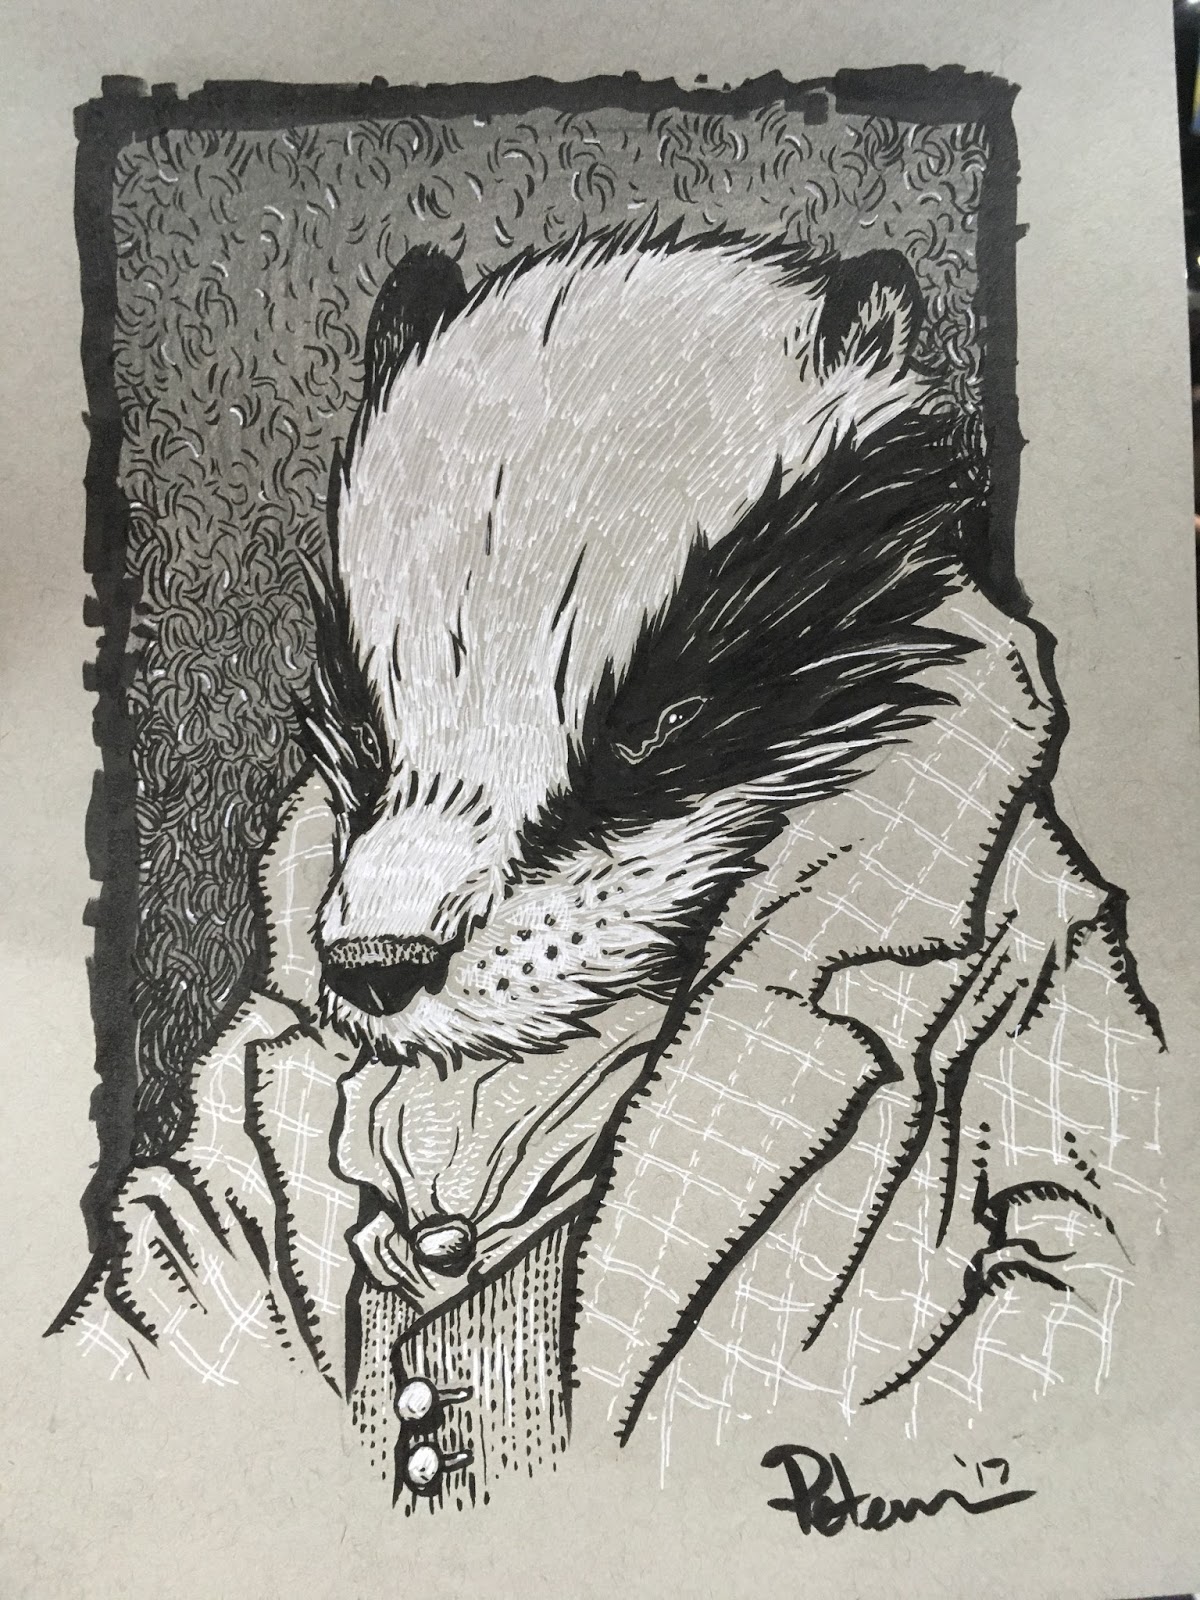 Mr. Badger
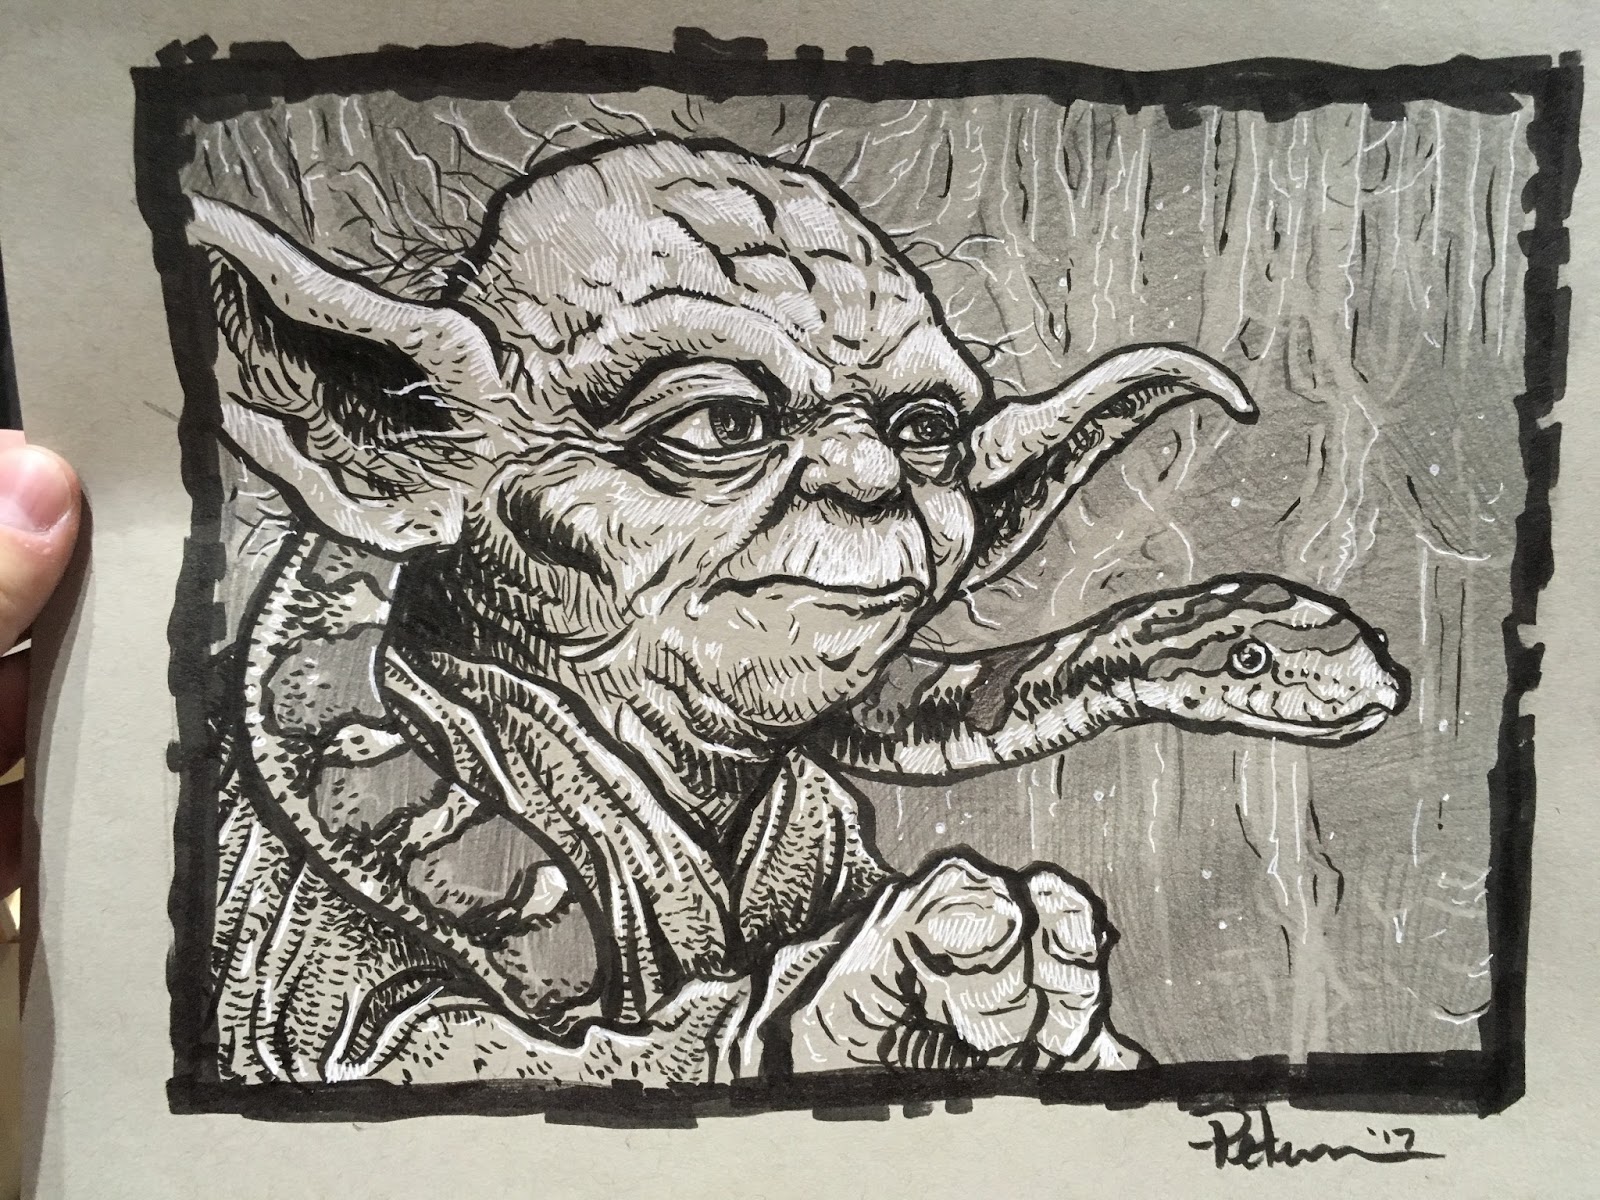 Yoda
Yoda Hellboy
 Lieam as the Black Axe
 Sadie
Sadie A young Fan's RPG character "Iohn"
 The Cowardly Lion of OZ
 The Scarecrow of OZ
 A Cockatiel as a Bard
2017 Appearances: Baltimore Comic Con: Sept. 22-24New York Comic Con: Oct. 5-8
David Petersen's Blog

- David Petersen's profile
- 339 followers
David Petersen isn't a Goodreads Author
(yet),
but they
do have a blog,
so here are some recent posts imported from
their feed.

