Ree Drummond's Blog, page 9
May 26, 2016
What I’ve Been Doing! by Ree
Recipe posting has been especially light here on The Pioneer Woman Cooks, but it’s not because I have decided I no longer like food. It’s also not because I have decided I no longer like food blogging. Never! I love posting recipes here and taking photos of the things I cook and I promise you I’ll keep doing it until the day I croak. Or at least the day before I croak.
The reason posting has been light is that I have been neck-deep in testing recipes for the mercantile/deli, which is opening in—yikes—just a few (as few as three) short months! We’re at the point now that we need to lock in the recipes that will be used, and since restaurant recipes are a little bit of a different animal than ones you just whip up in the kitchen at home, it’s quite a process.
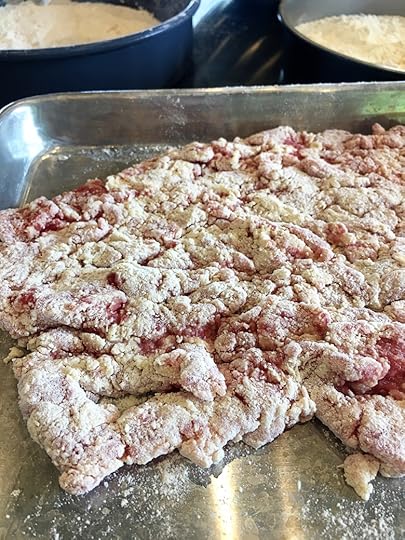
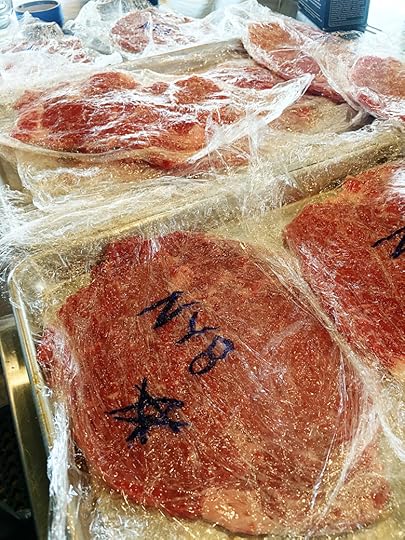 We started with chicken fried steak, which I am taking EXTREMELY SERIOUSLY for obvious reasons. First there’s the meat, and we had to nail down not just the cut of meat (we tried several) but also the number of ounces (and how large it would be once it was cubed), the ingredients for the breading, the breading method, what oil it’s fried in, the seasoning…the works!
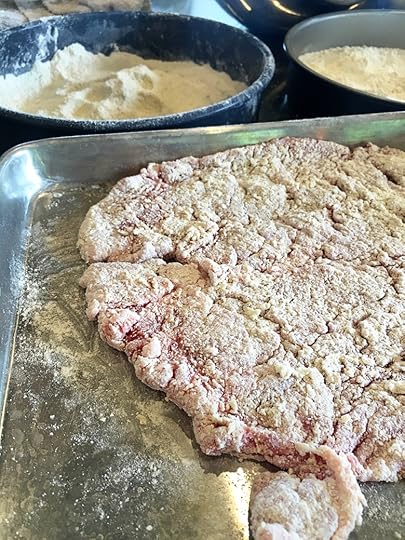 This was another kind of meat. You can see how differently they behave once they’ve been tenderized.
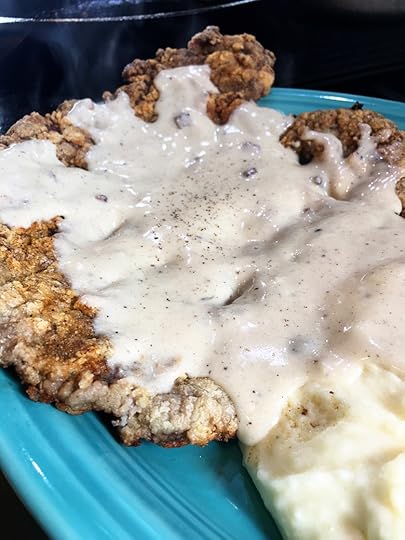 And don’t even get me started on the gravy! And the mashed potatoes. And the biscuits.
It’s an odyssey! But such a yummy one.
And Chicken Fried Steak is just one of many, many things we’re offering. So just take the process above and multiply it by the number of things we’re offering on the menu…and I hope that helps explain why posting has been a little light around here!
The great thing is, once we’re finished tomorrow I’ll have plenty of new things to blog about.
(And plenty of more reasons to get on the dang treadmill!)
Love,
P-Dub


May 16, 2016
French Dip Sandwiches by Ree
 Very few things are more comforting to me than a deliciously drippy French dip sandwich. Fantastically flavor beef…golden toasted…dark, beautiful onions…and the most delectably savory liquid to dip it in.
Let’s just say I’m a fan!
 This is a hunka hunka burnin’ love. I mean beef. It’s a boneless rib loin, and if you cut it into individual steaks, you would have rib eye steaks.
Translation: This hunk of beef is darn expensive. You can substitute a hunka hunka sirloin instead! It’s not as tender, so you’ll just want to slice it a lot more thin. Either works! I tied it a couple of times with string to hold the piece of meat together a little better.
 In a small bowl, mix together some salt, pepper, ground oregano, and ground thyme. A winning combo for any piece of beef.
 Sprinkle the seasoning mix liberally over the beef, using your hands to rub it all over the surface and in the cracks and crevices. Keep in mind that this will be roasted and then sliced, so each slice of meat will only get the small rim of flavor around the edge. You can’t overseason!
 Place the meat on a roasting rack in a roasting pan and roast it to medium-rare, about 20 to 25 minutes, until it registers about 125 to 130 degrees on a meat thermometer. This will be rare to medium-rare, so if you like things a little less red in the middle, you can take it to more like 135. Don’t overcook the meat, though! An overcooked ribeye is a tragic occurrence!
Sorry to be dramatic.
 Take the meat out of the pan, set it aside on a cutting board, and cover it with foil. Place the roasting pan on the stovetop burner over medium high heat, then throw in some sliced onions and minced garlic. (Obviously, don’t clean the pan first. That would be a tragic occurrence, too!)
(Sorry to be dramatic. Again.)
 Stir and cook for about 4 to 5 minutes, until the onions are soft and golden…
 Then sprinkle in…are you ready?…a packet of French onion soup mix!
Please continue to love me. It’s delicious, man!
 Stir it all together, then pour in a can of beef consomme, which will forever make me think of my mom, some beef broth, dry sherry (or white wine), Worcestershire sauce, soy sauce (just a little!), and a cup of water. Bring the mixture to a boil, then turn the heat to low and simmer it for 45 minutes, until the flavors are deep, rich, and magical.
 Remove it from the heat after the cooking time and pour it through a fine mesh strainer. Reserve both the liquid and the onions for the sandwiches!
 Oh my word. LOOK at this beef!
 Slice it as thin as you possibly can. If you have a mechanical slicer, even better!
 And remember: You can cook it a little longer if you like it a little less red. (But as you can imagine…we like it red out here in the sticks.)
 Pile some beef on a toasted deli roll (the crustier the better so it holds up)…
 Top the beef with some of the cooked onions…
 Then serve it immediately with a little dish of the warm liquid/jus.
 There’s pretty much nothing in the world that’s as good as a good French dip. If you have some special guests coming to your house for dinner—a boss, a dignitary, a future in-law—this is a sure way to wow ’em.
Here’s the handy dandy printable!


May 11, 2016
God Bless Texas by Ree
Alex and I had to move the last of her things out of her dorm room yesterday, and we had just rolled up our sleeved, given each other a high-five, and said, “Okay…let’s do this thing!”
And then we changed our mind and went to eat tacos.
Ha!
 We went to Torchy’s Tacos, which is a much-loved taco place ’round these parts, and Alex said we had to start with queso. It was phenomenal! I’ve always been a fan of Fuego’s (another Texas place) queso, and this, fortunately, was different enough so as not to force me to choose a favorite.
If I have time this morning, I’m stopping at Torchy’s and Fuego before I leave so I can take some queso home with me!
I’m shameless.
 Guacamole was my personal request. I can’t ever pass it up. And it was definitely delicious, but the queso was the star of the show.
 Actually, scratch that. The tacos were the star of the show. My heavenly goodness! I ordered one with fried shrimp and slaw, and another one with miraculous grilled chicken and a super spicy sauce that kept me on my toes for a good thirty minutes once the meal was over.
Whew. Spicy!
Whew. Scrumptious!
And the tortillas…don’t get me started. I ordered one with corn and one with flour and I’m still trying to decide which one had the more perfect texture.
Texas is a great state for many reasons. Tacos are high on the list!


May 9, 2016
May Recipes by Ree
This morning I was thinking about all the recipes I’ve posted here, and decided to look back and grab a few May recipes through the years. I actually discovered a few things I haven’t made for awhile. Time to get ’em back in my rotation!
(Click on the individual recipes to be taken to the printables.)
 May 2008: Spicy Mac and Cheese. Oh, my. I haven’t made this in ages! No roux is required, and the flavor is all that and a bag of potatoes. I mean jalapenos. And it’s great on its own with a salad…but it’s particularly perfect as a side dish for steak.
Wow.
 May 2009: Strawberry Shortcake Cake. Gosh, another one I haven’t made in forever. I used to make this for my father-in-law, who loves this cake so much, he’d eat it for breakfast. Putting it on my list this week, as it’s a total dandy.
If you love strawberries, you’ve gotta make it soon.
 May 2010: Cinnamon Baked French Toast. So good! The cinnamon streusel topping absolutely makes it.
And you can assemble it the night before, pop it in the fridge, then bake it the next morning. Sha-ZAYUM!
 May 2011: Ohhhhh, I remember this. Risotto Primavera! I would have stirred a bunch of basil into it, but since it was May, there wasn’t any in my garden yet.
Risotto is luscious.
This risotto was particularly luscious.
 In May 2012, I made this Monster BLT. Basically a big, beautiful, double-decker BLT, but with chipotle mayo, which seriously takes it over the top.
You can add avocado if you really want to go nutso.
 May 2013: Roasted Red Pepper Pasta.
You want to make me happy? Whip me up a batch of this stuff. Hands down one of my favorite meals in the world.
 May 2014: Blackberry Margaritas! That’s a lime sugar rim right there, and these are pretty much glorified slushies.
(Grownup glorified slushies.)
 May 2015: This time last year, I was making these Homemade Chicken Nuggets. Super simple, super flavorful, super tender…and you know exactly what’s in ’em.
And you can freeze them, whether in the cooked or uncooked stage.
I need to take these trips down Recipe Memory Lane more often!


May 2, 2016
Honey Soy Salmon by Ree
 If you’ve been reading my website for any length of time (ten years this week—whaaaa?) you will know that we aren’t exactly what you’d call a huge fish family.
In fact, we aren’t much of a fish family at all.
In fact, you will hardly ever catch us eating fish.
In fact, I can’t remember the last time a piece of fish entered our home.
Now let me clarify a couple of things! We love shellfish; we’ll eat shrimp to beat the band…especially if it’s served with a steak. Ha. We just don’t do much fish fish. While I love it, Marlboro and the kids don’t love it, so we just stay where many families in landlocked states live: In chicken and beef territory.
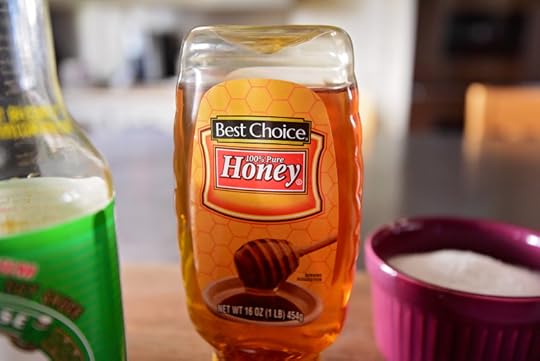
If you’re in a similar situation but ever happen to find yourself in the position of having a couple of beautiful pieces of salmon out of the blue, however, this is a tremendously delicious dinner that takes almost absolutely no time to make. Just the way I love to eat salmon (or any piece of fish, for that matter)—with a sticky sauce that’s got more flavor than I know what to do with.
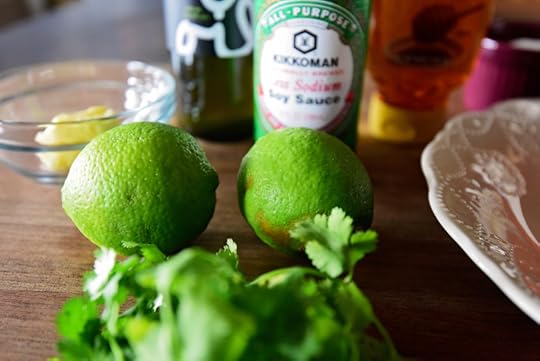
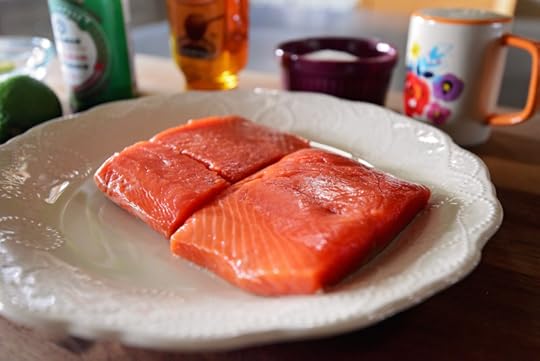 Here’s what you need: Salmon fillets (these are Sockeye)…
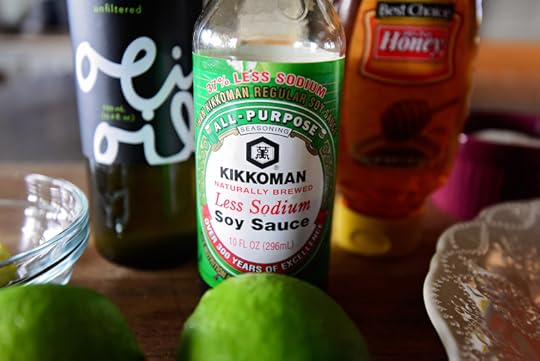 Low sodium soy sauce (I’ve made this before with regular soy sauce and it’s way too salty, man!)…
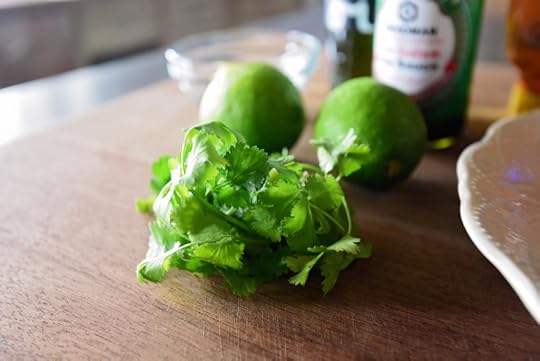 And cilantro if you’ve got it! If you don’t, this dish doesn’t hinge on it or anything.
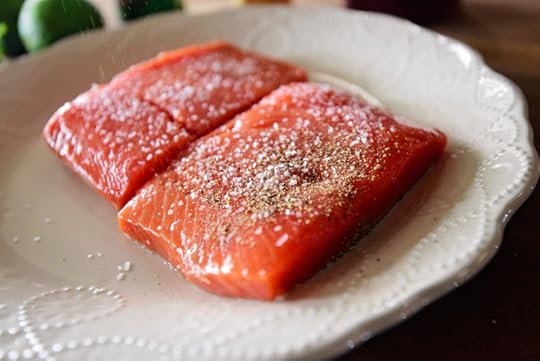
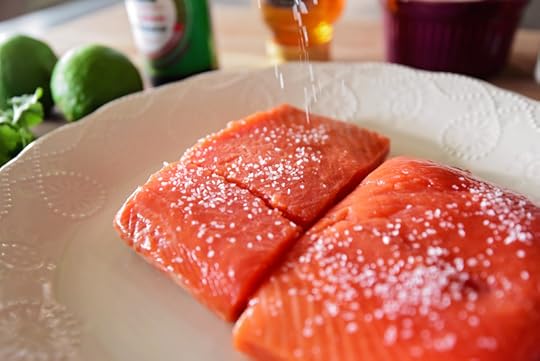 Start by sprinkling the salmon with salt…
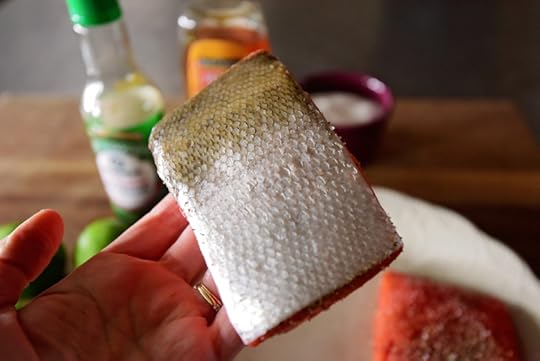 This is purely a personal choice: You can slice off the skin (or have the butcher do it) or leave it on. I’m a skin girl, so I’m leaving it on.
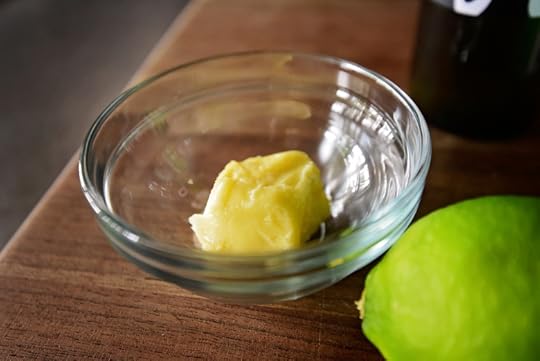
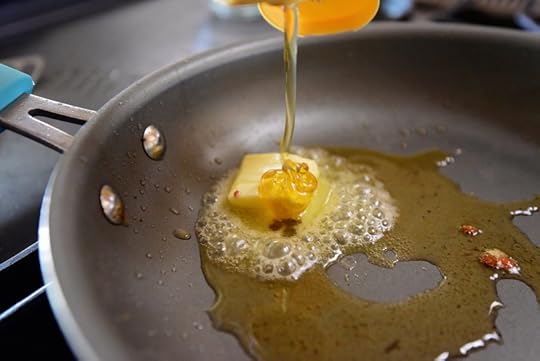
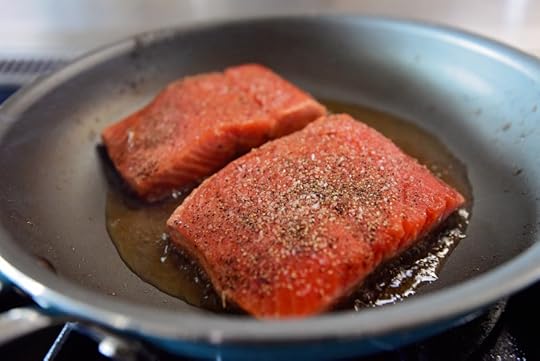 Heat some olive oil and a little bit of butter in a nonstick (if you have it) skillet over medium to medium-high heat. Add the salmon, skin side down (if you left the skin on; if you didn’t leave the skin on, just put the prettiest side down first), and cook it for a good 4 to 5 minutes in order to get that skin nice and crisp. Watch it and don’t let it burn, and don’t let the salmon cook to smithereens. If you keep the heat on medium to medium-high (depending on how hot your flame gets), it should be fine!
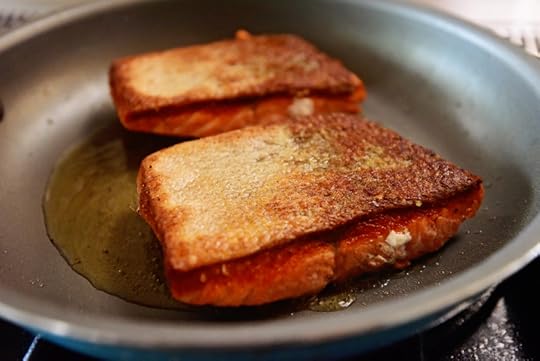 Carefully flip the salmon over to the other side and cook it for another couple of minutes.
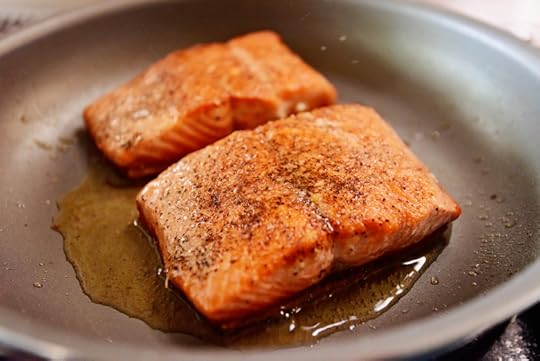 I flipped them back over just to show what it looks like if you take off the skin before cooking. Hard to pass up that gorgeous salmon color!
Okay, after the cooking time, remove the salmon to a clean plate…
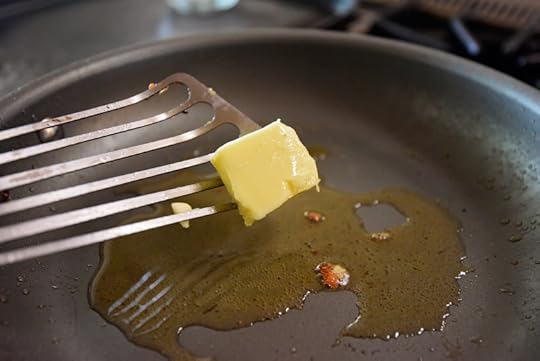 Then add a little more butter to the pan…
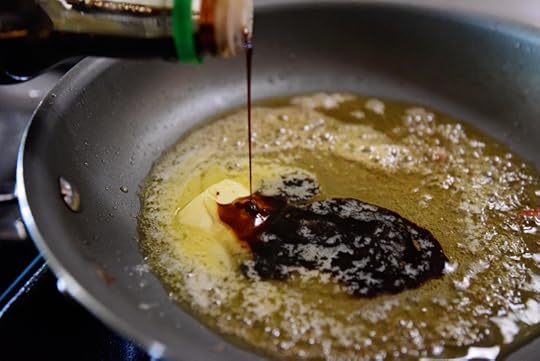
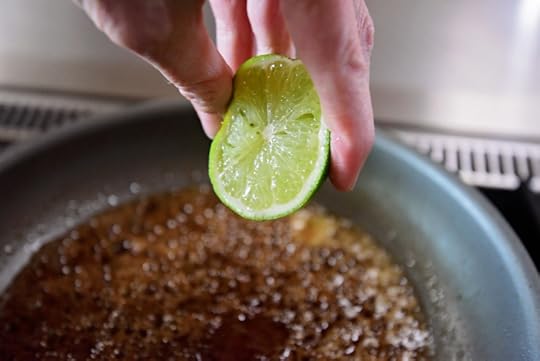 And plenty of lime juice. Yum!
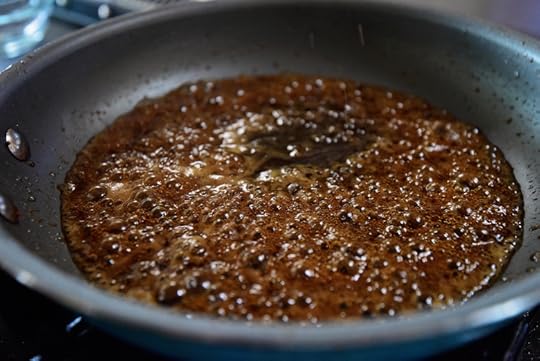 Stir it together and let it bubble up and thicken over medium heat for a couple of minutes. Give it a taste and make sure the balance of flavors is just what you want. I wound up adding a touch more honey and soy since the limes were juicy; you really want that sweet/soy/acid perfection!
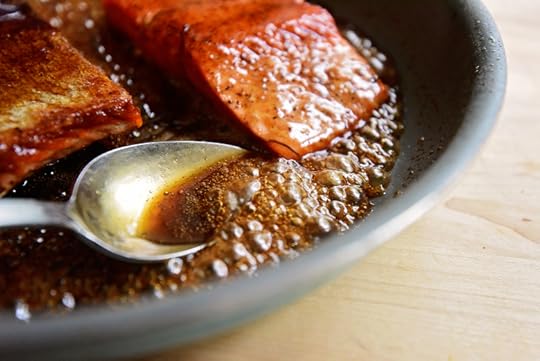
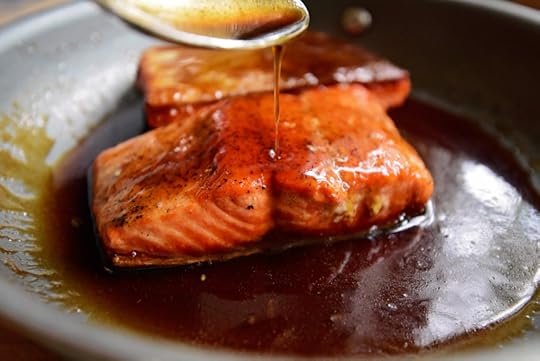 Return the salmon to the pan, either skin side up or down—up to you! Spoon the glaze over the top…
 Until it’s a sticky-sweet mess. I’m getting hungry!
Of course, what else is new?
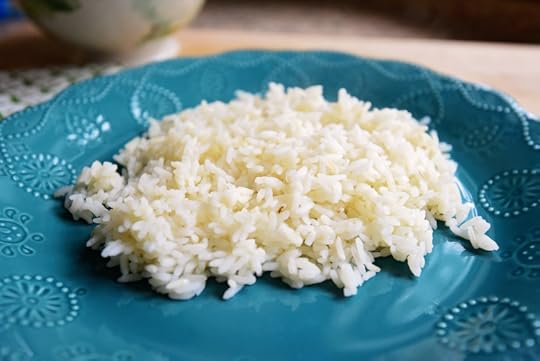
 Meanwhile mix together some cooked rice with a squeeze of lime. You can even zest in some of the lime zest if you’re feeling dangerous.
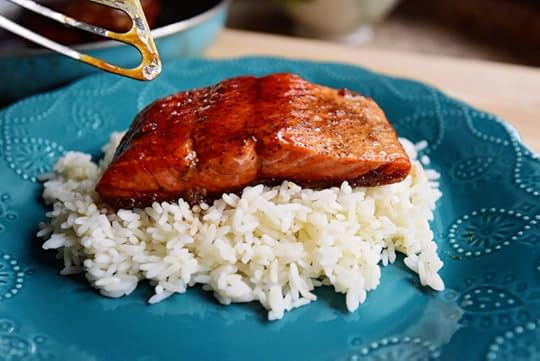
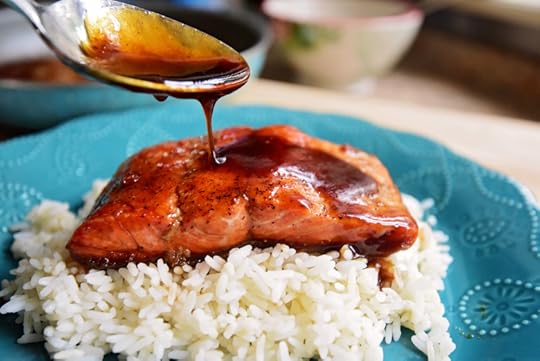 And spoon the drippy, sticky sauce over the top.
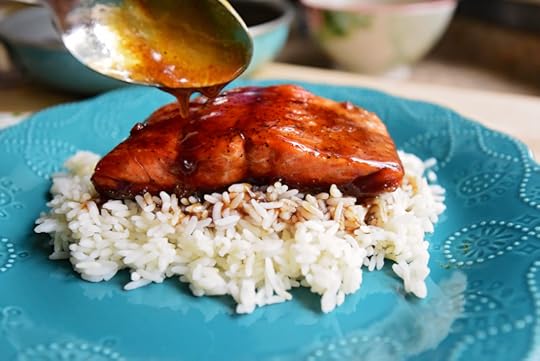 Spoon on enough to seep down into the rice below.
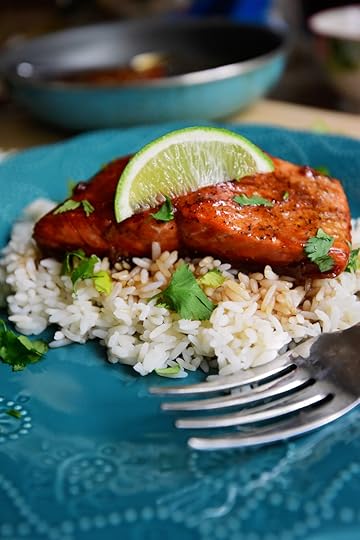
 Then just add some chopped cilantro…
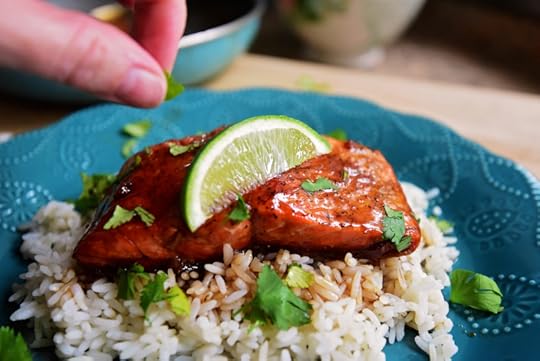 And a wedge of lime for an extra squeeze or two…
 Heavenly! And so darn easy, you won’t be able to see straight. Make it for friends, make it for family…or just make it for yourself.
You deserve it!
Here’s the handy dandy printable.


April 27, 2016
Recipes You Must Make! by Ree
I have many, many, many recipes in the archives of this website, and sometimes I forget just how “long ago” they were posted! So as not to let them languish, I wanted to bring a few must-makes (also known as must-eats) to the forefront today.
And when I say these are “must-makes,” I do mean it! You’ll fall in love instantly.
Go make one! Hurry!
 Restaurant Style Salsa. I know I sometimes casually toss around phrases like “the best ever,” but this salsa truly is the best salsa in the universe. Addictive and perfect! You will make it by the gallon.
 Drip Beef, Two Ways. Oh my. Oh me oh my. Gimme a pot of shredded meat, a toasted roll, and juice to dip it in and I’m a happy camper.
 Quesadillas de Camarones, also known as Shrimp Quesadillas! I’ve made no secret of the fact that I am obsessed with quesadillas of any kind, and this is probably my most favorite variety. They’re good for casual company!
 Fig-Prosciutto Pizza. I just realized how long it’s been since I’ve made this pizza. I’m going to remedy that this week! You’ve got to try this, no matter how weird the combo sounds. It’s magical and it works.
And it’s pizza. How could it not be good?
 Ahhhh. Chipotle Steak Salad! A good, basic salad with warm, medium-rare sliced steak and a spicy-creamy dressing. Sweet dreams are made of this!
 Homemade Granola. Okay, I have to tell you something. I am extremely picky about granola. Extremely! This is basic and simple, but toasty and yummy all at the same time. You can cut it into bars or break it into clusters—whatever works! If I have it in my pantry, it will be gone in no time at all.
 Patty Melts. It would make perfect sense that I would follow up a salad recipe and a granola recipe…with the drippiest, most decadent burger I can imagine. I have almost the same level of weakness for patty melts that I have for quesadillas—and if you try this one, you’ll feel the same way. Tremendously satisfying!
 Buffalo Chicken Salad. Everything that’s wonderful about Buffalo wings, but in salad form. The best of both worlds!
 I’m going to end with another big, beautiful salad: Kale Citrus Salad! If I could pick one meatless salad to live on the rest of my life, this would pretty much be it. Yes, of course…it’s partly because of the huge chunks of goat cheese. But the kale and dressing are a perfect match!
Hope you try these tasty morsels soon!
Love,
P-Dubster


April 25, 2016
Pizza Rolls by Ree
 I have a few disclaimers about these crazy rolls, which I made yesterday on a whim since I had half a batch of cinnamon roll dough leftover from Saturday.
1. I was working with no recipe whatsoever, and had no plan. The idea came together in about 5 minutes. Kind of like my idea to start a blog 10 years ago.
2. I did not have all the ingredients I normally would have wanted: I was low on the right cheeses, had no pepperoni, no black olives, and so on. In other words, I was totes prepared.
3. I could not find my camera anywhere, then ultimately gave up and decided to use my iPhone to photograph this recipe. So, no offense to iPhone, but if these photos lack a little somethin’-somethin’, you’ll know why.
4. As stated above, I wound up making these rolls because I had leftover dough from making cinnamon rolls on Saturday, and that’s what gave me the idea to roll out a rectangle of basic dough, fill it with ingredients, roll it up, slice it, and bake it. But after the whole experience, I determined that the next time I make these babies, I will use a true pizza dough with a little more chew to it. This dough was a little too soft to pass for pizza. (The recipe below calls for pizza dough.)
But other than that, everything totally went according to plan! Ha.
 This is half of the dough recipe, and it was in the fridge for about 36 hours. It’s best to make this recipe when the dough is really cold, so go ahead and plop it onto a floured surface right out of the fridge.
 Roll it out until it’s very flat…
 Then drizzle on a little olive oil and spread it into a thin layer…
 And sprinkle the crust with salt.
 Grab a jar of marinara or pizza sauce…
 Drop spoonfuls all over the crust…
 Then spread it into a single layer and sprinkle the whole surface with grated Parmesan. As I said earlier, I was totally low on Italian cheeses in my fridge—I don’t know what happened! Low on Parmesan, low on mozzarella, and I’m going to the store today. I can’t let this ever happen to me again, as I found it very frightening.
Low on cheese? Me? What’s the world coming to?!?
 You’re looking at all the mozzarella I had left, which is why it is so meager. If I had my regular stash, I would have put at least a couple of layers of slices on—and probably three. My printable recipe below reflects this.
Oh, and about the mozzarella: This is good ol’ Americanized sliced mozzarella cheese, not the bright white fresh mozzarella sold in balls. I think the latter would actually be a little too watery for this recipe and might result in a little bit of a doughy mess, so in this case I recommend the mass produced, supermarket stuff!
 At this point in your life, you could add some other pizza fixings: chopped (or whole) slices of pepperoni, cooked and crumbled Italian sausage, chopped black olives, herbs…the list goes on! I kept it simple because I really just wanted to play around.
 But oh! I happened to have a half-jar of pesto in my fridge.
Basil hasn’t taken off in my garden yet. It’ll be another six weeks or so.
Translation: It’ll be an eternity or so.
Hurry up, basil! I need you in my life.
And then I decided to try something weird.
 I unwrapped a few pieces of string cheese and lay them in a line across the top of the dough.
 I repeat: I have no idea what I’m doing or how this is going to turn out.
But it’s bread and cheese, friends. What could possibly go wrong?
 Starting at the string cheese end, roll the dough toward you, trying to keep the roll as tight as possible. Note that I had taken my time to get to this point and the dough wasn’t as chilled anymore—and was therefore starting to get a little soft…and tough to handle. The colder the dough, the better the rolls will stay together!
 Pinch the ends together, then roll the dough over so that the seam is facing down.
 Slice it in half right down the middle, then cut slices about 1 inch thick (or a little thinner is good, too!) Use a serrated knife to make cutting easier.
 Place the rolls, cut side up, in a baking pan (or iron skillet, if you want to be all rustic and charming.)
 Let the rolls sit and rise for just a bit, while you preheat the oven to 400 degrees.
 Bake them for about 15 to 18 minutes, until they’re hot and bubbly…like this!
 Now, while the string cheese in the middle is a great idea and all—I mean, it’s cheese; there’s nothing more that can be said—There is a little complication in that the longer the rolls sit in the pan after coming out of the oven, the more the cheese continues to melt. If they sit too long before you serve them, the string cheese will just melt right down to the bottom of the rolls, leaving a little gap in the center of each roll. Now, this is by no means a bad thing—melted cheese never is—but if you’re wanting to keep the cheese in the center, go ahead and serve them up right out of the oven. I considered that freezing the string cheese before rolling it into the rolls might help a bit, as it would buy a little more time to allow the bread to get done without totally melting the cheese. I’ll try that next time!
And I’ll keep trying until I get it right.
It’s for the art.
 Serve it with a side of warm marinara…
 Here’s the handy dandy printable. No precise measurements or amounts—just use what you have, and have fun doing it!


April 18, 2016
Peach Dumplings by Ree
 This is a variation of the curious Apple Dumplings I posted here ages and ages and ages ago, when I was still in my thirties and my kids were all little and my jowls were much less pronounced.
But I’m a lot wiser now! And I wouldn’t trade that for all the collagen in the world.
I digress.
I made these peach numbers last Sunday and posted the step-by-step on Snapchat (my new obsession; username @thepioneerwoman). The results were totally predictable: The crazy little dumplings were just as good—probably better—than the original apple version.
Here’s how to make them!
 First, lay out the finest puffed pastry dough available to you. It should, if possible, be crafted by artisan hands and contain only cold butter from grass-fed cows, the finest chilled water from a pure mountain spring, salt from the Mediterranean sea, and stone-milled flour.
Ha.
In fact, you kinda need to use these. Forget that whole puffed pastry stuff—you can use that next time!
 First, smear butter in the bottom of a baking dish.
 Tear off a triangle and place a frozen peach on the large end. The original recipe calls for fresh apple slices, but peaches are ah-may-zing…and frozen peaches work just poifectly.
 Roll it up inside the crescent roll…
 And keep going until you fill the pan. (Note that I used a slightly smaller pan here, so I didn’t use the full amount in the recipe below. Don’t let that throw you off.)
 Now melt some butter in a saucepan and pour in some sugar.
 Stir it until it just comes together. It will be grainy and very weird. Add a splash of vanilla…
 And pour the grainy weirdness all over the crescent rolls.
 All I can say right now is this: Trust me.
Just trust me.
And now brace yourself.
 And after you’ve braced yourself, crack open any pop in the category of Sprite, 7-Up, or Mountain Dew.
The apple version uses Mountain Dew.
For the peach version, I decided to use Sprite.
Call me crazy and unpredictable!
 And now. Take a deep breath. Steady yourself. And then pour about half the can (maybe a little more) in the pan.
 You know what this is gonna do? It’s gonna just become part of the mix and result in this magical mystery syrup that’ll make the dumplings irresistible.
 Bake them at 350 for 40 minutes, until the dumplings look like magic.
 Serve up two at a time, then spoon a little sauce from the pan over the top.
 Oh, and you must top it with the finest cream available to you—preferably cream from a rare breed of goat from the Alps.
Reddi Wip is a solid choice as well.
 Ha. Ha? Ha! I got a little carried away.
 But oh…do I love it when I get carried away.
 Guys. Gals. Friends. Romans. Countrymen. If you think the apple version is good, wait till you try the peach ones.
 It’s craziness. Pure craziness. And it’s even better after a couple of hours, when it has sat for a bit. So be sure you have neighbors to help you finish it up or you’re going to be tempted.
Not that I’d know anything about that.
Here’s the handy dandy printable!


April 11, 2016
Cap’n Crunch Chicken Strips by Ree
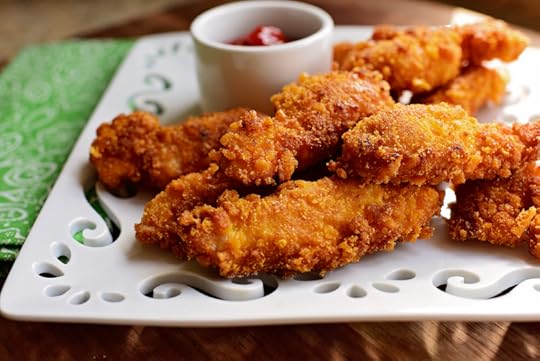 Weirdness makes the world go round! And that is most certainly true with these crispy, slightly sweet chicken strips, which are a version of the famous chicken that originated at Planet Hollywood restaurants years ago. The minute I heard about their chicken strips way back when, I was intrigued. I’ve been a fan of sugared cereal all my life. Don’t tell my children.
The breading for the chicken is—get ready—Cap’n Crunch, and even though it’s sweet as all get-out, once you incorporate the chicken and add some salt to balance things, the result is a super delicious coating that both crisps and slightly caramelizes (because of the sugar) as it fries. A sprinkling of salt after frying makes everything perfect, and a side of ketchup is absolutely required.
Here’s how to make this crazy chicken!
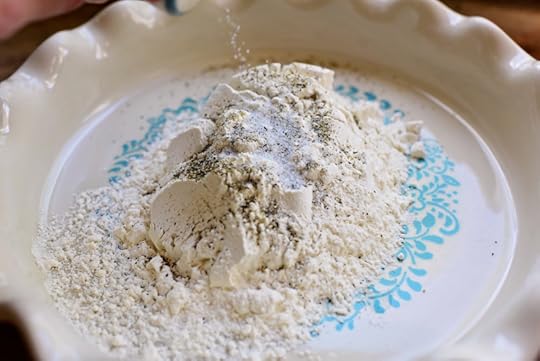
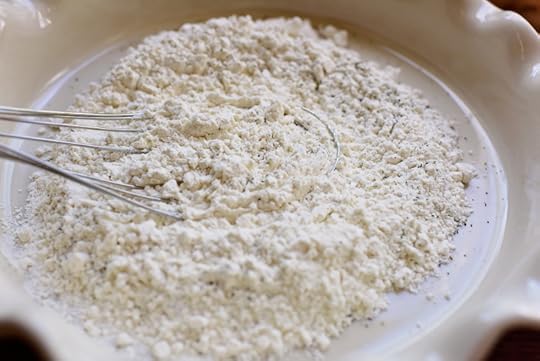
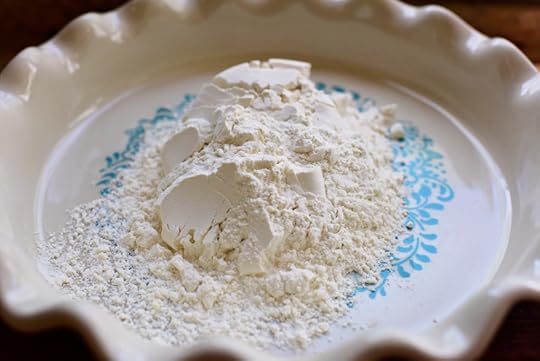 For the breading assembling line: Add some flour to one dish…
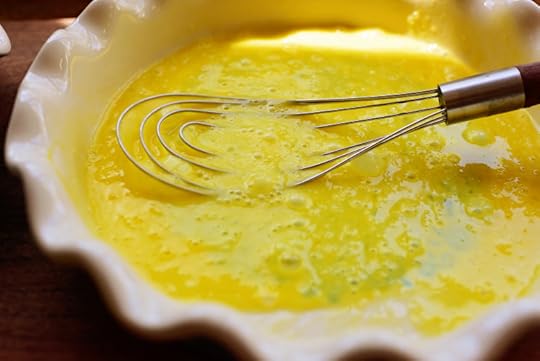 In a separate dish, whisk a couple of eggs. Done!
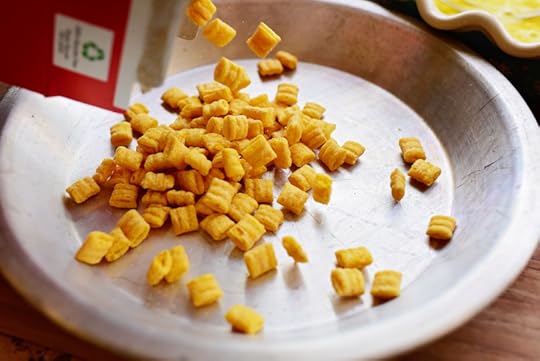
I mean Cap’n.
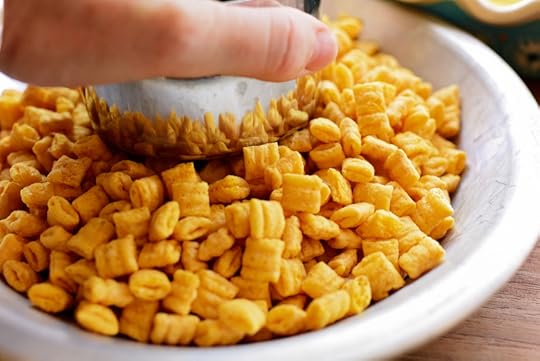 And crush it up using a cup or a bowl or your fist—whatever your mood!
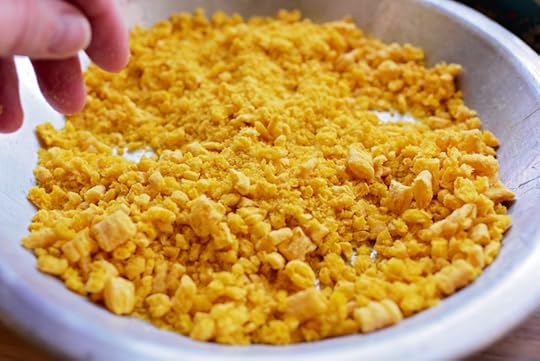 Keep crushing it until you have just a few bigger chunks…
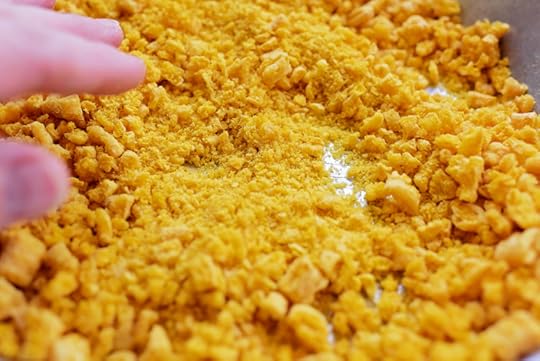 And some fine Cap’n Crunch crumbs.
Seriously, they should just sell Cap’n Crunch crumbs by the barrel full. Count me in for at least two barrels in my initial order!
 Now, you can cut up chicken breasts if you’d like, but if you can buy a package of chicken tenders, they really are the best cut to use for this highly gourmet and sophisticated recipe.
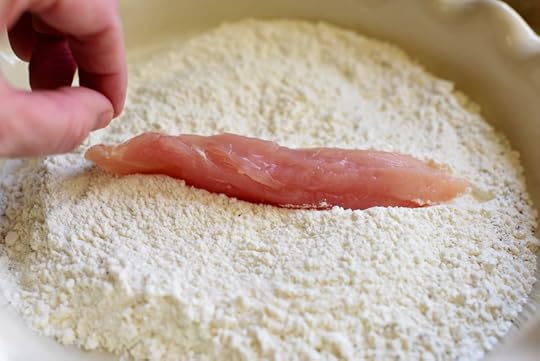 To bread the chicken, drop the pieces one at a time in the flour.
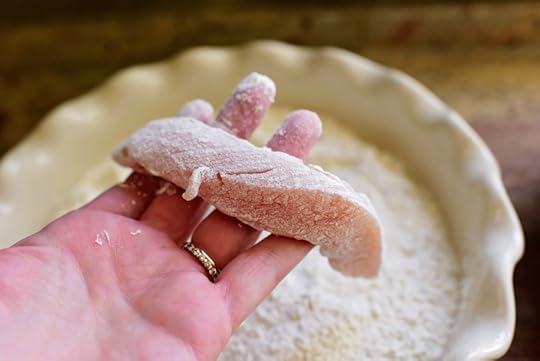 Dredge it and shake off the excess…
 Then dip it in the egg, turning to coat it completely.
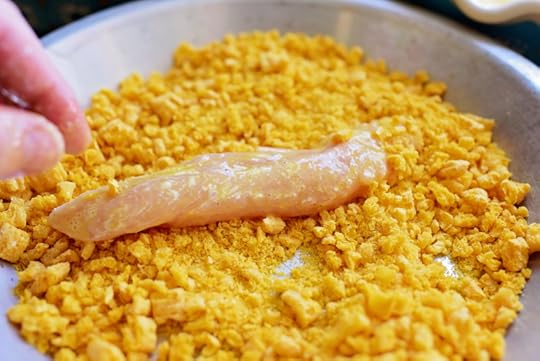 Put it straight into the CCC (also known as Cap’n Crunch Crumbs)…
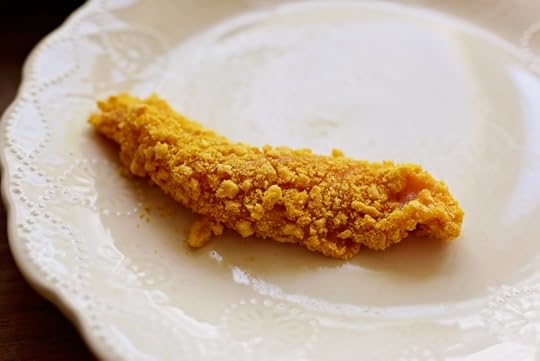
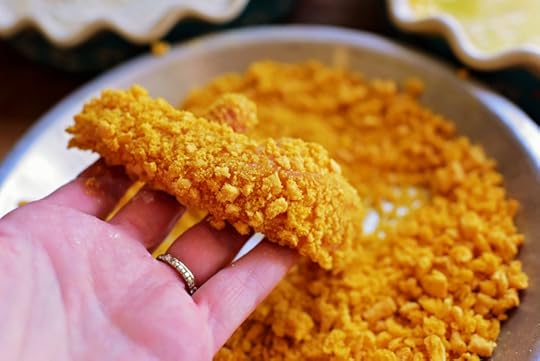 And turn it to coat it completely.
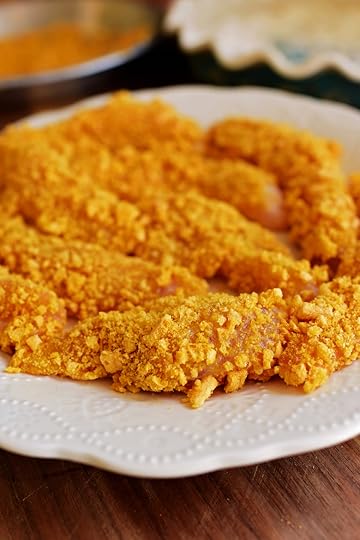
What I love about these is the golden color—gawgeous!
Now heat a little vegetable oil in a skillet over medium heat…
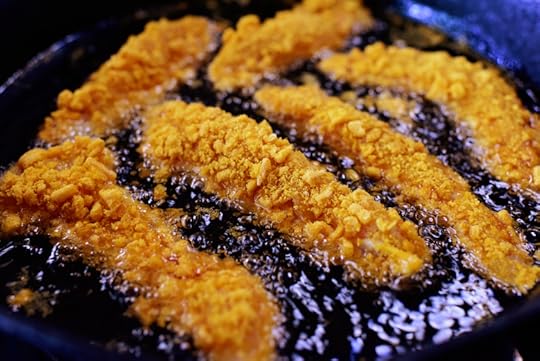 Then drop in a few strips and fry them gently for a few minutes on the first side, moving them around a little to make sure they don’t burn. Check the underside every now and then and adjust the heat up or down according to how it’s doing.
 When the first side is even more golden than the first side (and a little crispy), turn them over with tongs and let them finish cooking.
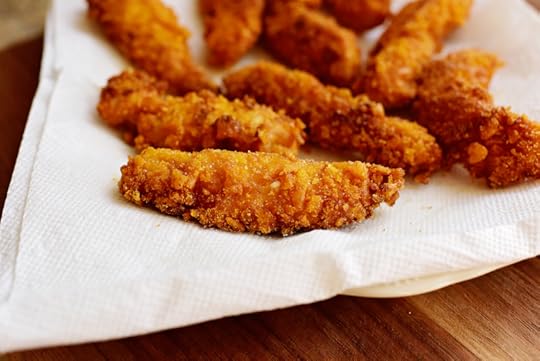
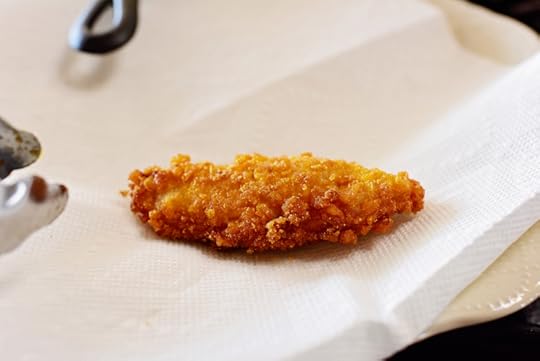 Remove them to a paper towel to drain.
 You’ll want to flip them over on the paper towel after a minute or two to let the other side drain out any excess oil. And give them a generous sprinkling of salt at this point! That sweet-salty thing is super tasty.
 And again: Serve these wonderfully weird babies with ketchup. It’s the perfect flavor complement.
(Though Sriracha is pretty durn good, too.)
 Enjoy every bite of these, my friends! They may not be fancy, but they fun and oh, so flavorful. And weird in the most wonderful way.
Here’s the handy dandy printable!


April 4, 2016
Taco Quesadillas by Ree
There are as many variations of quesadillas on this website as there are grains of sand in all the beaches of the world.
Not really. There are seven.
The point is, quesadillas are one of my favorite things to eat on earth, and I never get tired of them! Lately, even though flour tortillas are the usual choice, I happen to be a sucker for quesadillas made with corn tortillas because you get that lovely texture and flavor of a corn tortilla and it just puts a nice little crazy spin on things.
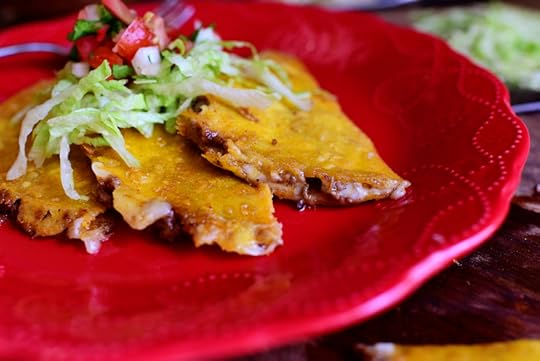 I made these babies yesterday. We gobbled ’em down!
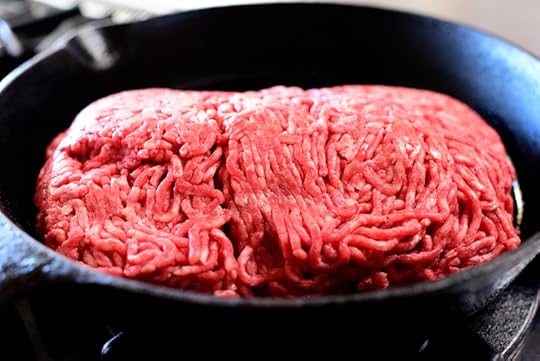 Heat a skillet over medium-high heat and drizzle in a little (just a little) vegetable oil. Throw in some ground beef (don’t pay attention to my amount—I made extra meat mixture for later ’cause that’s how I roll)…
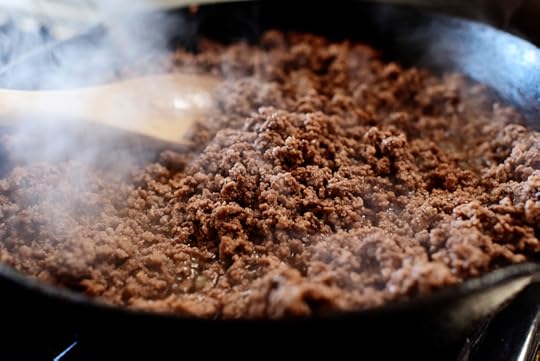 Cook it and crumble it until it’s totally browned.
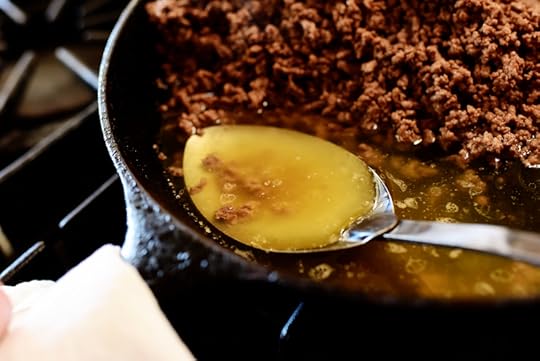 Then, because you want to get on your cardiologist’s good side, drain off a good amount of the fat.
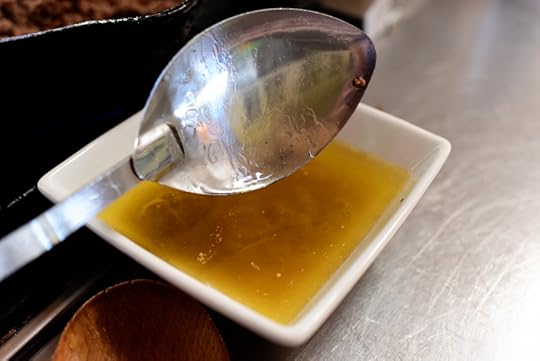 This was fatty beef! It just kept going…and going…and going…
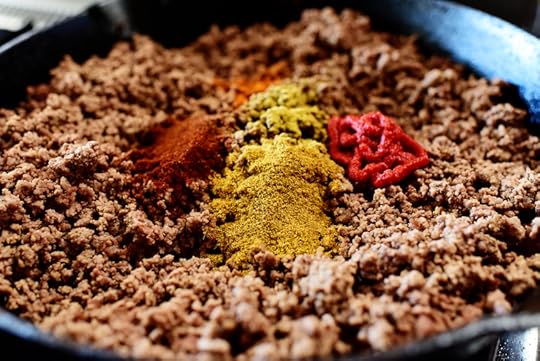 Once the fat is drained, add some chili powder, cumin, cayenne, oregano, tomato paste, and salt.
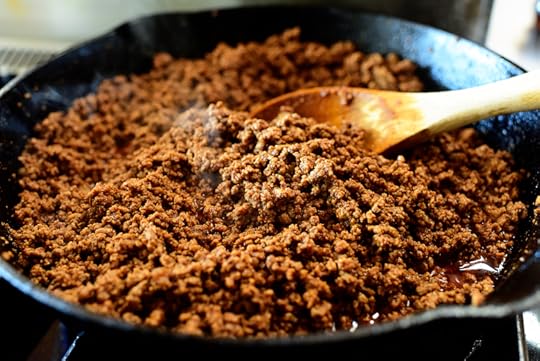 And stir it until it’s all combined. Simmer it on low for a few minutes while you get everything else ready.
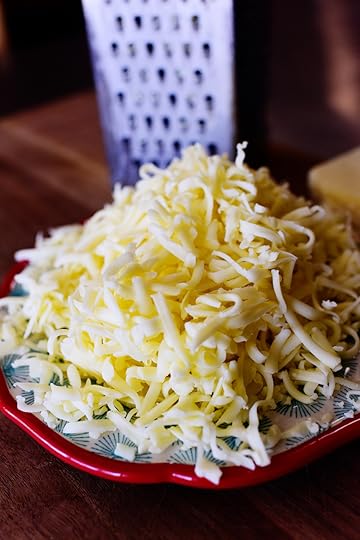 And by everything else, I mean cheese! Lots of it! Monterey Jack!
Or any ol’ cheese you want.
(But Monterey Jack is the best for quesadillas.)
(But use any ol’ cheese you want.)
(As long as it’s Monterey Jack.)
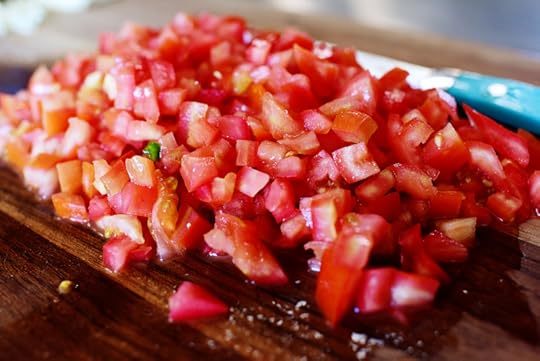
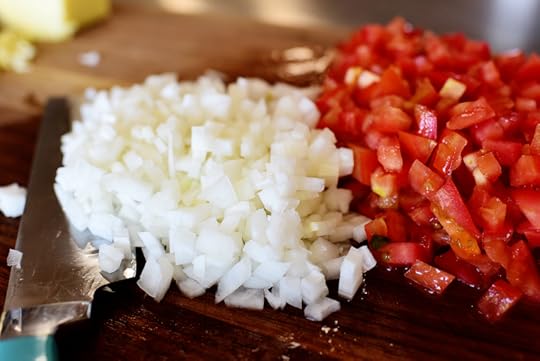
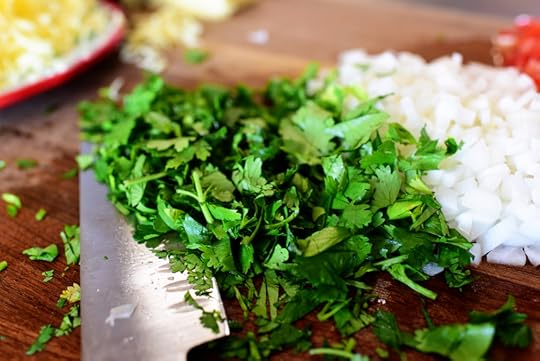
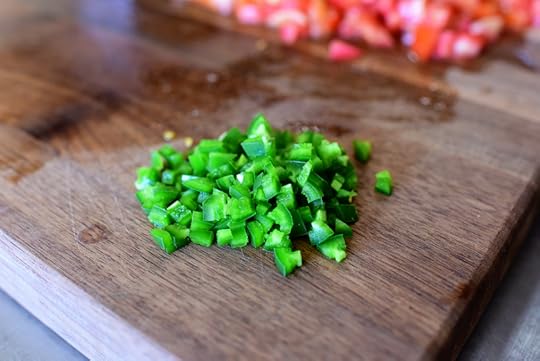 I also made some pico de gallo! Finely diced jalapenos…
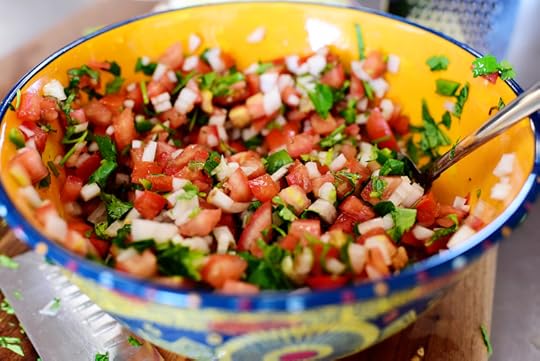 Stir it all together with a little salt…and you’ve got the best condiment known to man.
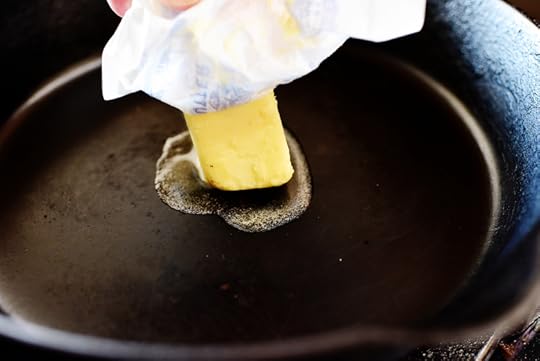 Now it’s quesadilla time! Heat a separate skillet over medium heat and smear butter around the bottom.
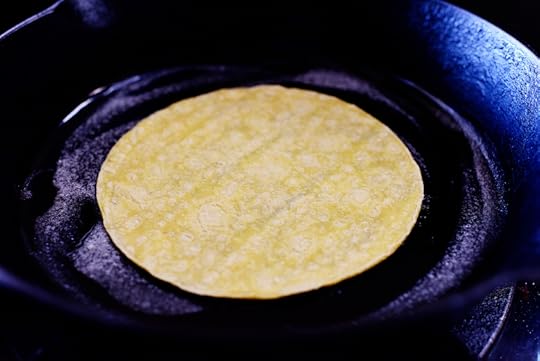 Throw in a tortilla. This is a corn tortilla because as I stated above, I’m obsessed with corn tortilla quesadillas.
Obsessed, I tell you.
CONSUMED!
Okay, so that’s a bit of an overstatement.
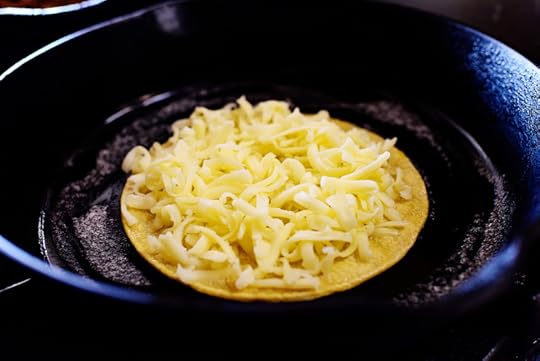 Cover the tortilla with cheese, because I’m obsessed with cheese.
Obsessed, I tell you.
CONSUMED!
And that isn’t even close to being an overstatement.
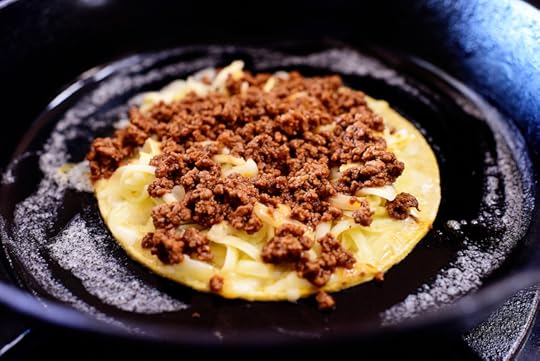 Spoon a generous amount of the taco meat on top of the cheese…
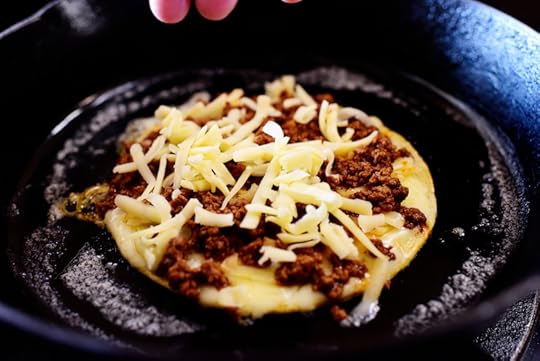 Top it with a little more cheese…
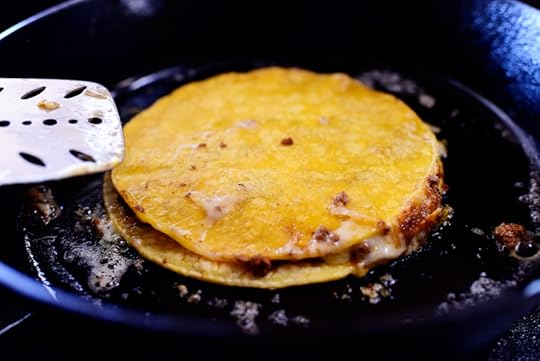 Top it with another tortilla, then carefully flip it over with a spatula.
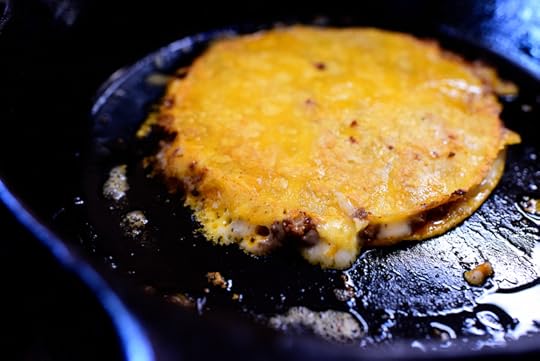 Let it sit until the cheese is totally melted/sizzly and the tortilla has soaked up all the wonderfulness of the cheese. Note that the corn tortillas won’t get crisp during this process as they would if you were to fry them in oil. But they get nice and soft and slightly crisp around the edges…and oh, that corn tortilla flavor. Love it!
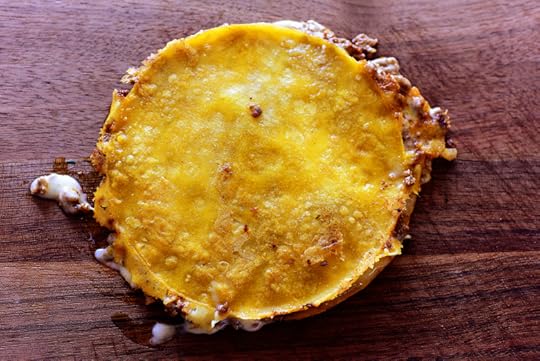 Yum! Now, you can grab a fork and cut into it right here and now, or you can treat it a little more like a taco…
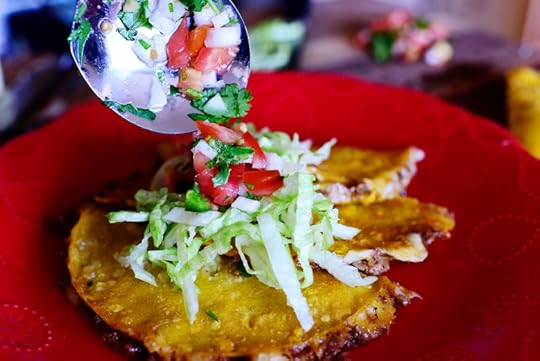 And sprinkling it on top with a little pico de gallo.
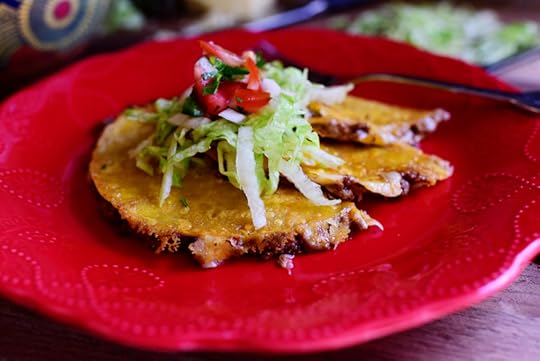 These are actually three halves of a quesadilla arranged together on the plate.
Another approach you could take is to pile the lettuce and pico de gallo on one whole quesadilla, then fold it as if it were a real taco! You need to lean over your plate in this case as it would be a very messy proposition…
 Either way you eat ’em, this is a nice variation of a regular quesadilla.
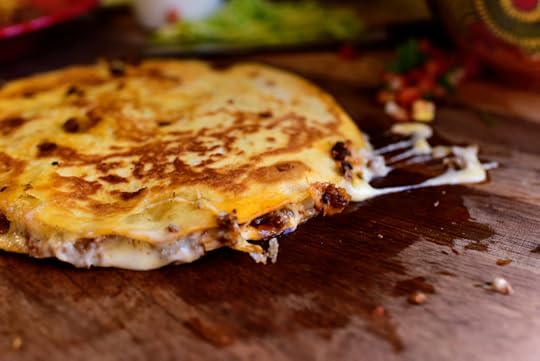 (But you can use a flour tortilla if you prefer. Still scrumptious! All the flavor of a taco, but with melted cheese. Mmmm!)
Here’s the handy dandy printable.


Ree Drummond's Blog
- Ree Drummond's profile
- 2016 followers


