Manipulating pictures Part 3 – Editing within the Media Library
Today we are continuing with our theme of manipulating pictures when using WordPress.
To keep you up to date, we have talked about basic manipulation of pictures in WordPress HERE, and last week we talked about using the Tiled Gallery plugin that has become so popular on WordPress HERE.
The topic we are going to attack today is how to edit pictures within WordPress. I find that most people edit pictures before they upload them to their Media Library, but that isn’t necessary.
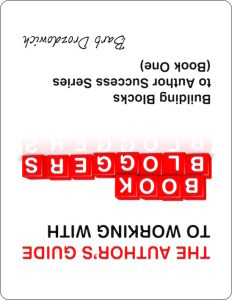
Have you ever uploaded a picture that is upside down?
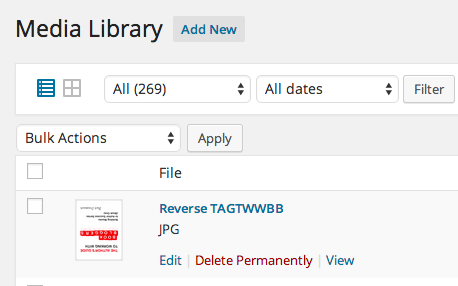
You get the picture into the Media Library and you see this:
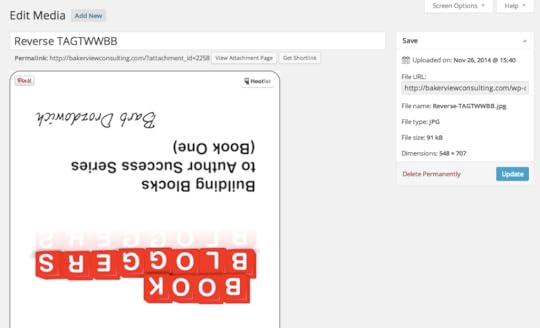
To fix this picture, start by clicking on the ‘Edit’ button underneath the entry in your Media Library. The following screen will appear.
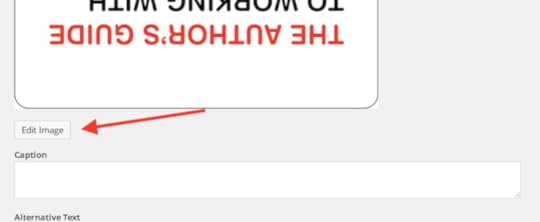
Scroll further down and look for the ‘Edit Image’ button as you can see in the graphic below:
Click on that button and following screen will appear:
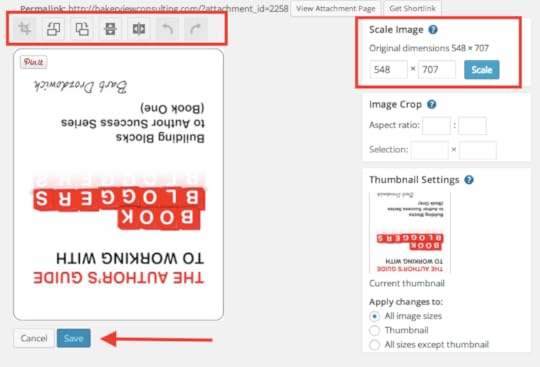
We are going to look at two parts of this screen – indicated by the red rectangles.
First of all, we will deal with the functionality from the buttons above the picture with several examples. These buttons will allow you to Crop, Rotate Counter-Clockwise, Rotate Clockwise, Flip Vertically, Flip Horizontally, Undo, Redo respectively from left to right.
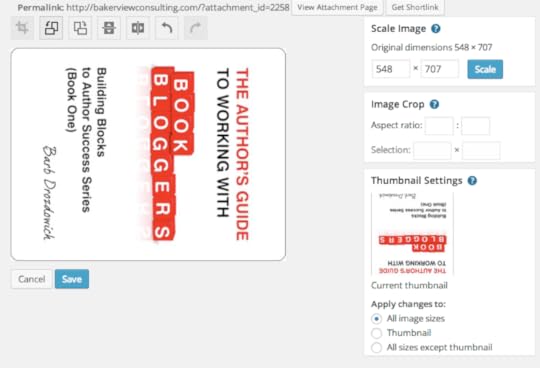
Let’s start with a simple rotation function to get the upside down picture looking right side up. If I click on the second button from the left I can rotate the picture counter-clockwise. Click on the button once, and I will see the following:
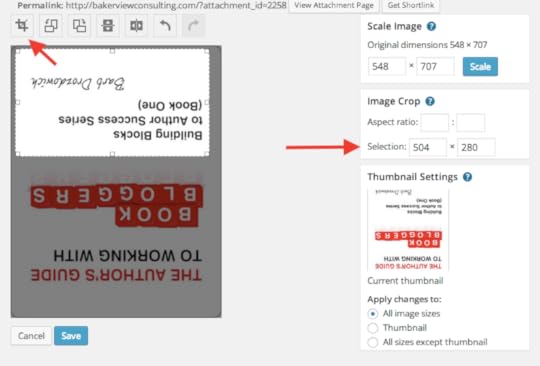
To use the ‘Crop’ button you need to select a portion of the picture as you see in the graphic below. The red arrow pointing to the numbers on the right will give you the size of the selected section.
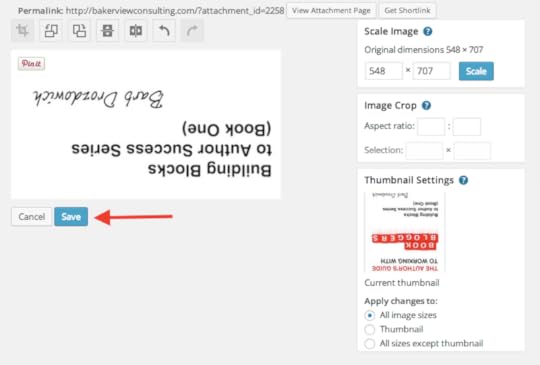
Once you have selected the size that you want, click on the ‘Crop’ button as indicated by the top arrow. The will remove all the area of the picture not selected and display only the area that I want – see below:
If you are happy with the cropped section, look to the bottom for the ‘Save’ button as indicated by the red arrow in the graphic above and click to save the picture.
Next we are going to use the ‘Scale’ functionality.
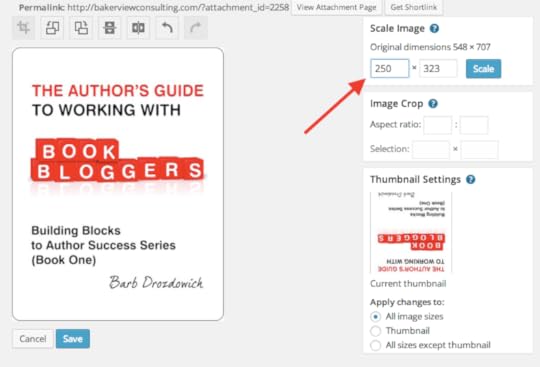
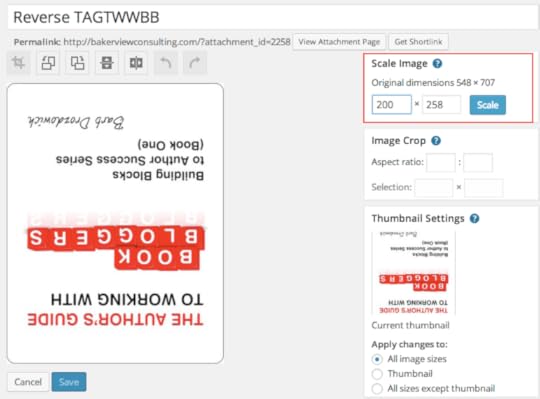
The scale functionality allows you to increase or decrease the size of your picture in proportion. As you can see below, enter the new dimension – in this case 200 px – into the first box.
As soon as you tab out of the field, the second number will change so that the picture stays in proportion. Click on the blue ‘Scale’ button and the picture will visibly reduce in size as you can see below.
Once you are happy with the changes, click on the ‘update’ button to save the changes.
If you go through the process of rotating the picture, scaling it, or other changes, and then save, the changes will be saved in the Media Library as you can see in the graphic below.
Play with these functionalities on your blog. Have fun!
Don’t hesitate to ask any questions that may come up.
The post Manipulating pictures Part 3 – Editing within the Media Library appeared first on Bakerview Consulting.

