Wrangle your Images on WordPress – Part 4
Today we will finish up our series on wrangling pictures in WordPress.
If you are arriving late to the party as it were, you can catch up on what we’ve covered in previous weeks. The first week of our series, we covered some basics in picture handling HERE. The second week we ventured into how to display pictures using a plugin called Tiled Galleries. That post can be found HERE. The third week we talked about editing your pictures within WordPress, rather than editing the pictures first on your computer before uploading them. That post can be found HERE.
Today we are going to cover a few more tricks to manipulating pictures to finish up this series.
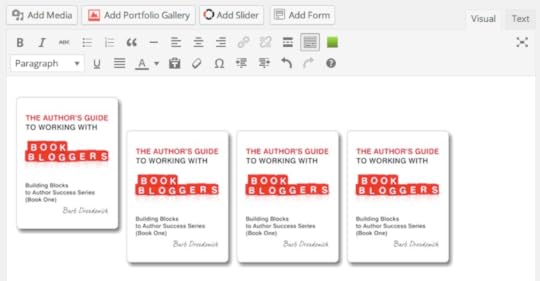
Have you ever wondered how people manage to get a nice row of pictures like we see below?
The trick to do this is to left-justify all the pictures.
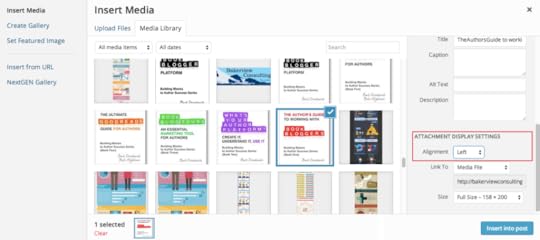
To start the process of inserting your pictures, click on “Add Media” from your post or page and choose the picture that you want to start with. Once you have clicked on the first picture, make sure you choose Left-justified.
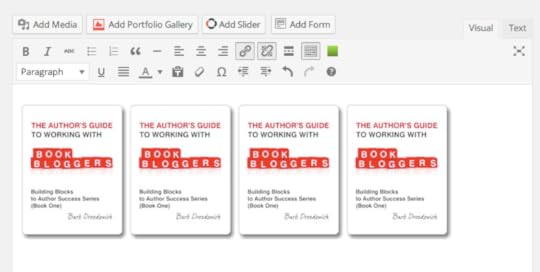
To put that picture into place on your post or page, you can click on the blue “Insert into post” button. Repeat this process for as many pictures as you want to show. As you can see from the screenshot below, I’ve chosen to include 4 pictures in a row.
Looks nice, doesn’t it? Click on ‘Save Draft’ and then look at the preview.
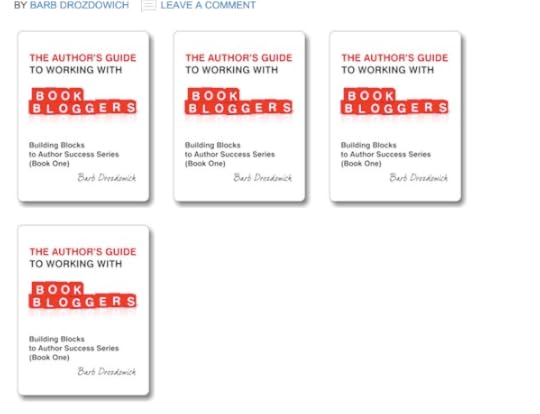
What you actually see will depend on several factors – the most important being the available space for the pictures to be displayed. As you can see, on my blog, the pictures more than fill up one line.
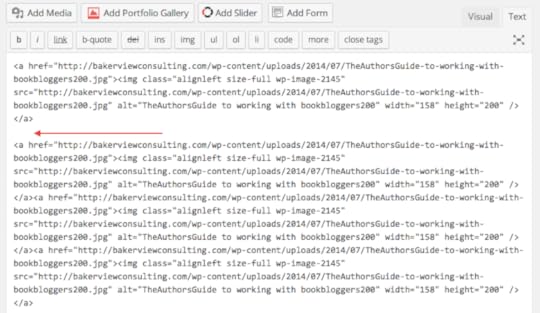
If you click on the ‘Text’ tab and look at the code, you’ll see at a glance that all the code is continuous, there are no blank lines or odd spaces. Sometimes when you try to insert pictures into a post or a page, you end up with an odd half space like below:
If that happens, the first thing to do is to look at the ‘Text’ view as you can see below.
As you can see by the red arrow, there is an odd blank line in the code. The easiest way to get your pictures back in line is to remove this blank line.
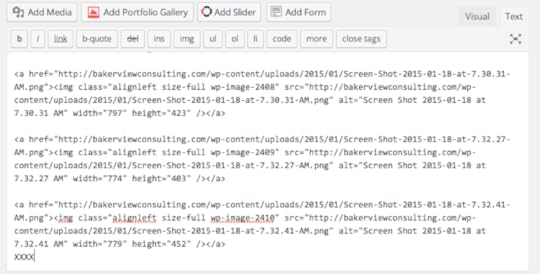
Have you ever had trouble inserting text into a post after a certain picture. A trick to doing that is to use characters as markers.
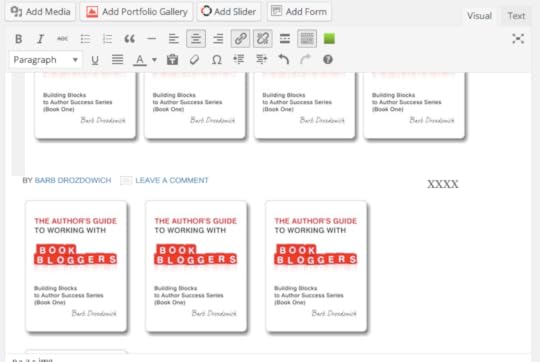
As you can see in the screenshot above, I’ve decided to insert text after the last picture. I simply put a series of ‘Xs’ at the end of the code (in the ‘text’ view) and then switch to the ‘Visual’ view.
On the ‘Visual’ view of your post or page, look for the series of Xs and that is where you can click your cursor and move it to where you want the text to appear.
I’m going to finish up with a reminder or two.
To edit a picture, click once on the picture and then click on the pencil to edit it.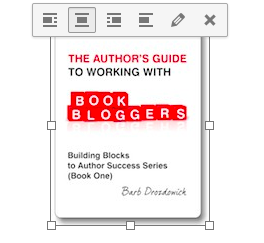
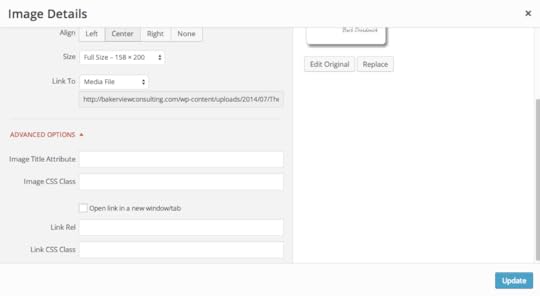
That will lead you to the screen below:
Always fill in the Alternative Text field. When a picture is added to a post or page, the name of the picture is filled into the Alt. Text field but you can change it to something more meaningful. Since my example is a book cover, I can change the Alt.text field to the title and author of the book as you can see below:
Many people either don’t bother with Alt.Text fields. Many readers now read websites using a screen reader. Screen readers only read text – they can’t read pictures – so when you give your picture an Alt.Text the screen reader has something to read. You add extra value to your post!
Two more hints.
The first one is to make use of the ‘Link To’ field. In our current example, I’ve posted a book cover. Why not link it to an Amazon buy page. That way, when someone clicks on the cover graphic picture, they will be lead to Amazon so that they can buy a copy. Remember to make use of the ‘Open link in a new window/tab’ checkbox. That way your readers will be able to easily find their way back to your blog once they have bought a copy of the book.
I hope this series has helped you manage pictures a bit easier. Don’t hesitate to leave questions or find me on social media . I LOVE answering questions!
The post Wrangle your Images on WordPress – Part 4 appeared first on Bakerview Consulting.

