How to make your graphics behave on WordPress using Tiled Galleries – A Tutorial
A few weeks back I created a post to help make your graphics behave on WordPress. This post got so much attention, that I am going to go one step further today. We are going to talk about some more ways to make your graphics behave on WordPress.
One of the questions that I got was how to make placing more than one picture in a row easier. I like using one of the Jetpack functionalities for this purpose.
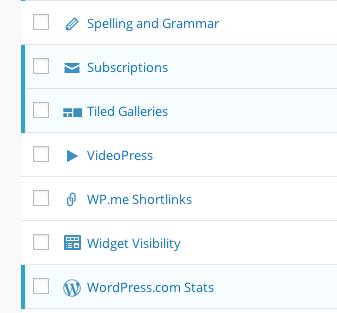
Jetpack brings all sorts of cool functionality to a blog in one plugin. We are going to talk about one aspect of Jetpack called ‘Tiled Galleries.’ To make sure that your Tiled Galleries are activated, go to ‘Jetpack’ on the left menu of your blog (once you’ve logged in) and click on ‘Settings.’ Make sure that ‘Tiled Galleries’ is activated.
Once it is activated, you are ready to use it.
Go to ‘Posts’ and open a new post. Just to make it look like a real post, type something in, hit enter to go to another line and then we’ll put some pictures in place.
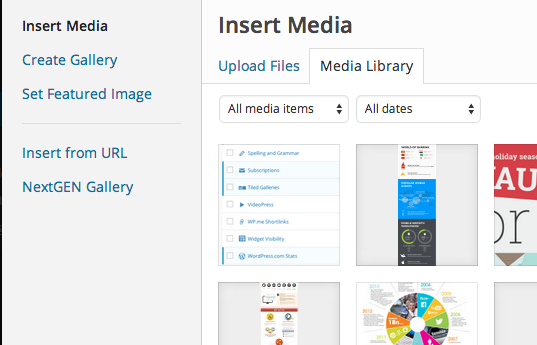
Click on the ‘Add Media’ button and you’ll see the usual ‘insert media’ screen pop up:
Next I want you to click on the ‘Create Gallery’ link on the left. The following screen will then pop up:
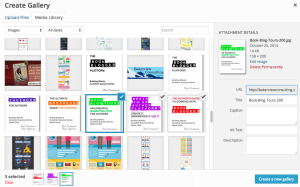
Use the shift key and click on all the pictures that you want to include in your gallery. I’ve clicked on 3 pictures. In the bottom right corner you will see a blue button labelled ‘Create New Gallery’ – click on it and you’ll get the following screen:
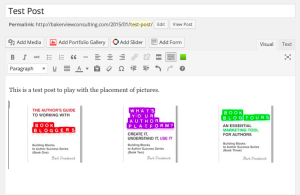
You’ll see that we now get to describe the orientation of the pictures. Choose the size and the type of gallery and then click on ‘Insert Gallery.’ For the first example, I chose the size of ‘Medium’ and the Type of ‘Tiled Mosaic.’ The following screen will appear:
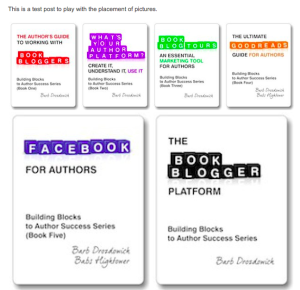
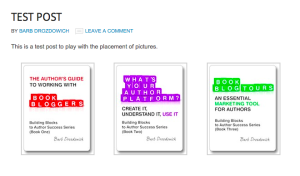
What you see in the graphic above is NOT what it will look like  To see what this will look like, click on ‘save draft’ and then click on ‘preview.’ 3 pictures doesn’t do much in a Tiled Gallery, so I put 6 pictures in place and you can see what happens.
Kind of an interesting arrangement for pictures. When I was making choices, I clicked on ‘Tiled Mosaic.’ If I now click on ‘Thumbnail Grid’ I can get an arrangement that looks like this:
To add even more coolness to the orientation, I can add captions.
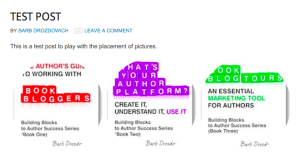
One last feature to talk about is the ‘circle’ type that is available. While it looks kind of weird for book covers:
I’m sure that this would have an application for a different graphic than the book covers that I am currently using for our example.
Next let’s talk about the specific functions of this plugin in terms of layout.
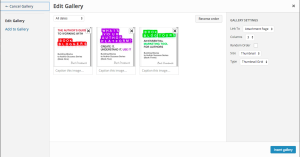
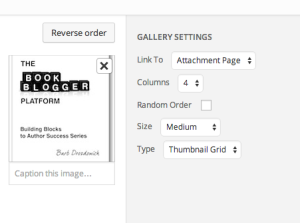
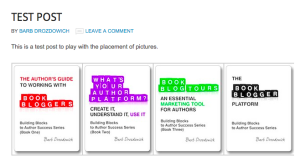
Looking at the graphic above, you can see that the graphic has an ‘X’ on it, as does the typical ‘Add Media’ function. Clicking on the ‘X’ will remove the graphic from the gallery. It is possible to link the gallery to an ‘attachment page’ which is a page on your blog, or a ‘media file’, but the one negative of this arrangement is that it isn’t possible to link each individual picture to a exterior link – such as a buy page on Amazon. Going back to the graphic above, you can determine how many pictures are listed across the page. You’ll see that the number is set at 4 in the example above. To see what 4 pictures in a row would look like, see the graphic below:
Keep in mind that the actual number of pictures that can be shown in a line across your posts relies on the size of the space available, and the size of the graphics you are using.
Going back to the previous graphic, it is possible to reverse the order of the pictures by clicking on the ‘reverse order’ button above the last graphic. I would also caution about using the thumbnail setting for book cover displays. The Thumbnail size is generally set to a square – around 150px by 150px. Most book covers are rectangular, not square, and do not display well.
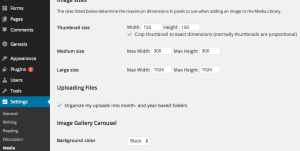
To find out what your preset image sizes are, go to ‘Settings’ on your menu bar down the left side and then click on ‘Media.’ The sizes that you see are set by the theme that you have chosen for your WordPress blog. If you change any of these sizes, it will change the preset sizes for all the pictures on your blog.
I hope that you take a few moments and play with the Tiled Gallery plugin that is part of the Jetpack function on WordPress. See what you can do with it.
~~~~~
Let me know if you have any questions about this post or anything else – I’m always happy to answer questions. If you want regular Tech Hint updates in your inbox, subscribe using the button in the sidebar to your right.
Make sure that you use the little share buttons below to share this post with your friends. I can be found on most social media and I’ve published 6 books designed to help authors and bloggers with various areas of concern. All available for less than the price of a latte!
The post How to make your graphics behave on WordPress using Tiled Galleries – A Tutorial appeared first on Bakerview Consulting.

