
Kathleen Flinn's Blog, page 11
March 30, 2020
Reader Q&A: What do you consider essential pantry items?

Do you have a shopping list of what the essentials are when stocking a pantry? I’m exactly the kind of person you wrote for: not a terribly bad cook, but unsure and insecure in the kitchen. I loved The Kitchen Counter School and am inspired to try on my own, but I’m not sure what staples I should have on hand. Please help! – Gean
 Hey Gean, I turned to my food friends on Facebook and posed the question to them. What appears below is a complete list offered by more than a dozen good home cooks and professional chefs. What this shows is that there is no definitive list; a pantry reflects your palate. If you’re keen to learn to make various Asian foods, your pantry will be different than if your tastes run to Italian or French. I’ve never Piri Piri on hand but I couldn’t live without good mustard.
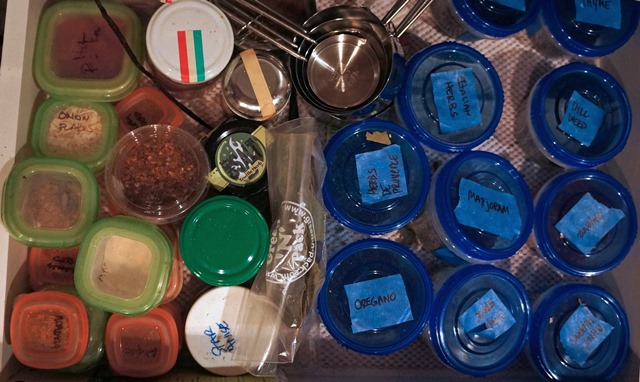
It’s always best to start buying anything for your pantry in small quantities, notably oils. Pay attention to what you actually use before you opt for the “economy” size. Find a place that sells herbs and spices in bulk; it will save money and avoid waste. You can order online from World Spice.
Pantry items in regular type were recommended by one or more cooks. Items listed in bold were recommended by two or more cooks. Items listed in bold underline were recommended by even more cooks — and reflect my own personal thoughts on standard essentials.
 Apples
baking powder
baking soda
a basil plant
bell peppers
 boxed beef stock
boxed organic/homemade chicken stock
boxed/homemade vegetable stock
butter
canned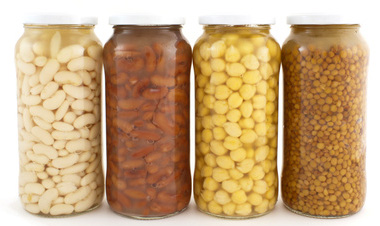 beans (like black, cannelloni, garbanzo, kidney and pinto)
canned tomatoes
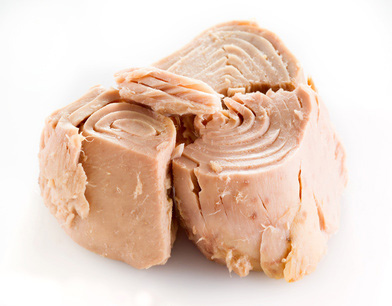
canned tuna (also salmon, chicken)
 canola oil
carrots
capers
celery
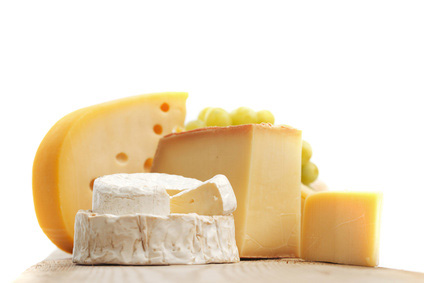 cheese (too many to list)
chili powder (or dried chilies)
Cilantro
cinnamon
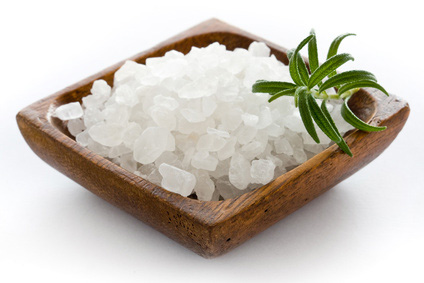 coarse sea salt
coffee
Creole seasoning
cumin
 curry sauces
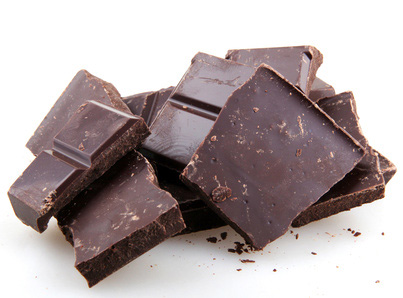
dark chocolate
eggs
fish sauce
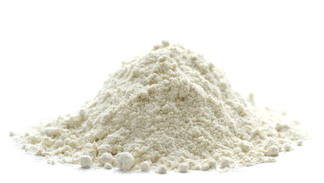 flour (gluten-free if needed)
garlic
garlic powder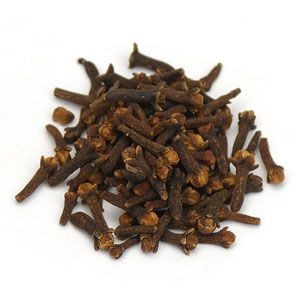 ginger
grape seed oil
whole or ground allspice
whole or ground cloves
hoisin sauce
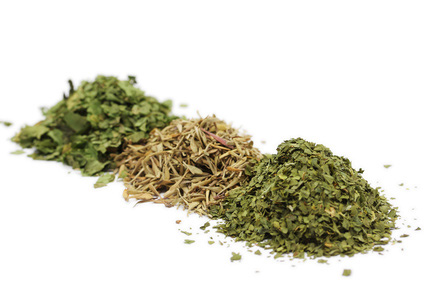 Italian herb spices
jalapeno
Jarlsberg cheese
kosher salt lemons
limes
marjoram
masa
mint
 mirin
mirin
miso
mustard (particularly Dijon)
olive oil
olives
Onions
oregano
 oyster sauce
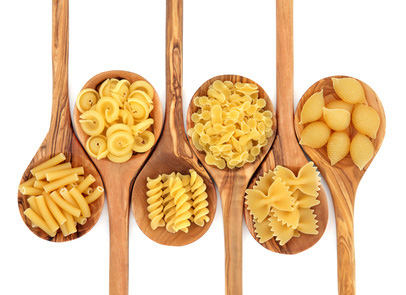
pasta (dried, gluten-free if needed)
peanut butter
peanut oil
pepper (fresh, with a grinder) pine nuts
Piri Piri
popcorn
potato chips
ramen noodles
 red chili flakes
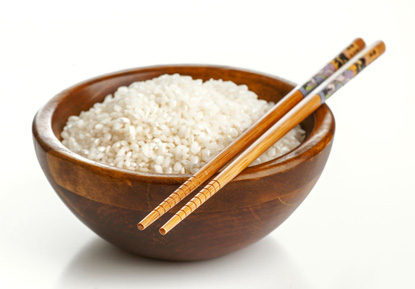
rice and whole grains (quinoa, oats, barley, etc.)
rice noodles
rosemary
salted radish
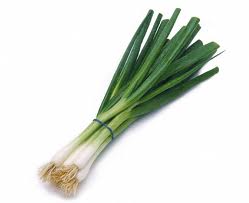 scallions
sea salt grinder
Shallots
soy sauce
Sriracha
star anise
 sugar (I’m partial to brown, agave syrup and stevia)
Szechuan pepper
Tabasco
tahini
tarragon
 Thai basil
Thai chiles
Thai rice
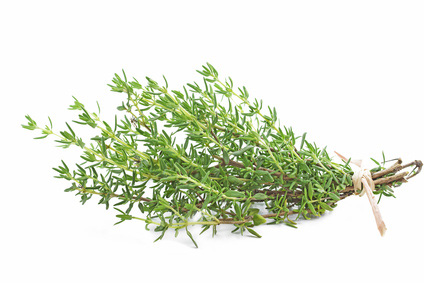
thyme
tofu
 tomato paste
tomato puree
tomato sauce
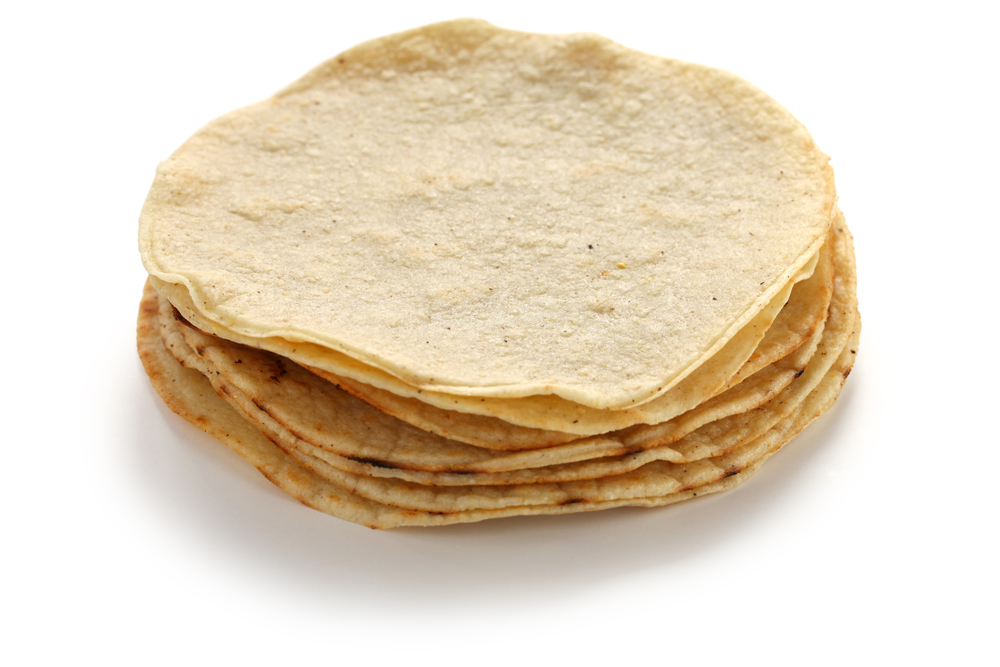
tortillas
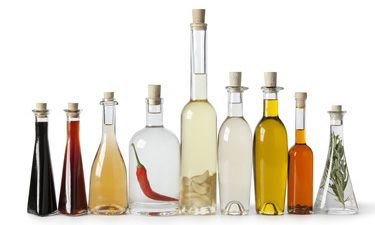 Vinegars (including black, red wine, rice and balsamic)
whole black peppercorns
Worcestershire sauce
Zip Lock bags
So what’s in your pantry that you can’t live without?
On a similar theme:
A Quick Primer on Herbs & Spices
How to make chicken stock
How to make vegetable stock
How to Outfit a Kitchen on a Budget, or 14 Essential Items for Every Kitchen
Originally published in May 2019; it has been updated.
The post Reader Q&A: What do you consider essential pantry items? appeared first on Kathleen Flinn.


Tips on Freezing Cheese, Meat, Milk and Fish
March 23, 2020
Recipe: Risotto 101
March 20, 2020
Stay Calm and Cook On
February 25, 2020
Recipe: How to make bone broth

Last week, our dear friend Henry came home from rehab following surgery and intense radiation treatment for tonsil cancer. Even weeks later, he was still limited to liquids, either that he could drink or put into a feeding tube. I asked if he craved anything. “Not really, I can’t taste anything,” he said.
His wife said she’d looked at the ingredients on the commercial liquid food they had been putting into feeding tube. She was struck by all the artificial ingredients. “What he needs is something natural, like broth.”
“Let me see what I can cook up,” I said.
I spent a day researching the value of bone broth. Once something of a lost art, bone-based stocks have come back into vogue as key parts of the paleo and keto diet movements. So I spent a day making gallons of bone broth and soups incorporating it. Then I posted a photo on Facebook showing off my handiwork.
Immediately, I was flooded with two questions. “Can I have the recipe?” and “What’s the difference between bone broth and stock, anyway?”
The answer to the second question? Essentially none.
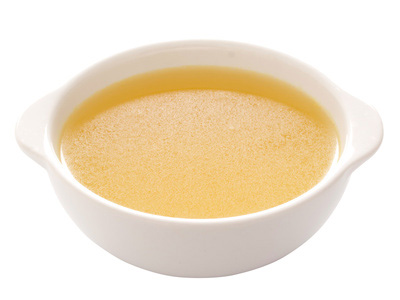
 Plain bone stock, potato and carrot soup with and simmered greens.
Bone Broth vs. Stock
The stock vs. broth question has been something of a
culinary debate for years. Bone broth and stock are both liquids derived from
simmering ingredients in water. The flavoring ingredients may vary, but they
are generally discarded.
At Le Cordon Bleu in Paris, chefs taught us that if bones
were involved in this process, then you were making stock. If one used only
meat or vegetables, then it was broth. Thus, technically there’s no such thing
as “vegetable stock,” it’s broth. (Vegetable broth is delicious
and endlessly versatile; check out my
recipe for it.)
The bone broth vs. stock debate gets complicated by the intended use. Stock, whether it’s made from beef, chicken or fish bones, is generally created as an ingredient to enhance a dish. Some argue if the liquid is made solely to be consumed on its own, then it’s broth.
Of course, what if you plan to use it for both? After all, I have been known to sip on freshly made beef or chicken stock, and warm vegetable broth is an almost daily habit — and I use the same stuff to cook with, too. So bone broth vs. stock seems like splitting semantic hairs to me.
At any rate, the process for making bone broth or stock is the same. I already have a lengthy post on making chicken stock. So here I’ll focus on beef stock aka bone broth (although you can use the same recipe for chicken).
For millennia, cooks simmered bones to extract collagen, nutrients and flavor to create a thick, rich gelatinous base for soups, stews and sauces. It has also been known as a medicinal cure-all for generations as well. Why is that?
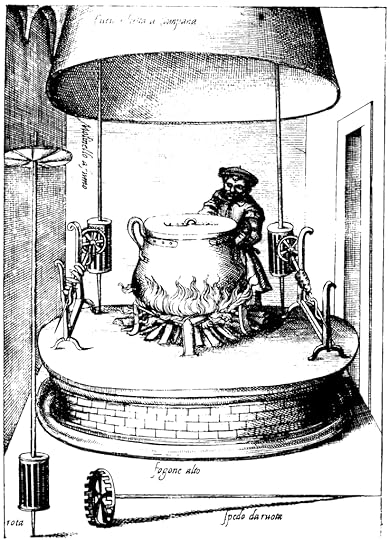 Image of a chef making either soup or stock from the book Il Cuoco Segreto Di Papa Pio V (The Private Chef of Pope Pius V), by Bartolomeo Scappi, Venice, 1570, courtesy the Medieval and Renaissance Food homepage.
 Health benefits of bone broth/stock
Historically, cooks just anecdotally knew that people felt better after sipping bone broth. Now scientists know why. Based on research from a number of sources, including the Mayo Clinic, here’s a quick (and not complete) breakdown of what’s in bone stock that makes it so nutritional:
Collagen: the most abundant protein in the human body, collagen is found in the bones, muscles, skin, and tendons. The addition of collagen to the diet can help repair body tissue at a cellular level.
Glucosamine: a sugar protein that aids the body build cartilage, the cushy connective tissue at your joints. Glucosamine is a naturally occurring substance found in bones, bone marrow, shellfish and fungus.
Proline/glutamic acid: one of the amino acids that forms collagen, proline helps support antioxidants and improves gut health, aids nutrient absorption and supports the metabolism, and even helps protect the cardiovascular system.
Glycine: an amino acid used by the body to create proteins that in turn repair and maintain tissue and aid in making hormones and enzymes.
Glutamine: the most common amino acid found in the muscles. In fact, more than 60 percent of all skeletal muscle is made up of glutamine. Glutamine quickly becomes depleted when the body comes under stress, either from over-training or illness.
 Beef bones range in price from 50 cents to $3 per pound.
 Key Tips for Bone Broth
Buy good bones. The best option is visit a butcher. However, thanks to the popularity of bone broth, major supermarket chains now stock bones, too. I found grass fed organic bones in the freezer section of my local QFC, owned by Kroger. If yours doesn’t carry them, fill out a request slip. Caramelize bones in a hot oven. This helps to add a hearty, earthy flavor to the final product. Start with cold, clean water. Long simmering will condense all flavors including the gunk in your water supply. Use a filter if you’ve got one. For the same reason, don’t add salt until the end or it may be brackish.Invest in a mesh strainer and cheesecloth . This will help create clear, beautiful broth/stock. Don’t boil or cover. Boil too much and stock becomes cloudy. Covered stock/bone broth can taste sour.Bones first. I prefer to let it simmer with just the bones for the first couple hours and then add in vegetables and aromatics. This makes it easier to strain fat off the top.Strain, strain, strain. Beef bones yield a lot of fat. Strain with a spoon regularly to eliminate excess. Safety first. A big stock pot stacked with bones is both hot and heavy. Use tongs to remove the bones and vegetables. Then use a ladle or a cup to get out the liquid.
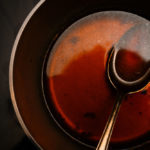
 Use a ladle or spoon to remove fat; dip it into a cup of clean water to remove excess before skimming some more.
 To get the bones to give their all, beef stock/bone broth should be simmered for a minimum of 12 hours, and chicken stock for at least four hours. You don’t have to do anything to it other than skim it. Just set it on a back burner and let it go. If you have an electric stove or portable burner, you can leave it on all night; this is not recommended for gas for reasons that should be obvious. It’s impossible to “overcook” beef stock/bone broth. However, it’s tempting to under cook it. Give it at least eight hours if possible, or use a pressure cooker.
Using an Instant Pot
Stock is based on the French technique known as reduction. This simply means that simmering ingredients in water over a long period of time allows the flavors and collagen to become concentrated due to the slow evaporation of water.
So while you can also make bone broth in an Instant Pot, be aware that without the evaporation, the resulting broth will be a bit different. In my experience, it tends to be oilier and cloudy, and doesn’t quite coax all the goodness from the bones. However, it’s better than skimping on cooking time in a regular pot and for those who value time above all, it’s definitely worth a try. For a six-quart Instant Pot, cut the recipe in half and follow the steps up to putting the bones in the pot with water. Then, set the Instant Pot on manual for 2 hours. Continue straining as directed.
Roasted Bone Broth
If you can boil water, you can make this simple, versatile recipe for making beef bone stock or broth. My dear chef friend, Ted, once developed a 2,000-word missive on the perfect stock. This simplified version captures key points of his méthode. This recipe is for a ten- to twelve- quart stockpot. Adjust the recipe as needed to fit your pot.Ask your butcher for “soup bones,” or joint bones such as knuckle with a bit of meat on them. I also keep any and all bones from steaks and freeze them until ready to make a batch of beef stock.You can use this same recipe for making chicken or turkey stock. I’m partial to backs and necks, or the leftover carcass from a roasting chicken or turkey.
Course Soups and StewsKeyword Beef stock, Bone broth, Broths
Prep Time 30 minutesDo nothing simmering tme 1 day 18 hours
Servings 16 1 cup servings
Author katflinn
EquipmentLarge stock potMesh sieveCheese clothTongs
Ingredients8 lbs beef or veal bones (about 3.5 kilos)2 onions quartered3 large carrots roughly chopped3 ribs celery roughly choppedHandful chopped fennel (optional)Few whole cloves (optional)1 teaspoon whole peppercornsHandful stems from parsley, thyme or oregano2 garlic cloves2 bay leavesSplash apple cider vinegar (optional)sea salt or Himalayn pink salt
InstructionsRemove impurities from the bones. Place thawed and/or fresh bones in stockpot or bowl and cover with water. Let stand for fifteen minutes and then drain, discarding the water. This helps to remove freezer frost, blood, and other undesirables. Dry well. Roast the bones. Preheat oven to 400°F/ 210°C. Roast the bones on a sheet pan or roasting pan until they achieve a rich brown color, about 30 to 45 minutes. If desired, you can add vegetables and roast those, too. Simmer. With tongs or a large spoon, transfer bones to the stockpot. (Leave the vegetables aside for later.) Cover with cold water. Pour the fat out of the roasting or sheet pan, add water, and gently loosen the pan drippings. Pour this into the stockpot. In either case, the water level should be at least three inches above the bones. Apply high heat until the stock comes to a gurgling simmer. Then reduce the heat as necessary to maintain a simmer. For the next couple of hours, use a ladle or large spoon to regularly skim the foam and fat from the surface of the stock. Don’t let it boil. Add vegetables and aromatics. For beef bones, simmer the uncovered stock for a minimum of eight hours; for chicken, two hours. Skim every hour or 90 minutes. Add water as needed to keep the bones submerged. Remove bones and strain. Don't try to pour out the contents. Use tongs to remove bones and vegetables and put into bowls. Ladle or pour the remaining stock and vegetables through a colander set over a large bowl. Repeat until all the stock liquid has been strained through the colander. You will probably need two or three large bowls. Strain through cheesecloth. Line the colander with cheesecloth or a coffee filter. Let the stock cool a bit. (I add a few ice cubes.) This will help the fat collect on the surface. Strain through cheesecloth again. At this point, taste it and add a bit of salt as desired. Use or cool and store. Cool the stock/broth quickly. (One tip: plop freezer bags with ice into the bowls.) Once at room temperature, put into the fridge. Refrigerate and use the stock within five days. Mason or glass jars work well to keep in the fridge. Otherwise, ladle into freezer-proof glass, silicone or plastic containers and freeze. Use within three months.
NotesIf using an Instant Pot, follow the steps except instead of simmering for several hours, set on manual pressure cook for 2 hours. Let the pot depressurize on its own, carefully remove bones with tongs and then proceed with straining.
The post Recipe: How to make bone broth appeared first on Kathleen Flinn.
February 11, 2020
Recipe: Spicy Creole Shrimp with Pasta
November 28, 2019
19 Ideas for Thanksgiving Leftovers
November 25, 2019
Recipe: How to make bone broth
October 9, 2019
Seattle Lit Crawl Food Events 2019
August 11, 2019
Recipe: Blueberry Jam Like My Grandpa Charles’
 “Who are you?” Mike asked me last week.
“What are you talking about?” I replied.
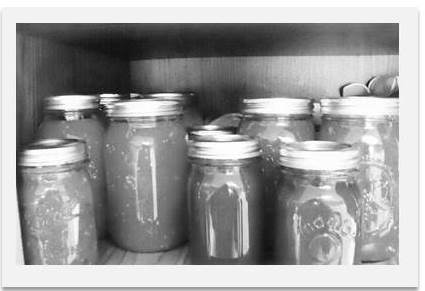
He waved his hand over the counter and dozens of jars of canned jams, jellies and preserves. “Have you become your grandmother? You’re canning like a maniac.”
“No, I am not becoming my grandmother,” I sniffed indignantly. “You read the book. This is all about my grandfather.”
Until this summer, as an adult, I made jam exactly twice, and pickles once. Last autumn, inspired by a deluge of three dozen lemons left over from an event, I made preserved lemons. In the past 3 weeks, I’ve made 11 batches of jellies and jams, yielding 19 pints and 38 half pints. For the first time in my life, I appreciate the sense of reward that canning can offer. I feel that warmth of tranquility when stirring the pot of bubbling berries, watching and waiting for the mixture to fall off the spoon in “sheets” as my mom explained to me on the phone when I panicked while making my first batch.
Mom knows all about canning. When we kids on our Michigan farn, she would turn into what we called “The Claw” by the end of each summer. Far from my relaxing endeavor, back then, it was a full-scale military production.
When my folks moved into their ramshackle 1895 farmhouse back in the mid-1960s, Mom found more than two hundred jars in the cellar. The cache felt like a good omen. As a girl growing up on a series of farms herself, Mom seemed to be always washing jars and canning with her mother, my Grandma Inez. Her brothers would work alongside Grandpa Charles in the field, weeding, hoeing, planting and picking. Mom had small hands so the task of washing the jars inside and out invariably fell to her.
 My Grandpa Charles and Grandma Inez
Most often, Grandma Inez “cold packed,” a process in which food is put into jars and then cooked in a hot water bath. For example, she’d peel and quarter tomatoes, then pack them into jars with a bit of kosher salt, and topped them with a lid. That was it. Soil, sunshine and a little bit of salt, that’s what a quart of tomatoes cost.
These jars would then go into Grandma Inez’ blue speckled 21-quart enameled steel pot equipped with a metal rack for jars. Once in place, the pot is covered until the water comes to a boil. While the cans “cooked” for their allotted time, Mom and Grandma Inez would spread heavy towels on the kitchen table. They’d remove the hot jars with specially made tongs and put them lid down on the towel to cool overnight. As the vacuum created by the process took effect, they could hear the lids emit a solid “dink” as the metal went concave, finalizing the seal.
Grandma Inez did all the canning except the jams and jellies. Those were left to Grandpa Charles. Canning relies on science, but Grandpa’s jam was nothing short of an art. Mom and her brothers would collect pails of blueberries and raspberries in the woods behind the farm. They were free and there were tons of them back when they were kids in the 1930s and ’40s.
“We’re gonna have fun like Saturday night in San Antonio!” Grandpa Charles would declare when Mom joined him in the kitchen for jam making. He’d turn up the radio and sing along. One of his favorite was “Shortenin’ Bread,” thought to have derived from an old Southern Planation slave song then reworked by blues singers and eventually made famous by the Andrews Sisters:
Put on the skillet, slip on the lid,
Mama’s gonna make a little short’nin’ bread…
Mama’s little baby loves short’nin’, short’nin’,
Mama’s little baby loves short’nin’ bread.
He’d talk her through recipes. They’d laugh and sing songs together. He’d share his tips. “Now don’t add too much sugar, or you’ll overwhelm the berries.” When people visited, he’d give them at least one jar of jam so they could sample his artistry. If they protested, he’d wave them off. “I’m making a ton for this year.” Grandpa Charles gave away much more than just jam. He would give people vegetables from his garden during the summer, beans that he grew and dried himself during winter. He was the first to volunteer to help a neighbor with anything from getting a tractor unstuck to helping slaughter a hog. He had a saying:
When you leave this world for a better one someday,
The only thing you get to take with you is what you gave away
 On our Coldwater Road farm, Mom followed Inez’s methods. Dad bought her a 21-quart cold packer, just like the one her parents used. Often in summer, Dad would hit the fields just past dawn and pick what looked ready. It cleared his mind to be in the cool morning air alone with just the sound of nature, a stark contrast to the loud, hot atmosphere of the General Motors plant where he worked for nearly 17 years. Often, my mother would open the door to find a bushel of green beans or rhubarb or corn, patiently waiting. Most days, she’d have it canned by the time he got back home.
The quantity she produced each year was nothing short of dazzling:
80 quarts of applesauce
120 quarts of tomatoes
80 quarts of peaches
40 quarts of pears
40 quarts of jam
40 quarts of green beans
60 quarts of bread and butter pickles
24 pints of corn relish
24 pints of berry syrups
24 pints of “chili sauce.”
Halfway through this list, her hands would ache and almost deform from the constant cutting of produce and twisting of the rings around the lids of the jars; hence, the term, “The Claw.”
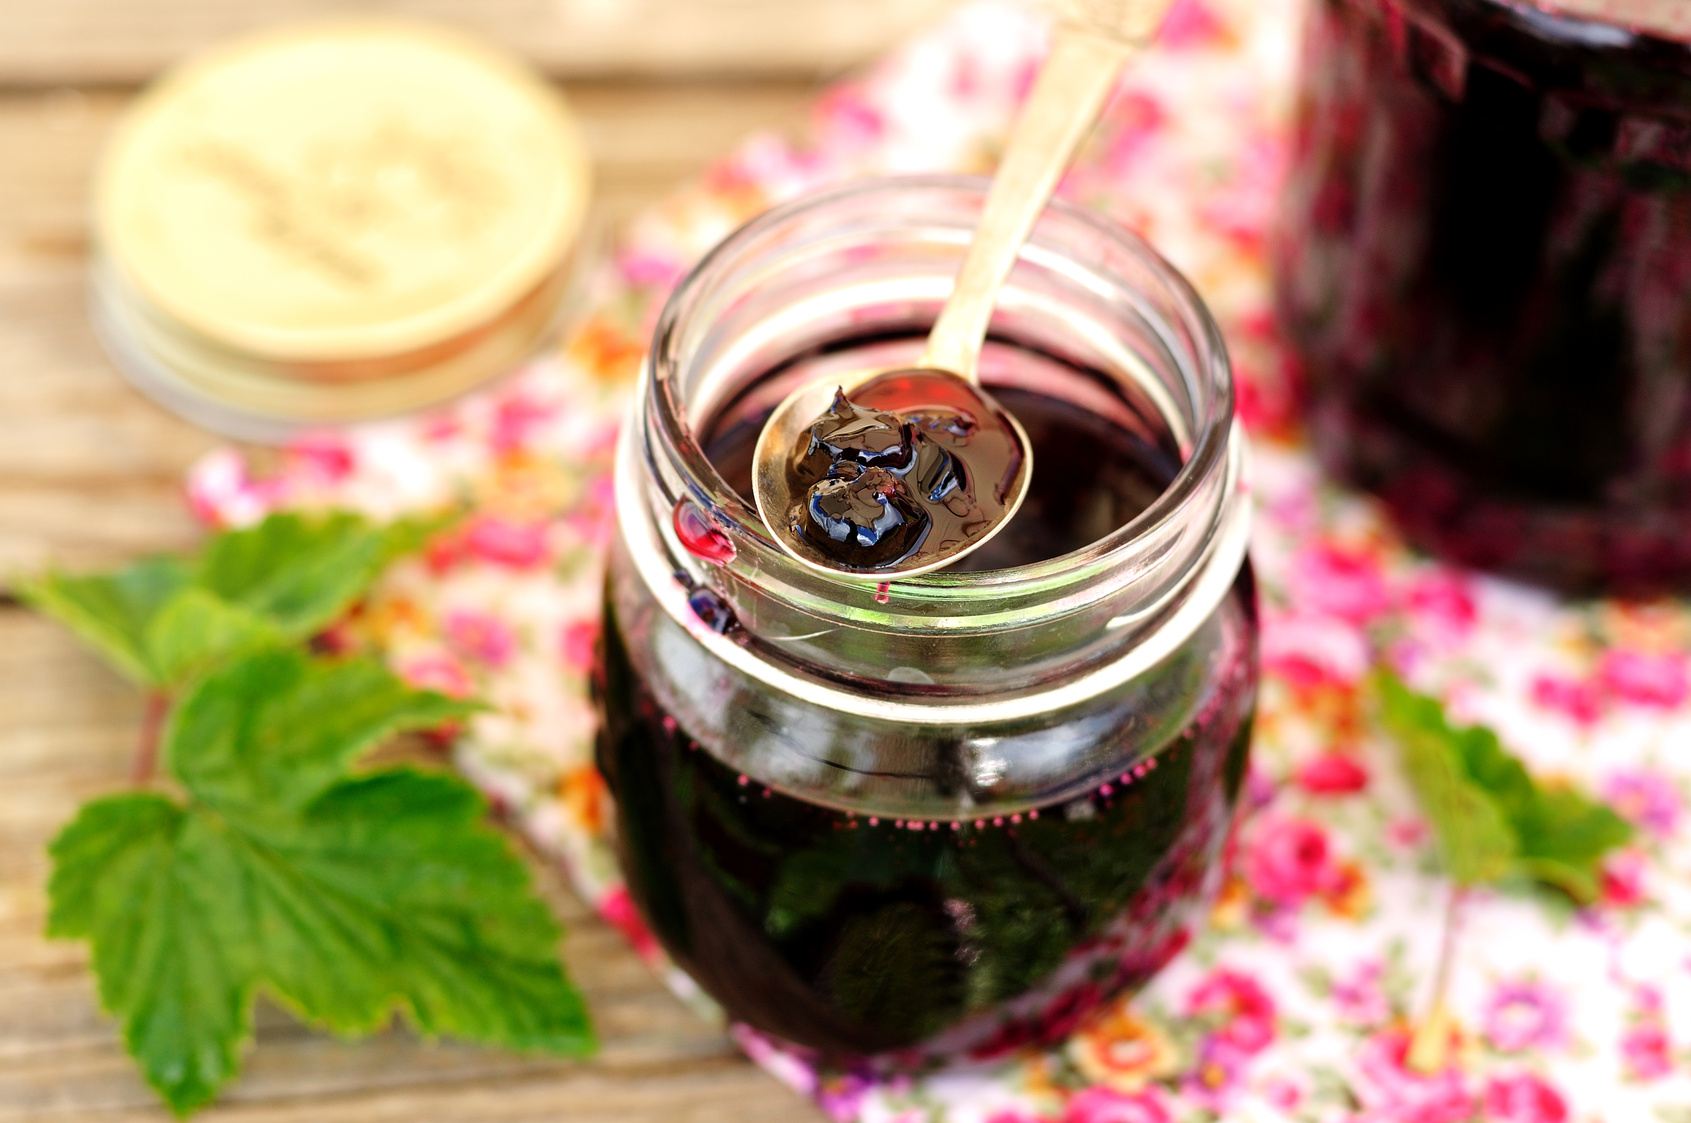 Although she made jam for all those years, it never quite came out like her dad’s. He never wrote down any specifics. Instead, he worked by taste, evaluating the sugar in the berries and modifying the working ratio he kept in his head to achieve a certain balance. Mom tried again and again to replicate her favorite, his blueberry jam, but never quite got it right. Then a couple of years ago, she came along with me to a book tour stop in Asheville, N.C. We stopped in for breakfast at the famed Tupelo Honey Café. The waitress dropped off a pair of huge, flaky biscuits, a ramekin of soft, sweet butter and a small bowl of dark jam. As mom and I chatted, she spread the butter and jam on her biscuit. As she took her first bite, her eyes grew wide. Then, they misted over. She put down her biscuit and began digging in her purse for a tissue.
“Mom, mom! What is it?” I asked, alarmed.
She dabbed the corners of her eyes. It was a moment before she could speak. “It just that this tastes just like my Dad’s jam,” Mom said quietly. “It just made me miss him so much all of sudden.”
The flavor of her childhood took her by surprise.
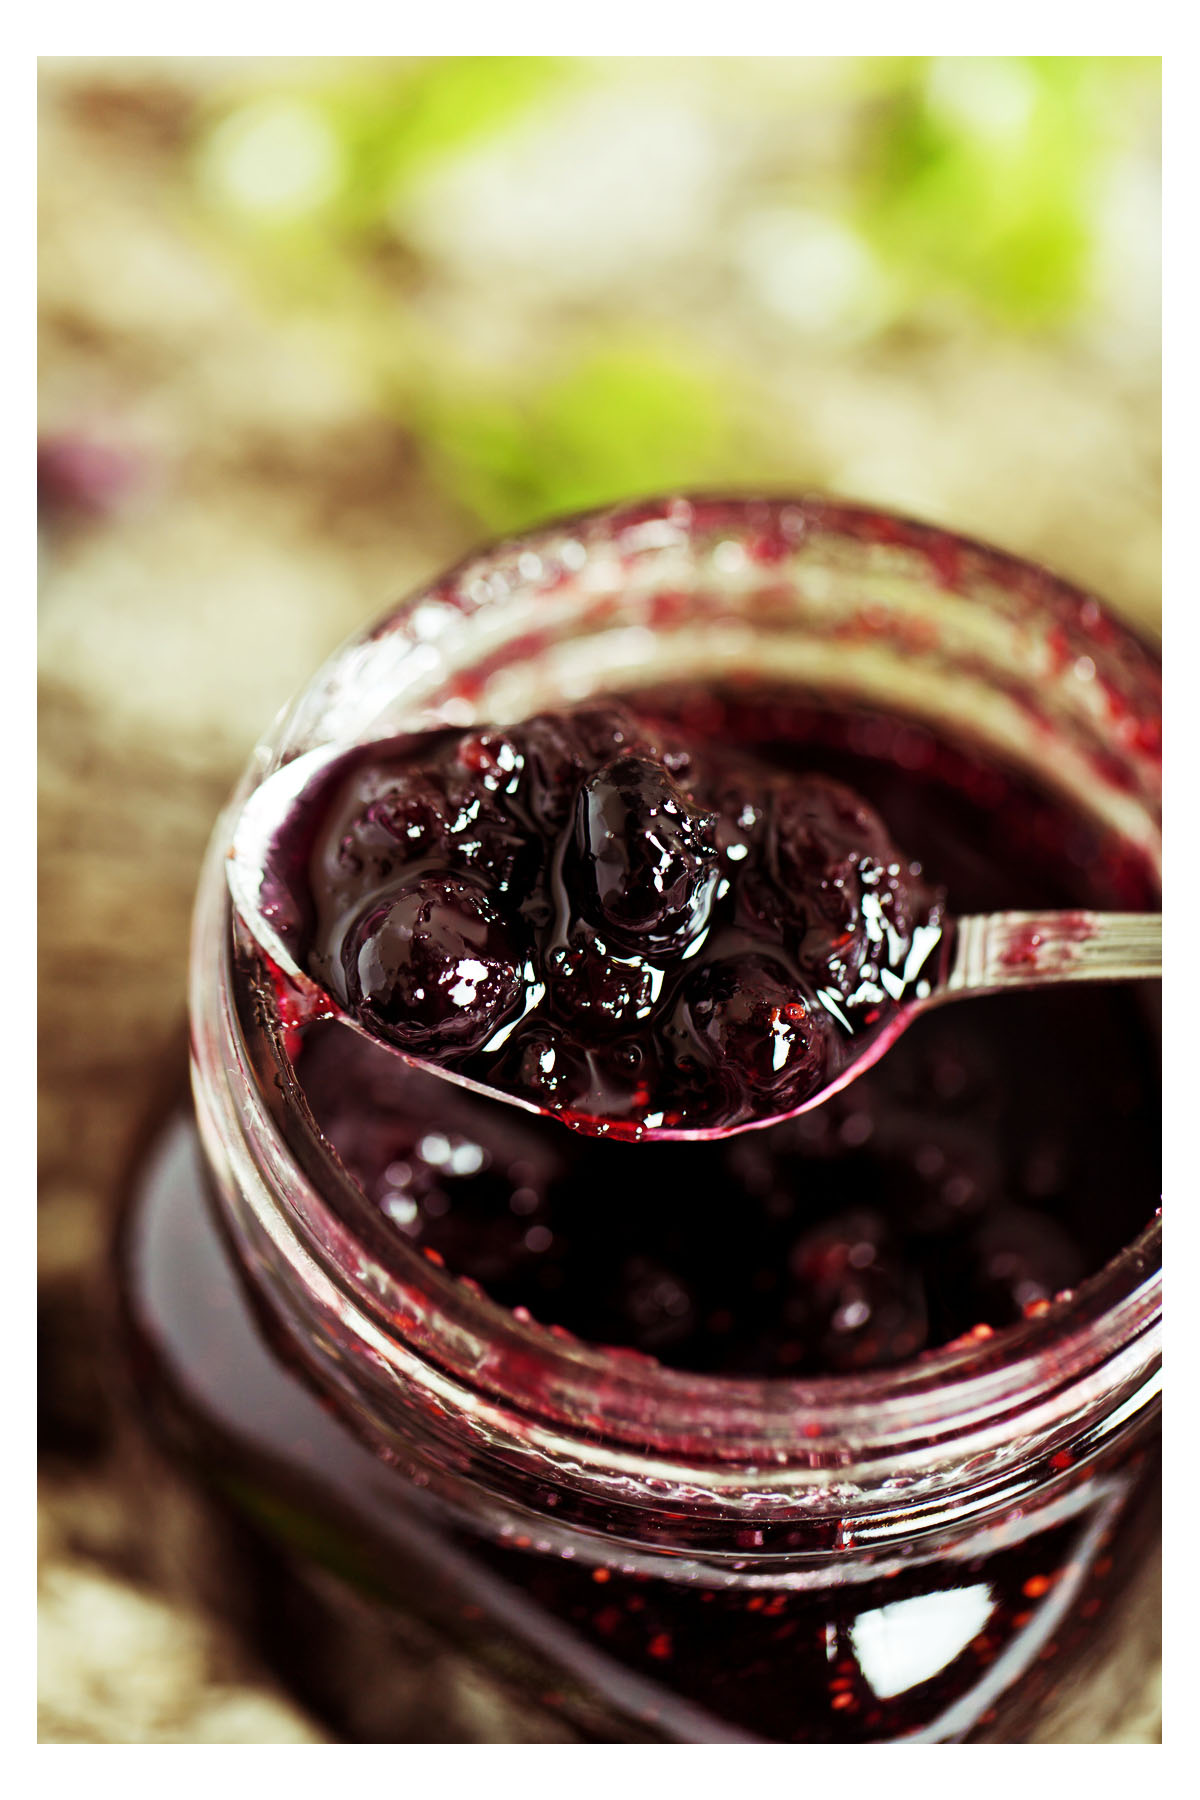
Blueberry Jam Like My Grandpa’s
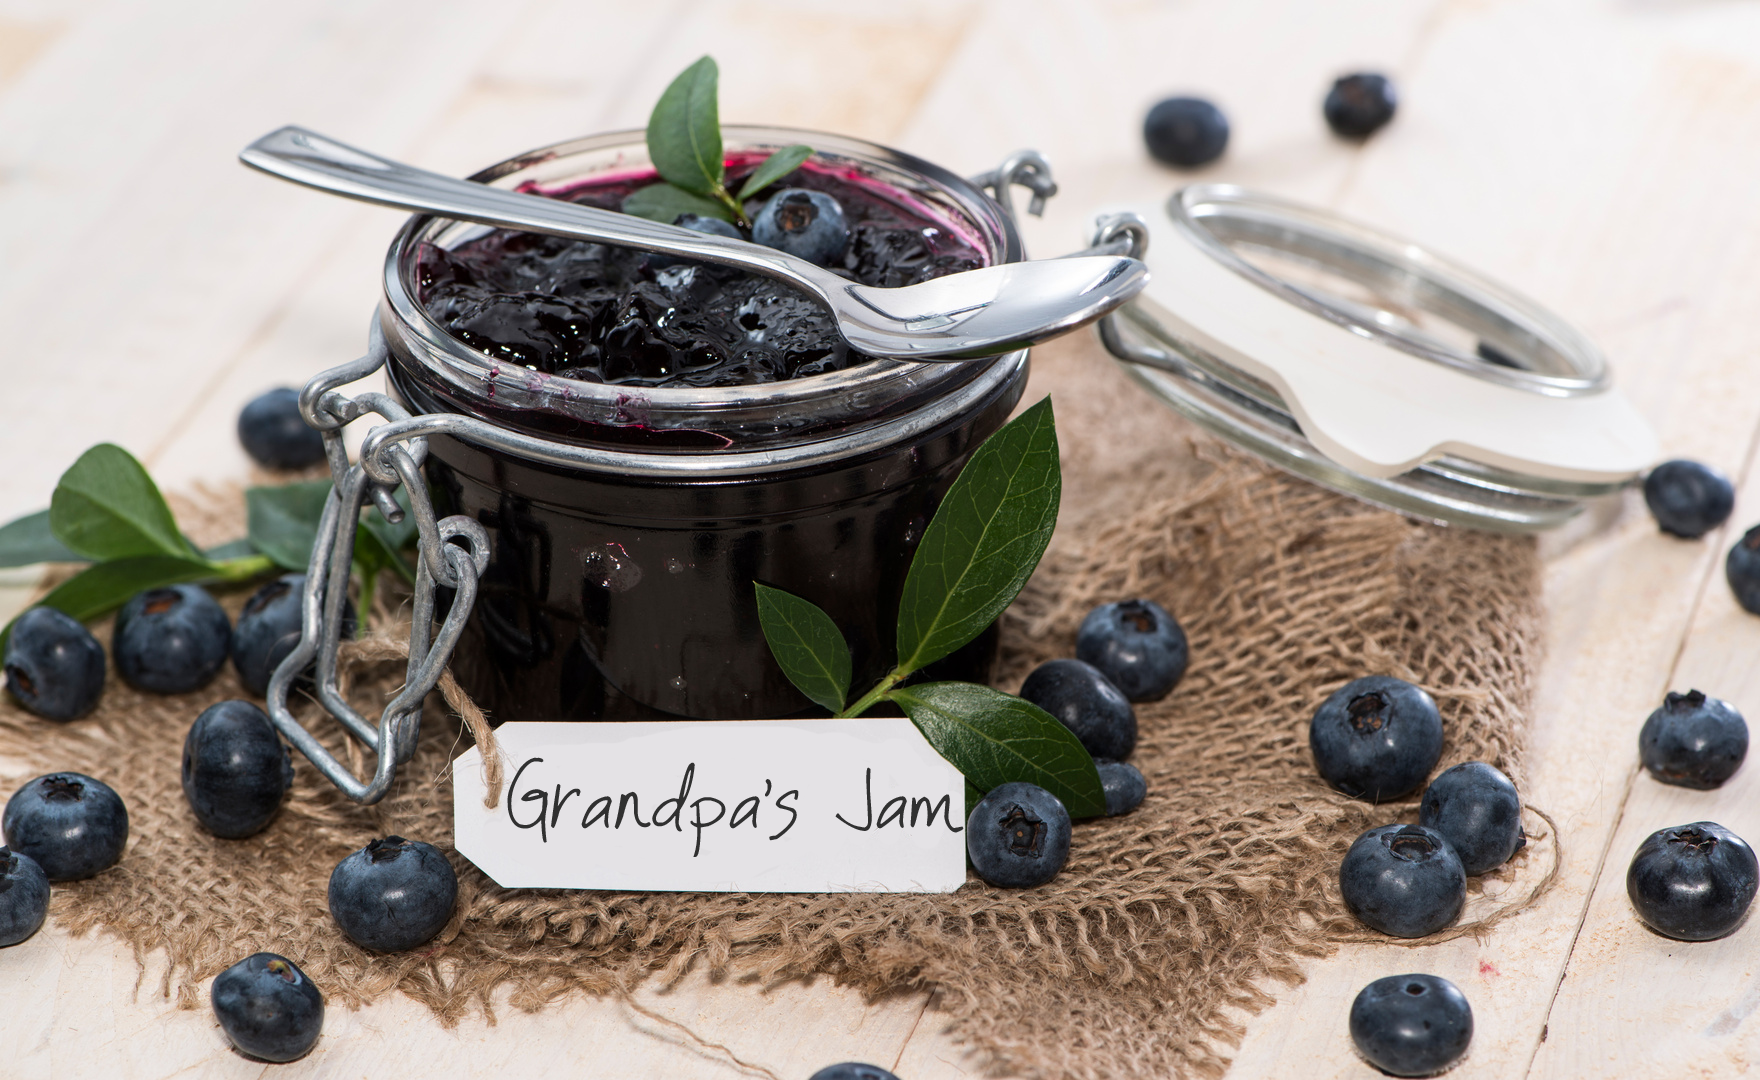 This recipe, adapted from the Tupelo Honey Café Cookbook, is excerpted from BURNT TOAST MAKES YOU SING GOOD: A Memoir of Food & Love from an American Midwest Family (Viking/Penguin). For more detailed instructions on how to preserve blueberry jam, visit my friend Brooke’s excellent site, LearntoPreserve.com
¾ cup (150g) sugar
1 ½ teaspoons pectin
1 ½ lbs (680g) fresh blueberries (4 cups)
1 tablespoon (15ml) freshly squeezed lemon juice.
Combine the sugar and pectin in a large bowl until thoroughly blended. Place the blueberries in a medium saucepan and stir in the sugar mixture and lemon juice.
Bring to a boil, reduce the heat to medium, and cook, occasionally stirring, for about 10 minutes, or until the mixture falls in a sheet off the back of a spoon.
Allow to cool to room temperature before serving. Store in an airtight container for up to 30 days in the refrigerator. To preserve longer, thoroughly wash and sterilize canning jars and lids according to manufacturer directions. Put the hot blueberry mixture into the jars, and then top with lids and rings and process in a hot water bath for 10 minutes. Turn off the heat and let rest for about five minutes. Using canning tongs, remove the jars and let cool on a towel for about 24 hours before storing. Check the seals. If they’re tight, store in the pantry. If not, store in your fridge. For more specifics on canning blueberry jam, see LearnToPreserve.com
My husband, Mike, put together a “soundtrack” for the book and came across this awesome version of the classic song, “Shortenin’ Bread” performed by The Tractors. This post was originally published in 2014; it has been updated.
The post Recipe: Blueberry Jam Like My Grandpa Charles’ appeared first on Kathleen Flinn.


![[image error]](https://kathleenflinn.com/wp-content/uploads/2014/05/Pantry-items-scaled-1.jpg)