
Vickie Howell's Blog: Vickie Howell's Website, page 15
June 3, 2021
June YarnYAY! Box
 June YarnYAY! Box
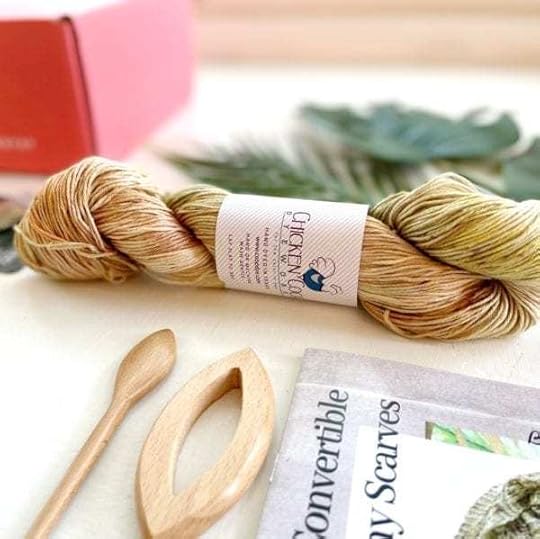
We’re kicking off our very first “Wool Free Summer” with the June YarnYAY! box! Starting now, join us for a season of linens, cottons and silks, easy-breezy projects, and refreshing extras. Enjoy!
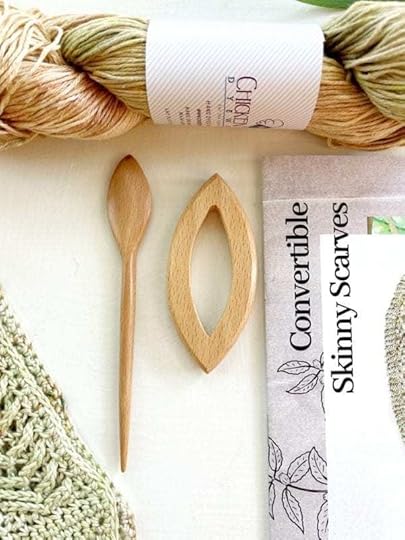
Chicken little | Chicken Coop DyeworksThis month kicks off our Wool Free Summer, with an easy, breezy silk-linen blend, hand-dyed in one of the season’s hottest colors, sage green. Our shade, Ripe Pistachios, is also layered with an earthy brown for a grounding result.
Chicken Coop Dyeworksis a BIPOC woman-owned business based in Texas.
Convertible Skinny Scarf Patterns | Designs by Vickie Howell & Designer in Residence, Natalie Thomas
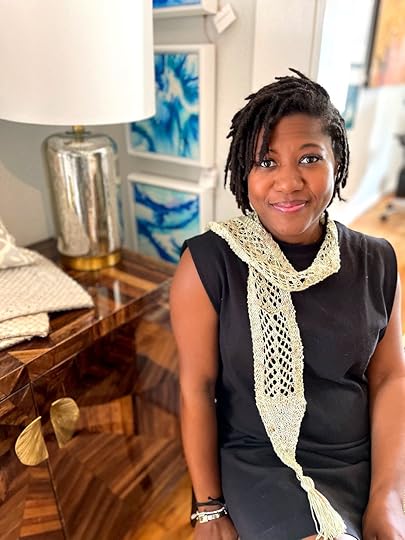
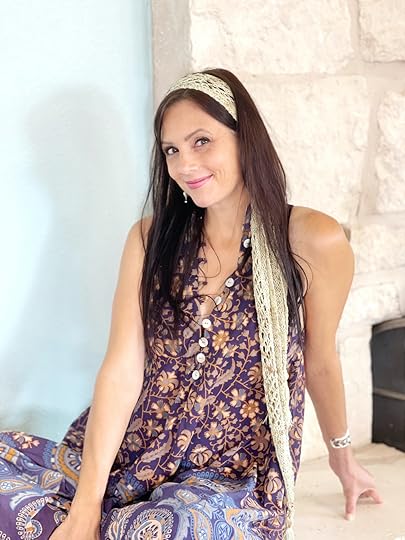
This month’s projects are all about versatility. We’re creating light, flowy accessories that can be worn three different ways: as a skinny scarf, headband or belt. The knit version, designed by Vickie, is worked in a chevron lace.
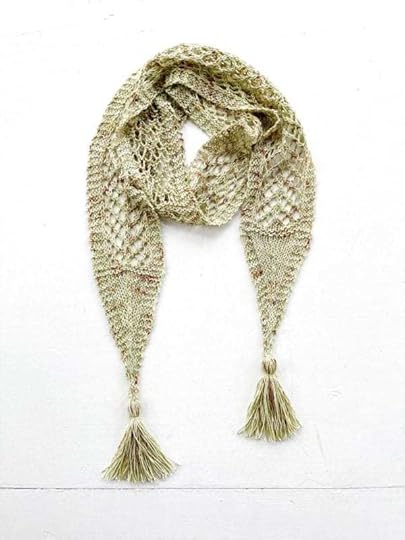
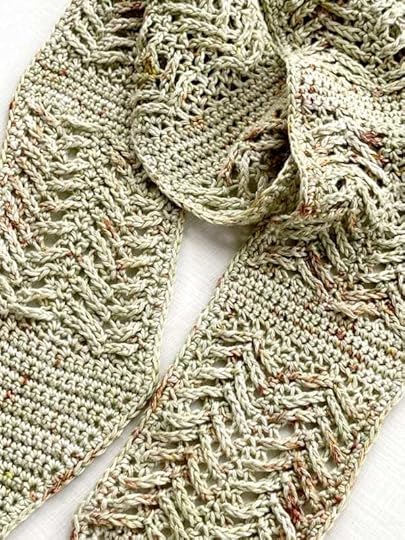
The crochet version, designed by Natalie Thomas, employs angled, extended front post stitches. Both versions are finished with tassels on the tips.
Wear this month’s projects 3 ways!

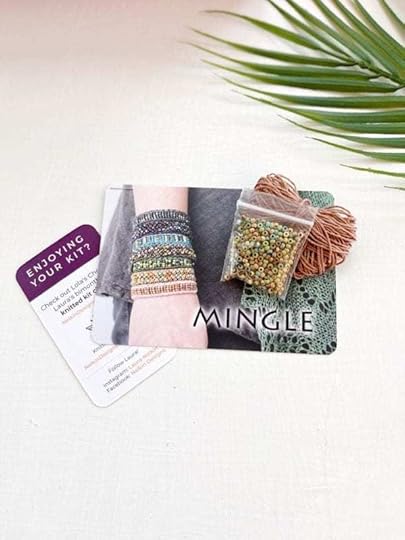
Beaded Bracelet kits | Laura Nelkin Designs
We’re so excited to share with you a kit for either a knit or crocheted beaded bracelet designed to coordinate with this month’s yarn. You’ll love this quick, fun take on the crafts we love!
Nelkin Designs is owned by Laura Nelkin.
Wooden Shawl Pin | YarnYAY!
The vintage-inspired wooden shawl pin works as a closure for our scarves when worn around the neck or waist, or can be worn alone on one’s hair. Put a pin in it!

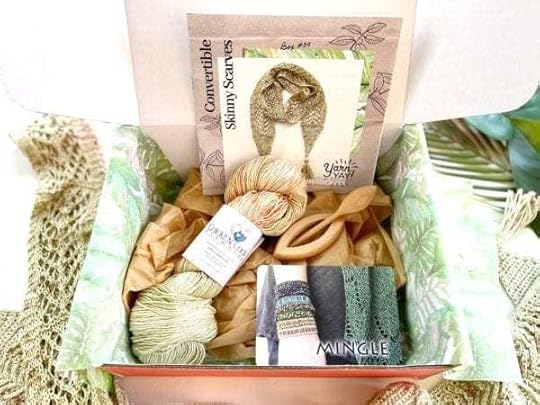
YarnYAY! June 2021 Box
The post June YarnYAY! Box appeared first on Vickie Howell.


May 31, 2021
Two Row Knit Lace Patterns
 Two Row Knit Lace Patterns
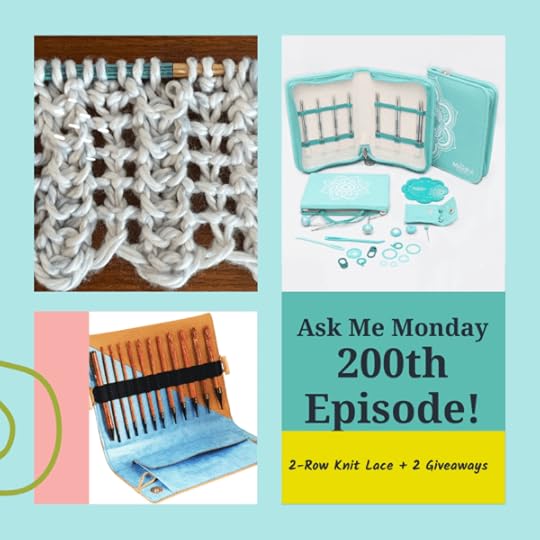
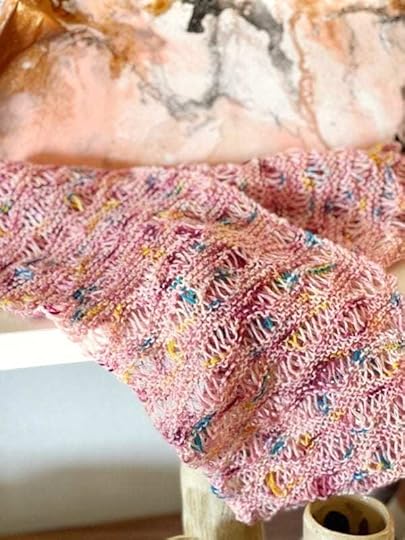
This week marks the 200th episode of Ask Me Monday! Reader, you know I love a theme, so for this episode we doing things in twos. I show how to knit 2 different, two row knit lace stitch patterns (see swatch instructions below), both perfect options for Summer projects like flowy tops, lightweight scarves, and market bags.
Knitter’s Pride has also been generous enough to give me the green-light to give away two of their gorgeous sets: their Ginger Tunisian Interchangeable Hook Set, and the Believe Circular Knitting Needle Set from their Mindful Collection. Be sure to watch through to the end of the episode to details on how to win.
Thanks to all of you who continue to watch Ask Me Monday. I appreciate you!

This episode of Ask Me Monday is sponsored by
Knitter’s Pride
/
KnitPro
See more KP products during “Vic’s Tips” segments of The Knit Show!
Products shown in this video: The Mindful Collection
 Two Row Knit Lace Lace Columns: Slanted Lace
Multiples of 2.
SWATCH DIRECTIONS
CO 24 sts.
Row 1 (RS): K1, *YO, k2tog; rep from * to last st, K1.
Row 2: K1, p to last st, k1.
Rep Rows 1-2 until piece is a square. BO.
Two Row Knit Lace Lace Columns: Lace ColumnsMultiples of 6+1.
SWATCH DIRECTIONS
CO 25 sts.
Row 1 (RS): *K1, yo, k1, SK2P, k1, yo; rep from *to last st, k1.
Row 2: Knit.
Rep Rows 1-2 until piece is a square. BO.
PRO TIP: Use stitch markers in between each repeat, so you don’t lose track of where those SK2ps go!

Looking for Lace Project Patterns? Go HERE.

Wave Hello Infinity Scarf (knit) by Vickie Howell
The post Two Row Knit Lace Patterns appeared first on Vickie Howell.
May 24, 2021
Sunburst Granny Squares
 Sunburst Granny Squares
My team and I are currently on a granny square kick. Although looking back at my Pinterest account, I’ve had a “Gaga for Granny Squares” board for decade so perhaps, for me, it’s less of a kick and more of a lifestyle choice. But I digress.
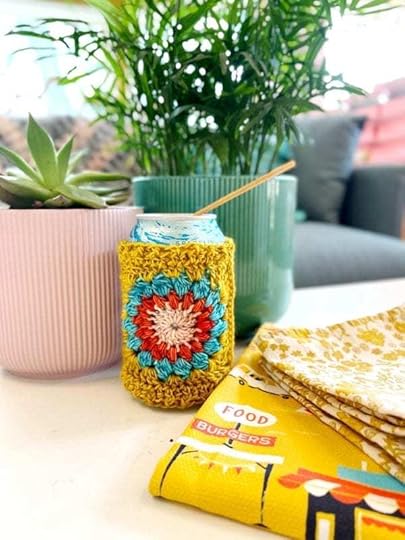
This week on Ask Me Monday, I step away from my usual, memorized pattern for basic squares to show hot to crochet Sunburst Granny Squares. They’re happy, multi-stitch-filled, little motifs that are filled with maker possibilities. Watch this week’s episode of the show, practice making a square or two, then crochet a cute little can cozy (or as they say here in Texas,”coozie”). Enjoy!
This episode of Ask Me Monday is sponsored by
Knitter’s Pride
/
KnitPro
See more KP products during “Vic’s Tips” segments of The Knit Show!
Featured Knitters Pride Product: Ginger and Symfonie Dreamz Crochet Hooks
Sunburst Granny Squares Can Cozy
MATERIALS
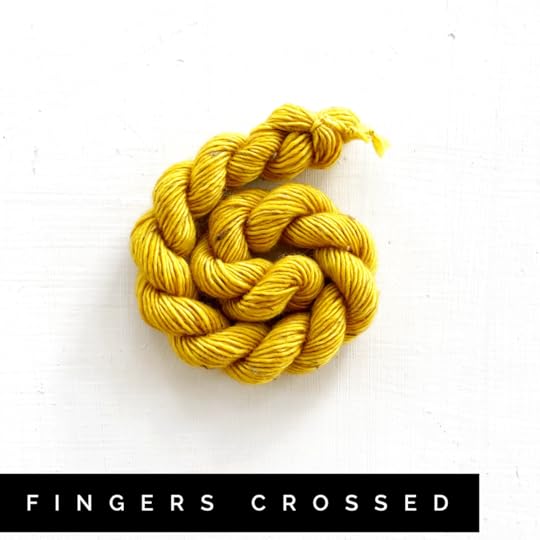
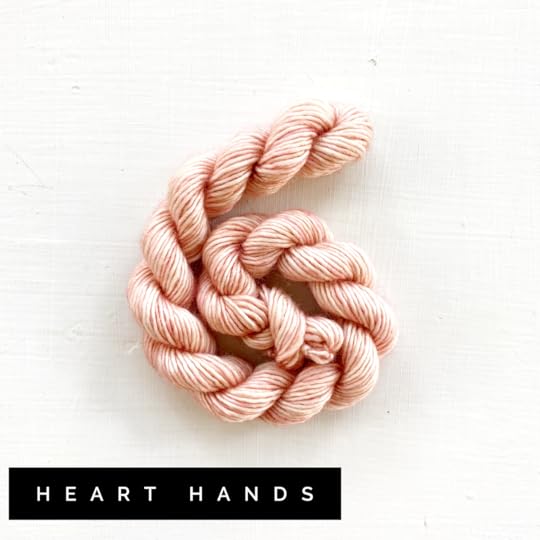
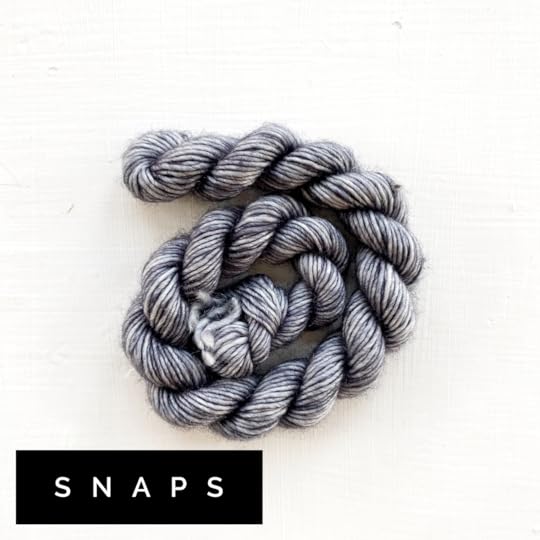
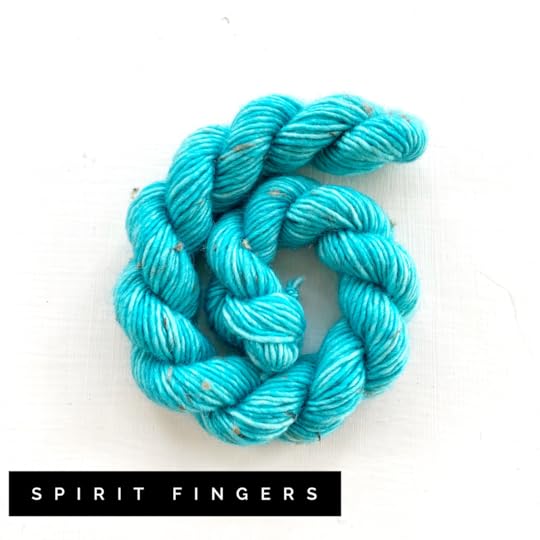
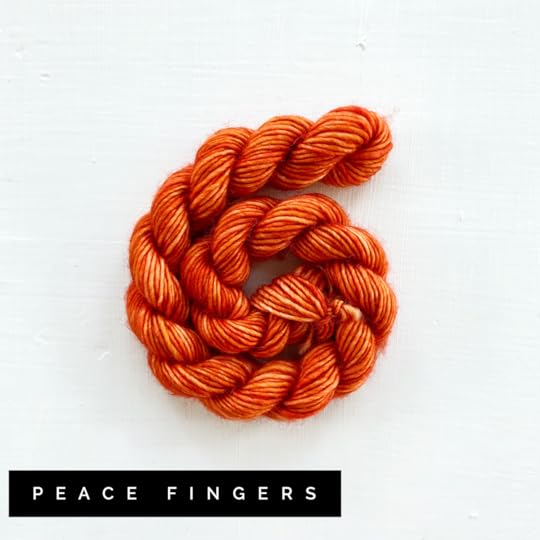
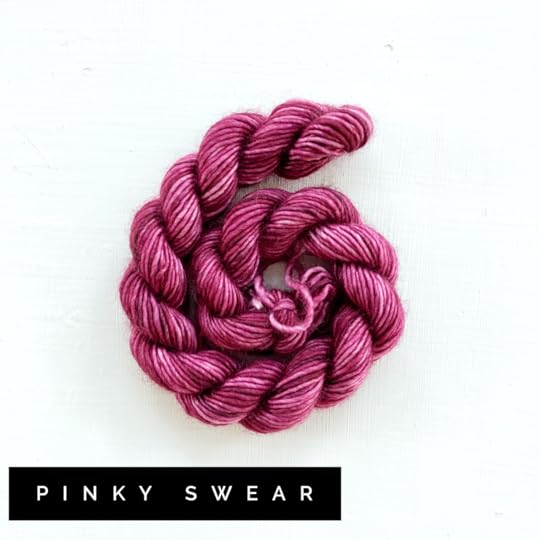
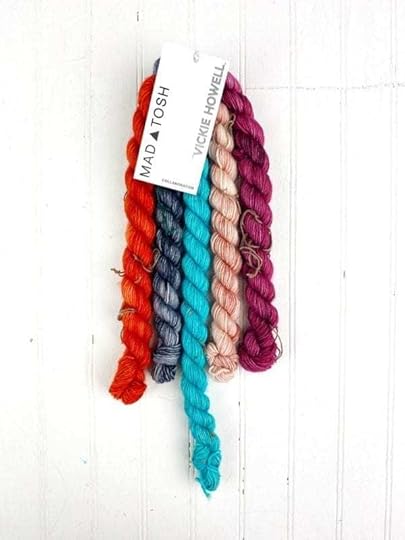
1 hank each, Vickie Howell for Mad | Tosh TML Unicorn Tails, in colors: (A) Heart Hands, (B) Peace Fingers, (C) Spirit Fingers, and (D) Fingers Crossed
Size E crochet hook
Tapestry needle
FINISHED MEASUREMENTS
Fits a standard sized aluminum can.
GAUGE
1 square = approx 3 1/2″
SPECIAL STITCHES
Starter Puff Stitch (SP) = ch 3, [YO, insert hook in stitch and draw up loop] THREE times (7b loops on hook), YO pull through all loops; ch 1 to close.
Puff Stitch= [YO, insert hook in stitch and draw up loop] FOUR times (7b loops on hook), YO pull through all loops; ch 1 to close.
DIRECTIONS
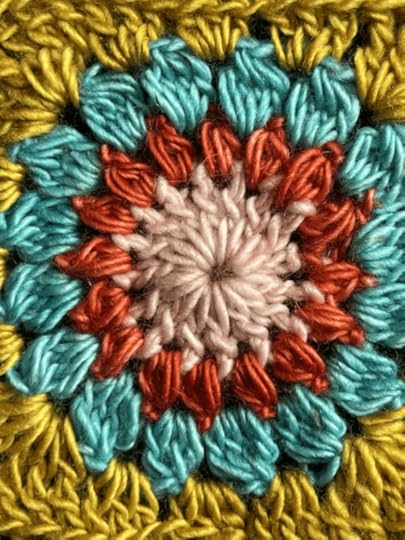
Sunburst Granny Squares (Make 2):
Rnd 1: Using Color A and the Magic Circle method, ch 3 (counts dc), 15 dc in center loop. With Color B, join rnd with a sl st. — 16 sts
Cut A.
Rnd 2: With B, SP, Puff Stitch in the next st and every st around. Join rnd with a sl st.– 16 sts
Rnd 3: Sl st to first, ch-1 sp (joining Color C with the last sl st). With C SC, Cluster Stitch in every ch-1 sp around.
Rnd 4: Sl st to first ch-2 sp (joining Color D with the last sl st). With D ch 4 (counts as tr), 2 tr in same sp as ch, *3 dc in next ch-2 sp, 3 hdc in next ch-2 sp, 3 dc in next ch-2 sp, [3 tr, ch 3, 3 tr] in next ch-2 sp; rep from * TWICE more, 3 dc in next ch-2 sp, 3 hdc in next ch-2 sp, 3 dc in next ch-2 sp, [2 tr, ch 2] in the same space as beginning. Join with a sl st.
Fasten off.
Assemble cozy:
*Rejoin D at one of the squares corner, ch 3, dc 16 evenly across. Turn.–17 sts
With WS facing, join the fist square (including dc row you just stitched) with a sl st, ch 1, sc 16 evenly across. You’ll now have one long strip. Fasten off.
Rotate the piece and repeat from * at the opposite end, ultimately creating a cylinder.
Edging:
Rnd 1: Rejoin D at the top-edge, ch 2 (counts as hdc), hdc 39 evenly around. Join rnd with a sl st. — 40 sts.
Rnd 2: Ch 2, *FPhdc, BPhdc; rep from * around. Join rnd with a sl st.
Fasten off.
Repeat those two rnds on the bottom of the piece.
FINISHING
Weave in ends.

The post Sunburst Granny Squares appeared first on Vickie Howell.
May 22, 2021
Gaga for Granny Squares!
 GO GAGA FOR GRANNY SQUARES
While these love-it-or-hate-it little squares have most likely been around since the dawn of crochet (Because what else do you do with your scraps?), examples have be found as early as 1891 in publications like Butterick’s The Art of Crochet.
And now they’re back!
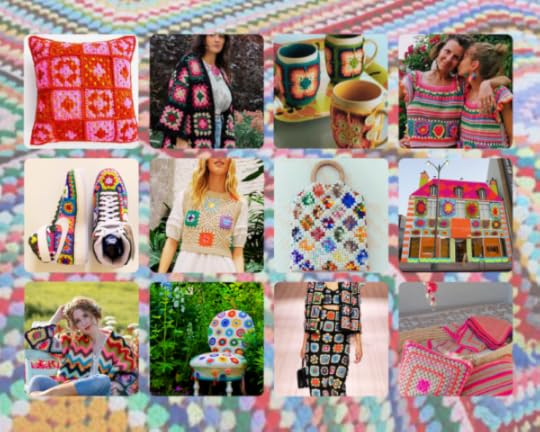
From Harry Styles’ awkward granny square-inspired cardigan that took TikTok by storm to the “Grandmillennial” trend that took over our 30-somethings living rooms – and now their clothes – the granny square is hip once again!
Need proof? Here, here, here and here are some of those fun, granny square TikTok videos.
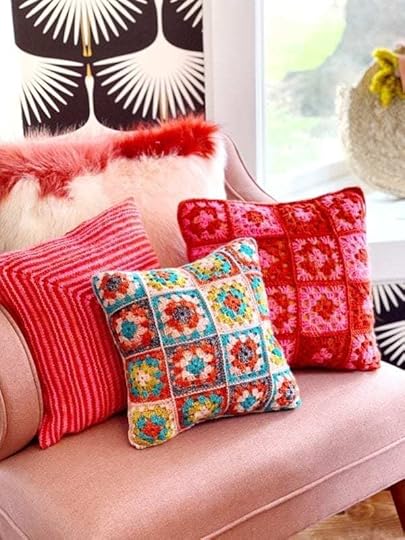
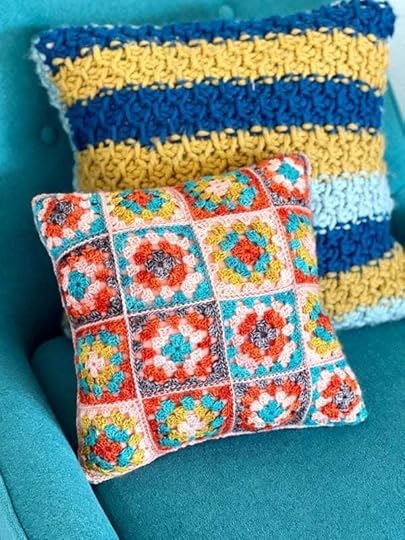
GET THAT HIP GRANNYWith all this gushing over granny squares, you know we had to do a revamp on our Hip Granny Crochet Pillow pattern!
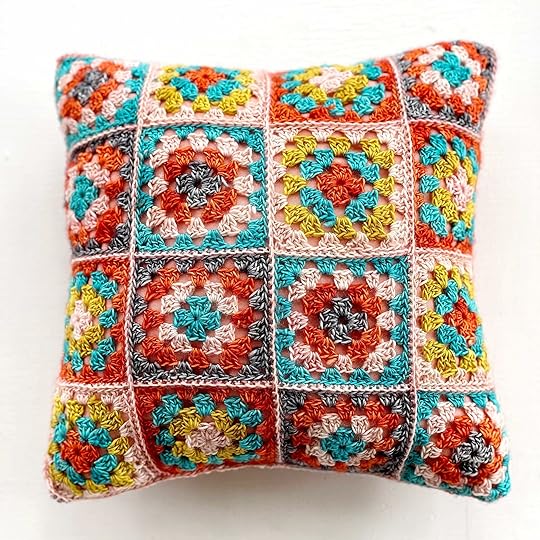
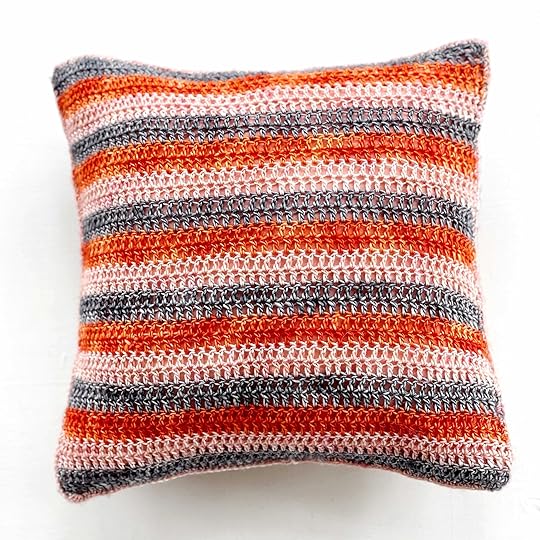
WHICH COLORS WILL YOU CHOOSE?
To make your own “Hipper” Granny Crochet Pillow with the Vickie Howell for MAD|TOSH TML, choose 5 colors and get 2 unicorn tails of each five colors. (You’ll need approximately 450 yards.)

TUNE IN FOR MORE GRANNY SQUARES
Don’t forget to tune in on Monday, May 24th at 12pmCT to Vickie’s weekly Facebook Live show, Ask Me Monday . During this episode she’ll continue the granny square love, by showing how to crochet a small project!The post Gaga for Granny Squares! appeared first on Vickie Howell.
May 12, 2021
Jacquard Stitch
Sometimes something as simple as a vintage stitch pattern can change the lens through which we see yarn combinations. The Jacquard stitch did that for me, and I hope through this post, and the project in the May YarnYAY! box or my pattern for the Cheers pillow, that it’ll do the same for you!
Choosing Yarns:When choosing yarns to play with Jacquard stitch, don’t be afraid to experiment! As long as the two yarns are approximately the same weight, the stitch pattern should work. You don’t even need to be too concerned about yarns with a different drape, or made out of different fibers, because this stitch essentially melds 2 yarns together to create a NEW textile! Here are a few combos to consider:
Solid or semi-solid and marled.Monochromatic shades of totally different types of yarns (i.e. single ply roving yarn and boucle, Tencel and suri, etc.)Contrasting colors of the same yarn.Solid and variegated.Fabric yarn and wool.Chainette and plied.
Pro Tip: If using yarns that are a slightly different gauge from one another, use the recommended needle size for the heavier of the two yarns.
 Jacquard Stitch: Swatch it!
SPECIAL STITCHES
Sl = slip (always slip stitches as if to purl, unless otherwise indicated)
wyib = with yarn in back
wyif = with yarn in front
DIRECTIONS
With Color A, CO a multiple of 8 + 4.
Row 1 (RS): Knit.
Row 2 (WS): Purl.
Join B.
Row 3 (RS): With B, k2, *sl 4 wyif, k4; rep from * to last 2 sts, k2.
Row 4 (WS): K1, p1, *p3, sl 4 wyib, p1; rep from * to last 2 sts, p1, k1.
Row 5: With B, k2, *k2, sl 4 wyif, k2, rep from * to last 2 sts, k2.
Row 6: K1, p1, *p1, sl 4 wyib, p3; rep from * to last 2 sts, p1, k1.
Row 7: With B, k2, *k4, sl 4 wyif; rep from * to last 2 sts, k2.
Row 8: K1, p1, *sl 3 wyib, p4, sl 1 wyib; rep from * to last 2 sts, p1, k1.
Row 9: With A, k2, *k1, sl 4 wyif; k3; rep from * to last 2 sts, k2.
Row 10: K1, p1, *p4, sl 4 wyib; rep from * to last 2 sts, p1, k1.
Row 11: With A, k2, *sl 3 wyif, k4, sl 1 wyif; rep from * to last 2 sts, k2.
Row 12: K1, p1, *sl 2 wyib, p4, sl 2 wyib; rep from * to last 2 sts, p1, k1.
Row 13: With A, k2, *sl 1 wyif, k4, sl 3 wyif; rep from * to last 2 sts, k2.
Row 14: K1, p1, *sl 4 wyib, p4; rep from * to last 2 sts, p1, k1.
Rep Rows 3-14 until swatch is square.
Last Two Rows: Repeat Rows 1-2.
BO.
Block piece.
Caring for Jacquard Stitch Pieces: When combining different yarn types, it’s best to use the washing instructions of the most delicate of the two yarns!


Cheers Pillow by Vickie Howell. Get the pattern HERE.
The post Jacquard Stitch appeared first on Vickie Howell.
May 10, 2021
Tunisian Brick Stitch
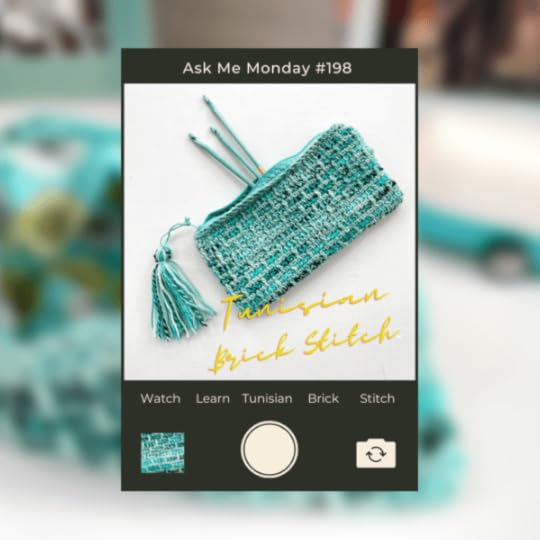
This week on Ask Me Monday, I show how to work the Tunisian Brick Stitch, a great textural option for playing with two different colors or types of yarns. Watch the episode, practice stitching with the swatch below, then put your skills to work by making the Cheerful Zippered Bag. Enjoy!
This episode of Ask Me Monday is sponsored by
Knitter’s Pride
/
KnitPro
See more KP products during “Vic’s Tips” segments of The Knit Show!
Featured Knitter’s Pride Products: Ginger Tunisian Crochet Hooks.
MATERIALS
Desired weight of yarn in colors A & B
Tunisian Crochet Hook (corresponding sized hook for yarn)
Special Stitches
TSS = Tunisian Simple Stitch
First stitch of row: Insert hook through second bar from hook, YO and pull up a loopSubsequent stitches: Insert hook through next bar, YO and pull up a loopLTfpdc = Long Tunisian front post double crochet
YO, insert hook under the front and back vertical bars of the stitch 2 rows below, YO, pull up a loop, YO, pull through 2 loops.
Return Pass (worked the same for all rows): YO, pull through one loop, *YO, pull through 2 loops; rep from * to end
Changing colors
Color changes are worked on the Return pass as follows: work Return Pass row as indicated until 2 loops remain on hook, drop current color, change to color indicated, YO and pull through remaining 2 loops
DIRECTIONS
With A, ch 17 (or any multiple of 4+1)
Row 1 Forward Pass: Insert hook into second ch from hook, YO and pull up a loop, *insert hook into next ch, YO and pull up loop; rep from * to end. – 17 loops on hook
w 1 Return Pass: YO, pull through one loop, *YO, pull through 2 loops; rep from * to last 2 sts, change to B, YO, pull through 2 loops. — 1 loop rem on hook
Row 2 Forward Pass: With B, TSS in each st across.
Row 2 Return Pass: Work Return Pass, changing to A in last 2 sts.
Row 3 Forward Pass: With A, *TSS in next 3 sts, LTfpdc in next st; rep from * to last 4 sts, TSS in last 4 sts.
Row 3 Return Pass: Work Return Pass, changing to B in last 2 sts.
Row 4 Forward Pass: With B, TSS in each st across.
Row 4 Return Pass: Work Return Pass, changing to A in last 2 sts.
Row 5 Forward Pass: With A, TSS in next st, LTfpdc in next st, *TSS in next 3 sts, LTfpdc in next st; rep from * to last 2 sts, TSS in last 2 sts.
Row 5 Return Pass: Work Return Pass, changing to B in last 2 sts.
Repeat Rows 2-5 until you have a square swatch piece.
Bind-Off Row: Insert hook through second bar from hook, pull up a loop and pull through loop on hook, *YO, insert hook through next bar, pull up a loop and pull through loop on hook; rep from * to end.
Fasten off.
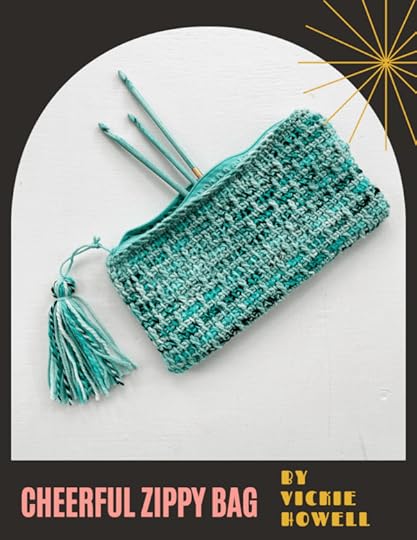
Put your Tunisian Brick Stitch skills to work, try. making this zippered bag!
The post Tunisian Brick Stitch appeared first on Vickie Howell.
May 3, 2021
YarnYAY! 3rd Anniversary Box
 YarnYAY! 3rd Anniversary Box
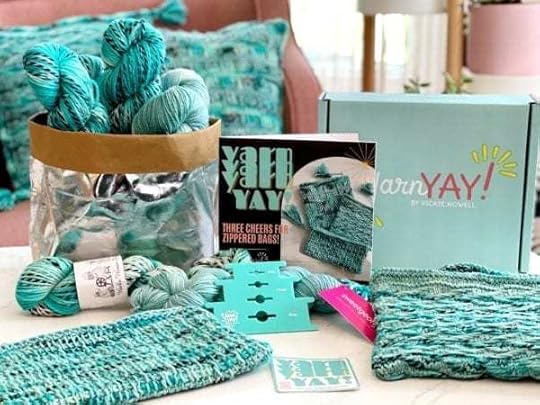
How can it be, we’re the big 3?! It’s YarnYAY!‘s 3rd anniversary, and we’re celebrating with 2 yarns, 3 patterns, new products, a few giveaways, and a $1k grant.
YarnYAY! 3rd Anniversary Box: What’s IncludedSuperwash DK | Sweet Georgia Yarns &
Zebra DK | Woolen Women Fibers –EXCLUSIVE ANNIVERSARY COLORS
For our 3rd anniversary box we did something special. We went to TWO different women-owned dye houses with a shade range palette and asked them to interpret it in anyway that felt authentic to their respective brands.
In the spirit of artists supporting artists, we’re serving you up both GORGEOUS takes, and ways to create unique fabrics using both yarns in one project.

YarnYAY! Exclusive Yarn Colors: Aquaversary by Sweet Georgia Yarns and The Real Teal by Woolen Women Fibers
Sweet Georgia Yarnsis a Vancouver-based business owned by Felicia Lo. |Woolen Women Fibers is owned by molecular scientist, Andrea Di Carlo.
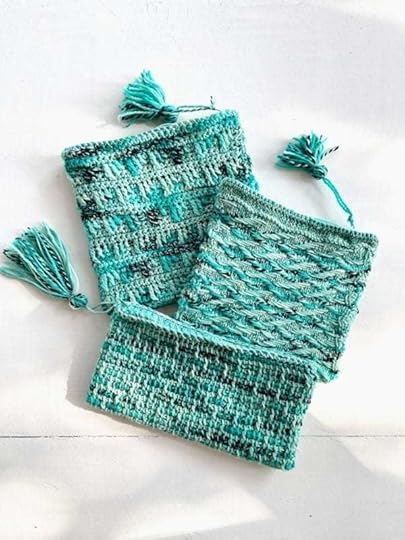
Cheers Zippered Bag Patterns | Designs by Vickie Howell
This month, we’re playing with creating unique, textural zippered bags with 2 different yarns, using your choice of 3 different crafts! The knit version uses a Jacquard stitch pattern to marry our yarns together with undulating swoops.
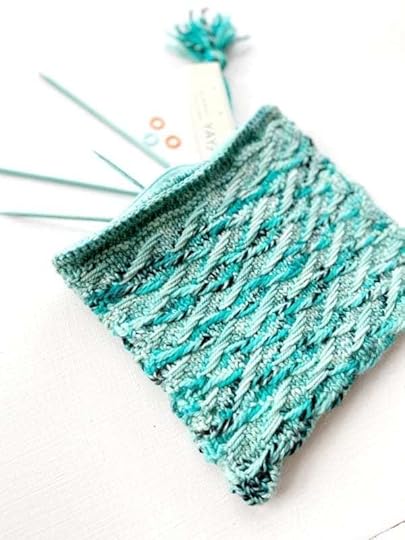
Cheers Knit Zippered Pouch by Vickie Howell
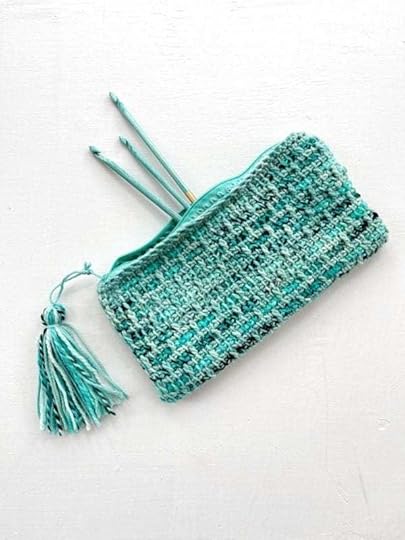
The crochet bag has a fabric of escalating front post stitches.
Cheery Crochet Zippered Bag by Vickie Howell
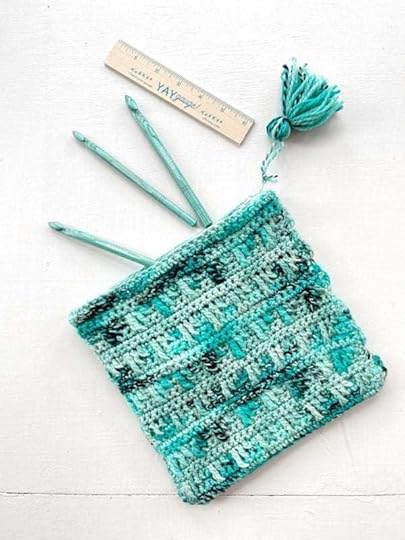
The BONUS Tunisian crochet option uses stripes with Brick Stitch for a woven look.
Cheerful Tunisian Crochet Zippered Bag by Vickie Howell
Silver Washable Paper Project Caddy | YarnYAY!
We’re obsessed with washable paper caddies and are thrilled to bring you a box- exclusive-sized version of our 2021 fave, silver! Nab the larger companion caddy here .
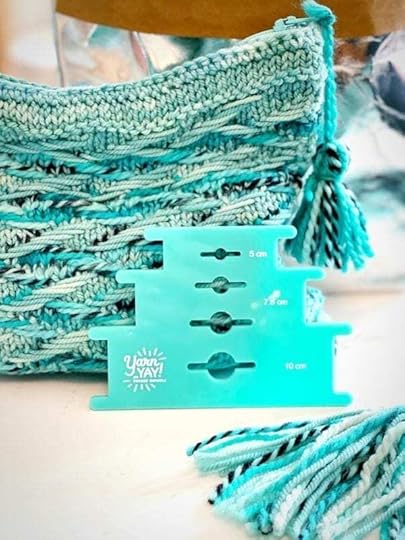
YarnYAY! Tassel Maker | AnyLine
Three sizes of tassels can be made with this tool cutie. Put a tassel on it!
Anyline is a New York-based, woman-owned company.
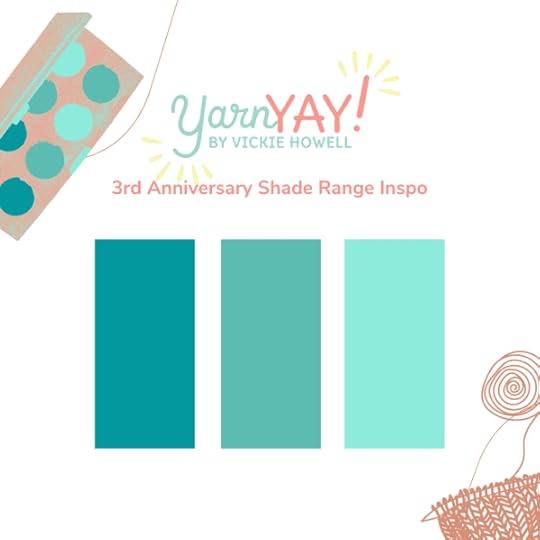
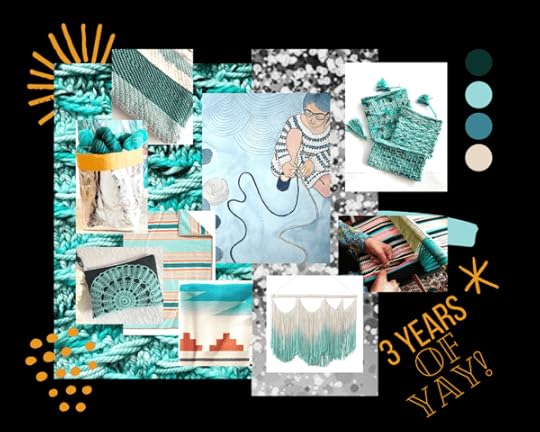
 YarnYAY! 3rd Anniversary Box Inspo Board
The post YarnYAY! 3rd Anniversary Box appeared first on Vickie Howell.
April 26, 2021
Wallpaper Swatch Journals with Knit Edgings

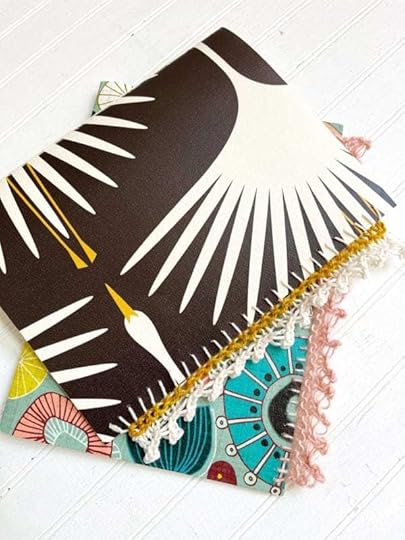
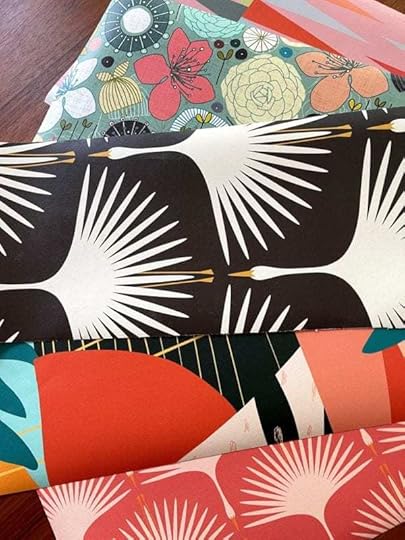
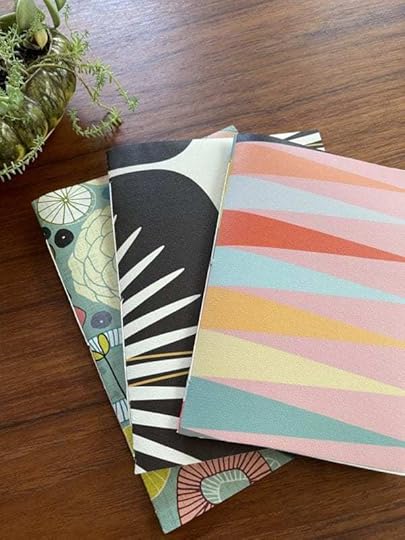
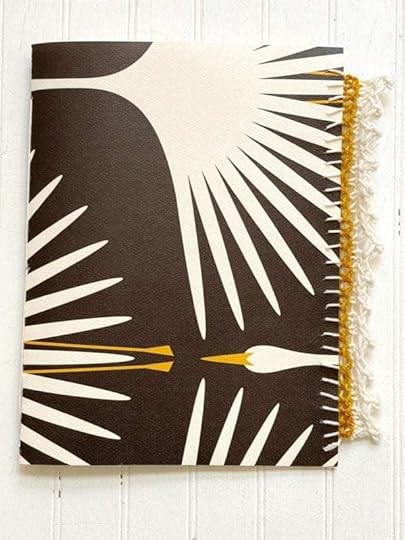
This week’s installment of Ask Me Monday is inspired by the YarnYAY! Studio’s new wallpapered accent wall. While trying decide what look I wanted to achieve, I ordered eleventy wallpaper swatches. The Art Deco Swan print by Kate Rhees for Spoonflower was the clear winner, but the others where too pretty to discard. Enter, a crafting opportunity!
Wallpaper journals are a great, mixed-media projects that are so fun to create! They’re unique, inspiring and can be used for anything from doodling, to lists, to recording deep thoughts. Go the extra step in making them your own, by embellishing them with picot knit edgings.
I can’t wait to see your wallpaper journals. Be sure to tag @vickiehowell on instagram when you make one!
This episode of Ask Me Monday is sponsored by
Knitter’s Pride
/
KnitPro
See more KP products during “Vic’s Tips” segments of The Knit Show!
Featured Knitter’s Pride Products: Smart Stix Needles.
MATERIALS
Wallpaper swatches (size can vary based on what size journal you want to make)
5 sheets drawing or graph paper
Scissors or rotary cutter, straight edge and self-healing mat
Sharp tapestry needle
Book binders floss or waxed dental floss
Scraps of Sock, fingering, or DK weight yarn
SizeUS 5-6/3.75 mm-4 mm circular needle (at least 24″ long)
DIRECTIONS
Make Journal:
PREP WALLPAPER COVER. Cut wallpaper piece 2″/5 cm wider than TWICE the width and about 1/2″/1 cm taller than height of desired journal size. This will allow for a bit of a lip of wallpaper cover to extend past the drawing paper inside the journal. Note: You can always use your drawing paper as a guide for the journal size you make. PREP DRAWING PAPER. If necessary, cut 5 sheets down to 1″/2.5 cm less width than wallpaper cover. Fold each piece (individually, not together at the same time) in half width-wise, using your fingernail to crease. Matching creases, stack sheets of drawing paper. Using a Pencil and ruler, mark the top sheet of drawing paper stack at center point and equidistant spots on either size of center, towards the top and bottom (i.e. 3 spots marked.) BIND JOURNAL. Place drawing paper stack inside wallpaper cover. Using tapestry needle and book binding thread or dental floss, punch and draw through the center marking, from inside of journal to out, leaving a tail. Come back up through (outside of journal to inside) the bottom-most marking, draw through thread. From inside to out, go back through, this time at the upper-most marking. Lastly, come up through the same center marking at which you began. cut thread, leaving tails. Ties ends. Trim.
Embellish with Knit Edging:
CREATE STITCHING FOUNDATION. Using sharp needle and fine weight yarn or embroidery floss, hand stitch a Blanket Stitch row across the side of the front cover. See my video tutorial, if you need a refresher!KNIT EDGING: Using circular needle and yarn and on the RS of journal, pick up stitches in each of the horizontal bars created by the blanket stitchRow 1 (WS): Knit.
Row 2: Knit.
Row 3: Purl.
Picot Bind-off as follows: K2, bind-off 1, *slip stitch on RH needle back onto LH needle, e-wrap cast-on 2 stitches, bind-off 4 stitches; repeat from * to end.
Weave in ends.
That’s it, you’ve created the sweetest, most unique journal. Well done!
Looking for a crochet edging option? Try Ball Fringe!
The post Wallpaper Swatch Journals with Knit Edgings appeared first on Vickie Howell.
April 19, 2021
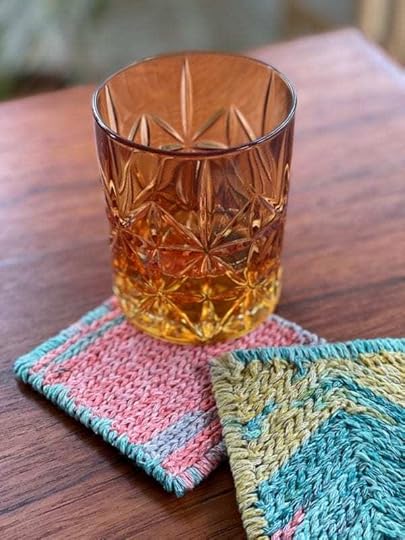
Chain Stitch Coasters

This week on Ask Me Monday we learn how to make Chain Stitch Coasters, using yarn scraps and latch hook mesh. No previous crochet skills required!
This episode of Ask Me Monday is sponsored by
Knitter’s Pride
/
KnitPro
See more KP products during “Vic’s Tips” segments of The Knit Show!
Featured Knitters Pride Product: Ginger and Symfonie Dreamz Crochet Hooks
 Chain Stitch Coasters: How-To
MATERIALS
Small amount of aran or heavy-worsted yarn
Size G/4.5 mm crochet hook
Tapestry Needle
5 Mesh Latch Hook Canvas
FINISHED MEASUREMENTS
4″/10 cm square
DIRECTIONS (make 2-4)
Cut out a 4″/10 cm square (20 mesh squares across and up-and-down) per coaster you’re making. Insert hook into the 2nd mesh square. Slip not yarn, and place on hook. Pull loop through to front. *Insert hook in next mesh square up from the last, yarn-over, pull yarn through mesh square and through loop on hook. Chain stitch complete. Repeat from *, creating chain stitches through each mesh square, until you reach the last open mesh square. Pivot to next column of mesh squares, chain stitch in the the 2nd mesh square from the top in the next column. Continue chain stitching, repeating from *, down the column. Repeat this process until the entire mesh piece, leaving the last mesh square column open.Using tapestry needle and a strand of yarn, whip stitch around border of piece, beginning in a square that already has stitching and whipping around the unstitched border mesh squares. Take care to not pull too tight, so the mesh doesn’t warp.Weave in ends.Pro Tip: Choose a crochet hook with a pointy tip, like the Knitter’s Pride Ginger or Symfonie Dreamz hooks, to make this process even easier!

Chain Stitch Coaster Variations
Now that you know how to work chain stitch over latch hook mesh in columns, experiment with using the technique to stitch over the mesh at angles to create your own design. Be sure to tag @vickiehowell with your coasters, too!

Chevron Chain Stitch variation

Vickie Howell Aqua Hooks, manufactured by Knitter’s Pride
The post Chain Stitch Coasters appeared first on Vickie Howell.
April 12, 2021
Scrap Yarn Knit Flower
 Scrap Yarn Knit Flower
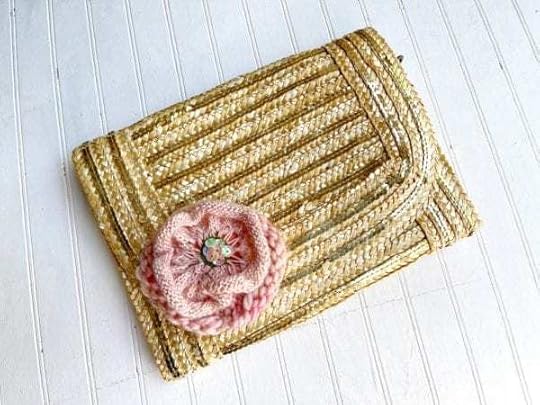
This week on Ask Me Monday, we dive into our scrap yarn to make pretty little petals. These scrap yarn knit flowers make great pins for jackets, baubles for bags, and adornments for hair. Here’s how to make them!
This episode of Ask Me Monday is sponsored by
Knitter’s Pride
/
KnitPro
See more KP products during “Vic’s Tips” segments of The Knit Show!
Featured Knitter’s Pride Products: Smart Stix Needles.
MATERIALS
Scraps, Vickie Howell for Mad| Tosh TML Unicorn Tail, or equivalent Fingering Weight or Sock Yarn
Size US 3 needles
Tapestry needle
Sequin or beads
Scraps of Felt
Sewing needle & thread OR Glue Gun
Optional: Pin back or hair clip
FINISHED SIZE
Approx. 3″
DIRECTIONS
CO 80 sts.
Rows 1-3: Knit.
Row 4: Purl.
Row 5: Knit.
Row 6: Purl.
Rows 7-12: Repeat Rows 5-6.
Row 13 (decrease & eyelet row): *[k2tog] twice, sl 2 sts created back to LH needle, k2tog; rep from * to end.
Row 14: Purl.
BO, leaving a long tail for seaming.
FINISHING
Using long tail and tapestry needle, weave yarn through eyelets and cinch. Seam short ends together to form a circle.
Weave in ends.
Embellish:
Hand-sew or glue a small circle of felt onto the center front of piece. Hand-sew or glue sequin or beads to felt.Hand-sew or glue a circle of felt onto the center back of piece for stability.OPTIONAL: Hand-sew or glue a pin back or hair clip to back felt piece.

MATERIALS
All of the MATERIALS for Small Knit Flower, PLUS
Scraps, Vickie Howell for Mad | Tosh HOME, or equivalent bulky yarn
Size US 13 needles
FINISHED SIZE
Approx 4 1/2″
DIRECTIONS
Make Large Petal Layer:
With Larger needles and bulky yarn, CO 30 sts.
Row 1: Knit.
Row 2: Purl.
Rows 3-6: Repeat Rows 1-2, twice more.
Row 7: *K2tog, k1; repeat from * to end.
Row 8: Purl.
BO, leaving tail for seaming.
Make Small Petal Layer:
Work as for Small Knit Flower.
FINISHING
Large Petal Layer:
Using tapestry needle and tail, weave yarn in and out of BO edge and cinch. Seam short ends together to form circle.
Assemble knit flower:
Place Small Petal Layer on top of Large Petal Layer; hand-sew or glue into place.
Embellish:
Hand-sew or glue a small circle of felt onto the center front of piece. Hand-sew or glue sequin or beads to felt.Hand-sew or glue a circle of felt onto the center back of piece for stability.OPTIONAL: Hand-sew or glue a pin back or hair clip to back felt piece.
Looking for more flower patterns? Try these:
https://vickiehowell.com/how-to-knit-flower/https://vickiehowell.com/how-to-crochet-poinsettias/https://vickiehowell.com/pompom-flower-loom-earrings/
The post Scrap Yarn Knit Flower appeared first on Vickie Howell.


