
How to Turn Sketch Mockups into Animated Interactive Prototypes
You’re deep in Sketch working on your design and now want to take it to the interactive stage. But you want to do it quickly, without code, while preserving all of your layers. Your team also needs to be able to comment directly on the prototype. Sounds tough, right? It’s actually quite easy.
We’ll show you how simple it can be to turn your Sketch files into a fully interactive prototype with a simple drag & drop. Within UXPin, your team can also comment directly on the design.
Once you’ve imported your Sketch file into UXPin, it’s easy to add interactions & animations and then the Live Presentation tool to host a screenshare meeting to unveil your new design. There are currently 11 triggers and 20 element actions, allowing for many custom advanced interactions. Take a look at the overview video and then check out our tutorial below.
Reimagining the way you design.A new version of UXPin is coming.Sign up for a trial and be the first to know about the new UXPin.Your e-mailGet free trial now!
Importing from Sketch into UXPin
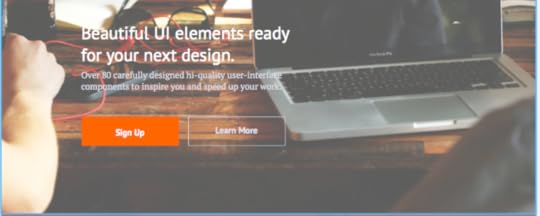
For this example, we will import a Sketch file from our free Web UI Kit into UXPin.
1. Sign in to your existing UXPin account (or sign up for a free trial).

2. Click the plugin icon in UXPin (lower left hand corner)
3. Download and install the Sketch plugin.

4. In Sketch, select your elements, click Plugins and then Export to UXPin. Our file is from the Web UI Kit.

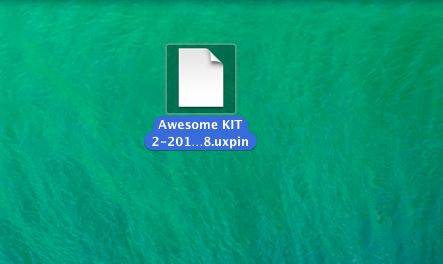
5. The file will likely export to the desktop. Your new file has a .uxpin extension.
6. Return to UXPin and either create a new project or click into your existing project.

7. Once you’re in the project, Drag and drop your .uxpin file into UXPin.

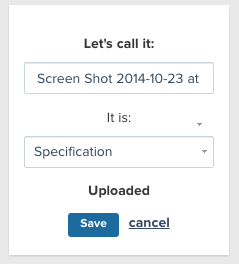
8. Once the file is loaded, feel free to rename and then click Save.
9. Done! All the elements of your Sketch file are preserved. Feel free to click around and add interactions.
Prototyping Animations & Interactions
With 11 triggers and 20 element actions, UXPin allows for many custom advanced interactions. For this example, we will set a scroll trigger to reveal a display header. For more information check out our post on Advanced Interactions & Animations.
1. Click on the display header, then click Properties. Once the menu shows up, make sure you click the eye icon to hide the header and check fixed position.

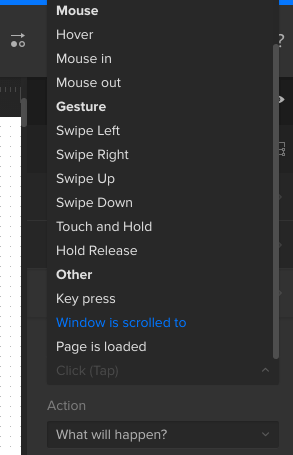
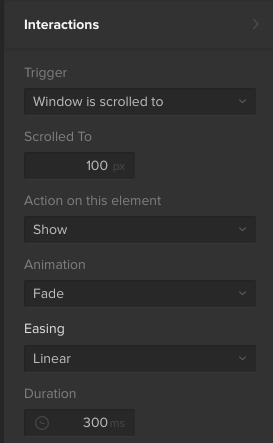
2. Click “interactions” on the right side of the editor, then choose new interaction. Once the dropdown menu loads, click Window is scrolled to.
3. After you click Window is scrolled to, set the pixels to 100px. Then, select Show element as the element action. Finally, make sure your animation settings are fade and linear.
Previewing Animations & Interactions
1. To see the animation, click the play button above the editor’s canvas. This will open the Preview Mode.
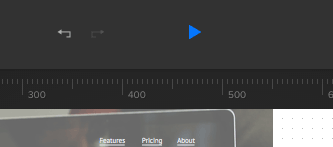
2. As you scroll down, the header will animate and appear. You can try it here in this preview.

3. To comment, simply tap the blue “play” icon above the canvas and see your prototype live.
So there you have it, a step by step process to turn your current Sketch file into a fully interactive prototype. Plus, your entire team can comment and collaborate.
We only showed one example of an animation. In UXPin, you can make your Sketch prototype come to life with different animations from the 11 triggers and 20 action events.
Feel free to get started and play around in UXPin.
The post How to Turn Sketch Mockups into Animated Interactive Prototypes appeared first on Studio by UXPin.


UXpin's Blog

- UXpin's profile
- 68 followers

