Kill Design Busywork With Customizable Libraries

We’ve recently launched our customizable library feature, where you can create an element, like an icon or pattern, save it and not have to recreate it each time you need it.
A custom library as allows you to share any elements you create with your entire team — whether it’s a navigation bars, headers/footers, sample content, or other project-specific components.
With that, let’s dive into how you can actually build your own element library. If you want to follow along, you can create a free UXPin account.
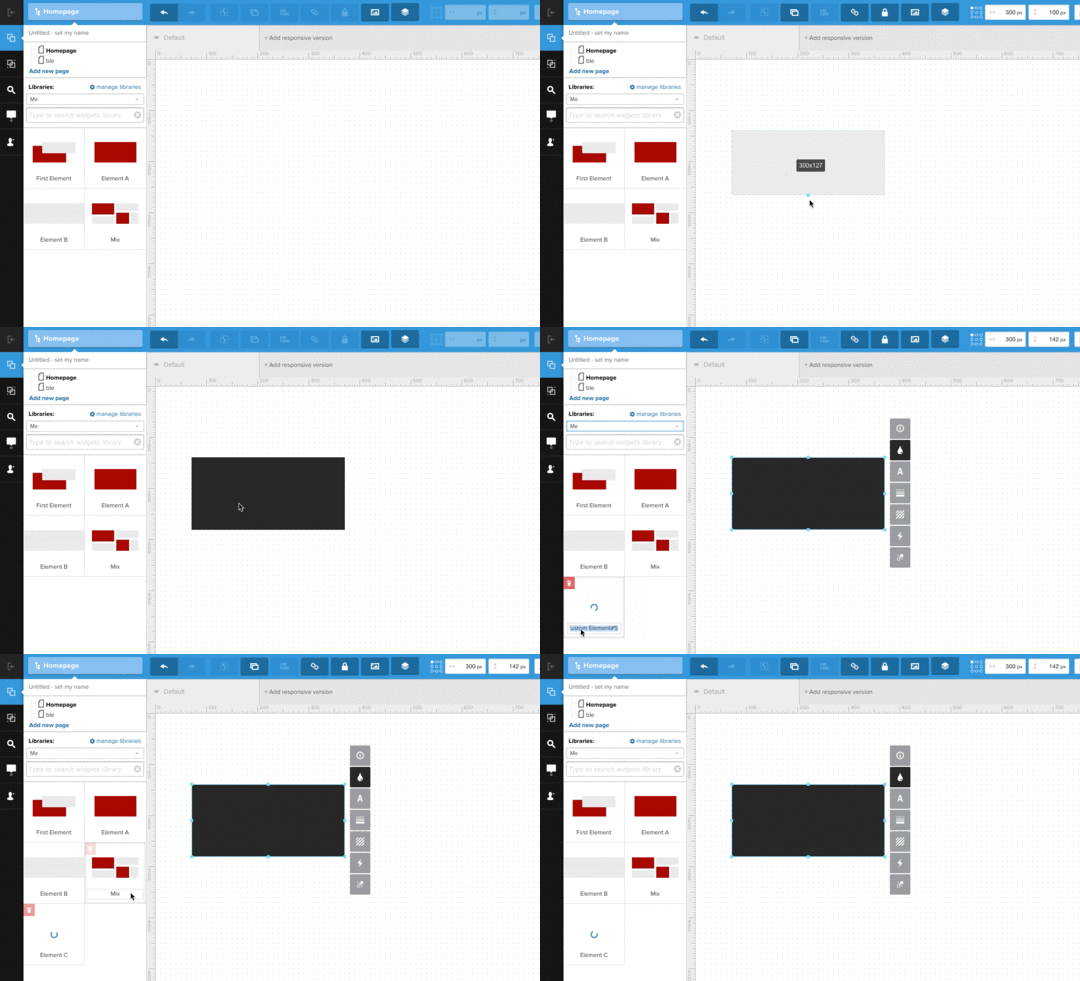
1. Add an element to the library
Adding an elements or groups of elements (even with interactions or multi-states) to the library is simple.There are two ways to do it:
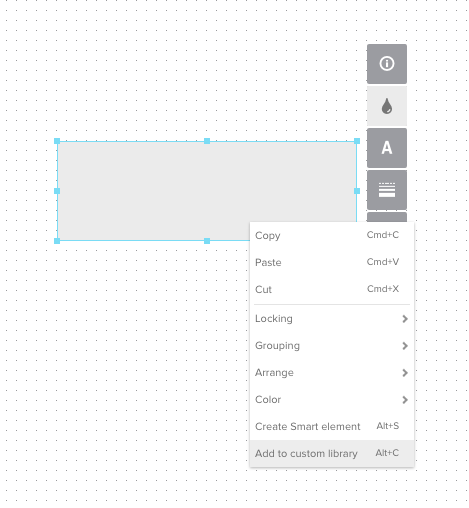
Right-click on an object and use the context menu to pick the option ‘Add to custom library’
Select the object and use alt + c shortcut
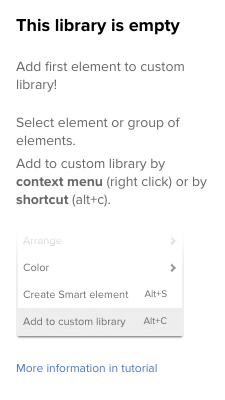
As you can see below, if your custom library is empty, you’ll be asked to fill it up!
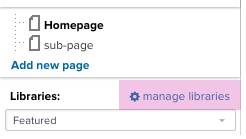
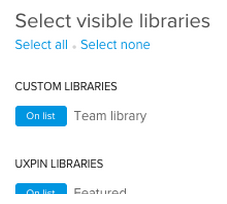
Once you add your elements, make sure your custom library is on the list of all libraries. To do that, click on the cog icon on the left-hand side of the editor:
Your custom library should be marked as ‘On list’ (here we used ‘Team library’ as an example).

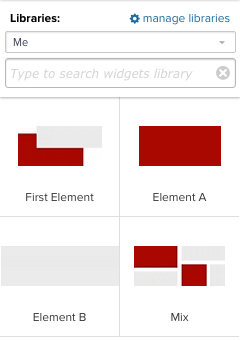
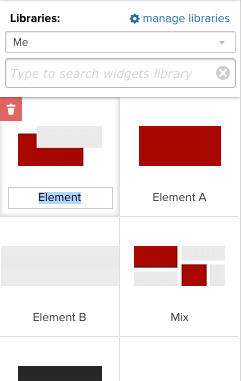
Then you can access your custom elements by picking custom library from the dropdown (in this case we named the library ‘Me’):
2. Editing custom elements
Sometimes elements need a little refinement. That’s why you can edit custom elements after the fact.
The easiest way to do so is to open the custom library, find the element you want to edit and drag it on the canvas. Make all necessary changes and add it again to the custom library.
This will result in having two elements (an original one and the edited one). That’s not a mistake! You can decide whether you need them both. If not, you can just delete the previous one.
3. Editing custom libraries
By means of edit options, you can manage the list of elements included in each library. At any time, you can change elements the name of your element or simply get rid of an element if it’s no longer needed.
Those changes can be made in two places:
After picking Custom library from the dropdown on the left-hand side of the editor
Or in Library management section:
This is only available in the Enterprise plan, on the list of all libraries you can see libraries created by you (‘My libraries’) and those shared with you by others (‘Shared with me’).
If you want to edit anything in the library shared with you but it turns out you can’t do it, – please ask the owner of the library to grant you the right permission.
In Pro-plus plan, there’s only one library available. It’s called ‘Team library’ by default and it’s shared with the whole team:
4. Permission management
In the Enterprise plan, the owner of a particular library can define who sees the library and who can edit it.
The possible choices are: all team members or only the owner of the library.
To grant such permissions, click the ‘manage libraries’ cog icon, enter your custom library and click ‘library settings’ in the upper-right corner. This option is available only for the owner of the library (the one who created it).
You’ll find the permission settings on the right under the gear icon:
If you’re on a Pro-plus plan, all your team members have access to the ‘Team library’ and may edit it freely. Those settings cannot be changed.
5. Creating multiple libraries
As I mentioned before, for Pro-plus users there’s only one custom library available. For the Enterprise plan, there are no limits.
In this way, a custom library may be created for each team in the company, group of people or it may be granted for a specific project.

And that’s just the beginning! You can add the very same element to several libraries at once! It definitely makes life easier for team members who don’t want to rebuild their custom elements.
6. Custom Elements vs Smart Elements
There’s a subtle difference between the two.
Custom elements are perfect if you’d like to re-use them in other projects. Have you thought about creating some design patterns perhaps? They’re brilliant for that too.
Editing Custom elements influences neither those elements you have in a custom library nor elements you have already placed on the canvas. The change only impacts the one element that has been chosen. In other words, when you edit a custom element, you make only a local change.
Smart Elements, on the contrary, mean a global change. If you want to make a change that will influence all the other places you used your smart Element — that’s something for you.
Create your own custom elements library with a free UXPin account.
UXpin's Blog
- UXpin's profile
- 68 followers


