DIY Air-tight Sump Hole Cover Redux
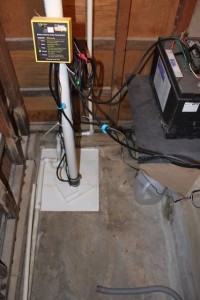
Original Finished Sump Cover
Previously I explained how to build your own do-it-yourself air-tight sump hole cover using PVC, glue, and caulk. Since then, my sump cover met its match when it tried to swallow a ping-pong ball. The more I tried to remove the ping-pong ball from the inside of the 1 1/2″ PVC trap, the more the trap became blocked; the end result was I had to remove the entire sump hole cover to get��the ping-pong ball out of the drain. This proved particularly troublesome since there was no convenient way to pull the cover off. In the end I was forced to drill a hole in the cover and use an L-shaped piece of metal inserted into the hole to give me pulling power to remove the cover; otherwise I couldn’t find any way to get the cover off.
Before re-attaching the cover I decided to make some minor improvements that were not incorporated in the initial design. Obviously the first modification needed to be a handle so the cover can be removed when necessary.
Three additional ping-pong balls had found their way into the sump hole while the cover was off (plus two Nerf balls). The drain needed some kind of cover or screen to prevent��anything from blocking it.
One thing that had always bugged me about the original cover was that I could not see anything going on inside. How much water was sitting in the hole? It was always a mystery, and the only way to know what was going on in the covered hole was to listen to the water trickling in or the pumps running. A window to see into the sump hole would be an ideal addition to the design.
First Modification: Handle
I attached a handle to part of the cover. Rather than use the screws that came with the handle, I bolted it all the way through the cover. I caulked the bottom and top before tightening the screws and bolts.
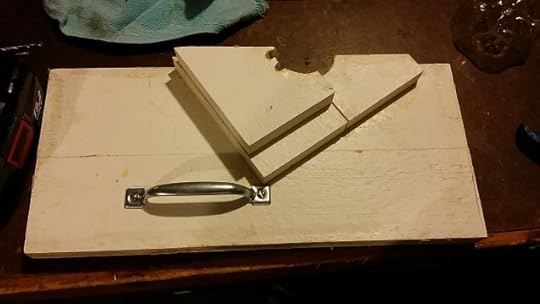
Attach handle using bolts
��Second Modification: Drain Cover
This choice was really a matter of convenience. I needed something to fill the drain, but I didn’t want a screen that could get blocked with lint or dust or dirt. I tried looking around the house for a ball, something larger than a ping-pong ball that would float and create a barrier to keep out ping-pong balls or other smaller objects, but nothing that I came across worked. As I was standing at my workbench, I noticed an empty seltzer bottle in the garbage can. I thought, why not? And I cut the bottom from it.
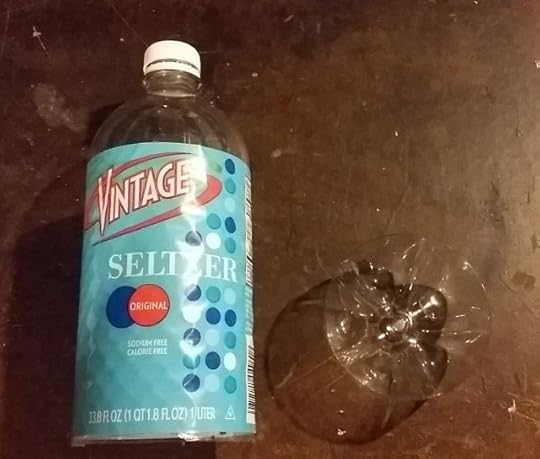
Remove bottom from plastic bottle
Next, I used tin snips to cut triangles between the ridges of the base:
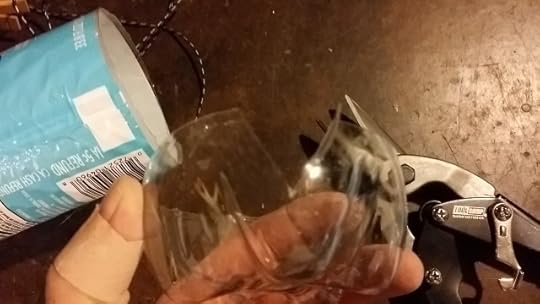
Use scissors or snips or a razor blade to remove triangles from the base of the bottle
Finally, I set the bottle cut-side down in the drain. It fits; water will flow down over it and through the cut triangles without any risk of ping-pong balls getting in.
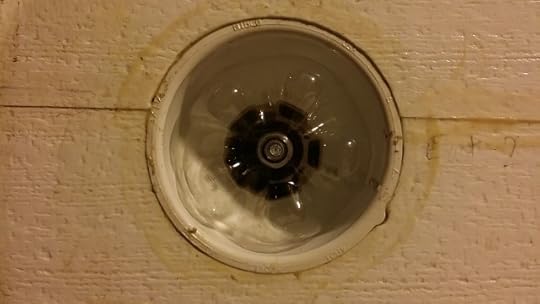
Set plastic bottle base cut-side down into drain
Is it elegant? No. Is it going to win design awards? Does it look like HAL2000? Not really. But does it work? Yes.
Third Modification: Window
Inserting the window from the beginning would have been preferable to adding it after the pieces had all been glued in place. Ideally I would have cut the opening for the window, then routed a lip to recess the plastic. This was after-the-fact, however, so ideal wasn’t going to happen. I was going to have to resort to a plain, old jigsaw hole.
For the window I found a $4 piece of Lexan plastic at Menards.
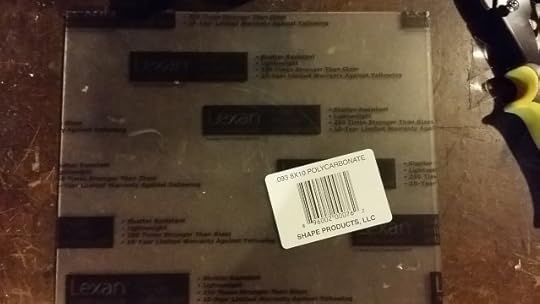
Lexan plastic for sump window
I used a square to scribe a rectangle on the plastic:
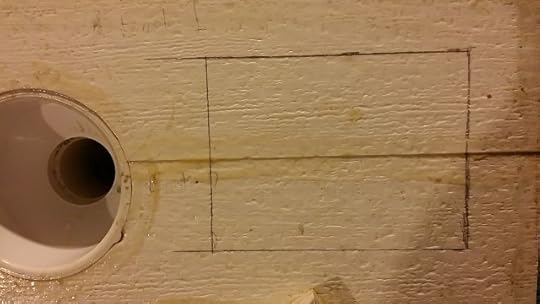
Mark the rectangle to be removed
Then I used a drill to give my jigsaw a place to start and cut out the rectangle:
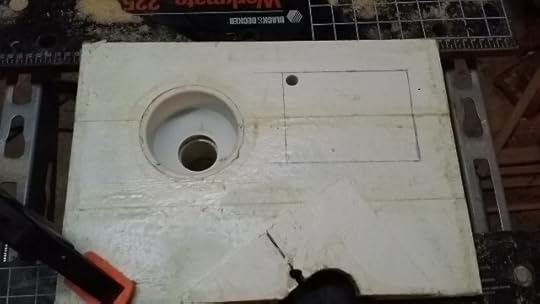
Drill starter hole
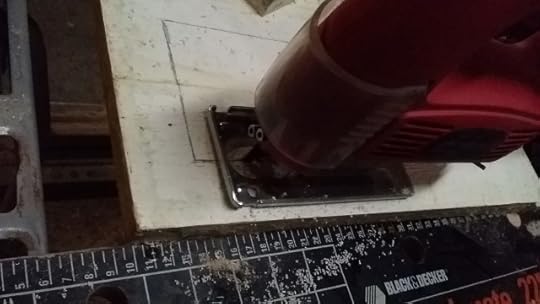
Use jigsaw to cut rectangle from plastic
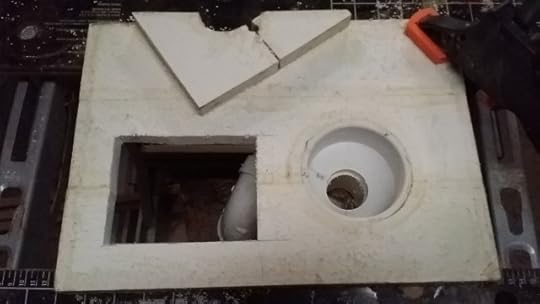
Finished hole
While there may be recommended tools to cut Lexan, I��simply used an X-acto knife and a straight edge. After scoring the plastic a number of times, I bent it until it snapped. This is the step that could probably result in a painful injury, so for heaven’s sake, be careful! After cutting the plastic, I found that my hole was 1/8″ too short, and it was easier to use the jigsaw to remove an additional 1/8″ than try to re-cut the plastic.
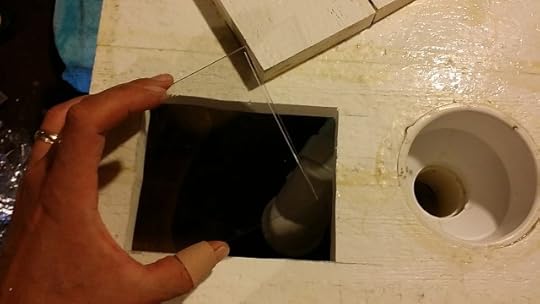
Cut plastic ready to be inserted
I spread��plastic wrap on the work area. After placing the cover face down, I set the cut Lexan into the opening, then applied the silicone caulk to the perimeter. Again, I’ll mention that ideally there would be a lip around the perimeter that would hold the plastic level to the surface of the sump cover; this method only holds the plastic in place with caulk, so it cannot support weight. Hopefully you aren’t standing on your sump cover anyway.
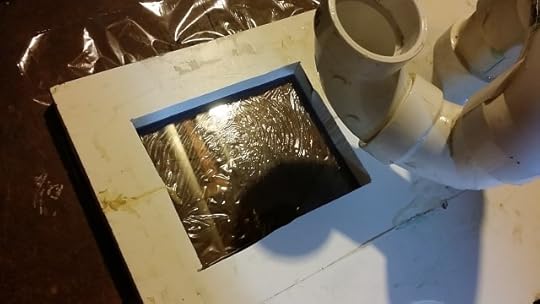
Set plastic into opening
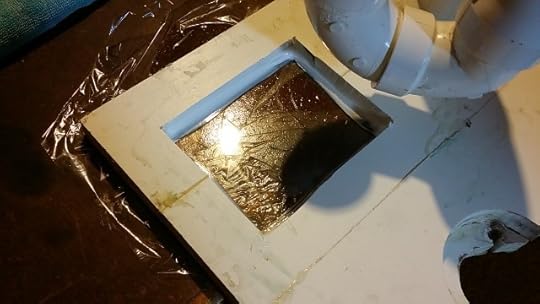
Caulk perimeter and let dry
Once the caulk dried I put a second layer of caulk around the plastic on the other side of the cover.
Set Cover
I cleaned the area around the sump hole and ran a fan on it for a couple hours to dry it out before setting the cover in place.
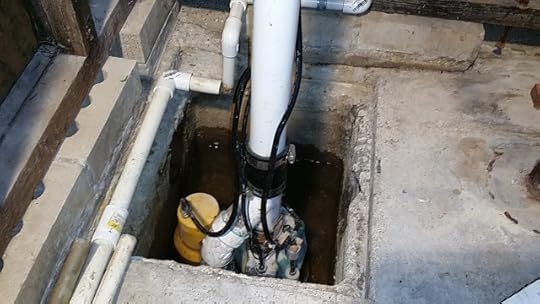
Prepare sump hold for the cover by cleaning and allowing drying time
I ran a bead of caulk around the perimeter, but with the variations in the lip from age and deterioration, some sections did not allow for a good seal.
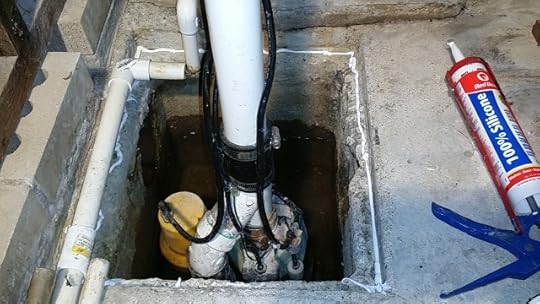
Apply a bead of caulk to perimeter of sump hole
Something I failed to mention previously was that I realized after I installed the cover the first time that the sump hole was not level; water that ran onto the cover didn’t run straight to the drain; instead, it pooled on one side. I used this opportunity to make sure the cover sat in such a way that the water would be directed toward the drain. Running a��second bead of caulk around the perimeter and on every seam insured a snug fit and a good seal.
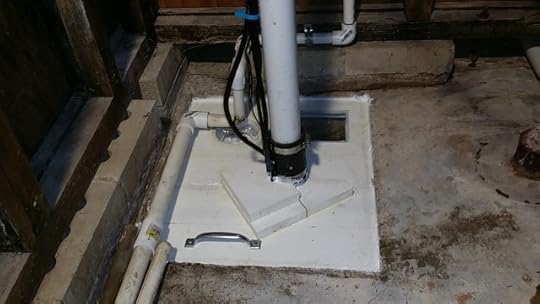
Finish the cover by adding caulk between the pieces, to the perimeter, and along every seam
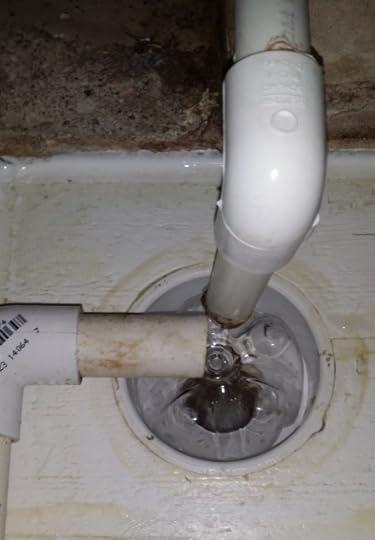
Detail of the drain in use: no ping-pong balls are going in here!
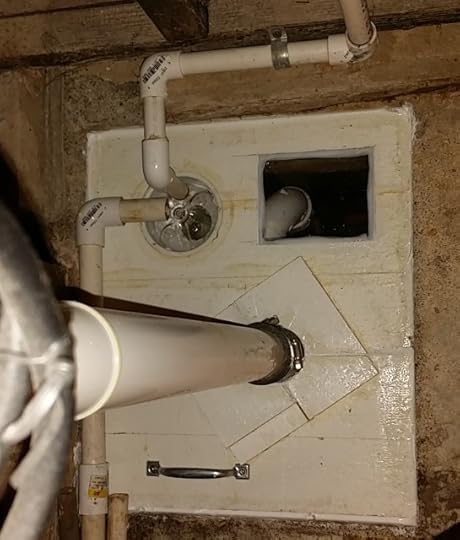
Finished DIY air-tight sump hole cover
Conclusion
If you are fortunate enough to have a prefabricated sump hole unit, there may be covers available for cheap that will save you the stress and time of building your own. Most everything I found online was for round sump holes; many did not include drains, or were not air-tight. If you have a house like mine that was built in another era (mine is from the 1950s), building your own may be the best option. I suppose it’s possible this sump cover is not 100% air-tight, but it has to be pretty darn close. Plus, this is the only cover I see that incorporates a window to see into the sump hole.
What do you think? I’d love to hear your stories or feedback. Leave me a comment below!
Compulsory Disclaimer: This post does not take the place of professional advice; it simply describes what I did. I am in no way responsible for you, your choices, your experiences, and your problems. In other words: use at your own risk!


