The Building of My First Viking Shield
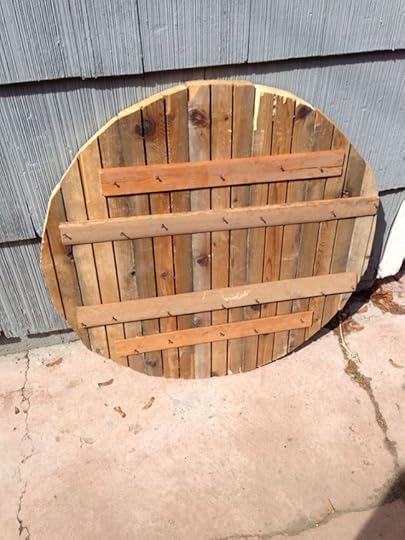
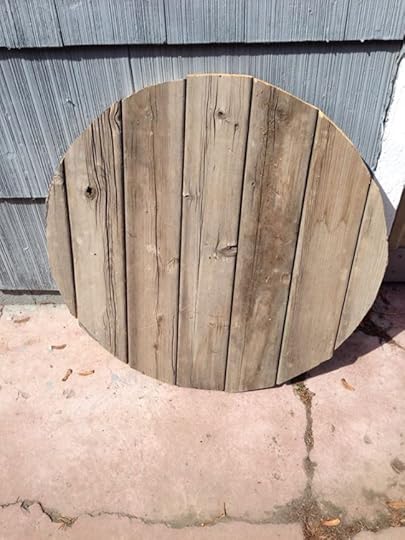
I began with a question: could I build a viking shield using nothing but materials I have at my house? What began as a question endured as a quest to test how far I was willing to go for my passion for vikings. A good starting place was my woodpile out back. There I found leftover planks from the building of the back porch, all still in relatively good condition. Using a sharpie and some measuring tape, I outlined the round shield from seven planks. I measured the radius at 16 inches, so three inches longer than my forearm. Then came the sawing. How hard in sawing in a curve? Let’s just say it’s not as fun as one might think. Once the pieces were cut, I assembled them in order and formed the shield. I used advice from a few aficionado sites to make the strongest design and hammered everything into place. And voila!
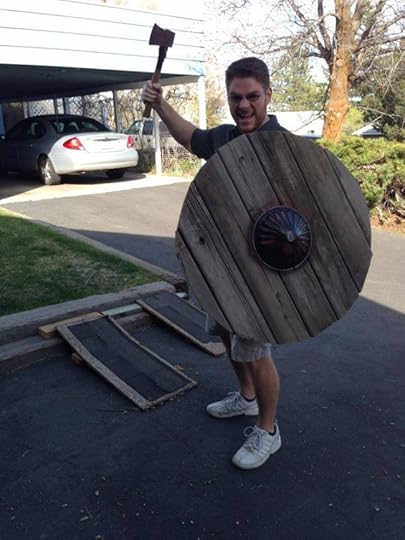
Next came the hard part: the shield boss. Where would I find an iron boss to fit a Viking shield in a small rancher town in Oregon? Well, it turns out ranching supply stores have everything you can think of, including a cast iron range top cover that looked, felt, and acted like a real shield boss. I used a jigsaw to cut my hole in the center of the shield, and bolted the boss on without difficulty. Finally, I fashioned a piece of wood into a handle with a file and hammered everything together to great my first functional viking shield:
We bashed it with axes, shot it with arrows, and it is still in great shape. Next I will paint the shield and trim it with rawhide, but more or less this adventure is complete. I feel accomplished. Using the shield has also taught me a great deal about the feeling of wearing a shield, and has informed my writing tremendously. What will my shield and I do next? We shall see!


