
Canning 101: How to Use One Piece Lids
I find myself functioning within the “better late than never principle” more often than I like to admit. My frequent delays bedevils many in my life (particularly my punctual husband), but as I built this career as a writer/teacher/canning crusader, I find that there is nearly always more for me to do than there is time in which to do it. So tasks back up, I take days to answer questions and I don’t always do everything I promised within the timeframe I had hoped.
Like this post on canning with one piece lids. I had intended to write it the week I posted the Fillmore Container giveaway, but it just didn’t happen then. Happily, it’s happening today. Better late than never, right?
So. When it comes to home canning, the USDA and the National Center for Home Food Preservation recommend that we use mason jars with two piece lids. These two part lids are recommended because they are easy to use, known to seal reliably, and it’s easy to tell if the jars sealed (remove rings and grasp edges of lid. If it holds fast, it is sealed).
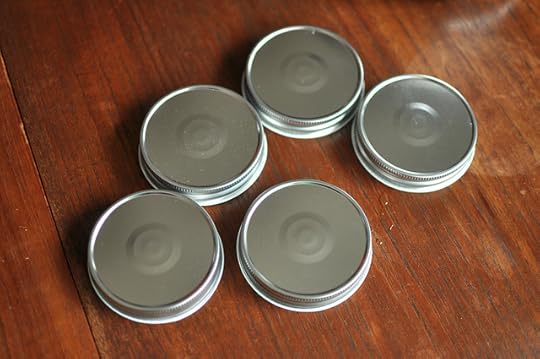
One piece lids are a little bit more mysterious. For a first time user, there’s not a lot of information about which one piece lids are right for home canning, how to prepare them for canning and even how tightly you should turn them to ensure a good seal.
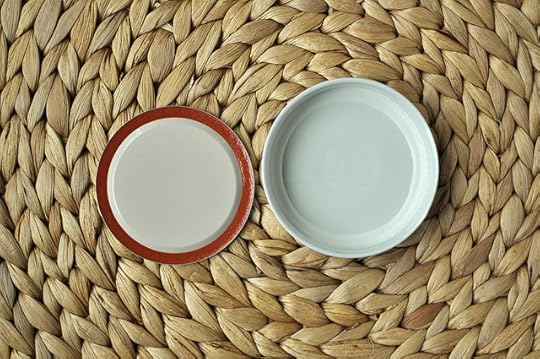
When you buy one piece lids for canning, you want to get ones that are lined with plastisol, have a button in the center (to better show that it has sealed) and are expressly designed for boiling water bath canning (do not order the ones that are for hot fill only). You don’t want to use lug lids, as they don’t fit mason jars.
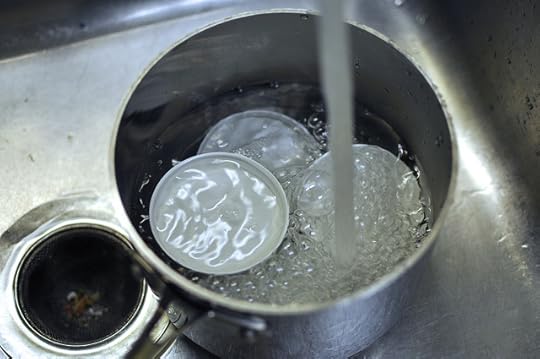
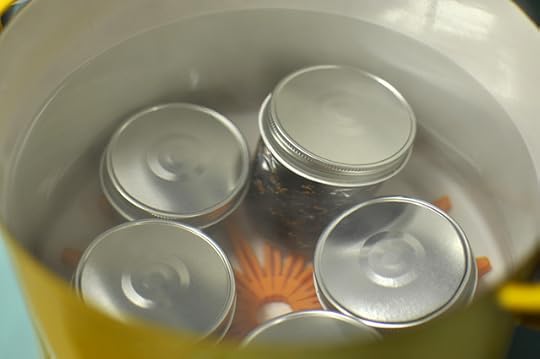
When you’re ready to can with these lids, place them in a small saucepan (just like you would with your flat lids), cover them with warm water and place on the stove.

Bring the lids to a gentle boil, reduce the temperature and simmer the lids for approximately 10 minutes before applying the lids.
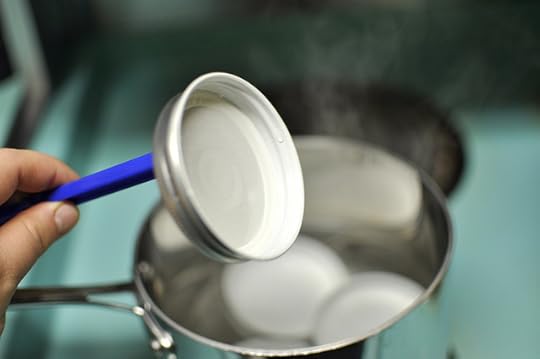
When you’re ready to close your jars, use a jar lifter to pull the lids out of the water, one at a time. Make sure to have a towel or hot pad handy so that you don’t burn your hands while tightening down the lids. When you screw this lids on, you only want to tighten them to the point when you feel the rim of the jar make contact with the sealing compound. Don’t go any tighter or the air won’t be able to escape and you will have compromised your seal.
Place capped jars into your boiling water bath and process as you would any other jar. When the time is up, turn off the heat, remove the lid from the pot and let the jars remain in the hot water for an additional five minutes. This extended heat exposure helps reduce siphoning and gives the sealing compound just a little bit more time to soften and develop a relationship with the rim of the jar.
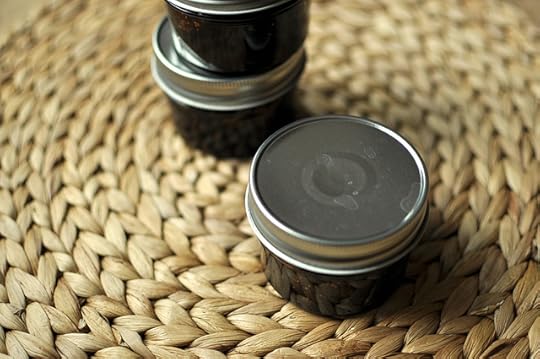
Remove jars from water bath and place them on a folded kitchen towel to cool. Don’t hover over your jars, give them some time to create their vacuum. These lids often take longer to seal than their two piece brethren, so don’t start panicking if they take an hour or more to finally pop.
When jars are cool, test seals by pushing down on the lid of the jar. If the lid is firm and the button is concave, they are ready to be stored in the pantry. If you have any doubts about the quality of your seal, place the jar in the refrigerator and use the product promptly.
Related Posts:
Canning 101: Choosing Jar Size
Driscoll’s Berries Canning & Preserves Twitter Chat Tonight!
Canning 101: Learning to be Flexible


