
Christine Hansen's Blog, page 2
October 22, 2012
Forest Fantasy Mixed Media Art Charm Necklace

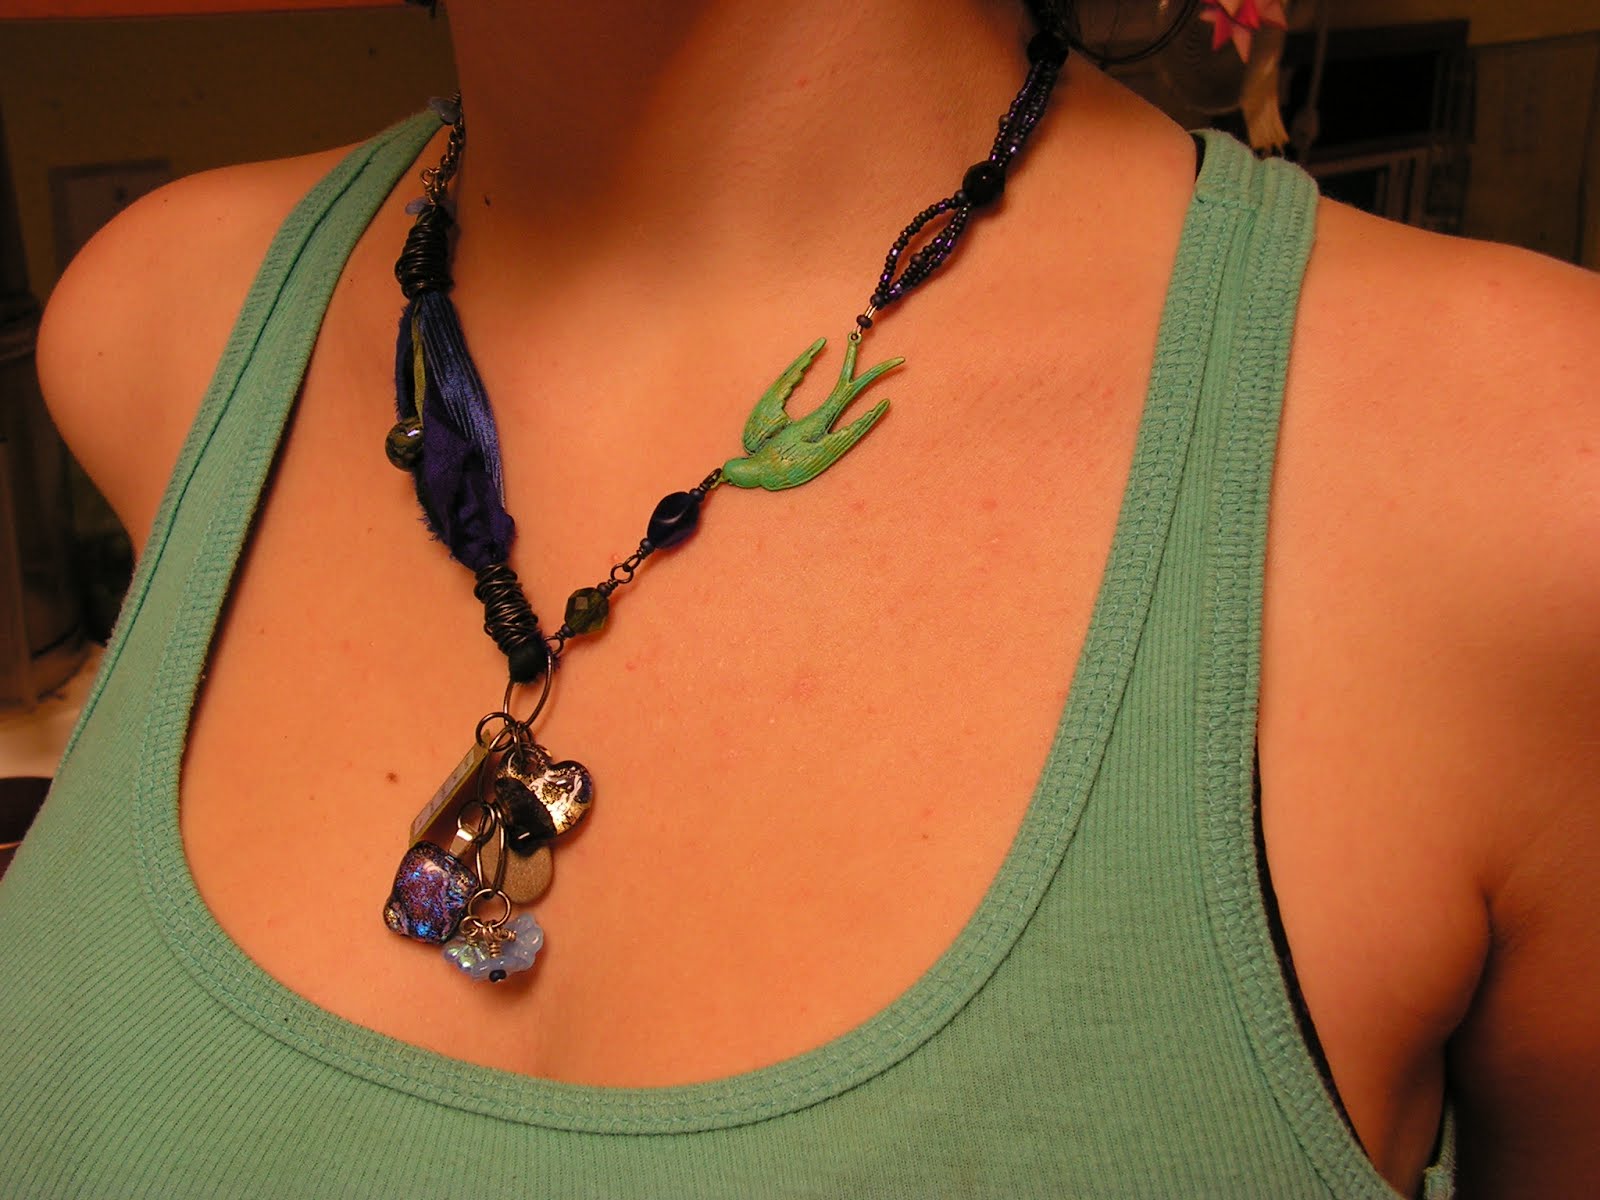
Lovely Em models the completed necklace.
A couple of months ago, a dear family friend asked if I could please
create an "over-the-top mixed media necklace with art charms, in forest
green, deep blue, and plum purple."

Tierra Cast toggle with seed bead/faceted Czech glass bead section.
Though I don't do many necklaces in general, and it has been AGES since
I've done any mixed media work (I've been really focusing on my lampwork
beads lately), I couldn't bear to tell her "no can do." So I pulled stuff from my stash, took pics and sent them to her to see if I was on the right track...and I was.
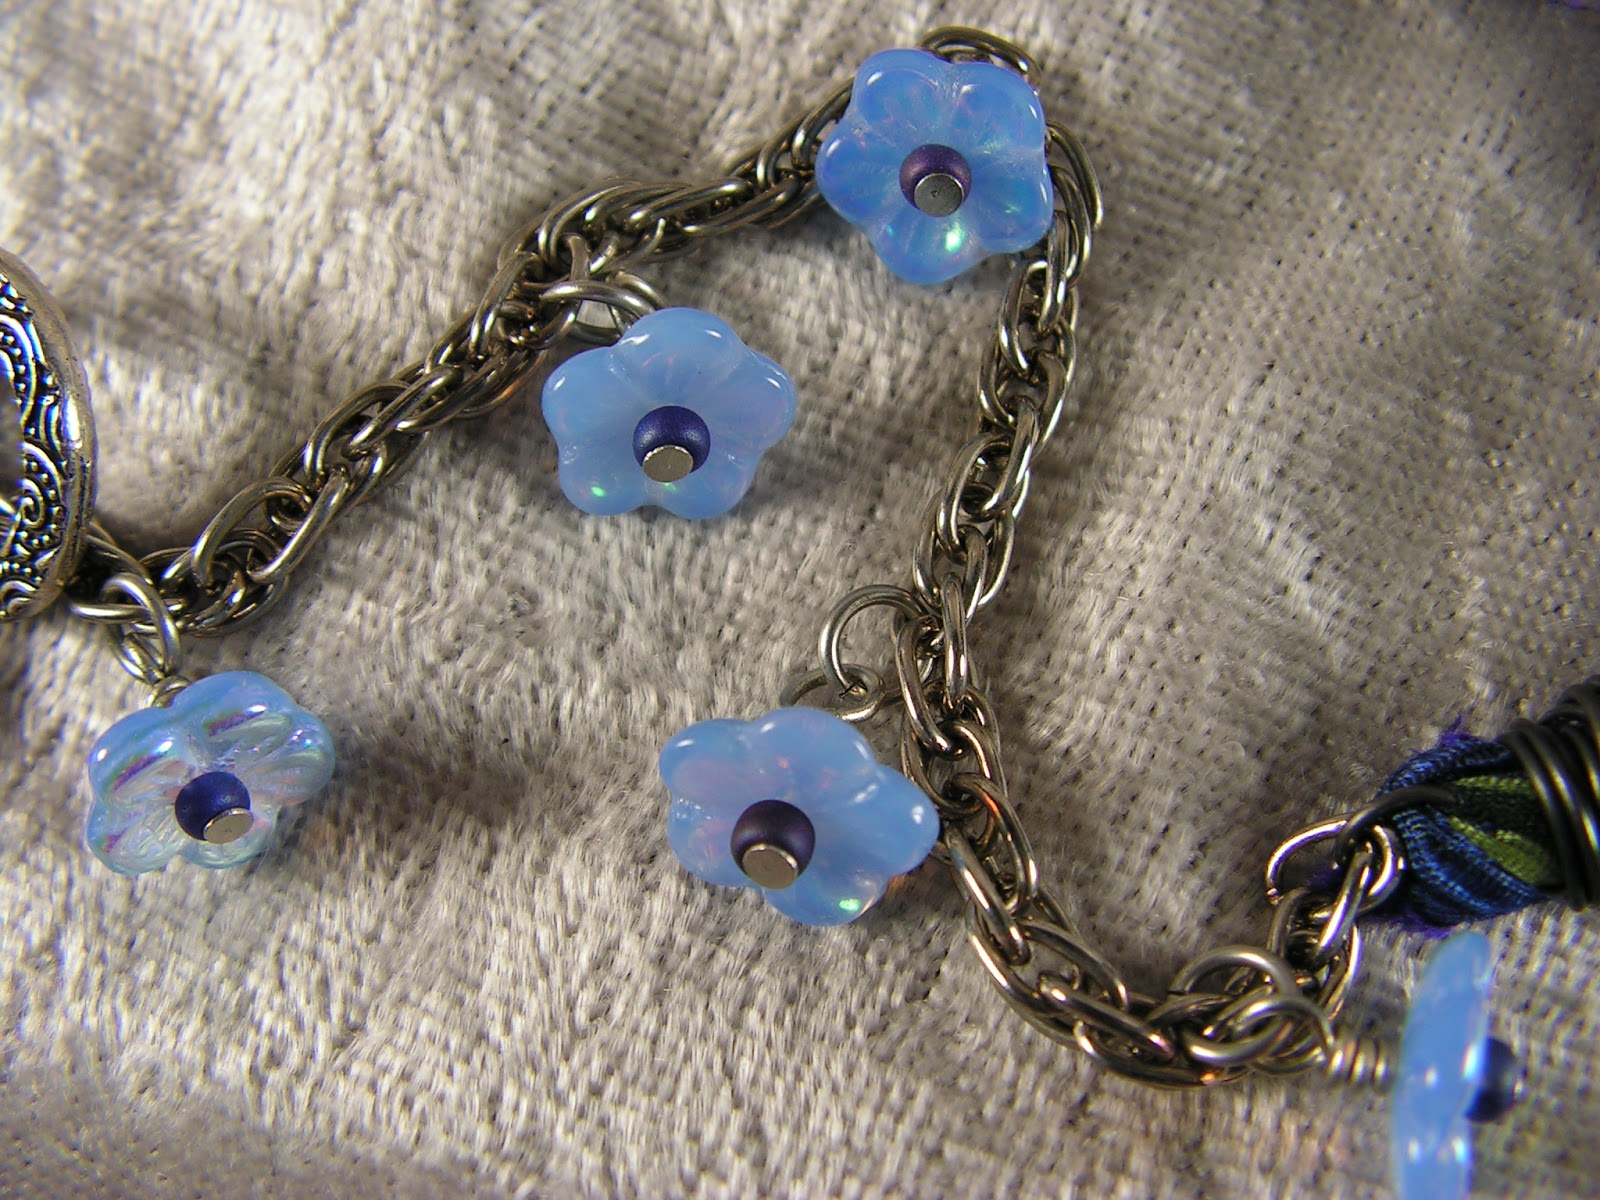
Pressed glass flower dangles and upcycled necklace chain.
But inspiration was elusive - I knew I had *most* of the
elements I needed, but what about the design? I didn't have a clue where
to start, and it felt like something was missing anyway, so what's a
girl to do? Go on an inspiration hunt, that's what!
Ribbons and recycled (fair trade!) sari silks wrapped with 19 ga. annealed steel wire & connected to upcycled necklace chain.
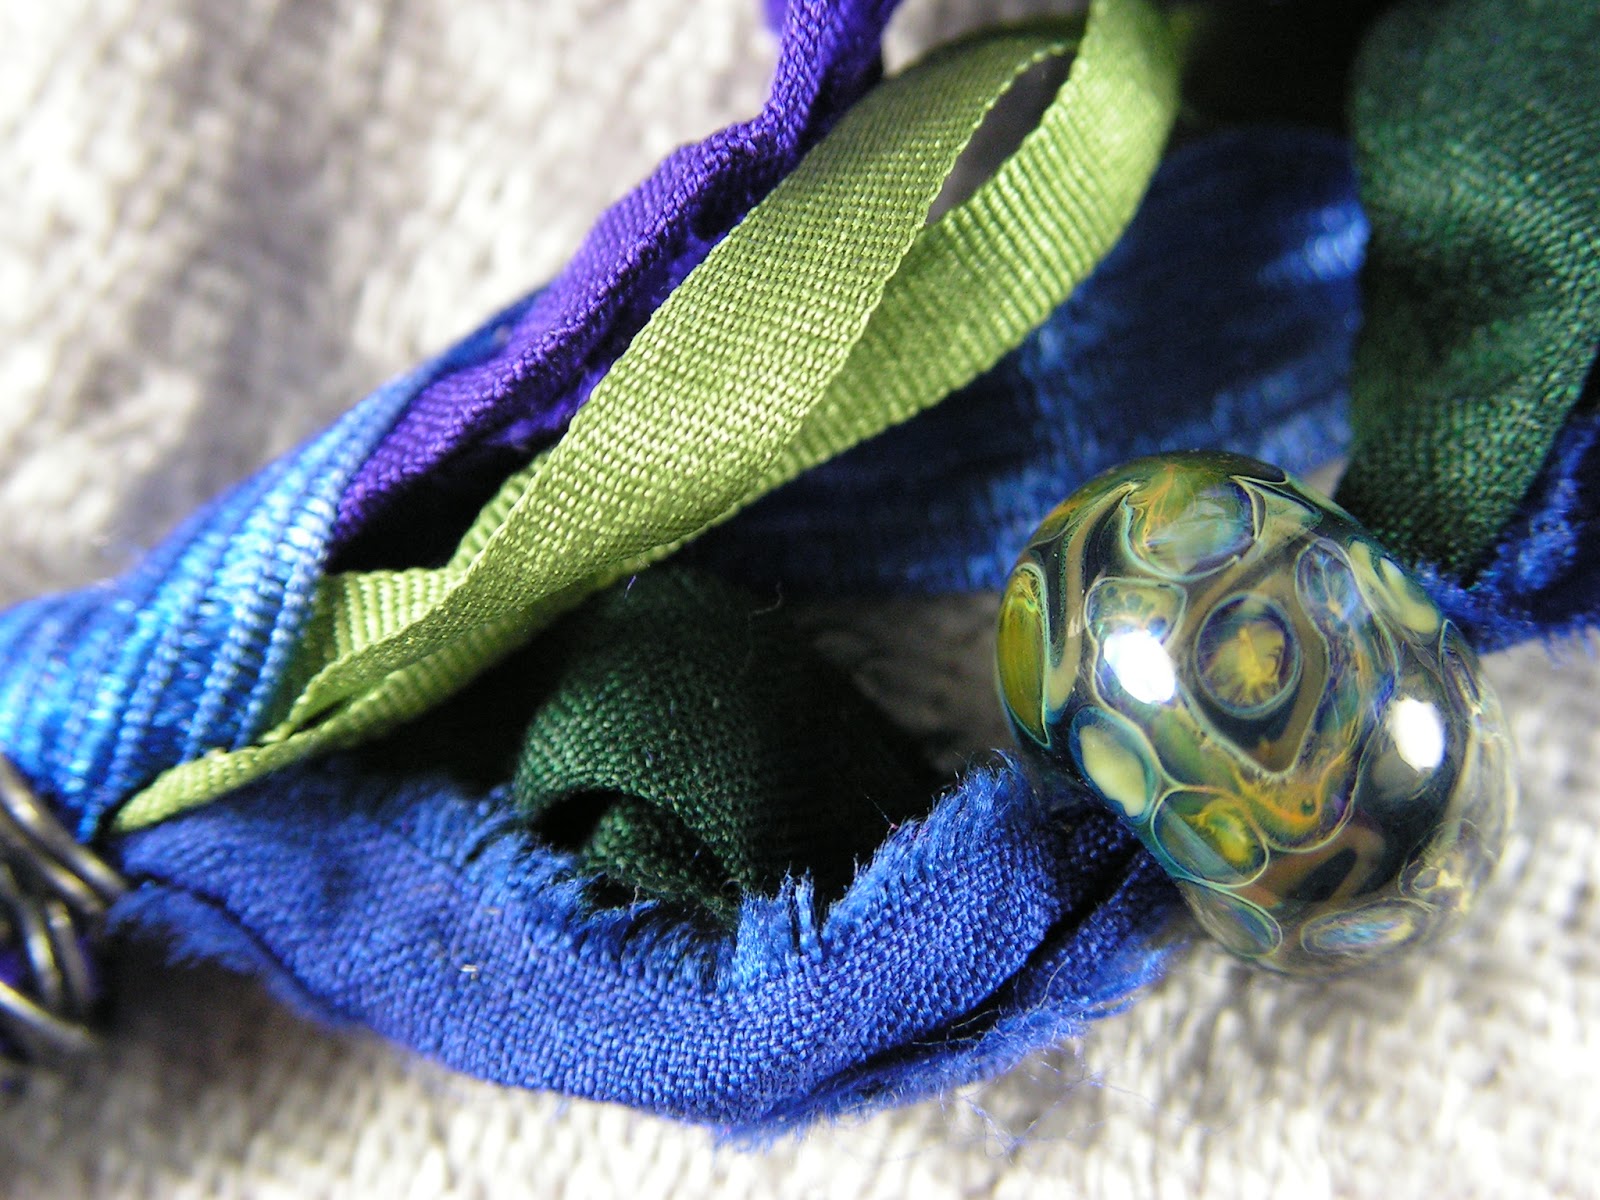
The center of the ribbon section features one of my lampwork beads strung onto the blue and green sari ribbons - I love how this turned out, and I think I'll make more lampwork beads with holes big enough to fit multiple ribbons. :)
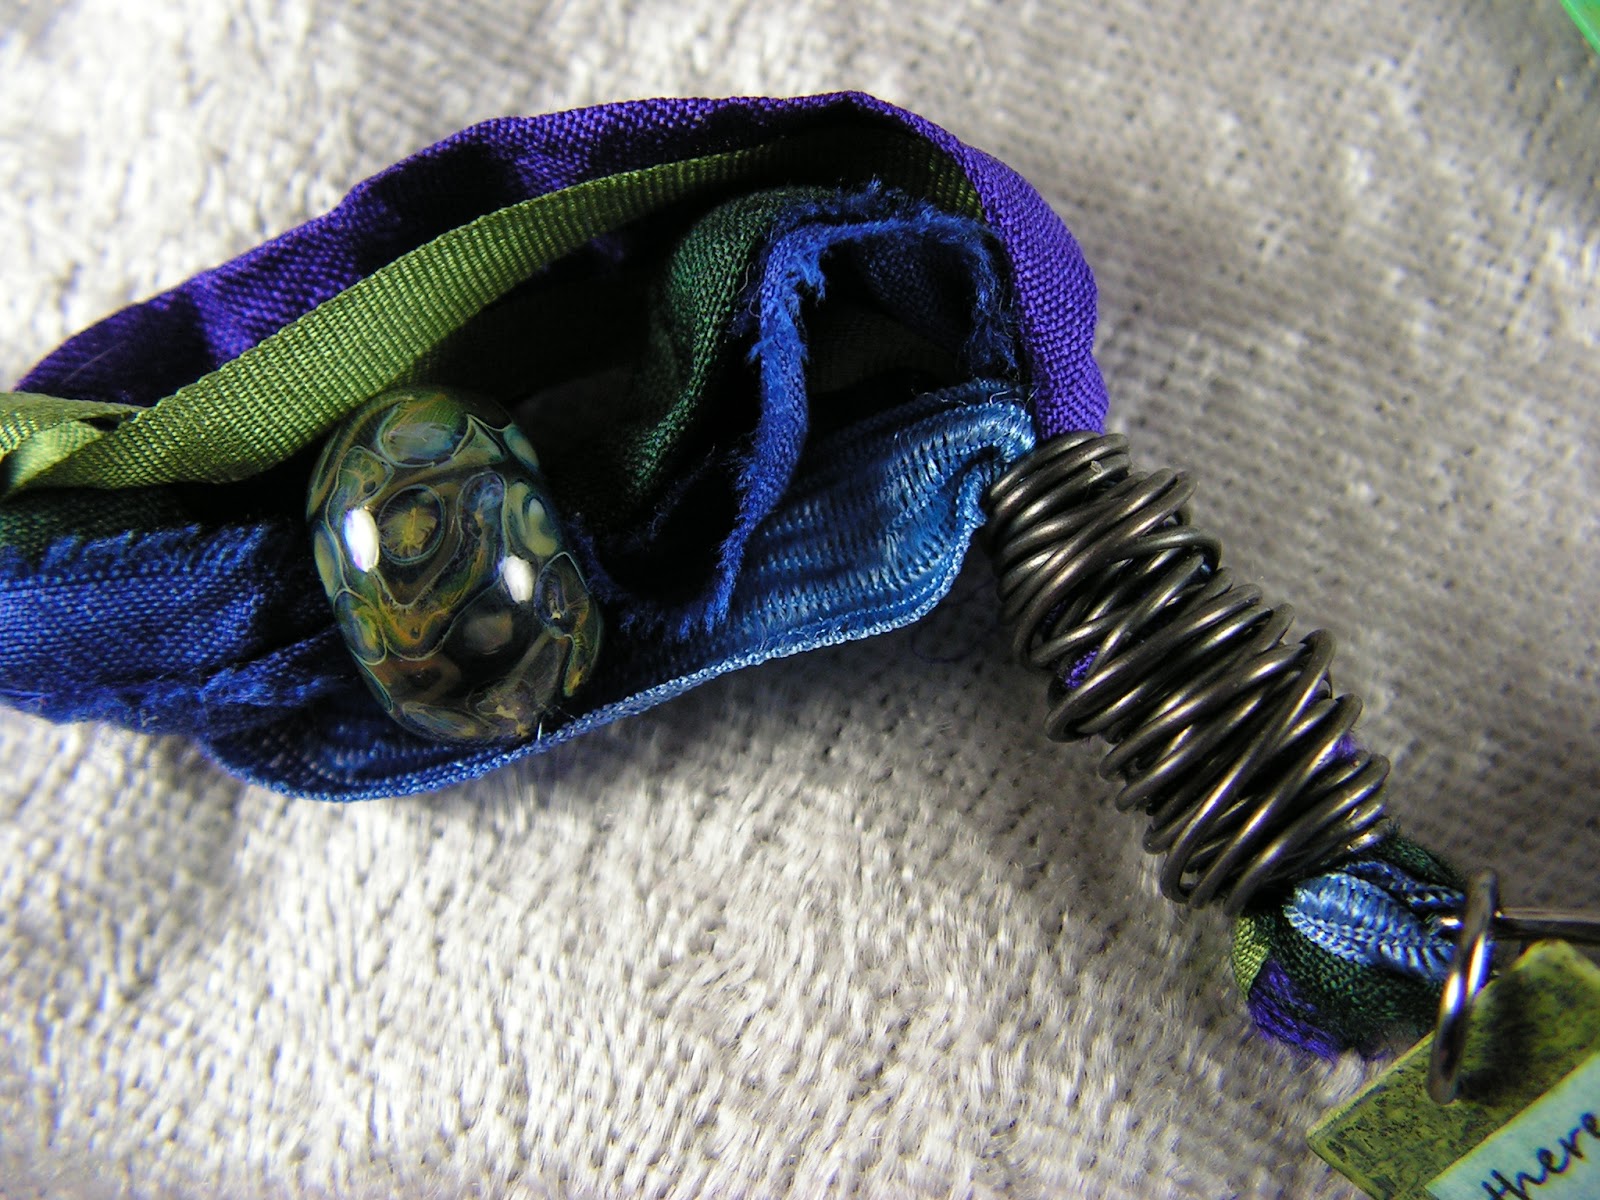
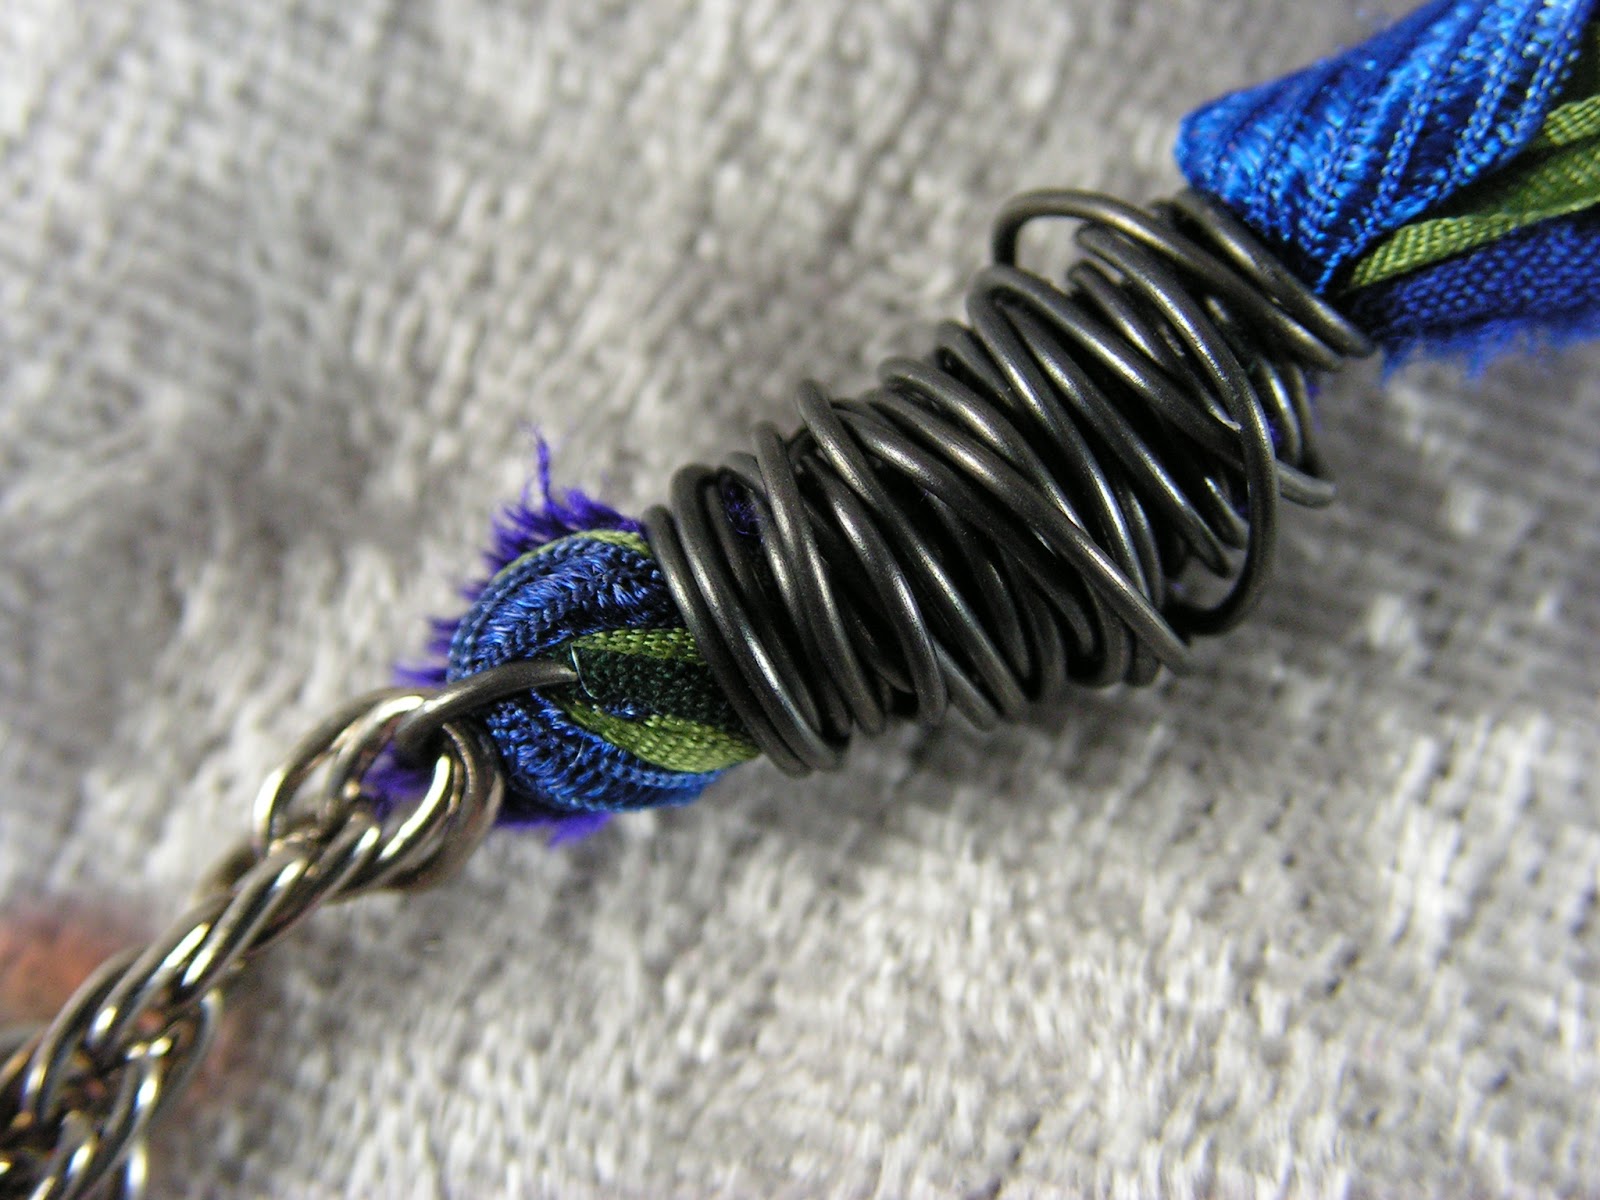
The other end of the ribbon section - also finished with a wrap of my beloved 19 ga. annealed steel wire
Poring through my stash of jewelry magazines and surfing my favorite
jewelry sites, I found some mixed media necklaces I liked. Made rough
sketches of my favorites...and then I really looked at them. As I didn't
want to copy someone else's work, I decided to focus only on my
favorite element of each piece.

The center of the necklace front - how it all comes together.
I made a list and rough sketches of each of those favorite elements, pulled the ingredients from my stash, ordered a bird connector from Bello Modo, and then started laying things out, playing with texture and color, and trying to get it just right.
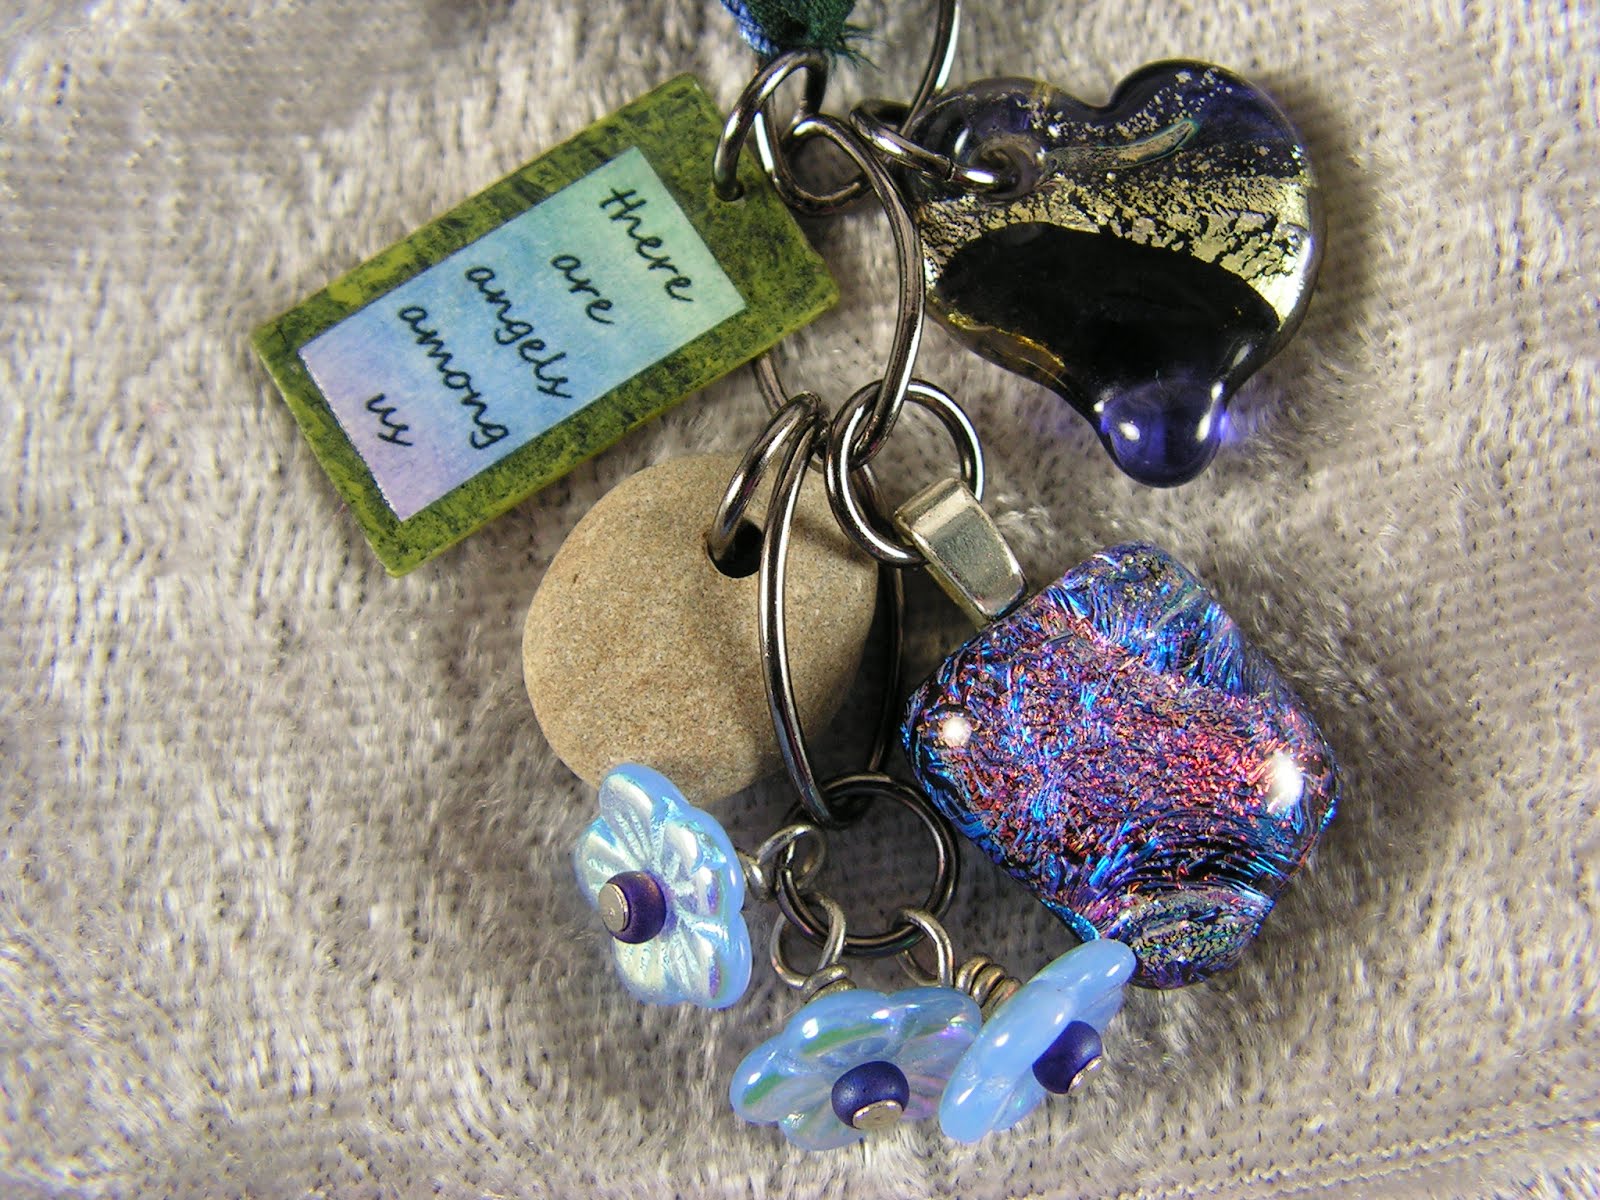
The charm
cluster: custom art charm by C. Hansen using Vintaj Arte Metal blank,
Vintaj patinas, paper, chalks, & sealer; one of my lampwork
hearts, one of Peg's sparkle-icious dichroic glass cabochons, a cute little beach stone, and more of the adorable pressed glass flower drops.
Once I started placing components here and there, the necklace came together amazingly
fast - it was one of those
takes-forever-to-get-rolling/comes-together-at-light-speed
things.
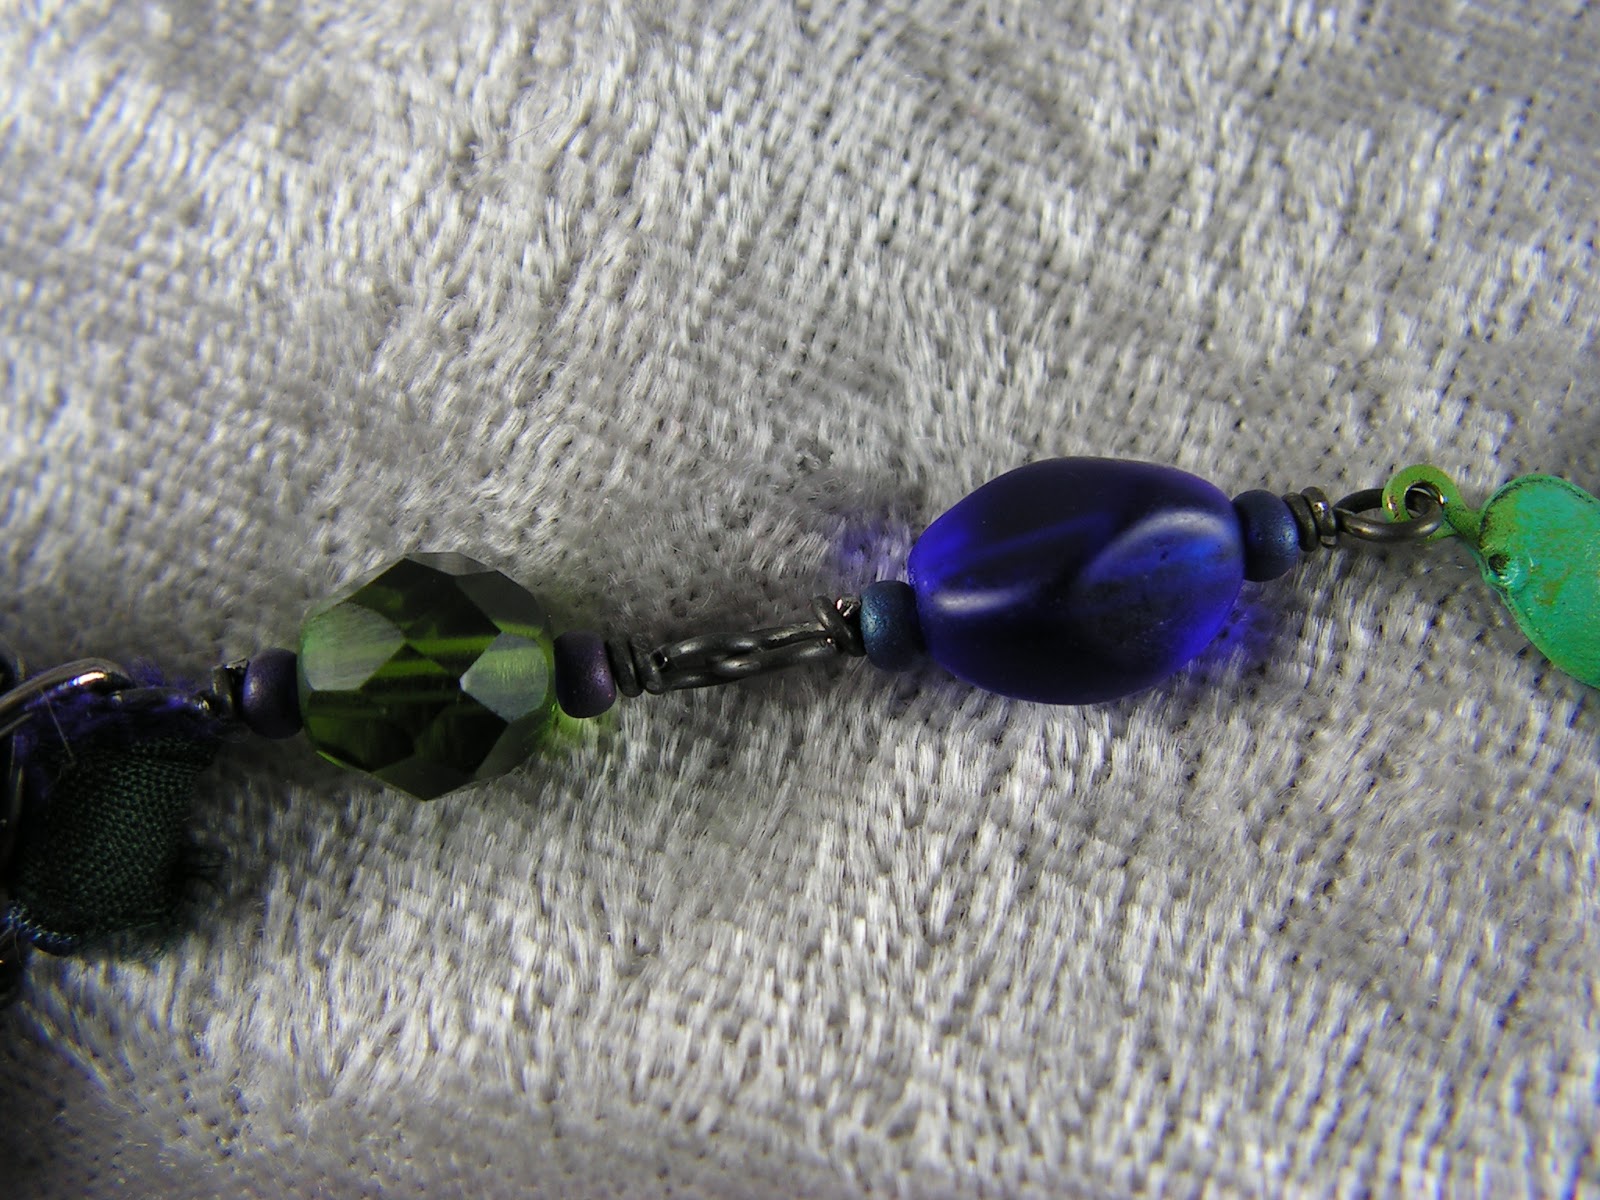
Bead links made with 19 ga. annealed steel wire, Czech seed beads, and Czech glass beads.
I'm *really* pleased with how it turned out, and even better, my client LOVES it! win/win!

The bird connector was originally brass-tone, but that didn't work with the color scheme, so I used my new Vintaj patinas on it - love the results! (I *need* Vintaj patinas in lots more colors!)
Now that I've gotten my feet wet with this design concept, I think I'll try making more mixed media pieces using this strategy. Stay
tuned for pics!

The view from the other side. Please ignore the messy kitchen counter!

How the charm cluster hangs when it's worn.
Another view of the whole necklace.


October 12, 2012
Last Call for 2012!
Strung Lanyards 101 by C. Hansen (class samples)
In order to spend more time at the torch making lampwork beads (yay!), I've decided to cut back on my teaching schedule (boo!).
As a result, next Sunday, October 21, 2012, will be your last opportunity until 2013 to take Strung Lanyards 101 and/or Wild Wire Mixed Media Pendant.

Wild Wire Mixed Media Pendants by C. Hansen (class samples)
Both
classes take place at Shipwreck Beads in Lacey, WA: Strung Lanyards
runs from 10 a.m. to 1 p.m., and Wild Wire runs from 2 p.m. to 5 p.m.
I'm also offering a new class this year, the Chain Reaction Necklace,
a combination of chain and bead links. This versatile design can also
be worn as a lanyard or an eyeglass holder. The Chain Reaction Necklace
class will take place at Shipwreck Beads on Saturday, November 3, 2012,
from 10 a.m. to 2 p.m.

Chain Reaction Necklaces by C. Hansen (class samples)
Any of these projects make wonderful gifts, and it's early enough in the season that you can actually start (and finish!) these lovely pieces in plenty of time for holidy gift-giving.
Read on to learn more about these classes. Register for classes with Shipwreck Beads - by phone at (360) 754-2323 or (800) 950-4232, or online:
Strung Lanyards 101
Wild Wire Mixed Media Pendants
Chain Reaction Necklace
Strung Lanyards 101:

Student work, Strung Lanyards 101
If you wear a badge, the Strung Lanyards class is for you.

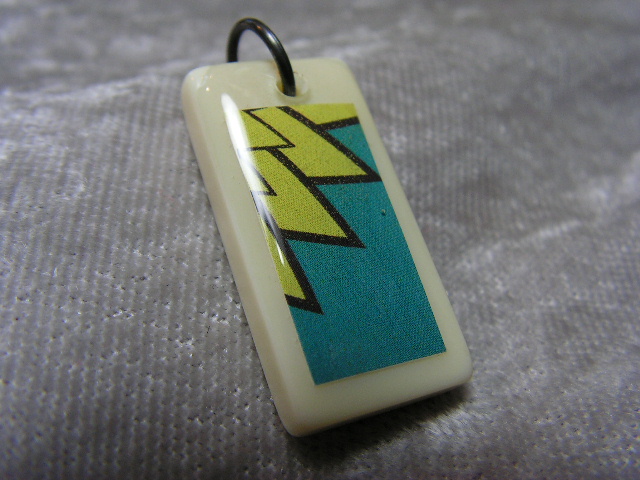
Student work, Strung Lanyards 101
If you like wearing a lovely necklace, piled with art charms, the Strung Lanyards class is for you.

Assymetrical Art Charm Necklace by C. Hansen, lampwork glass beads, vintage sheet music bead, lampwork glass heart, etched metal art charm, and embossed collage art charm, all by C. Hansen
If you wear eyeglasses, the Strung Lanyards class is for you. (Leave off the badge, and use the center link to hold your eyeglasses.)

Student work, Strung Lanyards 101
Geared for beginners and beyond, we'll combine heavy beading wire, your
favorite beads, and a generous portion of bead soup to make a gorgeous
functional necklace. Skills covered include planning and
layout, stirring up a delicious bead soup, stringing and crimping. Class
fee is $25 (class fee will increase in 2013).
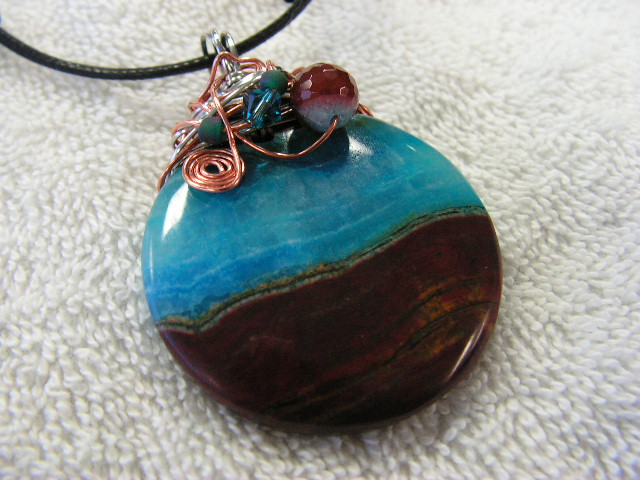
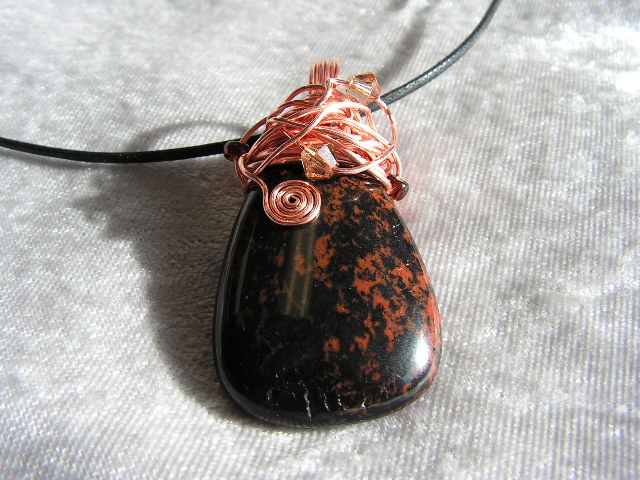
Wild Wire Mixed Media Pendant:

Wild Wire Mixed Media Pendant by C. Hansen for Bead Soup Blog Party
I took part in the Bead Soup Blog Party
last year, and was really stumped when my partner sent me a gorgeous
bamboo agate focal to work with. Until then, I hadn't worked much with
stones, precious, semi-precious, or otherwise, and just did not have a
clue where to begin.

Student work, Wild Wire Mixed Media Pendant
After banging my head on my bead table a few times, I came up with this wild wire wrap. I was so thrilled with the results, and knowing that Shipwreck has a fantastic selection of stones to work with, I decided to offer this class.

Student work, Wild Wire Mixed Media Pendant
The wire-wrapped focal can be enjoyed as a pendant or one could use it as an ornament - perhaps a seasonal decoration, or something year-round, hanging in a window or maybe even suspended as a fan pull?

Student work, Wild Wire Mixed Media Pendant
Another beginner-friendly class, Wild Wire students use basic wire working skills, two gauges of wire, a handful of coordinating beads, and improvisational style to embellish a large focal pendant and create a bail for use as a pendant or an ornament.
Student work, Wild Wire Mixed Media Pendant
Once you get the hang of it, this project
goes fairly fast, so we may be making 2-3 pendants/ornaments in class. Class fee is $35.
Student work, Wild Wire Mixed Media Pendant
Chain Reaction Necklace
One of the hottest looks right now is chain combined with bead links. In this class, you'll learn how to create bead links and join them with chain segments for an easy, stylish necklace that showcases your favorite pendant, it can also be worn as a lanyard or an eyeglass chain.

Chain Reaction Necklace with etched copper tag and lampwork glass heart, all by C. Hansen, class sample
Skills covered include planning and layout, working with wire and jump rings, and creating bead links. Quantities of supplies will depend upon supplies selected; e.g. if you select large focal beads, you may only need 6 total large beads, or if you decide to alternate large focals with smaller accent links, you'll need a few more accent beads and spacer beads. Please make sure all beads will fit 18 gauge wire. Class fee is $35.

Chain Reaction Necklace by C. Hansen, class sample

September 28, 2012
Cough & Cold Tea Recipe (kitchen remedies 02)

thyme
A pernicious bug has been making its way throughout the greater Olympia area lately, so I thought I'd post our current cough and cold soothing strategy.
1. Raw organic apple cider vinegar - a teaspoon in water 3 x day - is really helpful for boosting the immune system.
2. Gargling with warm salt water at the very first sign of a scratchy
throat can be enough to stop it in its tracks. Try 1 tsp. salt in 8 oz.
of warm water. http://www.mayoclinic.com/health/sore-throat/DS00526/DSECTION=lifestyle-and-home-remedies
3. My standard go-to remedy has, for years, been our trusty sinus infection essential oil blend.
Here is our newly-developed recipe for a cough & cold tea
blend. The tea recipe was inspired partly by Rosemary Gladstar's excellent book, Rosemary Gladstar's Medicinal Herbs: A Beginner's Guide: 33 Healing Herbs to Know, Grow, and Use, and partly by my friend Tess' cough syrup recipe. Drinking the tea & steaming
your head with the sinus blend will deliver a 1-2 punch.
Chris' Cough & Cold Tea
(all ingredients are dried, I measure by weight)
1 part ginger root (warming, decongesting, used for colds and flus, respiratory congestion and sore throat)
1 part cinnamon powder (warming, antiviral, antifungal, improves circulation, clears congestion)
1 part thyme leaf (fights infection, treats coughs, helps sore throats)
1 part marshmallow root (soothes inflamed respiratory tissues, lubricates & moisturizes lungs)
1/2 part catnip (to help bring fever down)
Combine all in a screw-top jar and mix well.
To use: Steep 4 tbsp. in 1 quart of boiling water, covered, for 45
minutes. Strain and press herbs. Add honey to taste. (I added quite a bit - 1/4-1/3
cup of honey to 1 quart of tea...it wound up tasting a LOT like those
Hot Tamales candies I was so addicted to as a child, lol.)
Dosage: adults: 3-4 cups per day, kids 7-12: 1-2 oz/4 x day

catnip
Images are from the New York Public Library Digital Gallery.

September 27, 2012
Pay It Forward Giveaway Winners!
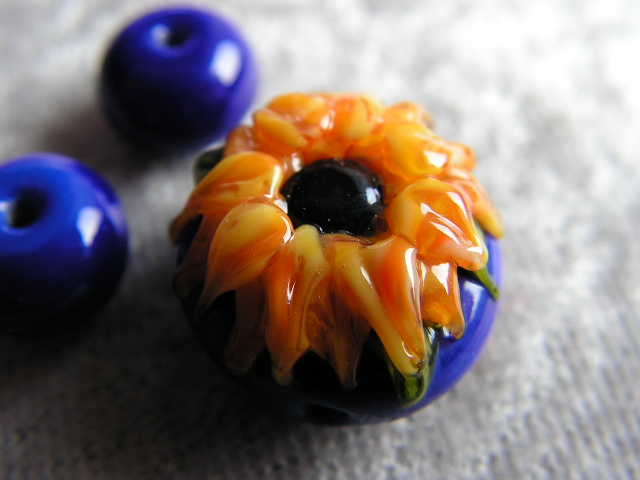
lampwork sunflower bead by c. hansen
On September 19, I posted this giveaway, for the first three commenters...then on the 21st, I posted an additional opportunity for three more commenters to win, to be randomly selected...but only five more people commented, and I just CANNOT have six people winners and two people not, especially with everyone committing to paying it forward!
This means...yes...you got it right...you're ALL winners!
I will be in touch soon to get clues as to what sorts of goodies you might like to see in the mail. And remember - you don't know exactly WHEN the prize will arrive - but it will arrive sometime during the next 365 days!
Be well and have a super day all!
xoxo, c

September 24, 2012
Everyday Split Pea Soup

Saturday, September 22, 2012 was the first day of Autumn here in the Northern Hemisphere, also known as The First Day of Soup Season. (doing a happy dance, because I love a big warm bowl of homemade soup!)
In honor of this first full week of Autumn, I'm posting one of our family's favorite soup recipes, Everyday Split Pea Soup, from one of my most favoritest cookbooks, Moosewood Restaurant Daily Special.
This is an easy soup to prep and cook; if you're cooking for a crowd, it doubles easily - just make sure you're using a really big soup pot (8-10 quarts). I like to add a splash of liquid smoke and 6-8 whole cloves, which kicks up the "smoked ham" flavor a notch or two.
DO make sure the peas are fully cooked before you add the miso - miso is ruined by overheating, so to be on the safe side, I turn off the heat before I add the miso.
ALSO - when adding miso to soup, the best way is to scoop a cup or so of soup/broth into a bowl, and mix miso into that, then add the miso/soup mixture to the main pot of soup - miso is glumpy (one of my favorite technical terms, lol), and might not mix in thoroughly with the split pea soup if just added as a big lump.
I apologize for the lack of pictures - the batch I made this weekend went so fast I didn't have a chance to get the camera out! (I'll add a pic to this post next time we have this soup - don't worry - you won't have long to wait!)
Enjoy!
½ ounce dried mushrooms, softened in 1 cup boiling water (I usually use shiitake))**
2 cups dried split peas (1 pound)
8 cups water
3 bay leaves
1 tsp. dried marjoram
6-8 whole cloves (optional, C.H. addition)
½ tsp. liquid smoke, or to taste (optional, C.H. addition)
2 cups chopped onions
1-1/2 cups peeled and diced carrots
1-1/2 cups chopped celery (include some leafy tops)
2 cups diced potatoes
¼ to 1/3 cup light miso
1 tsp. salt
1/8 tsp. ground black pepper
**To soften mushrooms, place in a heatproof bowl, cover with boiling water, and set aside for about 20 minutes.**
In a large covered soup pot on high heat, combine the split peas, water, bay leaves, marjoram, onions, carrots, celery, and potatoes (and cloves and liquid smoke, if using). When the soup begins to boil, stir well, reduce the heat to a simmer, cover, and continue to cook.
Meanwhile, remove the mushrooms from the soaking liquid and discard any hard stems. Slice or chop the softened mushrooms and add them to the soup. Strain the soaking liquid to remove any sediment or dirt, and add the clear liquid to the soup pot.
After the soup has simmered for about 30 minutes, stir it well. Maintain on low heat with occasional stirring or place the pot on a heat diffuser to prevent sticking and cook for another 20 minutes, until the split peas are very soft and the soup becomes "creamy" when stirred. Discard the bay leaves (and cloves, if you added them). Stir in 1/4 cup of the miso, the salt, and pepper. Add more miso to taste and serve.
Note: If you plan to serve the soup later, set it aside to cool a bit, and then refrigerate it. Reheat gently before serving, stirring often to prevent scorching.

September 19, 2012
Pay It Forward Fun: Giveaway!

white tulips on lavender focal by c. hansen
It's been AGES since I did a giveaway on my blog, and when I heard of Jenn's fun giveaway, I knew I had to get in on the fun! (Jenn is the creative powerhouse behind Soul's Fire Designs - she creates exquisite jewelry that you MUST go check out when you get a chance.)
Paying it forward means doing something nice for someone else, with no expectation of return - one person does something nice for someone else, who does something nice for someone else, who does something nice for someone else, and so on...(you didn't *really* want me to continue that, did you?)
So here's the deal:
The first three commenters on this post will receive a surprise gift from me within the next 365 days...it'll be handmade by me, so you know it's going to be cool, right? It'll be extra cool, because you won't know exactly what it is, or exactly when it'll arrive.
For the first three commenters, I will contact you in the
near future (next week, most likely), and request your mailing addy and
some ideas of what colors/themes/styles you like.
How to get in on the action:
Leave a comment WITH your email address AND post a Pay It Forward giveaway on YOUR blog too. Easy peasey!
Pay It Forward giveaway rules: Handmade item giveaway for first three commenters, surprise goodies to be sent/received at a surprise time within the next 365 days.
Oh, this is going to be such fun!

September 11, 2012
May all be blessed: how one mom fights back
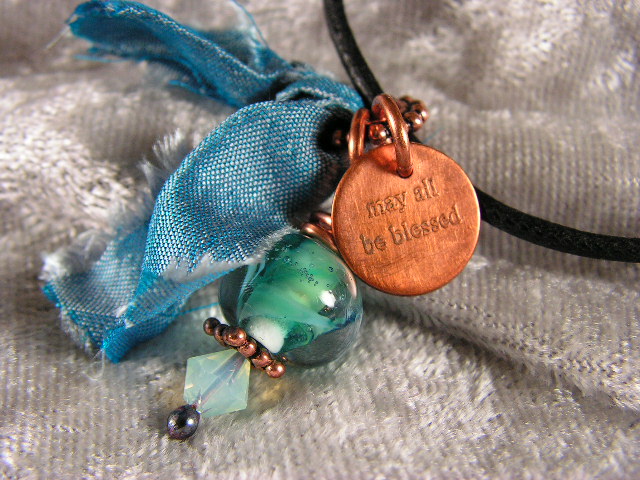
May all be blessed: etched metal art charm, lampwork bead, & recycled sari silk pendant by C. Hansen
Twice a day, I was reminded.
Every time I looked at the clock and it read 9:11, I
remembered the horror of that day, the fear, the anger, the desperation, the
unthinkable loss and devastation…and how the whole world changed, for all of us,
forever.
At first, every time I saw that time appear on the clock, it
made me ill, not only for me, but for everyone else too, knowing that they were
experiencing the same negative feelings I was.
I quickly realized that this wasn’t how I wanted to live the
rest of my life, in dread of seeing the time on the clock.
I decided to fight back, in my own way.
I decided to take that time back and turn it around, and turn
it into something positive instead.
I decided to say a little prayer for everyone on the planet,
figuring if each person is touched by grace, then just maybe, healing can
begin.
The prayer had to be really short and easy to remember.
The prayer also had to bless everyone and everything, with
no exceptions.
And the prayer had to be a prayer that anyone could use,
because I wanted everyone on the planet to join me in saying it.
Now, twice a day, I am reminded to say, “May all be blessed.”
I invite you to join me in fighting back, by taking back these
moments each day, either with “may all be blessed,” or with a prayer of your
own.
Perhaps if each of us is blessed, even in some small way, we can make the world a better place.

May 7, 2012
And the winners are...

One of my newest art charms, for the Springtime in Paris swap I recently hosted. This charm features one of my lampwork headpins paired with a shrink plastic Eiffel tower.
As I was drifting off to sleep last night, reviewing the day, I thought, "I know I forgot to do something...what in the world could it be?" And then I thought some more, and realized, horror of horrors, I'd forgotten to do the random number thingie to figure out who won the art charms I'm giving away in honor of International Charm Day! D'OH!
So now, without further ado, here are the five lucky winners as selected by the Sequence Generator over at Random.org:
Random Sequence Generator
Here is your sequence:
8
11
5
1
3
6
10
4
9
2
7
Timestamp: 2012-05-07 15:05:00 UTC
Matching up comments to the first five random numbers means Cindy Green won the domino charm, Valerie K. won the spring flowers charm, Peggy Aplseeds won the ruler charm, Cris Peacock won the steampunk charm, and Lori Anderson won the washi paper charm. Congrats ladies! I will get your charms out to you as soon as I have mailing addies for each of you.
Many thanks to everyone who helped to celebrate International Charm Day, and who took the time to leave a comment on my post! May your days be filled with art and charms!

April 28, 2012
Happy International Charm Day 2012!!!
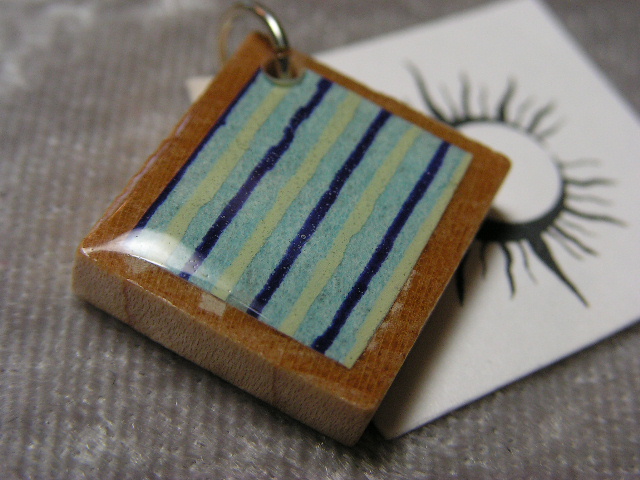
Giveaway prize no. 1 - domino charm by C. Hansen
I love Art Charms...partly because there is such a wonderful potential
in each one, like a tiny present, from the Art Charm artist to the
ultimate recipient/owner. Art Charms are a fun and unique way to make,
trade, and enjoy original works of art. While methods and materials for
creating Art Charms are unlimited, one rule defines an Art Charm: Art
Charms are made by hand, one at a time. True Art Charms are never
mass-produced in a factory (but an artist might use mass-production
techniques). This is something that can only be created by an artist’s
hands, therefore it is precious and unique. Art Charms are a completely
inclusive art form – anyone can make an Art Charm!
Giveaway prize no. 2 - spring flowers charm by C. Hansen
Top Ten Reasons Why Chris Loves Art Charms (in no particular order):
1. Making Art Charms helps me to practice and refine my skills.
2. Art Charms are individually handcrafted, never made by a factory.
3. When I collect Art Charms, I’m collecting original mixed media art and supporting other artists.
4. The small size and format of Art Charms makes them easy to display and collect.
5. Art Charms have a variety of end-uses above and beyond the basic charm bracelet.
6. Art Charms hold great potential for fundraisers or benefits – just
have everyone participating in the swap make and send in an extra charm
for a bracelet or necklace.
7. Swapping Art Charms builds connections between people, creates community, and invites the interest of non-swappers.
8. I LOVE the design challenge of creating an original Art Charm while honoring the swap theme.
9. I love getting my swaps back and seeing how the other artists interpreted the swap theme!
10. Making Art Charms is an easy, affordable, and portable hobby. Many
materials for Art Charms can be gleaned from discarded items, available
as near as the local thrift shop or garage sale...or even in the junk
drawer!

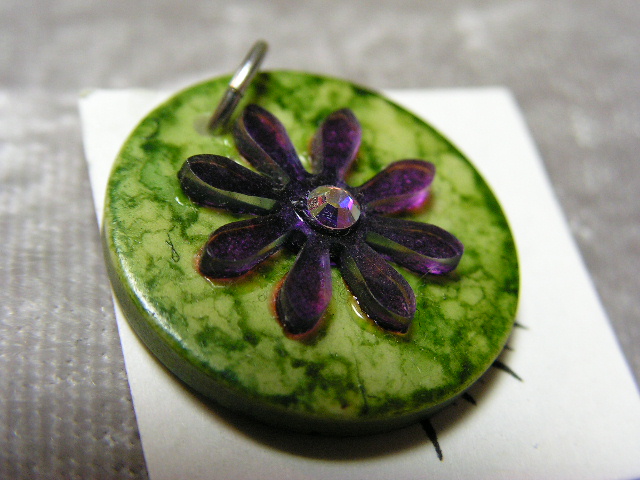
Giveaway prize no. 3 - ruler charm by C. Hansen
In celebration of International Charm Day 2012, I have five of my own
mixed media art charms to share with my readers. They’re the eye candy
for this post. Just leave a comment on this post before midnight
Saturday May 5, 2012, with your email addy or some reliable manner in which to
contact you, and Sunday morning I will use a random number generator to
select the five winners. I’ll post the winners here, and will contact
you to get your mailing address.
Outside the US? Leave a comment anyway - I'm happy to ship internationally.
***If you do not leave your email addy or some reliable contact method, I won't be able to get your prize to you - so please, please PLEASE leave some sort of contact information!***
Giveaway prize no. 4 - steampunk charm by C. Hansen
Want more chances to win awesome stuff? Head on over to my friend Amber Dawn’s International Charm Day blog – she’s got more
giveaways and interviews on her blog, as well as some tasty eye candy
and links to other blogs celebrating International Charm Day.
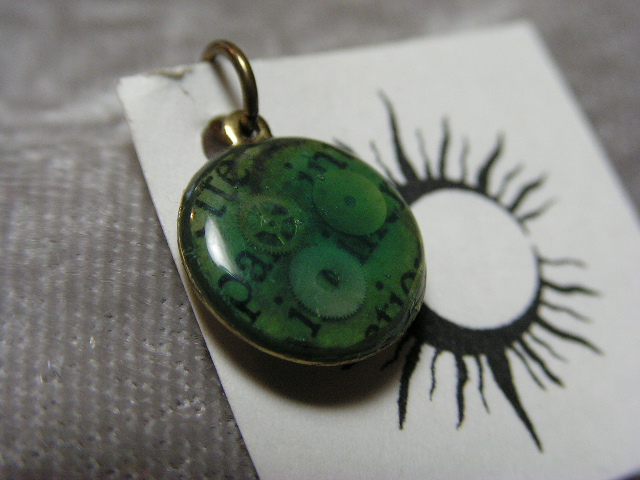
Giveaway prize no. 5 - washi paper on Scrabble tile charm by C. Hansen
Can't get enough of Art Charms? Please consider joining our Art Charms Yahoo group - we're doing swaps, challenges, contests, and weekly online chats.
Here's hoping your International Charm Day is filled with art and charms,
Chris

February 12, 2012
Recipe: Wheat/corn/dairy-free Hot Pockets

My goofy youngest childebeast scarfs a ham & vegan mozz hot pocket.
Our wheat/corn/dairy-free family has been playing with making our own version of the ever-popular hot pocket sandwiches, and we are getting pretty good at these, so we thought we'd share what we've learned so far. This is a pretty straightforward recipe, but it does get a little longish, so I'll keep the editorializing to a minimum.
Some tips:
You'll need a kitchen scale to measure some of the dough ingredients.
Prepare your fillings before you start the dough.
You'll need two cookie sheets or jelly roll pans, or something flat on which to bake your delicious creations.
Parchment paper helps, especially if you have aluminum pans.
You'll need a flat greased surface to assemble your hot pockets - a wood carving board works well.
The basics of the recipe:
GF dough + mayo sauce + filling of your choice (julienned lunch meats, grated cheese, sauteed chopped veggies are all good) = happy tummies
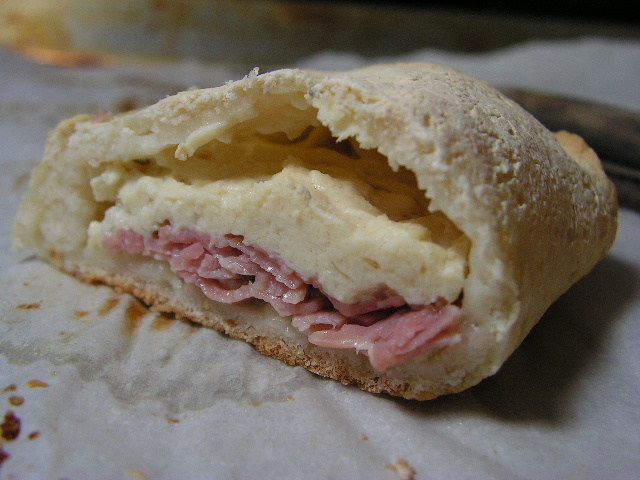
Inside the ham and vegan mozz hot pocket...
Dough: This is the current version of our ever-evolving bread dough mix. If you want to eat this as regular bread, just pop the mixed dough into a greased bread pan, cover and let rise for an hour or so, then bake @ 375F for about 30-40 minutes.
You'll notice that some of the ingredients are measured by weight - I do this because I mix up a half-dozen batches of the dry ingredients ahead of time and store each batch in a zip lock bag, and it's faster/more accurate to measure by weight. If you'd like to do the same - just combine all of the dry ingredients EXCEPT the yeast, and store in a zip lock bag - then add the yeast just before you mix the dry ingredients with the wet ingredients.
7.9 oz. white rice flour
6.3 oz. tapioca starch
11 grams guar gum
2 tbsp. ground flax
1 oz. sugar
3/8 cup coconut flour
1 tsp. salt
1 tsp. GF baking powder
1 tbsp. yeast
Combine all and mix well.
In the bowl of a heavy duty mixer, combine the following:
1 egg
1 tsp. apple cider vinegar
3 tbsp. vegetable oil
1-1/2 cups warm water (should be warm enough to activate the yeast, but not too hot or it will kill the yeast - test the water on your wrist)
Add dry ingredients and mix on slow for a moment or two to incorporate the dry ingredients, then mix on high for 3 minutes.
Work with greased hands, on a greased work surface (I used margarine on my hands and wood carving board) You'll have to re-grease the surface and your hands as you work.
Turn out the whole batch of dough onto the work surface and shape into an evenly shaped square or rectangle. Use a greased knife to divide the dough into 16 equal portions.
Working one at a time, roll each dough portion into a thick log, about 3-4 inches long. Pat the log flat into a rectangle, about 8" long x 5" wide.
Imagine a smaller rectangle centered on your dough rectangle, with a margin of about 3/4" all the way around. Place about 3 tbsp. of filling on one half of the smaller rectangle. I start with 1-1/2 tsp. of mayo sauce, then add meat or veg, then the cheese.
Next, fold over the other half of the dough. Work slowly and carefully, as the dough is very fragile. Gently lift the empty side of the rectangle and fold it over the filling. Roll the bottom dough edge up and over the otp dough edge and press together gently. Lift the hot pocket off the work surface and use both of your hands to gently press the whole thing together.
If the dough has come apart anywhere, press it back together.
Place on cookie sheet and finish assembling the rest of the hot pockets.
Bake at 375F for about 30 minutes, until golden brown. As ovens do vary, watch your hot pockets carefully the first time you make this. Make note of any adjustments needed for time or temperature.

Veggie hot pockets. This pic shows how I rolled up the bottom layer of dough to meet with the dough folded over the filling.
Filling notes:
For carnivores only:
A 6 or 7 oz. package of lunchmeats cut into 8 equal portions is plenty for half a batch of hot pockets. Once divided, the portions of meat might need further chopping to faciliate the hot pocket experience.
Mayo sauce:
1/2 cup mayonnaise
2-3 tsp. Grey Poupon dijon mustard (or to taste)
Mix well.
Sauteed veggie filling:
1/2 cup minced onions
2 cups chopped mushrooms
4 handfuls of arugula
Saute in liquid from marinated artichoke hearts. When mixture cools, toss with 1/2 lb. of shredded cheese for filling. Makes enough for 8 hot pockets.
DIY vegan mozzarella that melts – makes 1.5 pounds (from Jenn Shagrin's amazing book, Veganize This!) (I used 1 lb. for our full batch of hot pockets, and have 1/2 pound leftover for something else tasty!)
1-1/2 12-oz pkgs. silken soft tofu (18 oz total)
1 cup vegan buttermilk (1 cup almond milk + 1 tbsp. flaxseed oil + 1 tbsp. apple cider vinegar, stir well, then set aside)
½ tbsp. kosher salt
1 tsp. garlic powder
1 tsp. rice vinegar
4 tsp. agar powder (available online or from Asian markets)
Place tofu, vegan buttermilk, salt, garlic powder, and rice vinegar in a blender or food processor, and blend at high speed until completely liquid. Transfer mixture to a small saucepan, stir in agar powder, and allow to sit for 5 minutes. Bring to a boil over medium heat, stirring occasionally, then remove from heat and pour immediately into a baking dish. Smooth the top of the mixture, then place in refrigerator for a few hours until completely set. Use as any cheese. Keeps covered in fridge for up to eight days.
Bon appetit!

Christine Hansen's Blog

Christine Hansen isn't a Goodreads Author
(yet),
but they
do have a blog,
so here are some recent posts imported from
their feed.

