David Burrows's Blog, page 25
September 27, 2014
How to Make a Book!
Before I found Lulu and Createspace I made a few home-made books to put in my local library. The quality was OK but not as good as Lulu etc.
A trick I found was in using A4 without waste. I printed two columns with the A4 paper in landscape mode and the columns left and right running down the shortest side. This way I had page 1 on the left and page 2 on the right. What I did next was print off an entire book and then I turned the paper over and printed the book again, on the unprinted side. I then used a guillotine to cut the paper in half. If you get it right (you need to practice with a few sheets first) you get page 1 one side and page 2 on the other side and two copies of this (both A5 size - half of A4).
To make the book I used wood glue (PVA) and some linen, which was cut to the length of the book and wider than the spine. I built a book press. You can do this with two pieces of flat wood and two G-clamps (see picture).

Figure 1 G-Clamps
The G-clamp was OK to make one book, but I wanted a production line. To make several books at one time I used three pieces of wood; with one being thin and simply used as a spacer. Drilling holes through the wood I used butterfly nuts and bolts (see photo) to clamp several books together in one go.

Figure 2 Three books ready to be clamped
In figure two I should have shown the side with the butterfly nuts protruding. You could use a screw driver this way up but the butterfly nuts make it much easier and one tool less.
Figure 3 This shows the side with the butterfly nuts

Figure 4 This shows the view form above with the system upright.
Figure 4 is useful as it shows how the final product should look and where the books go. You can see the bolts running through the home made book press and it’s a better view of the butterfly nuts.
I simply printed a book cover of the appropriate size but used photographic quality paper. That is quite tough and makes quite a good cover. You can get gloss or matt as well. Your choice.
The next picture shows the final products. they are a few years old now so not as good as when I first made them.

Figure 5 Three final products
If I open a book you can see the linen poking through that I used to glue the pages together. The linen is slightly yellow. I can’t remember whether I painted glue onto the spine directly or into the linen. You have to glue both sides of the linen as you are sticking the cover on. I seem to remember that the cover is glued to the side of the linen rather than to the spine itself. That gave more flexibility when you open the book.

Figure 6 Book open showing the linen used to glue the paper together
As I said, I made several copies and used these in the local library to gauge how well the books were received. I had to have permission from the library of course. The books were borrowed reasonably regularly and so my home-made version seemed to do the job. It was fun learning how to do this and even more fun to get a book from the process.
I think with self-publishing being around there should be little need to go through the above process, but if you do, have fun.
A trick I found was in using A4 without waste. I printed two columns with the A4 paper in landscape mode and the columns left and right running down the shortest side. This way I had page 1 on the left and page 2 on the right. What I did next was print off an entire book and then I turned the paper over and printed the book again, on the unprinted side. I then used a guillotine to cut the paper in half. If you get it right (you need to practice with a few sheets first) you get page 1 one side and page 2 on the other side and two copies of this (both A5 size - half of A4).
To make the book I used wood glue (PVA) and some linen, which was cut to the length of the book and wider than the spine. I built a book press. You can do this with two pieces of flat wood and two G-clamps (see picture).
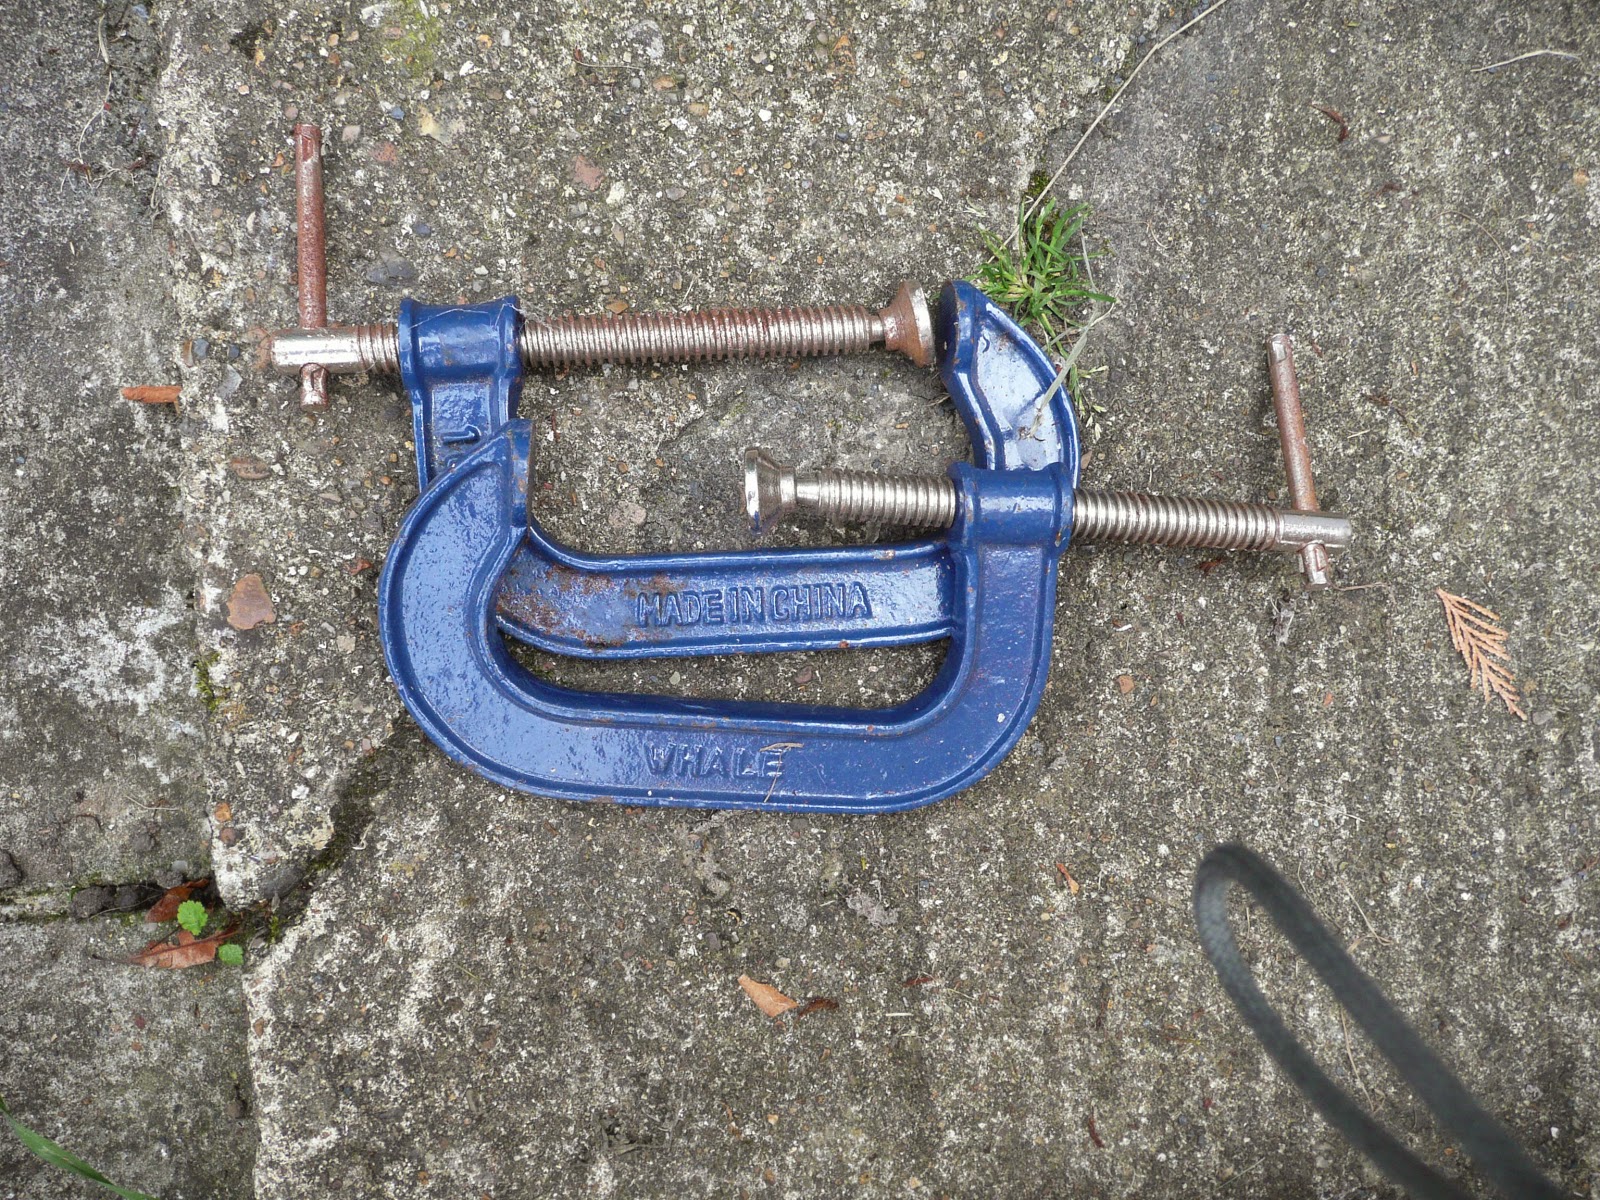
Figure 1 G-Clamps
The G-clamp was OK to make one book, but I wanted a production line. To make several books at one time I used three pieces of wood; with one being thin and simply used as a spacer. Drilling holes through the wood I used butterfly nuts and bolts (see photo) to clamp several books together in one go.

Figure 2 Three books ready to be clamped
In figure two I should have shown the side with the butterfly nuts protruding. You could use a screw driver this way up but the butterfly nuts make it much easier and one tool less.

Figure 3 This shows the side with the butterfly nuts

Figure 4 This shows the view form above with the system upright.
Figure 4 is useful as it shows how the final product should look and where the books go. You can see the bolts running through the home made book press and it’s a better view of the butterfly nuts.
I simply printed a book cover of the appropriate size but used photographic quality paper. That is quite tough and makes quite a good cover. You can get gloss or matt as well. Your choice.
The next picture shows the final products. they are a few years old now so not as good as when I first made them.
Figure 5 Three final products
If I open a book you can see the linen poking through that I used to glue the pages together. The linen is slightly yellow. I can’t remember whether I painted glue onto the spine directly or into the linen. You have to glue both sides of the linen as you are sticking the cover on. I seem to remember that the cover is glued to the side of the linen rather than to the spine itself. That gave more flexibility when you open the book.
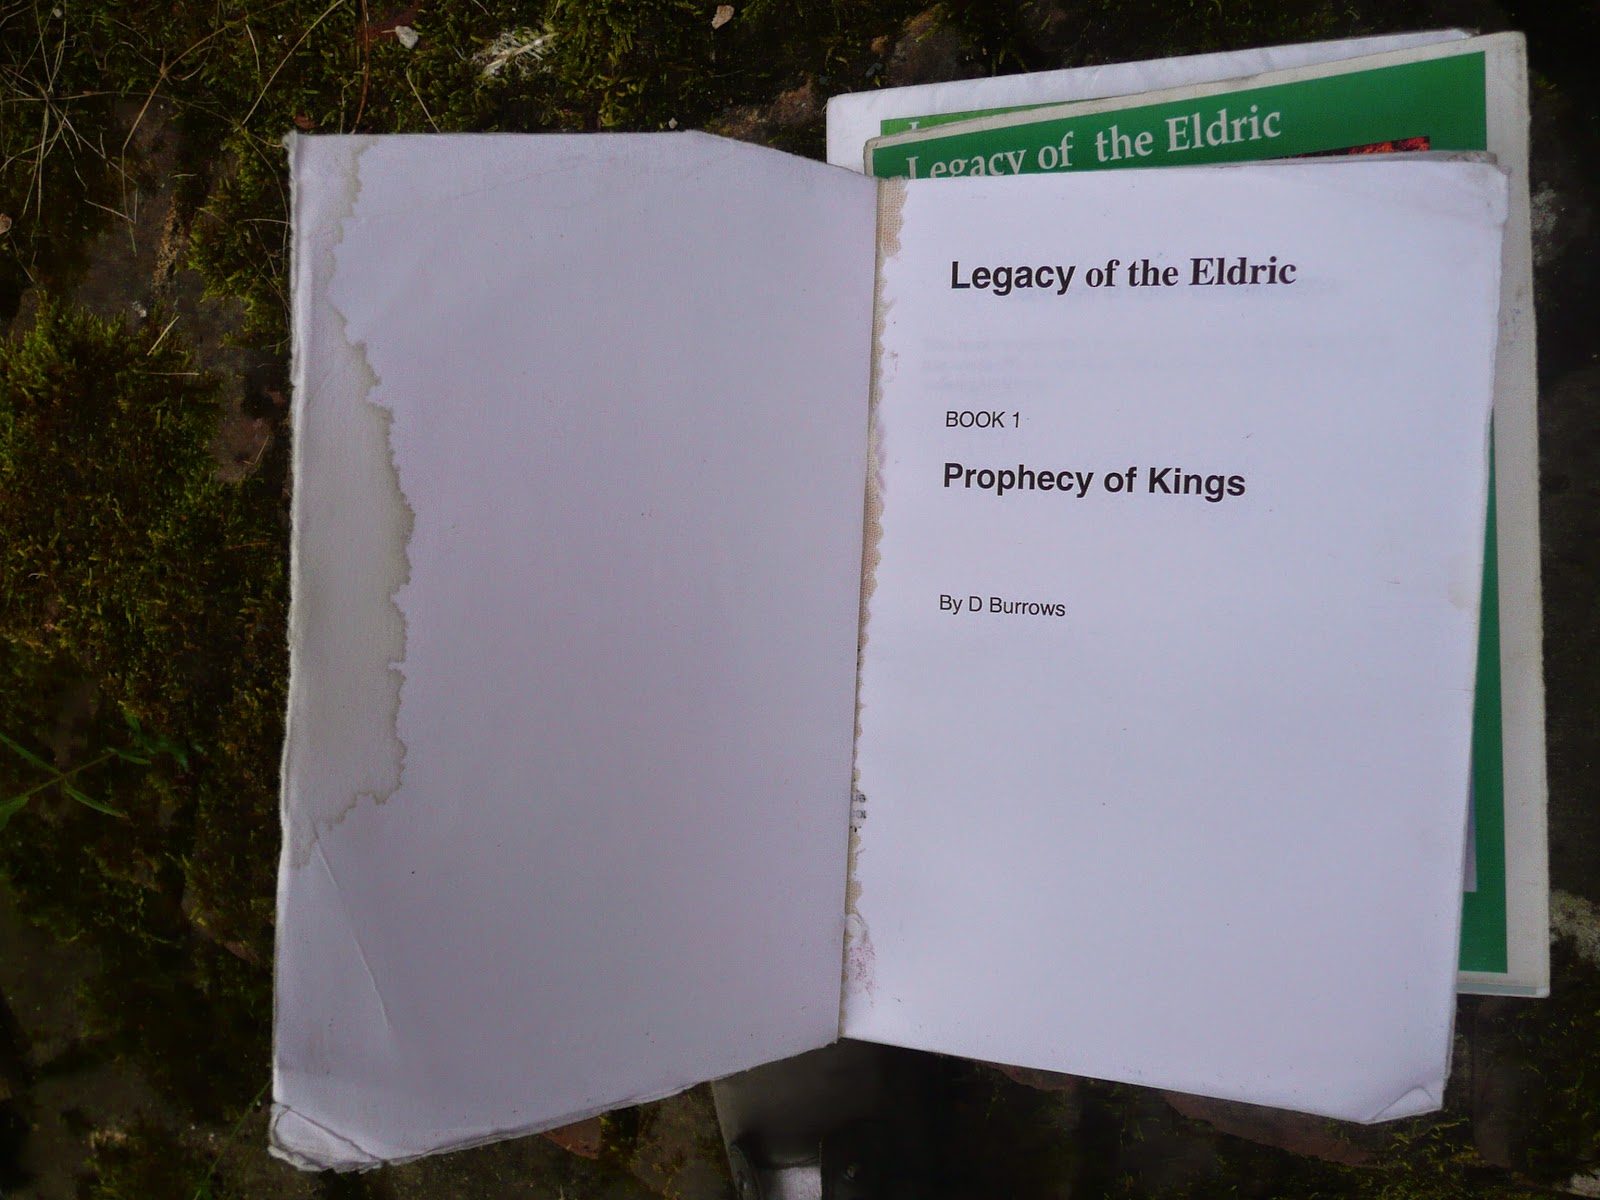
Figure 6 Book open showing the linen used to glue the paper together
As I said, I made several copies and used these in the local library to gauge how well the books were received. I had to have permission from the library of course. The books were borrowed reasonably regularly and so my home-made version seemed to do the job. It was fun learning how to do this and even more fun to get a book from the process.
I think with self-publishing being around there should be little need to go through the above process, but if you do, have fun.


September 21, 2014
Writing a book. My Experience and Advice on Writing a Synopsis and Book Blurb
This is one of the hardest parts of writing, in my view. You need several versions of your synopsis and a form of a synopsis is the blurb for the back of the book. The blurb should be about 250 words in length and a synopsis about 1000, in my opinion.
In its simplest form – you definitely need a one line description of your book for many reasons and the most important reason being when someone asks you what your book is about. This is a challenge, as you need a fast response describing in one sentence what might be a book comprising 70-100,000 words in a crafted and intricate plot. I would suggest starting with this problem first.
You will then need a 250 words description of your book for various sites. Your book blurb can be a little longer and it is what you are prepared to put on the back of your book, but this needs to be short and sweet. Many sites where you will eventually put your blurb will have a word or character restriction, so be prepared!
Finally, there is the synopsis which you need for a publisher or literary agent. You may also want a synopsis for your website. One option for your website is to quote reviews. However, a useful recent tip given to me by a reviewer was that she expected to find a page in my website with a synopsis, a good resolution image of the book cover (900 kb), the ISBN and the artist’s name for the cover. (Note, you will need several different sized images for marketing purposes, in the same way that you need several synopsis, blurb etc.) Any reviews, she would ignore as she wanted a synopsis to refer to for when she wrote her review. My view is that your blurb is on the back cover of the book and your reader will expect a little more than that on your website.
Note that the synopsis for a publisher or literary agent can give away the plot, but clearly you don’t want to do that for a synopsis on your website. You can see now why this is a difficult process – my advice is to craft from the bottom up: the one liner, the 250 word blurb, the book blurb and separately the synopsis.
The One Liner. Imagine yourself talking to someone (say on the radio!) about your book. Your opening statement needs to grab them. Write several one-liners and get feedback over which is the most promising. The one-liner could then feature in your 250 word blurb. It needs to be short, sweet and dramatic. Say for example, it is Tomb Raider meets James Bond in a clash of spies versus treasure hunter. That may/may not work of course, that is why you need advice.
Your Blurb. Like your one-liner this must grab attention. Power words are very useful here and there are several articles on the Internet about Power Words. Examples of Power Words are Hacking, Blinding, Searing, Pounding, Fear, Terror... For a list of many more search the Internet for “Power Words”. You are aiming at gripping your reader. Have a look at the blurb on back covers of authors you read and you’ll see descriptions such as, “In frantic haste Harry must overcome obstacles of gigantic proportion...” Note that blurbs and also your synopsis are written in the present tense (must overcome) and third person (Harry). Again, since this is a quick process, write several blurbs and ask advice on which works best.
The above descriptions have been useful departures from the main theme of writing a synopsis. However, like my advice on writing short stories rather than a novel, there is sense in approaching it this way. It teaches you how to write succinctly and with powerful overtones. If you have mastered this then writing a synopsis will be easier.
The Synopsis. This, in my opinion should be about 1000 words. Your synopsis should focus on the main plot and not be diverted into sub-plots. Again this is in the present tense and third person.
An important feature is to put your hook up front to engage the reader and make them want to read more. Do not start a synopsis with long winded backgrounds. Read the synopsis back to yourself, video it and watch your own performance. If it doesn’t grab you then it won’t grab anyone else. As stated earlier, the synopsis is usually for a publisher or literary agent. The first paragraph is really to tempt them into reading more. If the first paragraph is weak then a publisher/literary agent or reader, simply won’t read any further.
Try it out yourself. Read the back cover (blurb) of several books and see which engage you and which do not. Learn from this and adapt your style to the ones that work.
In summary, write:
A one liner about your book. A 250 word blurb A 1000 word synopsis for a literary agent/publisher, with spoilers A 1000 word synopsis for your reader, without spoilers! I would recommend doing this in the order given above. More than happy to hear from you if you have a different experience.
Good writing
David
September 19, 2014
Fantasy Creatures
Check out my new webpage at http://davidburrows.org.uk/fantasy_creatures_myths_legends.html
 A grakyn - from Dragon Rider. http://davidburrows.org.uk/dragon_rider_burrows.html
It's my own artwork so please forgive me :)
 A grakyn - from Dragon Rider. http://davidburrows.org.uk/dragon_rider_burrows.html
It's my own artwork so please forgive me :)
Very cool fantasy art
 This rather good. There's a lot going on in this picture. This site is worth a look https://www.facebook.com/afantastictale
September 15, 2014
September 14, 2014

Impressive Dragon Art
 Wow, this is gorgeous. Only hope the knight doesn't slip or the dragon gives him a gentle nudge!
Real Hobbit Home
Wow, I really want one.

 Anyone got a spare one I can have?

 Anyone got a spare one I can have?
September 7, 2014
Hobbit Poster Tolkien was brilliant
 I love this poster. Brilliant