How to Make a Book!
Before I found Lulu and Createspace I made a few home-made books to put in my local library. The quality was OK but not as good as Lulu etc.
A trick I found was in using A4 without waste. I printed two columns with the A4 paper in landscape mode and the columns left and right running down the shortest side. This way I had page 1 on the left and page 2 on the right. What I did next was print off an entire book and then I turned the paper over and printed the book again, on the unprinted side. I then used a guillotine to cut the paper in half. If you get it right (you need to practice with a few sheets first) you get page 1 one side and page 2 on the other side and two copies of this (both A5 size - half of A4).
To make the book I used wood glue (PVA) and some linen, which was cut to the length of the book and wider than the spine. I built a book press. You can do this with two pieces of flat wood and two G-clamps (see picture).

Figure 1 G-Clamps
The G-clamp was OK to make one book, but I wanted a production line. To make several books at one time I used three pieces of wood; with one being thin and simply used as a spacer. Drilling holes through the wood I used butterfly nuts and bolts (see photo) to clamp several books together in one go.

Figure 2 Three books ready to be clamped
In figure two I should have shown the side with the butterfly nuts protruding. You could use a screw driver this way up but the butterfly nuts make it much easier and one tool less.
Figure 3 This shows the side with the butterfly nuts

Figure 4 This shows the view form above with the system upright.
Figure 4 is useful as it shows how the final product should look and where the books go. You can see the bolts running through the home made book press and it’s a better view of the butterfly nuts.
I simply printed a book cover of the appropriate size but used photographic quality paper. That is quite tough and makes quite a good cover. You can get gloss or matt as well. Your choice.
The next picture shows the final products. they are a few years old now so not as good as when I first made them.

Figure 5 Three final products
If I open a book you can see the linen poking through that I used to glue the pages together. The linen is slightly yellow. I can’t remember whether I painted glue onto the spine directly or into the linen. You have to glue both sides of the linen as you are sticking the cover on. I seem to remember that the cover is glued to the side of the linen rather than to the spine itself. That gave more flexibility when you open the book.

Figure 6 Book open showing the linen used to glue the paper together
As I said, I made several copies and used these in the local library to gauge how well the books were received. I had to have permission from the library of course. The books were borrowed reasonably regularly and so my home-made version seemed to do the job. It was fun learning how to do this and even more fun to get a book from the process.
I think with self-publishing being around there should be little need to go through the above process, but if you do, have fun.
A trick I found was in using A4 without waste. I printed two columns with the A4 paper in landscape mode and the columns left and right running down the shortest side. This way I had page 1 on the left and page 2 on the right. What I did next was print off an entire book and then I turned the paper over and printed the book again, on the unprinted side. I then used a guillotine to cut the paper in half. If you get it right (you need to practice with a few sheets first) you get page 1 one side and page 2 on the other side and two copies of this (both A5 size - half of A4).
To make the book I used wood glue (PVA) and some linen, which was cut to the length of the book and wider than the spine. I built a book press. You can do this with two pieces of flat wood and two G-clamps (see picture).
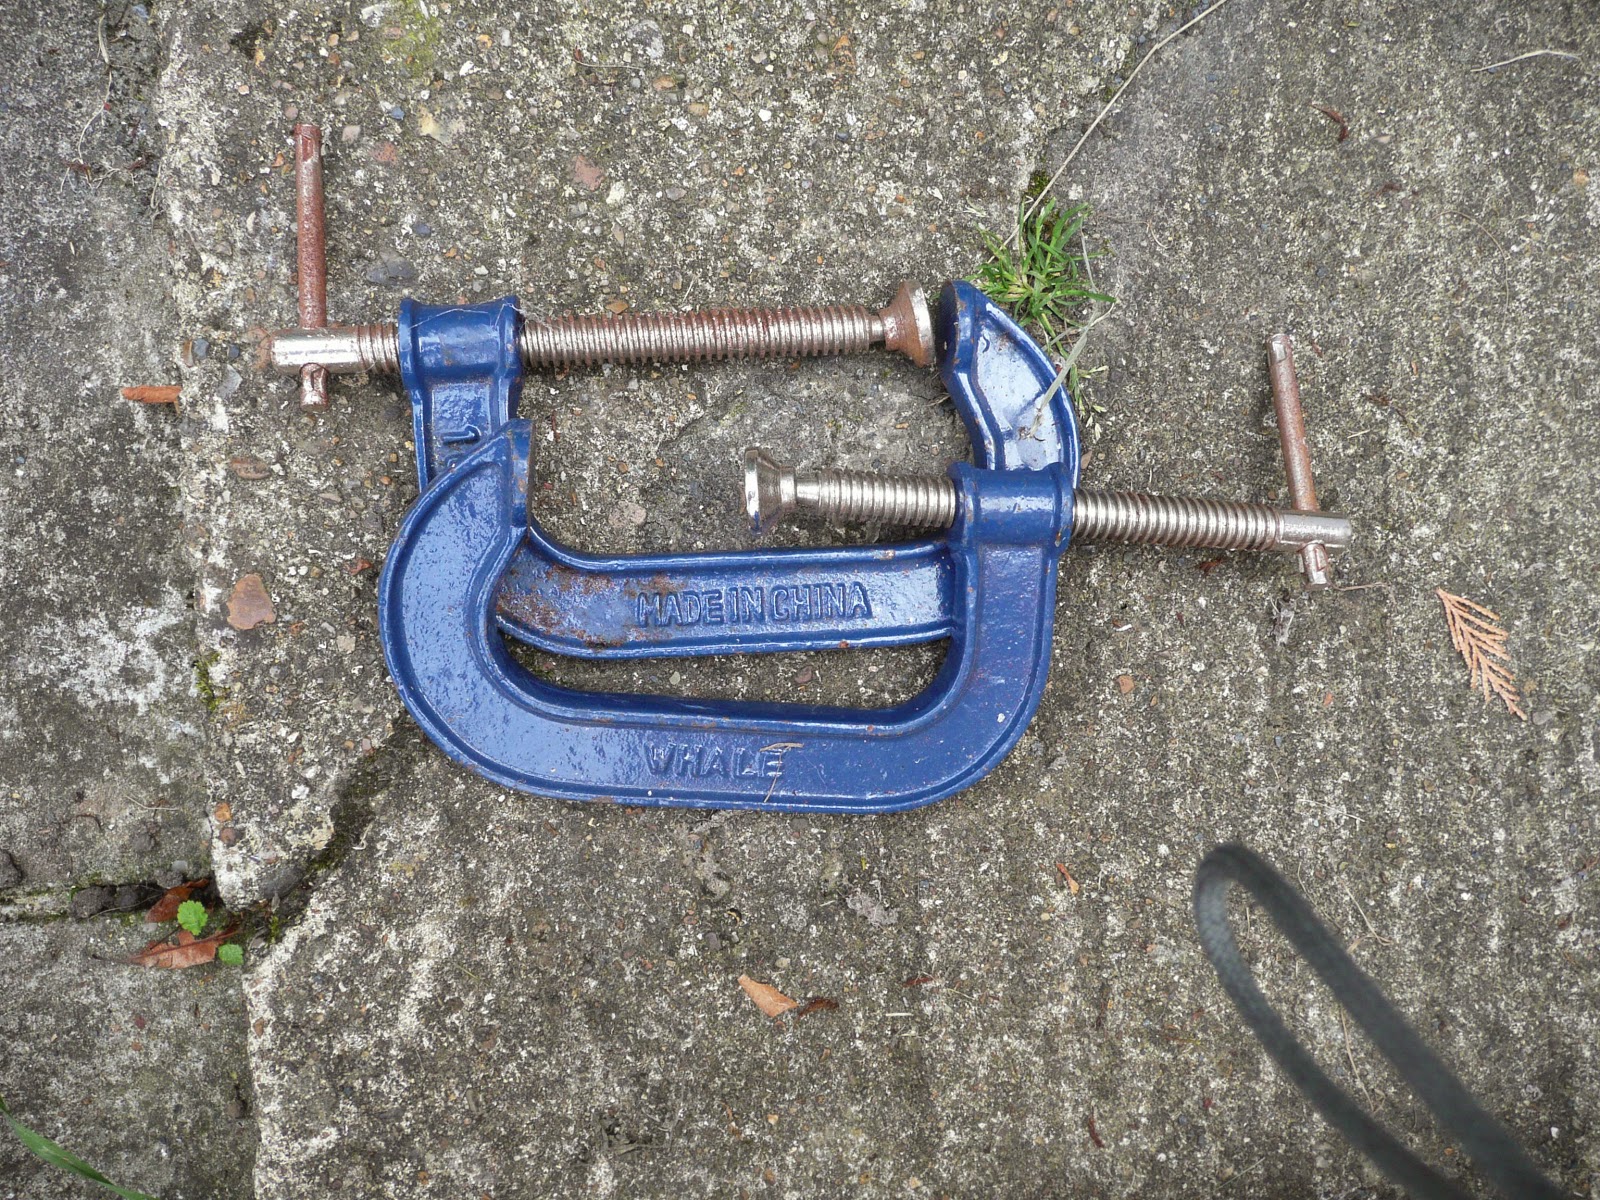
Figure 1 G-Clamps
The G-clamp was OK to make one book, but I wanted a production line. To make several books at one time I used three pieces of wood; with one being thin and simply used as a spacer. Drilling holes through the wood I used butterfly nuts and bolts (see photo) to clamp several books together in one go.

Figure 2 Three books ready to be clamped
In figure two I should have shown the side with the butterfly nuts protruding. You could use a screw driver this way up but the butterfly nuts make it much easier and one tool less.

Figure 3 This shows the side with the butterfly nuts

Figure 4 This shows the view form above with the system upright.
Figure 4 is useful as it shows how the final product should look and where the books go. You can see the bolts running through the home made book press and it’s a better view of the butterfly nuts.
I simply printed a book cover of the appropriate size but used photographic quality paper. That is quite tough and makes quite a good cover. You can get gloss or matt as well. Your choice.
The next picture shows the final products. they are a few years old now so not as good as when I first made them.
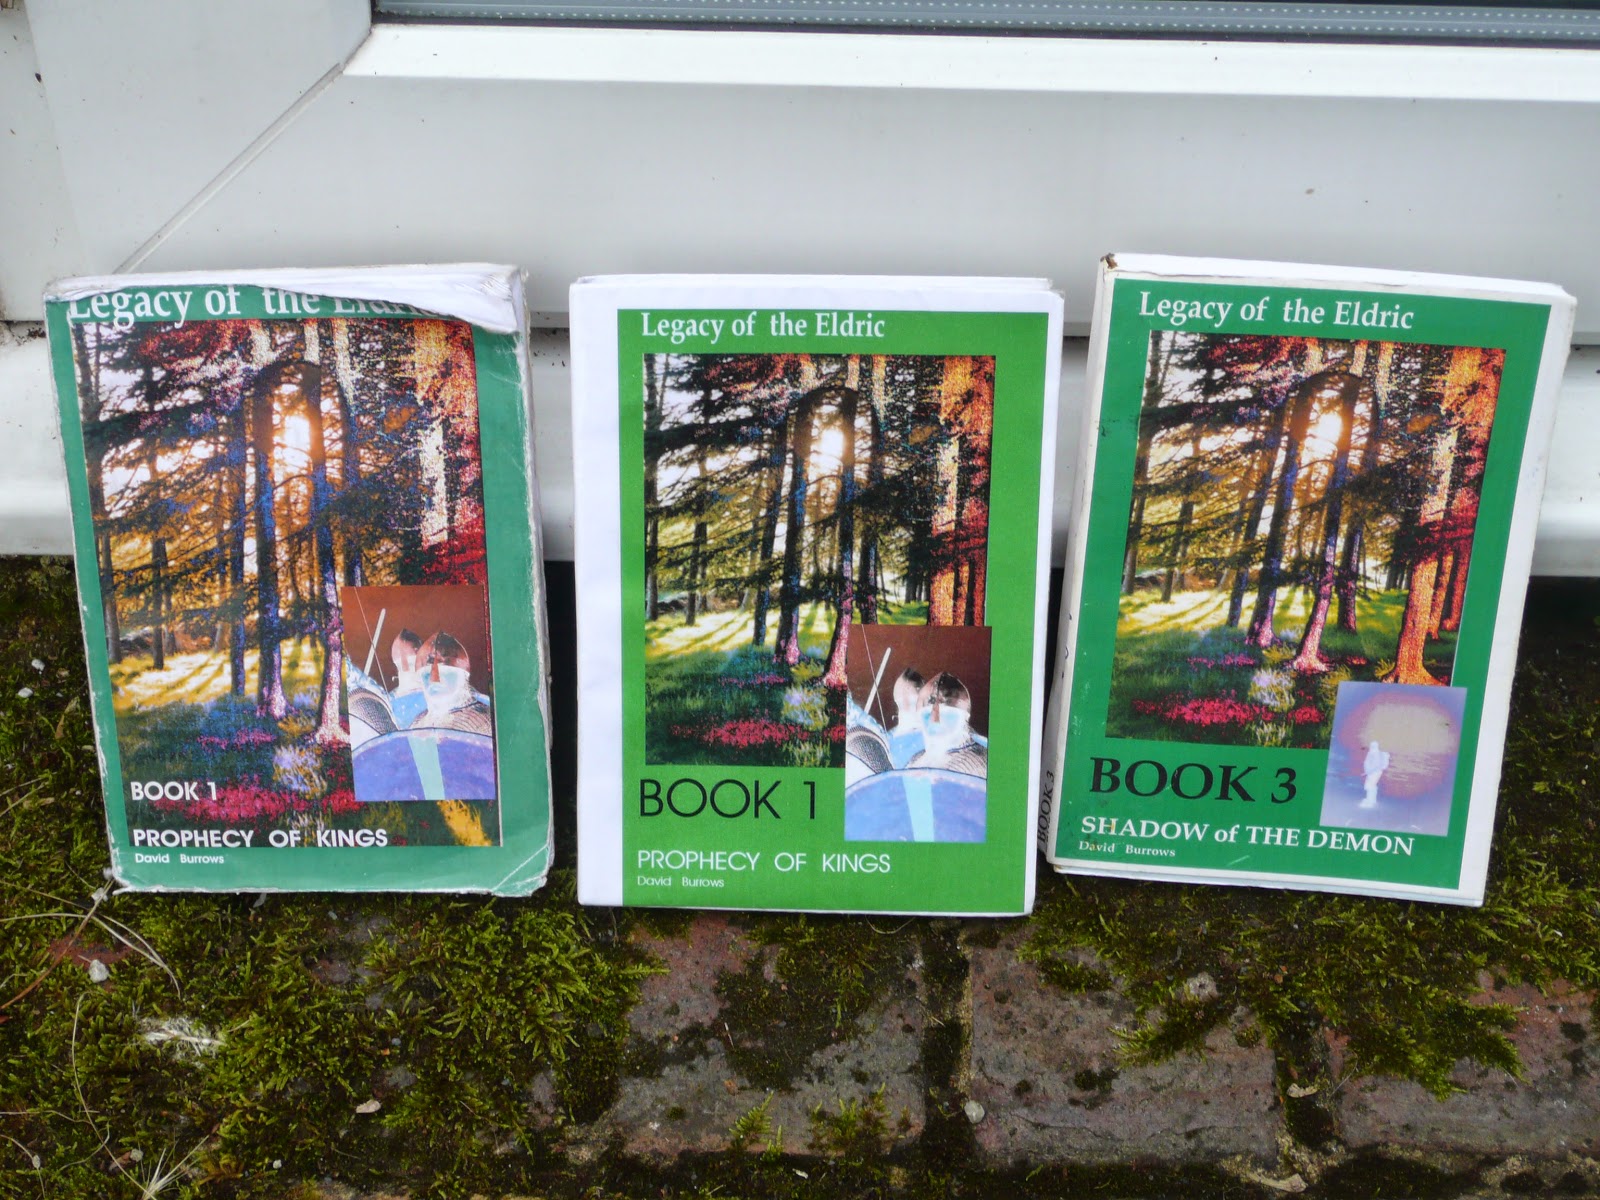
Figure 5 Three final products
If I open a book you can see the linen poking through that I used to glue the pages together. The linen is slightly yellow. I can’t remember whether I painted glue onto the spine directly or into the linen. You have to glue both sides of the linen as you are sticking the cover on. I seem to remember that the cover is glued to the side of the linen rather than to the spine itself. That gave more flexibility when you open the book.
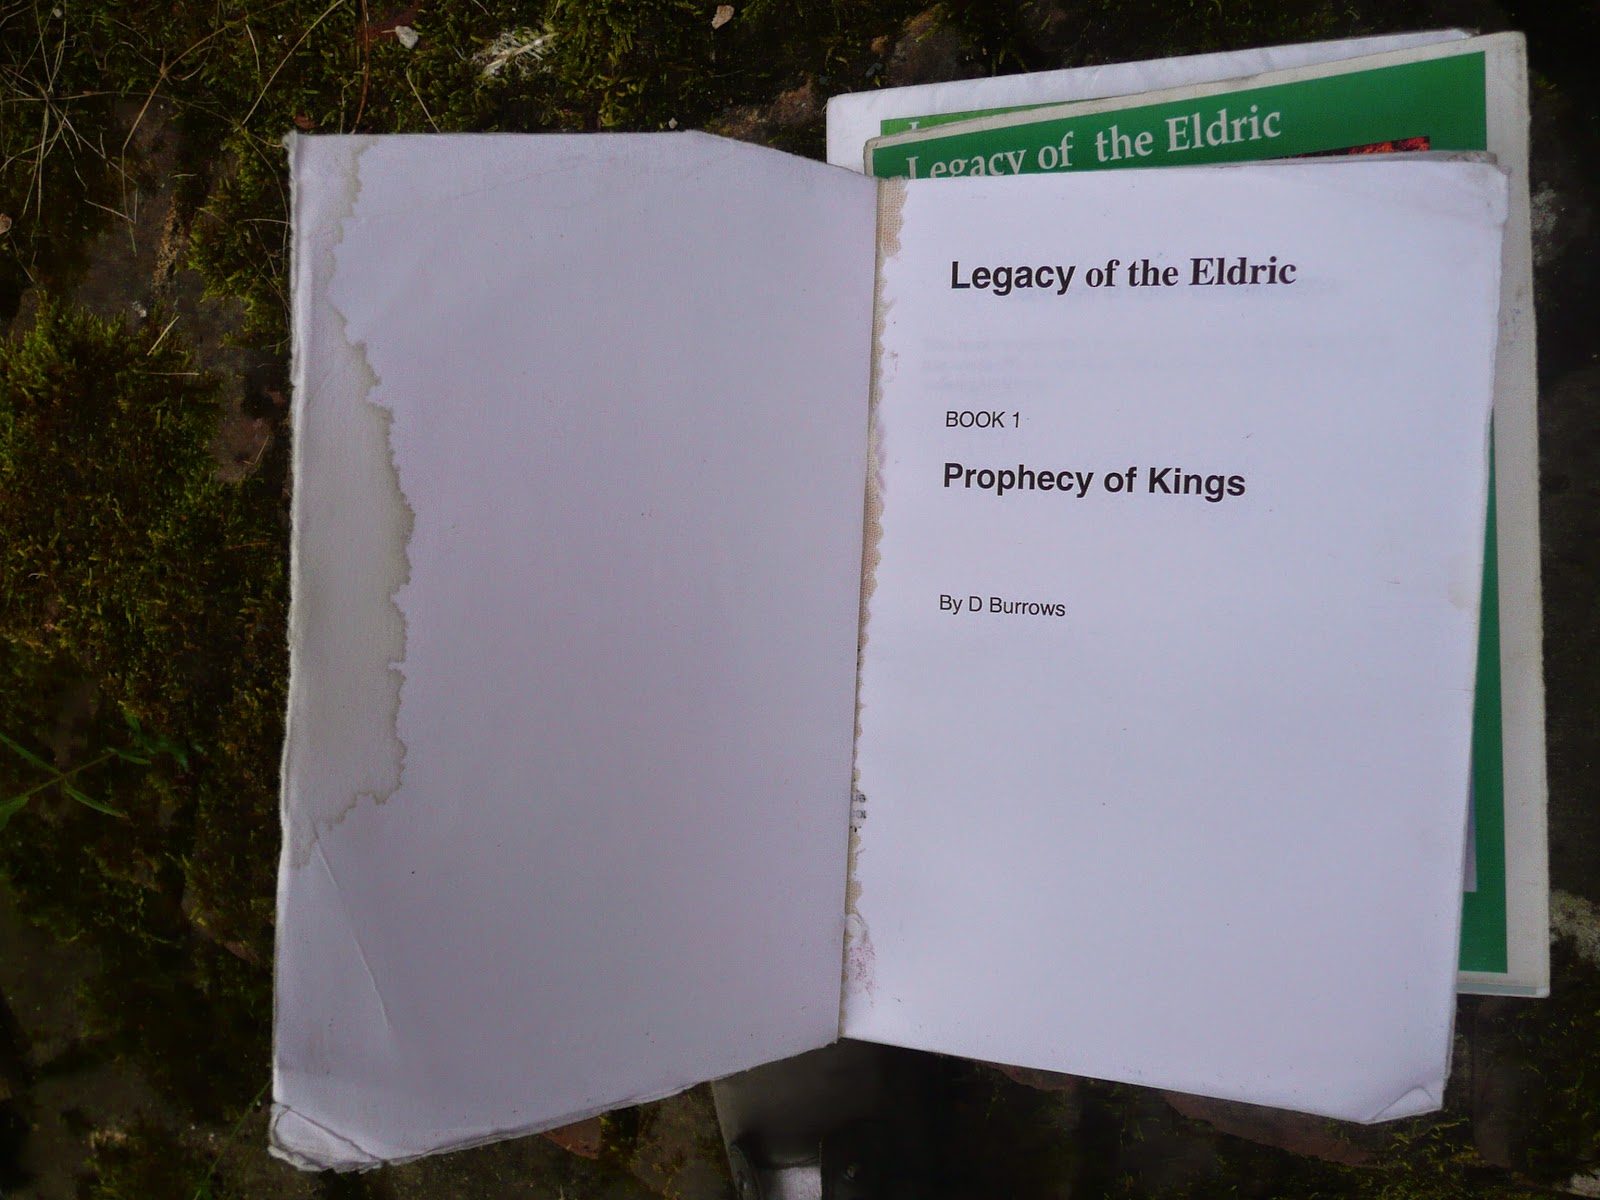
Figure 6 Book open showing the linen used to glue the paper together
As I said, I made several copies and used these in the local library to gauge how well the books were received. I had to have permission from the library of course. The books were borrowed reasonably regularly and so my home-made version seemed to do the job. It was fun learning how to do this and even more fun to get a book from the process.
I think with self-publishing being around there should be little need to go through the above process, but if you do, have fun.


No comments have been added yet.