
Make your own notebook.
Yesterday I told you about using a little notebook and sticky notes to get those To-Dos under control. Today I want to give you a little idea or two about how to make a notebook that’s just right for you, since I’m not seeing just what I want out there in the stores.

I do love a little notebook I can slip in my purse or even put in a book to jot down notes that occur to me, and certainly, with my sticky-note system, something custom-made would be really useful.
The key to this craft is having a supply of cards or stiff paper from a calendar, let’s say, that you can’t really be parted from. This is the sort of thing I tend to stockpile.
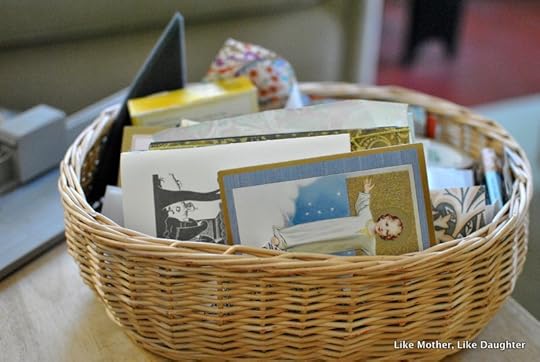
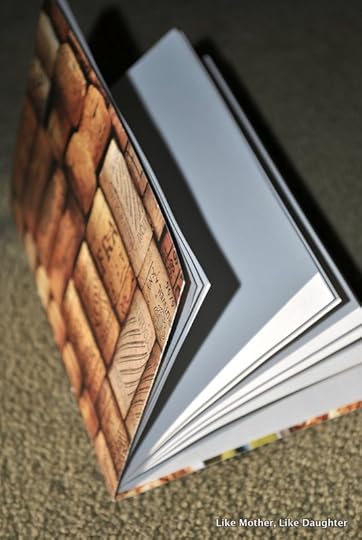
I used to get calendars like this one:

The pictures were amazingly appealing and printed on very stiff cardstock paper.
For the To-Do notebook, and this is important, you will want your inside papers also to be very stiff and somewhat glossy. And you won’t need many. You can think about how many tabs you will have and make that many pages. (I explain the tabs in yesterday’s post.) So maybe 2 “signatures” (pieces of paper that you will cut and fold in half to be bound between the “covers” which are your precious greeting card or calendar page, for instance).
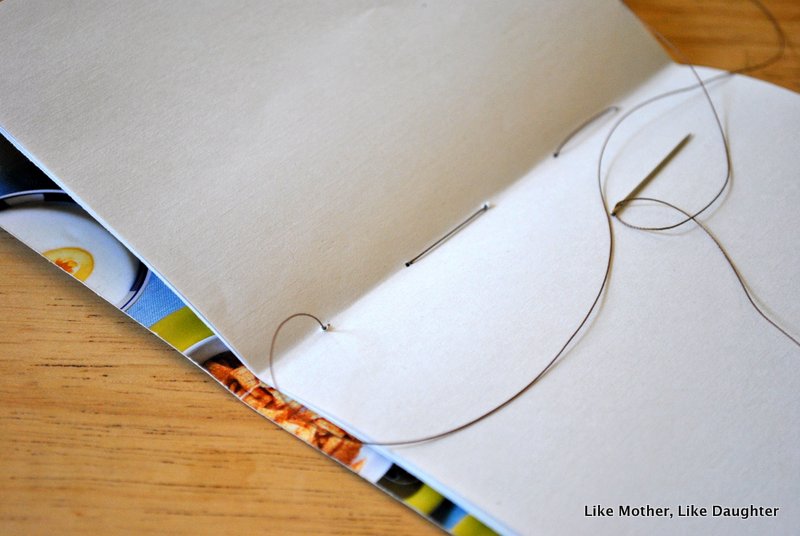
You need thick thread, like upholstery thread.

And a nice heavy needle. An implement for poking a hole helps as well, especially with the thicker paper — a larger pin or a sort of small awl helps.
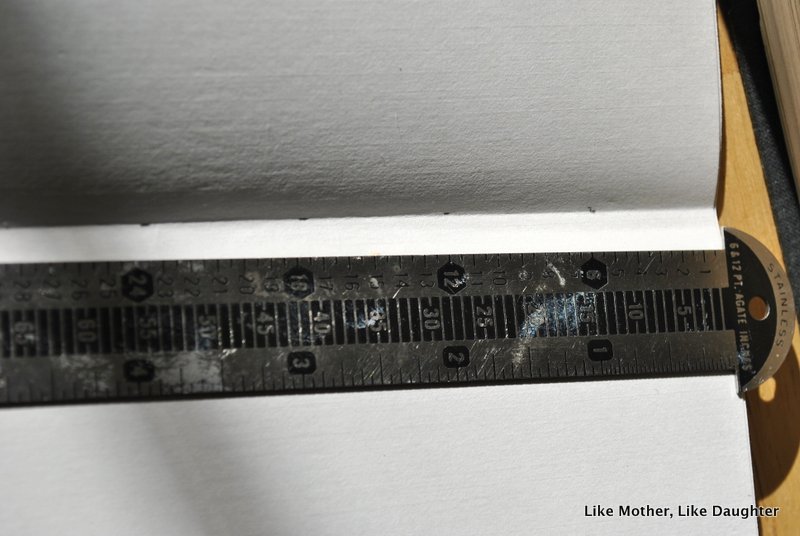
Measure out where the stitches will go. I don’t know why my ruler appears so very… sticky… or something. I promise I wasn’t eating anything while doing this! Choose an odd number of stitch points, evenly spaced, and leave enough space on the ends so that you can manipulate the thread at the end.

You want to start your thread in between the cover and the bottom of the pages, so that your loose ends don’t show in the end. Here we have a picture of my needle heading in towards the inside center of the notebook at the top, but not through the first hole in the cover. At the end, you will come up through that hole in the cover and tie off in between the sheets.


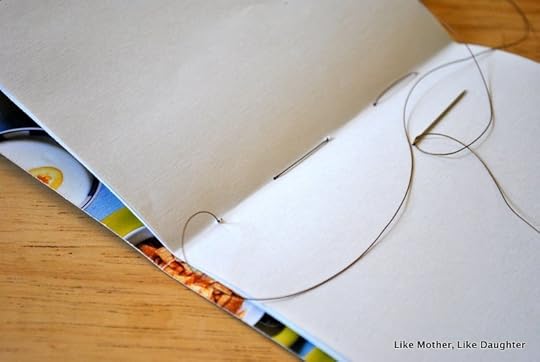
You are doing a “running stitch,” but because you will come back up, each stitch will end up with thread on either side, inside and outside.

See, this next photo is your needle coming up through the “last” hole which is the “first” that you skipped at the beginning. That way, your knot is hidden.


This is confusing just because the calendar photo is so realistic that it looks like a real spoon there! But it’s the picture. See the knot?


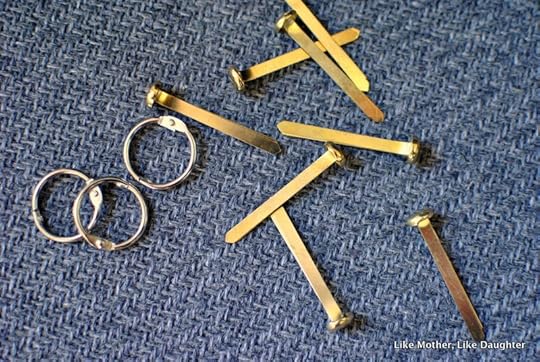
You could also fasten your notebook together with these fasteners if you’d rather not sew, in which case you’d also need a small hole punch or certainly the awl:
I love crafts like this. And I love that it’s a way to keep a favorite card or page and use it again.

For this one, I made a little pocket on the inside flap. It’s super easy — just cut the shape you want and glue the very edges of the straight sides to the edges of the page.


Are notebooks still appealing to you in this digital age? Do you find ink and paper indispensable? Or have you moved on?
The post Make your own notebook. appeared first on Like Mother Like Daughter.


