
Week In The Life™ 2015 | Monday In Album & Video Overview

Monday was really all about the photos.
For any of you just joining in, I'm sharing my completed Week In The Life™ album day by day.
As usual, let the ideas I share here be a jumping off point for you and inspiration to create your own album any way you want. This isn't a competition or something that is meant to make anyone feel
less than - embrace what you have in front of you right now: your style, your words, your photos. Celebrate them for what they are rather than what you might wish them to be. These are reminders to myself as much as they are to you. Remember, we are in this together because we love the same thing: memory keeping.
One observation for me as I was working through this first day: this has definitely become a words & photos album vs. originally when I included much more daily memorabilia. I thought about this when I saw an image on Instagram from Julie Campbell (JULIE_STAMPS) where she was including a good amount of "stuff of life" - I loved seeing the mix of type and texture. It's definitely something for me to think about as I approach next year - which will be in the Spring in order to move it away from the Fall. I do tend to include those sorts of things in Project Life®, which might be why it doesn't feel like I'm totally missing capturing those kinds of things.
All text I included on the photos came from my Monday words & photos blog post, unless otherwise noted (such as on the photos of each kid in the pool). All photos printed here at my house either on my Epson R2000 (all 6 inch x 8 inch photos) or my Epson PictureMate Show (4 inch x 6 inch and smaller). Monday is super photo heavy and includes quite a few 4 inch x 6 inch that are adhered back to back. I probably won't have that many on other days. I love this project. It might be a couple days before I'm back to share Tuesday. I've got a couple other projects that need some attention before early next week.
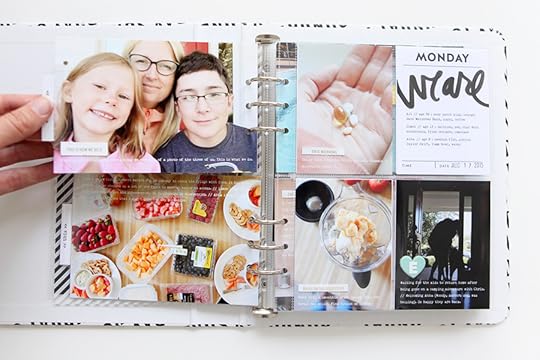
Here's a look at my Monday in the album:
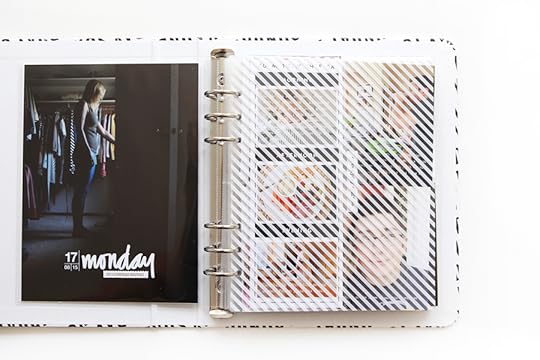
I shared this one yesterday in my First Steps post. Just a reminder that I have the divider coming after my daily intro photo.
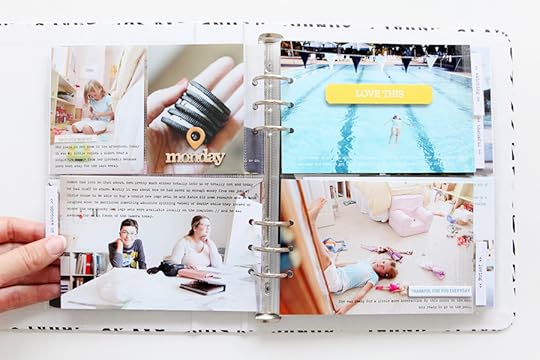
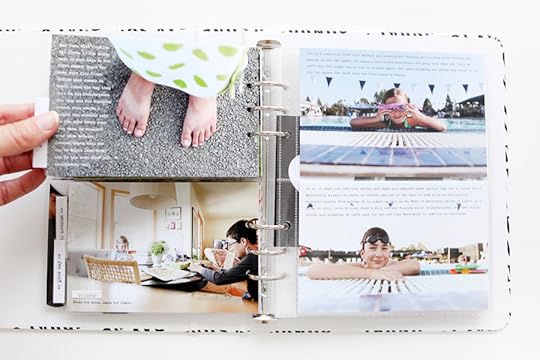
First up, the 3 inch x 8 inch page protector (if you want more of this size you can get them here). Rather than using this timeline card for words I added photos which were cropped to 2.5 inches x 1.75 inches. On two of the photos I added words that came from my blog post before printing.
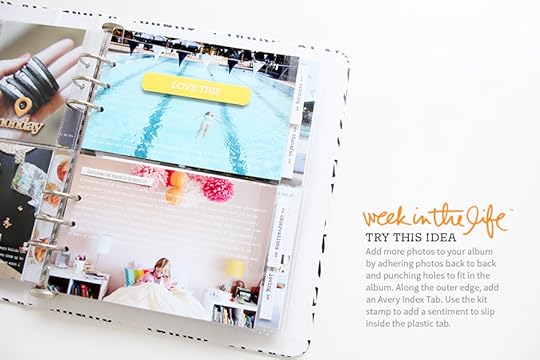
Throughout the day I added a bunch of 2-inch Avery Index Tabs to the outer edges of the 3 inch x 8 inch page protector and to the photos adhered back to back. They are a staple product around here. Inside the tabs I stamped using the stamp included in the Week In The Life™ kit (digital version of those stamps available here).
The back side of the 3 inch x 8 inch page protector includes a photo. I cropped my photo to that size in Photoshop and then printed it on an 8.5 inch x 11 inch piece of photo paper and cut it out (I printed both the Monday and Tuesday 3 inch x 8 inch photo on the same sheet of paper).
On the right you can see the first 4 inch x 6 inch photos that are adhered back to back and then holes punched to fit into the album. Along the edge are the Avery Index Tabs with stamped sentiments inside.
As you might have read in my post yesterday I considered adding more page protectors but decided that the route of adhering back to back would work just fine.
On my photos I'm adding a few different things: phrases from the perforated strip sheet in the kit, chipboard pieces (often with the initial of the person added using the white letter stickers), or stickers/chipboard from past Story Kits™.
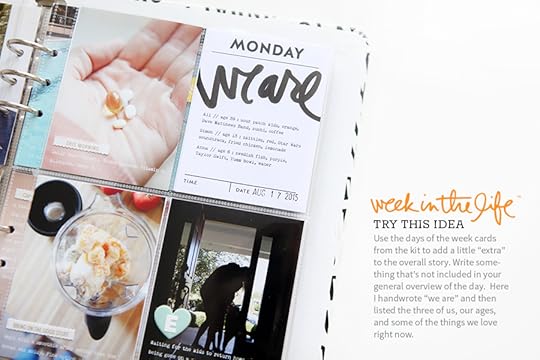
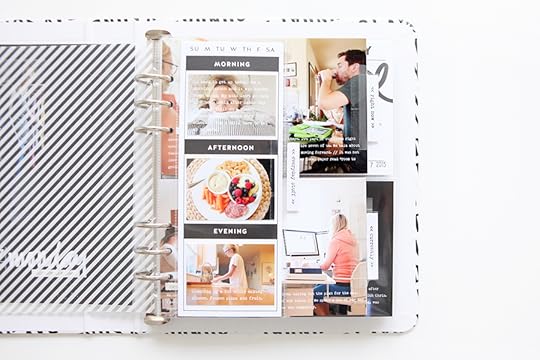
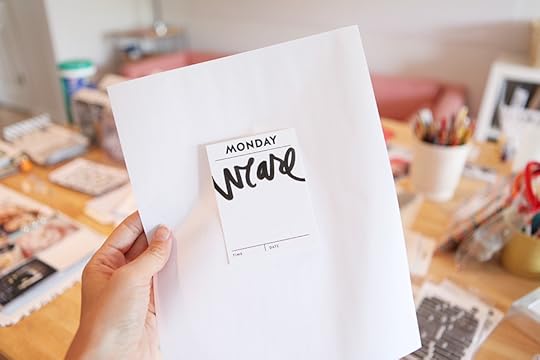
Use the day of the week cards from the Week In The Life™ kit to add a little extra to your overall story. Here I hand-wrote "we are" using a Faber-Castell Pitt Artist Pen Big Brush and then typed up a few fun facts about each of us right now. I also laughed out loud when I reviewed the Monday video from last year and heard myself read what I wrote on a similar card last year - Dave Matthews of course. Tis the season as Aaron and I get ready to go see him at the Gorge again next weekend.
For printing my text on the 3 inch x 4 inch card I measured the open space with a ruler and then created a text box in Photoshop that is 2.5 inch x 1.5 inch. I typed in my journaling and then did a test print on a regular size sheet of paper. Next I held it up to the light and temporarily adhered (with just a bit of adhesive) the card right onto the first print and re-ran it through the printer. Voila.
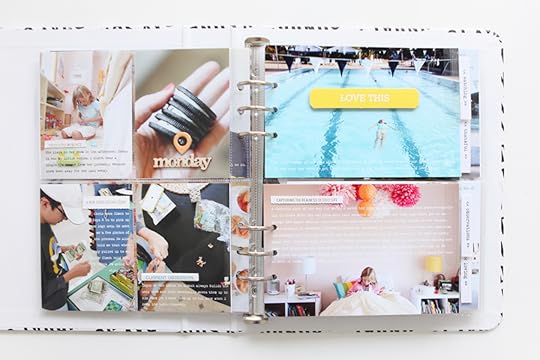
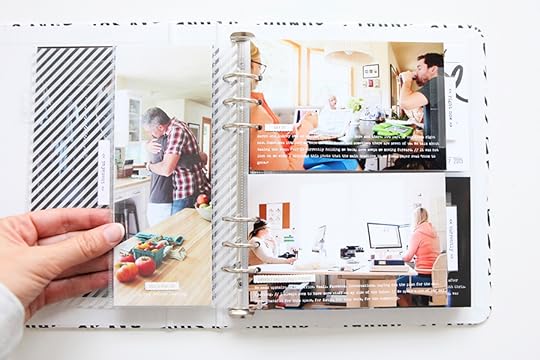
On the left is the back side of the 4, 3 inch x 4 inch pockets. I added the "monday" wood veneer + a chipboard geotag to my cookie photo.
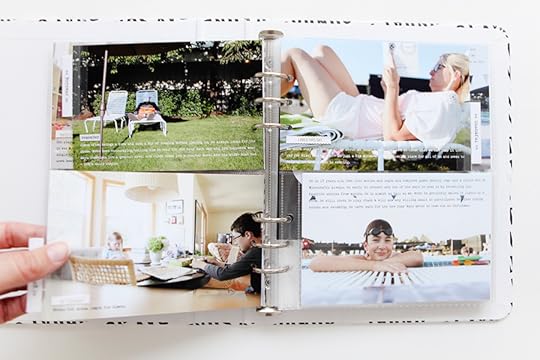
On the right are eighth more 4 inch x 6 inch photos that are adhered back to back to create new pages.
This next section of back to back photos enabled me to include 8 more 4 inch x 6 inch photos.
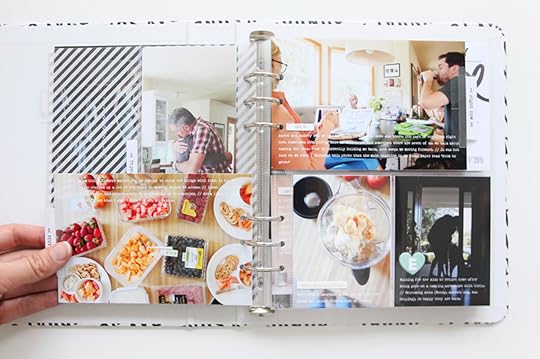
I added the yellow label using foam dots to lift it up a bit off the page.
Here's an example of where I used chipboard from a past Story Kit™.
Words & photos.
I love that I was able to get those photos into the album.
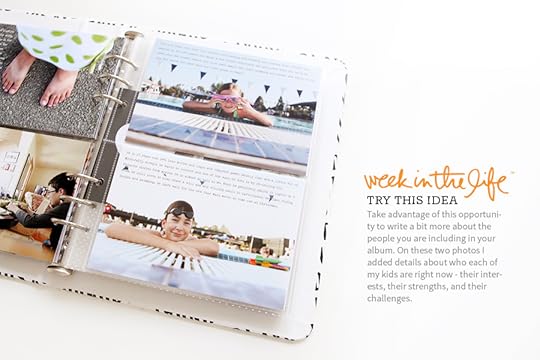
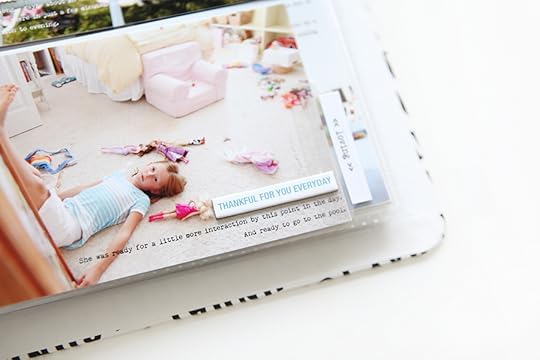
Take advantage of this opportunity to write a bit more about the people you are including in your album. On these two photos I added details about who each of my kids are right now - their interests, their strengths, and their challenges. Might be my favorite page yet.
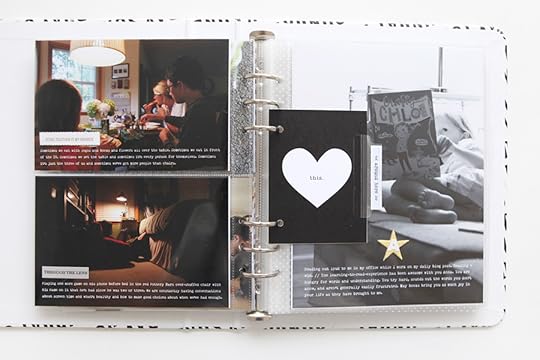
The last spread for Monday includes 2, 4 inch x 6 inch photos + a 3 inch x 4 inch decorative card + a full page 6 inch x 8 inch photo.
I liked the idea of adding another something extra between these two pages - especially after adding so many photos earlier within the day. I wanted a different texture than the page protectors. This is also a great way to add in some patterns to your album. Love the layered look too.

On the back of the heart card I adhere the yellow stripe pattern with the phrase "a week in the life of us."
On the last photo for the day I added one of the chipboard stars with an "A" for Anna.
Here's a video overview of Monday:
ADDITIONAL SUPPLIES
In addition to the
Week In The Life™ kit I'm using:
2-inch Avery Index Tabs Phrase stickers and chipboard pieces from past Story Kits™ Crop-A-Dile for punching holes in the back to back photos Black Staz On Faber-Castell Pitt Artist Pen Big Brush 6x8 Week In The Life™ Layered Templates No.2


