No-Bake Peanut Butter Bars
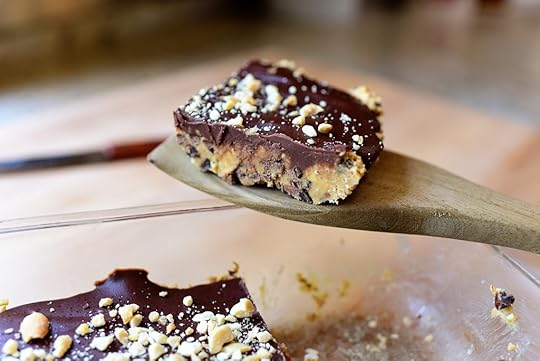 I made these on a recent episode of my Food Network show, and they’re too tasty for words! They’re a super-simple no-bake bar that uses mostly pantry ingredients, and they’re a great treat to have in the fridge for after-school snacks…or, in my case, after breakfast snacks.
But that’s more my issue than yours.
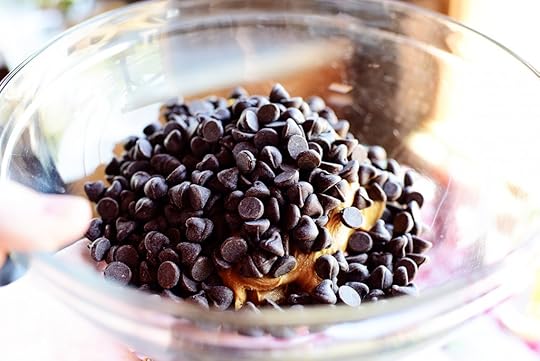 First, make the chocolatey peanut buttery topping! Put some chocolate chips in a bowl with some creamy peanut butter…
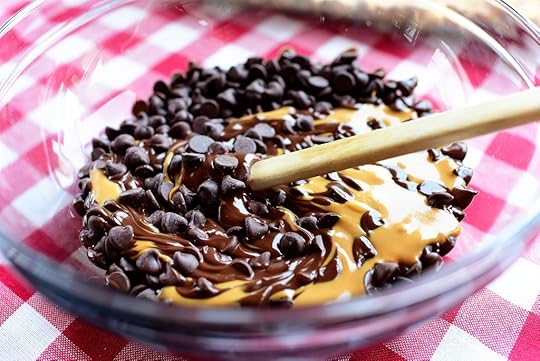 Microwave it for a minute or two…
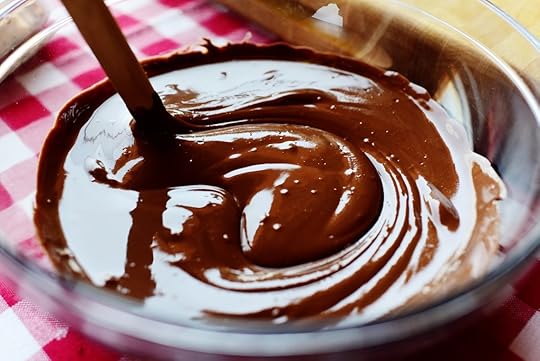 Then stir it until it’s smooth, silky, and you feel like diving in and going swimming. Set this aside to cool slightly while you whip up the bar mixture!
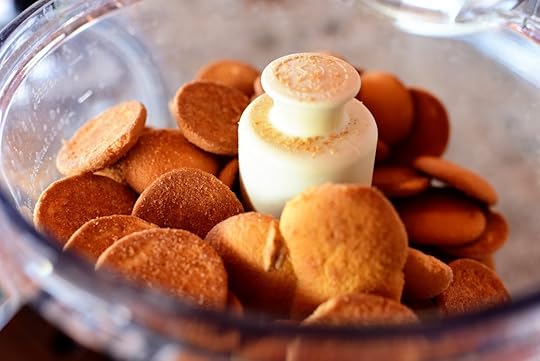 Throw a box of vanilla wafers into the bowl of a food processor (or a large ziploc bag)…
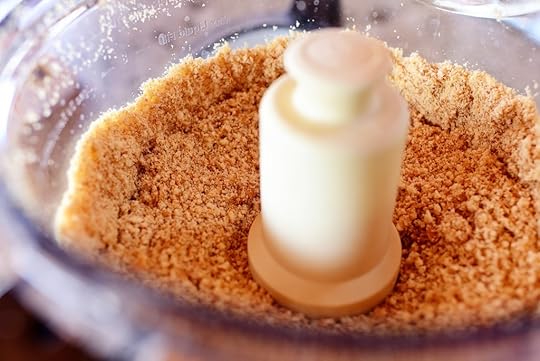 And pulverize them into fine crumbs. When I made them on the show, I kept the crumbs a bit chunky, and that’s delicious, too! Set the crumbs aside for a minute…
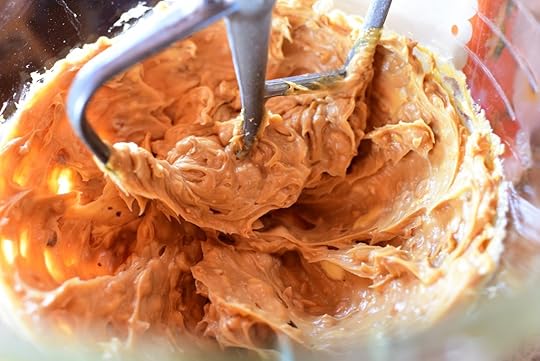
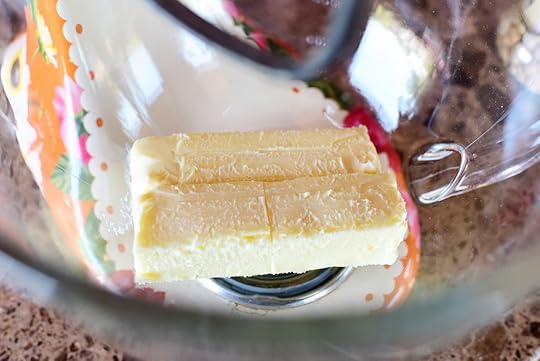 Then throw 2 sticks of nice, soft butter into the bowl of a mixer.
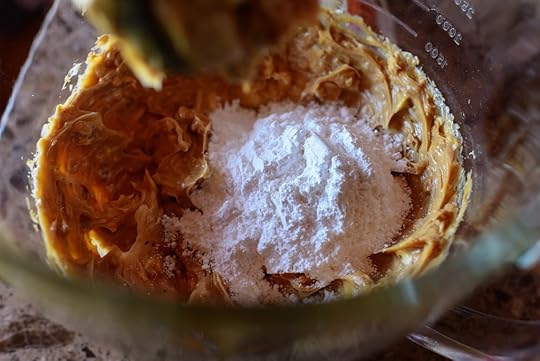
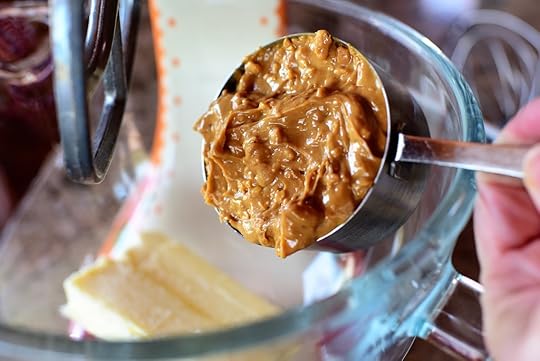 Add a cup of chunky peanut butter…
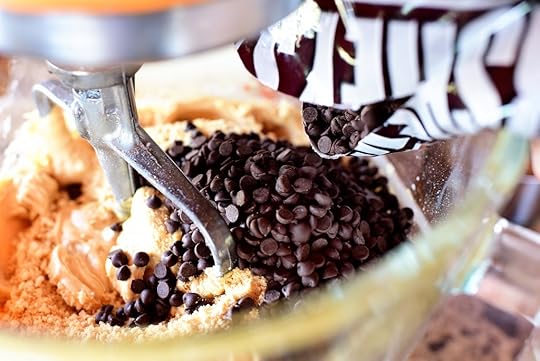 And a bag of a mini-chocolate chips!
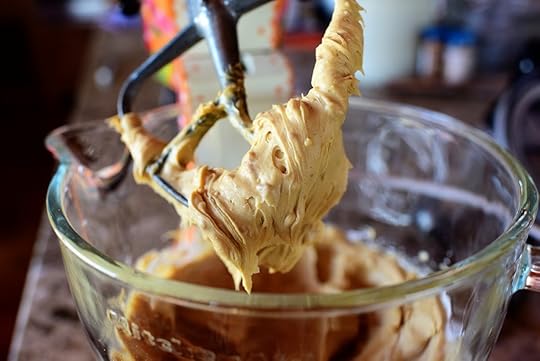
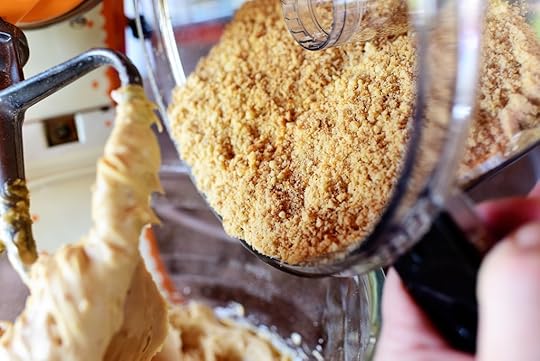
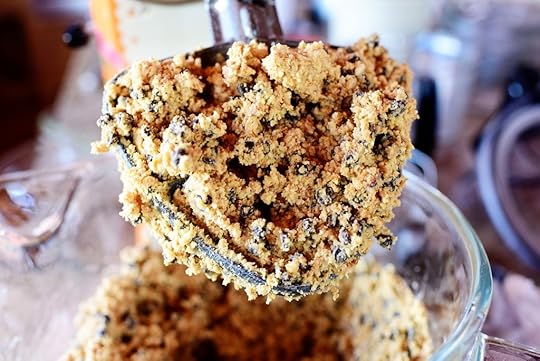 Then mix it until the crumbs and the chocolate chips just barely come together.
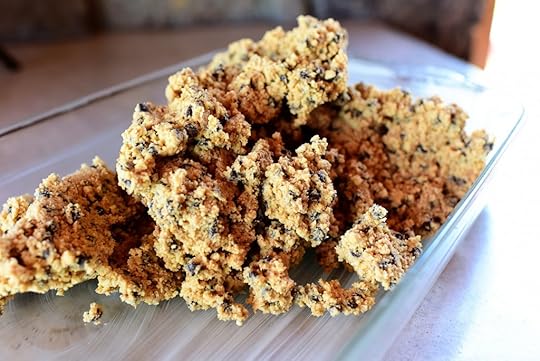 Butter a 9 x 13-inch dish and dump the mixture right in…
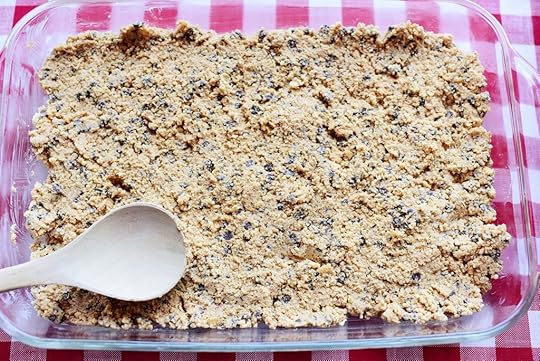 Then press it with a spoon or spatula…
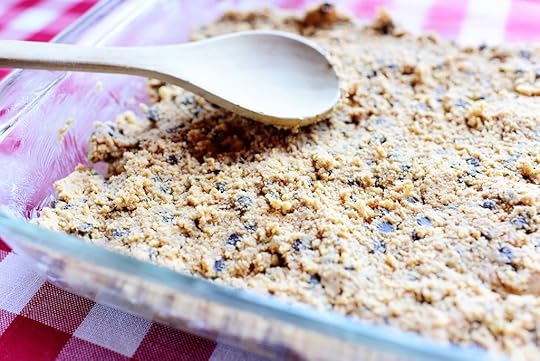 Until it’s in a nice, even layer.
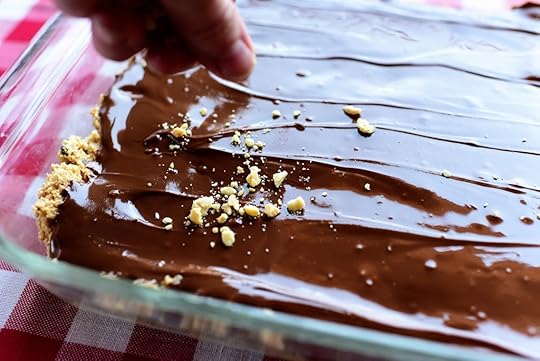
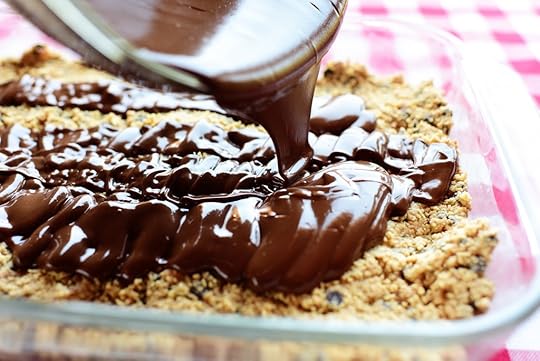 Then, you guessed it, pour the chocolate/peanut butter mixture all over the top…
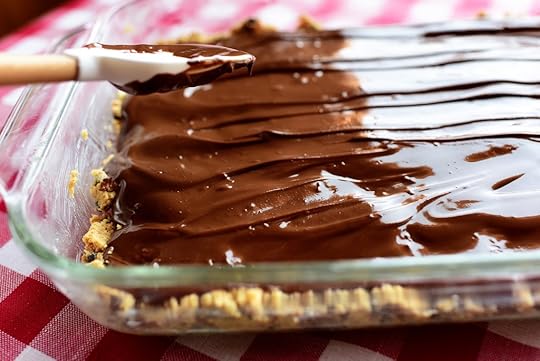 And spread it into a thin layer, until it coats every last crumb.
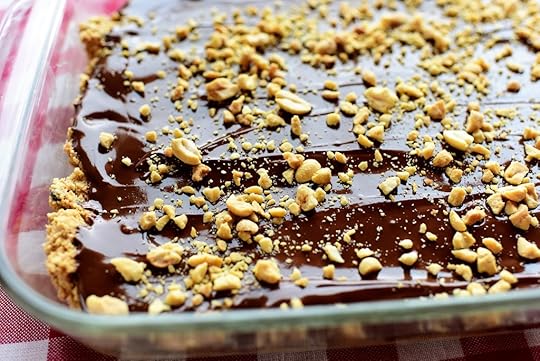
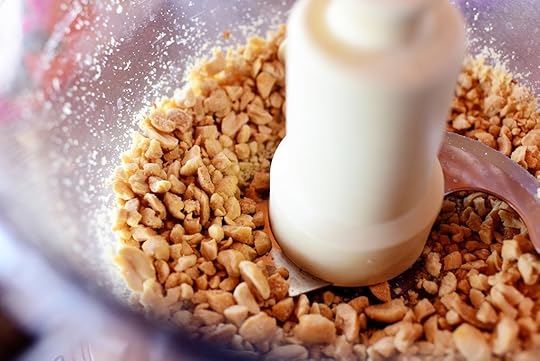 Crush up some peanuts…(or pretzels!)…
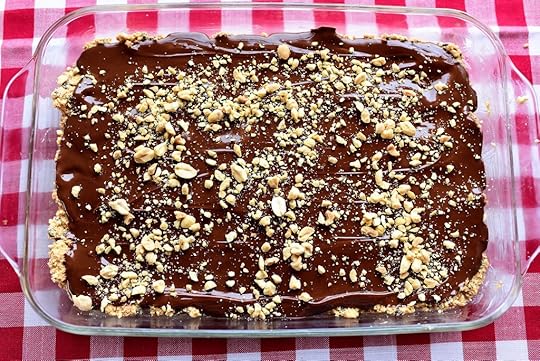 Oh, yum. Double yum. Triple yum!
But you can’t eat them yet. You have to pop the pan in the fridge to set the chocolate topping as well as the bars themselves. Just an hour or two! Patience is a virtue!
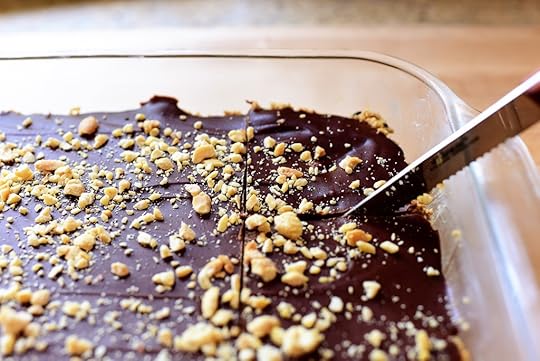 Once they’re set, you can cut them into squares.
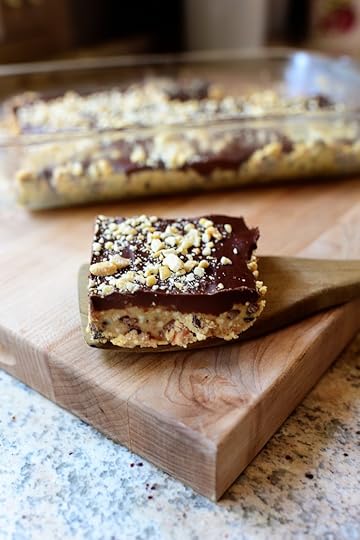 These are so good, friends. Cut ‘em big, cut ‘em small…and enjoy every bite!
Here’s the handy dandy printable.
.recipe-actions {
position: relative;
z-index: 2;
}
#pdf-popover {
background: rgba(255,255,255,.9);
border: 1px solid #efeeed;
color: #6e5c3a;
display: none;
font-family: Helvetica, Arial, sans-serif;
right: 20px;
margin: 2px;
padding: 54px 20px 7px 10px;
position: absolute;
top: 0;
width: 380px;
z-index: 10;
}
#pdf-popover form {
margin: 0;
}
#pdf-popover h4 {
background: #b15818;
color: #fff;
font-family: Helvetica, Arial, sans-serif;
font-size: 20px;
font-weight: normal;
left: 3px;
margin: 0;
position: absolute;
padding: 6px 12px;
right: 3px;
top: 3px;
}
#pdf-popover legend {
font-family: Helvetica, Arial, sans-serif;
font-size: 120%;
font-weight: bold;
margin-bottom: 2px;
margin-left: 10px;
text-transform: uppercase;
}
#pdf-popover fieldset {
margin-bottom: 15px;
}
#pdf-popover input[type="checkbox"] {
height: 14px;
margin: 2px 0 10px 10px;
padding-left: 14px;
position: relative;
visibility: visible;
width: 14px;
}
#pdf-popover input[type="checkbox"],
#pdf-popover input[type="radio"] {
margin-left: 10px;
}
#pdf-popover .close {
background: #b15818;
color: #FFFFFF;
cursor: pointer;
height: 35px;
font-size: 16px;
font-weight: bold;
line-height: 26px;
position: absolute;
right: 3px;
text-align: center;
top: 3px;
width: 25px;
z-index: 1;
}
#pdf-popover .button {
background-color: #b15818;
border: 0;
color: #fff;
cursor: pointer;
font-family: Helvetica, Arial, sans-serif;
margin-left: 10px;
padding: 8px 10px;
text-transform: uppercase;
}
x
Print Options
Page size
Letter
3x5
4x6
Text Size
Small
Medium
Large
Content
Include description
Include prep time, etc.
Show image
Recipe
No-Bake Peanut Butter Bars
Prep Time: 20 Minutes
Cook Time:
Difficulty: Easy
Servings: 20
 Print Recipe
Ingredients
2 cups Semi-Sweet Chocolate Chips1/2 cup Creamy Peanut Butter2 sticks Butter, Softened, Plus More For Greasing The Pan1 cup Chunky Peanut Butter2 cups Powdered Sugar1 box (12-ounces) Vanilla Wafers1 bag (12 Ounces) Semi-sweet MINI Chocolate Chips1/2 cup Chopped Peanuts Preparation Instructions
For the topping: Using a double boiler or a microwave, melt the chocolate chips and creamy peanut butter. Allow to cool for a couple of minutes while you make the bars.
For the filling: Grease a 9-by-13-inch pan with some butter. Using a stand or electric hand mixer, mix together the butter and chunky peanut butter until smooth. Stir in the powdered sugar a cup at a time.
Add the vanilla wafers to a food processor and process until they are in crumbs. Then add the crumbs and mini chocolate chips to the peanut butter mixture. Spread it evenly into the buttered pan and set aside.
Pour the topping over the base. Spread it out evenly and sprinkle over the chopped peanuts. Refrigerate for at least 1 hour, then cut into 20 bars.
Keep refrigerated, as the bars and chocolate will soften at room temperature.
Posted by Ree | The Pioneer Woman on

Ree Drummond's Blog
- Ree Drummond's profile
- 2016 followers


