
Exploring Story Cubes - Lynne Garner
 In my last post I discussed how you can use a Story Sack to enhance the reading experience of your child. This month I've decided to write a follow-on post about the glory of story cubes.
They're a great addition to any story sack and can be used in a variety of ways, all of which help children meet some of the EYFS goals. For example:
Personal, Social and Emotional Development: making relationships (bonding over play) and building self-confidence Communication and Language: speaking and listening skillsPhysical Development: small motor skills (throwing the cubes, holding a pencil)Expressive Arts and Design: being imaginative
So what are story cubes?
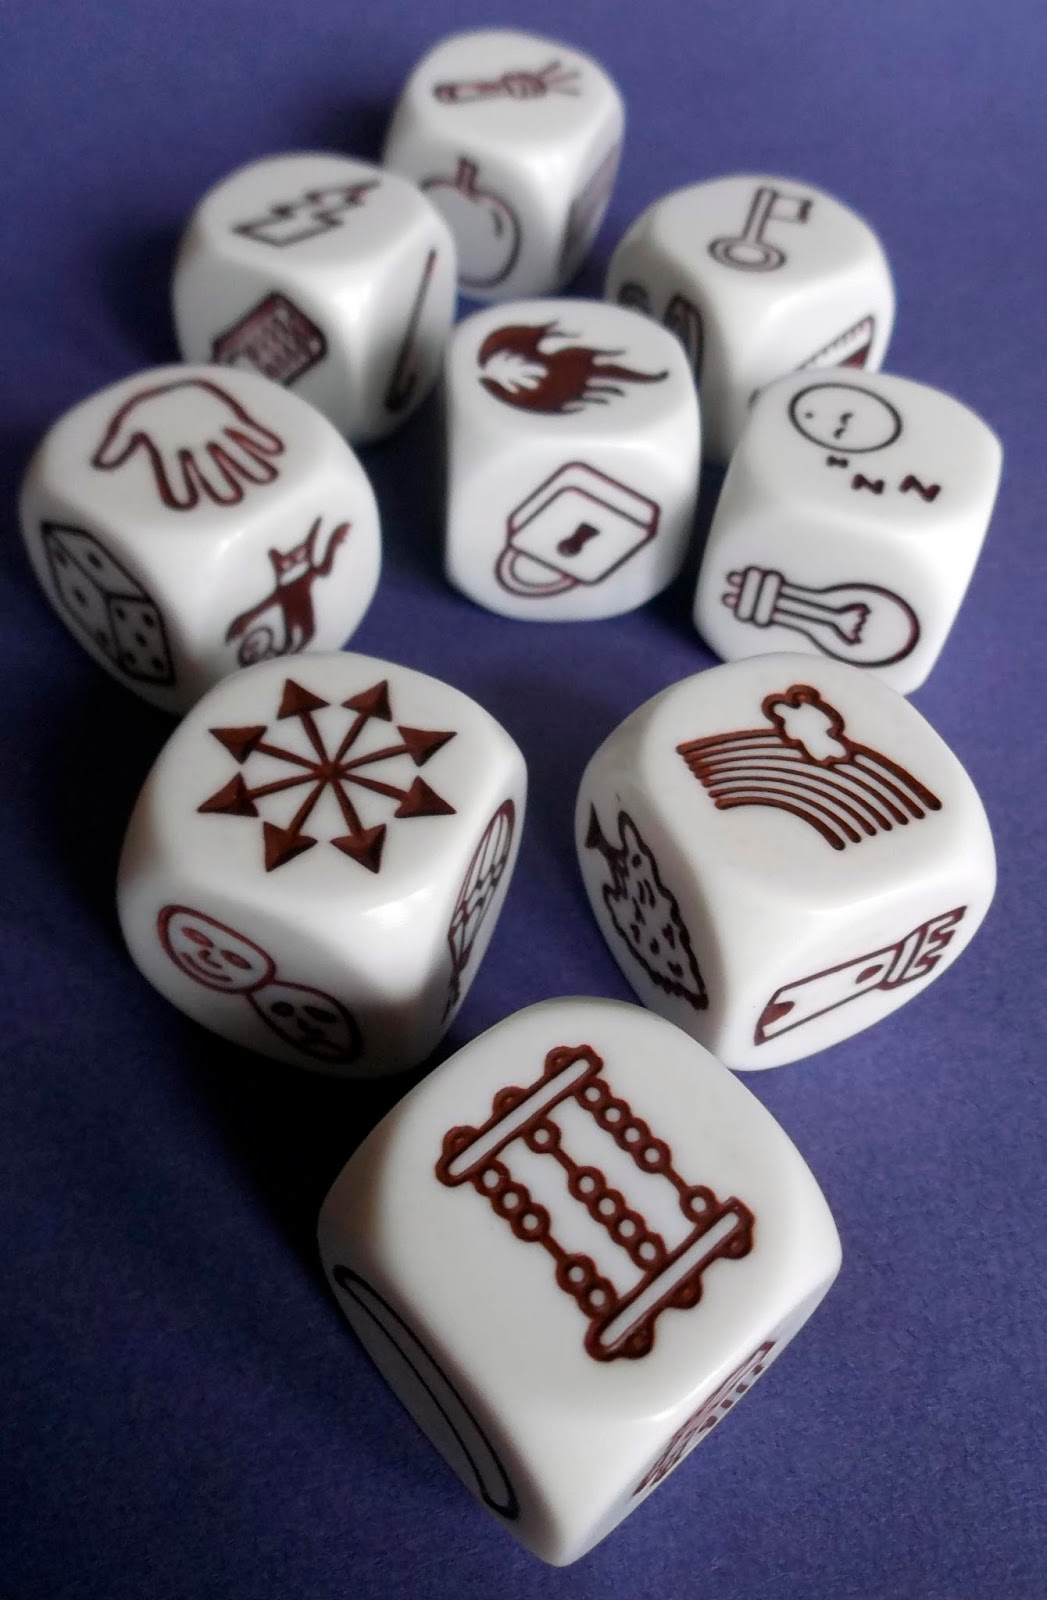
Story cubes are small cubes that contain images, these can be used to help you create a story, poem, work of art, anything creative really. You can purchase them or you can make your own. If you prefer to make your own you can create a cube from card (there are loads of templates you can download from the Internet) or up-cycle some old wooden play bricks. Once you're armed with your cubes and are ready to experiment with them here are a few ideas to get you started:
If you choose to purchase a set (typically they come in sets of nine cubes):
Group game - Create a story version one: Throw all nine cubes and each person picks one cube. Decide who goes first and that person has to start the story using the image from their cube as inspiration for their part of the story. The next person then has to add to the story using the image from their cube. Continue in this way until everyone has had a turn. If there are a small number of players e.g. 3 then each person can pick three cubes and use one cube per go until all have been used.
Group game - Create a story version two: Give each player the same number of cubes. Then taking it in turn each player throws one of their cubes and carries on the story from the previous player using the image they've just thrown as inspiration for their section of story.
On your own: Throw the cubes and arrange in a line. Following the sequence of images to create a new story.
Notes:
You don’t have to be literal with the images for example if a rainbow is thrown there doesn’t have to be a rainbow in the sky. Perhaps someone is singing ‘somewhere over the rainbow’ or someone is wearing a rainbow coloured top. You may wish to record the results of your 'game' so the story it not lost.
Homemade story cubes: You could create a story cube based on a story you've recently read with your child or make a set and use the ideas above. However if you choose to base your story cube on a story you've read then these ideas may be helpful:
What happened? Throw the story cube. Using the image that lands face up to discuss that part of the story. Was it funny? Was it sad? Was it scary? What happened before or after that part of the story?
Rearrange the story: Throw the cube and use the outcome to rearrange the story you’ve read. Perhaps the goodie loses and the baddie wins. Perhaps something the character was afraid of is no longer afraid of. Perhaps something they were bad at they are now fantastic at. You can then explore how this would impact on the story.
I hope this has given you a few ideas for using story cubes and you can see the benefit of adding these to your story sack.
If you decide to experiment with them please do let me know the outcome.
Regards
Lynne
My writing eCourses starting soon:How to write children's picture books and get published5 picture books in 5 weeks (advanced course)How to write a hobby-based how to book


No comments have been added yet.


