Duly Noted In Scrivener
Scrivener is a powerful writing tool. I write about it weekly with tips and usage ideas. To read more of my posts click the Scrivener tag or category at the end of the page.
Follow Blog via Email
Enter your email address to follow this blog and receive notifications of new posts by email.
Just wandering back to the Inspector and its functions again this week. I’ve written previously about the Inspector in general as well as using keywords and snapshots which are handy features on the Inspector.
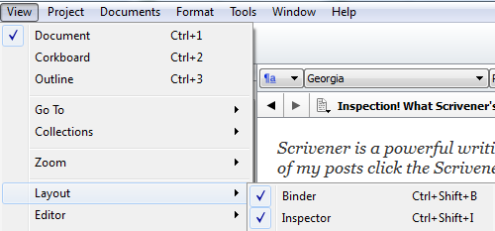
Just to review, the Inspector is turned on by using the View menu => Layout and clicking Inspector or CTRL + Shift + I on your keyboard (Italics is just CTRL + I).
 Document Notes is the first feature on the left of the Inspector menu at the bottom of the bar. From there you can enter notes about the document in which you’re working. Simply type in the field and you have a note. If you want to remind yourself you’ve done something in the document here’s the place to do just that. But notes here are only for the document itself and not the whole project.
 If you want to use Project Notes, that is, notes that are for the whole project you can toggle to those or turn them on from the Project menu. To toggle from the Inspector you must be in the Documents Notes feature and click on the up-down arrows to get this menu.
You can click onto Project Notes and make a note for the whole project.
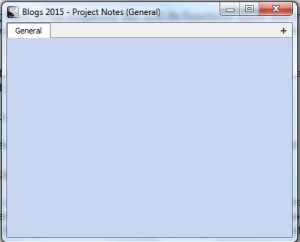
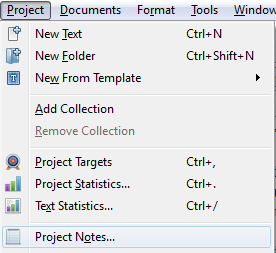
You can display the same thing in a window by clicking on the Project menu and choosing Project Notes.
Looking at the previous screenshot you can also open this feature window by clicking on Manage Project Notes.
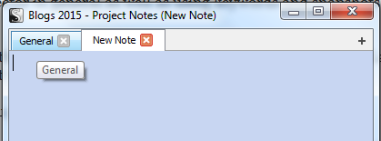
From the window you can type in new notes for the project as pictured below. When new notes are added (via the + button on the right of the tabs bar) they have individual tabs unlike document notes. Click on the X to remove a note-tab.
So that’s the quick primer on using notes in Scrivener Inspector. This feature lets you make notes with ease so you have a reminder of what you where going to do – or did (unlike the Scratchpad which allows you to insert text across open projects). They are stored in your document or project rather than keeping all it straight with actual sticky notes.
 Please share your thoughts and ideas in the comments section. I’d also love to connect with you over social media so check my Contact page for that information. See the News page for announcements and remember to sign-up to receive news and posts by email. I’ve added a new sign-up tab on my FaceBook page to simplify the process. New followers can download The Black Bag via free coupon today! Also, the cover of my book, The Bow of Destiny, was revealed recently so take a look.
Follow Blog via Email
Enter your email address to follow this blog and receive notifications of new posts by email.
Just as a note: I am not affiliated with Scrivener in any official capacity. For support questions, pricing and other concerns please contact the vendor.
Filed under: Blogging, Creativity, Editing, Indie Publishing, Planning, Scrivener, Self-publishing, Tech Tips, The Black Bag, The Bow of Destiny, Tips, Twitter, Writing Tagged: blogging, Coverart, creativity, Editing, Facebook, Indie Publishing, P. H. Solomon, Scrivener, Self-publishing, Social Media, The Black Bag, The Bow of Destiny, Tips, Twitter, writing


