
Update on Foyer Staircase
I'm OVER THE MOON happy to say-that after almost a month of delays caused by the upstairs hallway (you can read about that here), I finally started working on the foyer staircase makeover this week!
If you've been following along-you know that I've been impatiently waiting to do this makeover ever since I first purchased this home! The #1 reason was- I truly despised the carpet....
 Spring 2014But there was another reason too- the fact that there was something VERY important to the look of the staircase that was missing!!!! Yes folks-the balusters were gone!!! Hubby and I searched every nook and cranny of this house-but unfortunately-no balusters could be found. I'm not sure what happened to them-or why they were removed-but there you have it. Before the staircase could be completed, we needed to find replacements. We began our search at some of our local salvage and antique stores, because we wanted to find balusters that would look original to our old house. Unfortunately, none had the amount of balusters that we needed. So we went on Craigslist. We found just the opposite conundrum there. Most sellers had way more balusters than we could use-and with shipping, etc, the cost was a bit more than we wanted to spend.
 Which led us to the only option we had.......
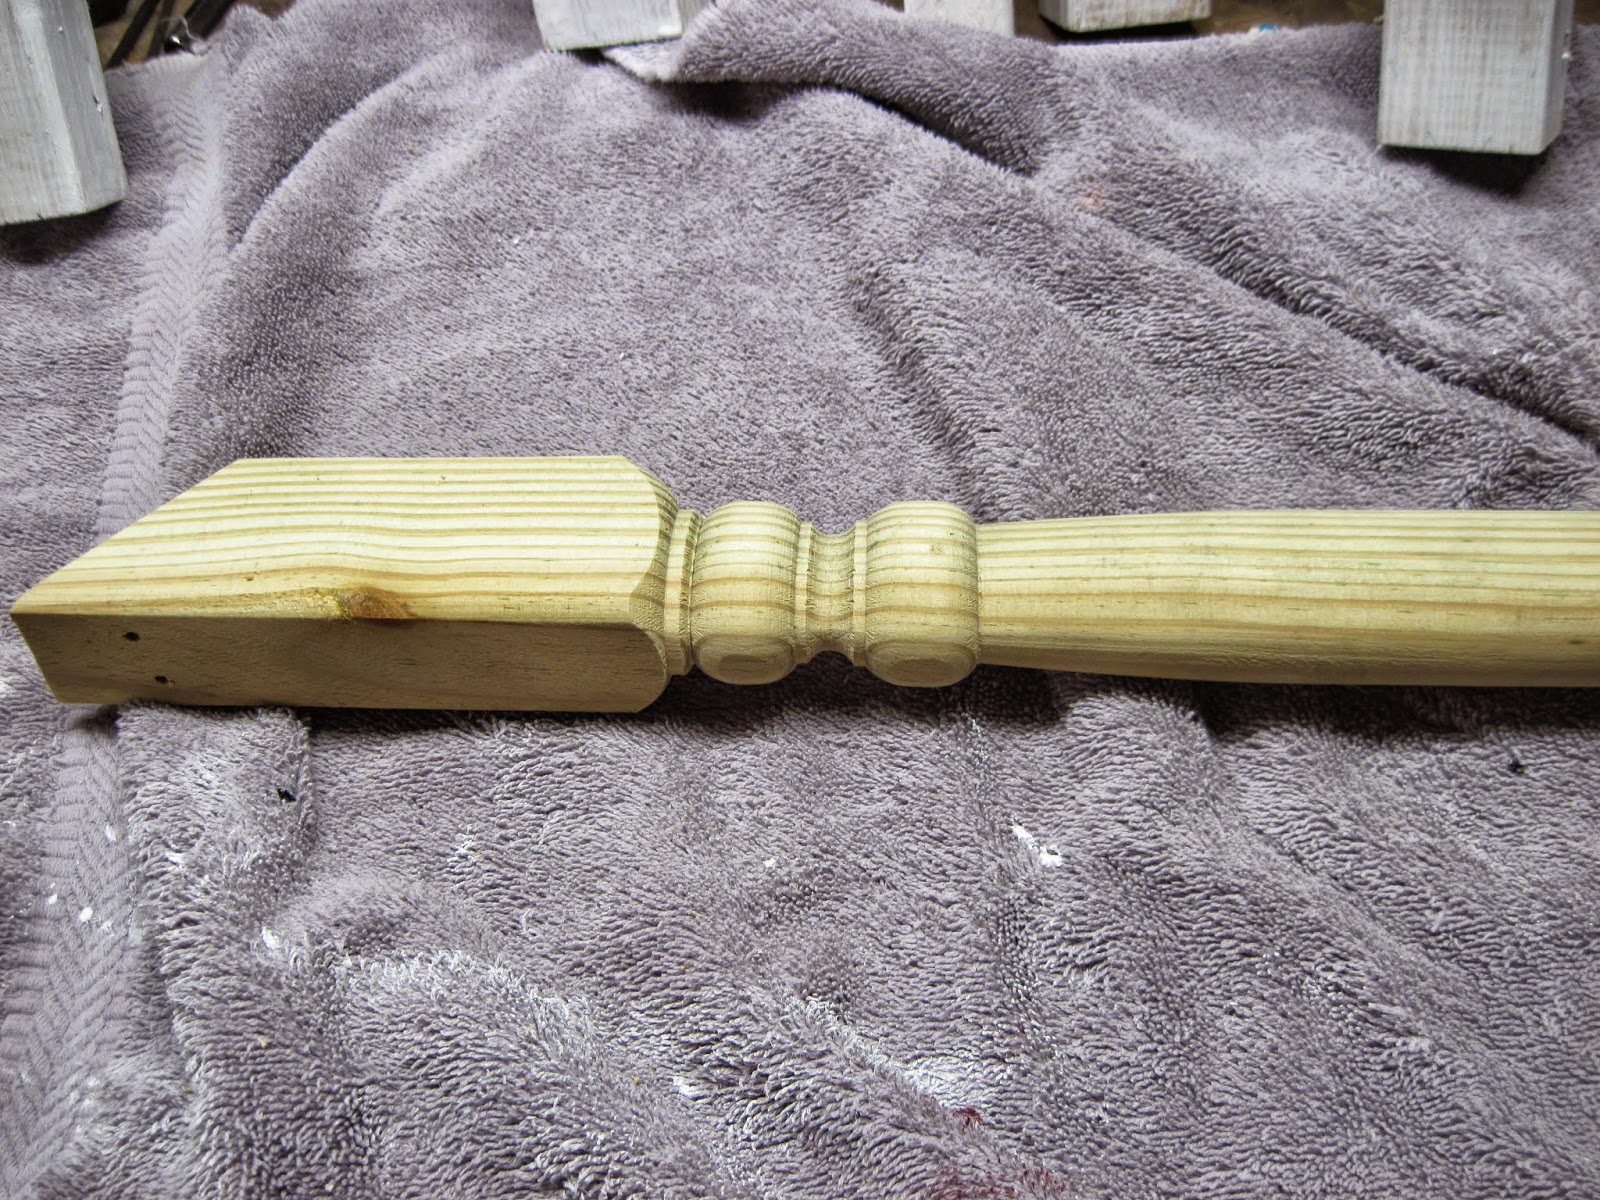 We purchased 13 new balusters at Home Depot-for $2.79 a piece. At first I was a bit leery about the wood grain-but after 1 coat of primer and 1 coat of Simply white paint-they actually don't look too bad. I plan to give them one more coat with roller (to ensure there are no brush strokes), and they should be ready to install!!!
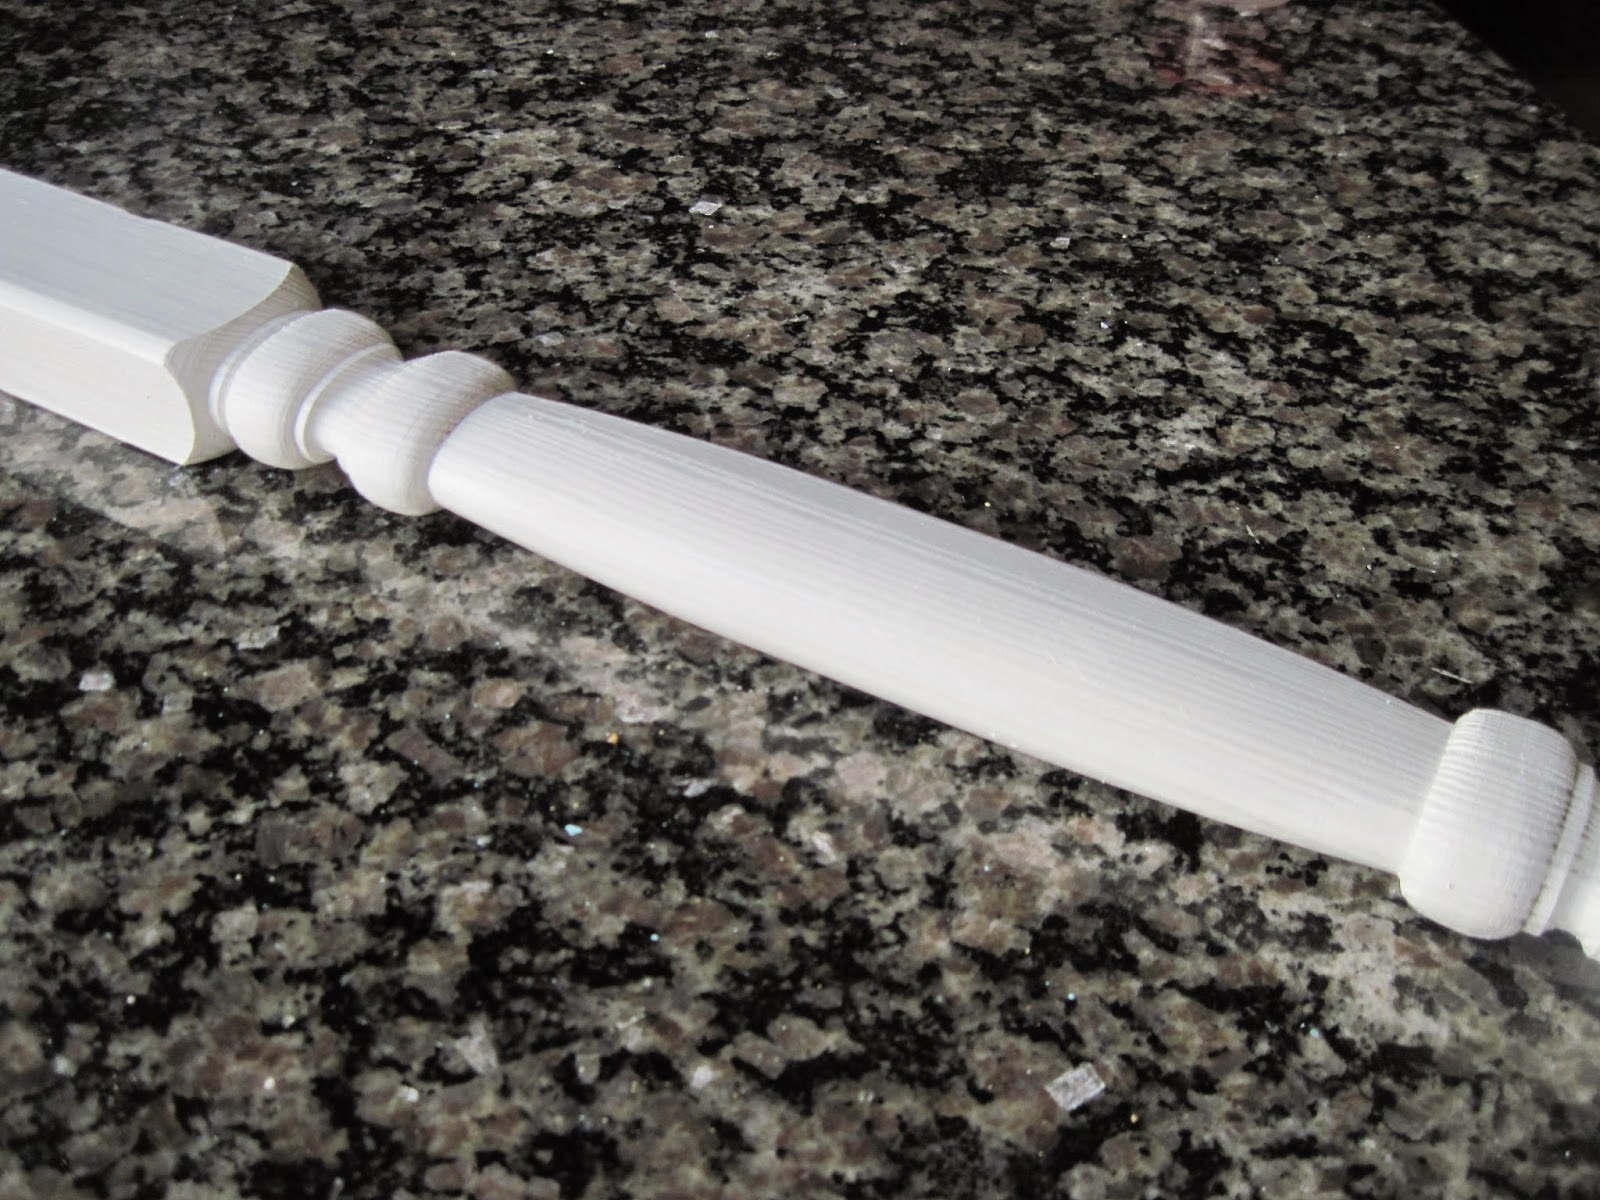
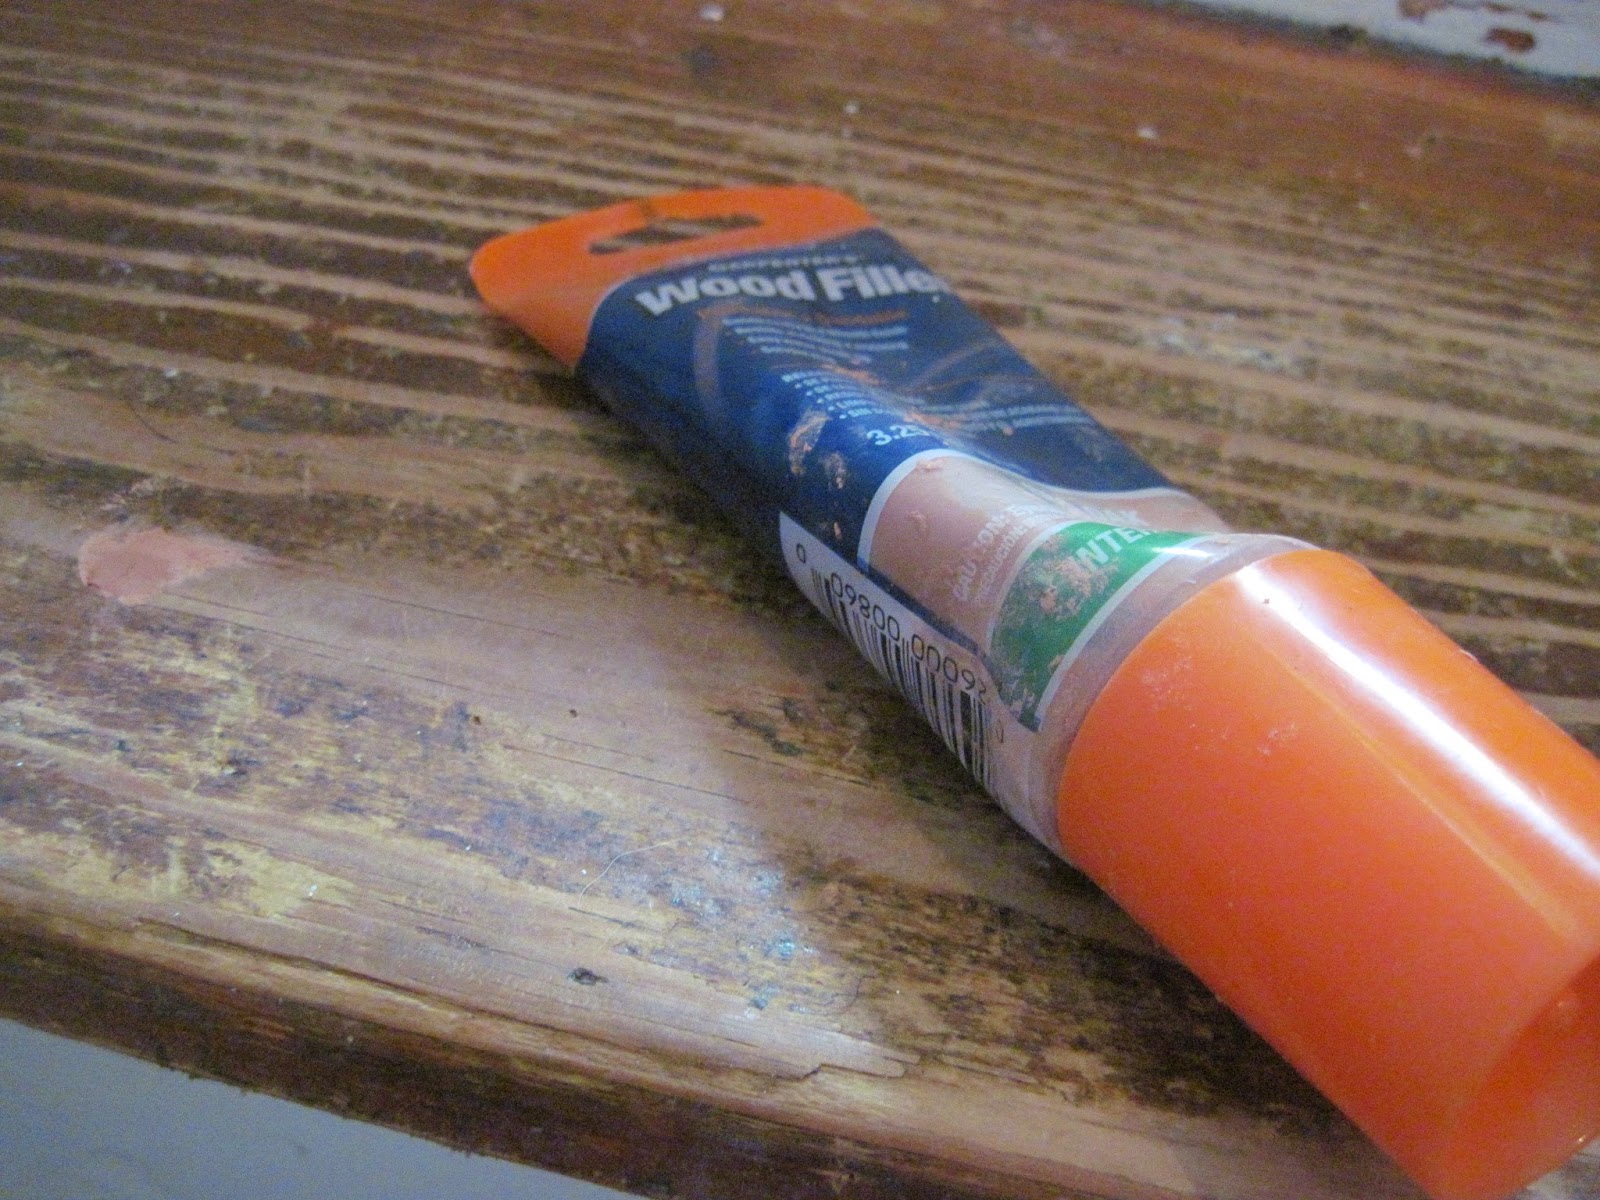
Then it on to the stairs. As you can see they weren't in the greatest of shape. It would appear that the previous owners had used a runner, prior to the carpet-and not only were their nail and screw holes to deal with-but also deep grooves. But it was nothing that a little wood filler couldn't handle. And of course some major sanding!
Next was the part I was a little worried(and hugely excited about)-the staining. After researching the MANY tutorials online-I decided to use MINWAX POLYSHADES -in Espresso.
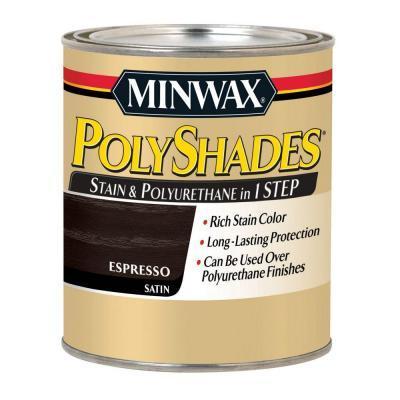 During my research-I did find several horror stories from folks who didn't have good luck with this product. Some said it left the surface they were staining with streaks-and didn't cover well. (That's where the worry part came in!) But then I read Rhoda's from Southern Hospitality
post and all my concerns were gone. (That's when I got excited).
So....without further delay-I grabbed the can of MINWAX-a few sponge brushes-and a pair of rubber gloves-and began the staining process.
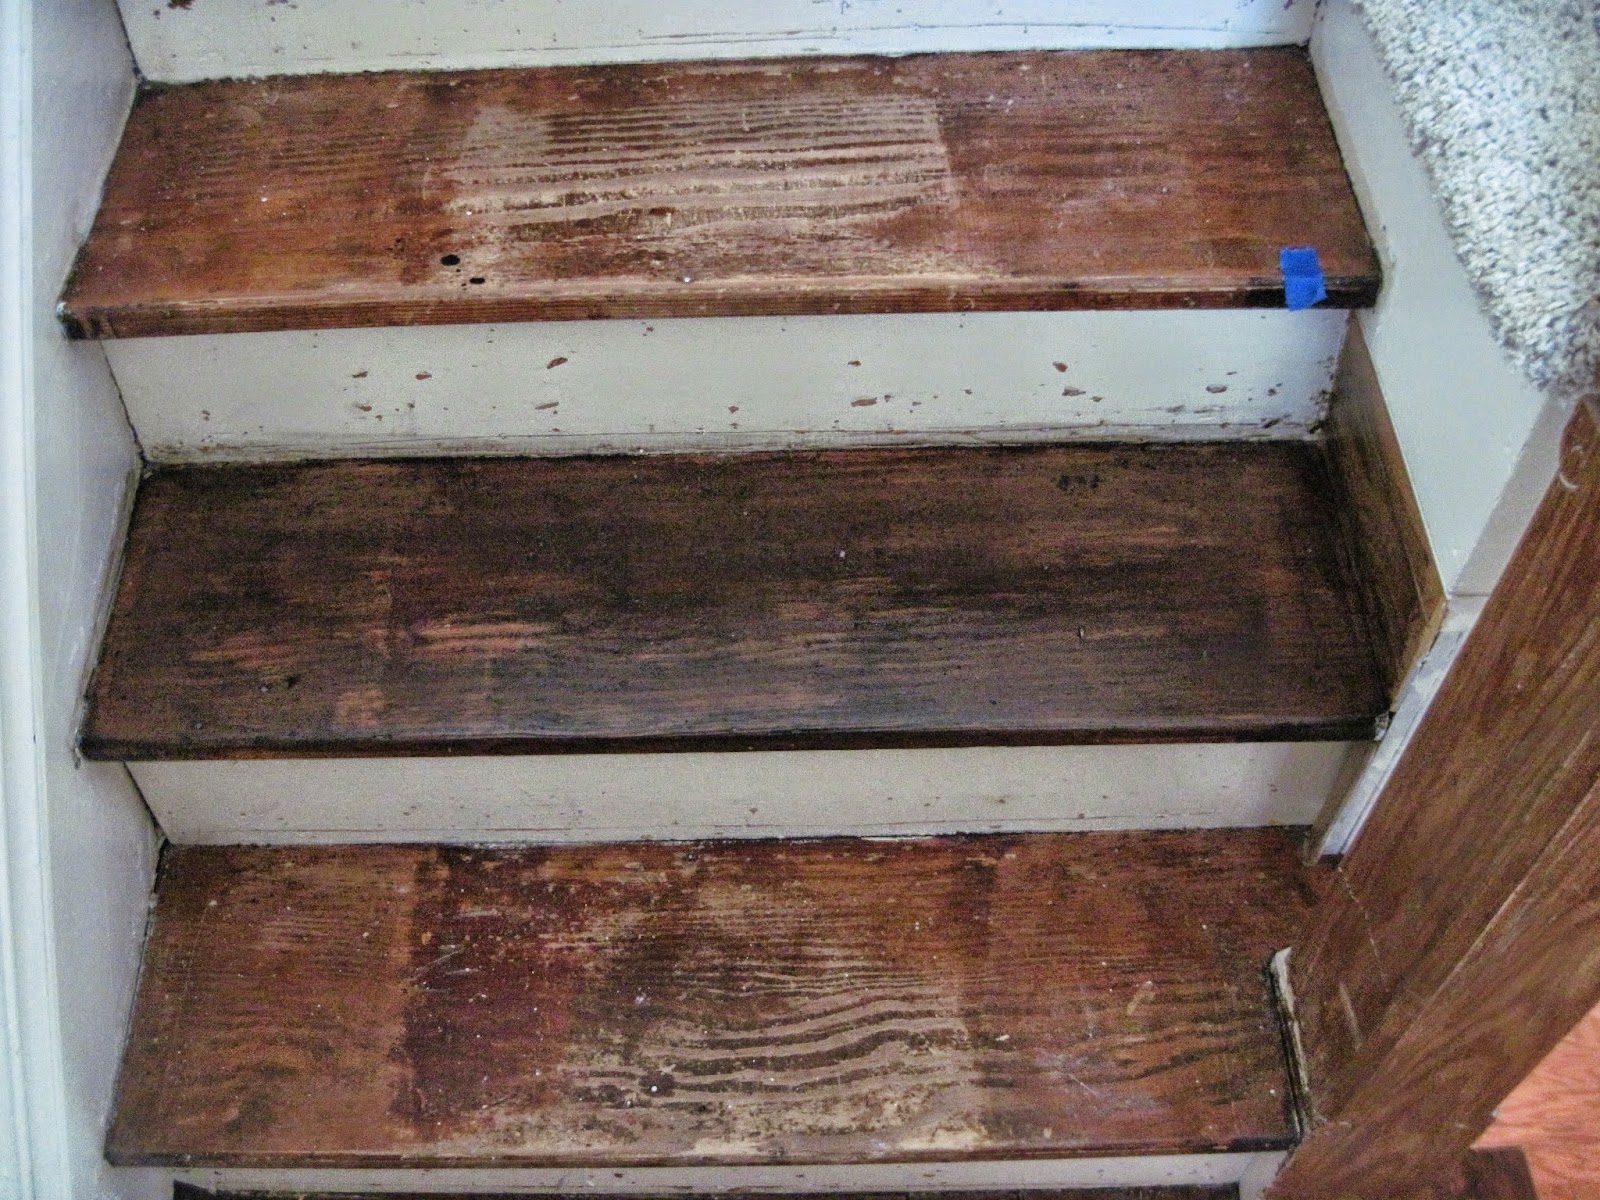
One coat later-I couldn't definitely notice a difference! As you can see- I followed the advice of several tutorials-and did every other step-so we could still get upstairs, and chose to stain first-and paint the risers last. I also did light coats on each stair (wiping off the excess), because I knew that my stairs would require at least three coats-and I wanted to avoid that nasty stickiness that can sometimes occur if you 'over' stain. Once the stairs I was working on had their first coat-I set about placing some painters tape on the one's we could walk on. (I know it should be obvious-but some of us older folks need a reminder-especially when coming down the stairs half asleep at 5 am!)
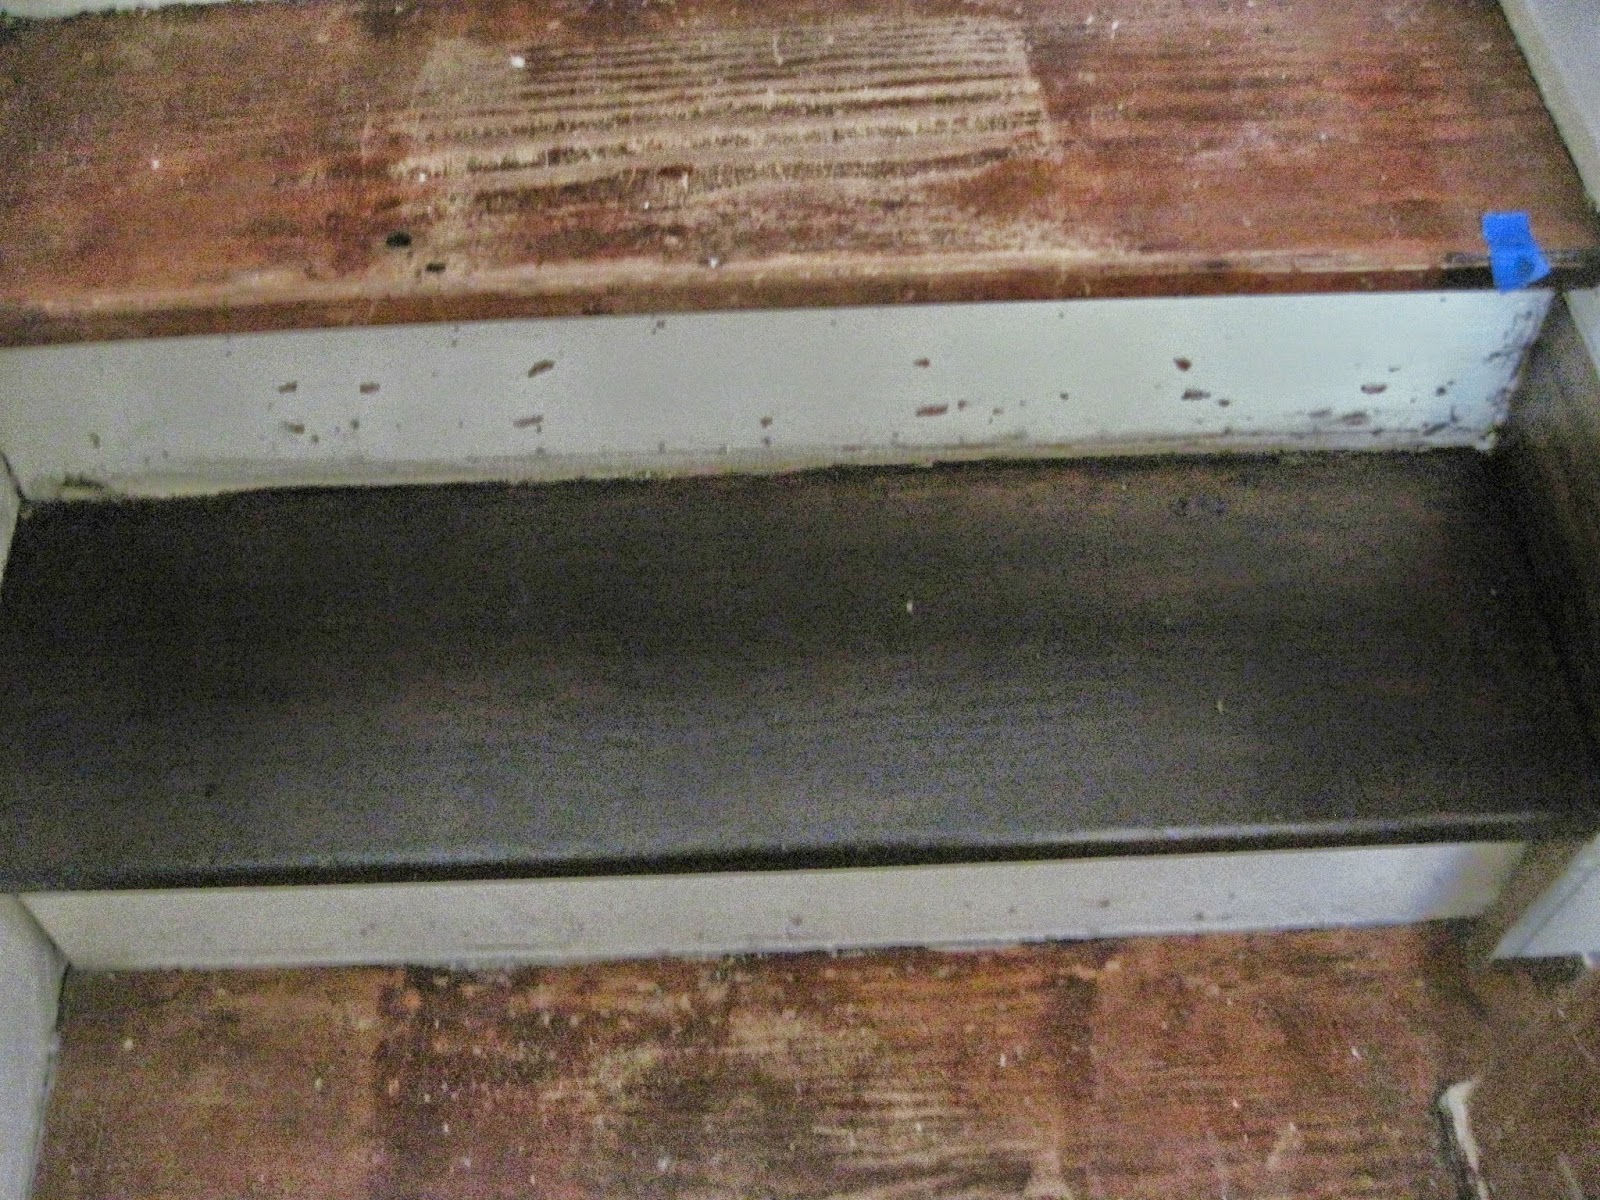 The directions say to allow 6 hours for drying between coats-but I let them dry overnight. The next day I put another coat on, and was overjoyed to see the stair color FINALLY start to even out!
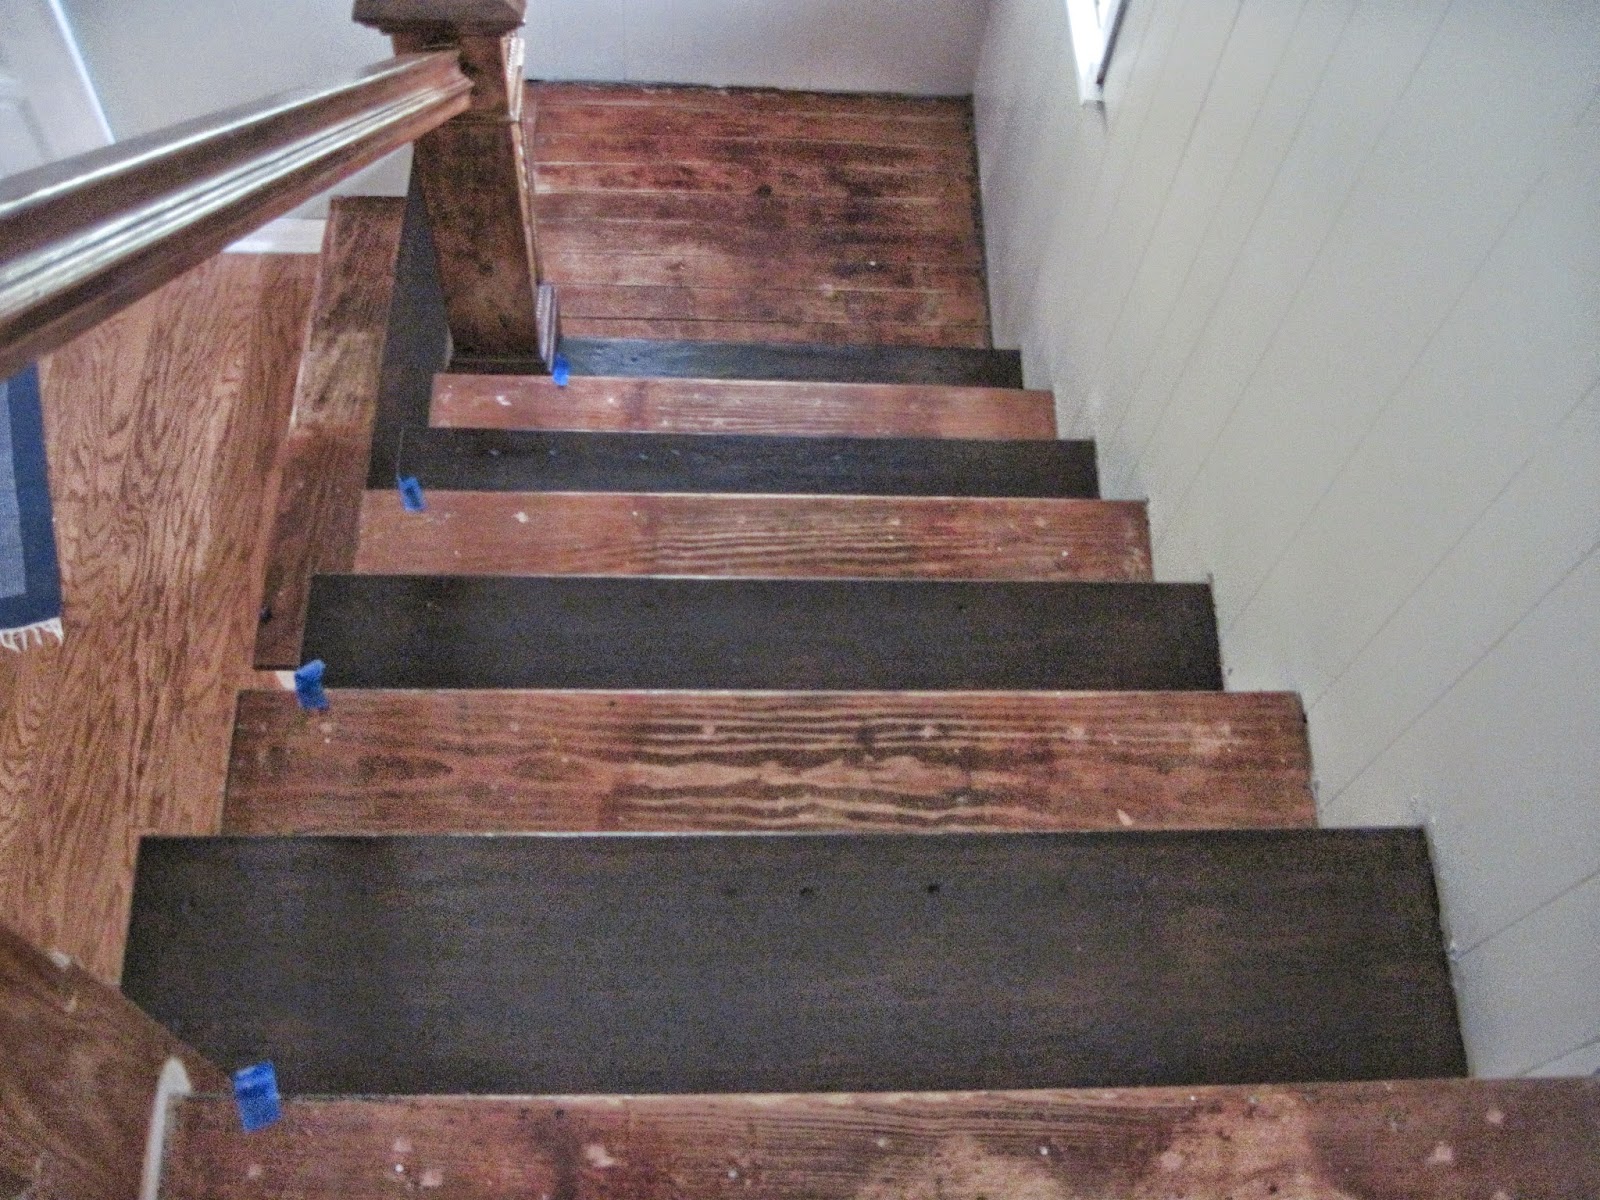 I have a few touch ups to do today on these stairs-and then I'll be putting the first coat on the other stairs, as well as, the railing!
Wishing you a blessed Friday the 13th!!!
CD


No comments have been added yet.


