
The Easiest Way to Use Your Embroidery Machine
Embroidering is quite easy, it’s positioning the designs that can be tricky! If you own a computerized embroidery machine, you know exactly what I mean. My solution is to use Perfect Placement Software.
The Perfect Placement Software includes placement outlines (they’re embroideries, just not the pretty kind) for collars, cuffs, yokes, necklines, hemlines . . . all wearables. Plus there are 70 embroideries of the pretty nature.

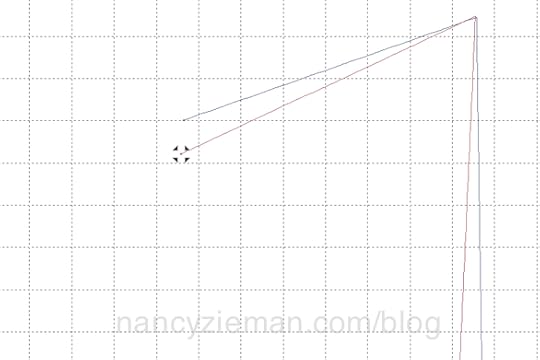
First step, choose a perfect placement outline
The first embroidery that I selected from the collection was one of the collar outlines. The terrific part of the placement embroideries is that any colored line can be selected and moved. Let’s say your collar is slightly wider than the outline, just click on the icon at the end of the red line and move it! Bingo.
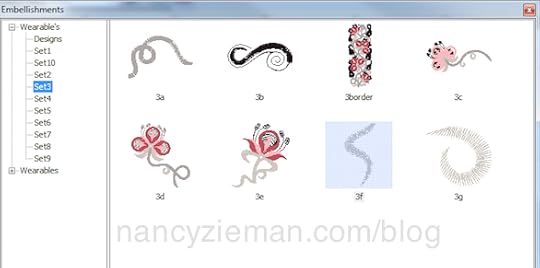
Next, place the pretty embroideries
Using embroidery from your collection, or the embroideries included in the software, select a design. (I know the design labeled 3f is highlighted, but actually I placed design 3e first! Oops!)
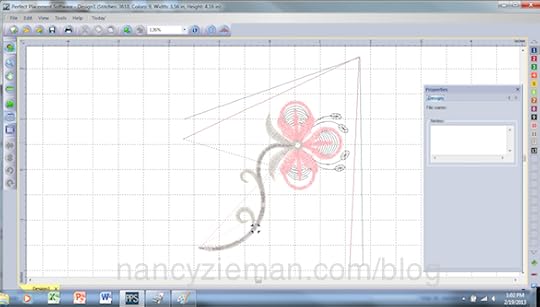
Move the design around within the outlines until you like what you see.
Add the Sprinkle Design
Sprinkles are what I call the small, companion designs within each collection. From the screen shot of designs, I chose embroideries numbered 3f and 3g and “sprinkled” them around the larger motif.

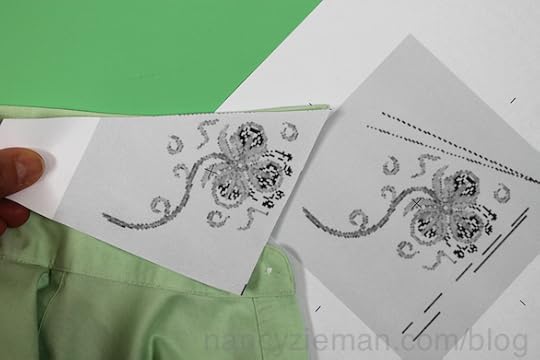
Print out a template and check the placement on the shirt
The photo shows two templates: one cut out and the other whole. Placing the template on the collar tells me I’ll have a perfectly placed embroidery. If the shape wasn’t right, I could easily go back to my computer and tweak the size and shape of the placement outlines.
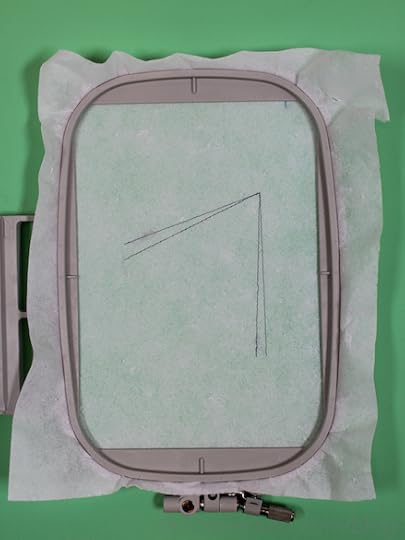
Stitch the first embroidery
Hoop a stabilizer of your choice. I chose a tear-away mesh stabilizer .
Stitch out the first embroidery—the placement outlines.
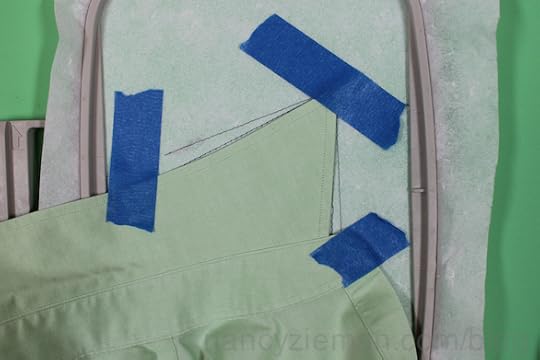
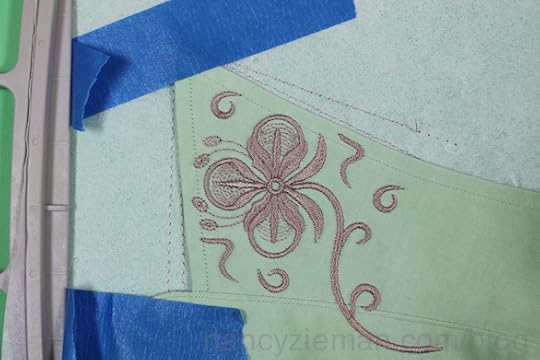
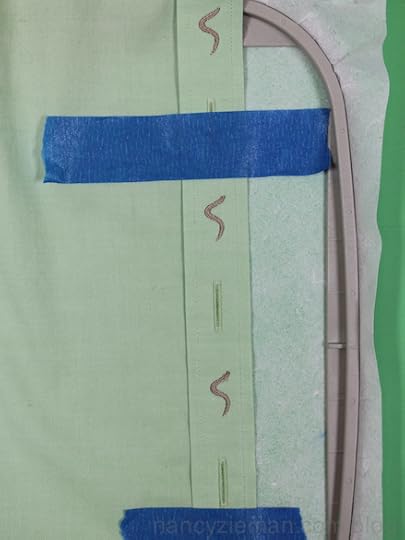
Place the collar along the outlines
Painter’s tape is one of my favorite embroidery helpers. It’s sticky enough to hold the collar in place, but doesn’t leave a residue.
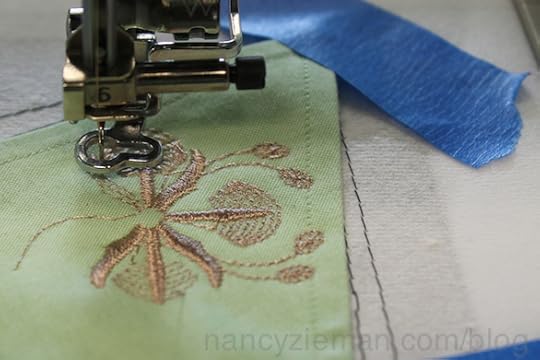
Stitch the pretty embroideries
It’s fun to watch what appeared on the computer screen come to life on the fabric.
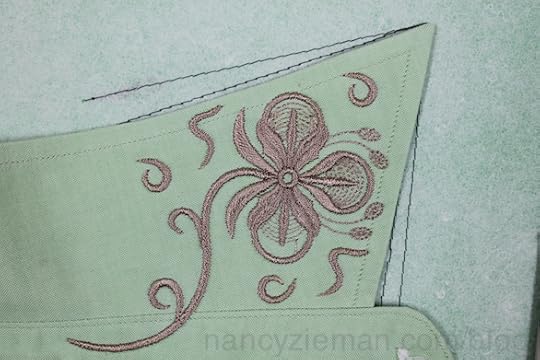
Rotate the image and stitch the other side of the collar.
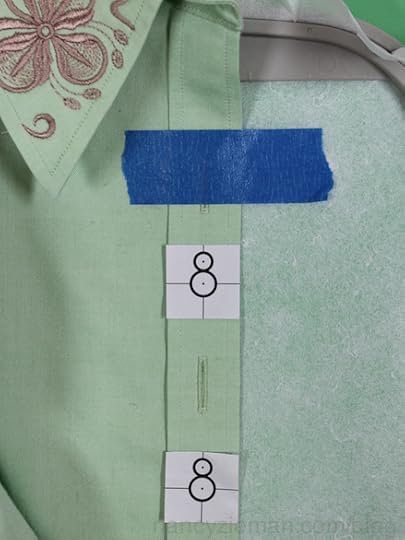
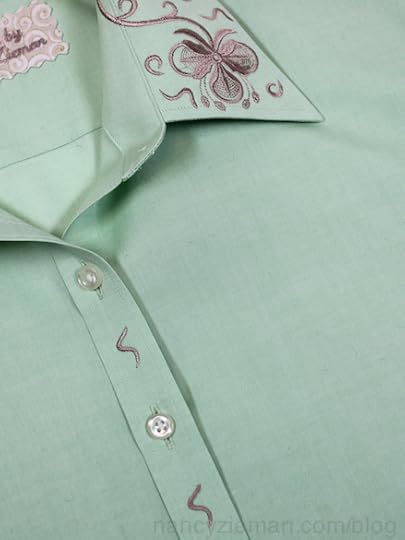
Add more sprinkles!
I decided to use one of the sprinkle designs between each of the top three buttons to carry out the embroidery theme. On my machine, a Baby Lock Ellisimo Gold, I used the positioning stickers that came with the machine.
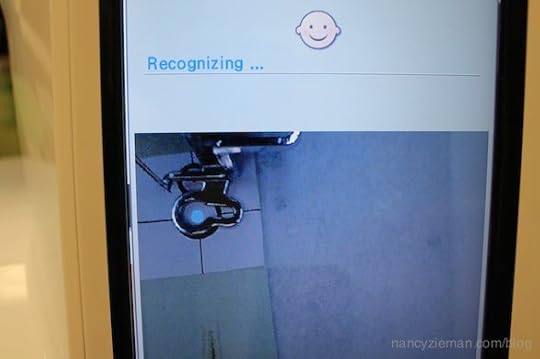
The built-in camera detects the placement sticker.
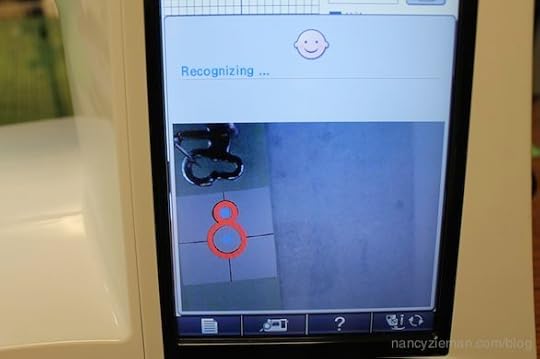
Then, it zeroed in on the placement.
After removing the sticker, I just hit the “go” button to sew. It was truly easy to add these smallest of embellishments.
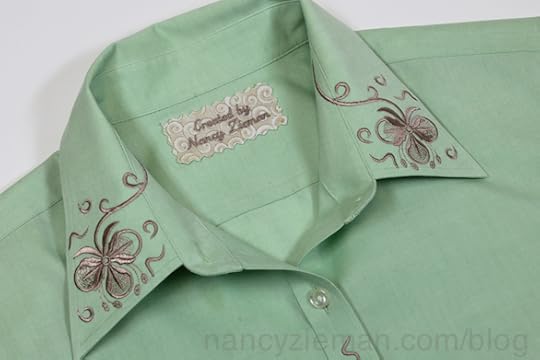
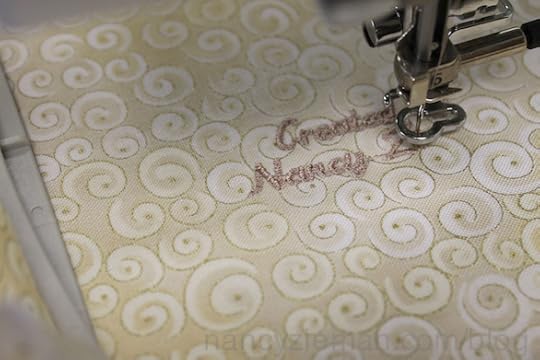
Since this blouse will be used as a sample for my seminars, I thought a label was in order.
Ta da!
Previously, I posted a blog detailing how to embroider the neckline of a cardigan with the Perfect Placement Software. You might like to check it out.
Bye for now,

Content in this feed is © copyright 2015 by Nancy Zieman and may not be republished without written permission. You’re welcome to forward the email to a friend or colleague but it’s not okay to add the RSS feed automatically as content on a blog or other website.


Nancy Zieman's Blog

- Nancy Zieman's profile
- 21 followers

