
December Daily® 2014 | Day Twelve
Welcome to
December Daily® 2014 | Day Twelve.
I've been looking forward to this day and being able to play with this die cut chipboard page. In past
December Daily® albums I've done a lot of mixing in different textures and page sizes. I really do love having a mixture of page protectors + things outside of the pockets such as photos adhered back to back, artwork, unique sizes, etc. They just add interest and they are fun to put together.
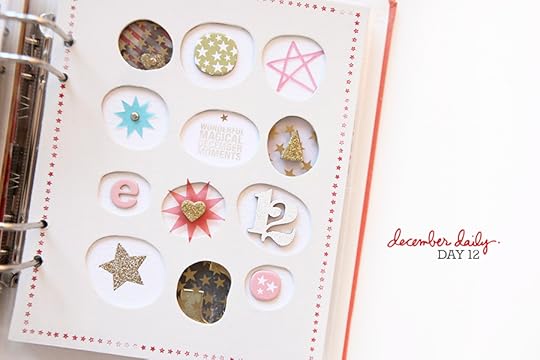
Here's a closer look at Day Twelve:
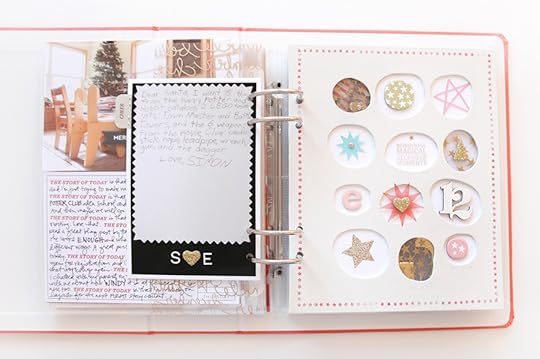
Day Twelve is a combination of two photos adhered back to back (photos of my kids notes to Santa) and the full page die-cut chipboard.
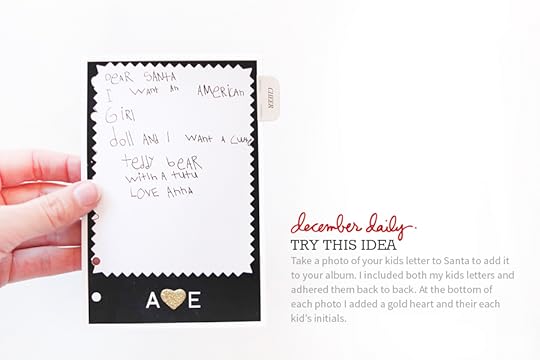
Last night the kids wrote their letters to Santa. I gave them each a zig zag edge card and away they went. I took photos of each one and then printed them and adhered them back to back.
At the bottom of each photo (you can see Simon's note below) I added a glitter heart and their initials (letter stickers). Holes were punched to fit the album rings.
The die cut chipboard page is really purely just for fun.
Because why the heck not?
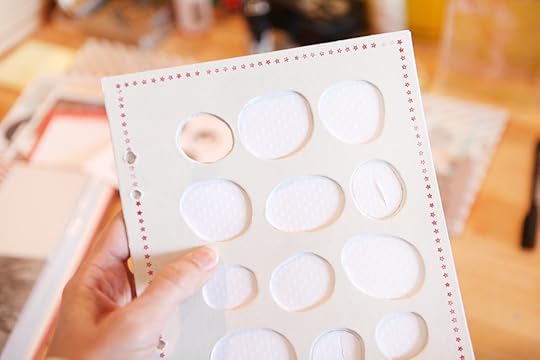
Most of the embellishments I included here are from the kit. In addition I added some
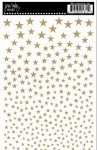
gold star rub ons from Jenni Bowlin and a small pink chipboard letter "e." The gold rub ons were added to thick pieces of transparency that were glued to the back of the chipboard.
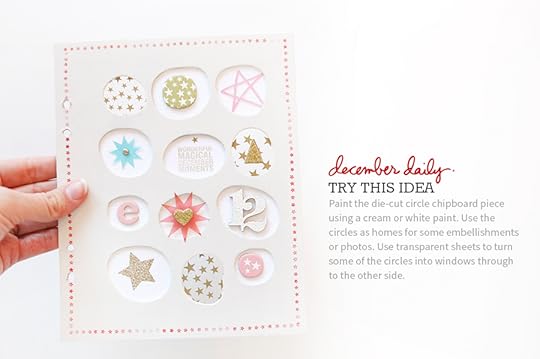
Here's a look at how it came together:
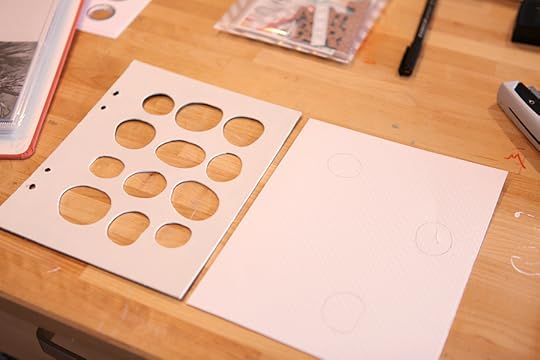
When I put my foundation pages together I painted the front side of the die cut chipboard with cream paint. When it came time to put the page together I cut a piece of cardstock to the same size and then choose three of the circles to trace and then cut out so I would be able to see through to the next page.
I actually ended up cutting two pieces of cardstock. The first one became the back for the embellishments. The second piece of cardstock is to use as a template when I print out a full page photo for Day Thirteen and want to cut holes in the photo to match (to maintain the see-through part).
Above you can see the holes after I first cut them.
After I traced the second piece of cardstock I ended up cutting more around the edges of the circles of the white cardstock so you don't see any of the outer edge of the circles.
I also added the star border using
red Staz On ink and stamps from the kit.
Here's what the back looks like:
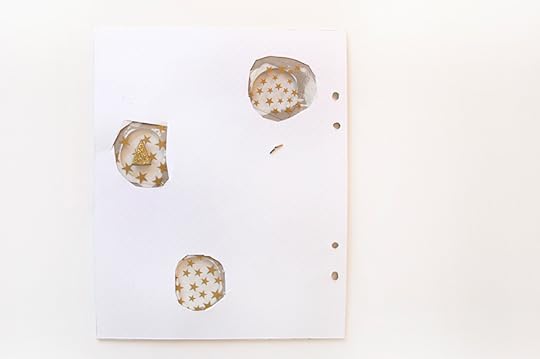
On the back you can see the transparent pieces with the star rub ons. I just adhered those pieces to the back of the chipboard.
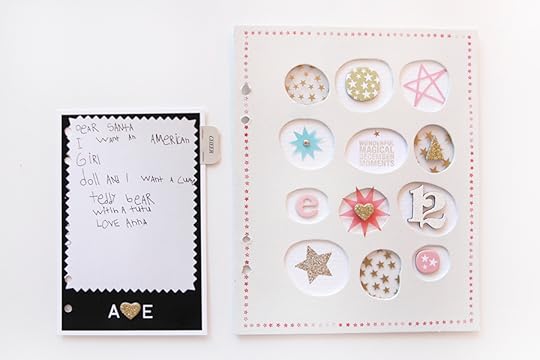
Here's a look at these pages in the album:
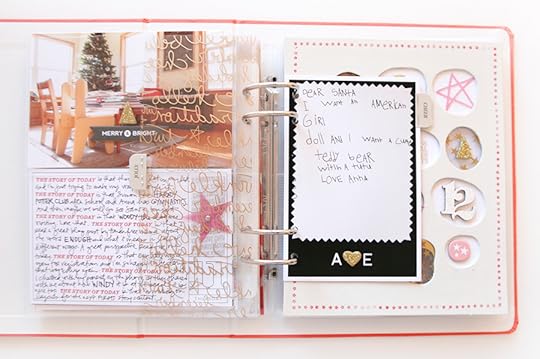
I centered the Santa letters in the middle of the rings.
Simon's Santa letter.
Yep.
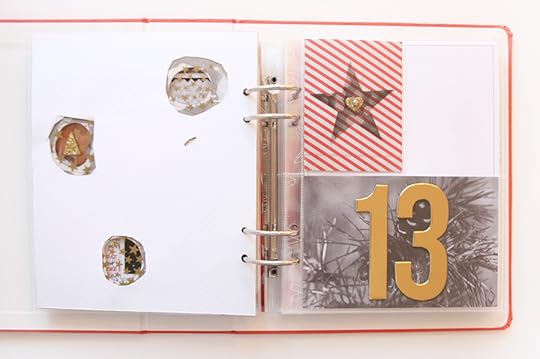
Above you can see what I have for Day Thirteen right now. I plan to print out an enlarged photo and cut three circles in the photo so the see through elements will keep that quality.
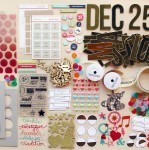
SUPPLIES


SHARE YOUR DAY TWELVE
I'd love to have you share a link to your Day Twelve pages below.
Please link directly to your post vs. a general blog link.


