
DIY Fabric Acorn Garland
Let’s be honest, garlands are one of the greatest ways to fancy up your decor, so it makes sense that we should have styles for all seasons. So, how about making your own Fabric Acorn Garland?
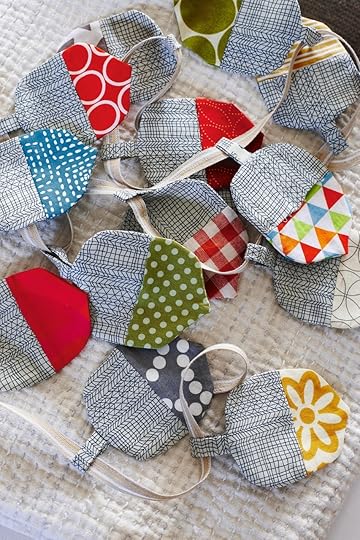
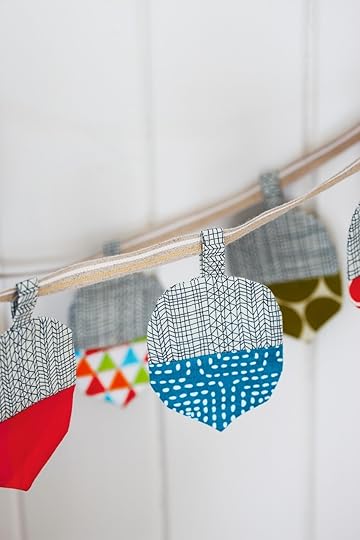
Made from small scraps of brightly colored fabrics, these cheery little acorns make a pretty autumnal garland. I have used the same fabric for all of the acorn cups, while mixing and matching a seasonal pallet of greens, blues, oranges, and yellows for the nuts. The materials listed below will make a garland that measures approximately 6 1/2 ft. (2 m) long.
 Grab your supplies…
Acorn Template
Tracing paper
Pencil
Scissors
Fabric for the acorn cups, measuring 48 x 12 in. (120 x 30 cm)
Pins
Small scraps of different coloured fabrics for the acorn nuts
Iron (optional, but y’all know how I feel about ironing and pressing seams!)
Sewing needle and thread in colours to match the fabrics
Small paintbrush
Ribbon measuring 8 ft. x 1/2 in. (250 x 1 cm)
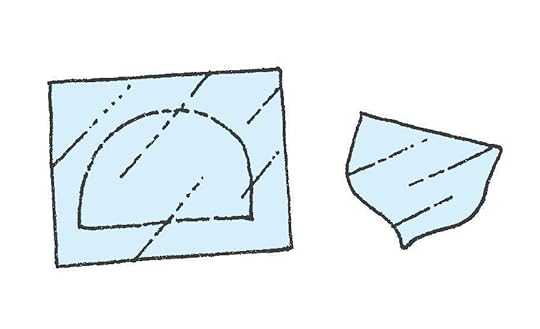 1 Place the templates on a piece of tracing paper and draw around them using pencil. Cut them out.
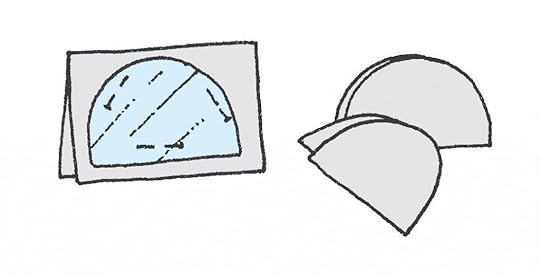 2 Cut a piece of fabric for the acorn cup that is twice the finished size and fold it in half. Pin the cup template to one side, draw around the shape and cut it out. This will provide you with the front and back of one cup. Repeat 14 times more. Make up 15 pairs of acorn nuts in the same way.
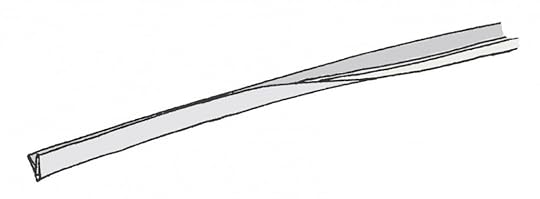 3 Cut a strip from the acorn cup fabric that measures 48 x 1½ in. (120 x 4 cm). Place the strip on your work surface, right side down. Fold each long edge to meet in the middle and press. Fold the strip in half, so that the folded bits are on the inside. Press the strip again.
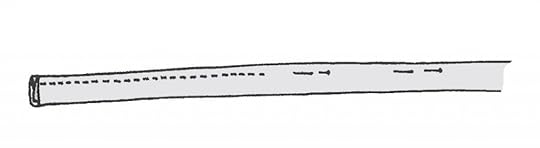 4 You will have made a strip measuring 48 x 3/8 in. (120 x 1 cm). Pin and sew a seam close to the long open edge. Cut the strip into 3 in. (8 cm) sections—fifteen in total.
 5 Make the acorn front. Align the straight edge of a fabric acorn cup with the straight edge of a fabric nut, right sides facing. Pin and sew together with a ¼ in. (6 mm) seam allowance. Repeat to make the acorn back, leaving a gap of 1¼ in. (3 cm) at the center of the seam.
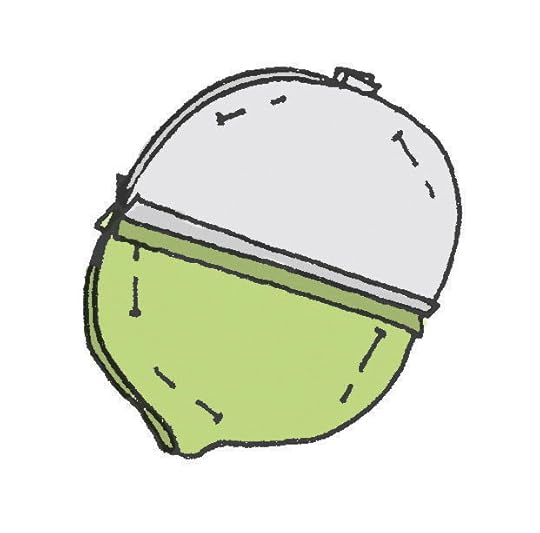 6 Place the front and back acorn pieces together, right sides facing. Take one of the strips you made in Step 4, fold it in half and tuck it between the two acorn pieces. Position it centrally at the top of the cup, so that the raw edges stick out approximately 1/4 in. (6 mm) from the top. Pin and sew all around the edge of the acorn.
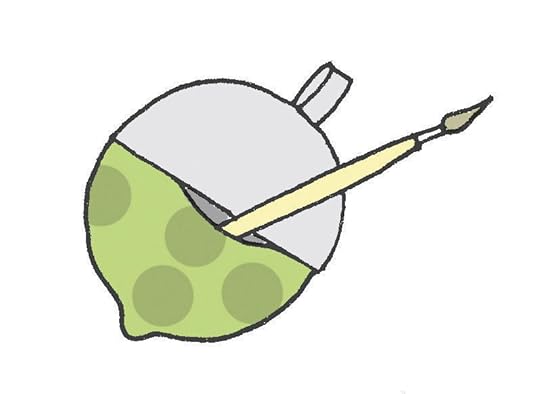 7 Turn the acorn the right way out through the gap you left in the seam in Step 5. Use the handle end of a small paintbrush to poke down into the point of the acorn.
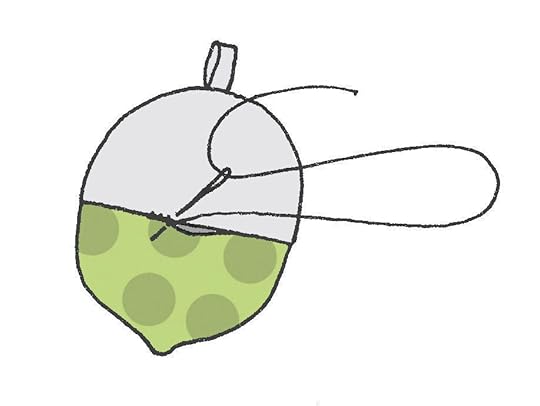 8 Use small stitches to close up the gap. Repeat Steps 5 to 7 to make the remaining 14 acorns.
 9 Thread the acorns onto ribbon, securing each with a couple of stitches. Space them out evenly along the length of the ribbon, leaving long enough ends for hanging the finished garland.
 Handy Tip!
You can use an air-erasable pen to draw shapes on fabric. It will disappear without the need for washing!
♥ – ♥ – ♥
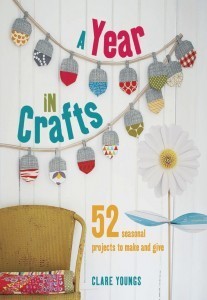
This project is just one of the many amazing makes from A Year in Crafts by Clare Youngs, photography by Joanna Henderson, £14.99, published by CICO Books!
The post DIY Fabric Acorn Garland appeared first on Made Peachy.


