
Free Help With Graphic Design
By Elizabeth S. Craig, @elizabethscraig
I’m design-challenged. 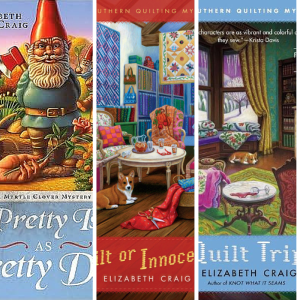
I learned this early. My father was a teacher and when I was in elementary school, one of my father’s friends (also a teacher) knew I was very creative and asked me to create a back-to-school bulletin board for her students.
I loved the huge box of art supplies that she brought over. Tissue paper, construction paper, markers, stickers, stencils. I loved it. But I didn’t know what to do with it. I ended up making a tissue paper flower that was about 6 inches in size. I couldn’t for the life of me figure out how to make an entire bulletin board and fill up all that space. The teacher had to scrap the idea.
For my books and for my website, I’ve been smart and hired designers. But I kept making my own Google+, Facebook, and Twitter covers or headers. And kept doing a very bad job.
It’s Canva and I discovered it while I was going through my RSS feed and read a post by agent Rachelle Gardner, “6 Tools to Make Your Life Easier” that mentioned the site.
It’s free unless you use one of their images, which are $1 apiece. But if you’re like me, you’re wanting to use your own book covers or author photo or whatever and won’t need anything from them. I like not spending money.
Let’s say we want to make a Twitter cover. I made one myself prior to using Canva and it was…absolutely ghastly. But using Canva, it was easy because they sized the pictures correctly. When I did it myself, everything was warped and blurred and weird.
So you click “Twitter cover” (you’ll have to scroll to get there) at the top of the Canva page (after you’ve created an account (which is free) there:
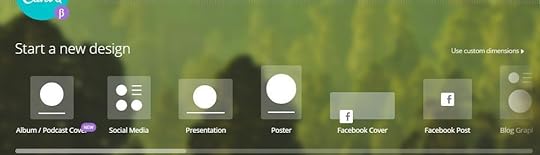
First of all, you choose a layout for the background. They have quite a few, just scroll down.

If you’ve got a few books out, you could choose one of the layouts with several or more spots for covers. Like maybe this one:

Then you upload your covers or other pictures. There is an upload button and arrow at the bottom of the left-hand menu.
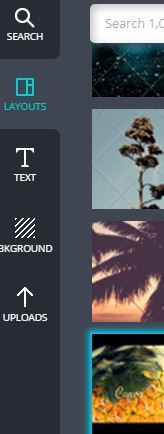
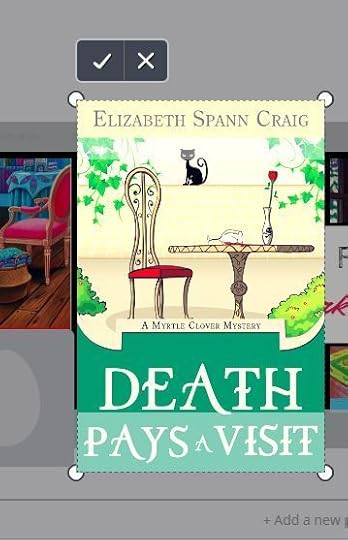
Once they’re uploaded, you just drag them from the galley on the left hand side under the menu. If your covers are like mine, they’ll look like this at first:
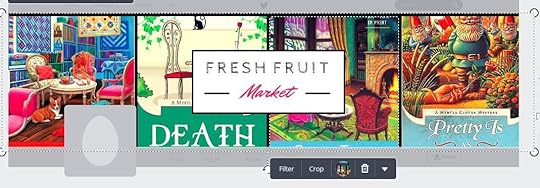
So you’ll either want to resize the covers (using your computer or another app) or crop them to show what you want. Click “crop” under the cover you’re working on and it brings up a window so that you can drag your cover to show the area of design you want to highlight, then you click the checkmark.
You can even flip your cover vertically or horizontally if there’s a cover element you want showing that’s not being highlighted. Obviously, you would not want to do this with a section of a cover that has text on it.

For the text elements that are in the layouts of some designs, you just click on the text box and a menu pops up to help you change the text or the text box itself.

So you come up with something like this, which is the one that I loaded onto Twitter:

Then you click ‘download’ at the top right of the page, and then you’ve got either a link or you can download an image or a PDF.
I will point out that one of the projects you can do on here is a Kindle cover. But y’all…I still say go with a pro for this stuff…it’s worth it. Use this for a social media design. But, I don’t know, if you have a short story or some really small project or you’re just experimenting with publishing on Kindle…sure, this might work for something like that.
Have you run across any helpful sites lately? Are you design-challenged, too?
The post Free Help With Graphic Design appeared first on Elizabeth Spann Craig.


