Make Your Own Magic Ball; Giveaway!
We’re rather fond of Laura Nelkin’s Gusto cowl pattern from our latest issue.
One of the things we love about it is that it’s a fantastic way to use up sock yarn leftovers. (We know you’ve got some lying around. It’s ok, no need to be ashamed. All sock knitters have leftovers.)
Laura’s design uses a homemade Magic Ball composed of sock yarn leftovers to create a fantastic one-of-a-kind stash-reducing knit. If you’re not familiar with these wonderful things, she’s kindly provided a tutorial for us.
 Once you’ve discovered the Magic Ball technique, we figure you’ll get totally hooked, and so we’ve arranged a giveaway: a signup for Laura’s Design Your Own Cowl Craftsy class. Take the yarn you’ve just made and indulge your own creative impulses! And because we love you and her, we’re also giving you a copy of her new book, too. One lucky reader will win both prizes.
The usual rules apply. Leave a comment on this post by midnight EST Wednesday October 22nd. One comment will be chosen at random to answer a skill testing question. If the commenter answers correctly they will win the yarn and the book. If you have already won a prize from us in the past year, please do give other knitters a chance.
Thanks to Craftsy for the class, to Potter Craft for the book, and as always, to Laura.
I’ve been a wee bit obsessed with designing for magic ball knitting lately and decided it was time to make a tutorial to show the magic knot I use for joining skeins.
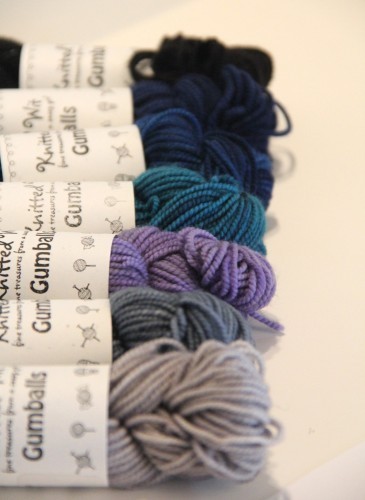
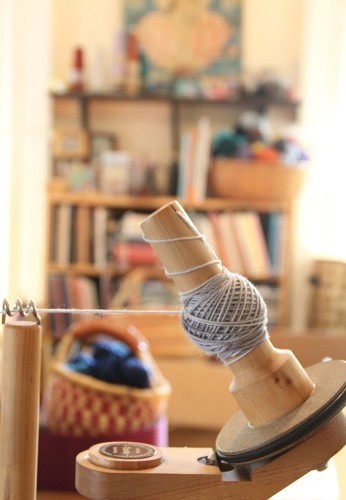
Step 1: Choose Your Yarn! I decided to play with my LYS’s excellent “stash” of Knitted Witt Gumballs for this tutorial. I choose enough to knit another Gusto as I can’t really get enough of that pattern! You can join together yarns in stash (see note below), or have a base yarn and join bits of color throughout it (like I did for Magmatic Boom). This is where you get to be CREATIVE! Then begin to wind your yarn.
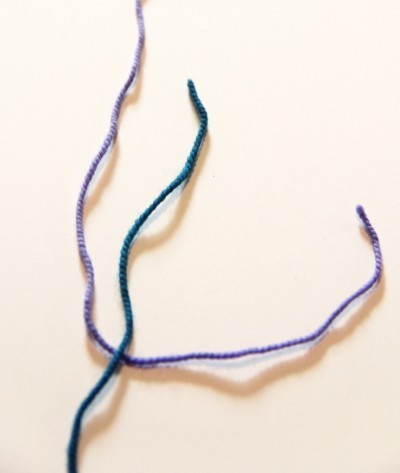
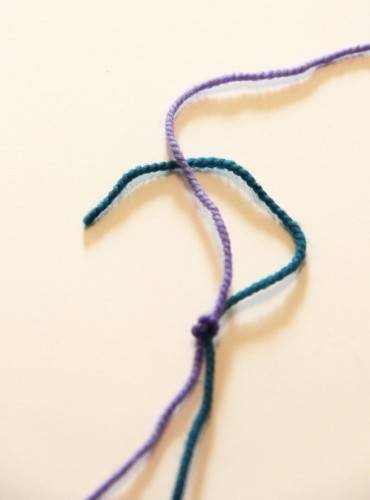
Step 2: Lay down the two ends you want to join with the tails going in opposite directions.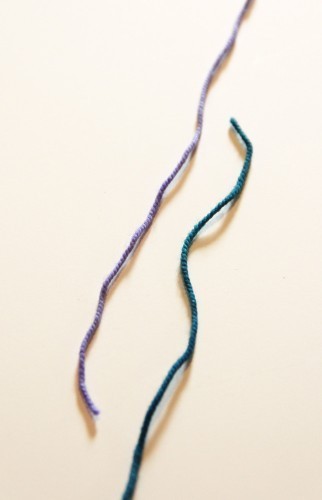
Step 3: Take one end and go underneath the other end to the opposite side.
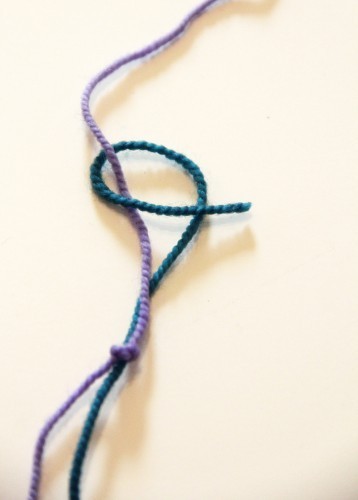
Step 4: Then bring that end back over and lay it across itself.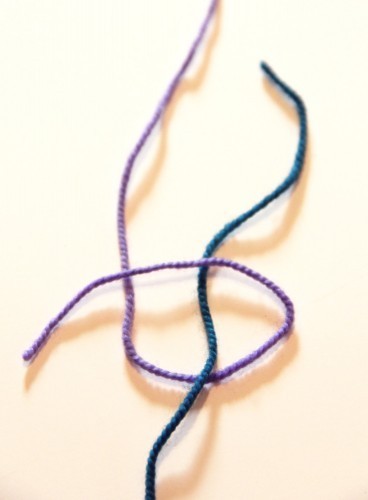
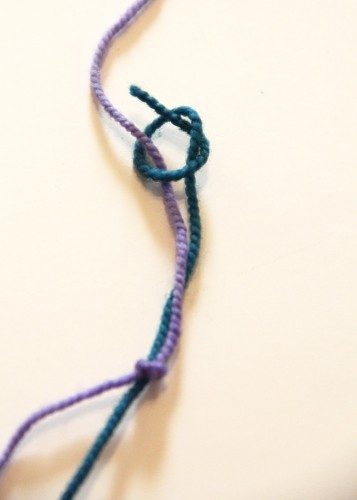
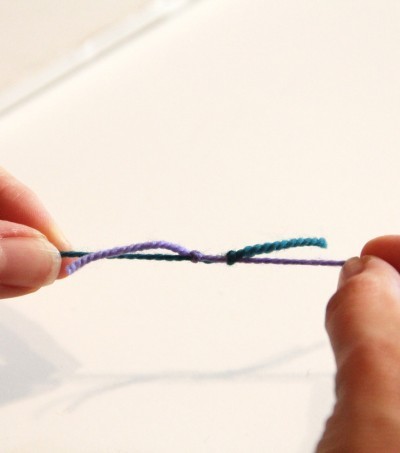
Step 5: Then take that end and go inside the loop you have created to make a overhand knot.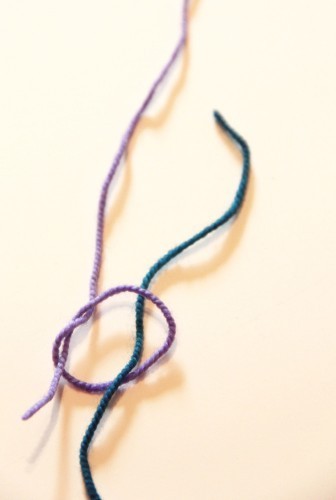
Step 6: Pull tight.
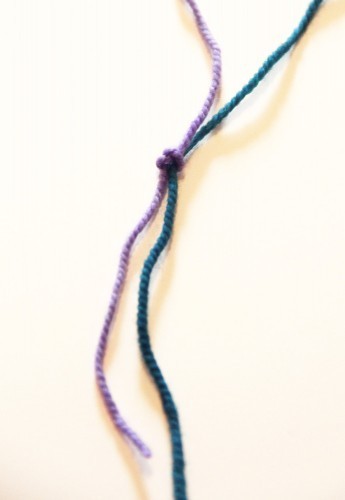
Step 7: Repeat with other tail.
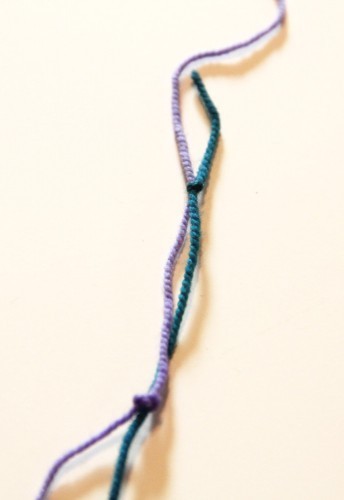
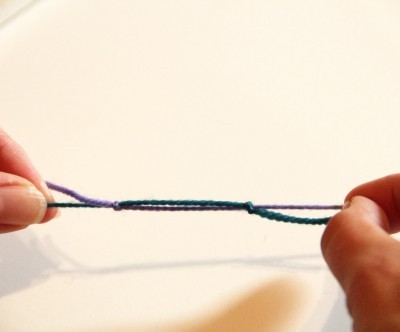
Step 8: Holding onto the working yarn, start to pull in opposite directions.
Step 9: Keep pulling, the two knots will slide together.
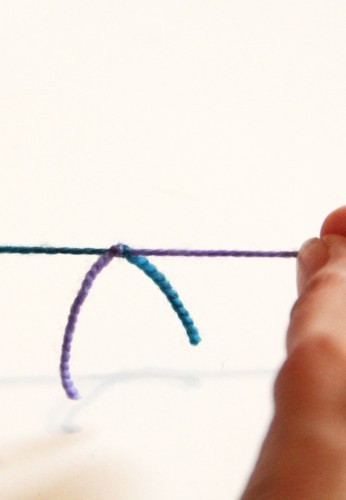
Step 10: Pull all the way tight!
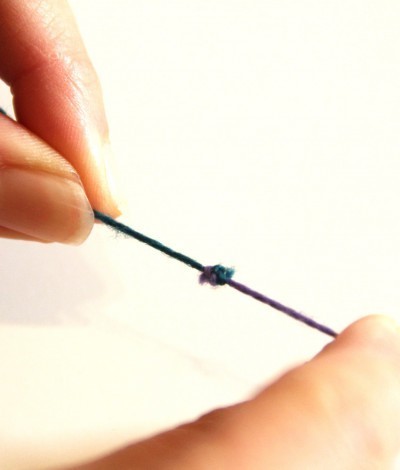
Step 11: Trim the ends VERY close to the knot, sharp scissors help!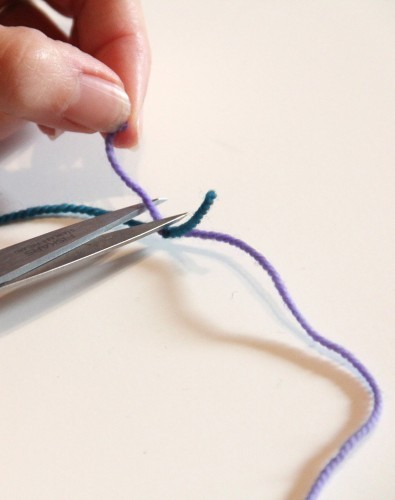
Step 12: Test your knot by yanking on it HARD! If you do not follow these steps exactly the knot will pop apart and it’s better to find that out now than while you are knitting!
Jane Richmond has an excellent video that shows this knot, which is how I learned about it. Thanks Jane!
I want to make a note that this knot is not perfect for every yarn and you should definitely test it with your yarn before you commit to it. I’ve heard that it doesn’t work well with single ply yarn, yarns with high silk content, and cellulose based fibers (like cotton, rayon and tencel). You can put a bit of Fray Check on the knot, which will make it hold… but just do a test first to be sure, sometimes it can change the color and hand of your fiber. Your other choice for joining the ends is to use a Russian Join, which will work on wool fibers but not the other fibers listed above.

Mandy Moore's Blog
- Mandy Moore's profile
- 6 followers


