
Self-Rising Biscuits
 This is a very old, very easy biscuit recipe for those times you don’t have a second to waste. They’re sometimes called Southern Biscuits, sometimes called Southern Buttermilk Biscuits, sometimes called 3-Ingredient Biscuits (even though, if you add salt, there are four!)…but I know them as Self-Rising Biscuits, because self-rising flour is, of course, the star of the show.
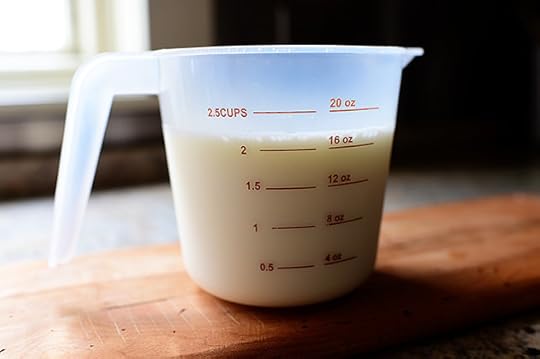 Now, the original recipe calls for buttermilk, but of course, I never have any buttermilk in my fridge. So I made my own by measuring close to the amount of milk I needed…
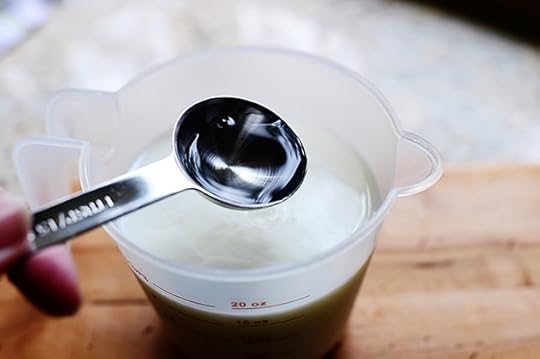 Adding white vinegar…
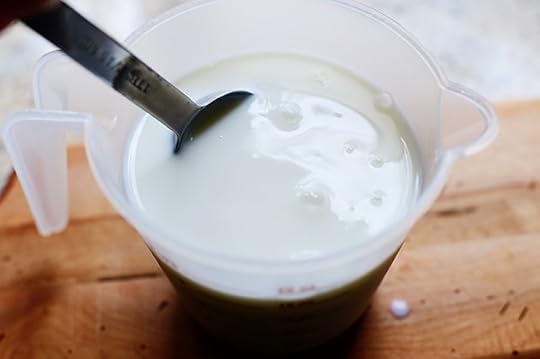 Stirring it together, and letting it sit.
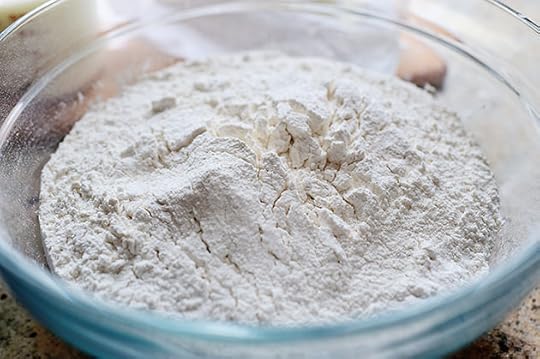
 The simplicity of the dry ingredients is what makes this biscuit recipe such a winner: It’s just self-rising flour…
 And salt!
Important Note: If you wind up using cold salted butter instead of shortening or lard (see below), you can either omit the salt entirely or just add about 1/2 teaspoon instead.
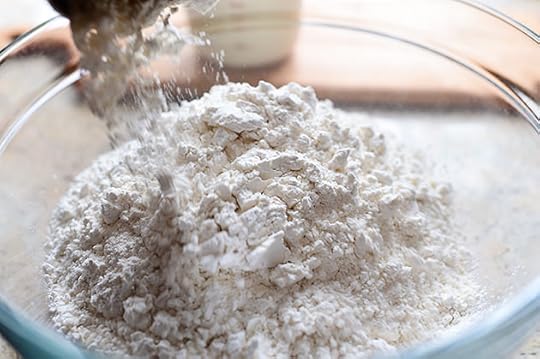
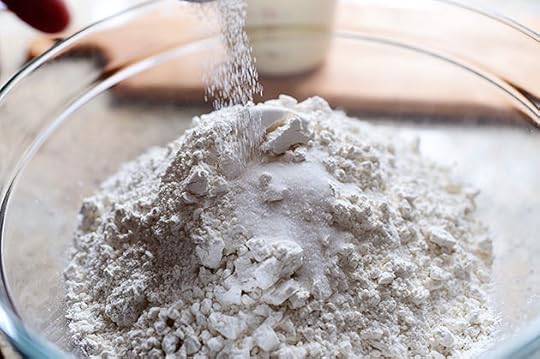
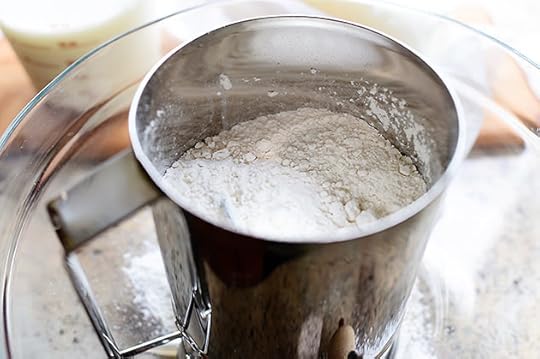 Just scoop it in batches into a sifter…
 And sift it all together.
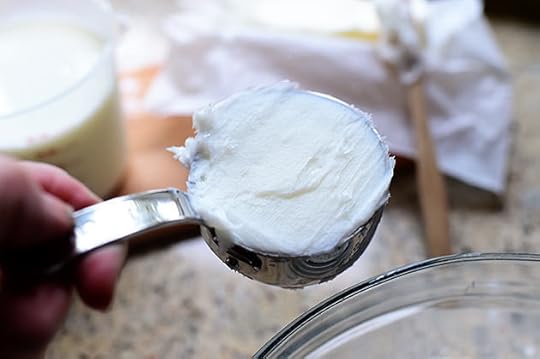 Now it’s time to play another round of Choose! Your! Fat! You can use cold butter (delicious), vegetable shortening (it’ll do), or—take a deep breath—lard. I’m using lard, but a mixture of lard and butter (or shortening and butter) is a good compromise, too.
(You can buy little tubs or boxes of lard at most supermarkets.)
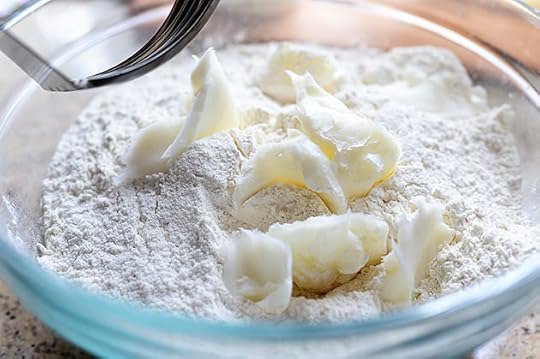 Throw in the fat…
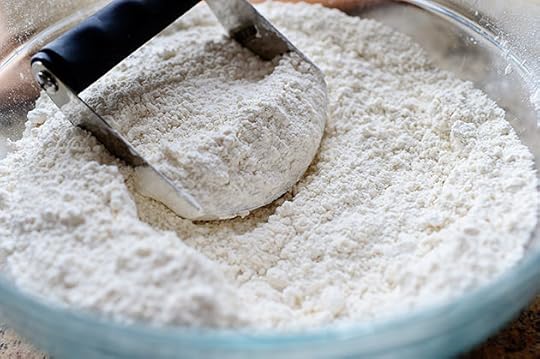 And use a pastry cutter to mix it all together.
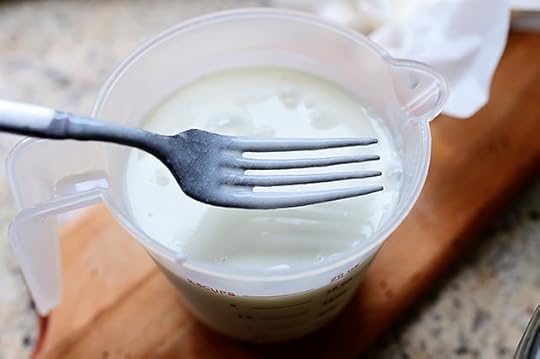 Now, after sitting for a few minutes, the milk has become buttermilk! It’s one of my favorite shortcuts. And actually, it isn’t even a shortcut. It takes longer than just pulling a jug of buttermilk out of the fridge. But then again, it takes longer for me to drive to dang town and get a dang gallon of dang buttermilk than it does for me to mix milk and vinegar together.
So as I was saying, it’s one of my favorite shortcuts.
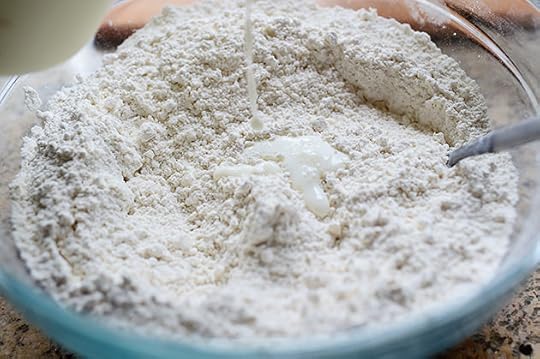 Just drizzle it in, slowly stirring…
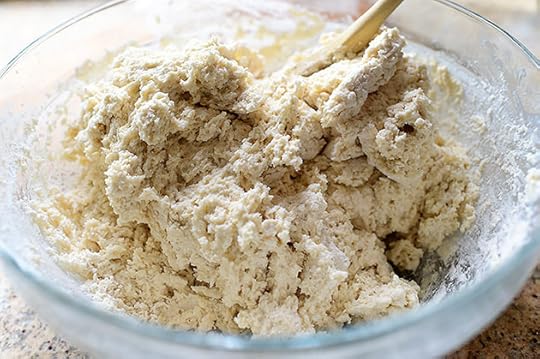 Until it all comes together. You’ll immediately see a little difference in the dough because of all the magic of the self-rising flour. So easy!
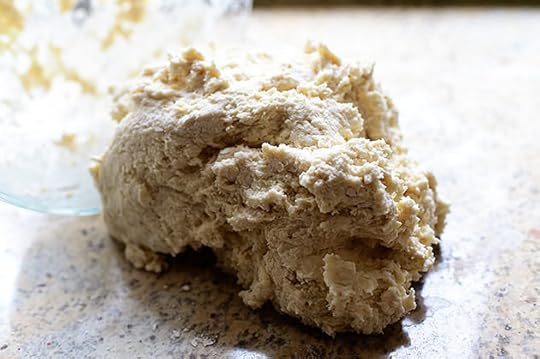 As soon as it comes together, turn out the dough onto a floured surface…
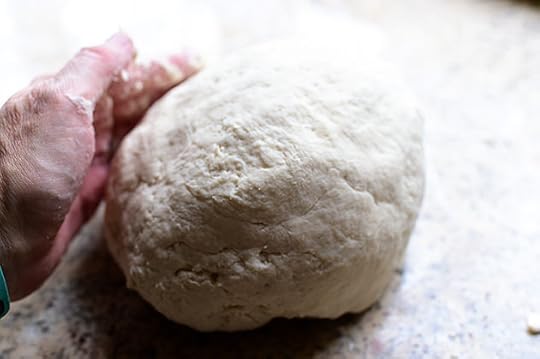 And knead it about 10 to 15 times (sprinkle on some flour if you need to) so it will come together in a ball.
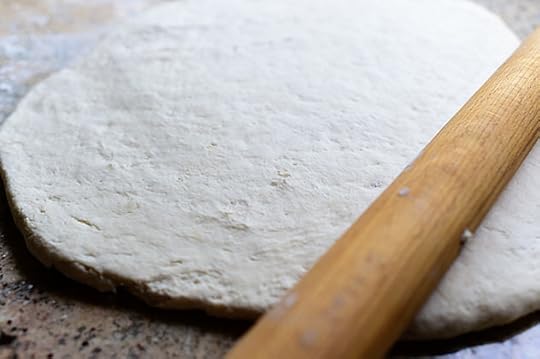 Then just roll it out! How thick you roll it really depends on how high you want the biscuits; they will rise pretty rapidly in the oven, so if you cut them too thick, they might be a little too high! Too thin, though, and you’ll stunt their growth. So about 1/3 to 1/2 inch is probably good!
 I used a mini cutter, but of course, you can do any size of biscuit you want.
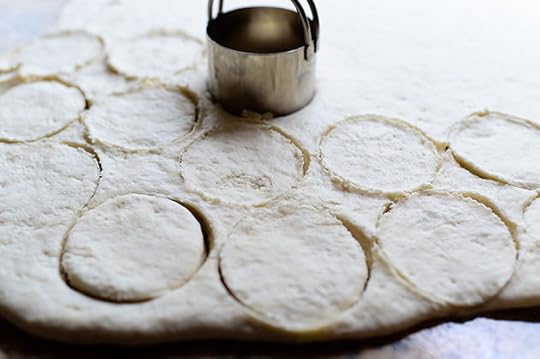 Just cut them as close together as you can…
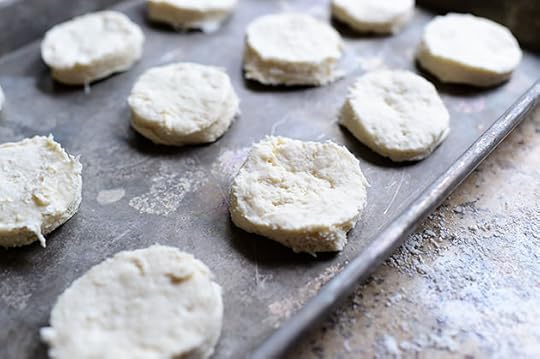 And get them onto a pan.
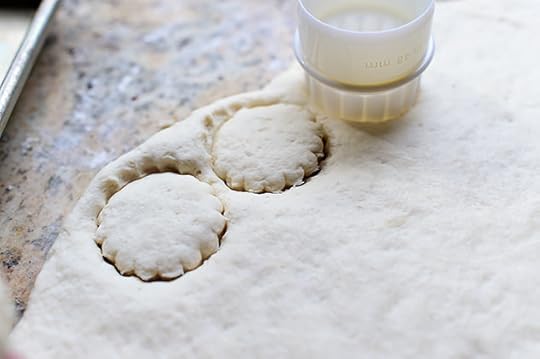 I also used a fluted cutter, just for kicks.
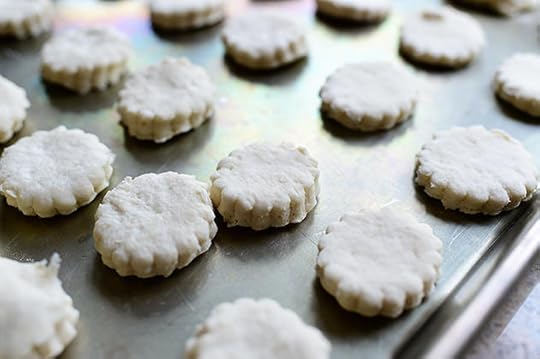 Cute!
Cute!
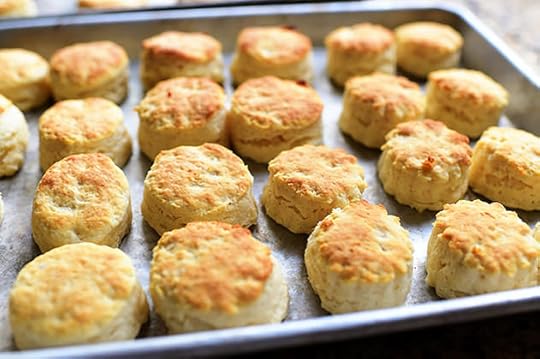
They go into a really hot oven—about 475—and don’t take long to bake, of course. How long they bake depends entirely on the size of the biscuits, so start at about 8 to 10 minutes for mini biscuits and work your way up from there.
 Aren’t they lovely?
But just one thing…
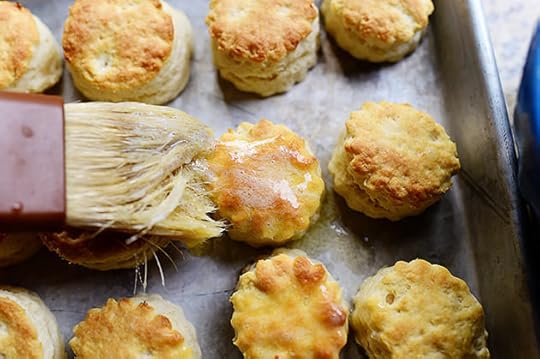
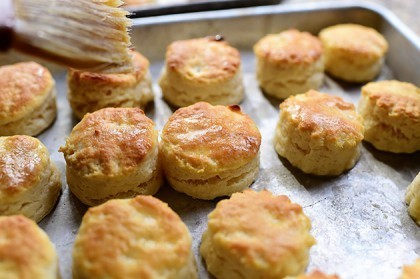
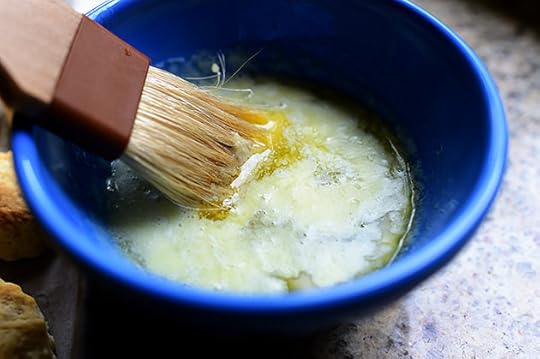 They are begging for melted butter.
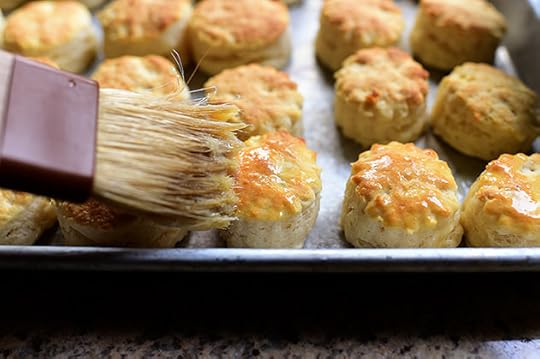 Just slather the tops generously; this is not the time to practice restraint!
 Oh, my dear goodness. So phenomenally easy and so delicious. If you need biscuits in a hurry, this recipe is the way to go!
Here’s the handy dandy printable.
.recipe-actions {
position: relative;
z-index: 2;
}
#pdf-popover {
background: rgba(255,255,255,.9);
border: 1px solid #efeeed;
color: #6e5c3a;
display: none;
font-family: Helvetica, Arial, sans-serif;
right: 20px;
margin: 2px;
padding: 54px 20px 7px 10px;
position: absolute;
top: 0;
width: 380px;
z-index: 10;
}
#pdf-popover form {
margin: 0;
}
#pdf-popover h4 {
background: #b15818;
color: #fff;
font-family: Helvetica, Arial, sans-serif;
font-size: 20px;
font-weight: normal;
left: 3px;
margin: 0;
position: absolute;
padding: 6px 12px;
right: 3px;
top: 3px;
}
#pdf-popover legend {
font-family: Helvetica, Arial, sans-serif;
font-size: 120%;
font-weight: bold;
margin-bottom: 2px;
margin-left: 10px;
text-transform: uppercase;
}
#pdf-popover fieldset {
margin-bottom: 15px;
}
#pdf-popover input[type="checkbox"] {
height: 14px;
margin: 2px 0 10px 10px;
padding-left: 14px;
position: relative;
visibility: visible;
width: 14px;
}
#pdf-popover input[type="checkbox"],
#pdf-popover input[type="radio"] {
margin-left: 10px;
}
#pdf-popover .close {
background: #b15818;
color: #FFFFFF;
cursor: pointer;
height: 35px;
font-size: 16px;
font-weight: bold;
line-height: 26px;
position: absolute;
right: 3px;
text-align: center;
top: 3px;
width: 25px;
z-index: 1;
}
#pdf-popover .button {
background-color: #b15818;
border: 0;
color: #fff;
cursor: pointer;
font-family: Helvetica, Arial, sans-serif;
margin-left: 10px;
padding: 8px 10px;
text-transform: uppercase;
}
x
Print Options
Page size
Letter
3x5
4x6
Text Size
Small
Medium
Large
Content
Include description
Include prep time, etc.
Show image
Recipe
Self-Rising Biscuits
Prep Time: 10 Minutes
Cook Time: 10 Minutes
Difficulty: Easy
Servings: 24
 Print Recipe
Ingredients
2-1/3 cups Whole Milk3 Tablespoons White Distilled Vinegar6 cups Self-rising Flour, Plus More For Kneading1-1/2 teaspoon Salt3/4 cups Lard (OR Butter OR Shortening OR A Combination) Melted Salted Butter, For Brushing Preparation Instructions
(Important note: You may substitute 2 1/2 cups buttermilk for the milk/vinegar mixture.)
(Important note #2: If you use salted butter instead of shortening/lard, decrease the amount of salt you add.)
Preheat the oven to 475 F.
In a measuring pitcher, combine milk and vinegar. Stir together and set aside for 10 minutes. Note: You can use 2 1/2 cups buttermilk instead of the milk and vinegar if you have some on hand.
In a large bowl sift together the flour and salt. Use a pastry cutter to cut in the lard (or butter or shortening or both) until the mixture resembles coarse crumbs.
Pour the wet ingredients into the dry ingredients, stirring gently with a fork or wooden spoon until it all comes together. Flour the surface, then turn out the dough and knead 10-15 times, adding a little flour so it's less sticky.
Roll out dough to 1/3 to 1/2 inch thick and use a biscuit cutter to cut medium to small circles. Place on a baking sheet 1/2 inch apart and bake for approximately 10 minutes, or until golden brown on top. Remove from oven and immediately brush on melted butter. To die for!
***Baking time will vary depending on the size of the biscuit cutter you use. I made mini biscuits, which took about 9 to 10 minutes. Larger biscuits will take longer, so keep an eye on them as they bake.
Posted by Ree | The Pioneer Woman on October 15 2014


Ree Drummond's Blog

- Ree Drummond's profile
- 2020 followers

