
Make a Bralette Using Butterick 6031
 Hey, remember my lingerie pattern for Butterick? B6031 is a collection with patterns for a slip, cami, and panties.
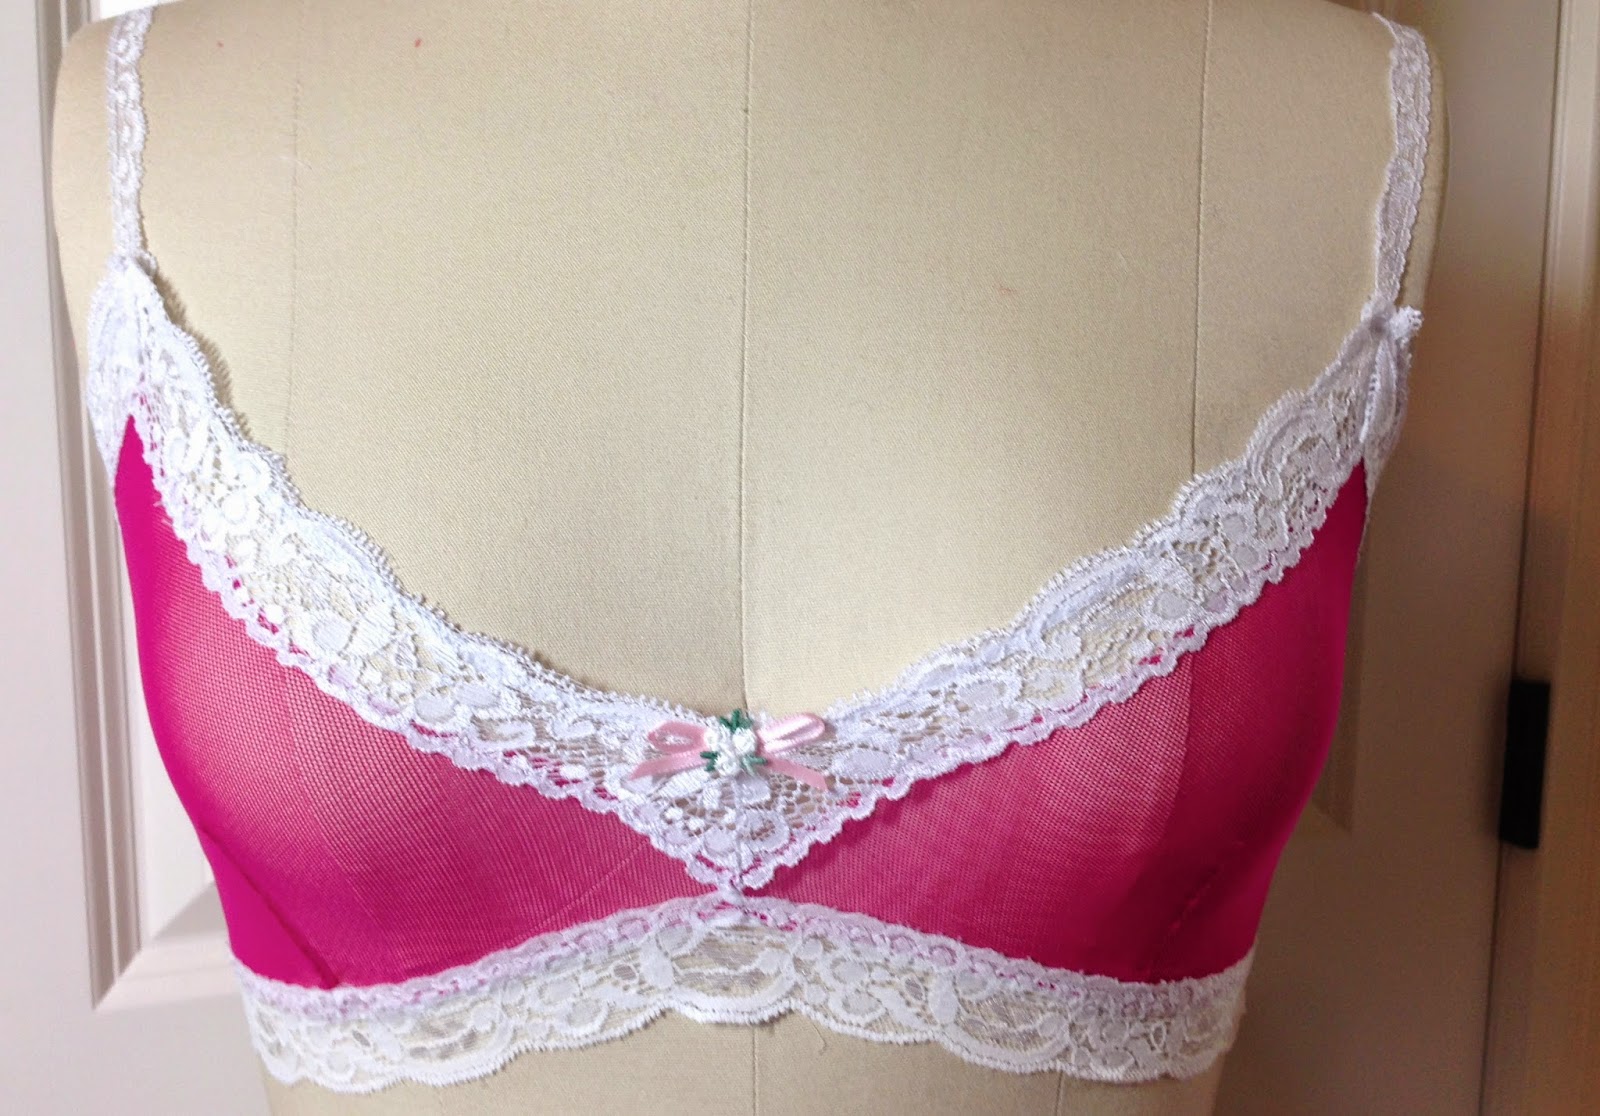
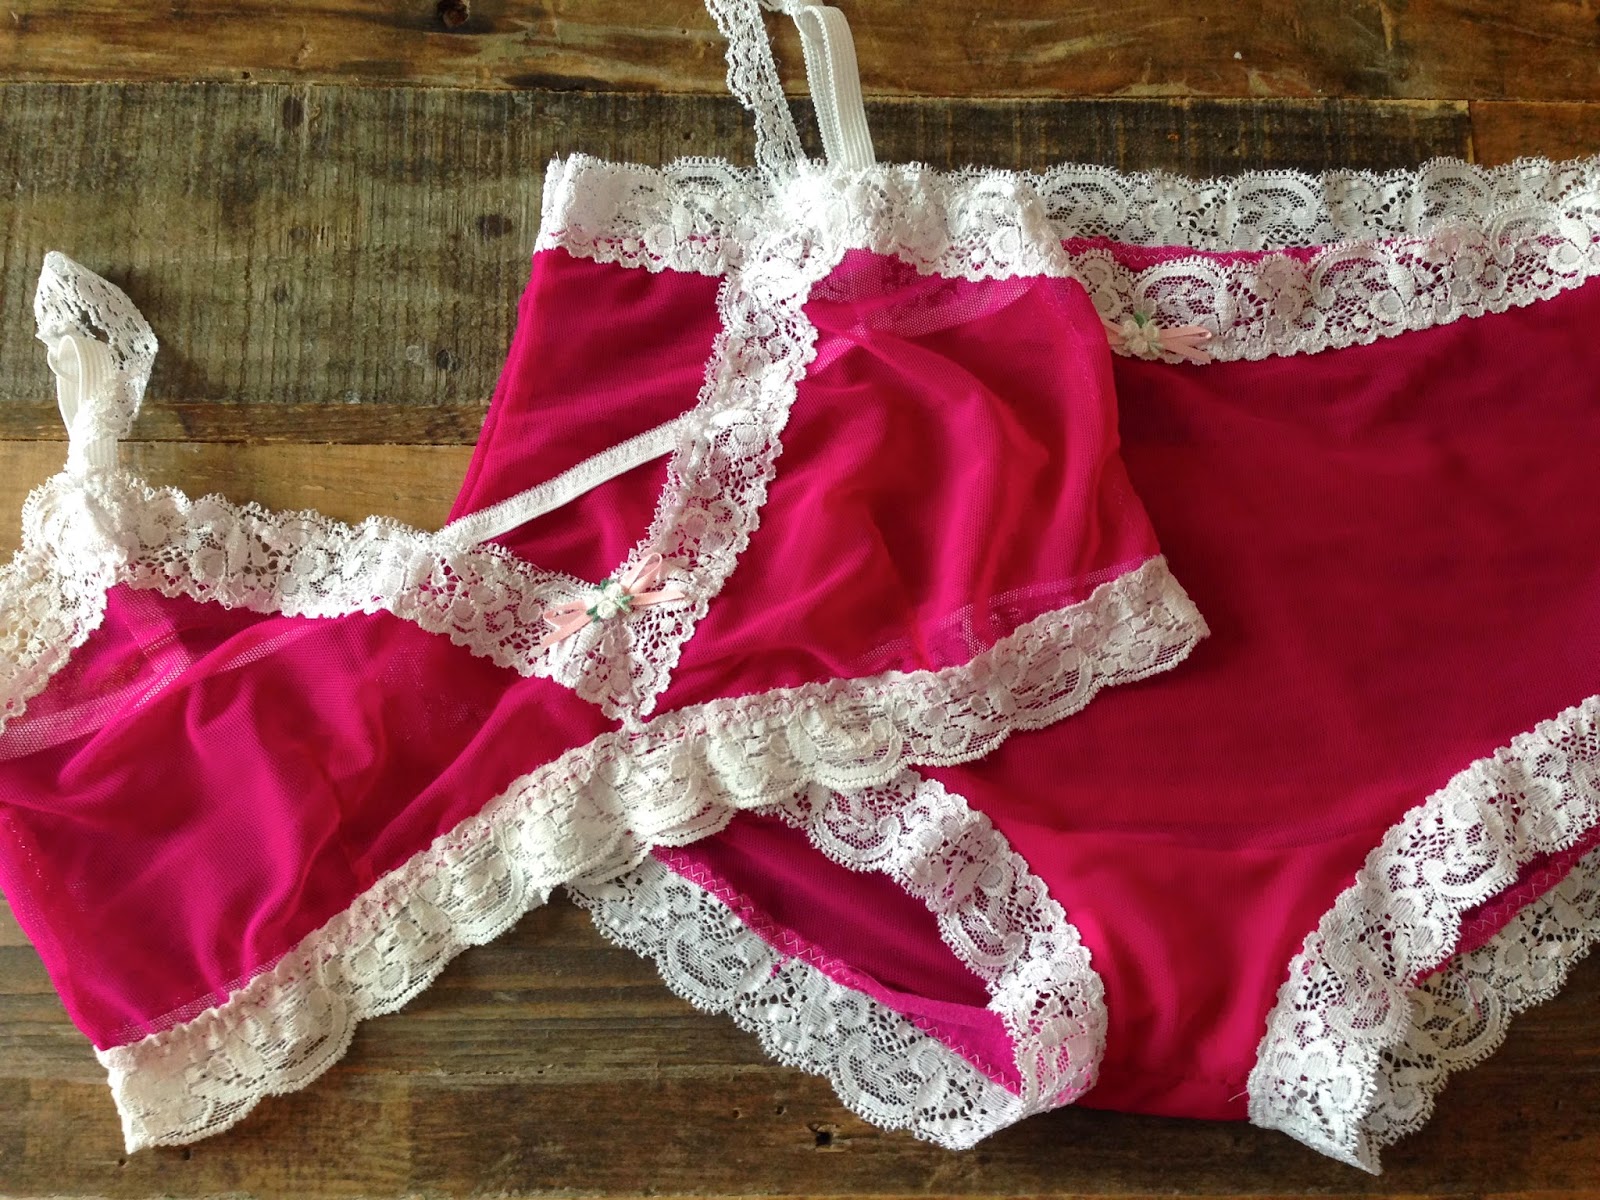
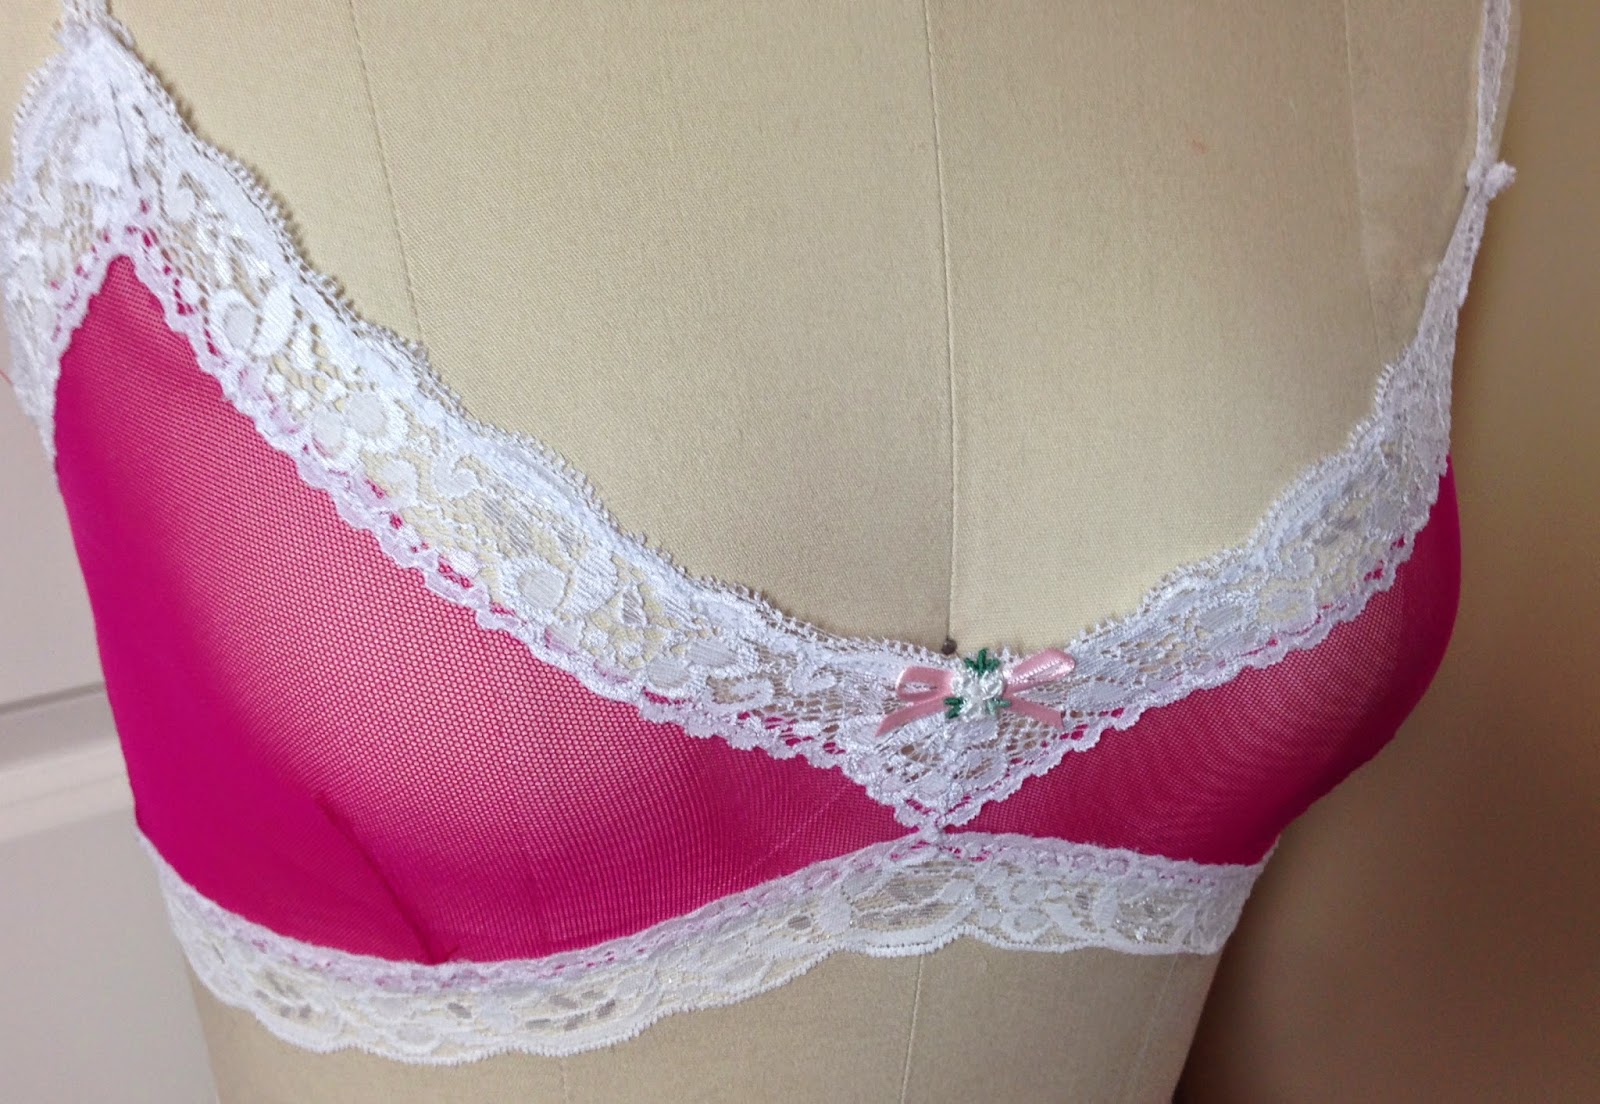
I discovered last weekend that it's also shockingly easy to convert the slip/cami pattern into a bralette. This is a cute little piece for lounging or casual daywear, NOT aerobic activity. (Trust me.) It looks cute when made up with the matching undies. I made this in sheer 4-way stretch mesh for a little spice.
 To convert the pattern to a bralette, all you have to do is make the back shorter. Take the bra pattern piece and the slip/cami back and align them at the side seam notches.
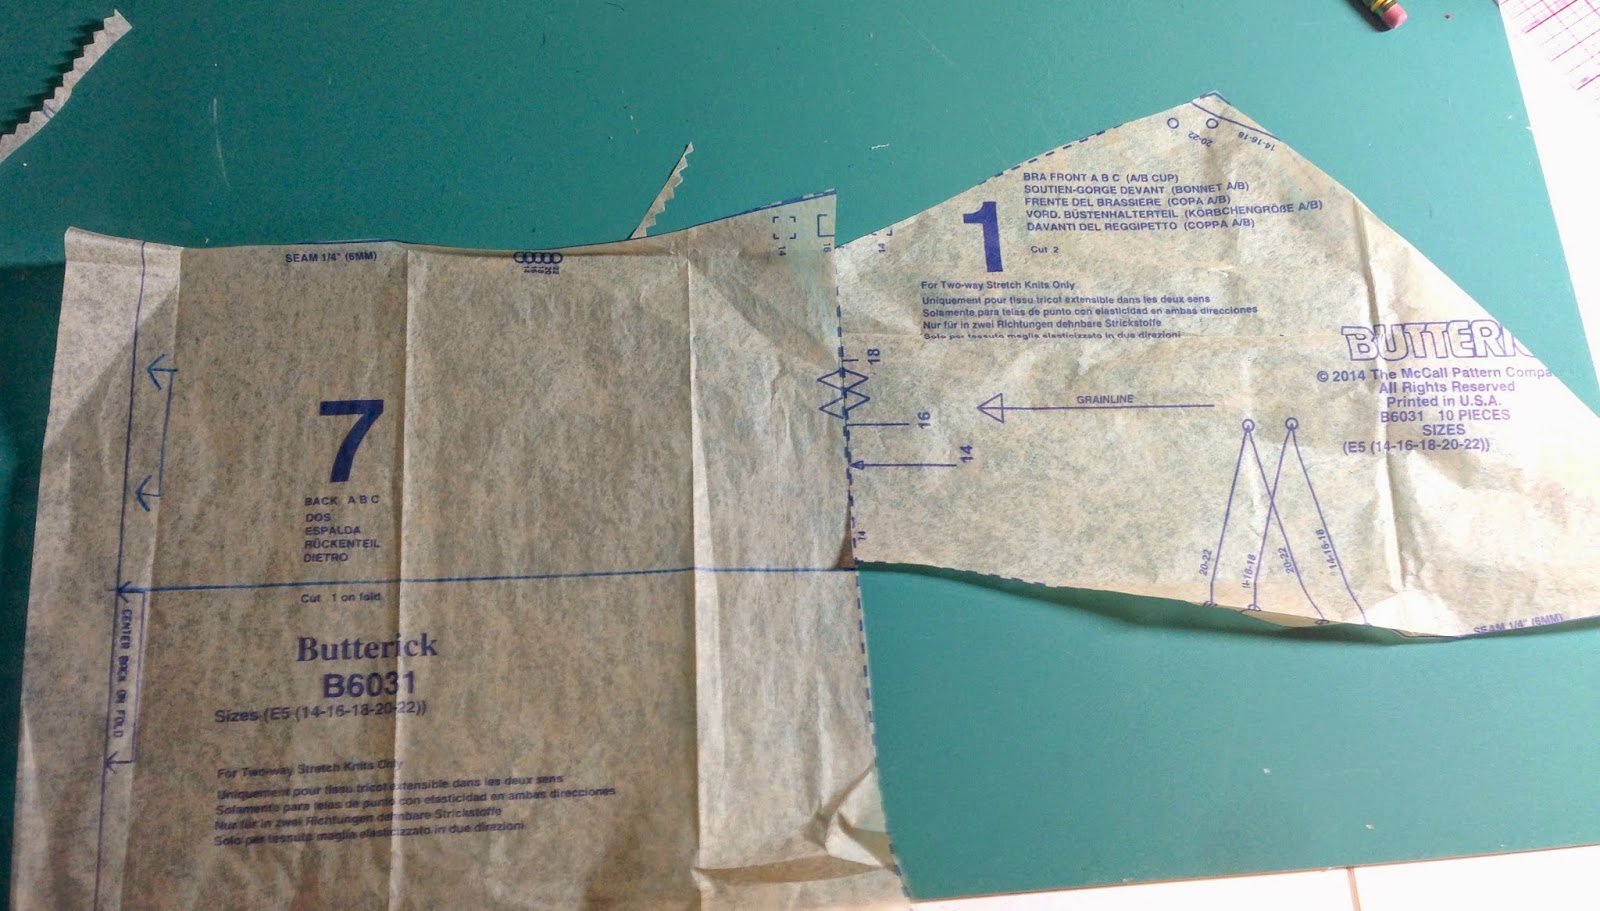
Then draw a line across the back pattern so that it ends at the same point as the bra. (See the blue line above.) Then cut off the pattern piece. I added a new "cut on fold" bracket since the original got cut off. (If you don't want to cut up your pattern, make a fresh copy!)
Sew the bralette as you would for the slip, except finish the bottom edge with wide stretch lace, after sewing on the straps. It helps to first hold a length of the lace snugly around your body, right under the bust. Cut the elastic to that length (plus a little extra for seam allowances). Sew the stretch lace into a ring, and then zigzag it to the bottom of the bralette, lapping the lace over the mesh by 1/4". Stretching the lace to fit as you sew.
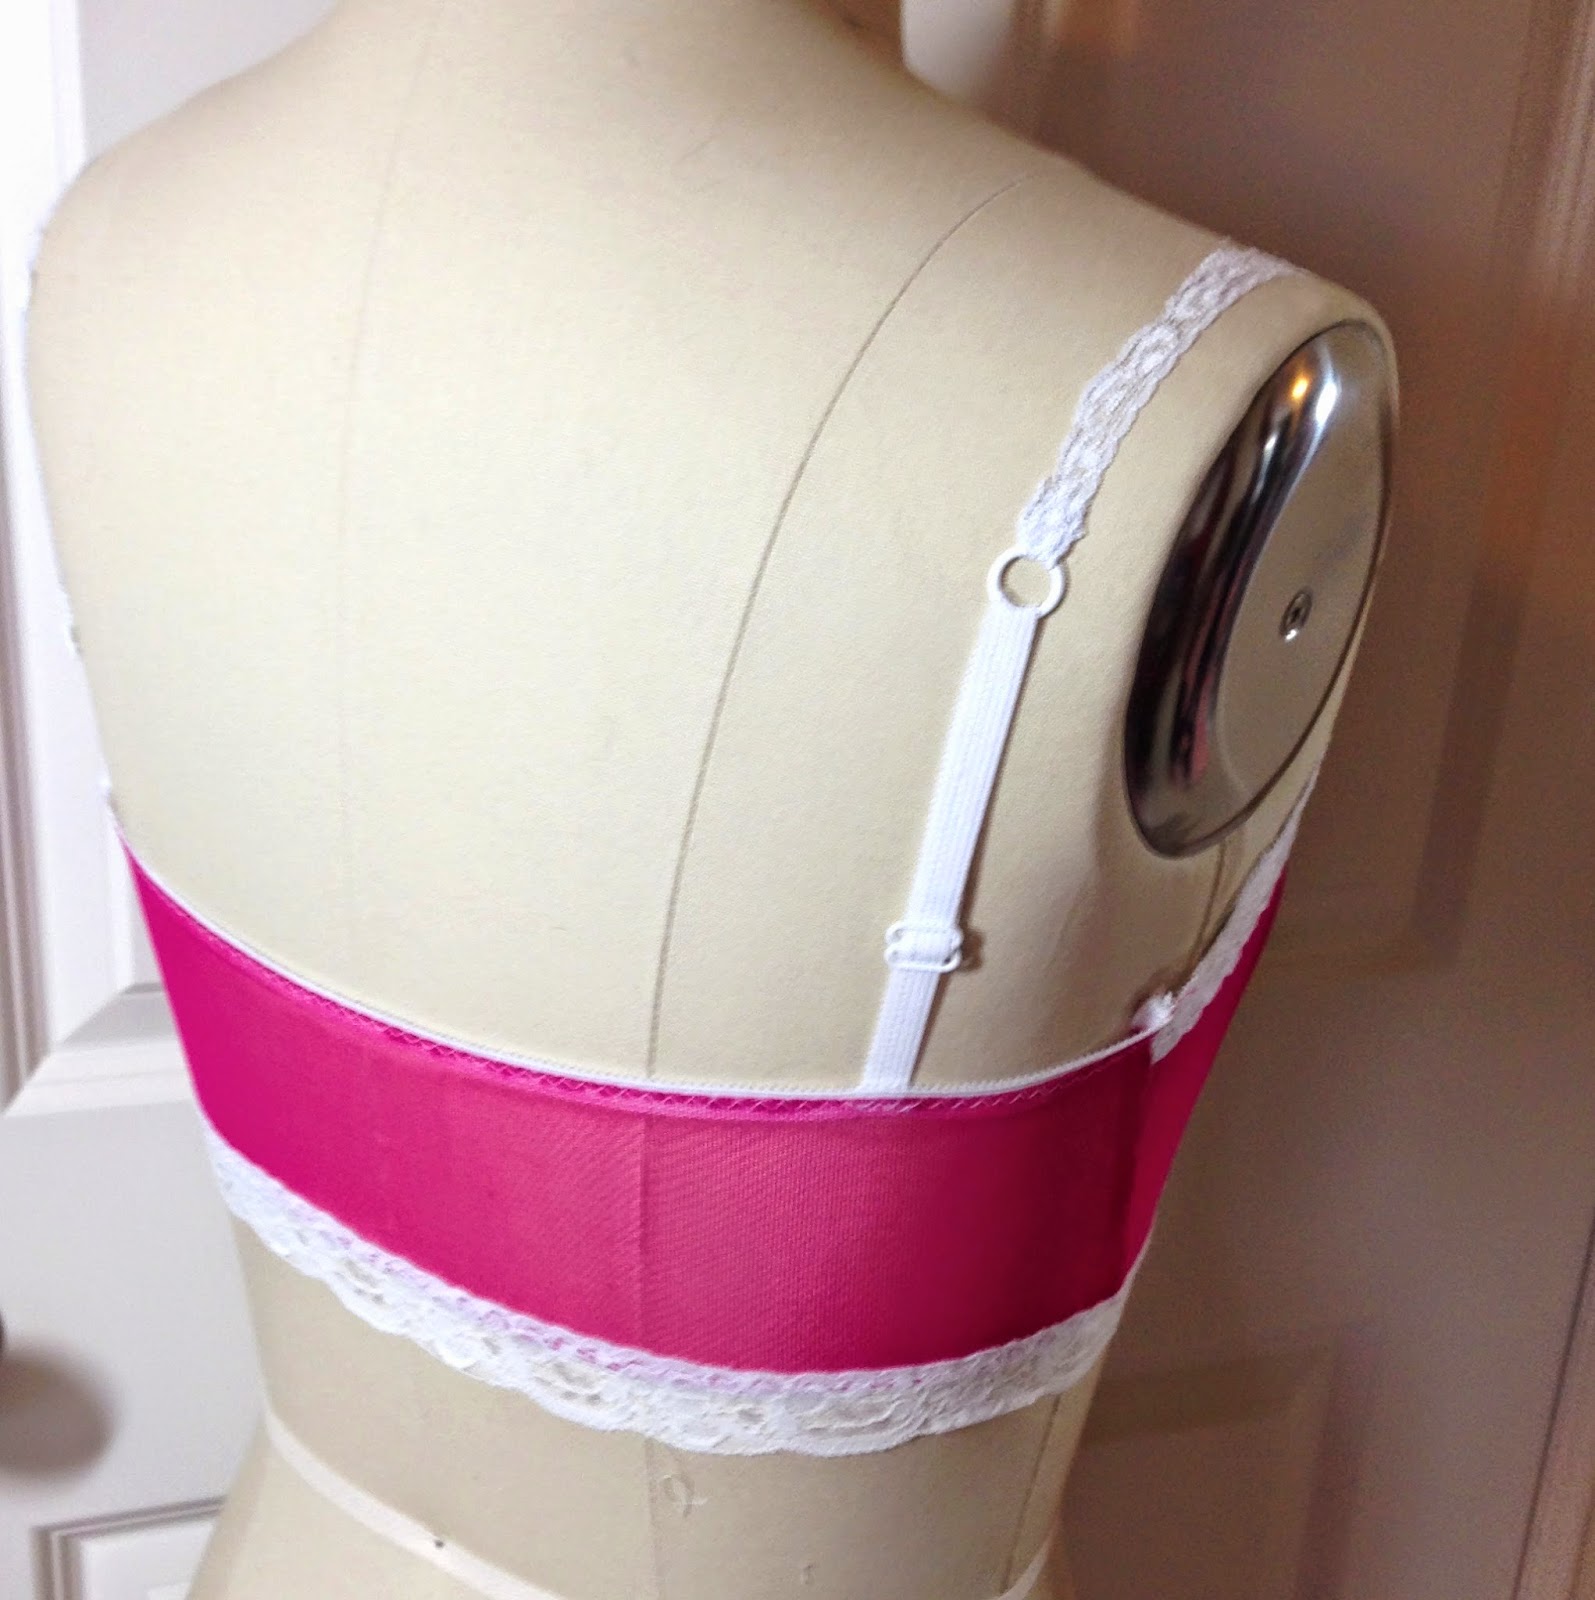 For a little more support, you can also zigzag some plain elastic to inside of the bra, at the top of the midriff lace, just below where it joins the bra fabric. Measure it to your torso, as you did with the lace, and then stretch it as you're sewing to fit the lace, if necessary.
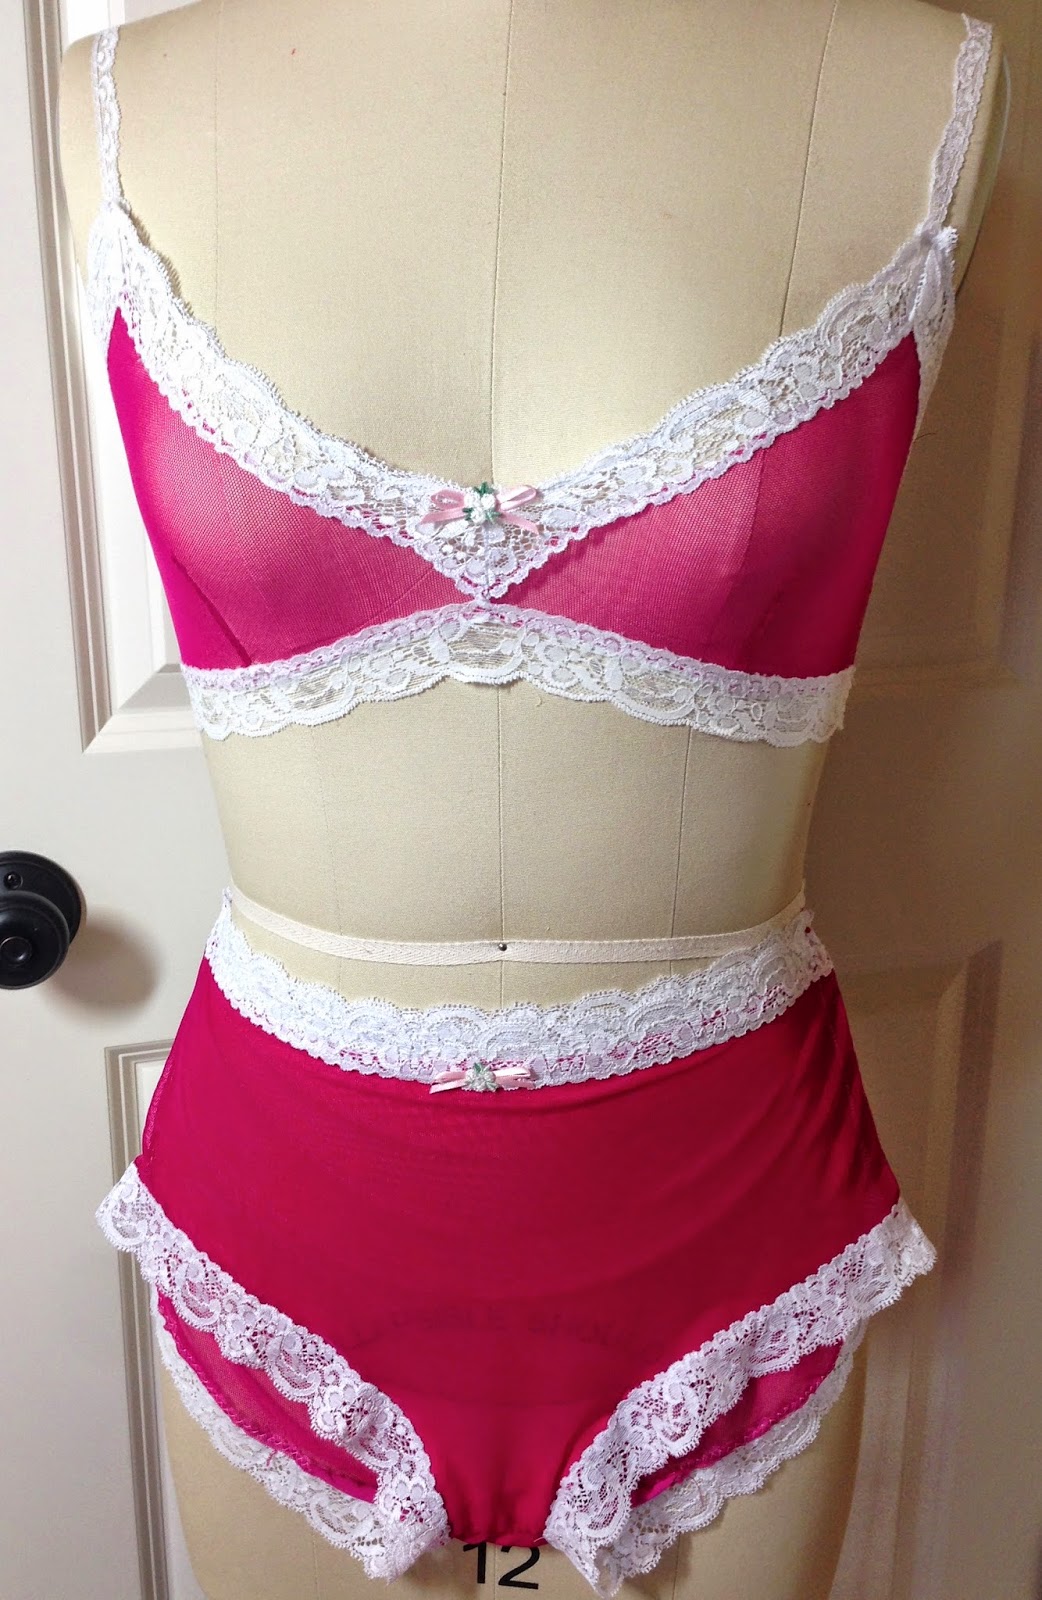
 You may also notice that I made the neckline of the bra slightly lower than the original design. See how the center front meeting point of the lace reaches down to the midriff lace?
If you want to try this, just lay some lace on the pattern piece where you want it to be positioned on the final bra, keeping in mind seam allowances and such. (There's 5/8" seam allowance at center front, and 1/4" at the bottom of the bra, so I placed the lace accordingly so it would end up at center front when the piece is sewn.)
 Then fold in the excess at the top of the pattern and cut out with the new lower neckline.
 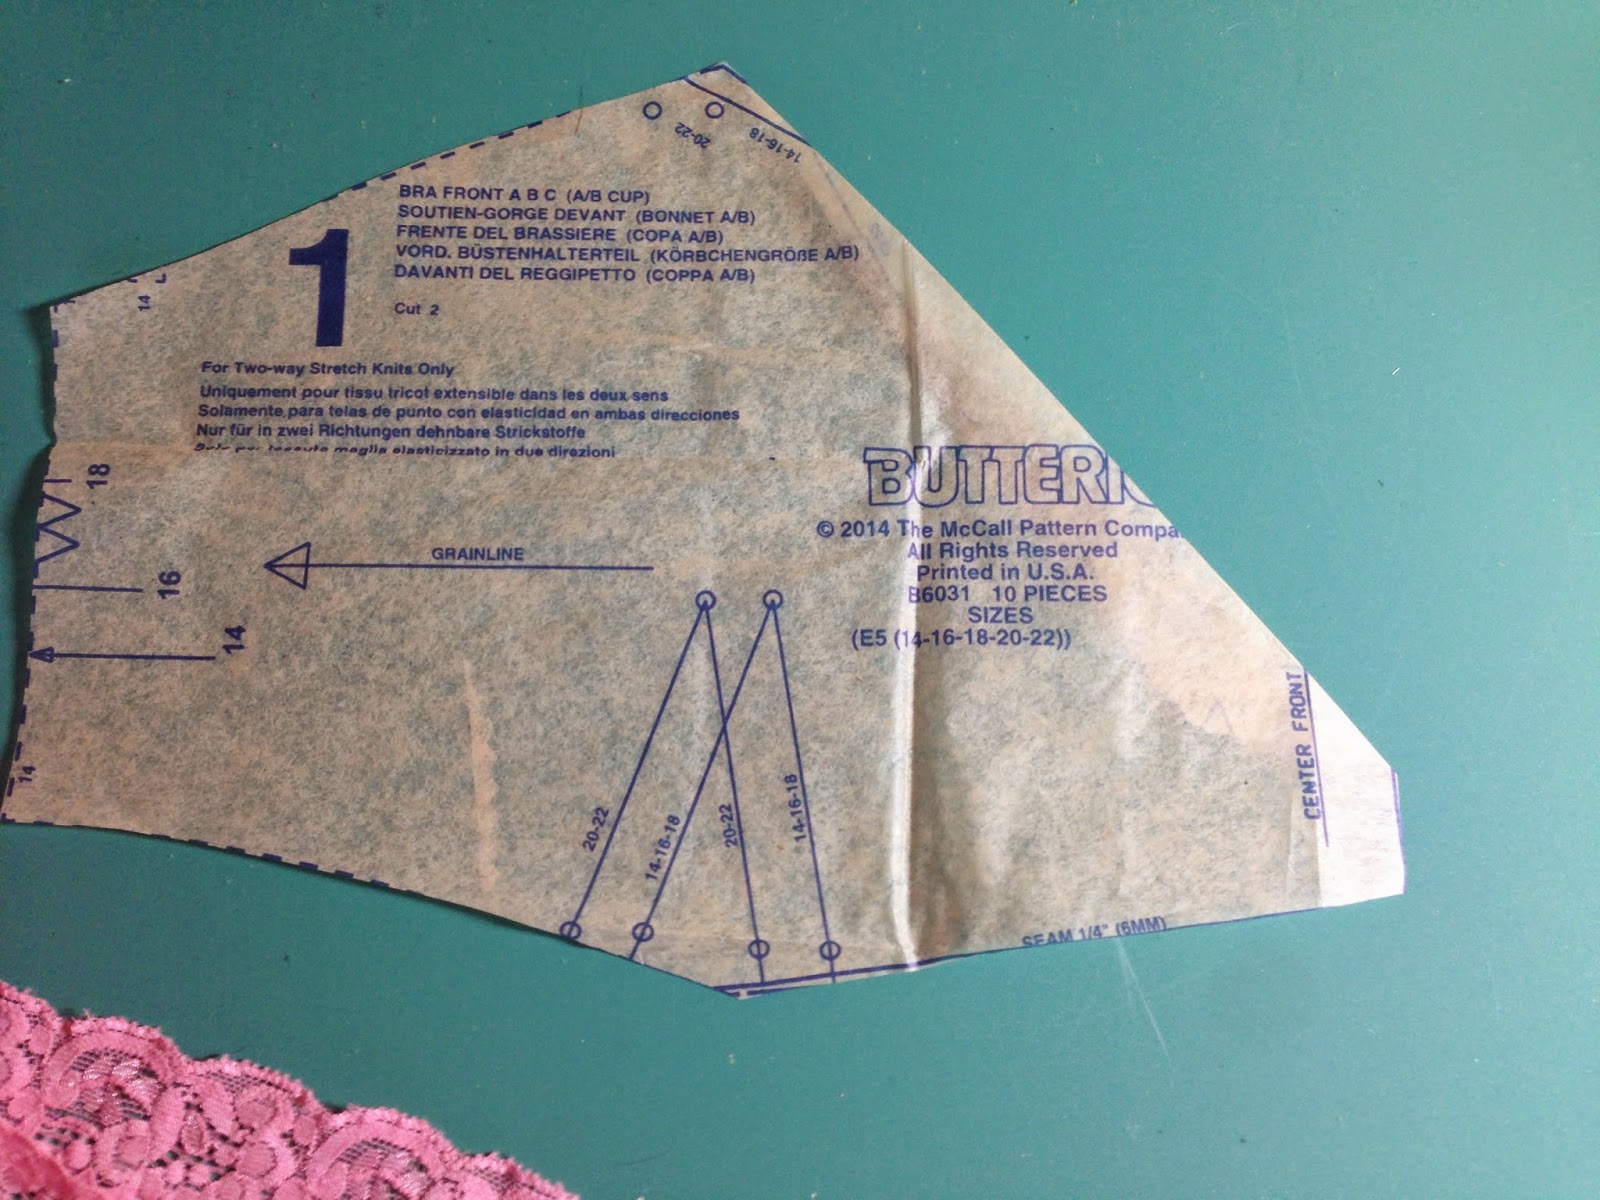 That's all there is to it! If you'd like more pointers on sewing the slip and panties in this pattern, check out all my relevant posts, including a step-by-step sew-along.


No comments have been added yet.
Gretchen Hirsch's Blog

- Gretchen Hirsch's profile
- 49 followers
Gretchen Hirsch isn't a Goodreads Author
(yet),
but they
do have a blog,
so here are some recent posts imported from
their feed.

