
How to Make Bias Binding
For the next week I will be sat at my sewing machine at the Knitting & Stitching Show demonstrating some fun sewing techniques and sharing some inspiration for new stitching projects. So I thought, why not share a quick and easy (but oh so handy!) sewing tutorial. So, let’s make Bias Binding!
Bias binding or bias tape is used in a wide range of sewing projects from finishing the neckline or armholes on garments, or concealing the raw edges when finishing a quilt. Bias tape is available in a whole range of widths, colours and finishes, but you can make this quickly and easily at home, with this easy-to-follow guide.
Grab your supplies…
Cotton Fabric
Rotary cutter
Cutting mat
Ruler
Iron
Bias Tape Maker (optional)

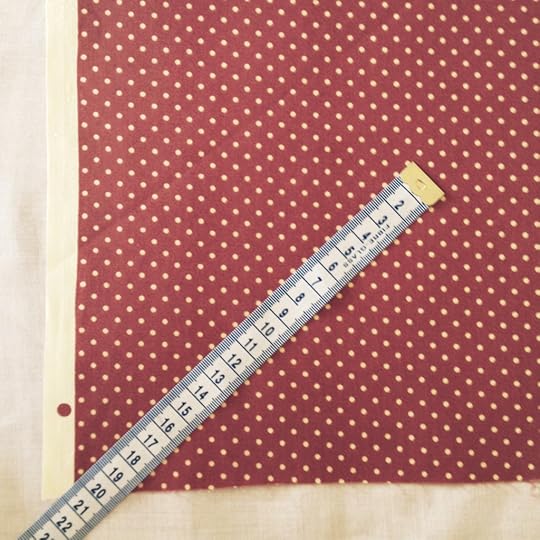 Locate the bias of your chosen fabric. This will be at a 45 degree angle to the warp and the weft threads.
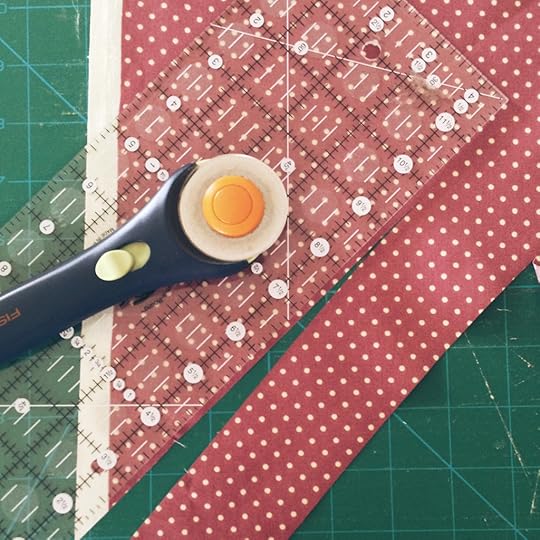 Using the rotary cutter, ruler and mat, cut a strip of fabric across the bias. The strip of fabric will need to be four times the width required of the finished bias. Here the strip is 4cm wide and will create 1cm finished bias tape.
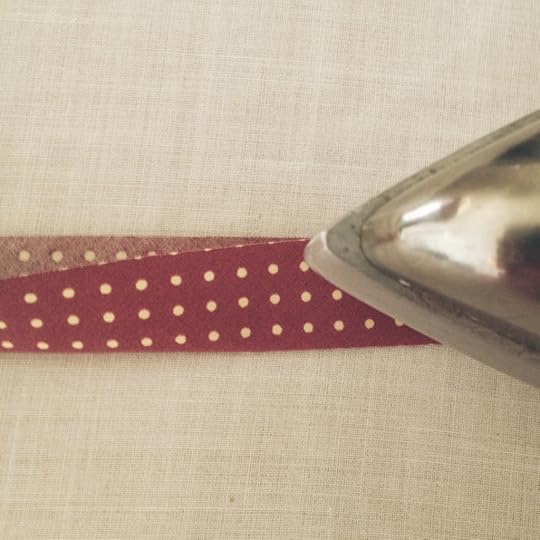 With the right side outermost, fold the strip of fabric in half aligning the two long raw edges. Press in place, working along the entire length of the strip.
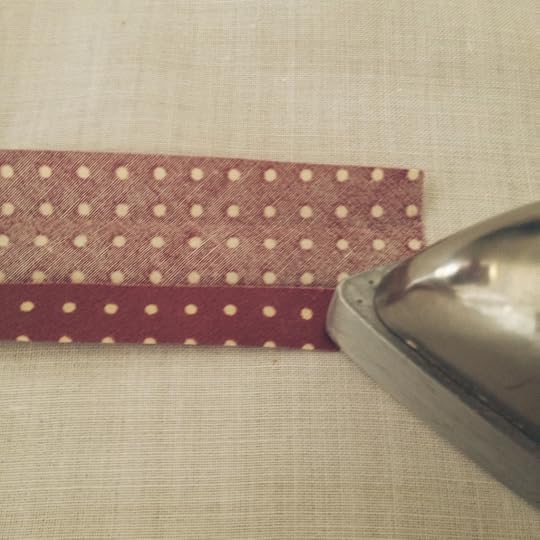 Unfold the bias strip and re-fold, this time aligning the lower raw edge with the creased line that runs down the centre of the strip. Press carefully in place along the entire length.
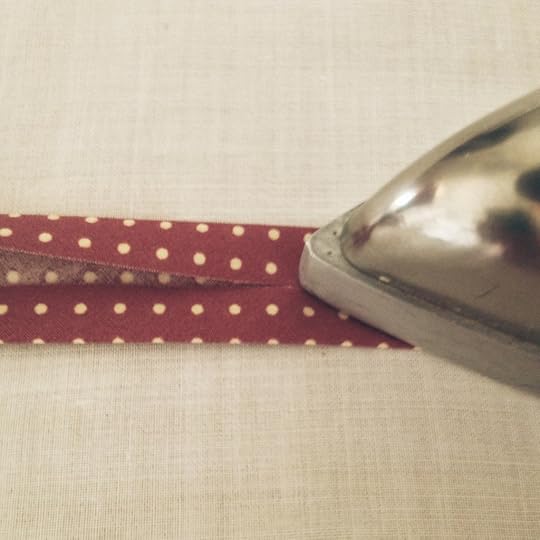 Fold the upper raw edge of the strip down, aligning it with the creased centre line. Press in place along the entire length.
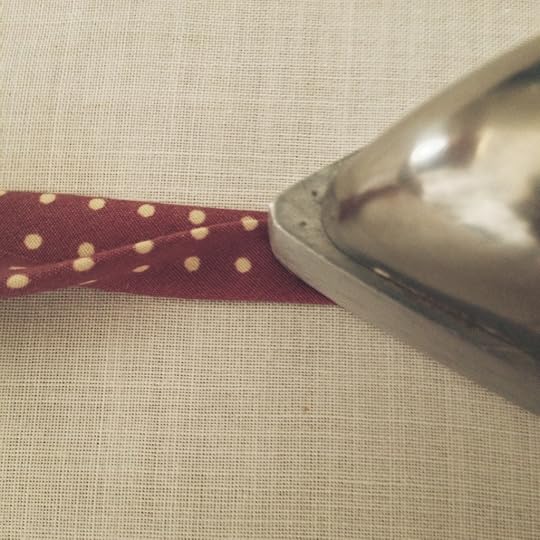 Complete the bias tape by re-folding the strip along the centre line, aligning the two long folded edges. Press in place along the entire length, the raw edges of the fabric are now concealed and the bias tape is ready to use.
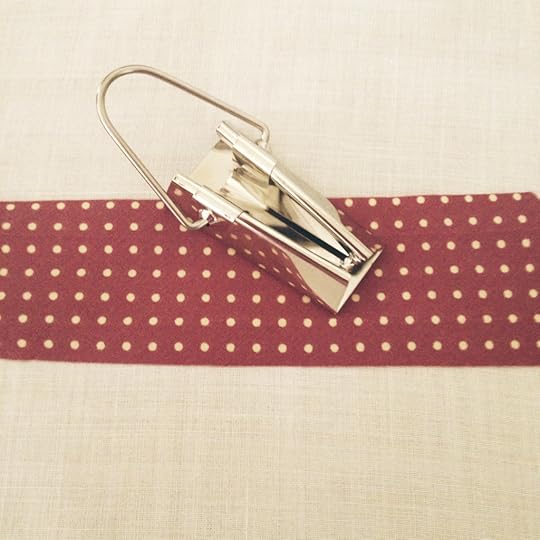 A Bias Tool can make light work of creating your own bias tape, especially if you have lots to make. Select the desired size bias tool for your required width of bias and cut a strip of fabric along the bias to the specified width.
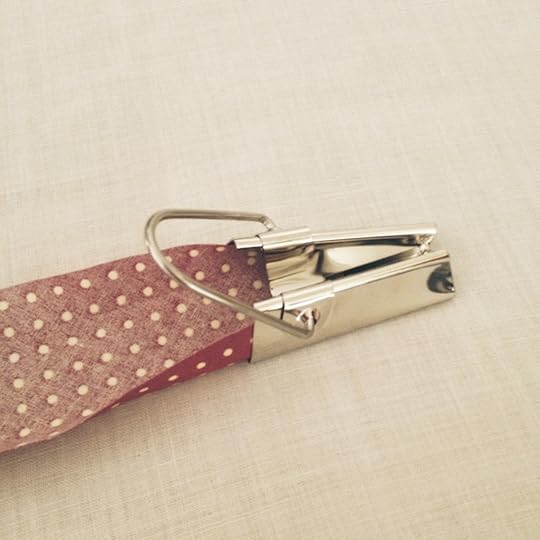 With the wrong side of the fabric strip uppermost, insert into the wide end of the bias tool and carefully feed it though.
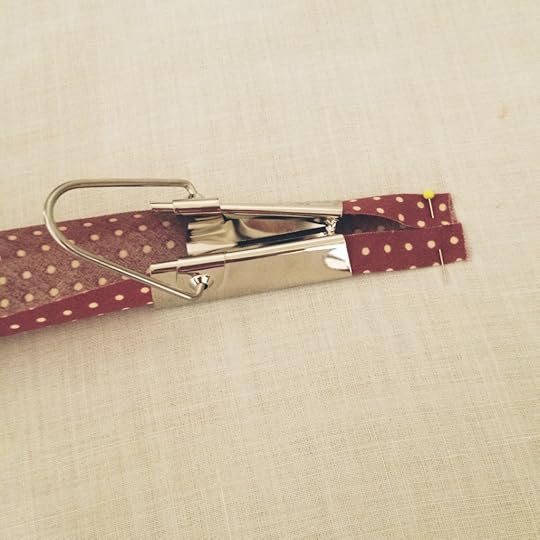 Draw 2cm of fabric through the bias tool. The angled sides of the tool will push the fabric edges inwards to create the bias tape. Finger press these to the centre of the tape and use a pin to hold in position on the ironing board.
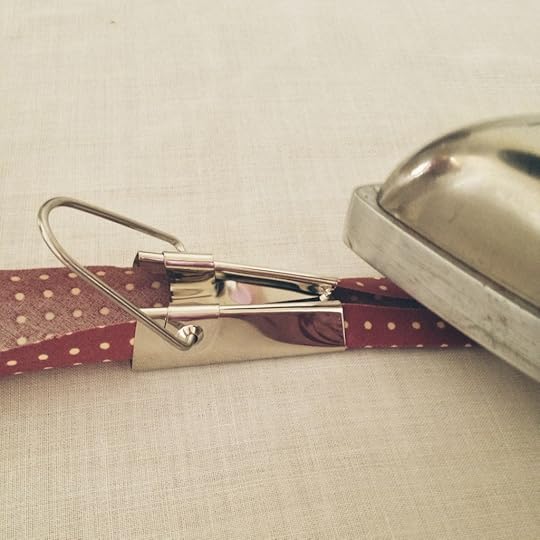 Position the tip of the iron at the tip of the bias tool. Gradually move the bias tool to the left as you press the iron towards it. Working along the entire length to press the folded edges of the tape in place.
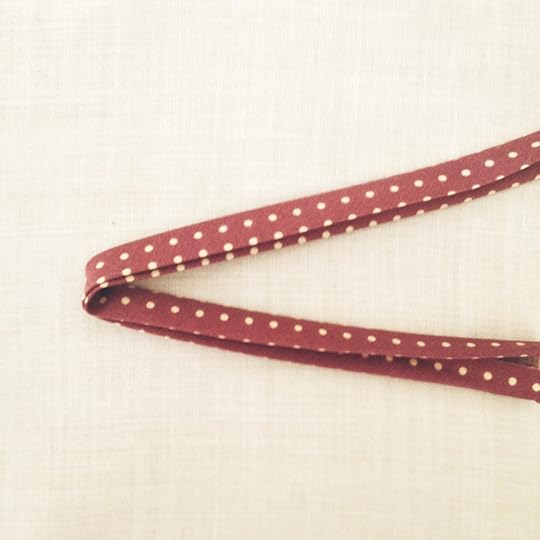 Remove the bias tool and the pin and fold the strip in half, aligning the two folded edges. Press the tape along the centre, ready for use.
How simple is that to create your own custom bias binding?
The post How to Make Bias Binding appeared first on Made Peachy.


