
Gargoyle-Tile Workshop Visit Part 2: Crafting the Clay
Nikon D4 + Nikkor 24-70mm f/2.8 @ 52mm — 1/100 sec, f/4.5, ISO 2500 —
map & image data — nearby photos
The Devil's In the Details
temple-roof demon end-piece tile during fabrication
at the Minobe Onigawara Workshop (美濃邉鬼瓦工房)
Picking up from yesterday's “Gargoyle-Tile Workshop Visit Part 1: Factory Tour”,
we'll look a bit on how these complex decorative tiles are made.
Nikon D4 + Nikkor 24-70mm f/2.8 @ 26mm — 1/50 sec, f/4.5, ISO 500 —
map & image data — nearby photos
Old and New
Mr. Minabe shows a current replication project
( his father is the current head of household )
Nikon D4 + Nikkor 24-70mm f/2.8 @ 26mm — 1/50 sec, f/4.5, ISO 400 —
map & image data — nearby photos
High-Tech Methods
everything is done by hand
These are essentially pottery, so crafting is “simple”: create the shape
you want out of clay, let it air dry for a few months, then fire it in a kiln for 30
hours at a bazillion degrees.
It's not that simple, of course. First off, with the lead time to the
final firing measured in months, they can't afford to have pieces crack in
the kiln, so they've developed crafting and firing techniques that
completely avoids cracks. I didn't realize how extraordinary this was until
someone else on the tour who happened to be a potter exclaimed her
shock. Apparently some loss during firing is always expected.
Another complication is that the clay shrinks about 13% when fired, so
they have to take that into account when building a replacement piece whose
final size must exactly match the original. They deal with this 13% shrinkage
(building everything 13% larger) day in and day out, so after a lifetime it must all be second nature.
Nikon D4 + Nikkor 24-70mm f/2.8 @ 31mm — 1/60 sec, f/4.5, ISO 720 —
map & image data — nearby photos
In Need of a Fang
It's perhaps difficult to tell in the photo above, but the fang in the
near-side edge of the mouth is missing in the version being crafted. As part of the tour, Mr. Minobe showed a bit how he models the clay, and in doing so added
that fang...
Nikon D4 + Nikkor 24-70mm f/2.8 @ 70mm — 1/160 sec, f/4.5, ISO 4000 —
map & image data — nearby photos
Mold the Shape by Hand
This is probably the most difficult part, especially for someone like me
without an artistic bone in my body. He's got to
get the general shape, 13% larger than the final desired size.
Nikon D4 + Nikkor 24-70mm f/2.8 @ 62mm — 1/125 sec, f/4.5, ISO 4000 —
map & image data — nearby photos
Preparing to Attach
To create a good bond, he places rough groves in the clay using
the fork-like tool that was the subject of my recent “What am I?” quiz. A lot of people guessed the fork-like tool had something to do with clay, but no one had the proper answer that it's for scoring a surface to be attached to another surface.
Nikon D4 + Nikkor 24-70mm f/2.8 @ 70mm — 1/160 sec, f/4.5, ISO 2500 —
map & image data — nearby photos
Another bad photo, sorry, but if you look carefully you can see the fang has been attached. He's then using another tool to smooth part of the brow.
Of course, this is just the roughing in of the basic shape. I'm sure there's quite a bit of work and artistry to get
the final sculpture ready for the kiln, 13% larger than the actual target size.
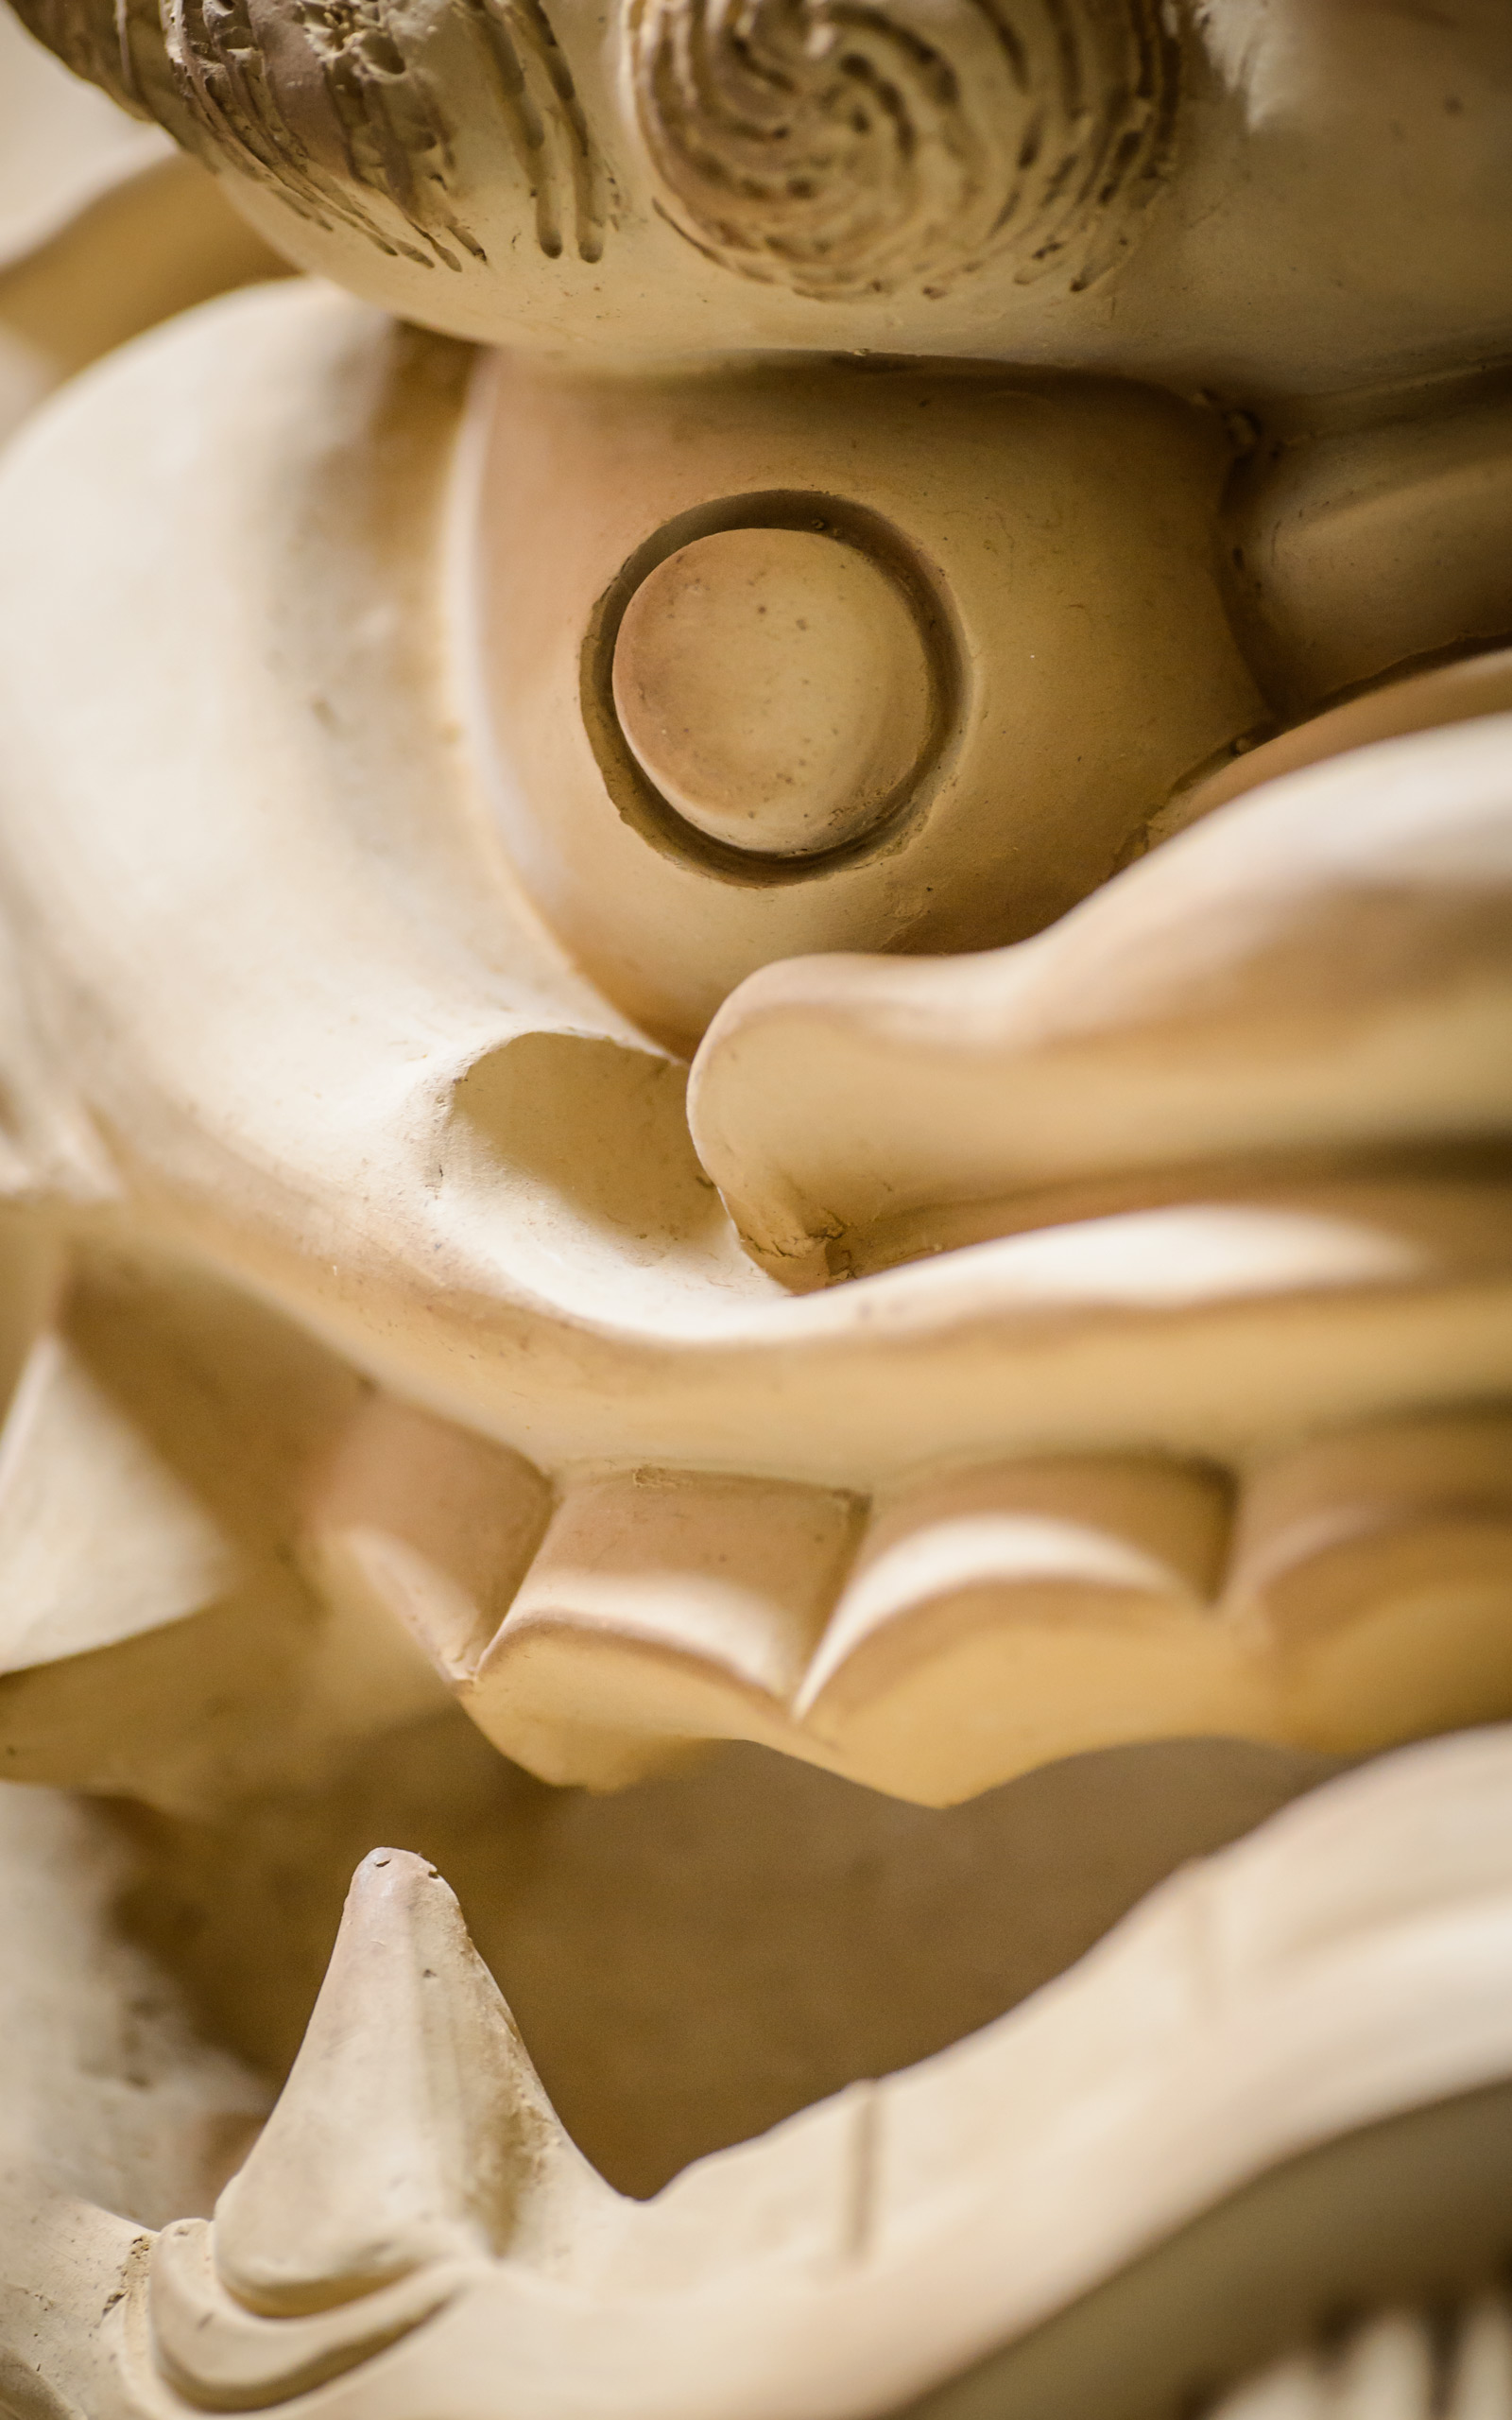
Here's a closeup of yesterday's
“Massive Tile Awaiting the Kiln”...
Nikon D4 + Voigtländer 125mm f/2.5 — 1/250 sec, f/2.5, ISO 2800 —
map & image data — nearby photos
Babyface
Vertical Desktop-Background Versions
1050×1680 · 1200×1920 · 1600×2560
Nikon D4 + Voigtländer 125mm f/2.5 — 1/250 sec, f/2.5, ISO 1100 —
map & image data — nearby photos
Old and New
replacement reproduction (background) air drys before heading to the kiln
At one point while allowed some free time to wander around the workshop, I noticed the current head of the household, Kei-ich Minobe, working on a
project. As it happens, he was about to attach a strip of clay to a work in
progress, so he was just starting to score the clay with the aforementioned
fork-like tool...
Nikon D4 + Voigtländer 125mm f/2.5 — 1/250 sec, f/2.5, ISO 720 —
map & image data — nearby photos
Scoring the Strip to be Added
the Mozart of clay
Nikon D4 + Voigtländer 125mm f/2.5 — 1/250 sec, f/2.5, ISO 900 —
map & image data — nearby photos
Scoring the Attach Point
Nikon D4 + Voigtländer 125mm f/2.5 — 1/250 sec, f/2.5, ISO 400 —
map & image data — nearby photos
Master Craftsman Kei-ichi Minobe At Work
美濃邉惠一さん
He was the subject of episode #57 in the NHK TV “Professional” series, in 2007.
I've found it on the web here.
美濃邉さんはNHKの番組「プロフェッショナル 仕事の流儀」で出演しました。「鬼師 美濃邉惠一」。
Nikon D4 + Voigtländer 125mm f/2.5 — 1/250 sec, f/2.5, ISO 720 —
map & image data — nearby photos
Placing the New Piece
Nikon D4 + Voigtländer 125mm f/2.5 — 1/250 sec, f/2.5, ISO 720 —
map & image data — nearby photos
Pressing It Firm
Nikon D4 + Voigtländer 125mm f/2.5 — 1/250 sec, f/2.5, ISO 1400 —
map & image data — nearby photos
Strengthening The “Weld”
As I mentioned in the previous post, my visit to the workshop was as a
guinea pig during a test run of Tour du Lac Biwa's “Special
Japanese Gargoyle Workshop and Hot Spring Tour”. I also got to do the
other parts of the tour (all for free!), except we had to cut the
hot-spring visit short because a typhoon was coming in and we worried that
the train line would shut down, and I had to be home for a late-afternoon
appointment that I couldn't take a chance on missing.
I've much else to post from this tour, and from other tours I got to
take part in. Sadly, a lingering cold this week caused me to miss a
tour that involved zip-lining and kayaking. Maybe next time!


Jeffrey E.F. Friedl's Blog

- Jeffrey E.F. Friedl's profile
- 13 followers

