
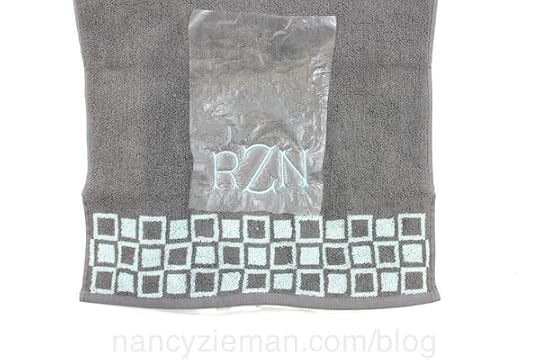
The Easiest Way to Embroider Towels
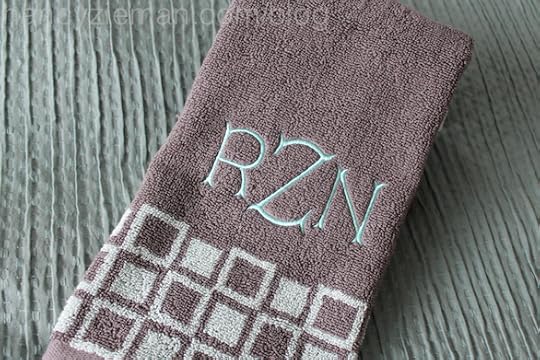
You may have seen the above towel on Sewing With Nancy when Eileen Roche and I presented a two-part series, Machine Embroidery in 6 Easy Lessons. You can watch the 2-part Sewing With Nancy TV series online: Click here to watch episode one and episode two. I use Eileen’s tips on embroidering towels over and over. Since I wanted to refresh my memory on the process, I thought you’d might like a refresher, too. Here is The Easiest Way to Embroider Towels.
Begin by Organizing the Supplies
Gather towels, fusible mesh stabilizer, wash-away stabilizer, sticky-back stabilizer, the Perfect Placement Kit with placement stickers, and a Madeira Rayon Thread.
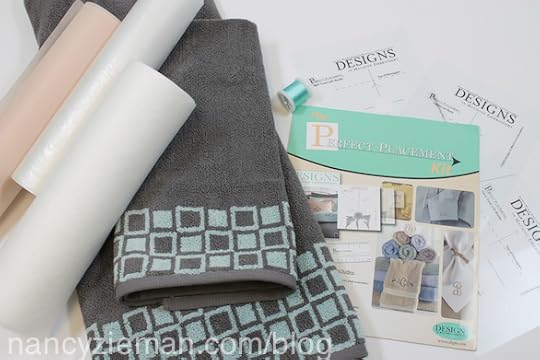
Side note: After presenting the TV series, the greatest topic of concern posted by embroiderers was, How do I choose stabilizers? The simplest recommendation is to own one stabilizer from each of the main categories: a tear-away, cut-away, wash-away, film-type water-soluble, and a water-soluble. I have a medium weight stabilizer on hand from each category—that collection of five stabilizers serves me well! (See pages 12 and 13 of Eileen’s book for more details.)

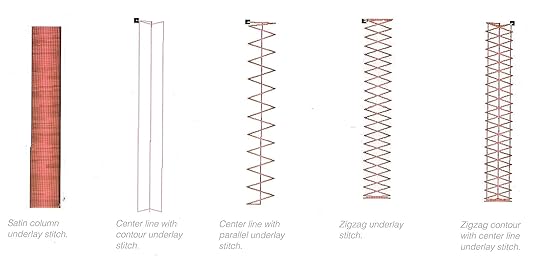
Choose Embroidery Designs
Look for monograms that have an underlay, a foundation of stitches that are stitched down prior to the satin stitches. The monograms that I chose are from the book with embroidery designs, Machine Monograms for the Home. Here’s what underlay stitches look like—big zigzag stitches! (Image is a scan from Eileen’s book.)
Bonus Tip!
If your monograms do not have underlay stitches incorporated in the digitizing, no fear! Eileen shared her tip with me on creating a faux underlay using tulle or netting. See the Bonus Tip below.
Place the Design
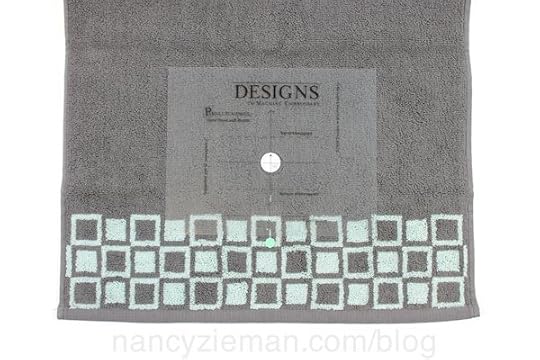
One of the keys to embroidering with terry cloth is to fuse the fusible mesh stabilizer to the wrong side of the towel in the area that will be embroidered.
Then, choose a method of positioning the design. I used one of the templates from the Perfect Placement Kit and added a placement sticker in the opening.
Hoop the Stabilizer
Using Eileen’s Hooping Stabilizer technique, page 40 in her book, I hooped an adhesive stabilizer, scored the paper cover, and removed the paper within the hooped area.
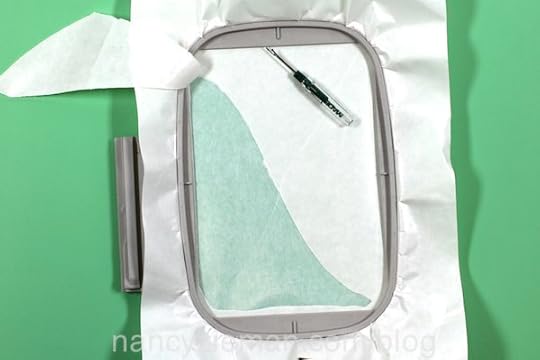
Place the towel over the adhesive stabilizer, aligning the arrows of the target sticker as squarely as possible in the hoop.

Stitch!
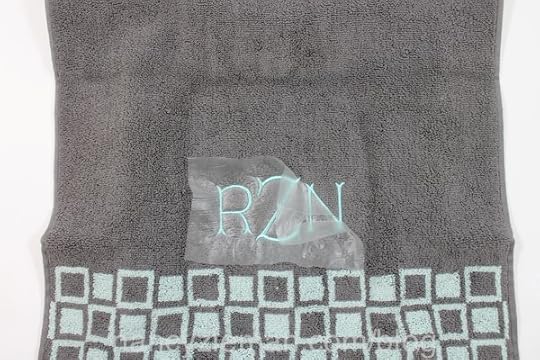
Place a top stabilizer, wash-away , when monogramming towels. More is better when it comes to stabilizers and embroidering.
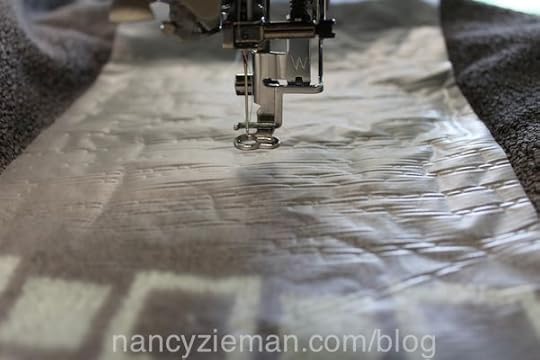
Hit “start” and watch the magic begin.
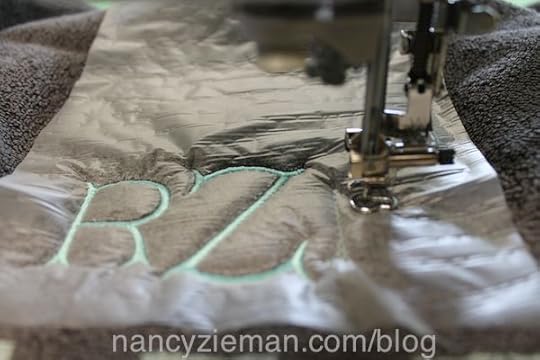
Just like that!
Finish the process
Remove the top and underneath stabilizers.
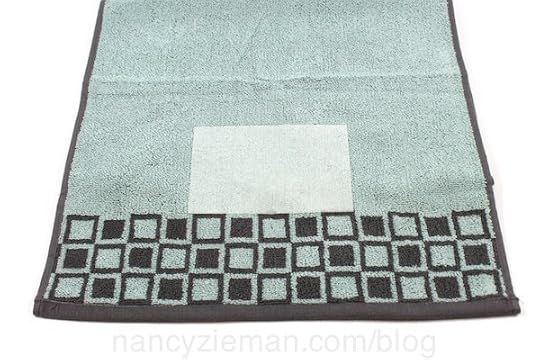
Bonus Tip
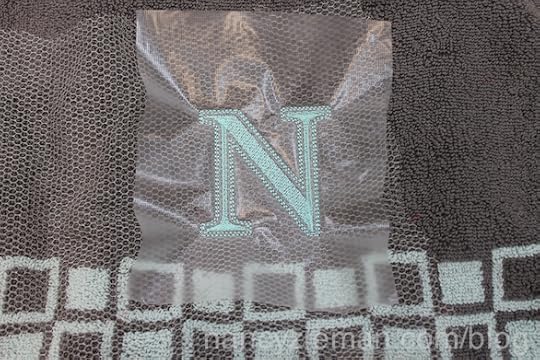
I chose an embroidery design that didn’t have underlay stitches to show you how to make any monogram stitches workable on napped fabrics.
Place a layer of tulle or netting on top of the towel.
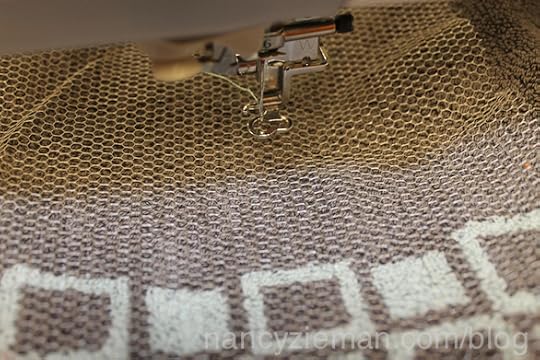
Add the wash-away top stabilizer on top of the netting.
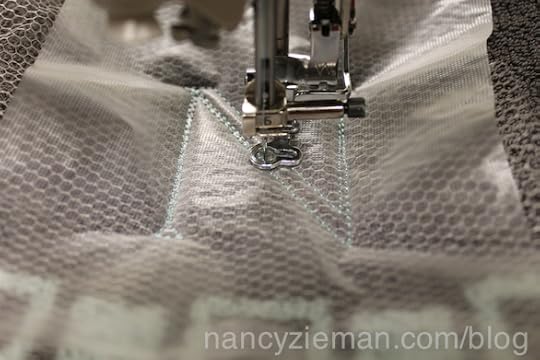
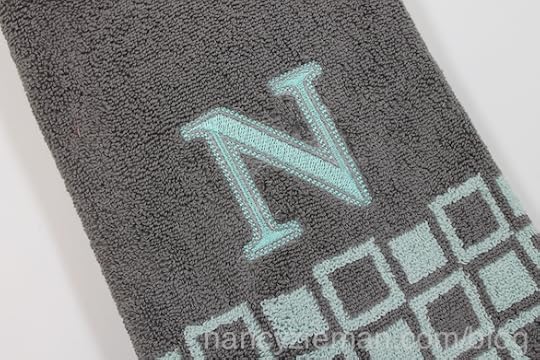
Embroidery is complete, but the finishing touch is next.
Tear away the wash-away stabilizer and the tulle or netting ! The stitching perforates both layers.
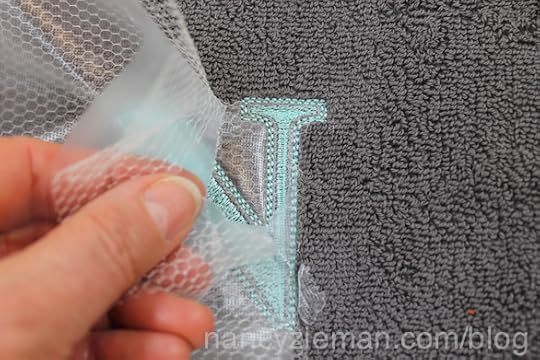
Ta da!
Here’s a Handy Reference Book
Machine Embroidery in 6 Easy Lessons book and DVD is what I use when needing an embroidery refresher course.

Bye for now,

Content in this feed is © copyright 2014 by Nancy Zieman and may not be republished without written permission. You’re welcome to forward the email to a friend or colleague but it’s not okay to add the RSS feed automatically as content on a blog or other website.


Nancy Zieman's Blog

- Nancy Zieman's profile
- 21 followers

